
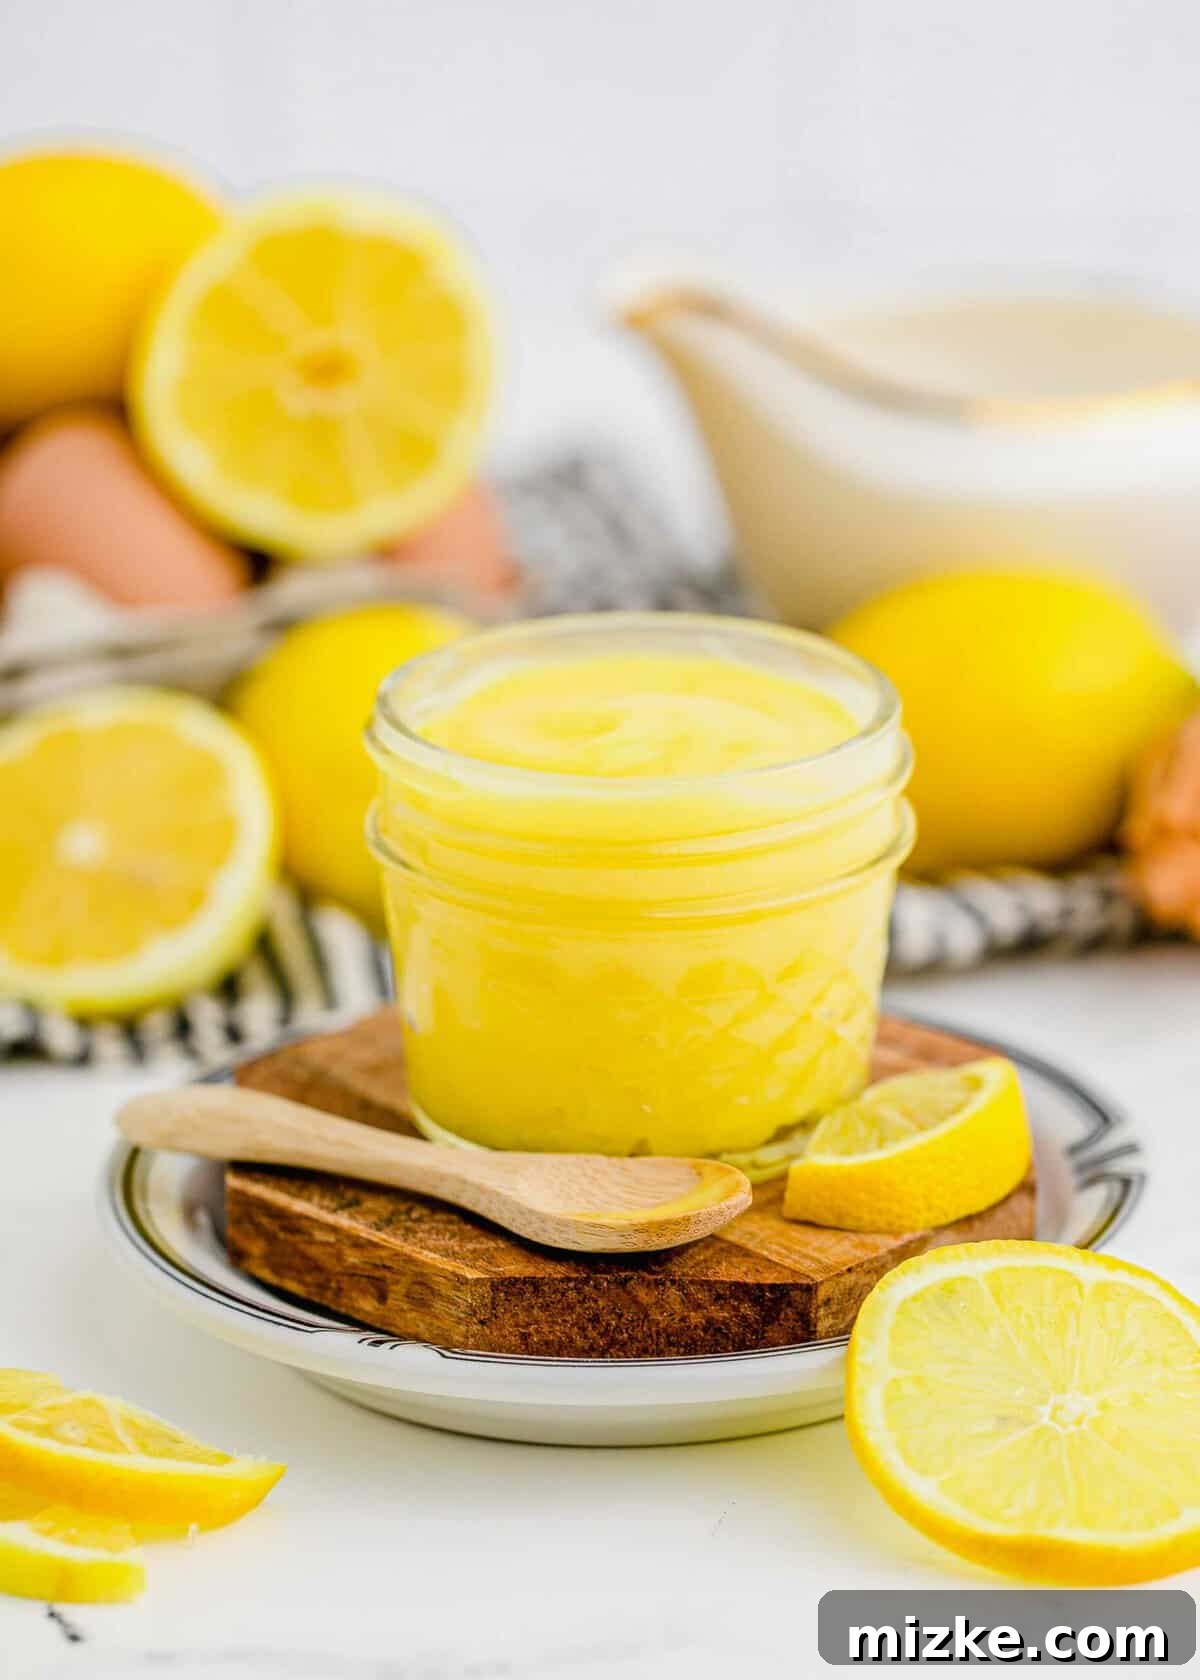
Homemade lemon curd is buttery, rich, and full of bright, tart lemon flavor. It’s a culinary delight that’s surprisingly easy to make. Whip up a batch for yourself and consider making another as a thoughtful, delicious gift for friends and family!
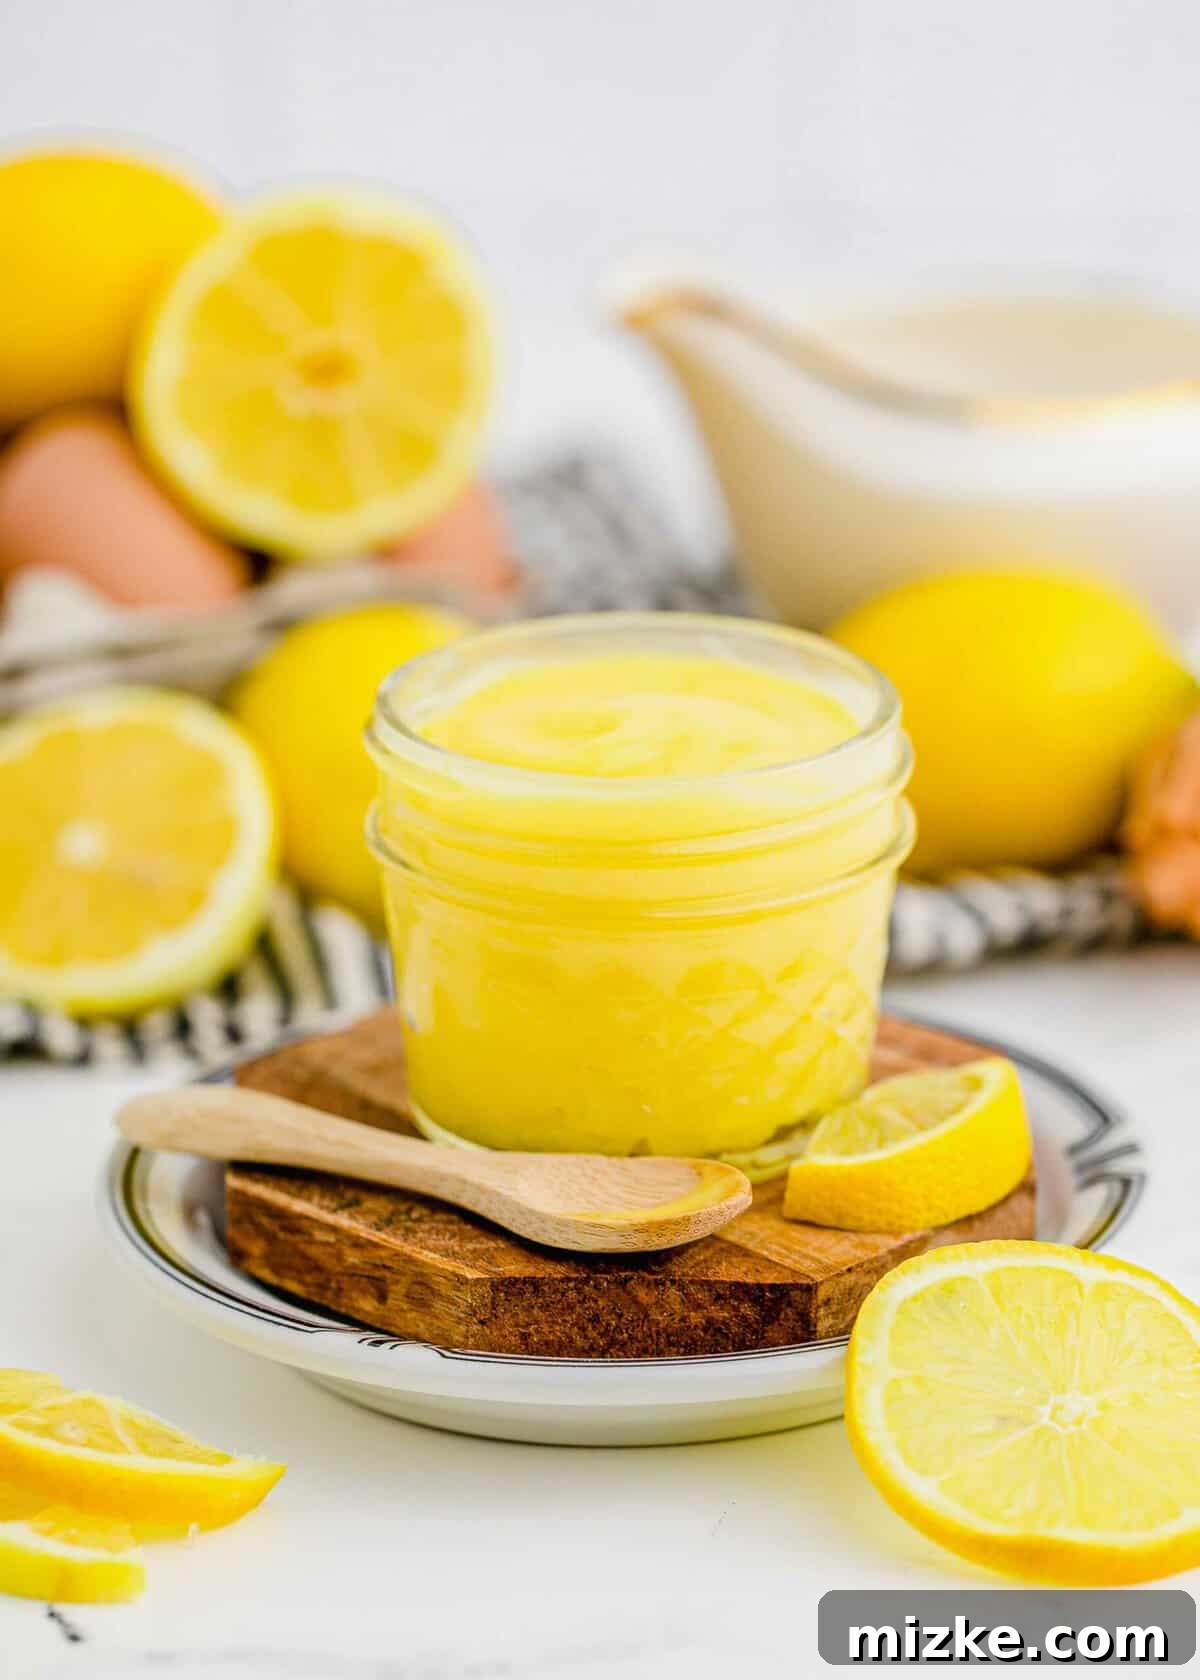
The Ultimate Homemade Lemon Curd Recipe: A Sweet-Tart Delight
If you’ve ever dreamt of a spread that encapsulates the essence of sunshine, look no further than homemade lemon curd. Embarking on the journey of making this vibrant citrus creation is a truly rewarding experience that will transform your kitchen into an aromatic haven. While a convenient jar of store-bought lemon curd might satisfy in a pinch, there’s simply no comparison to the luxurious texture, intense freshness, and explosive flavor of a batch made from scratch. This isn’t just an upgrade; it’s a revelation. Our recipe delivers a richly creamy and utterly buttery spread, perfectly balanced by the bright, zesty acidity of fresh lemons. It strikes that elusive sweet-tart harmony that makes every spoonful an absolute delight, leaving a refreshing tang that lingers pleasantly on the palate.
Why Homemade Lemon Curd is Unbeatable
Many home cooks might initially shy away from making lemon curd, perhaps imagining a complicated, delicate process. However, we’re here to tell you that homemade lemon curd is not only incredibly easy but also remarkably quick to prepare with minimal hands-on time. The payoff, however, is immense. When you choose to make it yourself, you gain complete control over the quality of every ingredient. This allows you to select the freshest, most aromatic lemons, the finest unsalted butter, and farm-fresh eggs, all of which directly translate to a superior flavor profile and unparalleled texture. Forget artificial colors, preservatives, or stabilizers often found in commercial versions; your kitchen-crafted curd is pure, natural goodness. The vibrant yellow hue, glistening sheen, and intense citrus aroma are testaments to its fresh origins, offering a sensory experience that no mass-produced product can truly replicate. It’s a difference you can truly taste and feel, making every bite an indulgence.
The Versatility of Lemon Curd: More Than Just a Spread
Once you’ve tasted the sublime goodness of your homemade lemon curd, you’ll undoubtedly want to incorporate it into everything. It’s a culinary chameleon, a true kitchen hero that elevates everything it touches with its bright and zesty charm. Imagine waking up to a leisurely breakfast, slathering a generous spoonful onto warm, buttery toast, a freshly baked English muffin, or a flaky croissant for an indulgent start to your day. Transform your ordinary yogurt parfait or a simple bowl of oatmeal into a gourmet treat with a delightful swirl of tangy lemon. This versatile spread also makes a phenomenal filling for a myriad of baked goods, bringing a burst of sunshine to cupcakes, elegant layer cakes, and delicate tartlets, making any dessert feel instantly special. Beyond baking, consider it a topping for fresh fruit salads, a drizzle over ice cream, or even a sophisticated component in savory dishes like glazed salmon. And yes, sometimes, the simplest pleasure is truly the best: grab a spoon and enjoy it straight from the jar. There’s absolutely no judgment here – it’s just that good!
Essential Ingredients for Your Perfect Lemon Curd
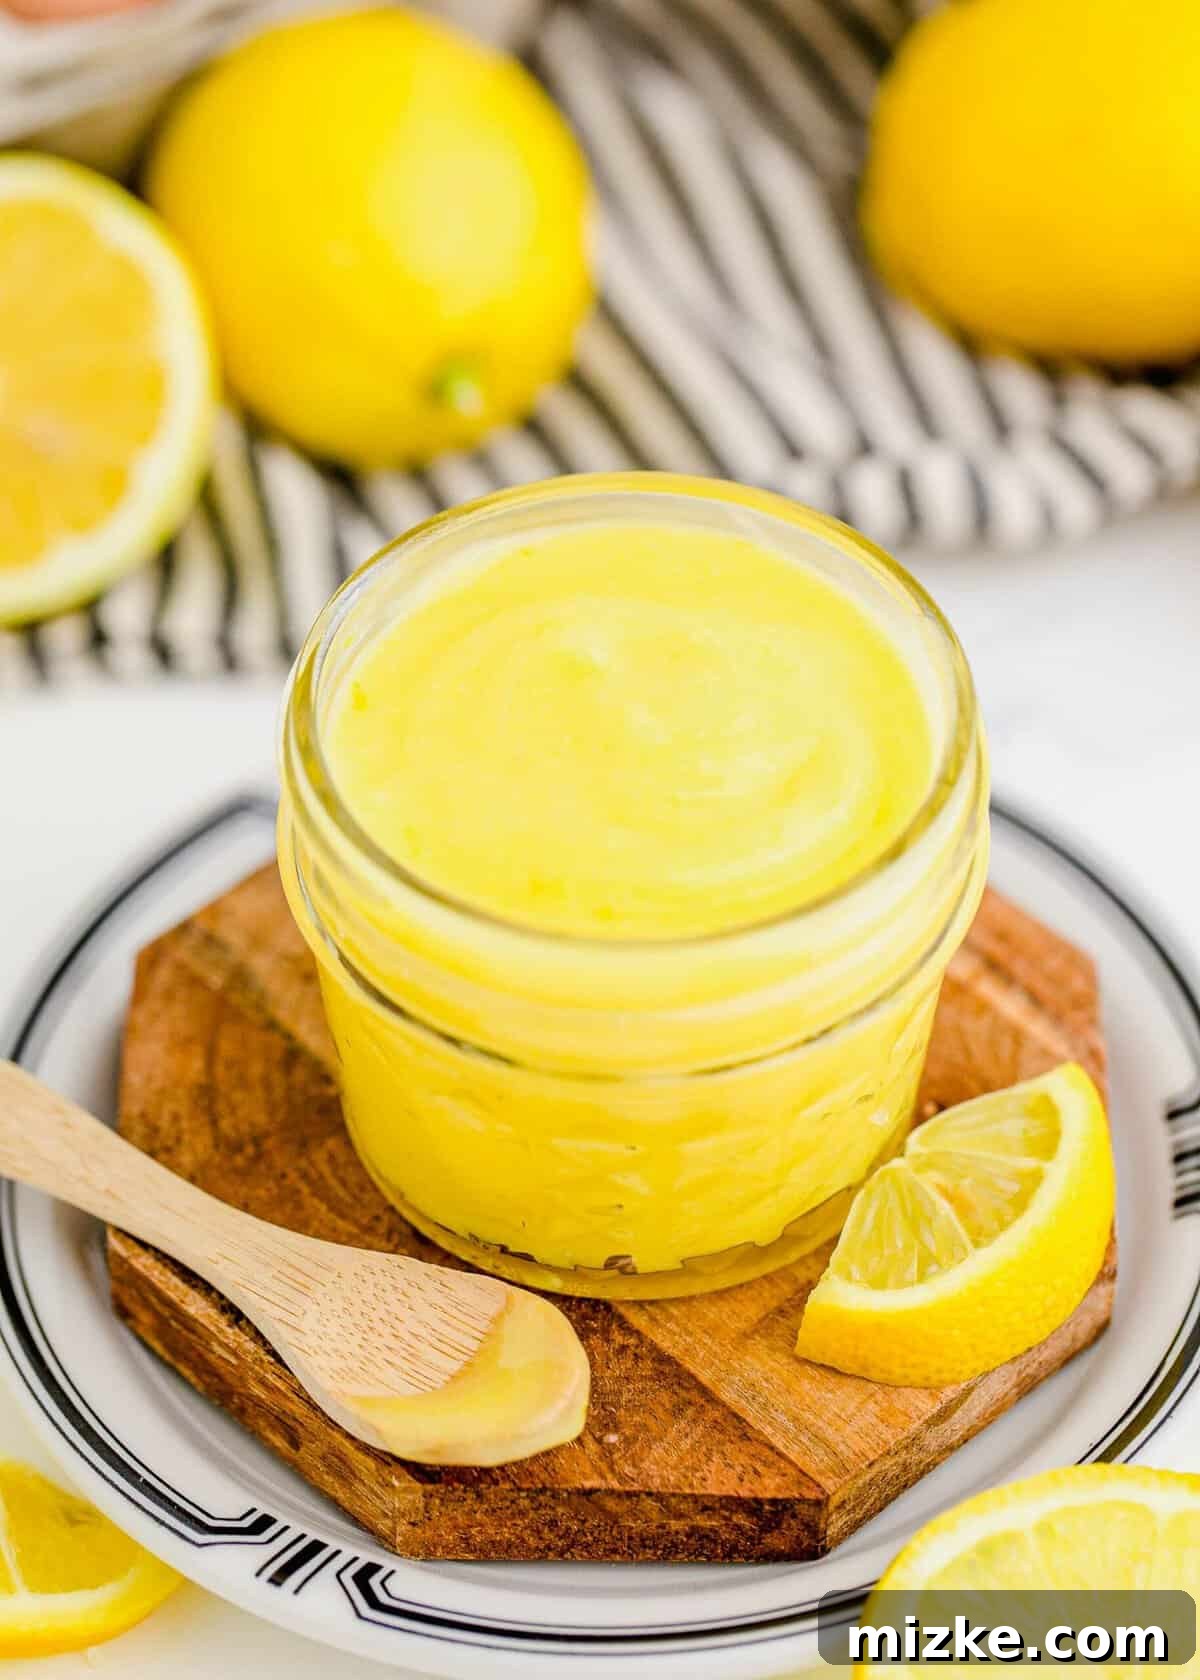
Creating this bright, beautiful, and utterly delicious lemon curd requires just a handful of simple, high-quality ingredients, each playing a crucial role in achieving that perfect consistency and unforgettable flavor. Opting for the freshest options available will truly make a significant difference in your final product. For exact quantities and step-by-step instructions, please scroll down to the detailed recipe card below.
- Large Eggs & Egg Yolks: This specific combination of whole large eggs and additional egg yolks is fundamental. The whole eggs contribute to the initial structure and help with the thickening process, while the extra yolks are the secret to achieving that incredibly rich, creamy texture and the vibrant, deep yellow color that defines an exceptional lemon curd. The high fat content in the yolks acts as an emulsifier, binding all the ingredients together seamlessly. As a bonus, don’t feel pressured to discard those leftover egg whites! They are perfect for making light and airy meringues, delicate macarons, or a healthy, protein-packed egg white omelet.
- Granulated Sugar: Sugar is not just for sweetness; it’s vital for balance. It provides the necessary sweetness to cut through and harmonize the intense tartness of the lemon, creating that signature sweet-tart flavor profile that lemon curd is famous for. Furthermore, it aids in the texture, dissolving to create a smooth, glossy base and contributing to the curd’s overall shelf life.
- Fresh Lemons (Juice & Zest): This is truly where the magic of lemon curd originates! It is absolutely imperative to use fresh lemons for both the juice and the zest. Bottled lemon juice, while convenient, simply cannot replicate the bright, nuanced, and complex flavor of freshly squeezed citrus. The zest, in particular, is a powerhouse of flavor, containing aromatic essential oils that impart a deep, fragrant lemon essence that goes far beyond what juice alone can offer. For ease of preparation, always remember to zest your lemons first, before you cut and juice them.
- Unsalted Butter: Good quality unsalted butter, cut into small, ½-inch cubes, is stirred into the curd at the very end of the cooking process. It is a cornerstone ingredient that adds incredible richness, a luxurious silky smooth texture, and a beautiful, inviting sheen to the finished curd. Using unsalted butter gives you precise control over the overall sodium content of your recipe, though a tiny pinch of salt can often enhance the flavors without making it taste salty. Adding the butter in small pieces ensures it melts evenly and incorporates into the hot curd seamlessly, preventing any separation.
- Cornstarch: While the eggs are excellent natural thickeners, a small amount of cornstarch acts as an invaluable stabilizer. It helps ensure your curd achieves a wonderfully thick, luscious, and perfectly spoonable consistency without the risk of overcooking the eggs or creating a runny final product. It provides extra assurance for a smooth and satisfying body.
- Vanilla Extract: A splash of good quality pure vanilla extract is a secret ingredient for many experienced bakers. It adds a subtle warmth, a layer of delicate complexity, and a pleasing depth that beautifully complements the bright, vibrant lemon flavor without ever overpowering it. It’s a finishing touch that rounds out the overall taste profile and adds a touch of gourmet elegance.
How to Extract Lemon Zest Without a Specialized Tool
Don’t have a microplane or a dedicated zester in your kitchen drawer? No need to worry! You can still obtain perfectly usable and flavorful lemon zest with common kitchen tools you likely already possess. Grab a sharp paring knife or even a sturdy vegetable peeler. Carefully remove thin strips of the bright yellow peel from the lemon, being meticulous to avoid taking any of the bitter white pith located just beneath the skin. The pith can impart an undesirable bitterness, so precision is key. Once you have these thin strips of peel, gather them and finely mince them with your paring knife until they resemble traditional, finely grated zest. The goal is to maximize the surface area of the zest for optimal flavor extraction, ensuring your curd is infused with maximum lemon aroma without any accompanying bitterness.
Step-by-Step Guide to Making Homemade Lemon Curd
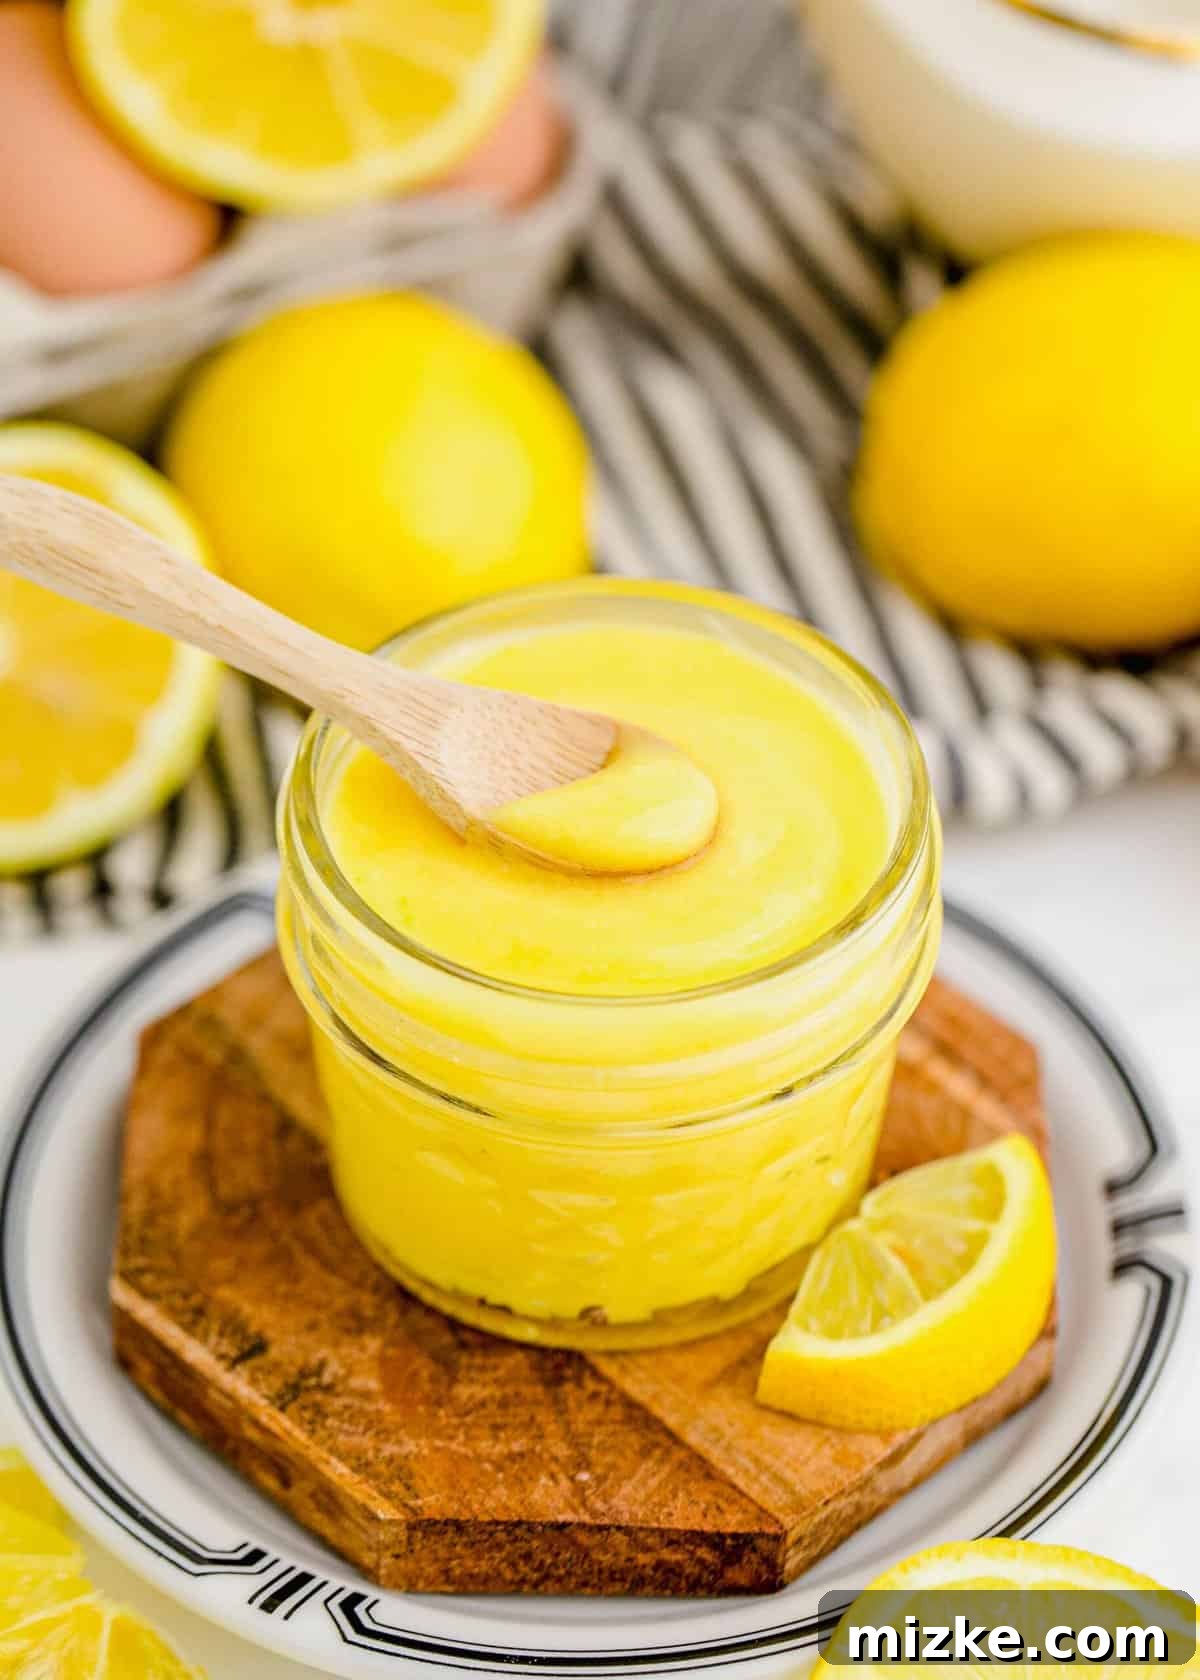
Crafting your own luscious and intensely flavorful lemon curd is a process that is far simpler and more rewarding than you might initially imagine. By following these straightforward steps, you’ll achieve a perfectly smooth, rich, and delicious result every single time.
- Prepare the Base Mixture: Begin by whisking together the whole large eggs and the additional egg yolks in a medium-sized, heavy-bottomed saucepan. Whisk vigorously until they are thoroughly combined and slightly frothy; this initial step helps ensure a smooth final product and prevents any eggy lumps. Next, gradually whisk in the freshly squeezed lemon juice, the aromatic lemon zest, the granulated sugar, and the cornstarch. Continue whisking continuously until the sugar has fully dissolved and all the ingredients are thoroughly incorporated into a homogenous mixture.
- Cook to Perfection: Place the saucepan on your stovetop over medium-low heat. This is the most crucial stage where patience and constant attention are key. You absolutely must whisk the mixture continuously as it heats up. This vital step prevents the eggs from scrambling or cooking unevenly and ensures a beautifully smooth, lump-free curd. Continue whisking and cooking until the mixture visibly thickens to a consistency that is thick enough to generously coat the back of a spoon. A classic test: if you draw a clear line with your finger across the back of the spoon, the line should hold without the curd running back into it. If you have an instant-read thermometer, aim for a temperature of 170°F (77°C). This cooking process typically takes anywhere from 8 to 12 minutes, but it can vary based on your stove and saucepan. Remember, the curd will continue to thicken significantly as it cools and chills in the refrigerator, so don’t be tempted to overcook it.
- Incorporate the Butter: Once your lemon curd has reached the desired thickness and consistency, immediately remove the saucepan from the heat to halt the cooking process. Add the cold, cubed unsalted butter, a few pieces at a time. Stir gently and continuously after each addition, allowing each piece of butter to fully melt and emulsify into the hot curd before adding more. This gradual incorporation ensures a perfectly smooth, rich, and glossy finish, preventing any greasy separation.
- Finish with Vanilla: After all the butter has been beautifully incorporated, creating a luscious, glossy curd, stir in the vanilla extract. Its warm, comforting notes will subtly enhance the overall flavor profile of your bright lemon curd, adding a layer of sophisticated depth.
- Strain for Silky Smoothness: For an impeccably smooth and luxurious texture that is restaurant-quality, it is highly recommended to strain the warm lemon curd. Place a fine-mesh sieve over a clean storage container or a heat-proof bowl, and carefully pour the curd through it. Use a rubber spatula or the back of a spoon to gently press any thicker bits through the sieve, catching any small pieces of cooked egg or stray lemon zest that might compromise the exquisite texture.
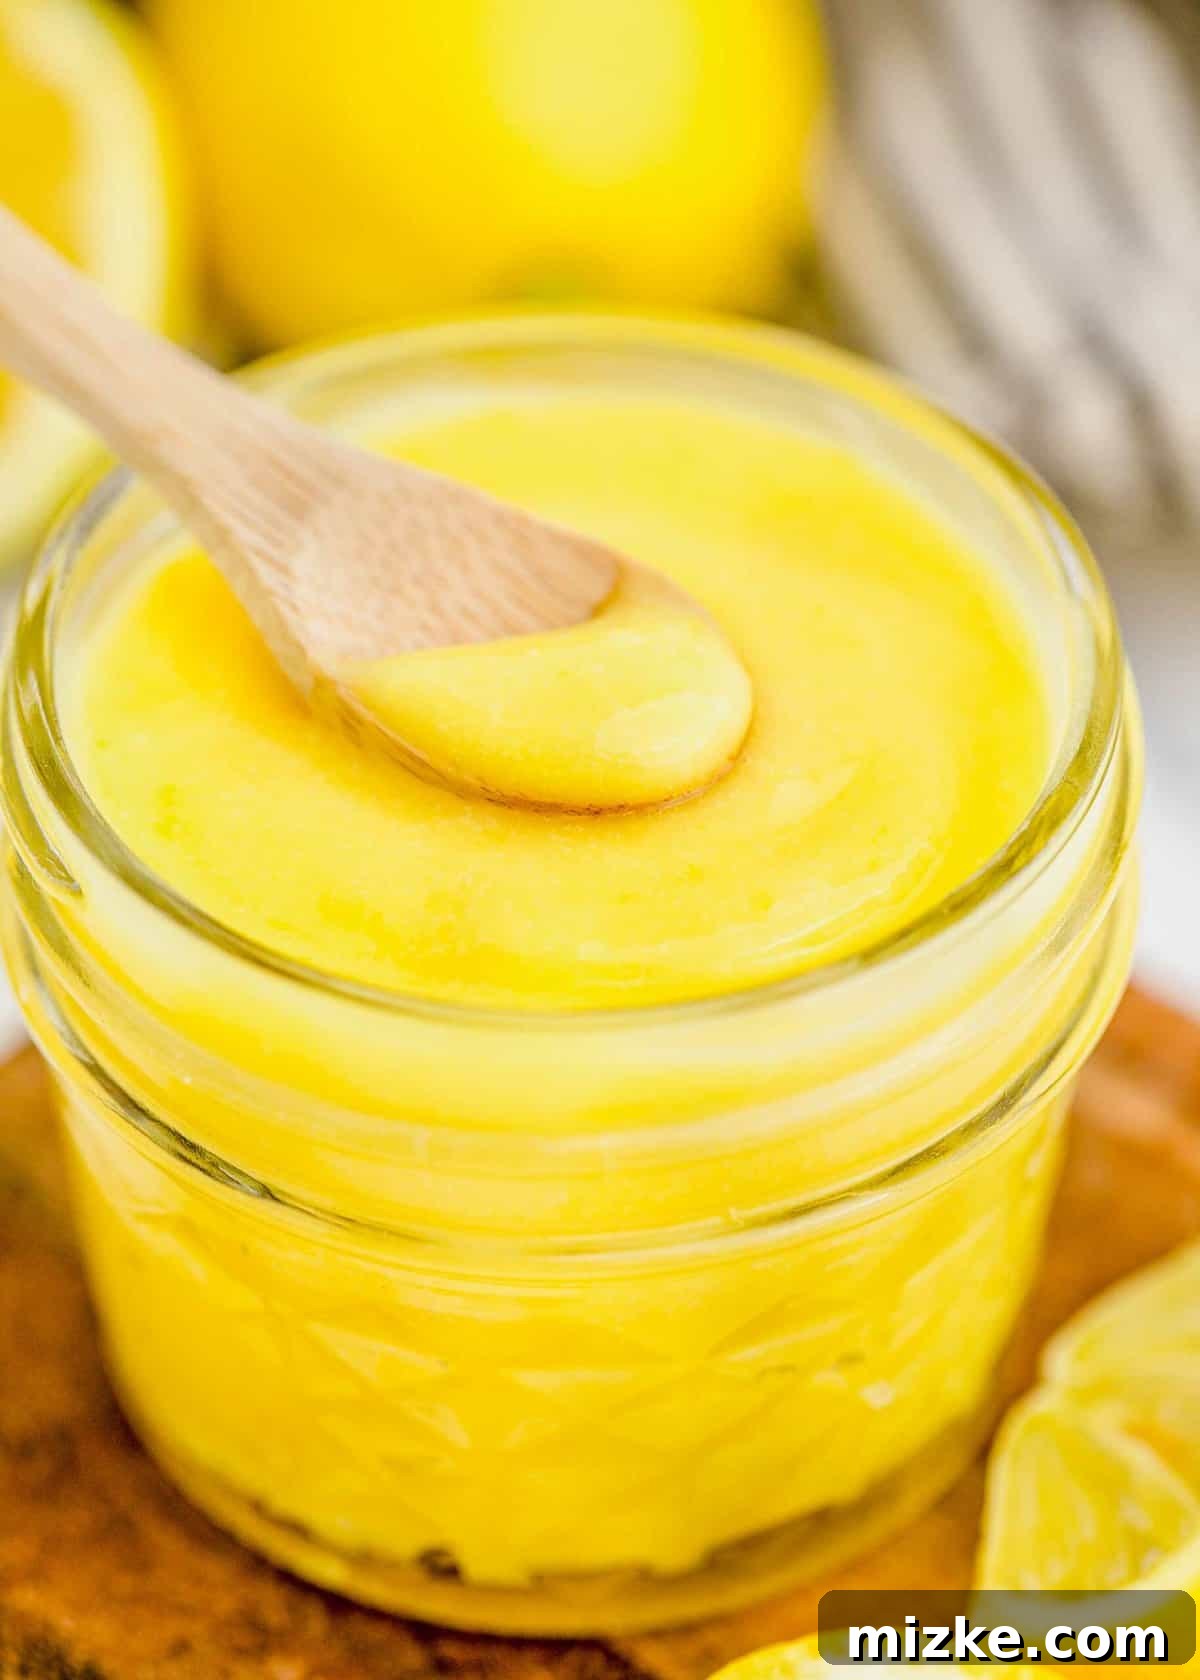
- Cool and Chill: Allow the strained lemon curd to cool at room temperature for approximately 15 to 20 minutes. This initial cooling helps stabilize its temperature. To prevent a “skin” or film from forming on the surface as it continues to cool (which can give it an undesirable texture), place a piece of plastic wrap directly onto the surface of the curd, ensuring it makes full contact and eliminates any air bubbles. Transfer the container to the refrigerator and chill for a minimum of 3 hours. This chilling period is absolutely crucial for the curd to fully set, firm up to the perfect consistency, and for its flavors to meld and deepen.
Expert Tips for Perfect Lemon Curd Every Time
Achieving a consistently perfect homemade lemon curd is straightforward when you keep these expert tips in mind. They’ll help you navigate the process with confidence and ensure a flawless result:
- Always Use Fresh Lemon Juice and Zest: This cannot be stressed enough. The flavor difference between fresh and bottled lemon juice is monumental, impacting the brightness and depth of your curd. Fresh zest, containing potent essential oils, also provides an unparalleled aroma and taste that is crucial to authentic lemon curd.
- Whisk Constantly on Medium-Low Heat: Patience is truly a virtue when making lemon curd. Cooking over consistent medium-low heat and whisking continuously (without stopping) is paramount. This prevents the eggs from scrambling, ensures even cooking, and guarantees a smooth, uniformly thickened curd. Rushing this process or neglecting to whisk can quickly lead to a lumpy, unappealing texture.
- Master the “Back-of-the-Spoon” Test: This classic culinary technique is your most reliable indicator of doneness. Dip a clean spoon into the curd, lift it out, and then run your finger across the back of the spoon. If the distinct line you draw holds without the curd running back into it, your curd has reached the perfect thickness. Remember, it will continue to thicken further as it cools and chills.
- Incorporate Butter Gradually: Adding the cold butter slowly, piece by piece, is key to achieving a silky, emulsified finish. This allows each cube to melt and properly incorporate into the hot curd. Dumping all the butter in at once can disrupt the emulsion, potentially resulting in an oily separation or a less smooth final product.
- Don’t Skip the Strain for Silky Smoothness: Even if your curd appears perfectly smooth after cooking, straining it through a fine-mesh sieve is a small extra step that guarantees the absolute silkiest, most luxurious texture imaginable. It meticulously removes any potential tiny, almost imperceptible egg bits that might have slightly cooked or any larger pieces of lemon zest, ensuring an impeccable mouthfeel.
- Prevent a Skin with Direct Plastic Wrap: As the hot curd cools, a rubbery or chewy skin can form on its surface due to exposure to air. To expertly avoid this, always place a piece of plastic wrap directly onto the surface of the curd, pressing it down firmly to eliminate any air pockets, before transferring it to the refrigerator for chilling.
Troubleshooting Common Lemon Curd Issues
Even with the best intentions and careful execution, things can sometimes go slightly awry in the kitchen. Here are solutions to common problems you might encounter when making lemon curd:
- Runny Curd: If your lemon curd is too thin and runny after chilling, it almost always means it hasn’t cooked long enough or at a consistent enough temperature to properly thicken the eggs and cornstarch. Don’t panic! You can often salvage it. Gently return the curd to the saucepan over low heat and continue whisking constantly until it reaches the desired thickness (the “back-of-the-spoon” test). The cornstarch helps stabilize it, making it quite forgiving for a second round of cooking.
- Lumpy Curd: Lumps in your curd typically occur if the heat was too high, causing the eggs to scramble too quickly, or if the mixture wasn’t whisked continuously. Fortunately, the straining step (as instructed in the recipe) is designed to fix this issue almost entirely. Simply push the curd through a fine-mesh sieve with a spatula, and the lumps will be left behind, resulting in a beautifully smooth finish.
- Overly Tart or Sweet Curd: The perfect balance of sweet and tart is subjective and can depend on the specific lemons you use. If you find your curd too tart, you can experiment by adding a tiny bit more sugar (1-2 tablespoons) to your next batch. Conversely, if it’s too sweet, a slight increase in lemon juice (1-2 teaspoons) can help. However, remember that this recipe is designed for a broadly appealing, well-balanced flavor profile.
How to Store Homemade Lemon Curd
Proper storage is essential to maintain the freshness, flavor, and texture of your delicious homemade lemon curd for as long as possible. Once the curd has been completely chilled and set in the refrigerator, transfer it to an airtight container. A clean glass jar, such as an old jam or jelly jar, a classic Mason jar, or any other suitable container with a tight-fitting lid, works perfectly. Store the container in the coldest part of your refrigerator. Homemade lemon curd will keep beautifully in the fridge for 7 to 10 days, allowing you to enjoy its bright flavor over multiple meals or desserts. Always ensure the lid is sealed tightly to prevent any absorption of refrigerator odors, which can compromise the delicate lemon flavor.
Can You Freeze Lemon Curd?
Absolutely! One of the fantastic advantages of homemade lemon curd is that it freezes exceptionally well, making it perfect for preparing ahead of time or extending its shelf life significantly. To freeze, ensure the curd is completely chilled before transferring it into freezer-safe airtight containers or heavy-duty freezer bags. If using containers, leave about half an inch of headspace to account for expansion during freezing. For freezer bags, press out as much air as possible before sealing. Label your containers or bags with the date of freezing. Frozen lemon curd can be stored for up to 3 months without any significant loss of quality in terms of flavor or texture. When you’re ready to use your frozen treat, simply thaw the curd in the refrigerator overnight. After thawing, give it a gentle whisk to restore its perfectly smooth and creamy consistency before serving.
Creative Ways to Enjoy Your Homemade Lemon Curd
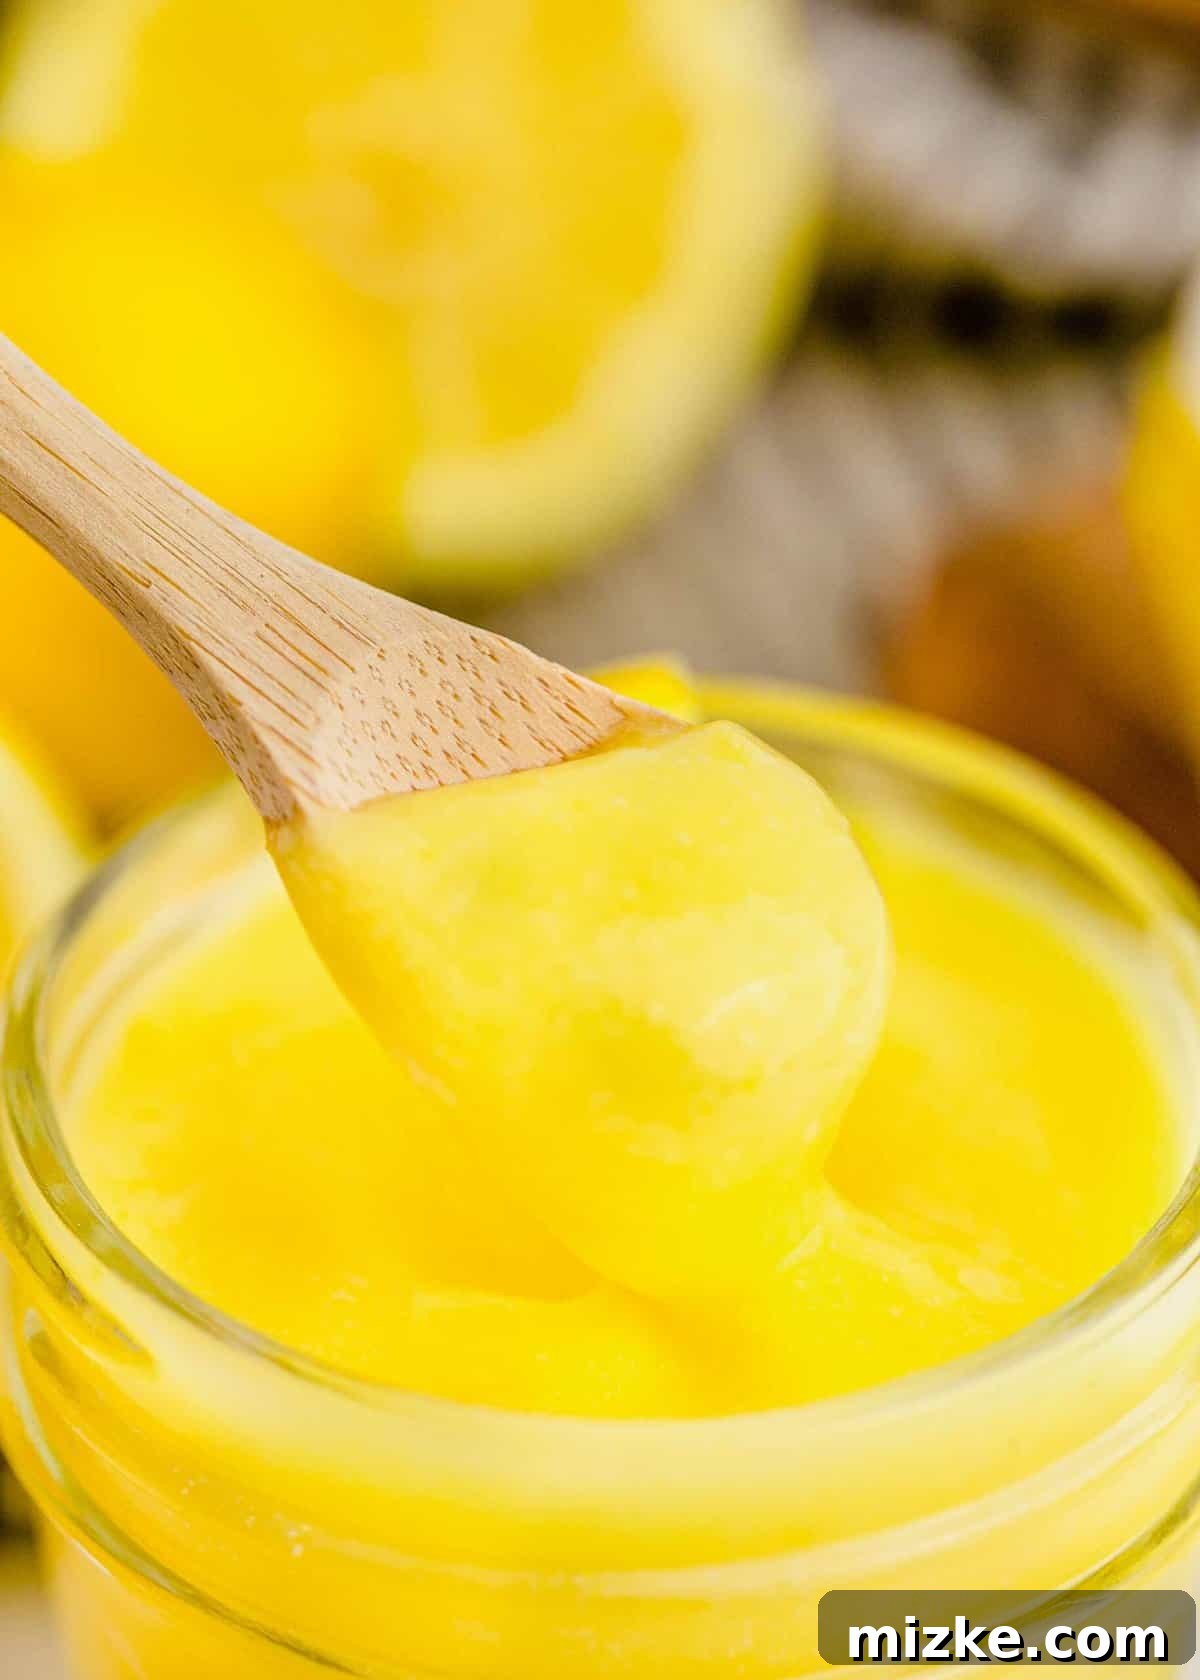
The possibilities for utilizing your homemade lemon curd are virtually endless, stretching far beyond just spreading it on toast. Let your culinary imagination soar and discover new favorite ways to incorporate this bright, tangy delight into your meals and treats!
- Breakfast & Brunch Delights:
- Spread generously on warm toast, fluffy English muffins, flaky croissants, or even plain bagels for an elevated start to your day.
- Swirl into creamy yogurt, hot oatmeal, or raspberry baked oatmeal for a bright, zesty kick that awakens the senses.
- Serve as a gourmet alternative to syrup with pancakes, delicate crepes, or light and airy blackberry lemon waffles.
- Use as a sweet and tangy filling for homemade breakfast pastries like danishes, turnovers, or even within French toast.
- Dessert Masterpieces:
- A classic, irresistible filling for cupcakes, elegant layer cakes (especially sponge cakes), and delicate tartlets or mini fruit tarts.
- Fold it gently into freshly whipped cream to create a light and tangy lemon mousse, or use it as a delightful, zesty topping for fresh berries.
- Pipe generous dollops onto crisp meringue shells or majestic pavlovas for an elegant, show-stopping dessert that balances sweetness and tang.
- Layer with crumbled shortbread cookies and fresh berries for a quick, impressive, and delicious no-bake trifle.
- Use as a vibrant topping or swirl for creamy cheesecakes, silky panna cotta, or even a scoop of vanilla bean ice cream.
- Create delightful lemony cookie sandwiches by piping a generous amount onto one sugar cookie, then gently pressing another on top.
- Swirl it through a classic pound cake batter before baking for a burst of citrus flavor in every slice.
- Simple Snacks & Treats:
- Spoon it directly from the jar for an instant sweet-tart fix when cravings strike. (Consider it a chef’s perk!)
- Pair it beautifully with fresh fruit, such as sliced strawberries, juicy blueberries, raspberries, or segments of oranges.
- Serve it alongside warm scones with a dollop of clotted cream for a truly British-inspired tea time treat.
Frequently Asked Questions About Lemon Curd
What is lemon curd and what makes it different from lemon pie filling?
Lemon curd is a creamy, intensely flavored citrus spread traditionally made with eggs, sugar, lemon juice, lemon zest, and butter. It’s celebrated for its smooth, luxurious texture and vibrant sweet-tart flavor. While both are lemon-flavored, lemon pie filling often contains more thickeners (such as flour or a higher amount of cornstarch) and less butter, resulting in a firmer, gel-like consistency designed to hold its shape when sliced in a pie. Lemon curd, by contrast, is typically richer, more buttery, and has a softer, more spreadable, almost custardy texture that melts in your mouth.
Can I make lemon curd with other citrus fruits?
Absolutely! The beauty and versatility of this recipe lie in its adaptability to various citrus fruits. You can easily substitute lemons with other bright citrus options like limes (for a zesty lime curd), oranges (for a sweeter orange curd), grapefruits, or even a delightful combination of different citruses. The key is to slightly adjust the sugar content to account for the varying tartness levels in different fruits. Lime curd is a particularly popular variation and offers a unique, vibrant twist!
Why did my lemon curd scramble?
Scrambled eggs in your curd mixture usually indicate that the heat was too high, causing the eggs to cook too rapidly, or that the mixture wasn’t whisked constantly and thoroughly. The eggs cooked unevenly. If this unfortunate event happens, try straining the curd very carefully through a fine-mesh sieve to remove the small lumps of cooked egg. While it might not achieve a perfectly pristine smoothness, it can often be salvaged for use as a topping rather than a filling. The best strategy is prevention: keep the heat low and maintain continuous whisking!
How long does it take for lemon curd to thicken?
The active cooking process, over medium-low heat with constant whisking, typically takes about 8-12 minutes for the curd to visibly thicken and coat the back of a spoon. However, it’s crucial to remember that the curd continues to thicken significantly as it cools down and then sets further during the chilling period in the refrigerator. The total time for it to reach its optimal set consistency is around 3-4 hours, including chilling.
Is lemon curd gluten-free?
Yes, traditional lemon curd made with eggs, sugar, lemon juice, zest, and butter is inherently naturally gluten-free. This particular recipe, which utilizes cornstarch as a thickener, is also entirely gluten-free. If you or someone you’re serving has severe gluten allergies or celiac disease, always double-check the labels of all your individual ingredients to ensure they are certified gluten-free, especially for things like vanilla extract or cornstarch, to avoid cross-contamination.
Homemade Lemon Curd Recipe Card
Lemon Curd
Top all your favorite treats with this thick, creamy, and vibrantly flavored homemade lemon curd! It’s incredibly easy to make and far superior to any store-bought alternative, bringing a burst of fresh citrus to your kitchen.
Yields: Approximately 3 cups
Prep Time: 10 minutes
Cook Time: 30 minutes
Chill Time: 3 hours (minimum)
Total Time: Approximately 3 hours 40 minutes
Ingredients
- 3 large eggs
- 4 egg yolks (reserve the whites for meringues or other uses!)
- ⅔ cup (163 g) freshly squeezed lemon juice
- 2 teaspoons lemon zest
- 1 cup (200 g) granulated sugar
- 1 teaspoon cornstarch
- ½ cup (114 g) unsalted butter, cut into ½-inch cubes
- ½ teaspoon vanilla extract
Instructions
- Combine Wet Ingredients: In a medium, heavy-bottomed saucepan, vigorously whisk together the whole eggs and egg yolks until well combined and slightly frothy. Gradually whisk in the freshly squeezed lemon juice, vibrant lemon zest, granulated sugar, and cornstarch. Continue whisking until all ingredients are thoroughly incorporated and the sugar begins to dissolve.
- Cook the Curd: Place the saucepan over medium-low heat. It is crucial to whisk the mixture constantly and without interruption as it heats up. Continue whisking and cooking until the curd thickens significantly, enough to generously coat the back of a spoon. If using an instant-read thermometer, aim for a temperature of 170°F (77°C). This stage typically takes 8-12 minutes. Avoid boiling the mixture.
- Add Butter and Vanilla: Immediately remove the saucepan from the heat once thickened. Add the cold unsalted butter, one cube at a time, stirring gently until each piece is fully melted and thoroughly incorporated before adding the next. Once all butter is integrated and the curd is glossy, stir in the vanilla extract.
- Strain for Smoothness: For an impeccably smooth and luxurious texture, pour the warm lemon curd through a fine-mesh sieve into a clean heat-proof bowl or storage container. Use a spatula to gently press any thicker bits through the sieve, ensuring any small cooked egg pieces or large zest particles are removed.
- Cool and Chill: Allow the strained lemon curd to cool at room temperature for about 15-20 minutes. To prevent a “skin” from forming on the surface, press a piece of plastic wrap directly onto the surface of the curd, ensuring full contact. Transfer the container to the refrigerator and chill for a minimum of 3 hours, or until thoroughly cold and set, before serving.
Nutrition Information (Approximate)
Serving Size: Calculated per 3 cups
- Calories: 685 kcal
- Carbohydrates: 72g
- Protein: 10g
- Fat: 42g
- Saturated Fat: 23g
- Polyunsaturated Fat: 3g
- Monounsaturated Fat: 12g
- Trans Fat: 1g
- Cholesterol: 504mg
- Sodium: 319mg
- Potassium: 156mg
- Fiber: 0.3g
- Sugar: 68g
This nutritional information is an estimate based on average ingredient values and is provided for convenience and as a courtesy only. Nutritional content can vary significantly for a variety of reasons, including specific brands used, ripeness of ingredients, and slight variations in preparation. For the most precise nutritional data, we recommend using your preferred nutrition calculator based on the actual ingredients and quantities you used in your recipe.