
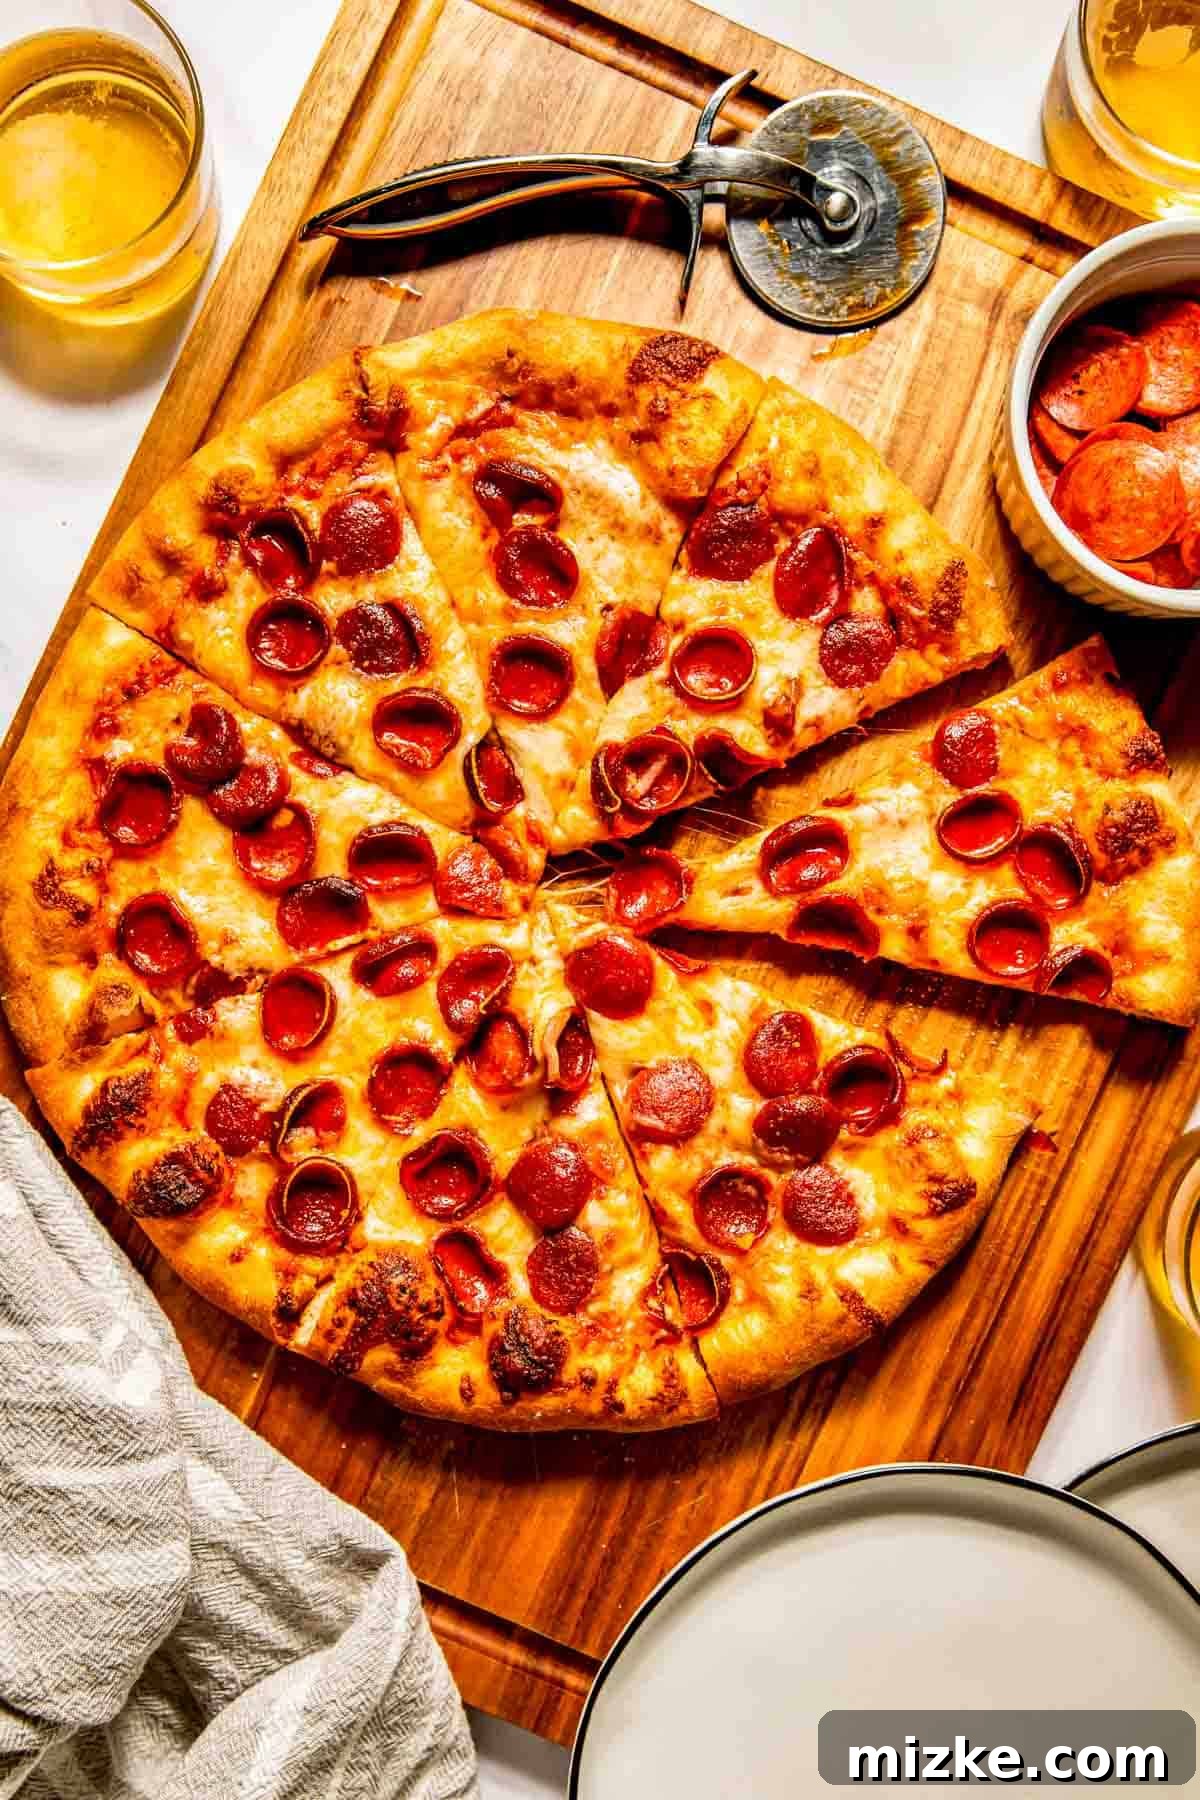
The Ultimate Pizzeria-Style Homemade Pepperoni Pizza Recipe
Unlock the secrets to crafting an extraordinary pepperoni pizza right in your own kitchen. This recipe promises a crispy crust, perfectly melted cheese, and savory pepperoni that will transport you straight to your favorite pizzeria. Forget delivery fees and enjoy the satisfaction of the best homemade pepperoni pizza you’ve ever tasted!
Why Homemade Pepperoni Pizza Reigns Supreme
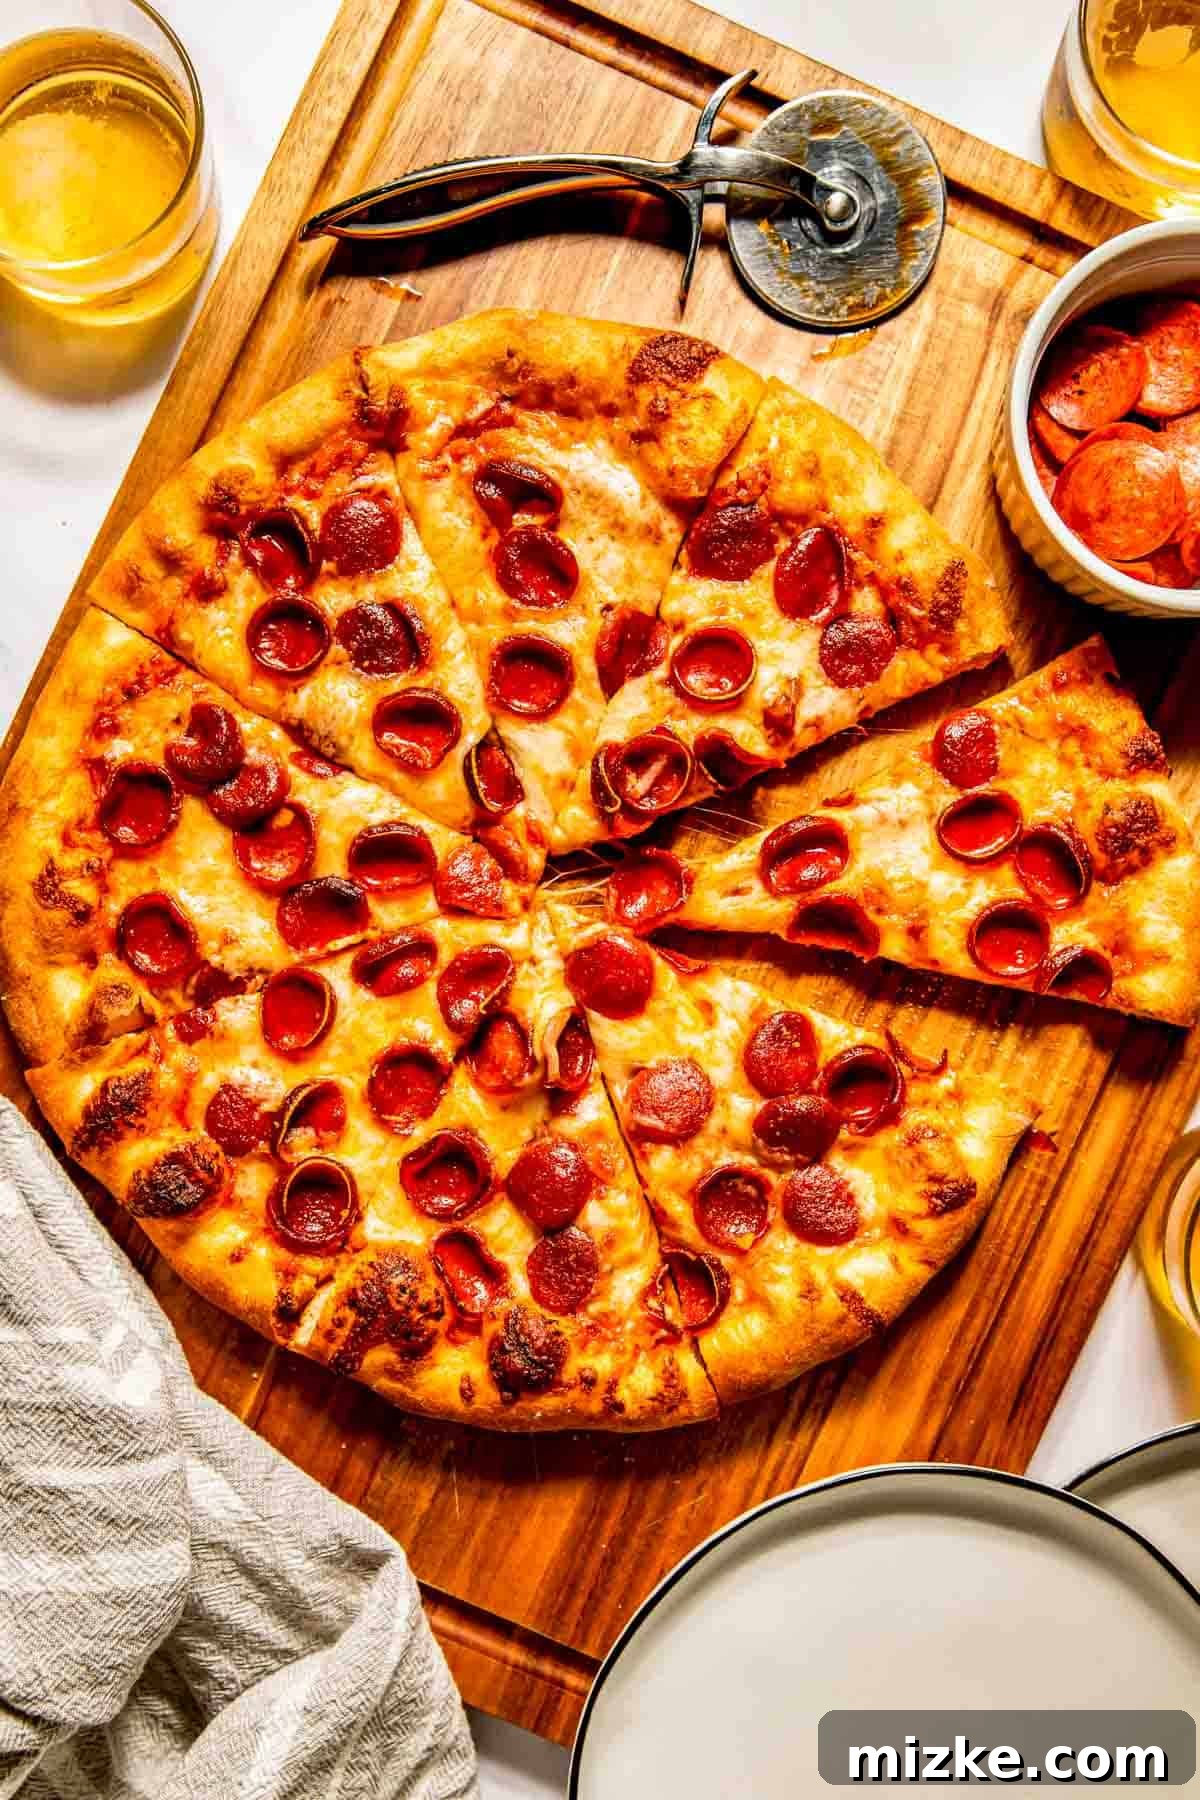
There’s an unparalleled joy in creating something delicious from scratch, and pizza is no exception. While ordering from a local pizzeria is convenient, making your own pepperoni pizza at home offers numerous benefits. Not only is it significantly more cost-effective, allowing you to save on delivery charges and markups, but it also gives you complete control over the quality of your ingredients and the overall flavor profile. Imagine customizing your crust to your desired thickness, selecting premium whole-milk mozzarella, and loading it with just the right amount of spicy pepperoni – all tailored exactly to your preference.
Pepperoni pizza holds a special place in the hearts of pizza lovers worldwide, and for good reason. It’s a timeless classic, a comforting staple that consistently delivers on flavor. The crispy, slightly spicy edges of the pepperoni, combined with gooey, melted cheese and a tangy tomato sauce, create a symphony of tastes and textures that is simply irresistible. This pepperoni pizza recipe aims to replicate, and arguably surpass, the authentic taste and texture of a top-tier pizzeria-style pie, ensuring every bite is a delightful experience.
The Core Elements of a Perfect Pepperoni Pizza
Achieving the ultimate pizzeria-style pepperoni pizza isn’t just about throwing ingredients together; it’s about understanding the synergy between three critical components: the dough, the toppings, and the baking technique. Each element plays a vital role in creating that unforgettable taste and texture.
Crafting the Ideal Pizza Dough for a Crispy Crust
The foundation of any great pizza is its crust. For a truly authentic pizzeria experience, we’re aiming for a thin, crispy, yet delightfully chewy crust. Our chosen easy pizza dough recipe involves a specific chilling process, often requiring 24 hours (or even up to 3 days) in the refrigerator. This extended cold fermentation allows the yeast to develop complex flavors and creates a dough that is both easier to work with and results in a superior, airier texture. Using cold ingredients for the dough also contributes to its characteristic thinness and crispness, leading to that desirable crispy crust.
Making your own pizza dough in advance is a game-changer. You can prepare a batch (this recipe often yields enough for two pizzas) and freeze half for a spontaneous pizza night. Having homemade dough on hand means you’re always just a few steps away from a fresh, delicious pizza.
Selecting Superior Toppings: Pepperoni and Cheese
While pizza offers endless topping possibilities, the classic pepperoni pizza relies on simplicity and quality. Let’s delve into what makes the best choice for both the star ingredient and its cheesy companion.
The Allure of Pepperoni: From Slices to Cups
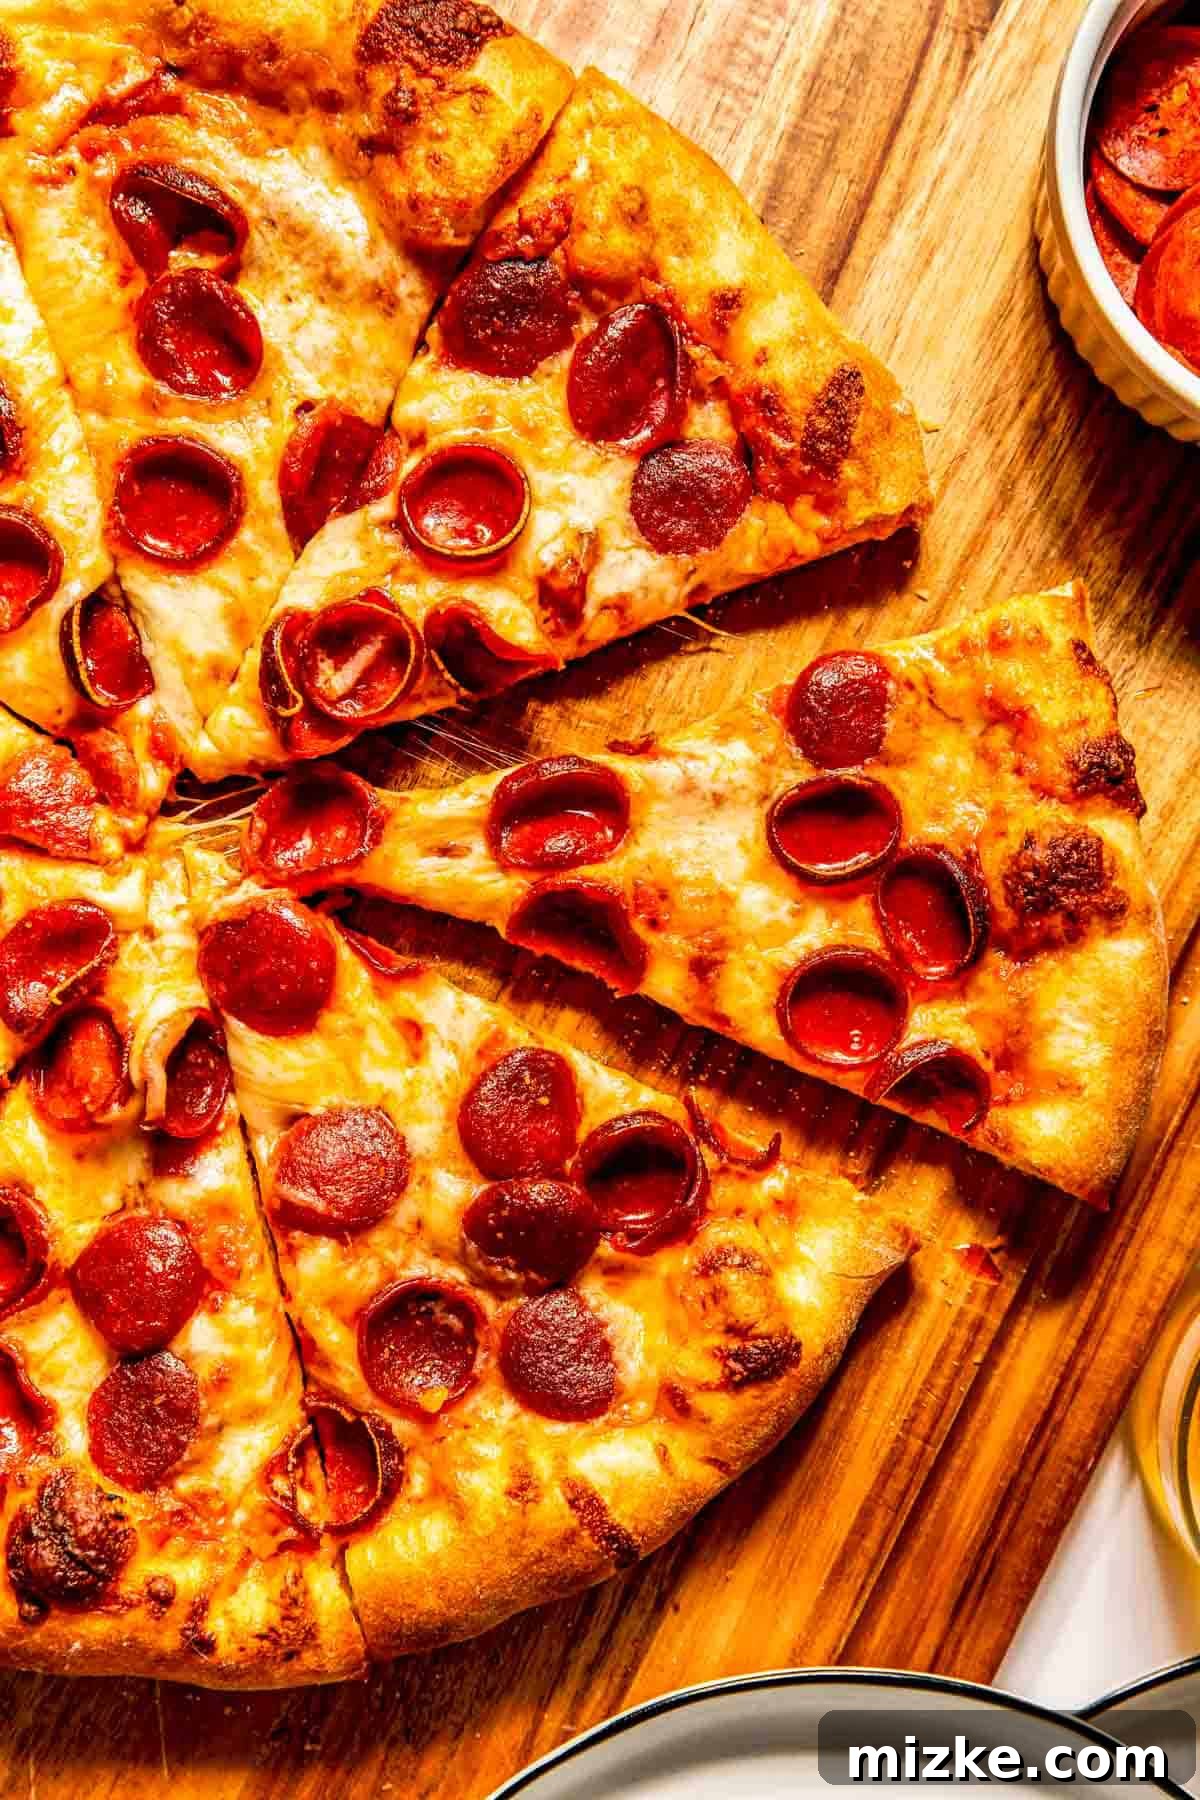
Pepperoni is undeniably the star of this show. For many, the hallmark of an exceptional pepperoni pizza includes those coveted “pepperoni cups” – slices that curl up at the edges, becoming wonderfully crisp, while their centers pool with flavorful, slightly spicy oil. If this is your preference, seek out thicker-cut pepperoni or buy a stick of pepperoni and slice it yourself. Many brands now also market “cupping pepperoni” specifically for this effect. Don’t be shy with your pepperoni; remember that it shrinks slightly during baking, so generous coverage is key for that satisfying pepperoni-in-every-bite experience. For those with dietary restrictions, turkey pepperoni is a fantastic alternative that still delivers on flavor.
The Magic of Whole-Milk Mozzarella
The type of cheese you use can dramatically impact your pizza. For a truly rich and gooey pizza, whole-milk mozzarella is non-negotiable. Unlike its skim-milk counterpart, whole-milk mozzarella contains more fat, which translates directly to superior flavor and a more luxurious, even melt. It achieves that perfect stretchy, bubbly texture without becoming greasy or rubbery. Once you try it, you’ll understand why it’s a staple in authentic pizzerias and will likely become your go-to cheese for all your pizza and casserole needs!
The Indispensable Baking Stone or Steel for Pizzeria Results
The secret to a professional-grade crispy crust, much like you’d find at an authentic pizzeria, lies in your baking surface. A preheated baking stone or pizza steel is absolutely essential. These dense surfaces absorb and retain a tremendous amount of heat, transferring it directly to the pizza dough the moment it’s placed on them. This intense, immediate heat causes the crust to puff up rapidly and cook quickly, resulting in that coveted crispy bottom and perfectly cooked edge. They are a worthwhile investment for any home pizza enthusiast, surprisingly durable, and can also be used for baking artisan breads.
Step-by-Step Guide to Making Pepperoni Pizza
Ready to bring your pizzeria dreams to life? Follow these straightforward steps to create a show-stopping pepperoni pizza with a perfect crispy crust.
- Prepare Your Dough: Begin by preparing your pizza dough recipe as instructed, ensuring it has adequate time to rest and chill (typically 24 hours for best results).
- Preheat Oven & Stone: Approximately one hour before baking, preheat your oven to a blazing 500°F (260°C). Position an oven rack to the second-highest setting and place your baking stone or steel directly on it, allowing it to heat thoroughly with the oven.
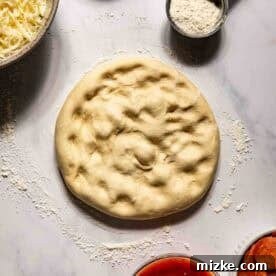
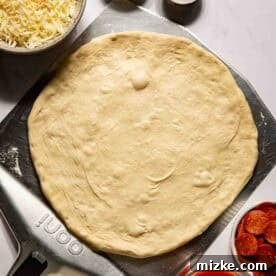
- Shape the Dough: Remove half of your prepared pizza dough from the refrigerator (freeze the other half for future use if desired). On a lightly floured surface, gently flatten the dough into an 8-inch disc.
- Stretch and Transfer: Using your hands, carefully stretch the dough into a 12-inch circle. A rolling pin can assist in achieving a uniformly thin crust. Sprinkle a pizza peel generously with cornmeal (this prevents sticking and aids in sliding the pizza) and carefully transfer your dough onto it, stretching it further to about 13 inches if needed.
- Layer the Toppings: Evenly spread your favorite pizza sauce over the dough, leaving a 1-inch border around the edge for the crust. Follow with a generous layer of shredded whole-milk mozzarella, then artfully arrange copious amounts of pepperoni slices on top.
- Bake to Perfection: With a swift, confident motion, slide the assembled pizza from the peel directly onto the preheated baking stone in the oven. Bake for 10-12 minutes, or until the crust is beautifully golden brown, and the cheese is bubbly, melted, and slightly caramelized at the edges.
- Rest and Serve: Once baked, carefully remove the pizza from the oven. Let it cool on a wire rack for 5-10 minutes before slicing. This brief resting period allows the cheese to set and prevents toppings from sliding off, ensuring perfect slices every time.
Essential Tips for Pizzeria-Quality Pizza Perfection
Beyond the basic steps, these expert tips will elevate your homemade pepperoni pizza from good to truly phenomenal.
- The Thin Crust Secret: Cold Fermentation. The key to a thin, crispy pizza crust lies not just in rolling it out, but in the dough’s initial preparation. Using cold ingredients and allowing for a long, slow fermentation (24-72 hours in the refrigerator) develops elasticity and flavor. This process makes the dough much easier to stretch thinly without tearing and contributes significantly to that coveted crunchy texture.
- Embrace the Baking Stone or Steel. As mentioned, a preheated baking stone or pizza steel is paramount. It simulates the high heat of a commercial pizza oven. Place it in the oven during preheating and ensure it reaches the full 500°F (260°C) before sliding your pizza on. This immediate blast of heat creates a crust that is crisp on the bottom, just like your favorite pizzeria. It’s a game-changer and a durable investment for any home baker.
- Whole-Milk Mozzarella is a Must. Trust us on this: opt for whole-milk mozzarella. The higher fat content provides a richer flavor and melts into a beautifully gooey, stretchy, and less oily consistency compared to part-skim varieties. It truly makes a noticeable difference in the overall taste and texture of your pizza.
- Don’t Forget the Cornmeal: A light dusting of cornmeal on your pizza peel before placing the dough is crucial. It acts like tiny ball bearings, allowing the raw pizza to slide effortlessly onto the hot baking stone without sticking.
- High Heat is Your Friend: Pizza loves high heat. Baking at 500°F (260°C) or even higher (if your oven allows and your dough can handle it) ensures a quick bake, which is essential for a crispy crust and perfectly cooked toppings without drying them out.
- Patience Post-Bake: While tempting, let your pizza rest for 5-10 minutes after it comes out of the oven. This allows the cheese to set slightly, preventing it from sliding off when you cut the slices, and helps distribute the heat more evenly.
Storage and Reheating Instructions for Leftover Pizza
If by some miracle you have any slices left, proper storage and reheating can ensure they’re just as delicious the next day (or even next week!).
Storing Leftovers:
Once cooled, place individual pizza slices in an airtight container or a large gallon-sized plastic bag. Store them in the refrigerator for up to 4 days. For longer storage, slices can be frozen. Wrap each slice individually in plastic wrap, then place them in a freezer-safe bag or container. They will keep well in the freezer for up to 3 months.
Reheating Your Pizza:
Forget the microwave, which often leaves pizza soggy. Here are the best methods for reviving your slices:
- Air Fryer (Recommended): This is hands-down the best way to reheat pizza. Place slices in a single layer in your air fryer basket. Cook at 350°F (175°C) for 3-5 minutes, or until the cheese is melted and the crust is crispy again. For frozen slices, you can often go directly from freezer to air fryer, adding a few extra minutes to the cooking time.
- Skillet on Stovetop: Place a slice in a non-stick skillet over medium-low heat. Cook for a few minutes until the bottom is crispy. Add a few drops of water to the pan (away from the pizza), then cover with a lid for 1-2 minutes to steam the cheese and toppings, making them gooey again.
- Oven or Toaster Oven: Preheat your oven to 350-375°F (175-190°C). Place slices directly on a baking sheet or foil. Bake for 8-12 minutes, or until warmed through and the crust is crisp.
What to Serve with Your Pepperoni Pizza Feast
Transform pizza night into a full-blown pizzeria experience by pairing your glorious pepperoni pizza with complementary sides. Here are some fantastic ideas to complete your meal:
- Garlic Knots: Soft, buttery, and bursting with garlic flavor, garlic knots are a classic pizzeria accompaniment that perfectly complements the savory pizza.
- Fresh Chopped Salad: A crisp, refreshing basic chopped salad offers a delightful contrast to the richness of the pizza. Think fresh greens, crunchy vegetables, and a light vinaigrette.
- Homemade Ranch Dressing: Whether for dipping your pizza crust or drizzling over your salad, a creamy homemade ranch dressing adds an extra layer of indulgence.
- Caprese Skewers: For a lighter, fresher side, Caprese skewers with cherry tomatoes, fresh mozzarella balls, and basil drizzled with balsamic glaze are a vibrant choice.
- Crispy Oven-Baked Fries: Sometimes you just need more comfort food! A side of perfectly seasoned, crispy fries can be a crowd-pleaser.
Classic Homemade Pepperoni Pizza

By: Julie Chiou
The difference between a good pepperoni pizza and the best pepperoni pizza comes down to the toppings, crust, and technique. This pepperoni pizza recipe is just like getting pizza at your favorite pizzeria.
Prep Time: 1 hour 15 minutes (plus 24-72 hours chilling for dough)
Cook Time: 10-12 minutes
Total Time: 1 hour 27 minutes (active time)
Servings: 8 slices (1 large pizza)
Equipment
- Pizza Pan or Baking Stone/Steel
- Pizza Peel (recommended)
Ingredients
- 1 recipe for pizza dough (yielding enough for two 12-13 inch pizzas)
- 1 cup (245 g) of your favorite pizza sauce, homemade or store-bought
- 2 cups (473 g) shredded whole-milk mozzarella cheese
- Generous amounts of pepperoni slices (for cupping effect, use thicker slices or slice yourself)
- Cornmeal, for dusting (optional, but recommended for easy transfer)
Instructions
-
Preheat Oven & Stone: Approximately one hour before you plan to bake, preheat your oven to 500°F (260°C). Position an oven rack to the second-highest setting and place your pizza baking stone (or steel) on it to heat thoroughly.
-
Prepare Dough: Remove half of your prepared pizza dough from the refrigerator. (If you have a double batch, freeze the other half for later use).
-
First Rise: Form the dough into a ball and lightly oil it. Cover and let it rest at room temperature for 1 hour. This allows the dough to relax and become easier to stretch.
-
Flatten Dough: Transfer the dough to a lightly floured work surface. Gently flatten it into an 8-inch disc.

-
Stretch Dough & Prepare Peel: Using your hands, gently stretch the dough to a 12-inch circle. A rolling pin can be used to help achieve an even, thin crust. Sprinkle a pizza peel generously with cornmeal, then carefully place your dough on top. Gently stretch it a bit further to about 13 inches if desired.
-
Layer Toppings: Starting from the center and working outwards, spread the pizza sauce over the dough, leaving a 1-inch border. Evenly sprinkle the shredded whole-milk mozzarella, followed by a generous layer of pepperoni slices.
-
Bake Pizza: Carefully transfer the pizza from the peel onto the preheated baking stone in the oven. Bake for 10-12 minutes, or until the crust is golden brown and the cheese is bubbly and lightly browned in spots.
-
Let cool for about 5-10 minutes before slicing and serving. Enjoy your homemade pizzeria masterpiece!

Notes
Nutrition Information (Approximate)
The following nutrition information is an estimate. It can vary significantly based on specific ingredients, brands, and preparation methods. This is provided for convenience and as a courtesy only.
- Serving Size: 1 slice (112 grams)
- Calories: 301 kcal
- Carbohydrates: 41 g
- Protein: 13 g
- Fat: 9 g
- Saturated Fat: 4 g
- Polyunsaturated Fat: 2 g
- Monounsaturated Fat: 2 g
- Trans Fat: 0.01 g
- Cholesterol: 22 mg
- Potassium: 182 mg
- Fiber: 2 g
- Sugar: 3 g
Disclaimer: This website provides approximate nutrition information for convenience and as a courtesy only. Nutrition information can vary for a variety of reasons. For the most precise nutritional data, use your preferred nutrition calculator based on the actual ingredients you used in the recipe.
The default measuring system for this website is US Customary. Unit conversions are provided for convenience and as a courtesy only. While we strive to provide accurate unit conversions, please be aware that there may be some discrepancies.