
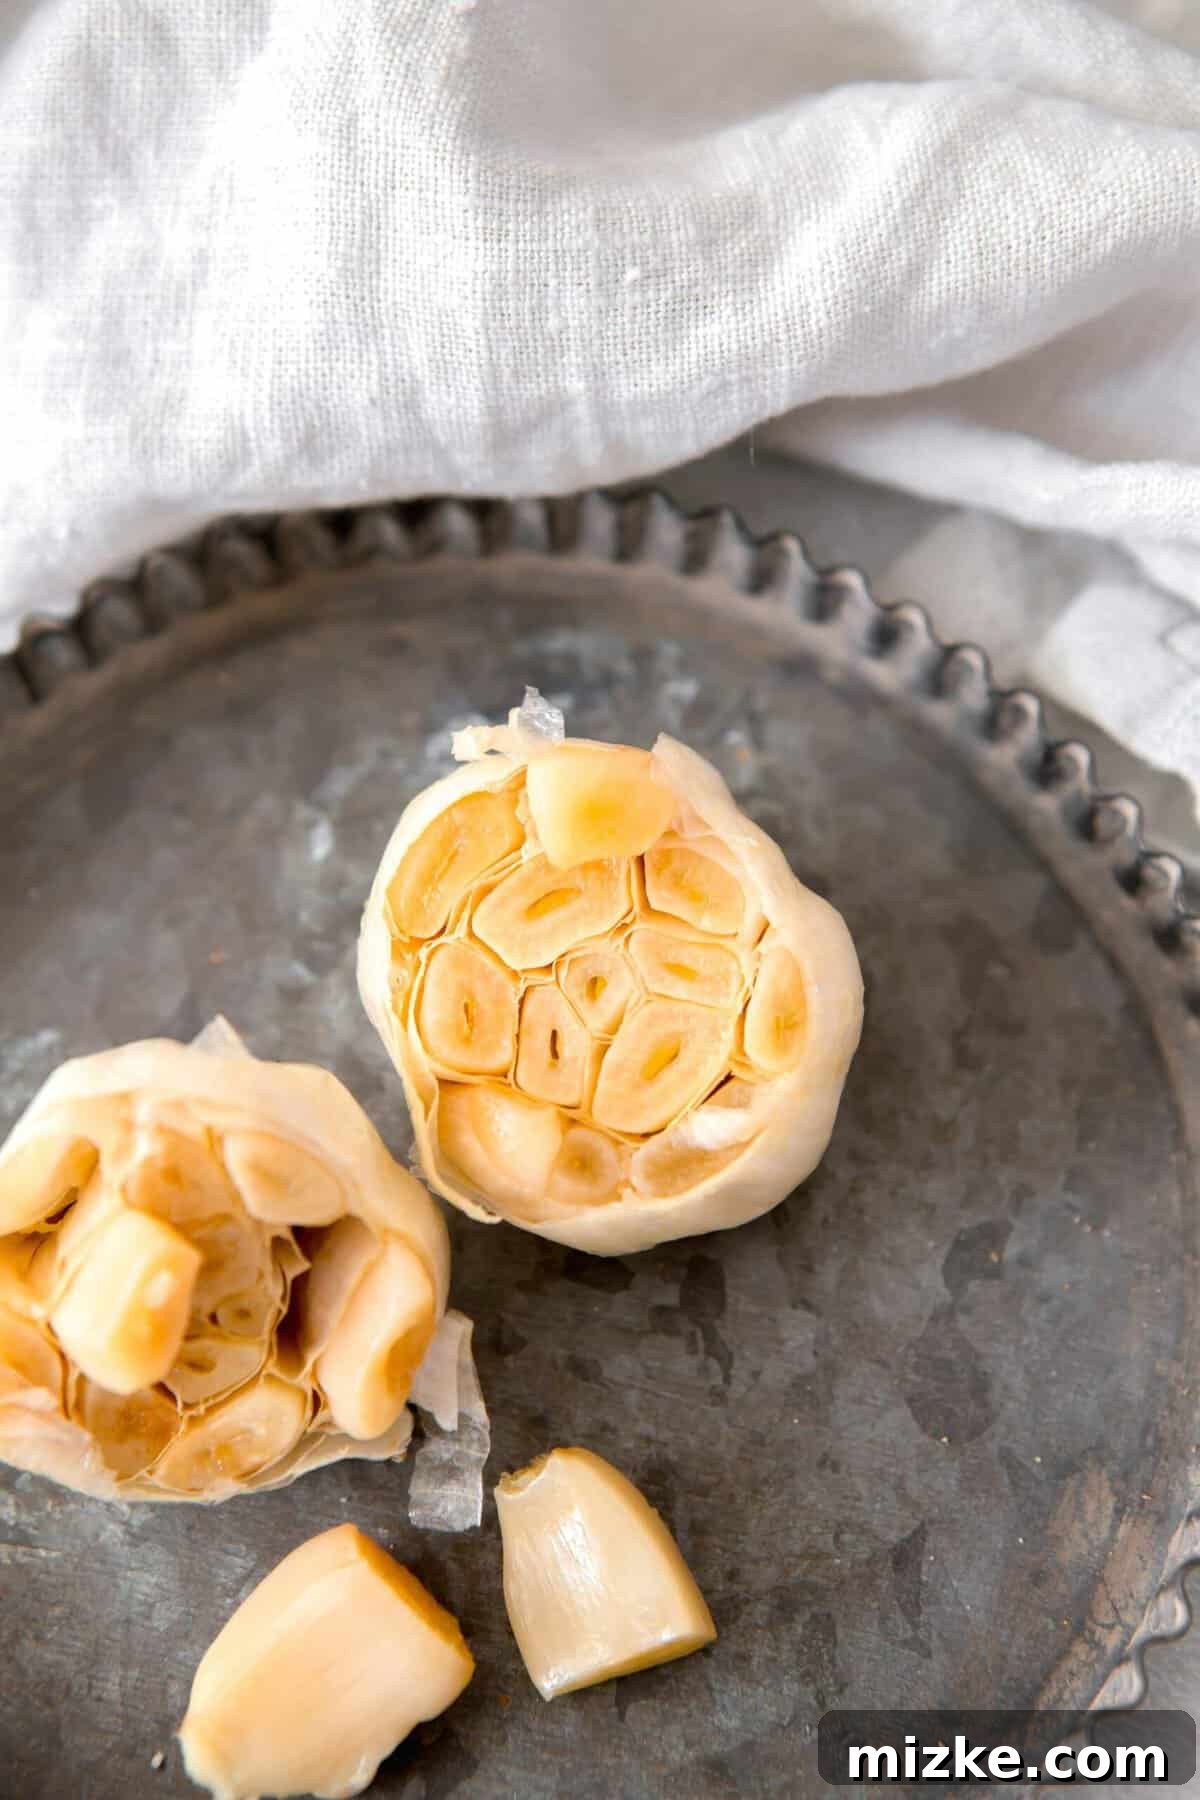
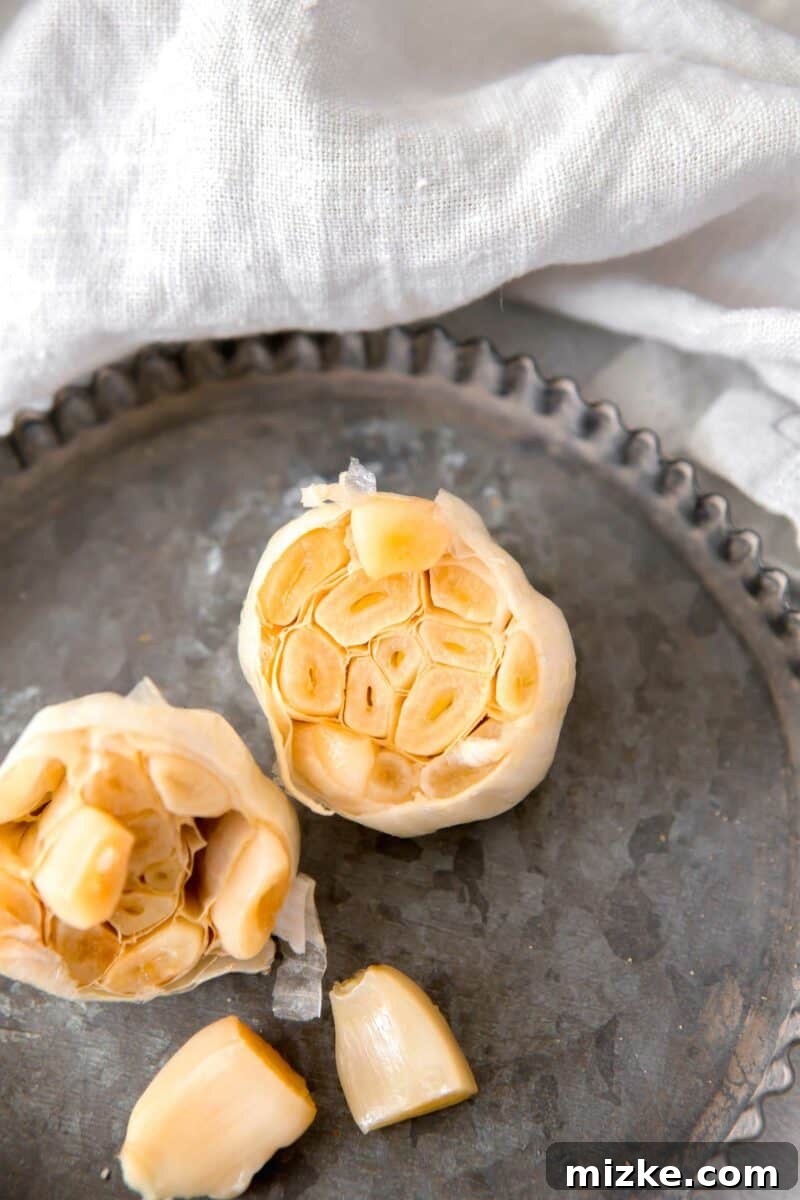
How to Roast Garlic: Unlock a World of Sweet, Mellow Flavor
In the vast landscape of culinary techniques, few offer such a dramatic transformation with so little effort as roasting garlic. Recently, while consulting my own recipe archives for specific roasting temperatures, I had a surprising realization: despite frequently calling for roasted garlic in my creations, I lacked a dedicated, comprehensive guide on how to actually roast it! It felt like a significant oversight, especially given its profound impact on flavor.
This isn’t just about cooking garlic; it’s about transforming a sharp, pungent ingredient into something incredibly sweet, mellow, and deeply aromatic. Roasted garlic acts as a secret weapon in the kitchen, effortlessly elevating everything from simple spreads to elaborate main courses. If you’ve yet to experience this culinary magic, prepare to discover an indispensable technique that will forever change your appreciation for garlic. Let’s dive into the incredibly simple steps to master this essential skill.
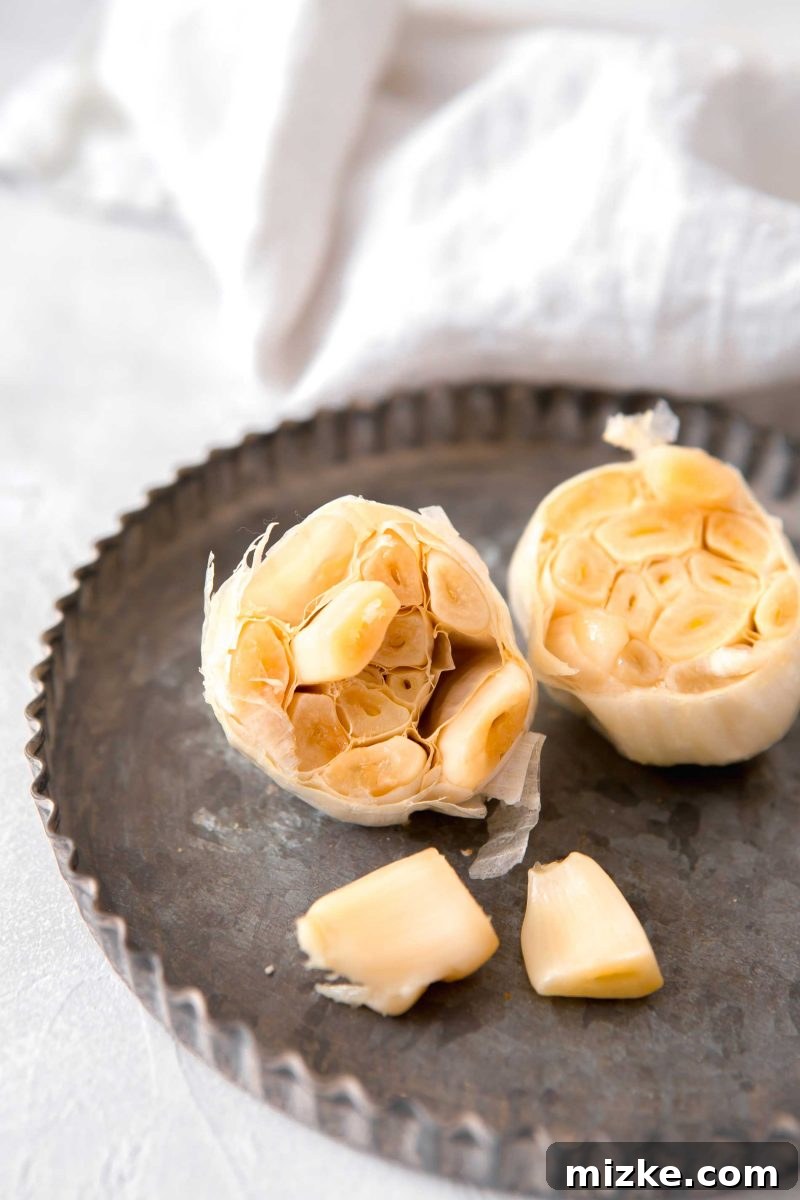
Why Roast Garlic? A Culinary Alchemist’s Secret
The difference between raw garlic and roasted garlic is so profound, it’s akin to comparing a fiery, untamed spirit to a warm, comforting embrace. Raw garlic, with its sharp, biting pungency, contains allicin, a sulfur compound responsible for its characteristic zest and aroma. While essential in many dishes, its intensity can sometimes be overpowering.
Roasting, however, is a game-changer. When garlic is subjected to sustained, gentle heat, the allicin compounds break down and undergo a chemical process known as the Maillard reaction. This caramelization process not only softens the cloves to a buttery, spreadable consistency but also dramatically alters their flavor profile. The aggressive bite dissipates, giving way to a rich, complex sweetness with nutty, almost umami undertones. It becomes incredibly mild, yet deeply flavorful, adding an unparalleled depth that complements, rather than competes with, other ingredients.
This flavor transformation is precisely why roasted garlic is so beloved by chefs and home cooks alike. You can use an entire head of roasted garlic in a dish without it overwhelming the palate, something unthinkable with raw garlic. It offers a luxurious, sophisticated taste that enhances everything it touches, from creamy soups and pasta sauces to mashed potatoes and rustic bread. It’s a testament to how a simple cooking method can unlock an entirely new dimension of flavor.
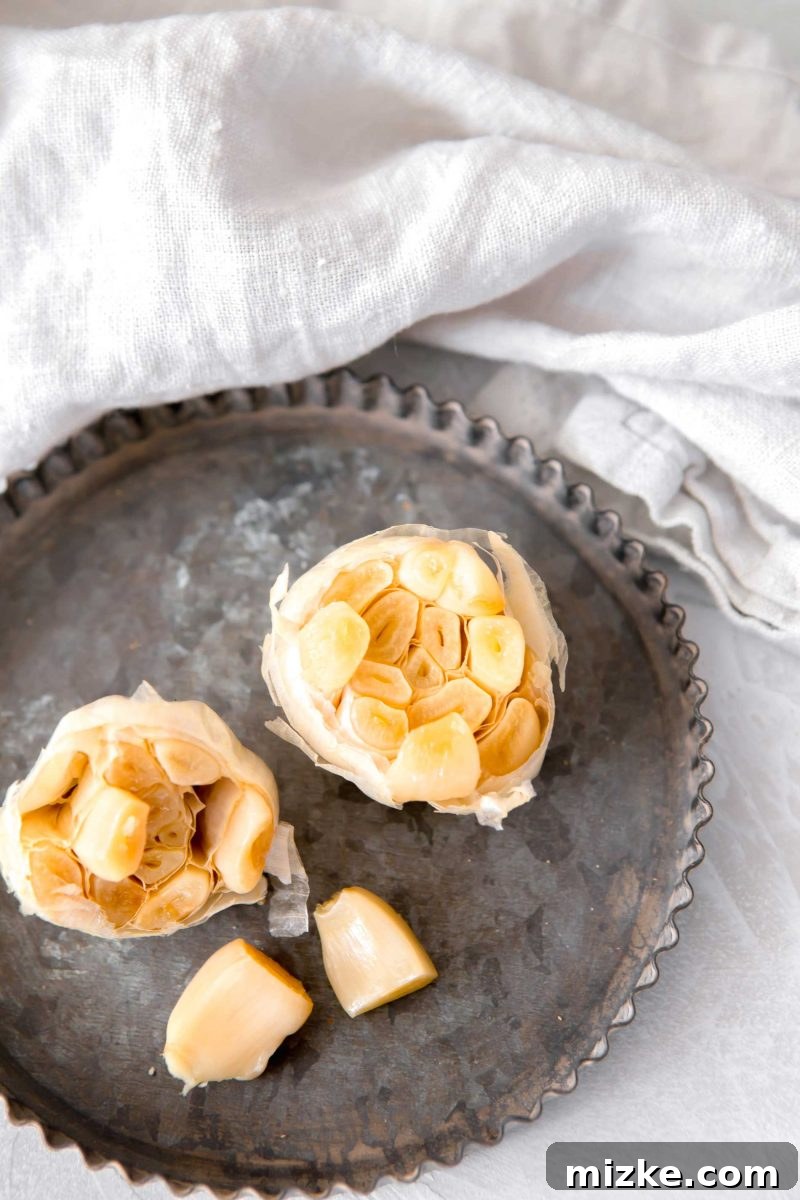
Unlocking Flavor: A Simple Step-by-Step Guide to Roasting Garlic
Preparing perfectly roasted garlic is remarkably straightforward. This method is so easy and yields such delectable results that it will quickly become a staple in your cooking repertoire. Here’s how you can achieve creamy, sweet roasted garlic with minimal effort:
Step 1: Preparing the Garlic Bulb
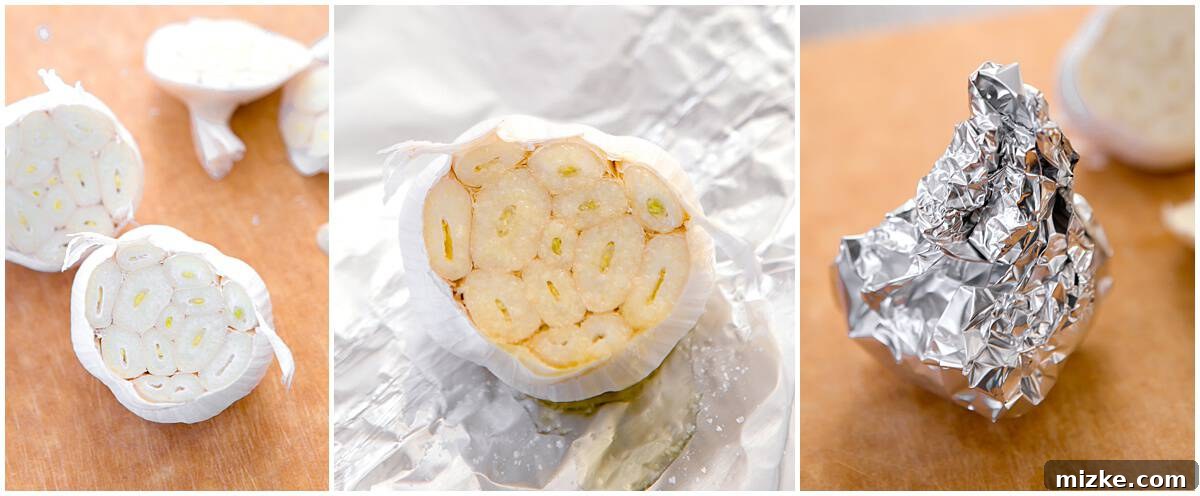
Start with a fresh, plump head of garlic. Using a sharp chef’s knife, carefully slice about a quarter to half an inch off the top of the entire garlic bulb. The aim is to expose the individual cloves just enough so that the olive oil can reach them and the heat can penetrate evenly. Be mindful not to cut too deep, as you want to keep the cloves mostly intact within their papery skins, which act as a natural protective barrier during roasting.
Step 2: Seasoning and Wrapping for Optimal Flavor
Once your garlic bulb is prepared, place it on a small square of aluminum foil. Ensure the foil is large enough to completely enclose the bulb, forming a tight packet. Drizzle approximately 1 to 2 teaspoons of high-quality extra virgin olive oil over the exposed garlic cloves. The oil not only contributes to the rich flavor but also helps to keep the garlic moist and encourages that beautiful golden caramelization. Finish by sprinkling a generous pinch of kosher salt over the oiled cloves. For an extra layer of aromatic complexity, consider adding a sprig of fresh rosemary or thyme alongside the garlic before wrapping.
Carefully gather the edges of the aluminum foil and crimp them tightly to form a sealed packet around the garlic bulb. This creates a miniature steaming environment, allowing the garlic to cook gently and evenly, preventing it from drying out or burning while it transforms into its sweet, tender state.
Step 3: The Roasting Process
Preheat your oven to 400°F (200°C). Place the foil-wrapped garlic bulb directly onto a small baking sheet. While not strictly necessary for cooking, the baking sheet provides stability and catches any potential, albeit rare, oil leaks, making it easier to transfer in and out of the oven. Roast in the preheated oven for approximately 30 to 45 minutes.
The precise roasting time can vary depending on factors such as the size and moisture content of your garlic bulbs, as well as the calibration of your oven. You’ll know the garlic is perfectly roasted when the cloves feel incredibly soft and yielding when gently squeezed through the foil, and they appear golden brown and slightly caramelized. For smaller quantities, an energy-efficient toaster oven works just as effectively.
Step 4: Cooling and Enjoying Your Culinary Creation
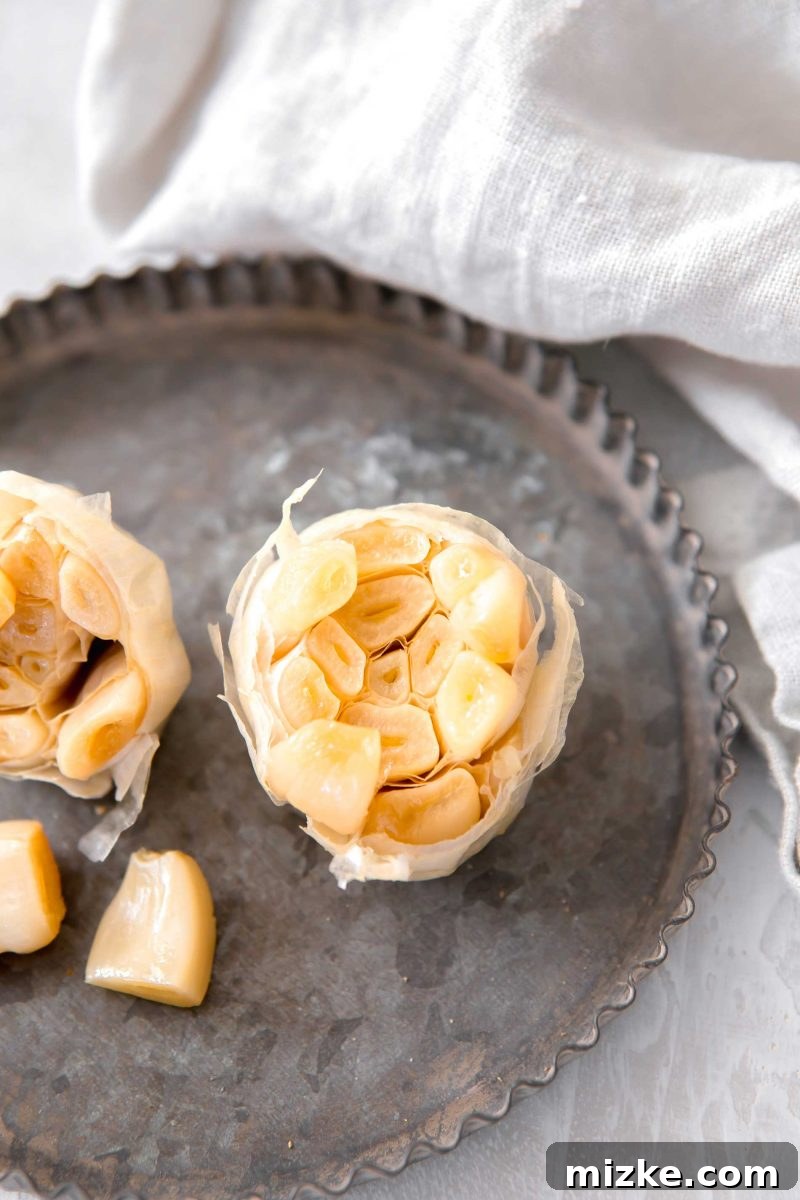
Once roasted to perfection, carefully remove the garlic from the oven and allow it to cool for a few minutes. This makes it much easier to handle without burning your fingers. When it’s cool enough, simply pick up the bulb and gently squeeze the soft, buttery roasted garlic cloves from their papery skins. They should slide out effortlessly, revealing their tender, creamy texture. The roasted garlic is now ready to be mashed, spread, or incorporated into your favorite recipes, adding its irresistible sweet and mellow essence.
What Simple Ingredients and Tools Do I Need?
The beauty of roasting garlic lies in its simplicity, requiring just a few basic ingredients and tools that are likely already in your kitchen:
- Garlic: Opt for fresh, firm, whole bulbs without any green sprouts or soft spots.
- Aluminum Foil: Essential for wrapping the garlic to create a moist, steamy environment that promotes tender, creamy cloves.
- Olive Oil: A drizzle of good quality extra virgin olive oil helps caramelize the garlic and prevents it from drying out.
- Kosher Salt: To enhance the natural flavors and sweetness of the garlic during roasting.
- Sharp Knife: Crucial for neatly slicing off the top of the garlic bulb.
- Small Baking Sheet or Toaster Oven: For convenient placement and even roasting in your oven.
- (Optional) Fresh Herbs: Rosemary or thyme can add a delightful aromatic nuance if desired.
Beyond the Bulb: Creative Ways to Use Roasted Garlic
Once you’ve mastered the art of roasting garlic, you’ll find yourself looking for every opportunity to incorporate its delightful flavor into your meals. Its versatility is truly boundless. Here are some fantastic recipe inspirations and general ideas to get you started:
- Roasted Garlic & Artichoke Pasta: A simple yet elegant dish where mashed roasted garlic forms the base of a creamy, flavorful sauce, perfectly complemented by tender artichoke hearts and your favorite pasta.
- Chicken with 40 Cloves of Garlic: While traditionally made with raw garlic, adding or substituting a portion with roasted garlic can introduce a wonderfully sweet and mellow depth to this iconic, comforting chicken dish.
- Roasted Garlic Asiago Fettuccine: Indulge in a rich, velvety pasta where the sweet, nutty essence of roasted garlic is the star, beautifully paired with the sharp, savory notes of Asiago cheese.
- Elevated Spreads and Dips: Mash roasted garlic into homemade hummus, mix it into guacamole, or blend it with cream cheese for a luxurious bagel spread. It’s also an incredible addition to a homemade aioli or mayonnaise, perfect for sandwiches or dipping fries.
- Flavorful Compound Butter: Combine softened butter with mashed roasted garlic, finely chopped fresh herbs like parsley or chives, and a pinch of black pepper. Roll into a log, chill, then slice over grilled steaks, corn on the cob, or spread on warm crusty bread.
- Enriched Mashed Potatoes & Soups: Stir roasted garlic cloves into your favorite mashed potato recipe for an instantly elevated side dish. For soups, blend the cloves directly into creamy vegetable or potato soups to add a subtle yet profound depth of flavor.
- Gourmet Pizza and Flatbreads: Spread mashed roasted garlic directly onto pizza dough or flatbreads before adding your cheese and other toppings. Its sweet notes are a fantastic contrast to savory ingredients.
- Sophisticated Dressings and Marinades: Whisk roasted garlic into your homemade vinaigrettes for salads, or incorporate it into marinades for chicken, fish, or vegetables. It provides a mellow richness that raw garlic can’t achieve.
- Roasted Vegetable Companion: Toss whole roasted garlic cloves with other vegetables like Brussels sprouts, carrots, bell peppers, or potatoes during the last 15-20 minutes of roasting. The flavors meld beautifully, creating a harmonious and delicious side dish.
Print Recipe
★
★
★
★
How to Roast Garlic
Julie Chiou
5 minutes
30 minutes
35 minutes
2 bulbs of garlic
Ingredients
- 2 bulbs of garlic
- Olive oil
- Kosher salt
- Optional: Fresh rosemary or thyme sprigs
Instructions
-
Preheat oven to 400 °F (204 °C).
-
With a sharp knife, cut off about ¼ to ½ inch from the tops of the garlic bulbs; just enough to expose all cloves.2 bulbs of garlic
-
Place each prepared bulb on a small sheet of aluminum foil. Drizzle generously with olive oil and sprinkle with kosher salt on top. For added aroma, you can place a sprig of fresh rosemary or thyme over the garlic before wrapping. Wrap each bulb tightly in the aluminum foil.Olive oil, Kosher salt
-
Place the wrapped bulbs on a small baking sheet and bake for 30 to 45 minutes, or until the cloves are very soft and golden brown.
-
Remove from the oven and allow to cool slightly. Once cool enough to handle, gently squeeze out the roasted garlic cloves into a bowl. Mash them with a fork or use them whole, reserving for any dishes you wish to add incredible flavor to!
Nutrition
(Approximate values per 1 bulb of roasted garlic)
Serving: 1bulb of garlic
,
Calories: 1kcal
,
Carbohydrates: 0.3g
,
Protein: 0.1g
,
Fat: 0.01g
,
Sodium: 0.2mg
,
Potassium: 4mg
,
Fiber: 0.02g
,
Sugar: 0.01g
Disclaimers
This website provides approximate nutrition information for convenience and as a courtesy only. Nutrition information can vary for a variety of reasons. For the most precise nutritional data use your preferred nutrition calculator based on the actual ingredients you used in the recipe.
The default measuring system for this website is US Customary. Unit conversions are provided for convenience and as a courtesy only. While we strive to provide accurate unit conversions, please be aware that there may be some discrepancies.
Storage Tips for Your Roasted Garlic Treasure
Once you’ve experienced the glorious flavor of roasted garlic, you’ll likely want to make a larger batch to have on hand. Proper storage is key to preserving its freshness and flavor for future culinary endeavors.
- Refrigeration (Short-Term): Whole or mashed roasted garlic cloves can be stored in an airtight container in the refrigerator for up to 3-4 days. For an added layer of flavor and to prolong its freshness slightly, you can submerge the cloves in olive oil within a clean, sealed jar. However, it’s important to consume garlic stored in oil within a few days when refrigerated, as homemade garlic-in-oil mixtures can pose a risk of botulism if not handled with strict food safety precautions.
- Freezing (Long-Term): For extended storage, roasted garlic freezes exceptionally well, allowing you to enjoy its flavor for several months.
- In Olive Oil (Portioned): A popular method is to place individual roasted cloves or spoonfuls of mashed garlic into ice cube trays. Cover them with olive oil and freeze until solid. Once frozen, transfer the garlic-oil cubes to a freezer-safe bag or container. This allows you to easily thaw and use a single portion as needed.
- Without Oil (Mashed): Simply mash the roasted garlic and spoon it into small, individual portions on a piece of parchment paper, then freeze until firm. Once frozen, transfer these portions to a freezer-safe bag. Alternatively, you can press the mashed garlic flat into a freezer bag, score it into squares with a knife, and freeze. This way, you can easily break off a desired amount.
Always label your containers with the date for best practice!
Troubleshooting Common Roasted Garlic Questions
While roasting garlic is relatively foolproof, a few common questions or issues might arise. Here are some solutions and tips:
- “My garlic is still hard after 30 minutes!” If your garlic cloves aren’t tender and creamy, they simply need more time. Factors such as the size of the garlic bulb, slight variations in oven temperature, or how tightly the foil was wrapped can affect cooking time. Just re-wrap and continue roasting in 10-15 minute increments until the desired softness is achieved.
- “My garlic burned or is too dry!” This usually happens if the oven temperature was too high or if the garlic wasn’t sealed tightly enough in the foil, allowing moisture to escape and the cloves to dry out and crisp prematurely. Ensure your oven temperature is accurate and that your foil packet is securely crimped to create that essential steaming effect.
- “Can I roast peeled garlic cloves?” While it’s possible, roasting with the skins on is highly recommended. The papery skins protect the garlic from direct heat, helping to prevent burning and promoting a more tender, creamy texture. If you must roast peeled cloves, ensure they are thoroughly coated in olive oil and wrapped very tightly, as they will cook faster and are more prone to drying out.
Conclusion: Your Kitchen’s New Favorite Ingredient
Roasting garlic is more than just a simple cooking method; it’s a gateway to unlocking profound, nuanced flavors that can transform everyday meals into memorable culinary experiences. From its incredible taste transformation from pungent to sweet, to its versatility in countless dishes, roasted garlic is an indispensable asset in any kitchen. It requires minimal effort, yet delivers maximum impact, making it a true kitchen MVP. So, embrace this easy technique, grab a few bulbs, a little foil, and a generous drizzle of olive oil, and prepare to elevate your cooking to new, delicious heights. Happy roasting, and enjoy the incredible flavors you’re about to create!