

Mastering the Art of Cooking Perfect Fluffy White Rice Every Time
Cooking light, tender, and perfectly fluffy white rice can often feel like a culinary mystery, leading to frustratingly sticky, mushy, or undercooked results. But what if we told you it doesn’t have to be? With the right techniques and a few simple, actionable tips, you can consistently produce restaurant-quality rice that beautifully complements any meal. This comprehensive guide is designed to demystify the process, transforming you into a confident rice-cooking maestro. Say goodbye to kitchen frustrations and hello to perfectly cooked grains, every single time!
Table of Contents
- Why Master White Rice?
- Understanding White Rice: Grain Types and Characteristics
- The Golden Ratio: Water-to-Rice for Perfect White Grains
- To Rinse or Not to Rinse: The Great Rice Debate
- How to Cook White Rice: Your Go-To Methods
- Method 1: Rice Cooker (Effortless Perfection)
- Method 2: Stovetop (The Classic Approach)
- Method 3: Instant Pot (Speed and Simplicity)
- Troubleshooting Common Rice Cooking Problems
- Essential Tips for Fluffy Rice Every Time
- Storing, Freezing, and Reheating Cooked Rice
- Delicious Dishes to Make with White Rice
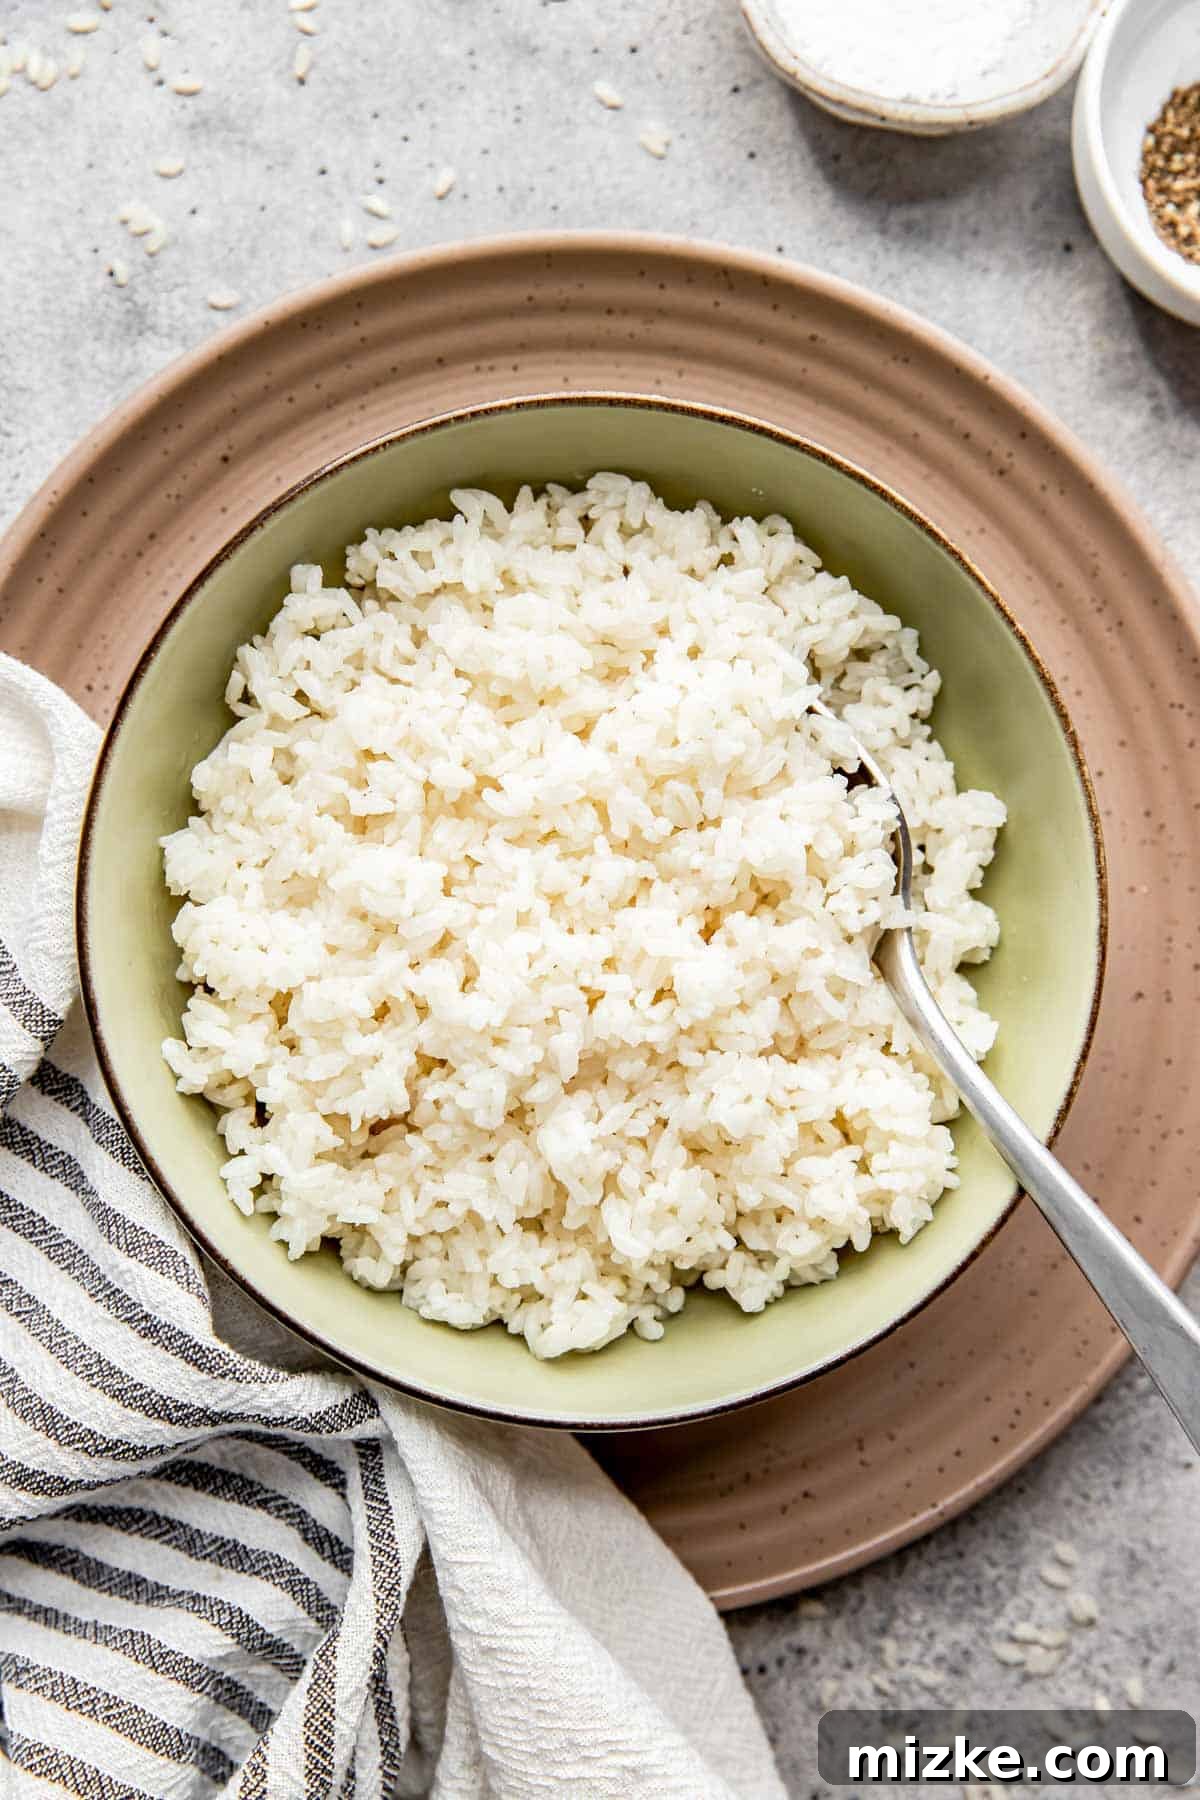
Why Master White Rice?
White rice is an undeniable global staple, serving as the comforting foundation for countless meals across diverse cultures. From aromatic Asian stir-fries to hearty American casseroles, its neutral flavor and satisfying texture make it an incredibly versatile companion. Yet, despite its prevalence, many home cooks struggle to achieve that coveted fluffy, separate grain texture. Common complaints include rice turning out mushy, overly sticky, or congealed into an unappetizing lump. This often leads people to opt for more expensive pre-cooked or frozen alternatives, sacrificing the simple joy and cost-effectiveness of preparing it fresh at home.
This article is your key to unlocking that culinary confidence. We understand the frustrations, and we’re here to guide you through three foolproof methods – the reliable rice cooker, the classic stovetop technique, and the speedy Instant Pot. By the end of this guide, you’ll master the art of producing tender, fluffy rice consistently, making it a proud and indispensable part of your cooking repertoire. Get ready to elevate your meals with perfectly prepared white rice!
Understanding White Rice: Grain Types and Characteristics
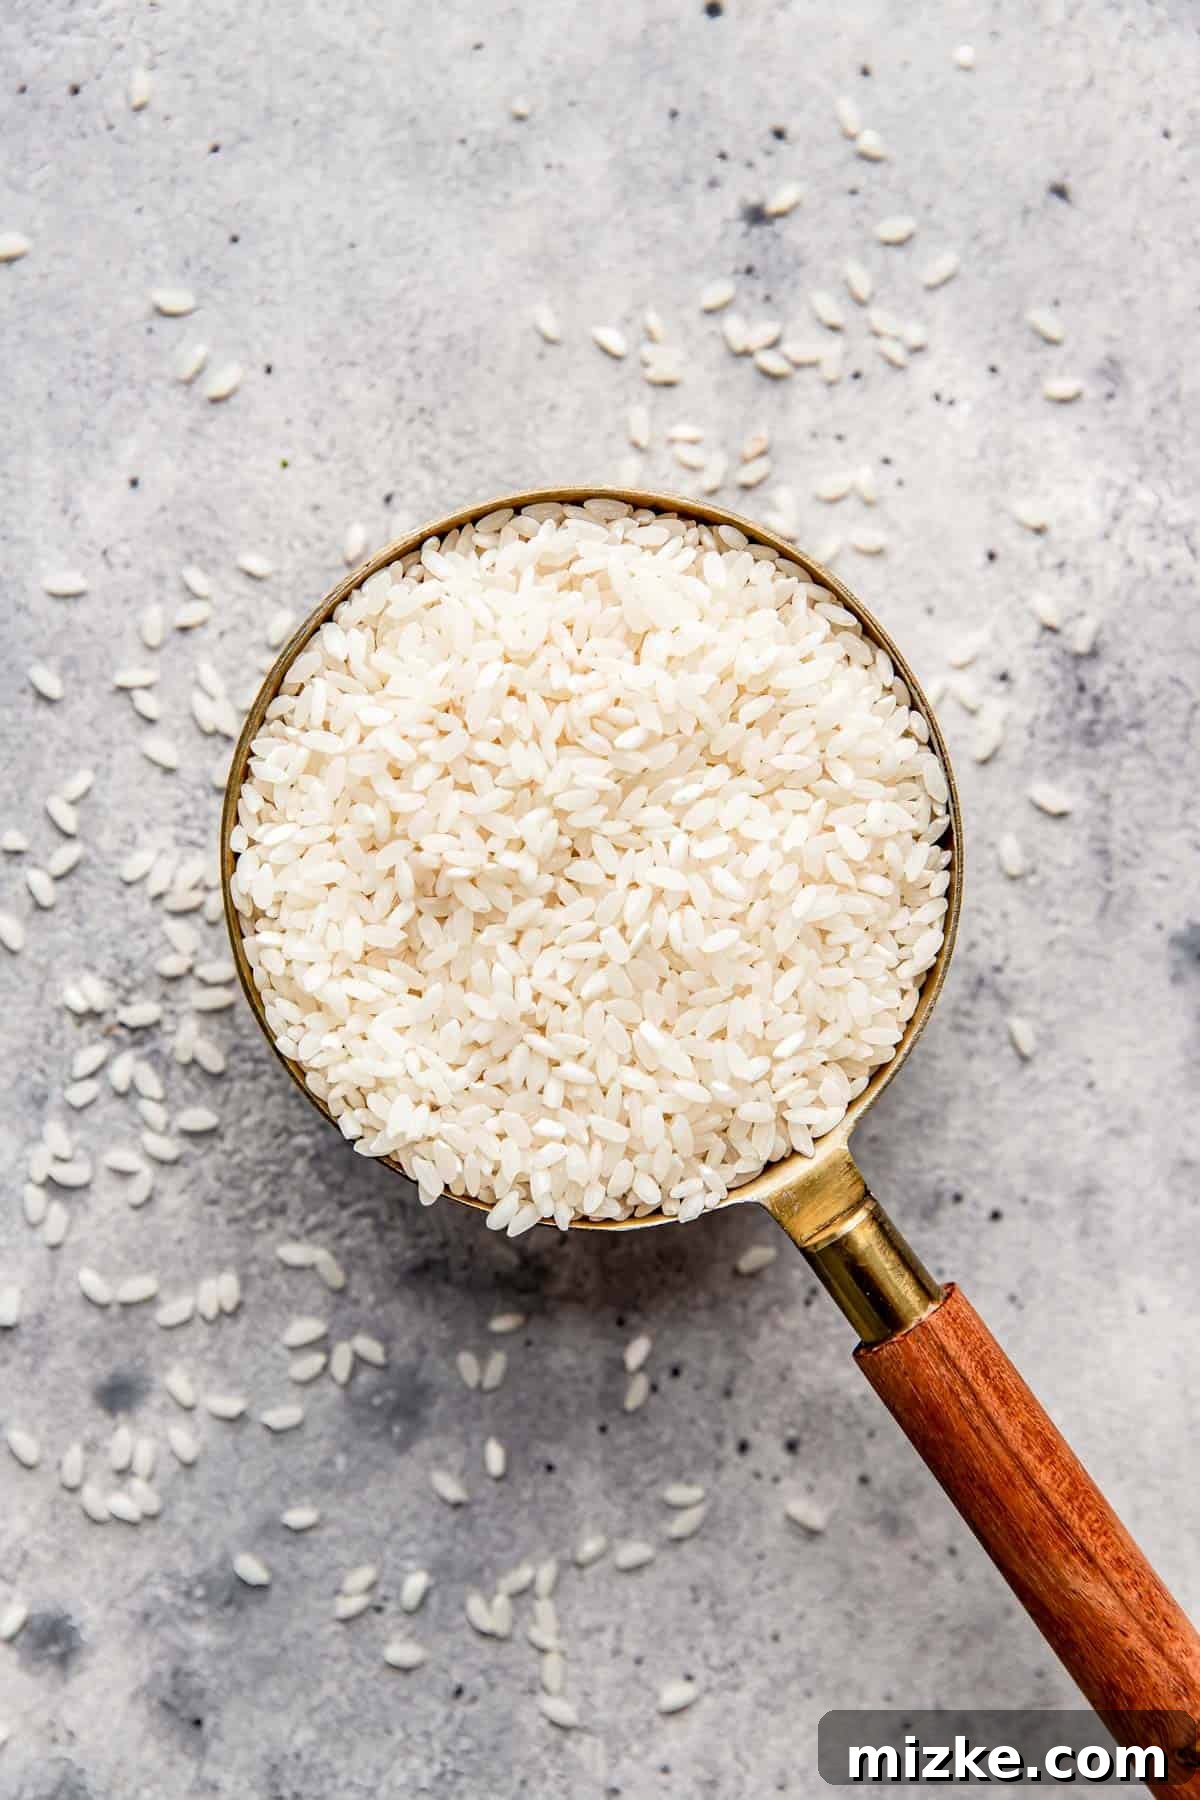
Before diving into cooking methods, it’s essential to recognize that “white rice” isn’t a single entity. Different varieties possess unique characteristics that influence their ideal cooking methods and water ratios. For this comprehensive guide, we will primarily focus on cooking long-grain and medium-grain white rice, as these are the most common and versatile choices for achieving a light, fluffy texture. Understanding their differences will help you achieve optimal results.
Suitable White Rice Varieties for This Guide:
- Long Grain White Rice: Easily identifiable by its slender grains, which are typically three to five times longer than they are wide. When cooked, long-grain rice remains distinctly separate, light, and fluffy, making it an excellent choice for side dishes, pilafs, and stir-fries where individual grains are desired. Common examples include American long-grain white rice and certain Basmati varieties (though Basmati has its own nuanced ratio due to its aromatic nature and delicate structure).
- Medium Grain White Rice: These grains are shorter and wider than long-grain rice, often appearing plump. Upon cooking, medium-grain rice becomes moist, tender, and slightly chewy, with a tendency to cling together more than long-grain varieties, but without becoming overly sticky. This makes it highly versatile for various dishes, offering a pleasant mouthfeel.
White Rice Varieties NOT Covered in This Guide (and Why They Need Different Approaches):
Attempting to cook the following rice types using the methods and water ratios outlined here will likely result in unsatisfactory outcomes. Each requires specific adjustments tailored to its unique properties:
- Jasmine Rice: While also a long-grain variety, Jasmine rice is renowned for its delicate, floral aroma and slightly softer texture. It typically requires slightly less water than standard long-grain white rice to achieve its characteristic fluffiness and prevent it from becoming mushy.
- Brown Rice: As a whole grain, brown rice retains its bran and germ layers, which are rich in fiber and nutrients. These layers necessitate a significantly longer cooking time and a greater amount of water compared to white rice.
- Sushi Rice (Short Grain White Rice): This specialized short-grain rice is cultivated for its high starch content and ability to become wonderfully sticky when cooked. This stickiness is crucial for forming cohesive sushi rolls and nigiri, but is undesirable for a fluffy side dish.
- Sticky Rice (Glutinous Rice): Also a short-grain variety, often referred to as “glutinous rice” (though it contains no gluten). It undergoes a distinct preparation process, often involving soaking and steaming, to achieve its characteristic exceptionally sticky, chewy, and opaque texture, ideal for specific Asian desserts and savory dishes.
- Wild Rice: Botanically, wild rice is not actually rice but rather the grain of an aquatic grass. It boasts a distinctive nutty flavor and a firm, chewy texture, demanding a considerably longer cooking time and different water ratios than conventional rice.
- Arborio/Risotto Rice: A medium-grain Italian rice specifically used for risottos. Its high amylopectin starch content allows it to gradually release starch and absorb large quantities of liquid, creating the signature creamy texture of a perfectly cooked risotto when stirred slowly.
- Paella Rice (Bomba or Calasparra): These medium-grain Spanish rices are prized for their ability to absorb a substantial amount of broth while maintaining their individual integrity, a vital characteristic for achieving the perfect texture in traditional paella without becoming mushy.
The Golden Ratio: Water-to-Rice for Perfect White Grains
The single most critical factor in achieving consistently perfectly cooked white rice, whether on the stovetop, in a rice cooker, or an Instant Pot, is mastering the correct water-to-rice ratio. For the long-grain and medium-grain white rice varieties discussed in this guide, a widely accepted and highly effective starting ratio is 1 cup of dry rice to 1.5 cups of cold water. This proportion ensures adequate liquid for the rice to fully absorb and cook through, resulting in tender, distinct grains without becoming waterlogged or overly sticky.
While 1:1.5 is an excellent baseline, it’s important to understand that this ratio can be a starting point and might require slight fine-tuning based on several influencing factors:
- Specific Rice Type: Even within the categories of long-grain and medium-grain, subtle differences in starch content or milling can mean some varieties absorb marginally more or less water.
- For a slightly firmer texture: Consider reducing the water by 1-2 tablespoons per cup of rice.
- For a slightly softer texture: You might increase the water by 1-2 tablespoons per cup of rice.
- Age of the Rice: Older rice grains tend to be drier and may require a touch more water to fully hydrate, while newer rice might need slightly less.
- Altitude: At higher altitudes, water boils at a lower temperature, which can affect cooking. Rice might need a bit more water and a slightly longer cooking time.
- Rinsing Habits: If you choose to rinse your rice (a practice we’ll delve into next!), you must account for the residual water clinging to the grains. It’s crucial to reduce the total cooking liquid by approximately 2 tablespoons for every cup of rinsed rice to prevent a mushy outcome.
- Cooking Method: While the 1:1.5 ratio is generally applicable, some methods (like the Instant Pot) create a very sealed environment, which can sometimes allow for a slightly lower water ratio, though 1:1.5 remains a safe and reliable starting point.
To ensure consistent results, precision in measurement is paramount. Always use the same measuring tool – be it a standard measuring cup, a specific rice cup that often accompanies rice cookers, or even a simple drinking glass – for both your rice and your water. This maintains the integrity of the proportion, which is more important than the absolute volume itself.
To Rinse or Not to Rinse: The Great Rice Debate
Few topics in the culinary world spark as much discussion as the practice of rinsing rice. It’s a widely debated subject, with fervent advocates on both sides. Traditionalists often insist on thorough rinsing to remove starch, while others view it as an unnecessary step that can potentially diminish nutrients. Let’s explore the key arguments to help you make an informed decision for your kitchen.
Arguments for Rinsing Rice:
- Removing Excess Surface Starch: The primary reason people rinse rice is to wash away loose starch particles from the surface of the grains. You’ll notice the water turn cloudy initially, becoming clearer with successive rinses. Proponents believe this process is crucial for achieving fluffier, more distinct grains that are less prone to clumping or becoming sticky.
- Cleaning Impurities: Historically, rinsing was an essential step to remove dust, debris, and even tiny stones that could be present in rice, especially varieties purchased from open markets or bulk bins. While modern processing standards are significantly higher, some individuals still prefer to rinse for absolute peace of mind regarding cleanliness.
- Cultural Tradition: In many culinary traditions worldwide, rinsing rice is a deeply ingrained practice, passed down through generations. For many, it’s simply “how rice is cooked.”
Arguments Against Rinsing Rice:
- Potential Nutrient Loss: A common concern is that rinsing can wash away water-soluble vitamins and minerals, particularly if the rice has been fortified (enriched with nutrients). However, the extent of this nutrient loss is often debated, and for many home cooks, the potential loss is minimal compared to the overall nutritional value of the rice.
- Minimal Impact on Fluffiness (for modern rice): Many culinary experts and scientific studies suggest that for commercially processed, packaged rice, the primary factor determining texture (fluffiness vs. stickiness) is the precise water-to-rice ratio and the cooking method, not necessarily the presence of surface starch. They argue that the stickiness largely comes from the starch *within* the grain itself.
- Unnecessary Step for Convenience: For busy home cooks, adding an extra rinsing step can feel redundant, especially with the high quality and cleanliness of modern packaged rice.
Our Recommendation:
Ultimately, there is no universally “right” or “wrong” approach; the decision often comes down to personal preference and the specific outcome you desire. For the long-grain and medium-grain white rice varieties covered in this guide, rinsing can indeed contribute to a slightly lighter, more separate grain texture, but it’s not strictly mandatory for achieving fluffiness if your water ratio and cooking method are precise. If you opt to rinse:
- Place the dry rice in a fine-mesh strainer or a large bowl.
- Rinse under cold running water, gently agitating the rice with your hand, until the water runs mostly clear. This usually takes 3-5 rinses.
- Crucial Step: After rinsing, ensure you thoroughly drain the rice. Any excess water clinging to the grains will throw off your water ratio. To compensate, reduce the total cooking water by approximately 2 tablespoons for every cup of rinsed rice to prevent a mushy result.
How to Cook White Rice: Your Go-To Methods
Achieving consistently perfect white rice involves mastering the delicate balance of heat, water, and time. We’ll explore three highly effective and popular methods, each offering unique advantages in terms of convenience, speed, and traditional appeal. Whether you prefer a hands-off approach, a classic technique, or rapid results, there’s a method here that will fit your lifestyle and kitchen equipment:
- Rice Cooker: Often considered the gold standard for rice cooking, this appliance provides unparalleled consistency, completely hands-off operation, and a forgiving nature. It’s an excellent investment for anyone who cooks rice regularly and desires effortless perfection.
- Stovetop: The most traditional and versatile method, cooking rice on the stovetop yields excellent results when executed with proper care and attention. It’s perfect for those who prefer classic cooking techniques or don’t have specialized appliances.
- Instant Pot / Pressure Cooker: This is the fastest method, utilizing a pressurized environment to drastically reduce cooking time while still delivering tender, fluffy grains. It’s a fantastic solution for busy weeknights when time is of the essence.
- Note: For our detailed Instant Pot instructions, we reference a 6-quart model. While the principles remain the same, minor adjustments to water or time may be necessary for different Instant Pot sizes.
Regardless of the chosen method, remember these universal principles for success: precise measurement of ingredients, allowing for a crucial resting period after cooking, and – perhaps most importantly – resisting the urge to lift the lid and peek during the cooking process!
Method 1: Rice Cooker (Effortless Perfection)
The rice cooker is an indispensable tool for anyone seeking a no-fuss, consistent way to cook white rice. It takes the guesswork out of the equation by maintaining optimal temperature and moisture levels, ensuring perfect results every single time. If rice is a frequent guest at your dinner table, a quality rice cooker is a worthwhile investment. Most modern models automatically switch to a “keep warm” setting once cooking is complete, preventing overcooking and keeping your rice ready until you are.
Ingredients:
- 1 cup long-grain or medium-grain white rice (refer to our suitable varieties)
- 1 ½ cups cold water (adjust to 1 cup + 6 tablespoons if rinsing rice)
- Optional: ¼ teaspoon salt, ½ teaspoon neutral oil or butter
Instructions:
- Prepare the Rice: Measure 1 cup of white rice and add it directly into the insert pot of your rice cooker. If you prefer to rinse your rice (see our “To Rinse or Not to Rinse” section), do so thoroughly and then place the drained rice in the insert.
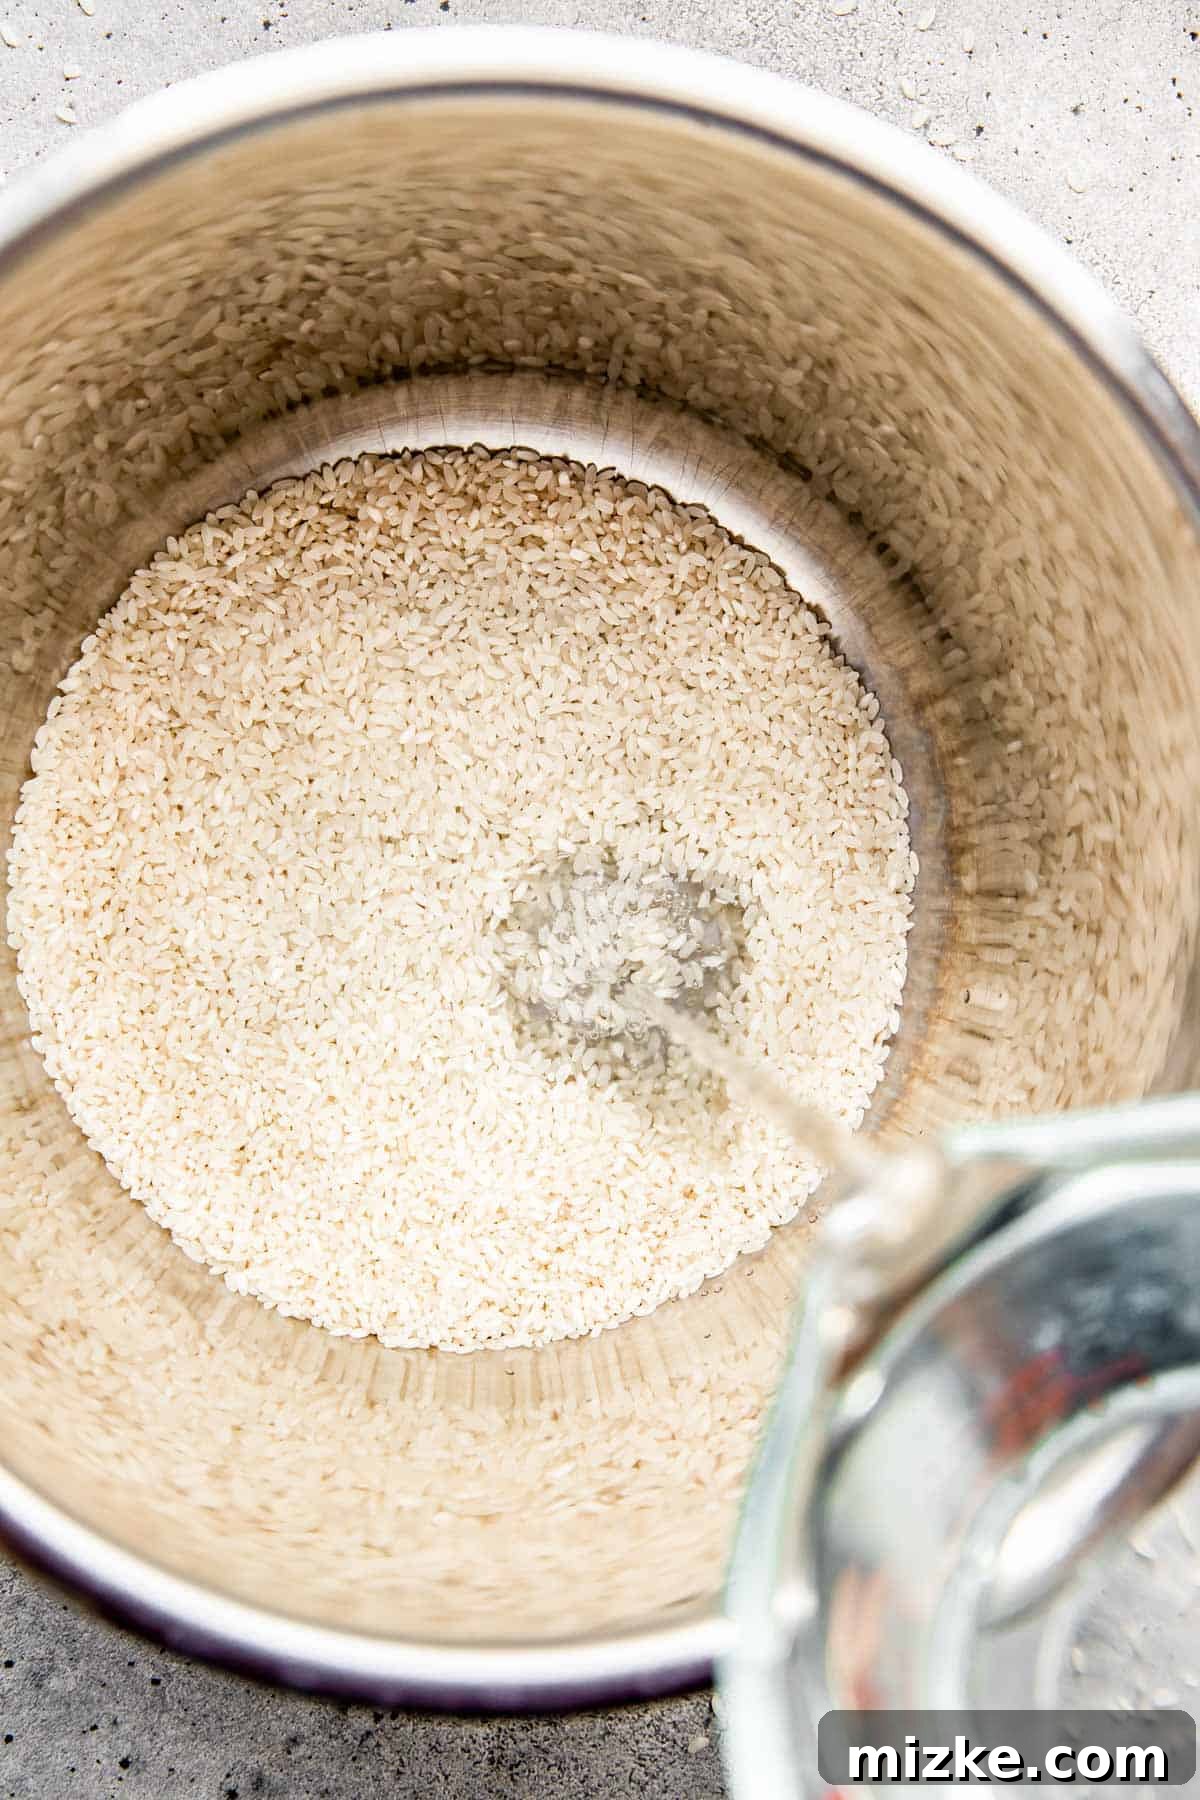
- Add Water & Seasoning: Pour 1 ½ cups of cold water over the rice. If you opted to rinse your rice, remember to reduce the water amount by 2 tablespoons (e.g., for 1 cup of rice, use 1 cup and 6 tablespoons of water). For enhanced flavor, a pinch of salt and ½ teaspoon of butter or a neutral oil can be added at this stage.
- Cook: Securely close the lid of your rice cooker. If your model has multiple settings, select “WHITE RICE.” For basic models with only “COOK” and “KEEP WARM” functions, simply press the “COOK” button. The cooking cycle typically lasts between 15-25 minutes, depending on the rice cooker model and the type of rice. It is paramount to resist the urge to open the lid during this cooking phase, as it disrupts the steam crucial for even cooking.
- Rest: Once the rice cooker automatically switches to its “KEEP WARM” setting (indicating the active cooking phase is complete), allow the rice to rest, undisturbed, for an additional 10-15 minutes. This vital resting period allows the steam and moisture to evenly redistribute throughout the grains, resulting in a perfectly cooked, fluffy texture.
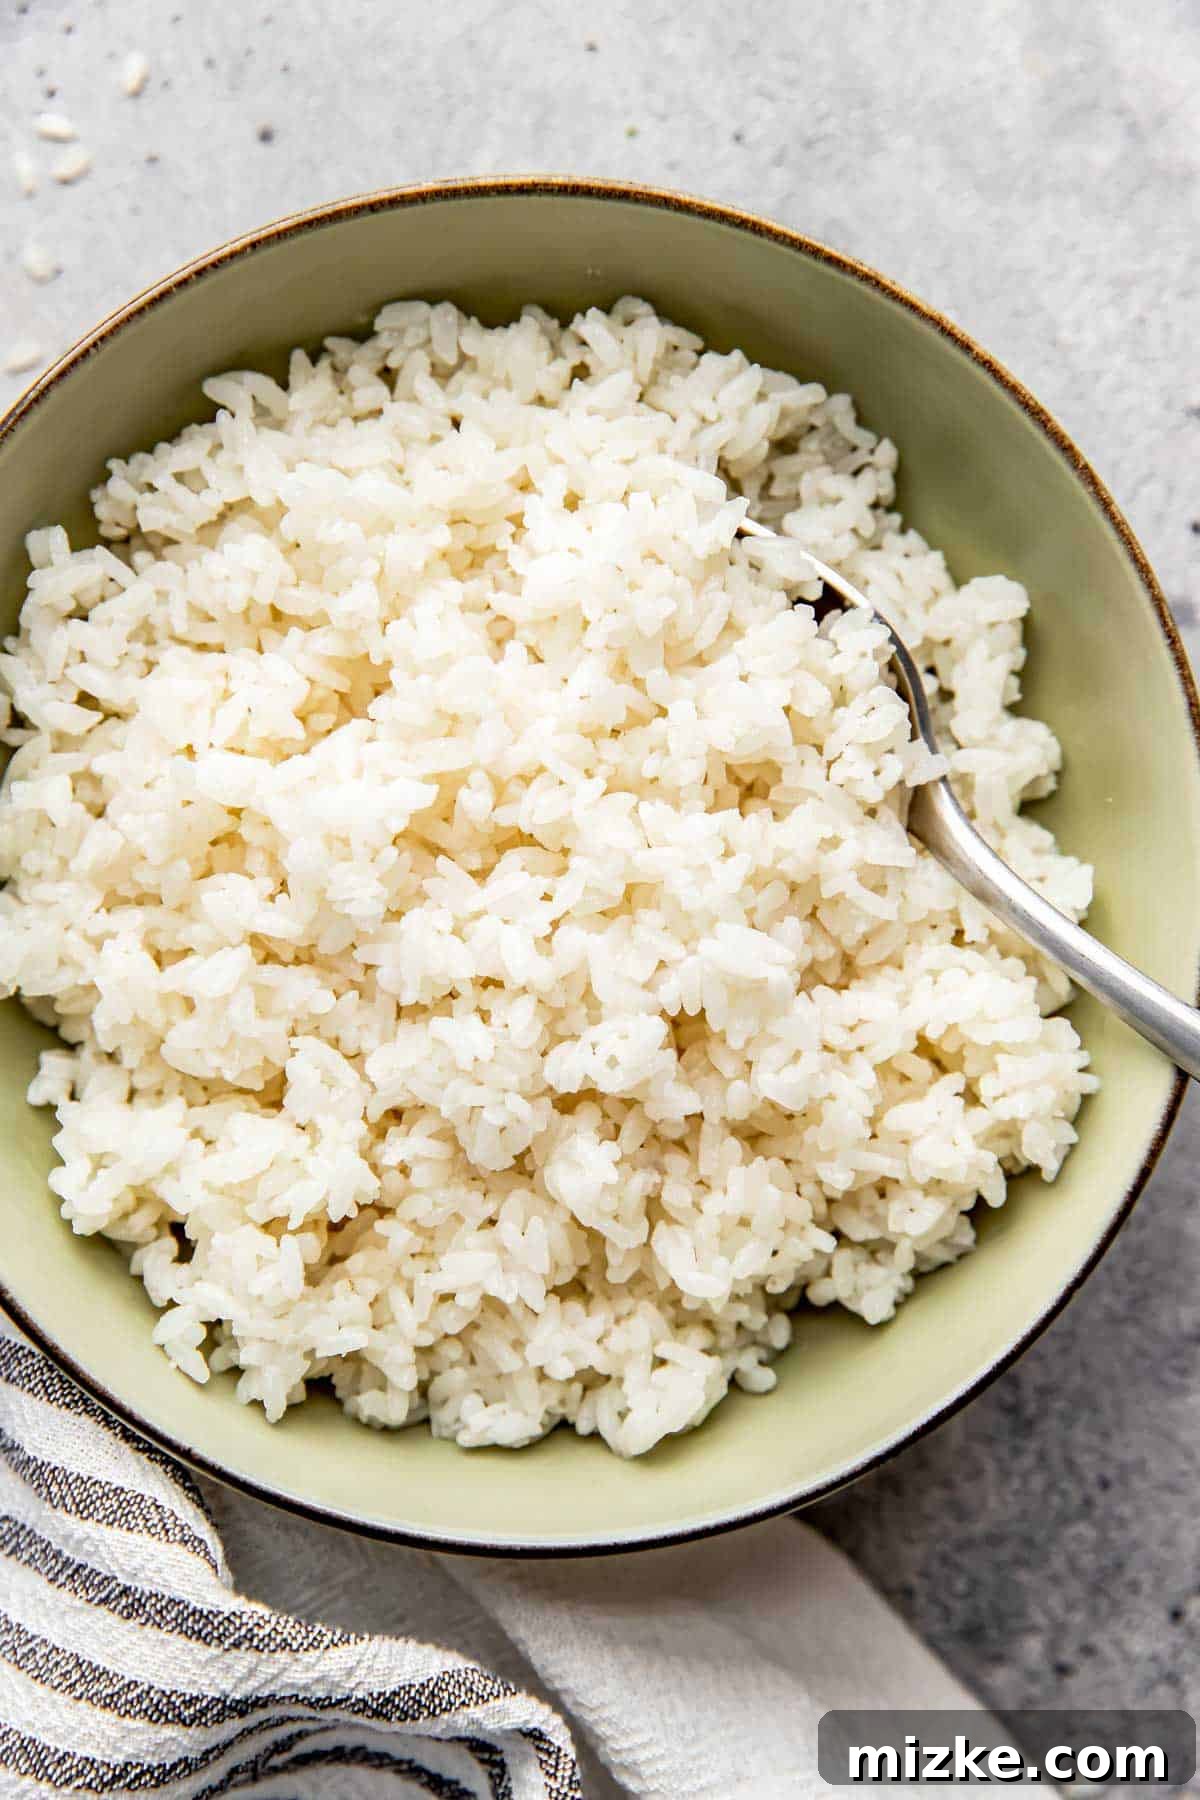
- Fluff and Serve: Carefully open the lid. Using a rice paddle or a fork, gently fluff the rice to separate the individual grains. Avoid pressing down or stirring vigorously, especially with delicate long-grain varieties like Basmati, which can break easily. Serve your perfectly cooked, fluffy white rice immediately.
Method 2: Stovetop (The Classic Approach)
Cooking white rice on the stovetop is a fundamental culinary skill that, once mastered, delivers consistently excellent results. While it demands slightly more attention than a rice cooker, with the right technique and a good heavy-bottomed pot, you can achieve wonderfully fluffy rice that rivals any appliance-cooked batch. This method gives you complete control over the cooking process.
Ingredients:
- 1 cup long-grain or medium-grain white rice
- 1 ½ cups cold water (adjusted for rinsing)
- Optional: ¼ teaspoon salt, ½ teaspoon neutral oil or butter
Instructions:
- Prepare the Rice: Measure 1 cup of white rice and place it into a heavy-bottomed pot. A pot with a tight-fitting lid is absolutely essential for this method. If you’re rinsing your rice, ensure it’s thoroughly drained before adding it to the pot.
- Add Water and Seasoning: Pour 1 ½ cups of cold water over the rice. If using rinsed rice, reduce the water by 2 tablespoons. Add a pinch of salt and ½ teaspoon of oil or butter for enhanced flavor and to help prevent the grains from sticking together.
- Bring to a Boil: Place the pot on your stovetop over medium-high heat. Bring the water to a vigorous rolling boil, initially leaving the lid off. As soon as you observe rapid bubbling across the entire surface of the water, proceed immediately to the next step. This typically takes 3-5 minutes.
- Simmer and Cook: Once the water is boiling, immediately reduce the heat to the absolute lowest setting your stove allows. Cover the pot tightly with its lid. If your lid isn’t perfectly snug, you can place a piece of aluminum foil between the pot and the lid to create a tighter seal and prevent steam escape. Allow the rice to simmer undisturbed for precisely 13 minutes. It is crucial NOT to lift the lid during this cooking period, as escaping steam will disrupt the cooking process and lead to uneven results.
- Rest Off Heat: After the 13 minutes of simmering, turn off the heat completely (or carefully remove the pot from the burner) but keep the lid securely in place. Let the rice rest for an additional 10-15 minutes. This resting phase is incredibly important, allowing the rice to absorb any remaining moisture and to finish cooking through the residual steam, resulting in tender, distinct, and perfectly fluffy grains.
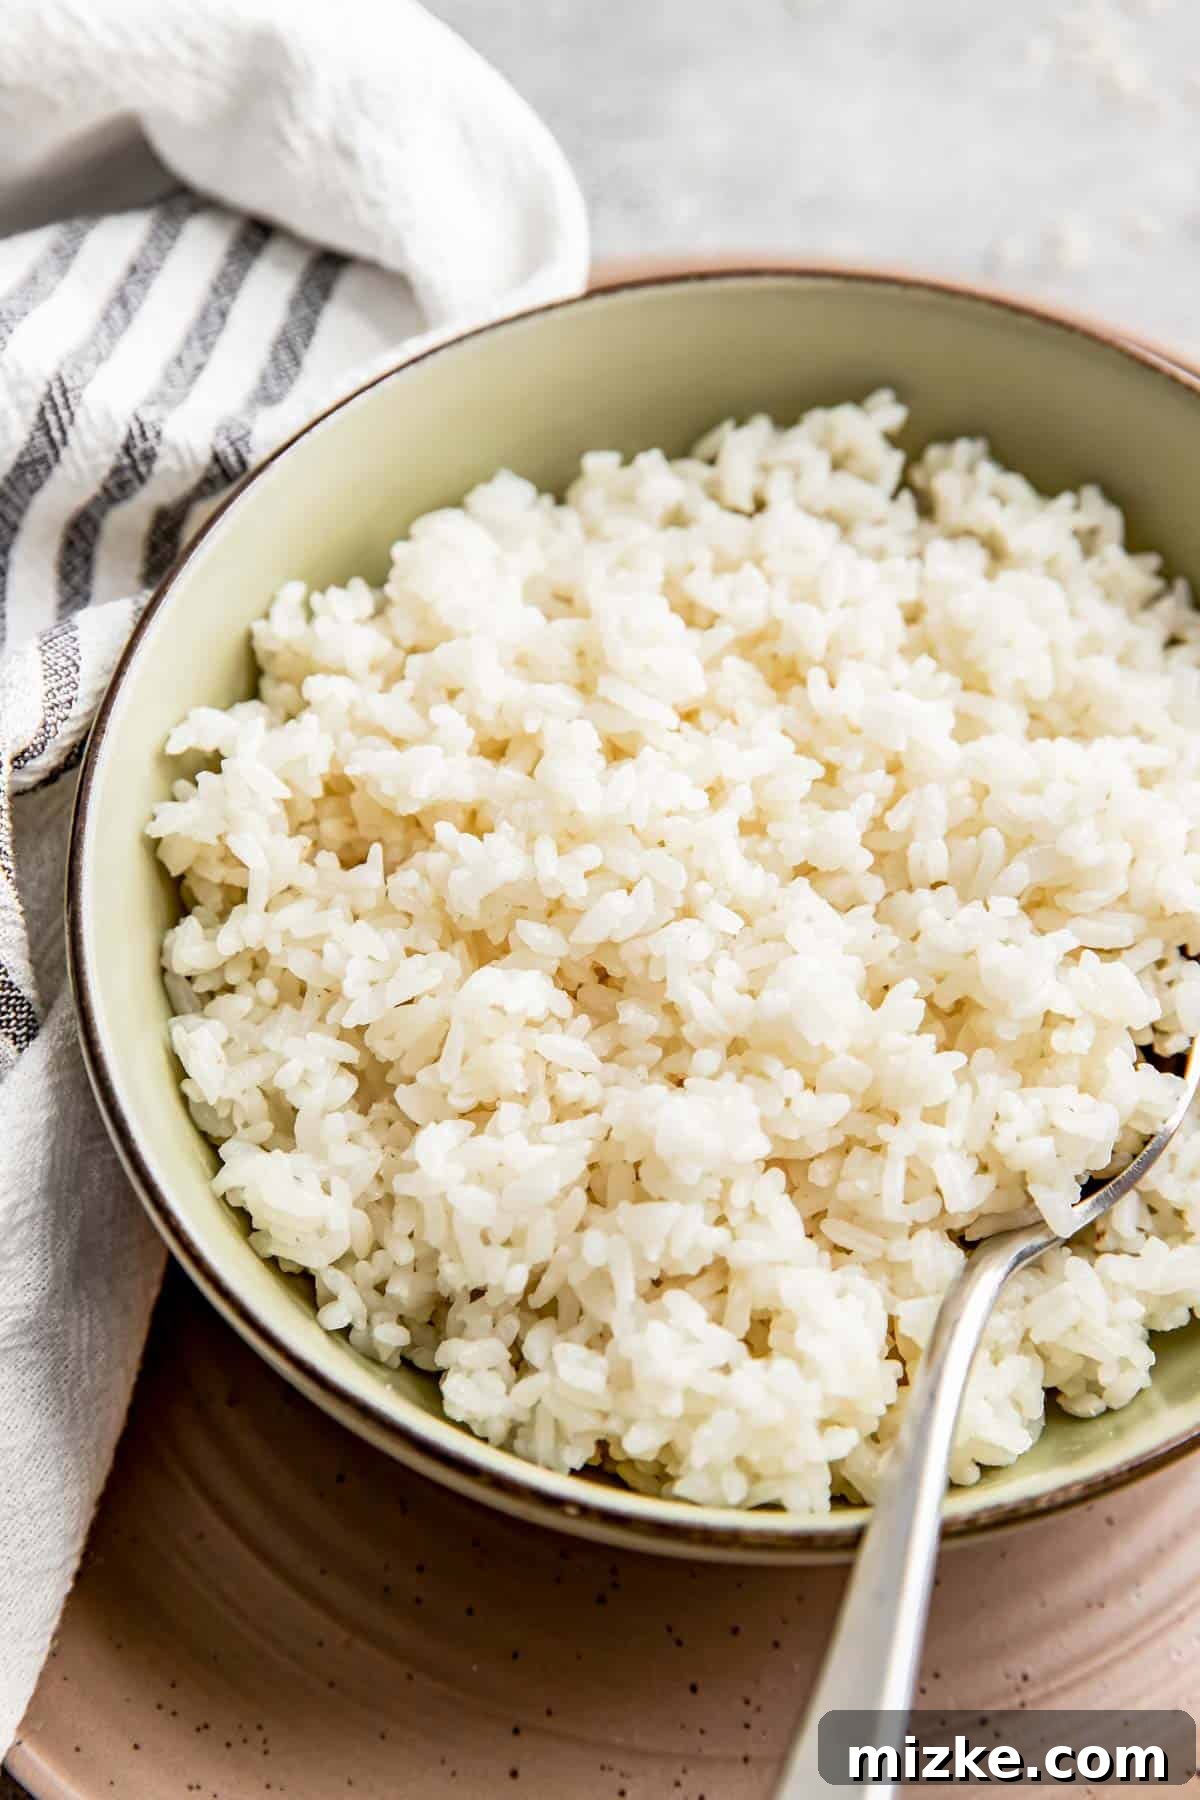
- Fluff and Serve: Once the resting period is complete, remove the lid. Using a rice paddle or a fork, gently fluff the rice to separate the grains. Avoid stirring excessively or pressing down, which can break the grains. Serve your perfectly cooked white rice warm as a delightful accompaniment to any meal.
Method 3: Instant Pot (Speed and Simplicity)
For those who prioritize speed without compromising on the quality of their rice, the Instant Pot or any electric pressure cooker is an absolute game-changer. Its pressurized cooking environment drastically reduces cooking time, consistently delivering tender, fluffy grains. This makes it an ideal method for busy weeknights or whenever you need perfectly cooked rice in a fraction of the traditional time.
Ingredients:
- 1 cup long-grain or medium-grain white rice
- 1 ½ cups cold water (adjusted for rinsing)
- Optional: ¼ teaspoon salt, ½ teaspoon neutral oil or butter
Instructions:
- Prepare the Rice: Add 1 cup of unrinsed white rice to the inner pot of your Instant Pot. If you choose to rinse your rice, ensure it is thoroughly drained before placing it in the pot.
- Add Water and Seasoning: Pour 1 ½ cups of cold water over the rice. If you are using rinsed rice, remember to reduce the water by 2 tablespoons. Add a pinch of salt and ½ teaspoon of oil or butter if desired for added flavor and texture.
- Pressure Cook: Securely place the lid on your Instant Pot, ensuring the sealing ring is properly fitted. Rotate the steam release valve to the “SEAL” position. Press the “MANUAL” or “PRESSURE COOK” button, set the pressure level to “HIGH pressure,” and adjust the cooking time to 2 minutes. The Instant Pot will take several minutes to build pressure before the 2-minute countdown begins.
- Natural Pressure Release (NPR): Once the 2-minute cooking cycle is complete, do NOT manually release the pressure immediately. Instead, allow the pressure to release naturally for 10 minutes. This crucial “Natural Pressure Release” (NPR) phase is essential for the rice to continue steaming and fully absorb the moisture, preventing undercooked centers or a gummy texture.
- Manual Pressure Release & Fluff: After the 10-minute natural pressure release, carefully turn the steam release valve to the “VENTING” position to release any remaining pressure. Once the float valve drops completely, it is safe to open the lid. Gently fluff the perfectly cooked rice with a rice paddle or fork before serving.
Troubleshooting Common Rice Cooking Problems
Even with precise instructions, cooking can sometimes present unexpected challenges. Don’t worry, most common rice cooking mishaps are easily diagnosed and corrected with a little understanding. Here’s a comprehensive guide to help you troubleshoot common problems and ensure perfect results next time:
- The Bottom of Your Rice is Burned or Scorched:
- Cause: This usually indicates that the heat was too high, or the pot remained on the heat for too long after the liquid had evaporated, causing the base of the pot to overheat the rice.
- Solution: For stovetop cooking, ensure you reduce the heat to the absolute lowest setting immediately after the water comes to a boil. For rice cookers, this could suggest an issue with the appliance’s heating element or an overly thin-bottomed insert. Always double-check your water-to-rice ratio.
- Water Still Remains After Resting, or the Rice is Mushy/Sticky:
- Cause: The most common culprits are adding too much water relative to the rice, or a lid that wasn’t tight enough, allowing essential steam to escape and affecting proper water absorption. If you rinsed your rice but didn’t reduce the water, this is also a likely cause.
- Solution: Meticulously double-check your water-to-rice ratio (1:1.5 is the golden standard for unrinsed white rice). If you choose to rinse, be sure to remove 2 tablespoons of water per cup of rice from your total liquid. Ensure your pot has a very tight-fitting lid, or use aluminum foil beneath the lid to create a better seal. Always allow the full, uninterrupted resting time.
- The Rice is Unevenly Cooked (Some Grains Hard, Some Soft):
- Cause: This often occurs when the lid is lifted frequently during cooking to “check” on the rice. Each time the lid is opened, precious steam escapes, lowering the internal temperature and disrupting the even cooking environment. Insufficient resting time or uneven heat distribution from your burner can also contribute.
- Solution: The golden rule for rice: resist the urge to peek! The steam trapped inside is crucial for even heat distribution and cooking. Ensure your pot is placed squarely on an even burner. Always allow the full resting time; this is where the remaining steam finishes cooking and distributes moisture evenly throughout the grains.
- The Rice is Still Hard and Crunchy (Undercooked):
- Cause: This means there wasn’t enough liquid for the rice to fully absorb, or it wasn’t cooked for a sufficient duration. It can also happen if the lid wasn’t tight, allowing too much steam and water to escape prematurely.
- Solution: If you catch this early in stovetop cooking, you can sometimes add a few tablespoons of boiling water, re-cover the pot very tightly, and cook for another 5 minutes on low heat, followed by a proper resting period. For future batches, ensure accurate water measurement and a completely secure lid.
- The Water Overflowed from the Pot:
- Cause: You used a pot that was simply too small for the volume of rice and water you were cooking. Rice expands significantly during cooking.
- Solution: Always select a pot that is at least 3 times larger in capacity than the total combined volume of your dry rice and water. For example, for 1 cup of rice and 1.5 cups of water (a total of 2.5 cups of volume), you need a pot that can comfortably hold at least 7.5 cups to allow for expansion and boiling without spilling over.
- Rice is Gummy or Gluey:
- Cause: This can be due to too much starch (especially if the rice was not rinsed and is a particularly starchy variety), an excessive amount of water, or over-stirring the rice after it has cooked.
- Solution: If you desire very separate grains, consider rinsing your rice thoroughly. Most importantly, ensure you are using the correct water-to-rice ratio and avoid over-stirring once the rice is cooked. Fluff gently with a fork or rice paddle.
Essential Tips for Fluffy Rice Every Time
Beyond the specific cooking methods, incorporating these general tips into your routine will significantly enhance your rice-cooking skills, ensuring consistently perfect and fluffy results, regardless of your chosen appliance or technique:
- Measure Accurately, Always: This is arguably the most crucial tip. Whether you use standard measuring cups, a dedicated rice cooker cup, or even a simple drinking glass, the key is to use the *same measuring tool* for both the rice and the water to maintain the correct ratio. Eyeballing amounts is the quickest route to inconsistent and frustrating outcomes.
- Use the Right Pot Size (for Stovetop Cooking): Choosing the correct pot size is vital. A pot that’s too large will cause the water to evaporate too quickly, potentially leading to undercooked rice or even burning. Conversely, a pot that’s too small risks messy boil-overs. As a general guideline, select a pot with a capacity roughly three times the combined volume of your raw rice and water.
- Do NOT Peek! This cannot be overstressed for stovetop and traditional rice cooker methods. Once the lid is securely on, leave it on until both the active cooking time and the subsequent resting period are complete. Every time you lift the lid, precious steam escapes, lowering the internal temperature and prolonging the cooking process, which invariably leads to unevenly cooked rice.
- Allow Ample Resting Time: This step is just as critical as the active cooking time, if not more so. Resting allows the rice grains to fully absorb any remaining surface moisture and, more importantly, permits the trapped steam to evenly cook the center of each grain. This results in a truly fluffy, tender, and perfectly hydrated texture throughout.
- Add a Pinch of Salt: A small amount of salt (e.g., ¼ teaspoon per cup of dry rice) added to the cooking water significantly enhances the natural flavor of the rice, making it a more delicious and less bland accompaniment to your meals.
- Consider a Touch of Fat: Incorporating ½ teaspoon of butter or a neutral oil (such as vegetable, canola, or even olive oil) into the cooking water can help to prevent the grains from sticking together, promote a lighter texture, and add a subtle richness to the finished rice.
- Fluff Gently: After the rice has finished cooking and rested, use a rice paddle or a fork to gently fluff and aerate the grains. Avoid using a spoon or pressing down, as this can crush the delicate cooked grains and make them become gummy or pasty.
- Start with Cold Water: Beginning with cold water allows the rice grains to absorb water gradually as the temperature rises. This promotes more even cooking from the core of the grain outwards and helps to reduce the chances of the rice sticking to the bottom of the pot.
Storing, Freezing, and Reheating Cooked Rice
Properly storing cooked white rice is just as important as cooking it correctly, both for maintaining its quality and, crucially, for food safety. Cooked rice, if left at room temperature for an extended period, can develop Bacillus cereus bacteria, which can cause food poisoning. Always ensure cooked rice is cooled quickly and stored promptly.
Refrigerator Storage:
Once your cooked rice has cooled down (ideally within one hour of cooking), transfer it immediately to an airtight container. Glass storage containers with tight-fitting lids are an excellent choice as they prevent odors and keep the rice fresh. Store the rice in the refrigerator for a maximum of 4 days. While some individuals may store it longer based on personal experience, adhering to the 4-day guideline is the recommended best practice for food safety.
Freezing Instructions:
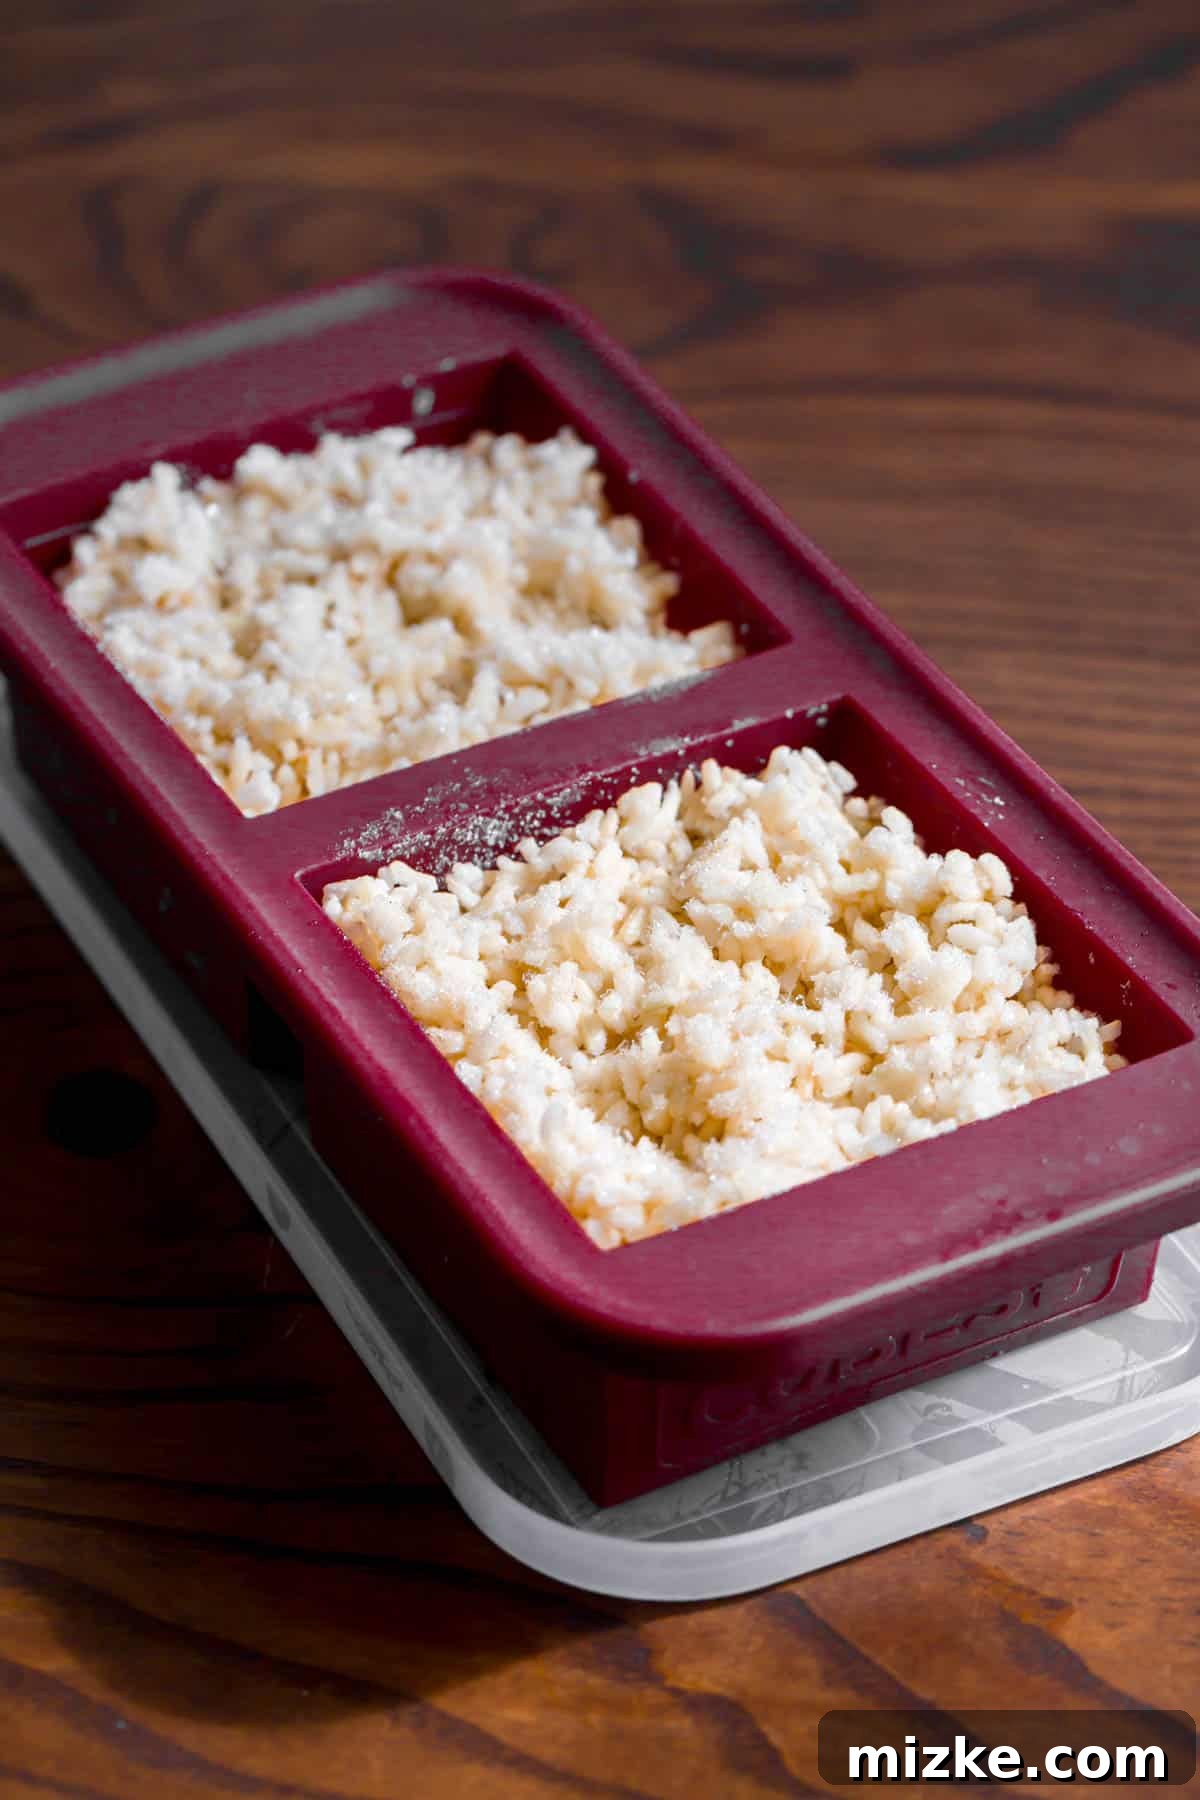
Cooked white rice freezes exceptionally well, making it a fantastic ingredient for meal prepping and ensuring you always have a healthy carb source on hand. Freezing allows you to have perfectly portioned rice ready to use whenever you need it, significantly reducing cooking time on busy days. Our favorite method involves using silicone Souper Cube trays or similar portioning containers:
- Portioning: Once the rice has cooled completely, portion it into individual servings (e.g., 1 or 2 cups) using your freezer-safe trays or sturdy freezer bags. Silicone trays are particularly convenient as they allow for easy removal of frozen cubes.
- Freezing: Place the trays or bags in the freezer until the rice is solid. Once frozen, you can transfer the individual rice portions into larger freezer-safe bags or containers to save freezer space.
- Shelf Life: Frozen cooked white rice can maintain its optimal quality and texture for up to 3-4 months. Always label your containers or bags with the date to keep track.
Uncooked Rice Storage:
For uncooked rice, proper storage is key to maintaining its freshness and preventing spoilage. Store dry rice in a cool, dry, and dark place, such as your pantry or a cupboard, away from direct sunlight and heat. If you purchase large bags of rice (e.g., from bulk stores), transferring the rice into airtight, food-grade containers, like large Cambro containers with secure lids, will protect it from moisture, pantry pests, and help it stay fresh significantly longer than its original packaging.
How to Reheat Rice for Best Results
Reheating cooked rice often leads to dry, hard, or rubbery grains. However, with a simple trick that reintroduces moisture, you can restore its fluffy, tender texture, making it taste as if it were freshly prepared.
Reheating from the Refrigerator (Microwave Method):
- Transfer your refrigerated cooked rice into a microwave-safe container or bowl.
- Add 1-2 tablespoons of water or broth for every cup of rice you are reheating. This liquid will create steam.
- Place a damp paper towel directly on top of the rice. This acts as a mini steamer, creating a steamy environment within the container and preventing the rice from drying out.
- Cover the container with a microwave-safe lid (or simply keep the damp paper towel in place if microwaving uncovered is an option for your container).
- Heat on high for 1.5 to 2 minutes, or until the rice is thoroughly heated through and steaming. Fluff gently with a fork before serving.
Reheating Frozen Rice (Microwave Method):
- Remove the desired portion of frozen rice from its tray or bag and place it into a microwave-safe bowl.
- Add 1-2 tablespoons of water or broth per cup of frozen rice.
- Cover the rice with a damp paper towel.
- Heat on high for 3 to 4 minutes, stirring halfway through, until the rice is hot, soft, and fluffy. Adjust heating time as needed, as microwave power can vary.
Other Effective Reheating Methods:
- Stovetop: Place the rice in a saucepan with a splash of water or broth, cover tightly with a lid, and heat over low heat, stirring occasionally, until it’s warmed through and fluffy.
- Steamer Basket: If you have a steamer, this is a very gentle and effective way to reheat rice. Place the rice in a heat-proof bowl within a steamer basket, cover, and steam until it’s hot and tender again.
Delicious Dishes to Make with White Rice
Now that you’ve mastered the art of cooking perfect fluffy white rice, it’s time to unleash its full potential in your kitchen! White rice is an incredibly versatile ingredient, serving as a neutral canvas that pairs beautifully with an endless array of flavors and cuisines. Whether you’re using freshly cooked grains or revitalizing leftovers, here are some inspiring ideas to get you started:
- Fried Rice: The quintessential dish for transforming day-old, slightly drier rice into a culinary masterpiece. The firm texture of chilled rice prevents it from becoming mushy in the pan. Combine with your favorite proteins (chicken, shrimp, tofu), eggs, and a medley of vegetables for a quick, customizable, and incredibly satisfying meal. Explore options like Vegetable Fried Rice, hearty Chicken Fried Rice, robust Steak Fried Rice, fresh Shrimp Fried Rice, or even a spicy and flavorful Kimchi Fried Rice!
- Stir-Fries: White rice provides the perfect absorbent base for soaking up rich, savory stir-fry sauces. Its mild flavor ensures that the vibrant ingredients and aromatic spices of your stir-fry truly shine. Serve a generous portion of rice alongside this Quick 20-Minute Vegetable Stir Fry or a fragrant Honey Ginger Garlic Shrimp Stir Fry.
- Curries: Whether you prefer creamy, intensely spicy, or richly aromatic curries, they are almost always elevated when served with a side of fluffy white rice. The rice expertly soaks up every drop of the delectable sauce, creating a truly comforting and satisfying dining experience. Dive into the comforting depths of a rich Japanese Curry or savor the flavors of a savory Vegan Chickpea Curry.
- Soups: Adding cooked rice to soups is an excellent and easy way to enhance body, texture, and a satisfying heartiness, transforming a lighter broth into a more substantial and filling meal. Warm up with a classic and invigorating Lemon Chicken and Rice Soup or consider adapting a Creamy Chicken and Wild Rice Soup by substituting white rice for a different texture.
- Rice Bowls: A fantastic option for customizable, healthy, and quick weeknight meals. Build your perfect bowl by layering your perfectly cooked rice with your favorite proteins, fresh or roasted vegetables, flavorful sauces, and a variety of crunchy or creamy toppings to create endless, exciting combinations. Construct a refreshing Salmon Rice Bowl, a vibrant and healthy Copycat Burrito Bowl, or a trendy and delicious Tuna Poke Bowl.
- Skillet Dishes: Incorporating rice directly into skillet dinners makes for an incredibly convenient one-pan meal that’s packed with robust flavor and satisfying substance. As the rice cooks, it absorbs all the delicious juices and seasonings from the other ingredients, resulting in a cohesive and deeply flavorful dish. Don’t miss this popular and crowd-pleasing One-Pot BBQ Chicken and Rice.
- Casseroles: Rice is a natural and comforting fit for casseroles, providing a hearty base that bakes beautifully with other ingredients. Casseroles are perfect for feeding families, meal prepping, or bringing to potlucks. Try the ever-popular Broccoli Chicken and Rice Casserole or a zesty and comforting Tex-Mex Chicken and Rice Casserole.
Photographs by Meg McKeehan Photography