
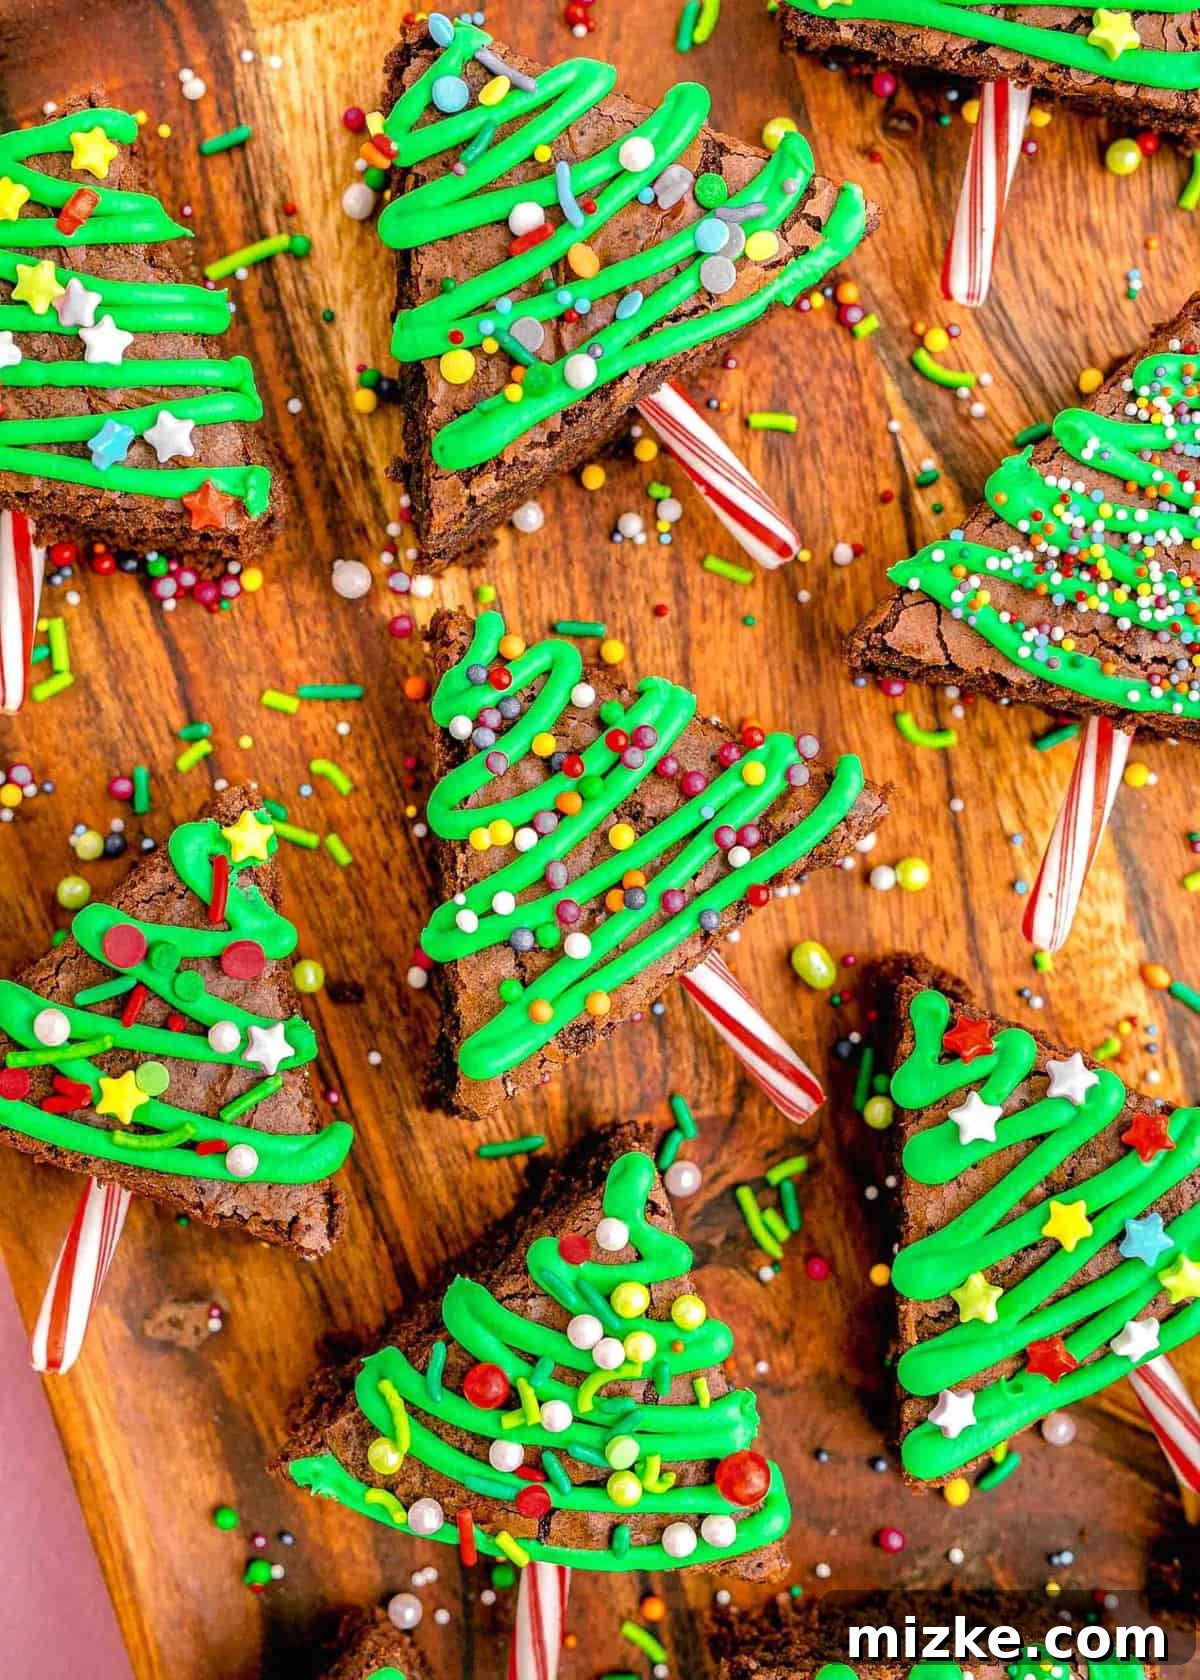
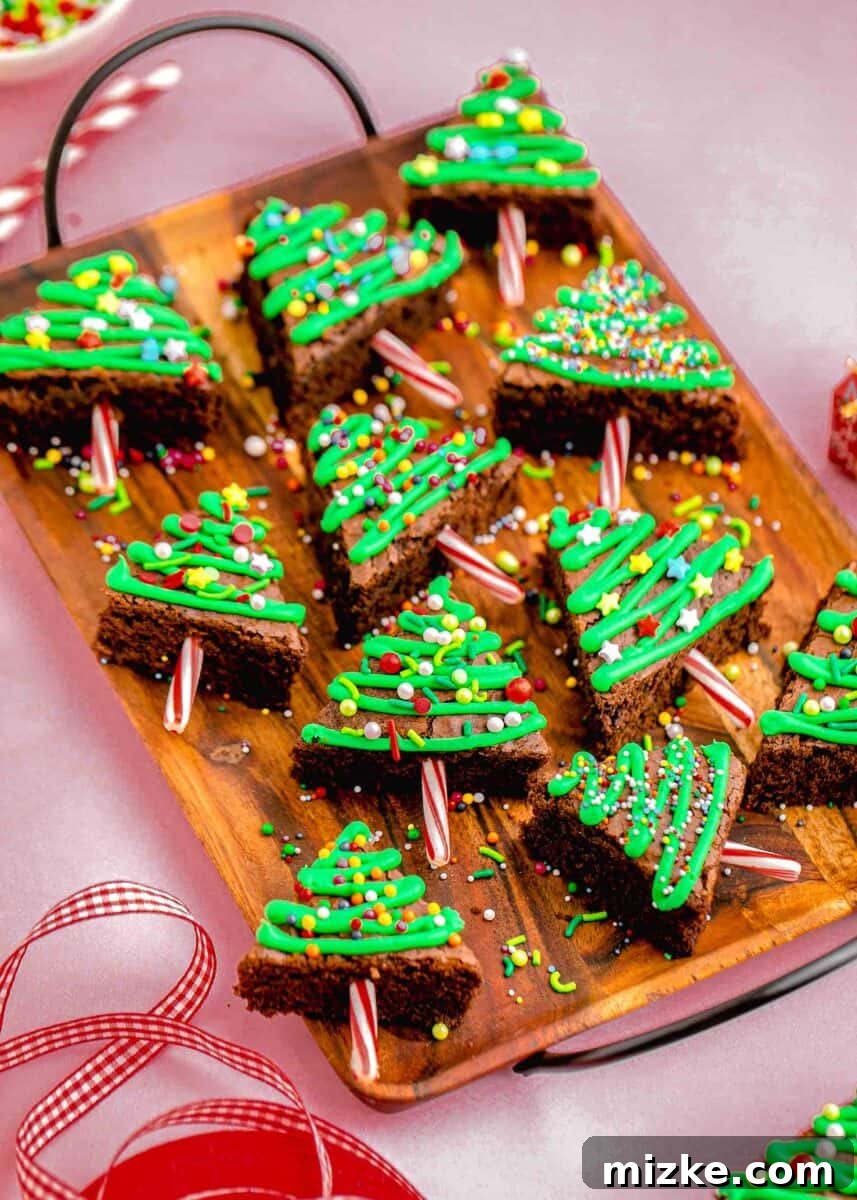
Christmas Tree Brownies are a festive and utterly delicious treat that perfectly encapsulates the joy of the holiday season. Imagine the delight on faces as these beautifully decorated, rich chocolate brownies, shaped like miniature Christmas trees, make their appearance! They’re not just a delightful dessert to share with friends and family; they also make for charming, thoughtful homemade gifts that spread cheer. Get ready to transform your kitchen into a festive workshop and create memorable moments with every batch of these enchanting Christmas Tree Brownies.
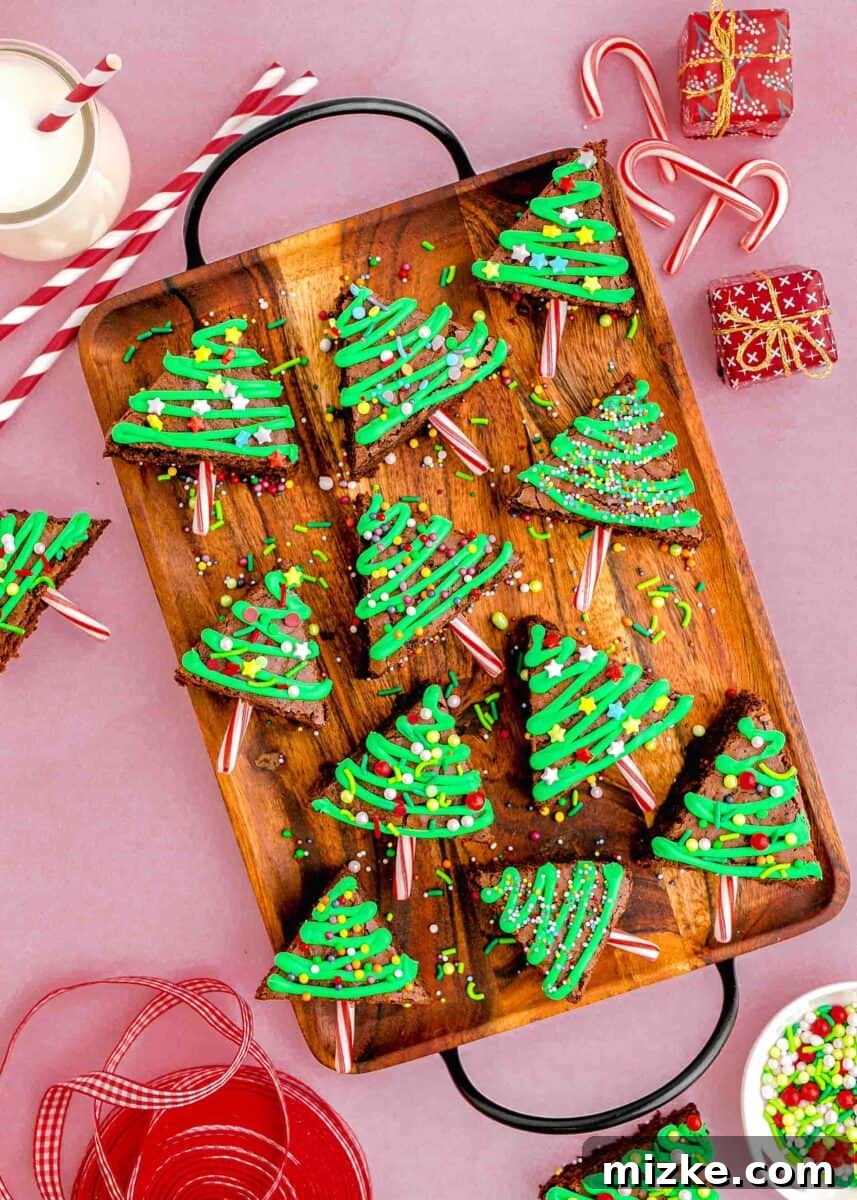
Are you searching for the most festive dessert to grace your holiday table this year? If an award existed for “Most Festive Holiday Treat,” these delightful Christmas Tree Brownies would undoubtedly be a top contender. What could possibly be more celebratory than a rich, fudgy brownie meticulously shaped and decorated to resemble a miniature Christmas tree? It’s a treat that captures the magic of the holidays in every bite!
These brownies offer the perfect way to immerse yourself in the holiday spirit, whether you’re baking for a party, a family gathering, or just a cozy night in. Starting with a convenient boxed brownie mix, and adding an array of cheerful, festive toppings, you can whip up this delicious creation in surprisingly little time. The process is incredibly engaging for kids, who absolutely adore the decorating phase, and equally loved by adults who can’t resist indulging in the sweet results! Unleash your creativity with various topping ideas, turning the preparation into a fun and memorable activity for all ages to enjoy together.
Why You’ll Adore These Christmas Tree Brownies
There are countless reasons why these Christmas Tree Brownies will become a staple in your holiday baking repertoire. They combine ease, flavor, and festive charm into one irresistible package.
Effortless Baking, Exceptional Results: The foundation of these brownies is an easy boxed mix, meaning you’re already halfway to a winning treat. This simplifies the baking process immensely, allowing you to quickly prepare a batch of fudgy, delicious brownies without the extensive cleanup often associated with scratch baking. For an extra rich and decadent base, I highly recommend using a premium mix like Ghirardelli’s double chocolate or dark chocolate, which elevates the flavor profile significantly.
A Magical Kid-Friendly Activity: Involving children in the kitchen during the holidays is a wonderful tradition, and these brownies provide the perfect canvas for creative expression. Kids will love decorating the tops of these Christmas Tree Brownies, transforming plain triangles into glittering holiday masterpieces. Encourage them to experiment with various kinds of sprinkles, edible glitter, or different shades of green frosting to personalize each “tree.” It’s an activity that sparks imagination and creates cherished family memories.
Perfect for Gifting: Looking for a heartfelt, homemade gift during the busy holiday season? These festive brownies are ideal! Arrange a few in a decorative tin, tie them with a festive ribbon, and you have a beautiful, delicious present that shows you care. They’re perfect for teachers, neighbors, colleagues, or anyone who deserves a sweet token of appreciation.
Versatile & Customizable: While we suggest classic green frosting and sprinkles, the customization possibilities are endless. Think white frosting with red and green M&Ms, miniature candy stars, edible silver pearls, or even a dusting of powdered sugar for a “snowy” effect. You can tailor them to any holiday theme or preference, making each batch unique.
Irresistibly Delicious: Beyond their festive appearance, these brownies are genuinely delicious. The combination of a rich chocolate base with a creamy, sweet frosting and crunchy sprinkles creates a delightful textural and flavor experience that will satisfy any sweet tooth. They are the ultimate holiday indulgence.
Gather Your Holiday Baking Essentials
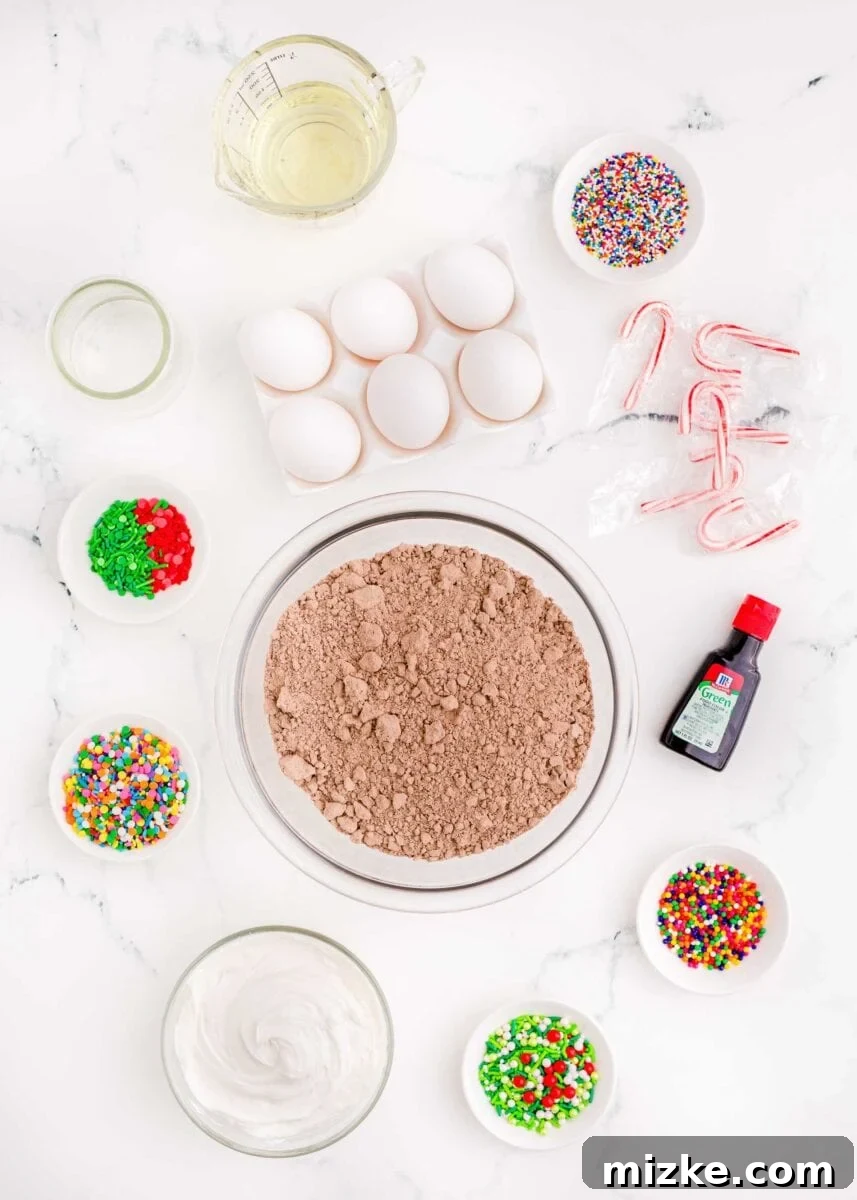
Making these enchanting Christmas Tree Brownies requires just a few simple ingredients, many of which you might already have in your pantry:
- Boxed Brownie Mix: The star of this recipe, providing an incredibly easy and convenient base that minimizes prep time and dishwashing. Choose your favorite brand for optimal flavor.
- Egg Yolks: Adding an extra egg yolk to your brownie batter is a secret weapon for achieving an unbelievably fudgier, chewier texture that makes these brownies truly melt-in-your-mouth delicious.
- White Frosting: A ready-made jar of white frosting serves as the perfect creamy base for our festive green “tree” decor.
- Green Food Coloring: Essential for transforming plain white frosting into vibrant green, giving our brownies their iconic Christmas tree look.
- Sprinkles: An assortment of colorful sprinkles (stars, nonpareils, jimmies) adds sparkle and joy, mimicking festive ornaments on your edible trees.
- Oil and Water (as per brownie mix instructions): These liquids are typically required for most boxed brownie mixes to create the batter.
- Candy Canes (optional, for “tree trunks”): Small pieces of candy cane can be inserted at the base of each brownie triangle to create adorable tree trunks, adding an extra touch of whimsy.
Step-by-Step Guide to Crafting Christmas Tree Brownies
Follow these simple steps to bring your festive brownie creations to life:
1. Prepare Your Workspace: Begin by preheating your oven to the exact temperature specified on your chosen boxed brownie mix. This ensures your oven is perfectly ready to bake. Next, prepare a 9×9 inch baking pan. For best results and easy removal, line the pan with parchment paper, leaving a generous overhang on the sides. These “handles” will be crucial for lifting the entire cooled brownie slab out of the pan effortlessly.
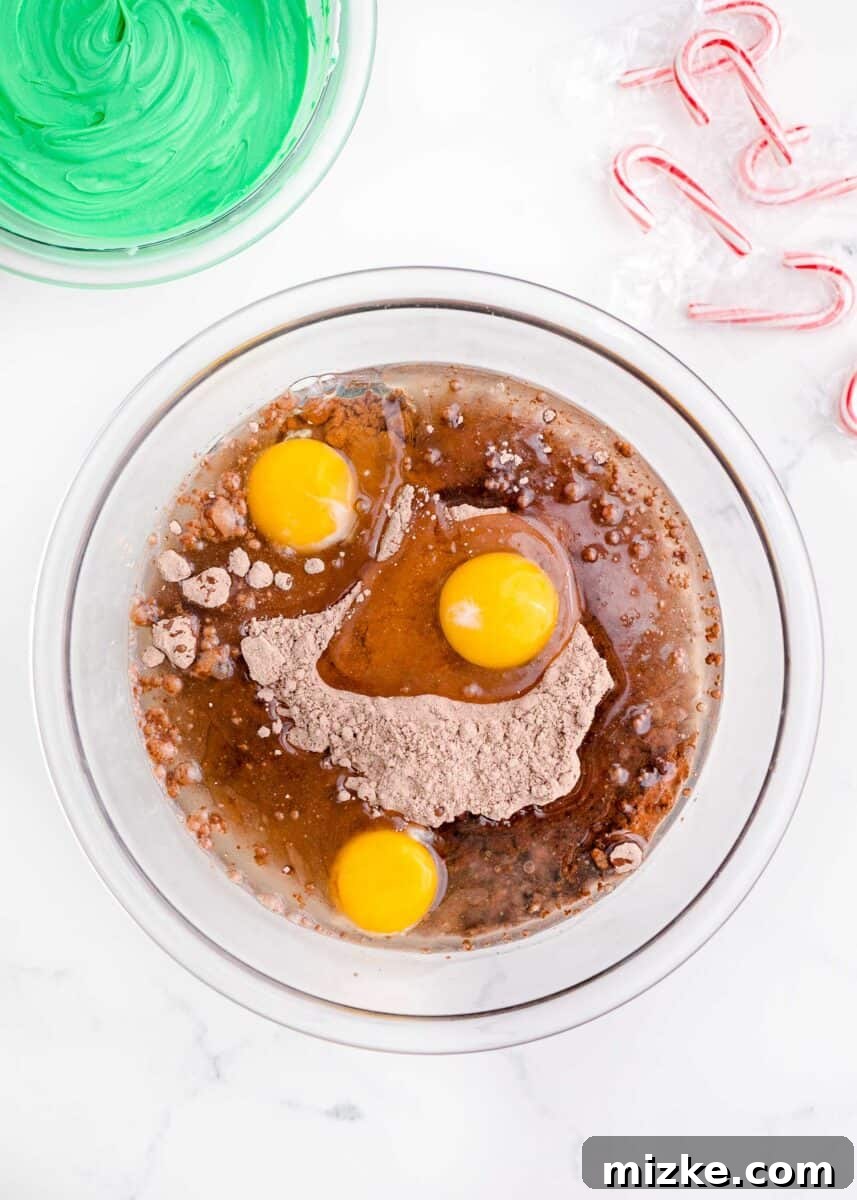
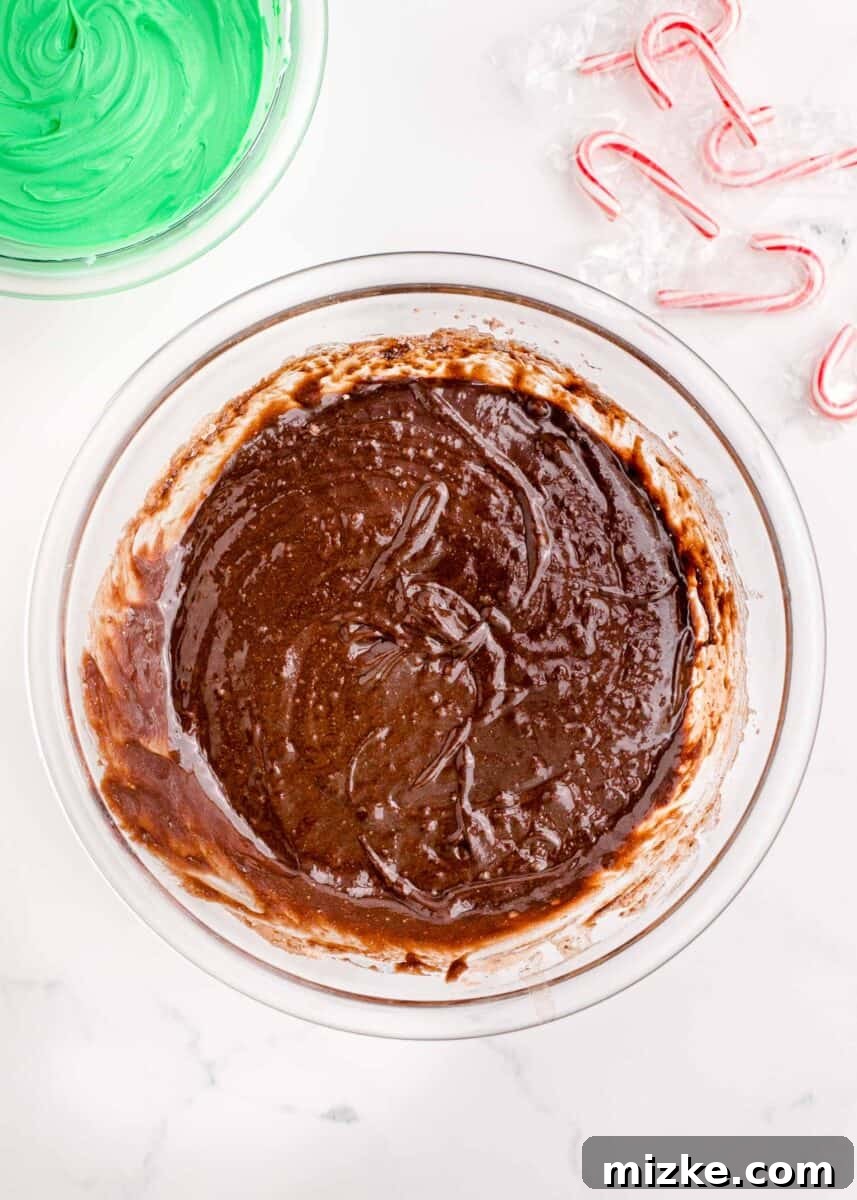
2. Mix the Brownie Batter: In a large mixing bowl, combine the ingredients required for your brownie mix as instructed on the box, along with the additional egg yolk. Using a whisk, stir everything together gently until just combined and the flour streaks have disappeared. Be careful not to overmix, as this can lead to a tougher, cake-like brownie instead of the desired fudgy texture. Once mixed, pour the luscious batter evenly into your prepared baking pan.
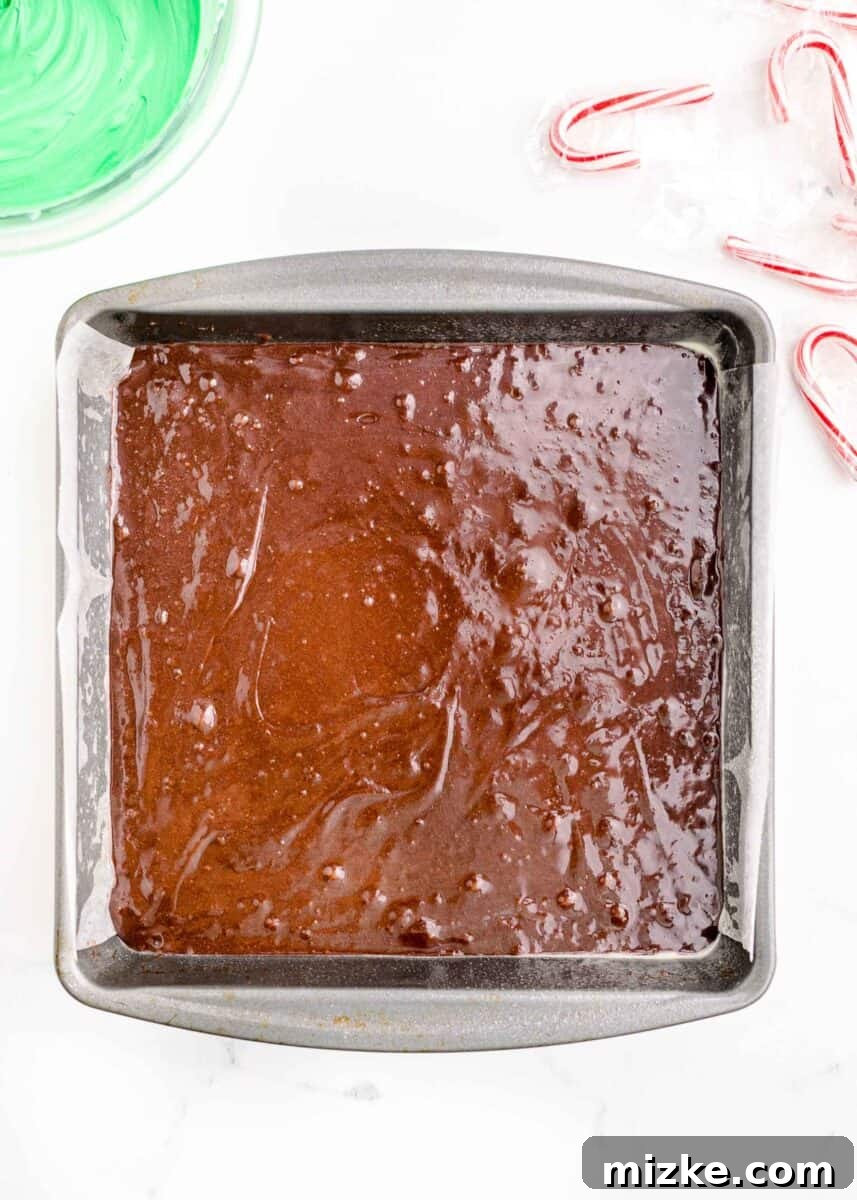
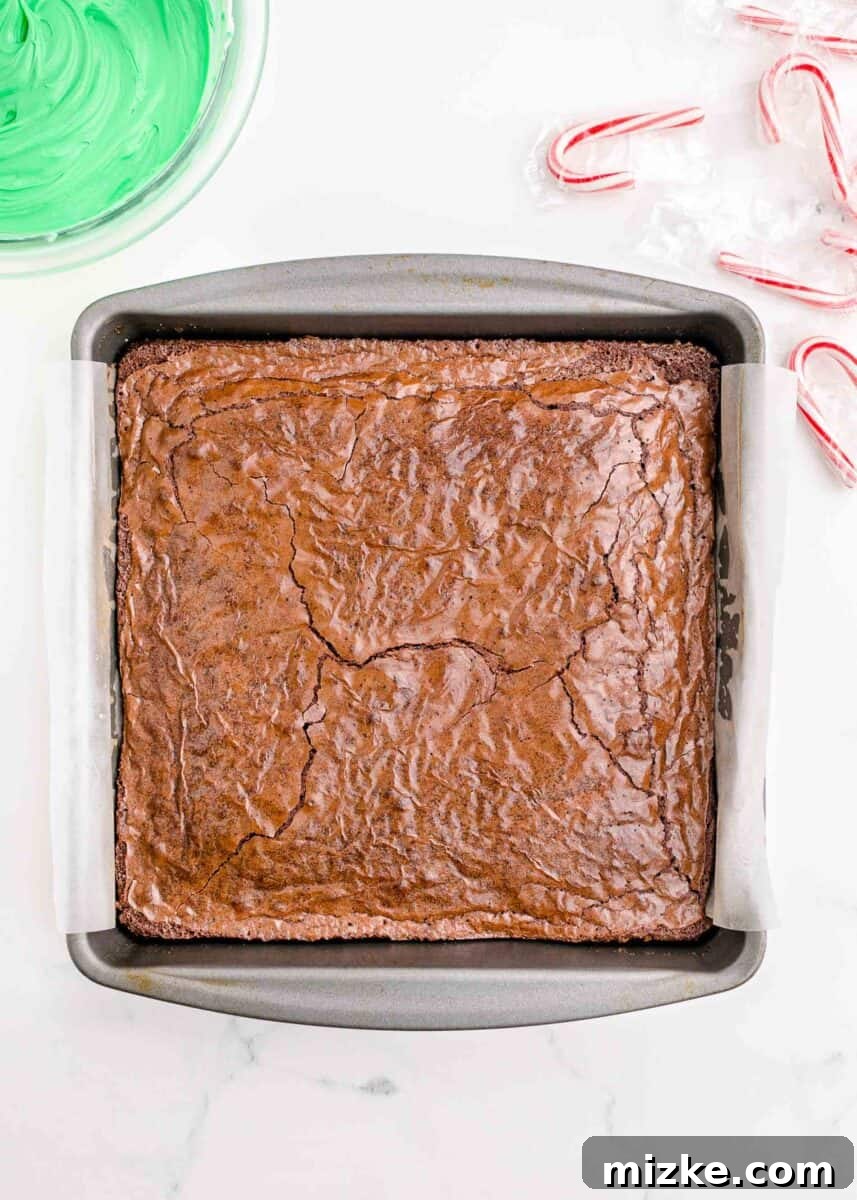
3. Bake to Perfection: Place the baking pan on the middle rack of your preheated oven. Bake for the minimum time indicated on the brownie mix box, then check for doneness. A fudgy brownie should have moist crumbs when a toothpick is inserted, not be completely dry. Avoid overbaking to maintain that coveted chewy, gooey texture. Once baked, remove the brownies from the oven.
4. Cool Completely: It’s crucial to let the brownies cool thoroughly before cutting. First, leave the brownies in their baking pan on a wire cooling rack at room temperature for a while. Once they’ve cooled down sufficiently, transfer the pan to the refrigerator. This step is key for ensuring neat, clean cuts later on. They should be completely chilled and firm.
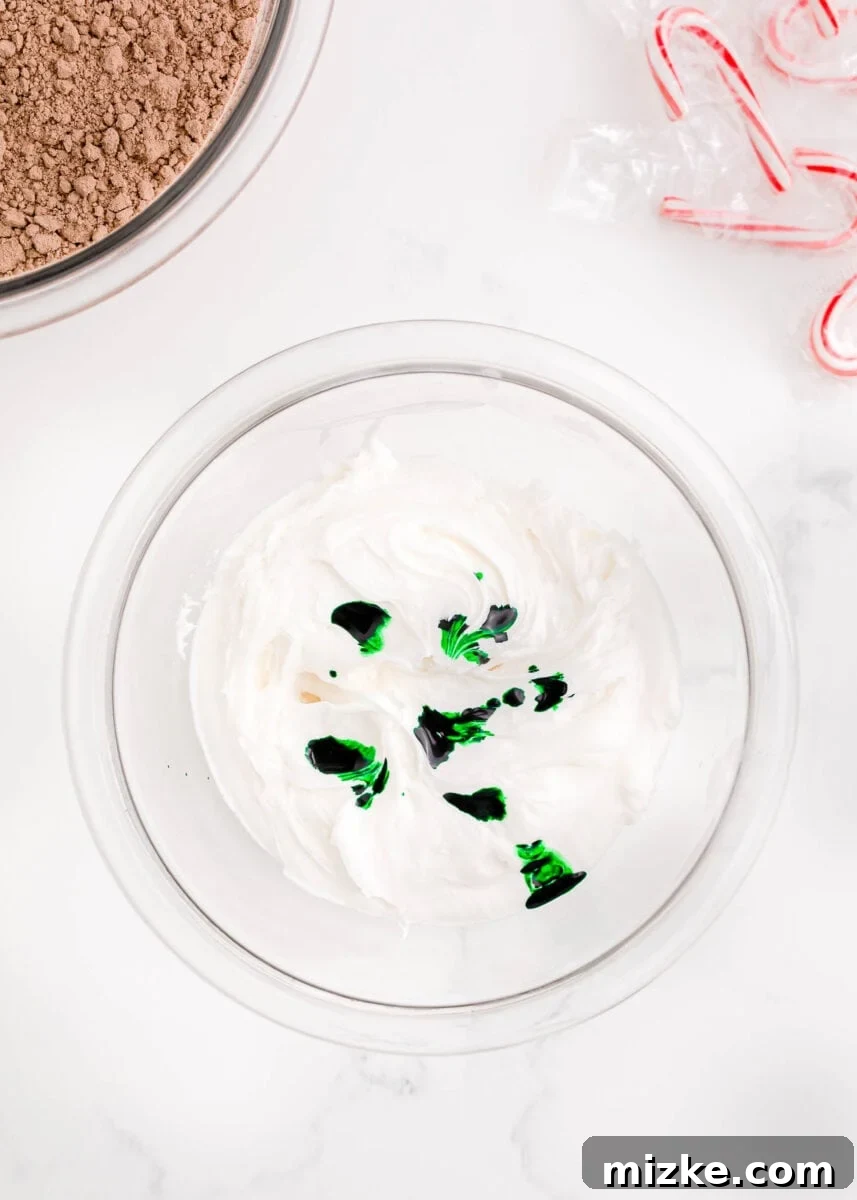
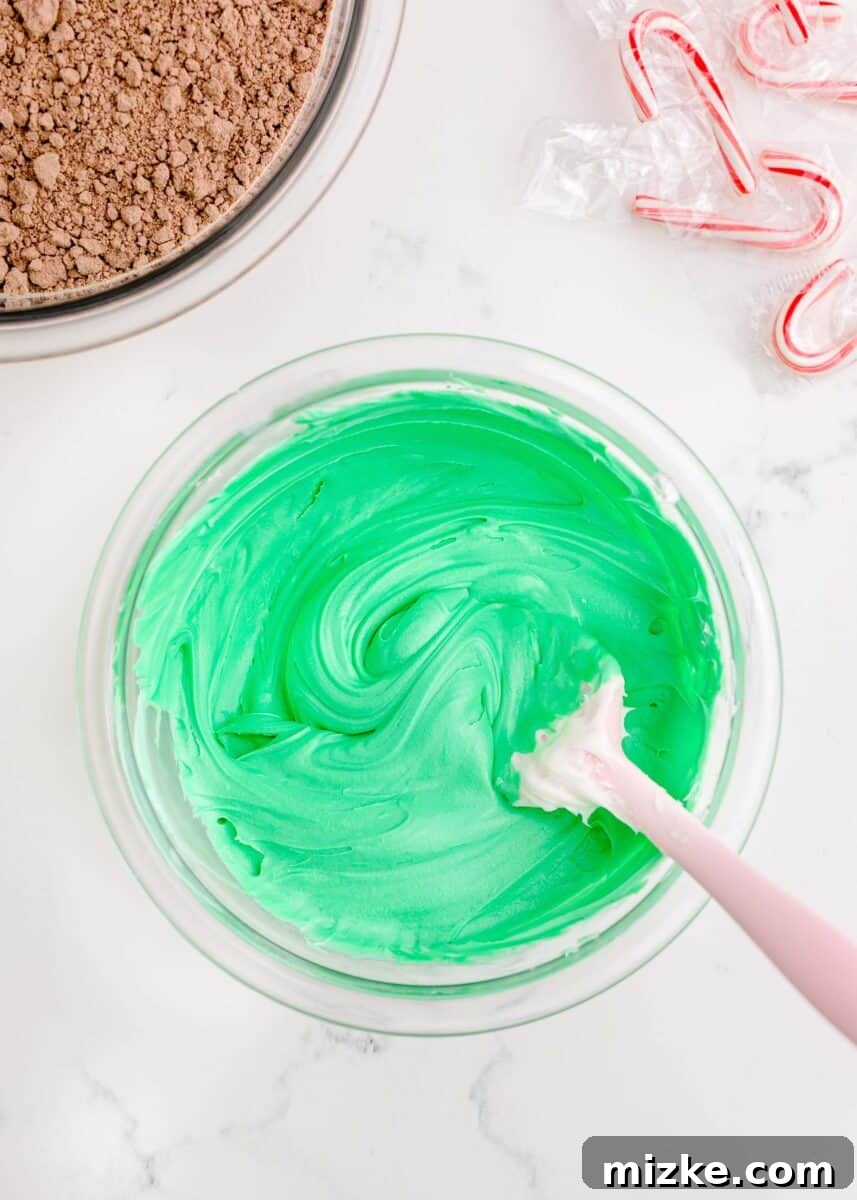
5. Prepare the Festive Frosting: While your brownies are cooling in the fridge, prepare your vibrant green frosting. In a separate bowl, combine the jar of white frosting with several drops of green food coloring. Stir thoroughly until you achieve a uniform, festive green hue. Add more coloring if you desire a deeper shade.
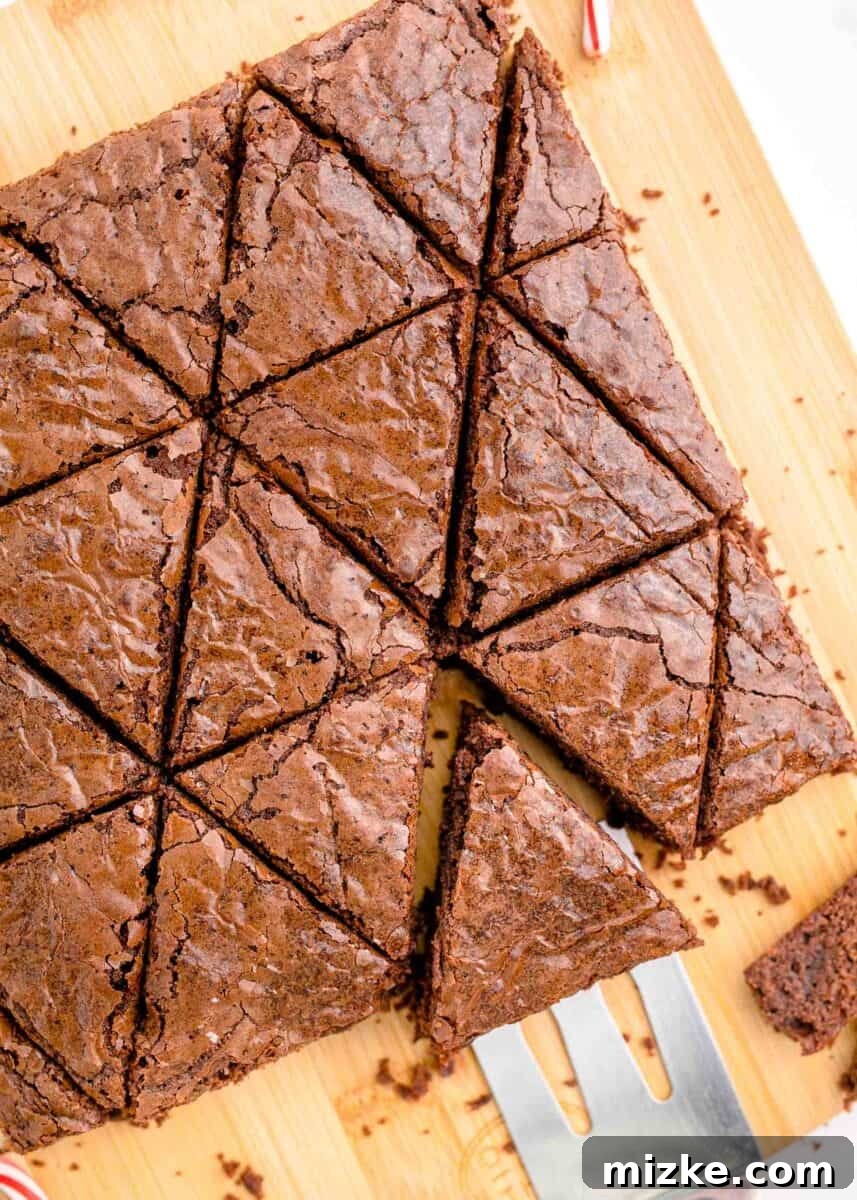
6. Cut into Tree Shapes: Once the brownies are completely chilled and firm, carefully lift the entire slab out of the pan using the parchment paper overhang. Place it on a cutting board. Now, it’s time to transform the brownies into festive tree shapes. Trim off the very outer edges for a clean finish. Then, cut the brownies into triangles. You can achieve this by cutting the large square into strips, and then cutting each strip diagonally to form triangles (see “Tips and Tricks” below for detailed cutting methods).
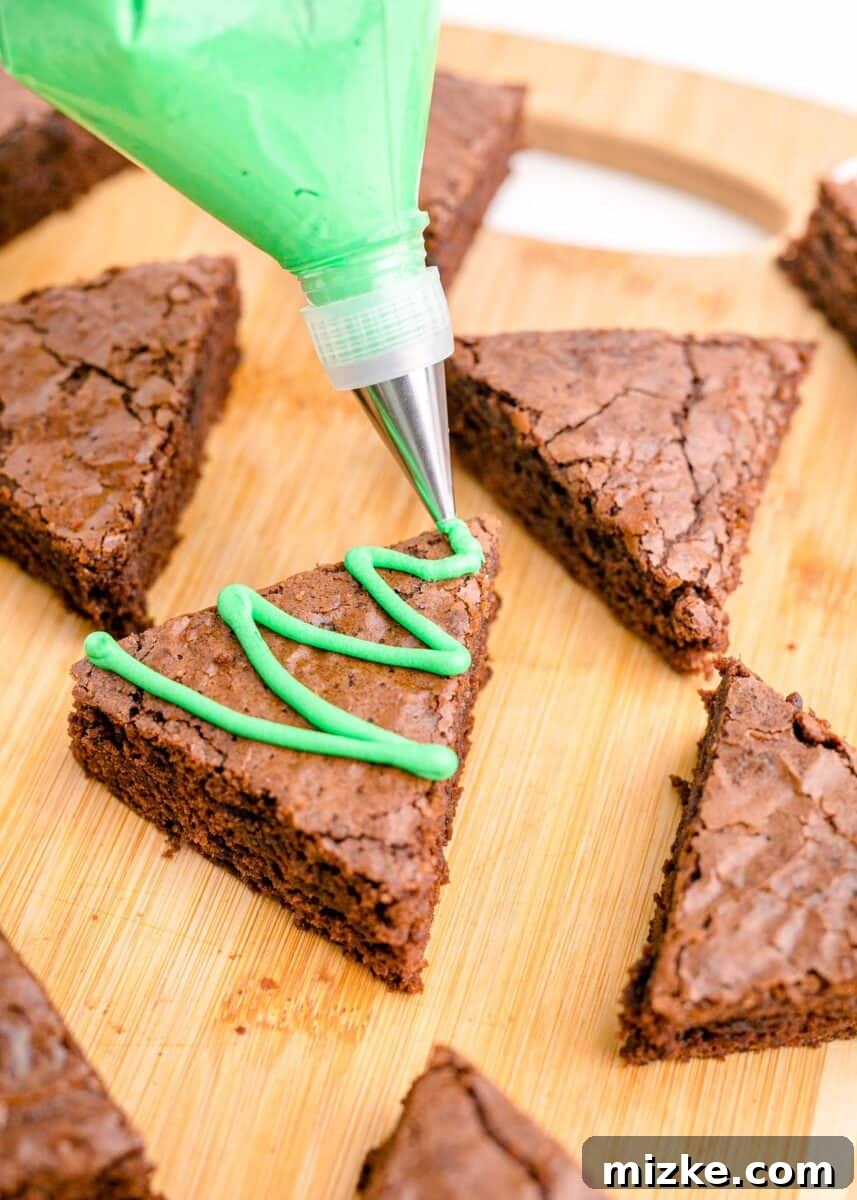
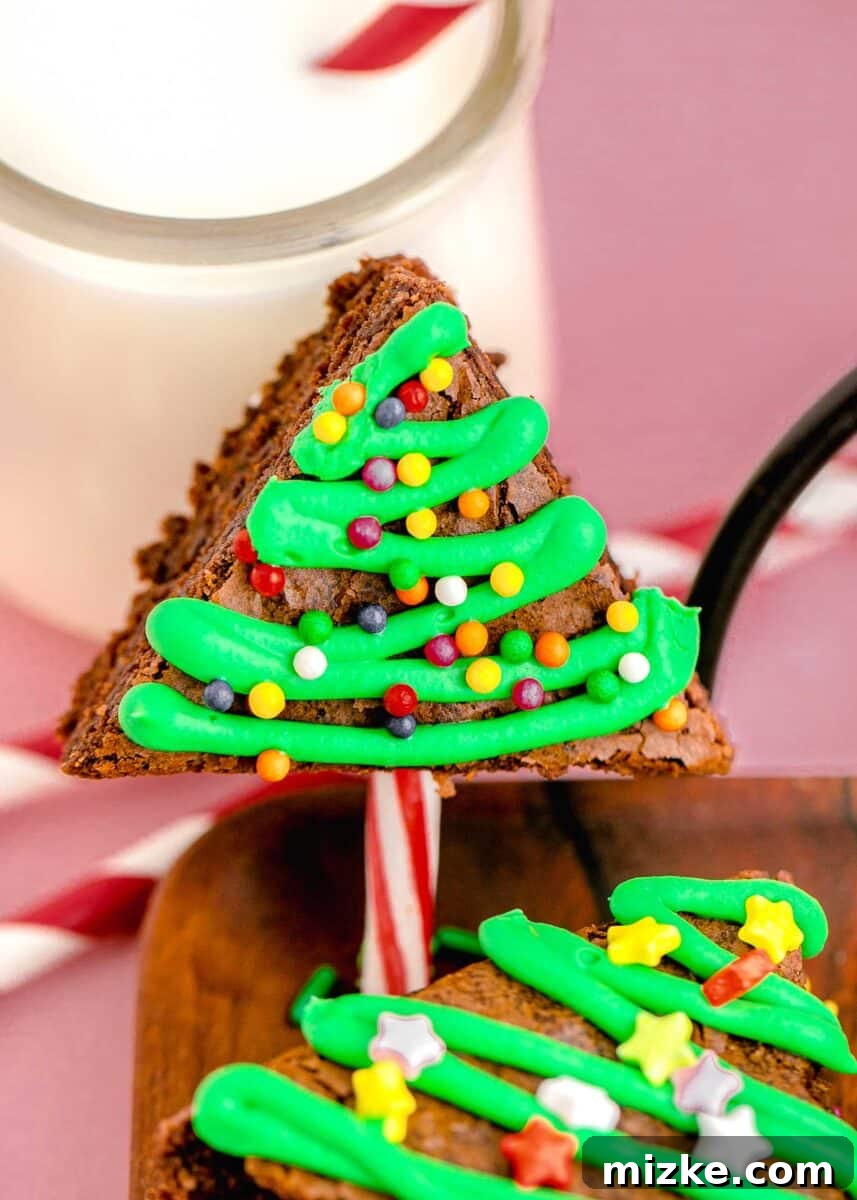
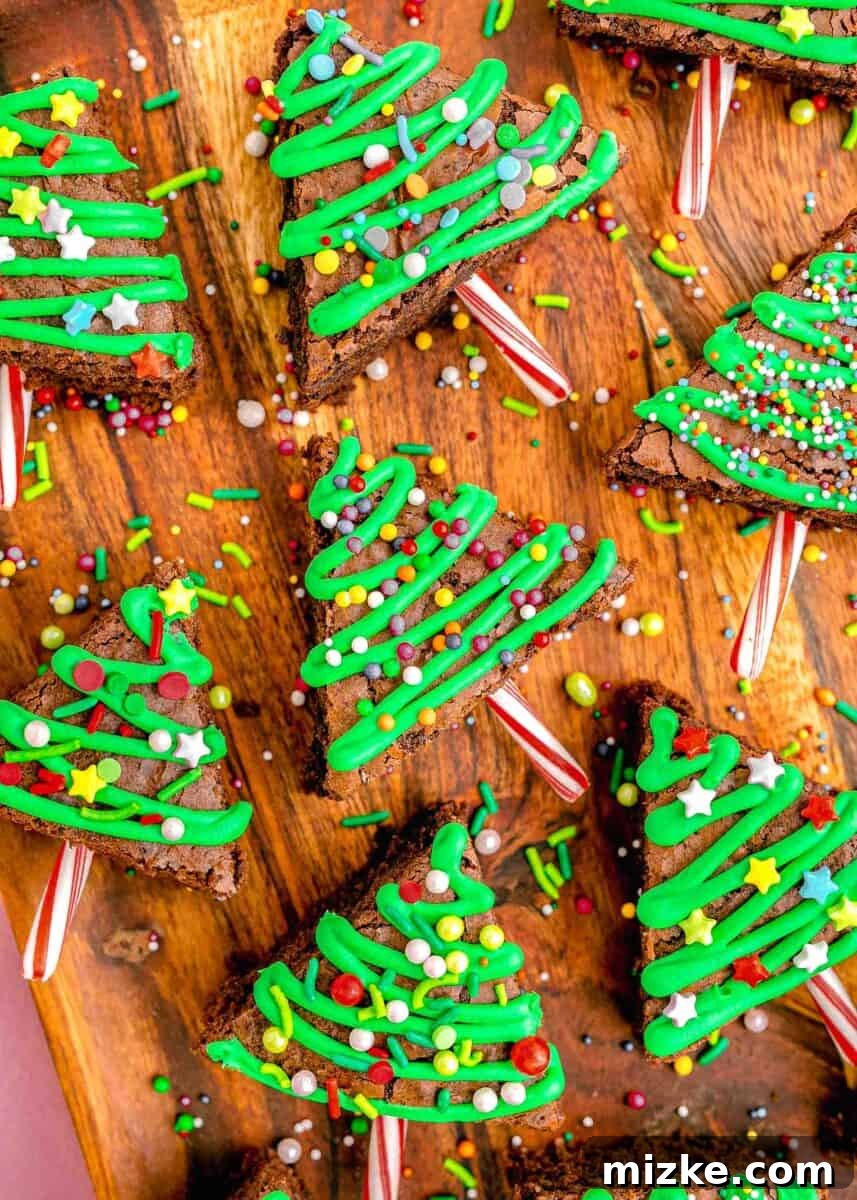
7. Decorate Your Christmas Trees: This is where the magic happens! Transfer your green frosting to a piping bag with a decorative tip (or simply use a Ziploc bag with a corner snipped off) for a beautiful piped effect, as shown in the photos. Alternatively, you can use an offset spatula to spread the frosting smoothly over each brownie triangle. Once frosted, immediately add your favorite sprinkles—colorful jimmies, sparkling stars, or festive nonpareils—to mimic ornaments. For an extra touch, carefully press a small piece of candy cane into the base of each brownie to serve as a whimsical tree trunk.
Expert Tips for Perfect Christmas Tree Brownies
Achieving holiday baking perfection is easy with these insider tips:
Mastering the Tree Shape: The way you cut your brownies significantly impacts the final look and yield.
- For Small Trees (Yields ~18): First, cut the cooled brownie slab into three long, equal strips. Then, take each strip and cut it into three equal squares. Finally, cut each of these squares in half diagonally to create two triangles. This method efficiently yields a charming array of smaller, uniform trees.
- For Large Trees (Yields ~8): Begin by cutting the brownie slab in half down the middle. From each half, you can cut four equal-sized triangles. This works best by making a zig-zag pattern. For perfectly symmetrical large trees, you might need to trim a very small angled piece off each end of the brownie half before cutting the zig-zags. This provides a more substantial, statement brownie.
Efficient Decorating: If you’re decorating a large batch or involving multiple helpers, set up an assembly line! One person can pipe or spread the frosting, and another can follow immediately with the sprinkles and candy cane trunks. This makes the process faster, more fun, and ensures sprinkles adhere well to fresh frosting.
Fudginess Factor: Beyond the extra egg yolk, avoid overmixing the batter and underbake slightly. Removing brownies from the oven when a toothpick still has moist crumbs (not raw batter) ensures they stay moist and fudgy as they cool.
Chilled for Clean Cuts: This tip cannot be stressed enough! Brownies must be completely cold and firm to achieve crisp, clean triangle shapes. Placing them in the freezer for 15-30 minutes after refrigeration can further firm them up, making cutting a breeze, especially if your brownies are particularly gooey.
Creative Frosting Options: Don’t limit yourself to just green. You can create a variety of colored frostings. Try red or white frosting with green sprinkles for a candy cane theme, or even mix a touch of cocoa powder into white frosting for a chocolate frosting tree. You can also use store-bought pre-tinted green buttercream for ultimate convenience, or whip up your own homemade buttercream for a richer flavor.
Adding the Trunk: For the candy cane trunk, gently press a small piece of a mini candy cane into the bottom center of each brownie triangle. If the brownie is very firm, you might need to make a small pilot hole with a knife first.
Edible Decorations Galore: Beyond classic sprinkles, consider miniature edible stars, silver or gold edible pearls, tiny red hot candies, or even finely crushed peppermint pieces for a festive touch. A dusting of powdered sugar over the finished trees can mimic freshly fallen snow, adding an elegant final flourish.
Frequently Asked Questions About Christmas Tree Brownies
Here are answers to some common queries to help you bake the best holiday brownies:
How can I ensure my brownies are wonderfully fudgy, not dry and cakey? Several factors contribute to that perfect fudgy texture. Firstly, make sure your eggs (and any butter if your specific mix calls for it) are at room temperature; this helps them emulsify better with other ingredients. Secondly, and critically, only stir the batter until the dry ingredients are just incorporated – stop as soon as the flour disappears. Overmixing develops gluten, leading to a cakey texture. Lastly, avoid over-baking! Brownies are typically done when a toothpick inserted near the center comes out with moist crumbs, not liquid batter, but also not completely clean. A slightly underbaked brownie (within reason) often results in a fudgier final product.
I’m having trouble cutting the brownies neatly – any advice? Absolutely! The key to neat cuts is a well-chilled brownie. Ensure your brownies are very well cooled, preferably after spending some time in the refrigerator. For an even firmer slab that cuts like a dream, you might want to place them in the freezer for 15-30 minutes just before cutting, depending on how dense and gooey your brownies are. A sharp, warm knife (wiped clean between each cut) also makes a huge difference. Run your knife under hot water, wipe it dry, then make your cuts.
I don’t have parchment paper. Can I just spray the baking pan? While spraying the pan can prevent sticking, for this particular recipe, it is really important that the entire pan of brownies can be cleanly removed as a single slab. This is essential for easily cutting the tree shapes. If you don’t have parchment paper, aluminum foil can be a good substitute. Line the pan with foil, leaving an overhang, and spray the foil lightly with non-stick spray. This will give you the “handles” needed for easy lifting.
Can I use my electric mixer to mix the brownie batter? To keep these brownies as dense and fudgy as possible, we really want to avoid over-mixing the batter and incorporating too much air. Using an electric mixer, especially on higher speeds, can easily lead to overmixing. It is much better to mix the batter by hand using a whisk and then a sturdy spatula if needed, just until the dry ingredients are moistened and the flour disappears. This gentle approach helps ensure a richer, denser brownie.
Could I use a glass baking dish instead of a metal one? While a glass baking dish can certainly be used, I generally recommend a light metal dish for brownies. Metal pans conduct heat more efficiently and evenly, which often results in chewier edges and a more consistent bake for brownies. Glass dishes tend to retain heat more, sometimes leading to crispier edges and a slightly different texture. However, if a glass dish is all you have, it will certainly work fine; just keep an eye on your baking time as it might vary slightly.
Storage Instructions
To keep your festive Christmas Tree Brownies fresh and delicious, store them in an airtight container. They will keep beautifully for up to 1 week in the refrigerator. For longer storage, you can freeze them for up to 3 months. Thaw frozen brownies in the refrigerator overnight or at room temperature for a few hours before serving.
Explore More Festive Holiday Recipes
If you’re looking for more delicious ways to celebrate the season, check out these other delightful holiday treats:
- Chocolate Peppermint Lofthouse Cookies
- Cinnamon Brown Sugar Cookies
- Frosted Holiday Sugar Cookies
- Creating a Holiday Cookie Box
Christmas Tree Brownies
These brownies start with an easy boxed mix, so you can quickly whip up a batch of these delightful holiday treats!
Equipment
- Square baking pan
Ingredients
- 1 boxed brownie mix and ingredients recommended (usually oil, eggs, and water)
- 1 extra egg yolk
- Jar of white frosting
- Green Food Coloring
- Sprinkles
Instructions
- Preheat the oven to the temperature recommended on the box of brownies mix.
- Prepare a 9X9 inch baking pan (preferably a light metal pan) by lining it with parchment paper. Leave extra parchment paper over the edges so you can easily remove the whole pan of brownies later.
- Use a whisk to stir together the ingredients recommended on the box of brownies and 1 egg yolk. Do not over-mix; stir just until the flour disappears.
- Pour the mixture into the prepared pan and bake the brownies on the middle rack in your oven.
- Check the brownies a few minutes before the minimum time recommended on the box. You do not want to over bake them. Insert a toothpick to test doneness; there should be some streaks of batter on the toothpick. If they are not at this point yet, give them just a few more minutes at a time.
- Leave the brownies in the pan and place it on a cooling rack. After a few minutes, move the pan into the fridge to cool completely.
- While the brownies are cooling, mix together the white frosting and green food coloring until uniformly green.
- Once completely cooled, remove the brownies from the pan using the parchment paper. Trim off the outer edges for clean lines.
- Do not cut the brownies unless they are completely cooled and firm – if they are not, return them to the fridge (or freezer for 15-30 minutes) and wait until they are completely chilled.
- There are 2 different ways to cut these depending on how large you want the trees to be:
- If you want small trees (you can get about 18), cut the brownies into 3 long strips. Then cut the strips into triangles – this will make 3 rows with 6 triangles each. (Cut 3 equal squares from each strip, then cut the squares in half on the diagonal.)
- If you want large trees (you can get about 8), cut the brownies in half down the middle. You will be able to cut 4 equal size triangles from each half. (It is like a zig-zag pattern.) This will only work if you trim a little off of each end, at an angle.
- Decorate with green icing and sprinkles. For an adorable tree trunk, stick a small, cut piece of candy cane into the bottom of each brownie triangle.
Notes
You can also use pre-tinted green buttercream in a jar or make your own from scratch for extra flavor!
Nutrition
Serving: 1 tree, Calories: 231 kcal, Carbohydrates: 40g, Protein: 3g, Fat: 7g, Saturated Fat: 2g, Polyunsaturated Fat: 0.5g, Monounsaturated Fat: 3g, Cholesterol: 19mg, Sodium: 150mg, Potassium: 2mg, Sugar: 25g
This website provides approximate nutrition information for convenience and as a courtesy only. Nutrition information can vary for a variety of reasons. For the most precise nutritional data use your preferred nutrition calculator based on the actual ingredients you used in the recipe.
The default measuring system for this website is US Customary. Unit conversions are provided for convenience and as a courtesy only. While we strive to provide accurate unit conversions, please be aware that there may be some discrepancies.