

Oreo ice cream is more than just a dessert; it’s a delightful experience, a sweet symphony that perfectly combines the rich flavor of chocolate cookies with a creamy vanilla dream. This recipe, requiring only 5 simple ingredients and absolutely no ice cream machine, is poised to become your go-to treat for satisfying all your cookies and cream cravings. Prepare to indulge in a homemade delicacy that’s both incredibly easy to whip up and utterly irresistible!
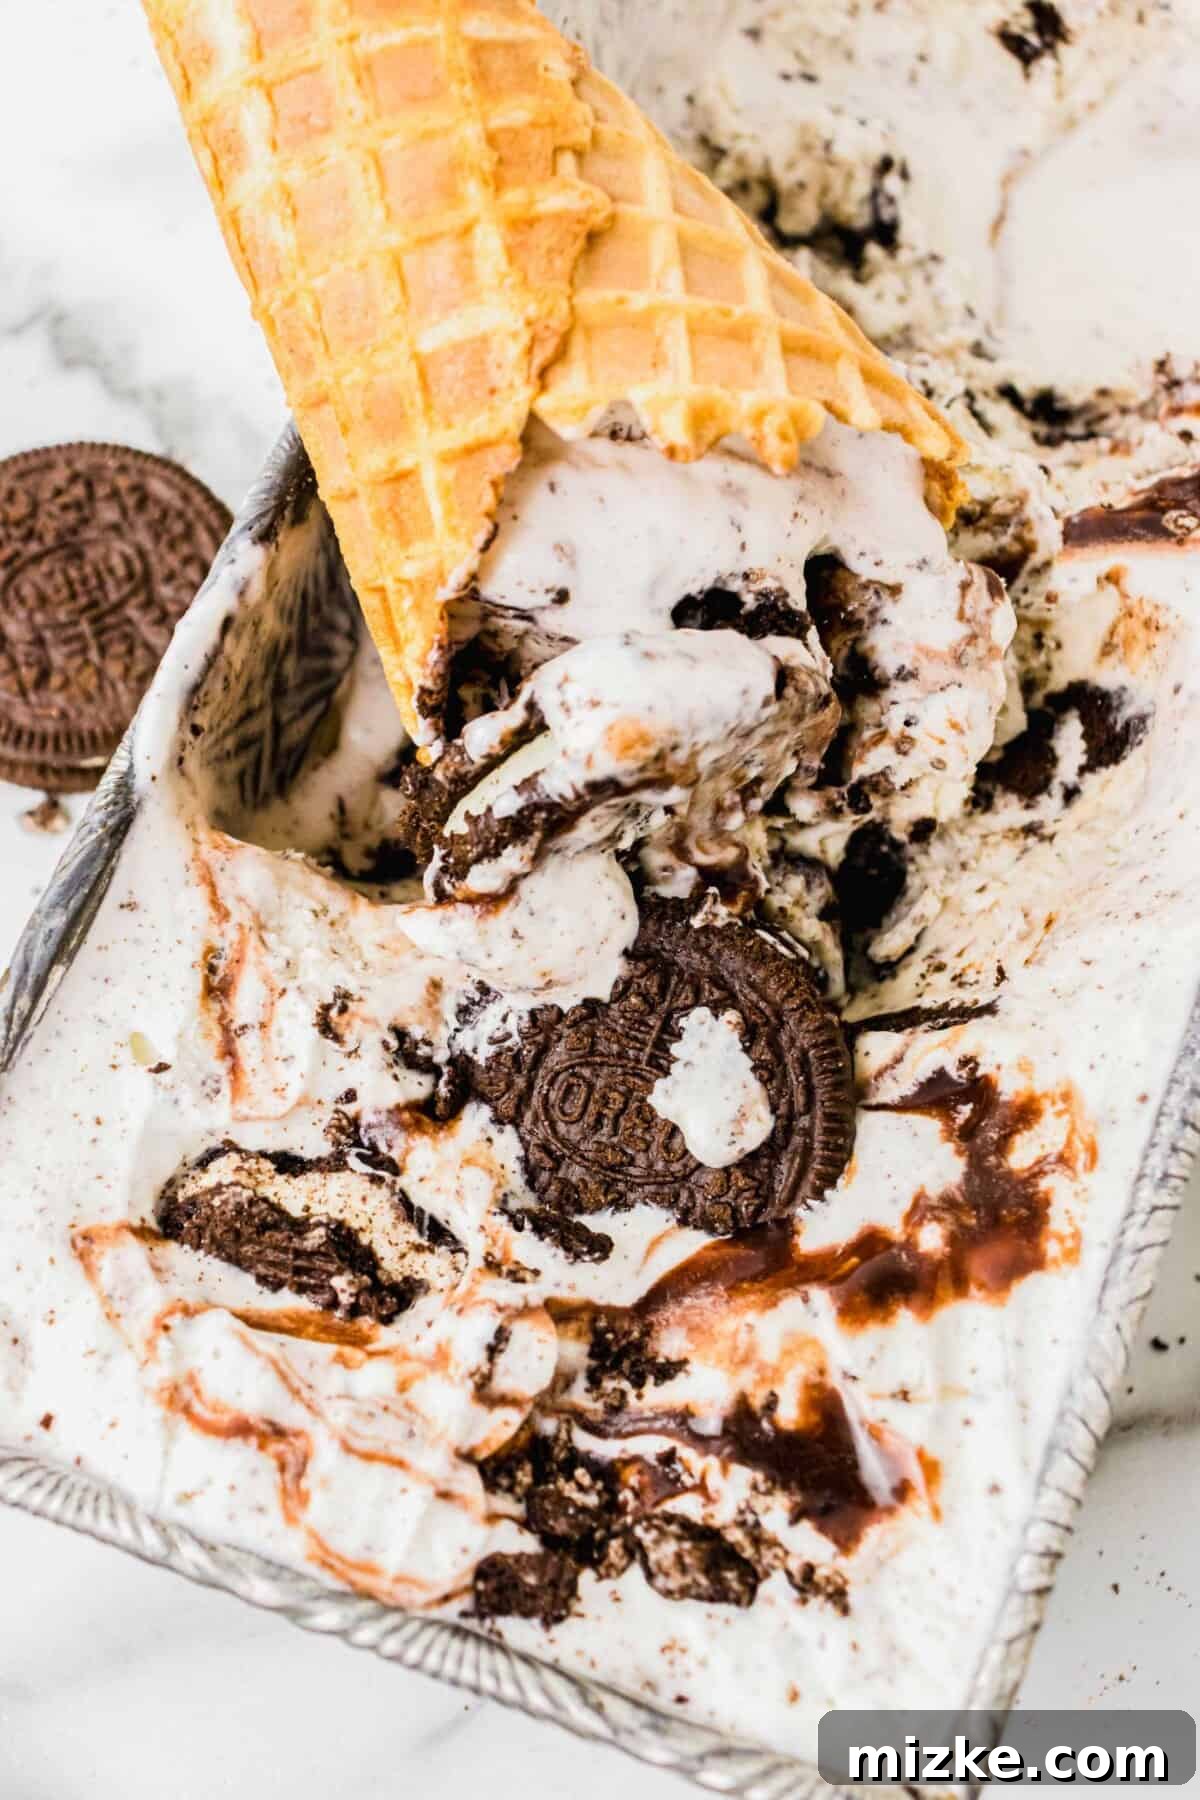
The Ultimate No-Churn Oreo Ice Cream: A 5-Ingredient Sweet Escape
They say that money can’t buy you happiness, but it certainly can buy you the five inexpensive ingredients needed to create this heavenly no-churn Oreo ice cream. If you ask me, that’s a pretty strong argument for money buying happiness, at least in dessert form! Forget complicated machinery or lengthy processes; this recipe simplifies homemade ice cream, bringing pure joy directly to your freezer. It’s a game-changer for anyone who loves the classic cookies and cream flavor but prefers a fuss-free approach to dessert making.
If you’re an Oreo fanatic like I am, or simply adore the timeless cookies and cream flavor, this recipe is absolutely right up your alley. My obsession with all things cookies and cream led me to perfect this sweet concoction. Each spoonful offers a rich tapestry of Oreo flavor – the deep chocolate notes of the cookies beautifully complemented by the sweet vanilla filling. It’s a taste experience that delivers pure bliss in every single bite, making it the ideal treat for a hot summer day, a cozy movie night, or simply whenever a sweet craving strikes. The textural contrast between the smooth, velvety ice cream and the crunchy cookie pieces is simply divine.
The beauty of no-churn ice cream lies in its incredible simplicity and accessibility. By combining just two main ingredients – whipped heavy cream and sweetened condensed milk – you create a rich, creamy base that freezes into a perfect ice cream texture without the need for constant churning in an expensive machine. Adding crushed Oreos transforms this versatile base into a universally beloved classic, while a thoughtful swirl of hot fudge elevates it to an extraordinary, visually stunning dessert. Get ready to impress your family and friends with this surprisingly easy yet incredibly decadent homemade treat that tastes like it came from a gourmet ice cream parlor!
This recipe is perfect for beginner home cooks and seasoned dessert makers alike. It requires minimal active prep time, making it an excellent choice for last-minute gatherings or when you need a simple yet spectacular dessert. Plus, the customization possibilities are endless, allowing you to tailor it to your exact preferences. So, grab your apron, gather your ingredients, and prepare to embark on a delightful journey to homemade ice cream perfection.
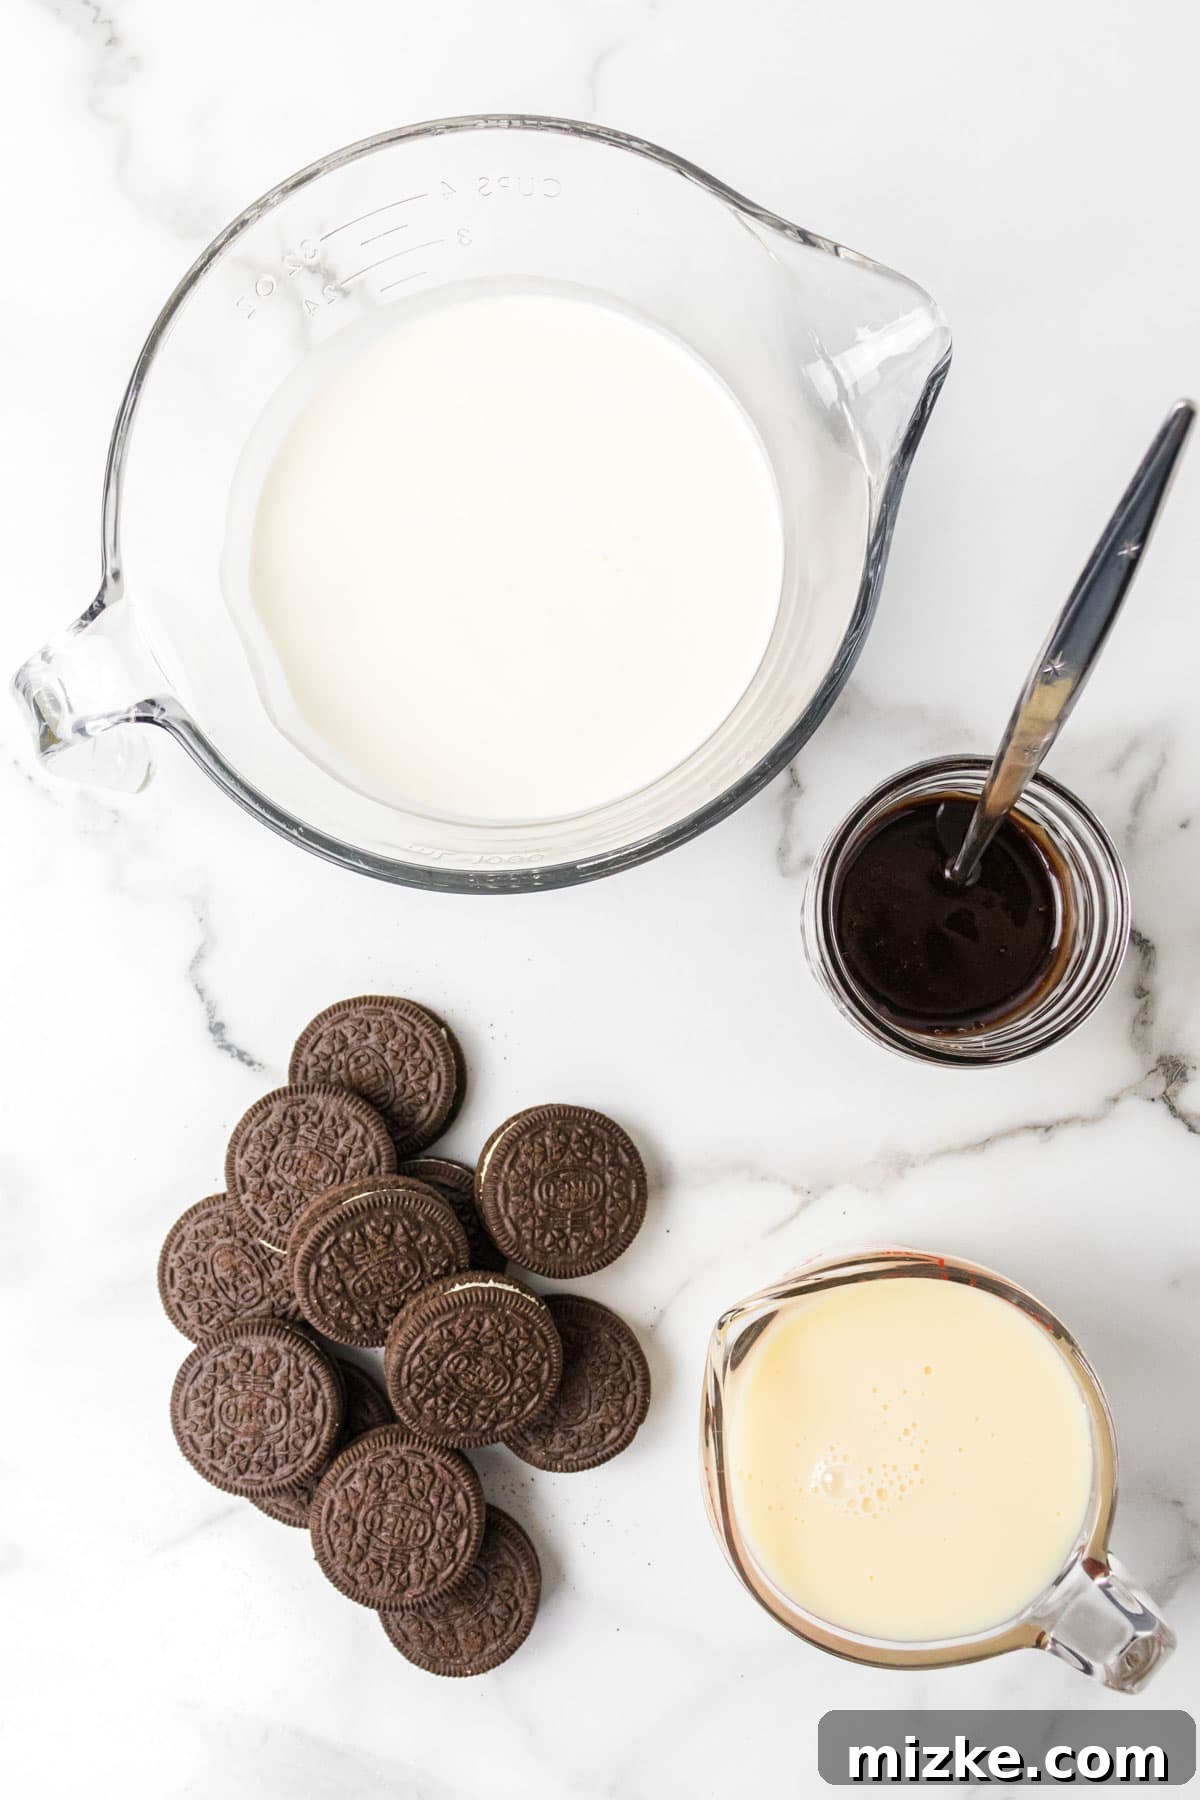
Essential Ingredients for Your No-Churn Oreo Ice Cream
Crafting this incredible Oreo ice cream requires only a handful of readily available ingredients, each playing a crucial role in creating that signature creamy texture and irresistible flavor. Here’s a closer look at what you’ll need and why these components are vital:
- Oreos: You’ll need approximately 20 to 30 cookies to ensure a generous amount of crunchy, chocolatey cookie bits in every single scoop. For an authentic and satisfying cookies and cream experience, I highly recommend sticking with the classic original Oreos. While the market offers countless exciting new Oreo flavors, the iconic chocolate wafer and sweet vanilla cream of the original are simply unparalleled in this recipe, providing that nostalgic and beloved taste.
- Heavy Whipping Cream: This is arguably the most critically important ingredient for achieving the luxurious, airy, and creamy consistency that defines excellent no-churn ice cream. When whipped, it incorporates air, creating a light and fluffy base. It’s the foundation of our no-churn method, and its high-fat content is essential for a rich, smooth texture. Please do not substitute it with lighter creams, half-and-half, milk, or any other lower-fat dairy products, as they will not whip up properly and your ice cream will lack the desired volume and velvety texture.
- Sweetened Condensed Milk: This magical ingredient serves a dual purpose in our recipe. Firstly, it adds a perfect level of sweetness to the ice cream base without requiring additional granulated sugar. Secondly, and equally important, it contributes significantly to the smooth, dense creaminess of the finished ice cream. Its thick consistency helps prevent the formation of large, undesirable ice crystals during freezing, ensuring a delightfully soft and scoopable treat every time.
- Hot Fudge Topping: While technically listed as optional, I honestly can’t imagine skipping this indulgent component! A generous swirl of rich hot fudge adds an incredible layer of chocolatey decadence and visual appeal that takes this Oreo ice cream from merely delicious to absolutely divine. It introduces gooey, luscious chocolate ribbons throughout the ice cream, creating a delightful contrast with the crunchy cookie chunks and enhancing the overall chocolate experience.
- Vanilla Extract: Just a dash of pure vanilla extract is all that’s needed to truly elevate the flavor profile. It doesn’t merely add sweetness; it deepens and enhances all the other flavors present, particularly the inherent vanilla notes in the Oreo cream filling and the overall ice cream base. This small addition brings a more complex, well-rounded, and satisfying taste, making your homemade ice cream truly special.
Ingredient Spotlight: Why These Five Work Wonders
The synergy between these five carefully chosen ingredients is what makes this no-churn recipe so brilliant and reliable. The heavy whipping cream, when whipped to firm peaks, incorporates vital air, giving the ice cream its initial light and fluffy structure. The sweetened condensed milk then steps in to provide the essential sugar content and its unique properties prevent the mixture from freezing into an icy block, instead yielding that wonderfully smooth and scoopable texture we all crave. Oreos, of course, provide the iconic flavor, delightful crunch, and visual appeal, while vanilla extract rounds out the sweetness and deepens the aromatic profile. Finally, the hot fudge topping weaves in rich, gooey chocolate veins, creating an irresistible depth of flavor and a beautiful marbled effect. Together, they form a perfect harmony of taste and texture.
Step-by-Step Guide: How to Make No-Churn Oreo Ice Cream
Making this homemade Oreo ice cream is surprisingly straightforward and incredibly rewarding. Follow these simple steps meticulously for a dessert that tastes gourmet but requires minimal effort. Get ready for a delicious adventure in your kitchen, culminating in a freezer full of your new favorite treat!
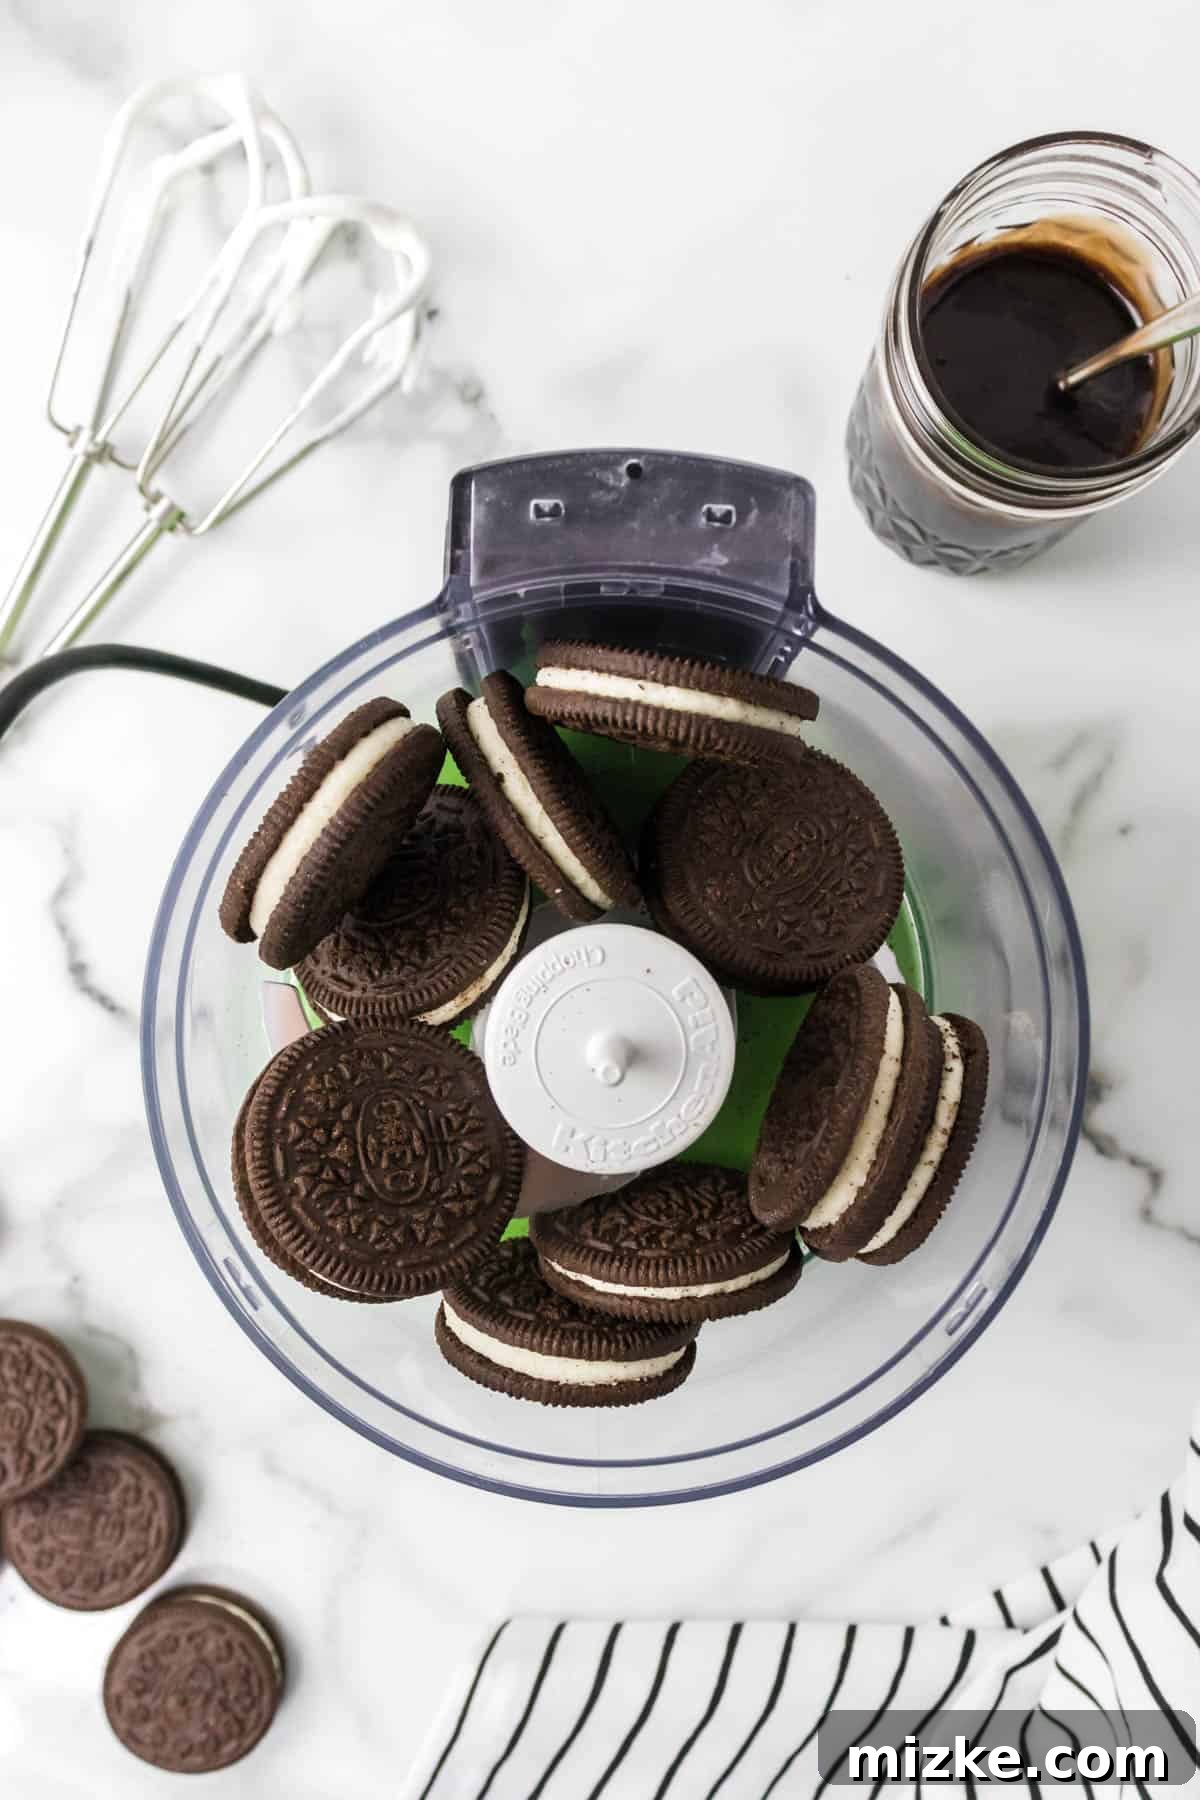
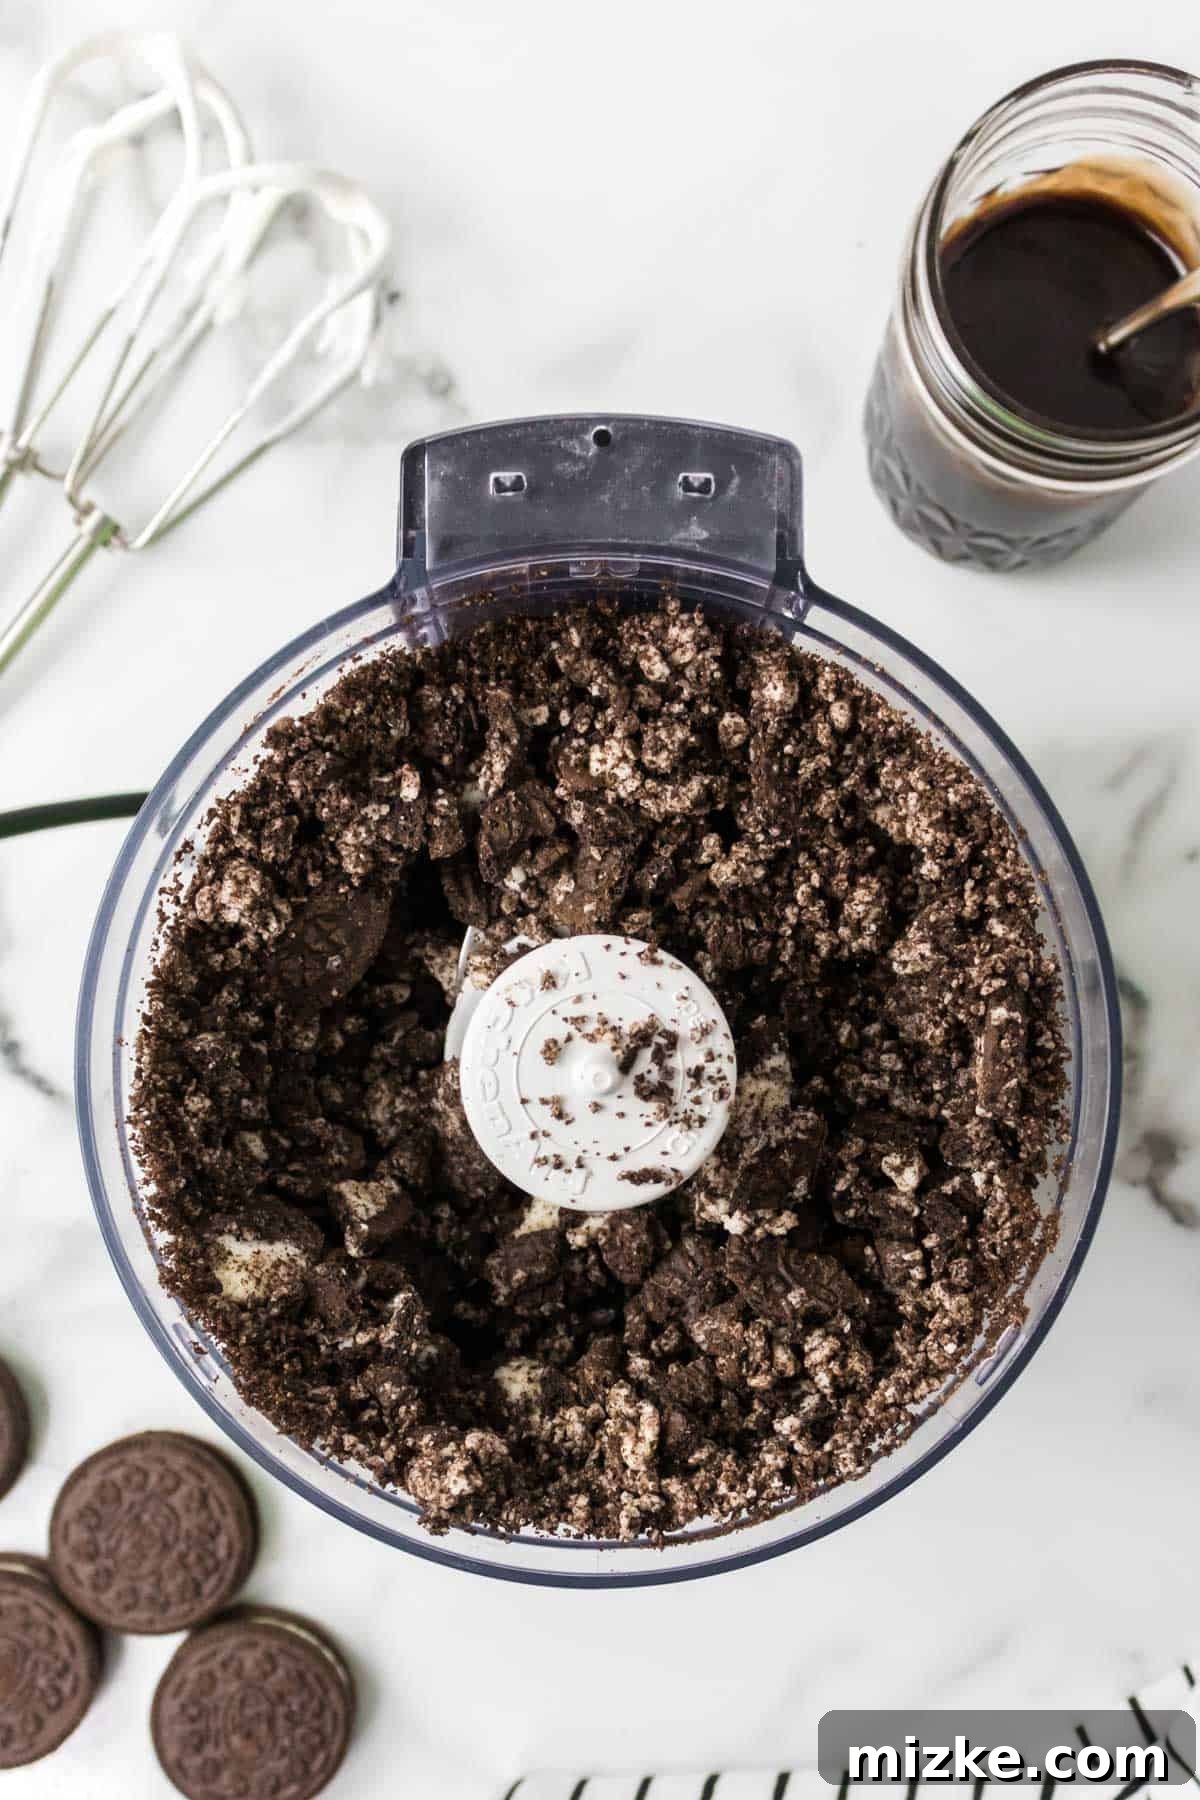
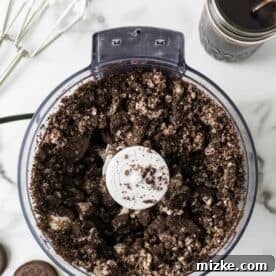
- 1. Crush the Oreo Cookies: This is where the cookie magic truly begins! Place your 20-30 classic Oreo cookies into a food processor. Pulse them a few times until they are crushed into a delightful mix of fine crumbs and some larger, chunky pieces. The variation in texture adds an exciting element to each bite. If you don’t own a food processor, don’t worry! Simply place the Oreos in a sturdy zip-top bag and use a mallet, rolling pin, or even the bottom of a heavy pan to smash them manually. Once crushed, set aside about one-quarter of the crushed Oreos; these will be reserved for a beautiful topping later. The remaining three-quarters will be mixed into the ice cream base.
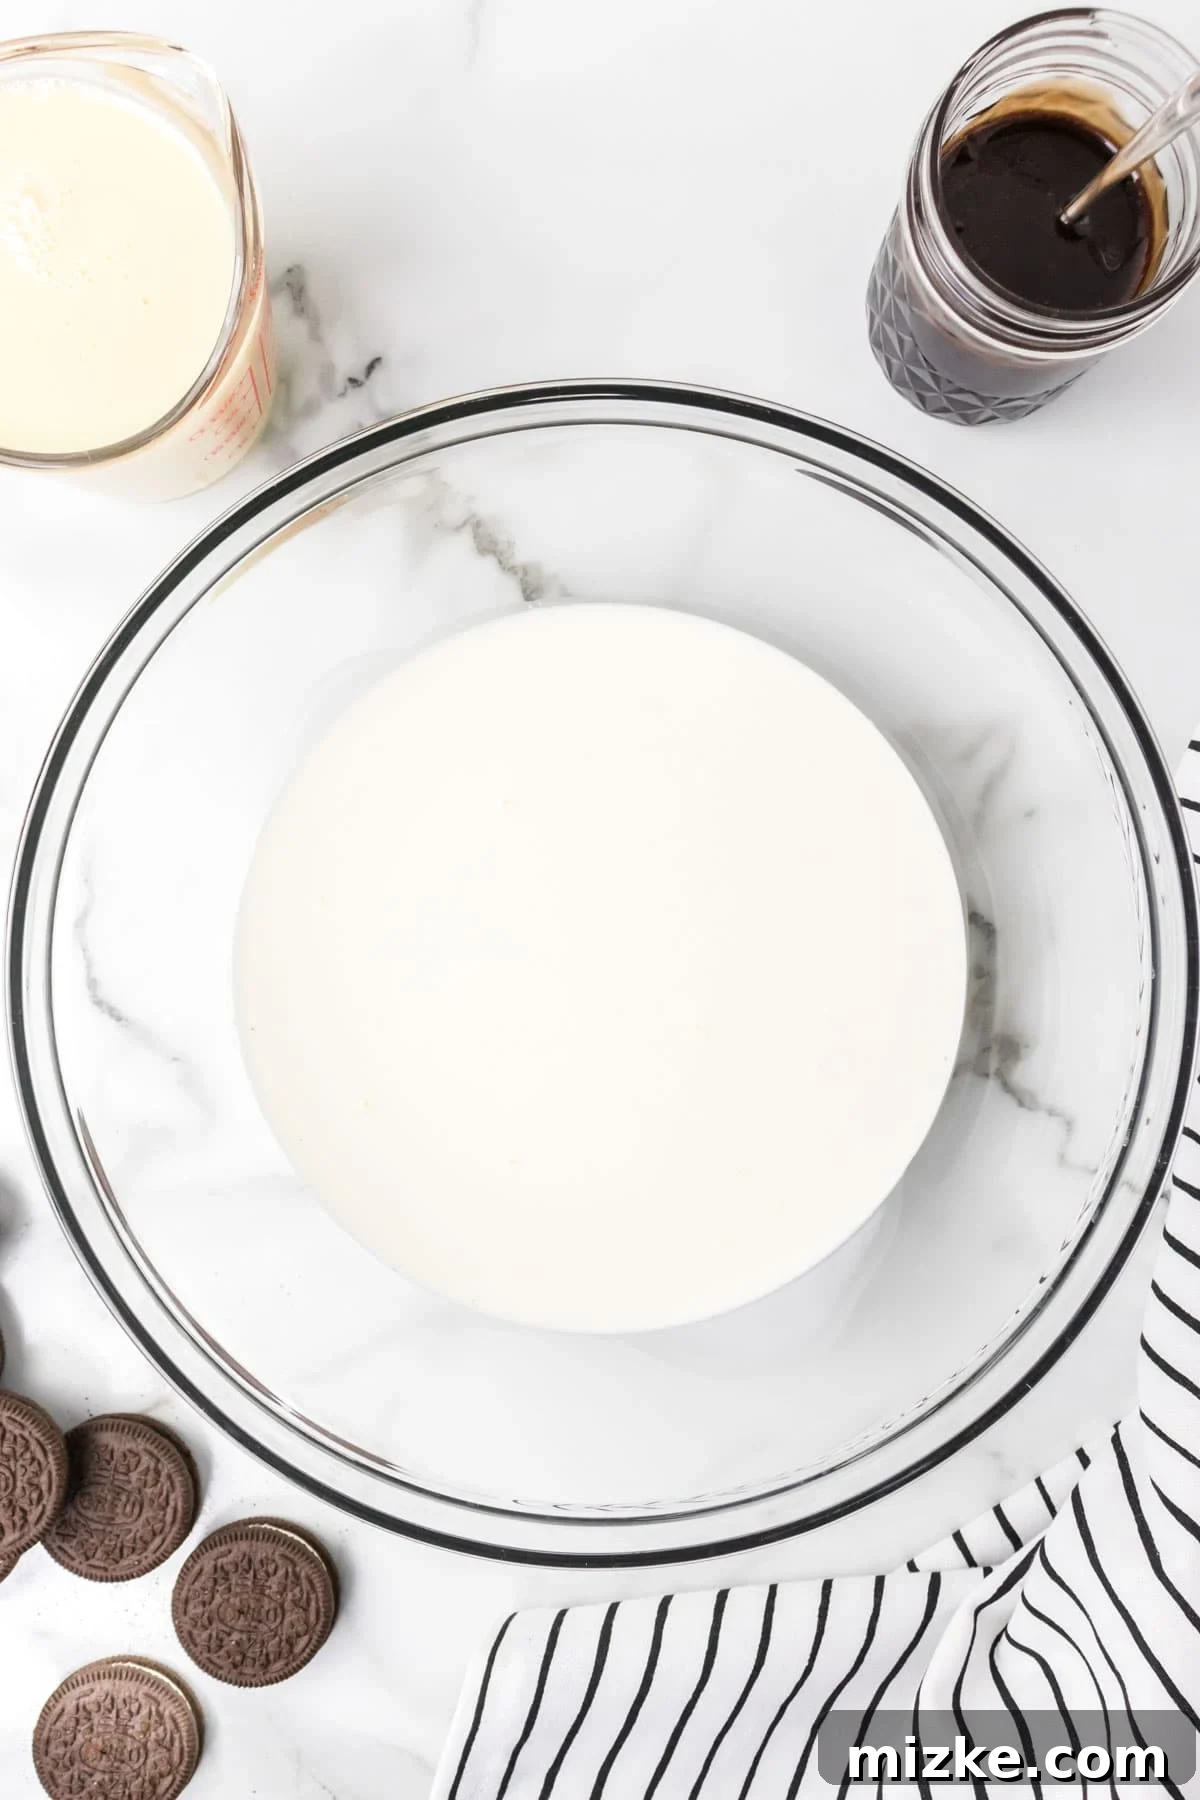
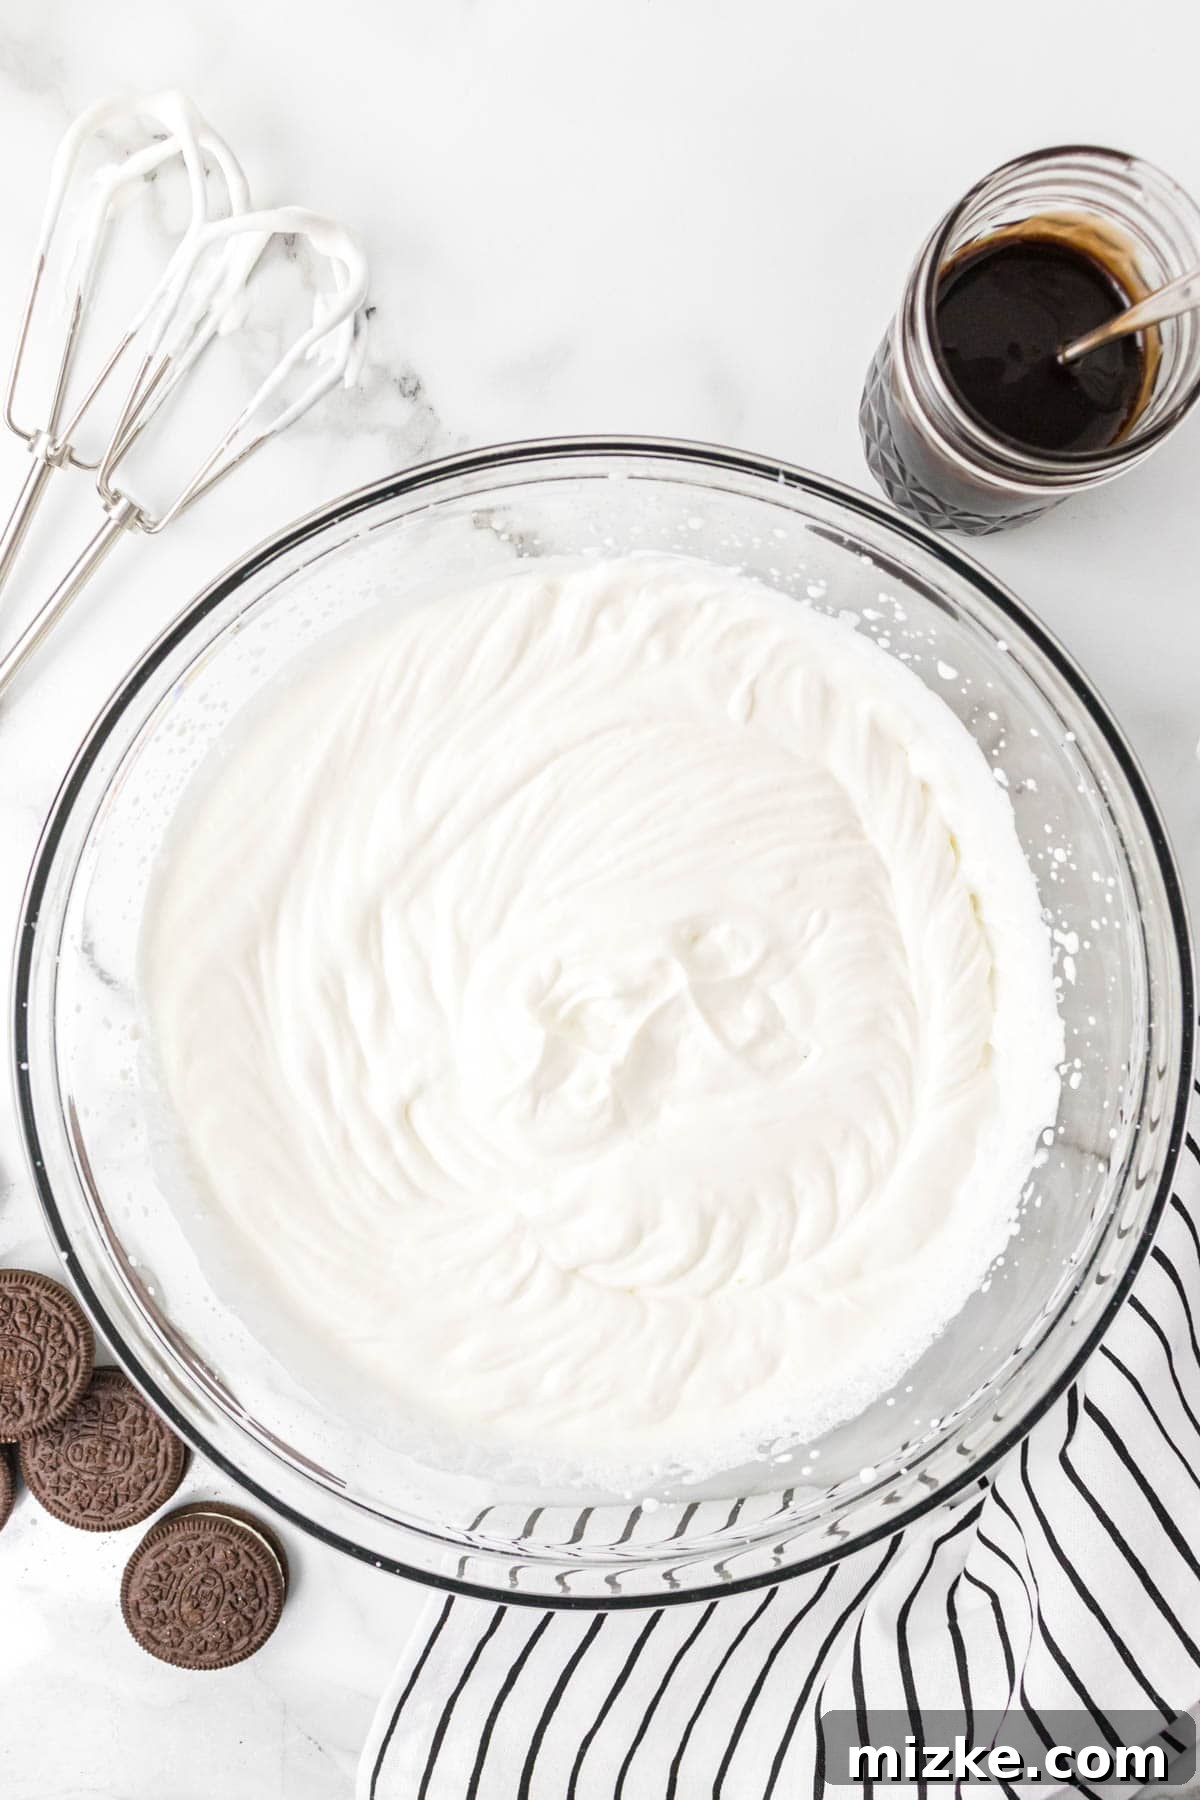
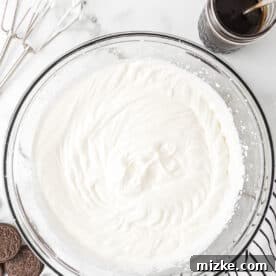
- 2. Whip the Heavy Cream: Ensure your heavy whipping cream is well-chilled – this is key for optimal whipping. Pour the cold heavy whipping cream into a large mixing bowl. Using a stand mixer fitted with the whisk attachment (or an electric hand mixer), beat the cream on medium-high speed until firm, stiff peaks form. This means when you lift the whisk, the cream should hold its shape without drooping. Be vigilant not to over-whip, as it can quickly turn grainy or even into butter. For an extra boost, you can chill your mixing bowl and whisk in the freezer for 10-15 minutes before starting.
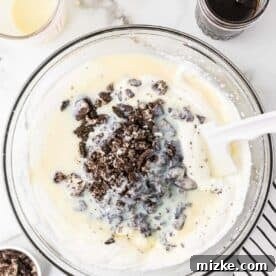
- 3. Prepare the Ice Cream Base: Once your heavy cream is perfectly whipped, gently pour the entire can of sweetened condensed milk into the bowl. Using a rubber spatula, carefully fold the condensed milk into the whipped cream until just combined. The goal here is to maintain as much of that airy volume as possible from the whipped cream, so use a gentle folding motion rather than stirring vigorously. If you’re using vanilla extract (highly recommended for a richer flavor), add your ½ teaspoon now and gently fold it in as well. This addition will boost the overall sweetness and depth of flavor, giving you a more classic, rich ice cream taste. Omitting it will result in a slightly more subtle, pure milk-and-cookies flavor profile.
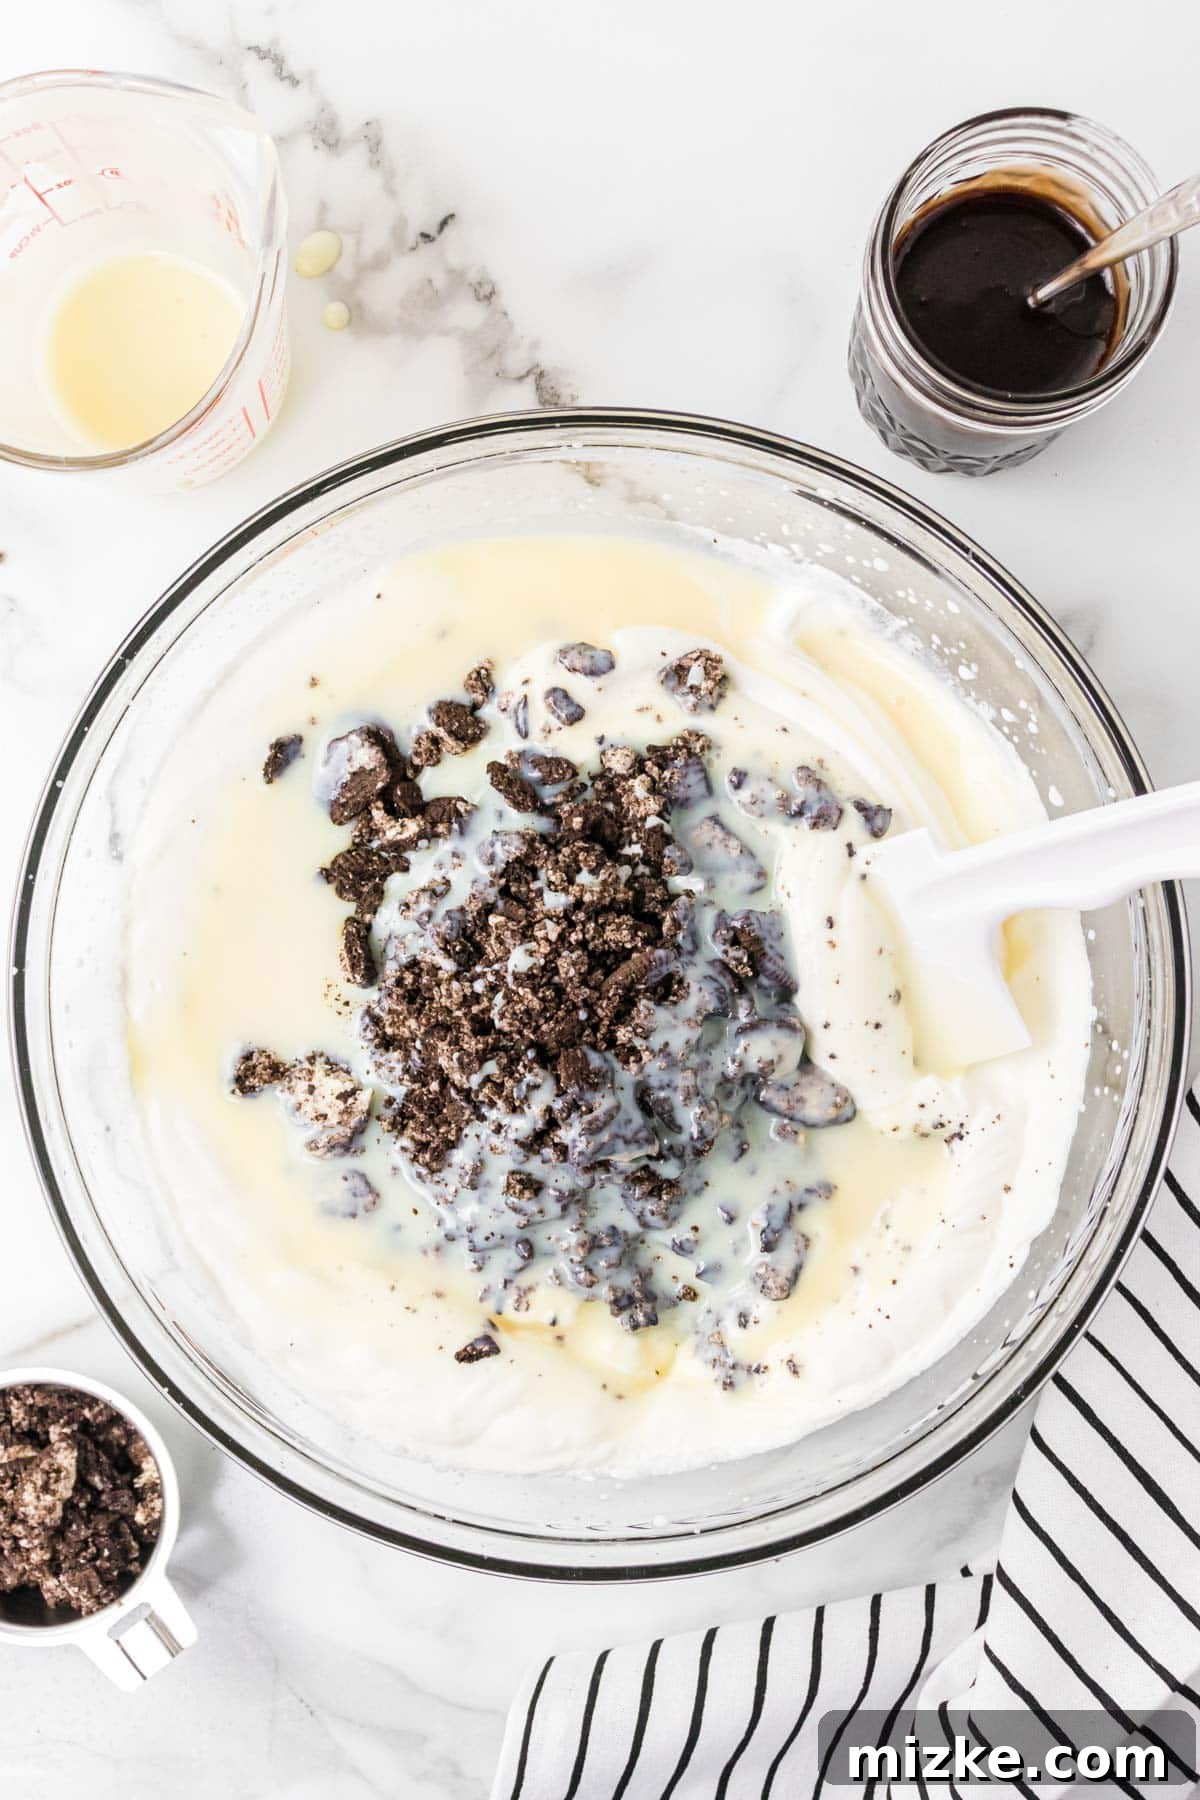
- 4. Incorporate the Oreos: Now for the star of the show! Add three-quarters of your crushed Oreos to the prepared ice cream base. Using your spatula, gently fold them in until they are evenly distributed throughout the mixture. Avoid overmixing to keep the base light and fluffy. Remember to keep that remaining one-quarter of crushed Oreos reserved – these will be your irresistible topping for the final flourish!
- 5. Transfer to a Container: Carefully pour the entire ice cream mixture into a freezer-safe container. A standard bread loaf pan (approximately 9×5 inches) works absolutely perfectly for this amount, providing a great surface area for scooping later. Use your spatula to gently spread and smooth the top into an even layer.
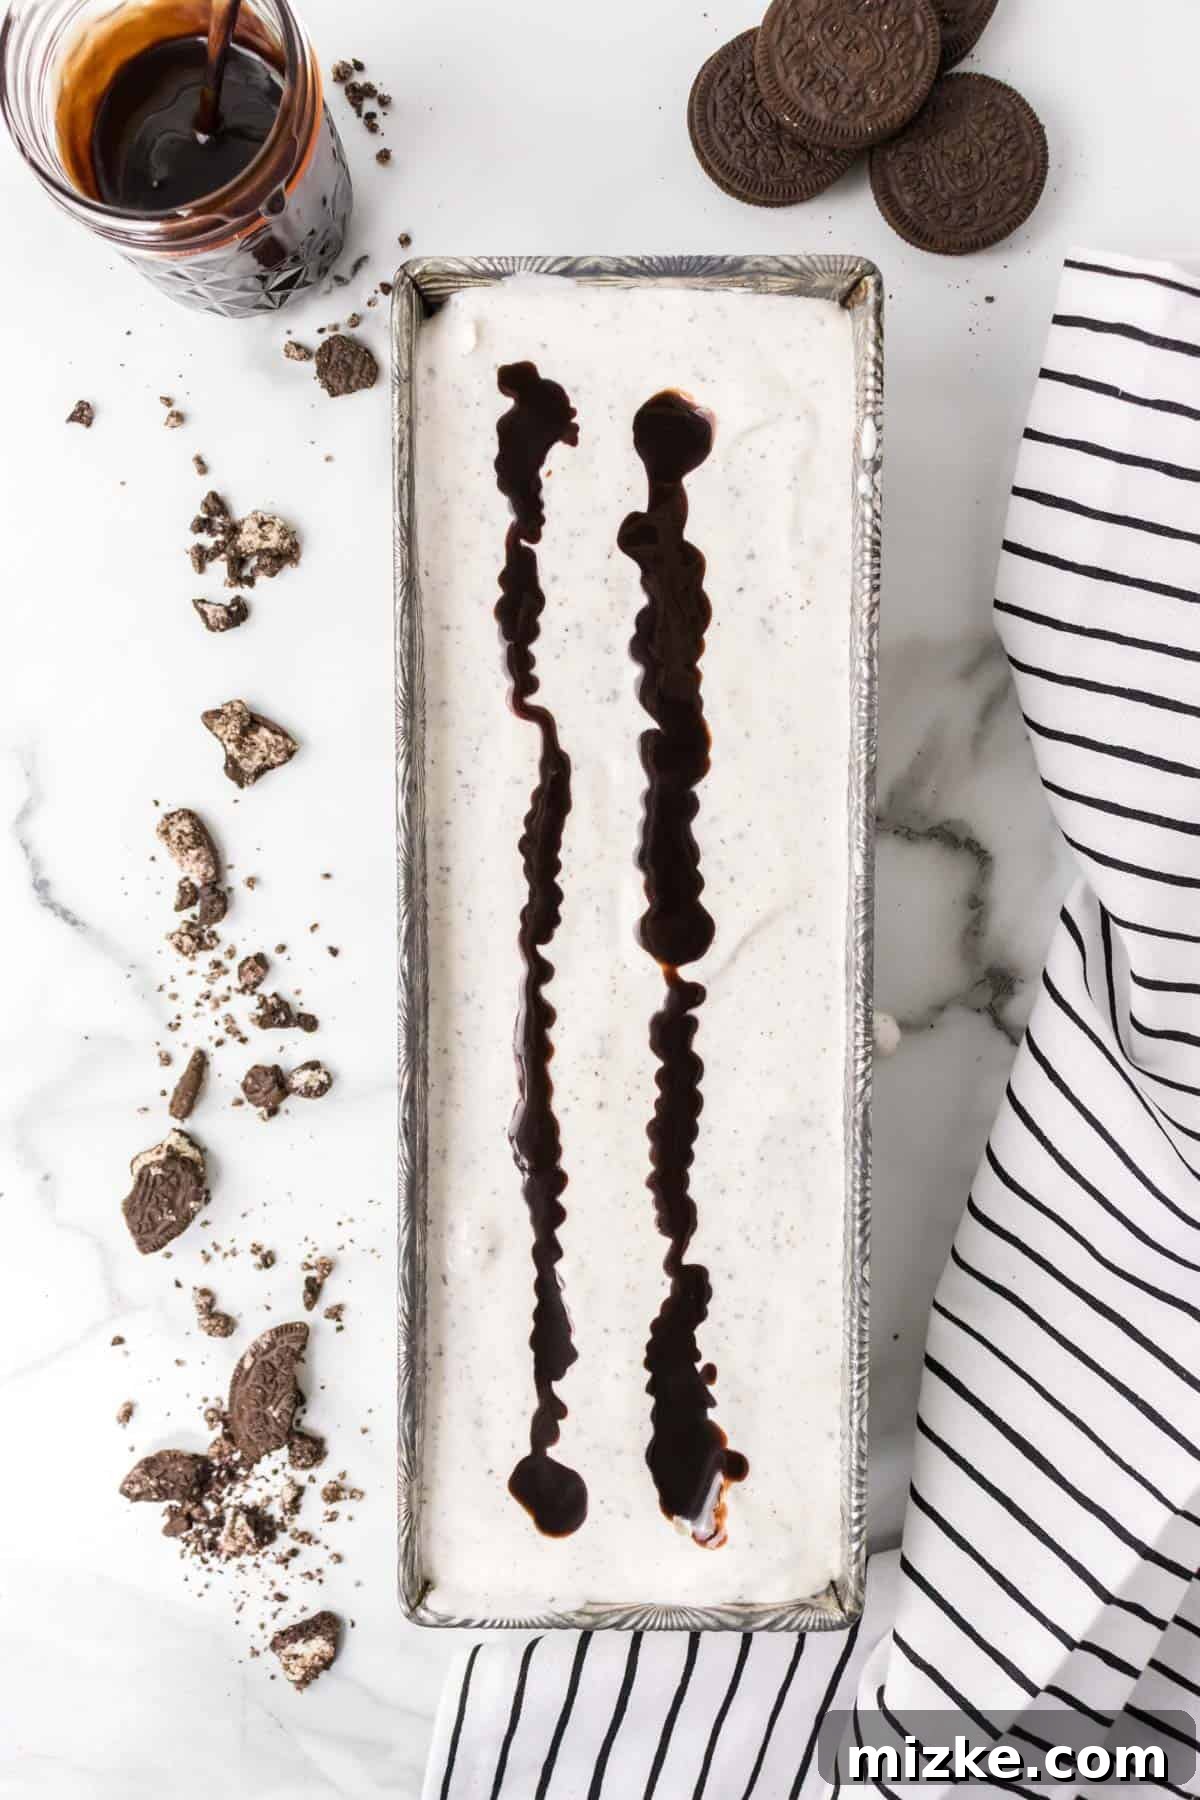
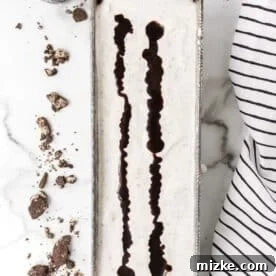
- 6. Swirl the Hot Fudge: For that extra touch of visual appeal and chocolatey decadence, lightly warm your hot fudge topping in the microwave. Start with about 20-30 seconds; you want it to be easily pourable but not excessively hot. Drizzle 2-3 generous lines of the warmed fudge lengthwise over the surface of the ice cream mixture. Then, take a knife (or a skewer) and gently run it through the fudge and ice cream to create beautiful, marbled, ribbon-like patterns. This not only looks fantastic but also ensures delightful pockets of gooey fudge in every single bite.
- 7. Top and Freeze: Sprinkle the remaining reserved crushed Oreos evenly over the swirled fudge and ice cream. This creates a visually appealing and texturally exciting top layer, adding another dimension of cookies and cream goodness. Finally, cover the ice cream container tightly. To best prevent freezer burn and ice crystal formation, press plastic wrap directly onto the surface of the ice cream before placing the lid on your container. Freeze the ice cream overnight, or for a minimum of 6-8 hours, until it’s completely firm throughout. Patience is a virtue here for the best possible consistency and flavor!
- 8. Enjoy!: When ready to serve, remove the container from the freezer and let it sit at room temperature for about 5-10 minutes to soften slightly. This will make scooping much easier and ensure a perfectly creamy texture. Scoop generously and savor your incredible homemade no-churn Oreo ice cream!
Pro Tips for Perfect No-Churn Ice Cream:
- Chill Your Bowl & Whisk: For the absolute best results when whipping heavy cream, place your mixing bowl and whisk attachment (if using a stand mixer) in the freezer for 10-15 minutes before you start. Cold equipment helps the cream whip faster and achieve firmer, more stable peaks.
- Gentle Folding is Key: When folding in the condensed milk and crushed Oreos, be incredibly gentle. Overmixing can deflate the beautifully whipped cream, leading to a denser, less airy, and potentially icier ice cream.
- Seal It Tight, Always: Proper, airtight sealing of your container before freezing is paramount to prevent the formation of undesirable ice crystals and the dreaded freezer burn. Air exposure is the enemy of creamy ice cream!
- Patience, My Friend: Resist the urge to peek or scoop too early! The full freezing time (overnight or 6-8 hours) is absolutely necessary for the ice cream to set properly, firm up, and develop its ideal, scoopable texture.
- Quality Ingredients Matter: While simple, using high-quality heavy whipping cream and fresh Oreos will genuinely make a noticeable difference in the final taste and texture of your homemade treat.

Storage Instructions for Your Homemade Oreo Ice Cream
To keep your delicious no-churn Oreo ice cream fresh, creamy, and free from freezer burn, proper storage is absolutely essential. Always store the ice cream in a high-quality, freezer-safe container. To ensure maximum freshness and prevent ice crystals from forming, press a layer of plastic wrap directly onto the surface of the ice cream before securing it with an airtight lid. This creates a barrier against air, which is the primary cause of freezer burn. When stored correctly, your delightful homemade treat will remain wonderfully creamy and flavorful for up to 1 month in the freezer, allowing you to enjoy it at your leisure.
Elevate Your Oreo Ice Cream: Creative Serving Suggestions
While this Oreo ice cream is utterly fantastic and a complete dessert on its own, there are plenty of creative ways to make it even more decadent, personalized, and special:
- Extra Drizzle Decadence: For the ultimate indulgence, add an extra drizzle of warm chocolate syrup, more hot fudge, or even a luscious, homemade salted caramel sauce right before serving.
- Classic Sundae Toppings: Transform a scoop into a classic sundae with a generous dollop of fresh whipped cream, a sprinkle of rainbow sprinkles, and a vibrant maraschino cherry on top.
- Double the Crunch: Sprinkle additional crushed Oreos, chopped chocolate chips, or even some toasted nuts on top for extra texture and flavor.
- Fruity Contrast: For a surprisingly delicious contrast, pair your rich ice cream with the tartness of fresh berries like raspberries, blueberries, or thinly sliced strawberries.
- Warm Dessert à la Mode: Serve a generous scoop (or two!) of your homemade Oreo ice cream alongside a warm brownie, a fudgy chocolate cake, or a crisp apple pie for an unbeatable hot-and-cold dessert pairing.
- Milkshake Magic: Blend a few scoops with a splash of milk and a bit more hot fudge for an unbelievably thick and creamy Oreo milkshake.
Frequently Asked Questions (FAQs) About No-Churn Ice Cream
New to no-churn ice cream? Here are some common questions and helpful answers to ensure your success:
- Can I use different types of cookies or mix-ins? Absolutely! This no-churn base is incredibly versatile and forgiving. Feel free to experiment with other crushed cookies like Biscoff, chocolate chip cookies, Nutter Butters, or even gingerbread cookies during the holidays. You can also add a variety of mix-ins such as chocolate chips, mini marshmallows, chopped nuts, candy pieces, or even a swirl of fruit preserves.
- Why is my ice cream not freezing firm enough or becoming icy? This usually happens if the heavy cream wasn’t whipped to sufficiently stiff peaks, or if there were too many watery liquids added to the base (e.g., from certain mix-ins). Ensure your heavy cream is very cold when you start and whip it until it’s very firm. Also, always cover the ice cream very tightly to minimize air exposure during freezing, which can lead to ice crystals.
- How do I prevent ice crystals from forming on the surface? The key is to eliminate air exposure. After pouring the mixture into your container, press a layer of plastic wrap directly onto the surface of the ice cream, ensuring no air bubbles are trapped. Then, place the lid on the container. This double-layer protection is highly effective.
- Can I make this recipe vegan or dairy-free? While this specific recipe relies on dairy heavy cream and sweetened condensed milk, the no-churn method can be adapted for vegan options. Many excellent vegan no-churn ice cream recipes utilize full-fat coconut cream (chilled overnight and just the thick cream portion used) and sweetened condensed coconut milk. The technique would be similar, but the base ingredients would differ significantly.
- How long should I let it thaw before serving for the best texture? For the ideal, perfectly scoopable and creamy consistency, let your homemade ice cream sit at room temperature for about 5-10 minutes before you start scooping. This brief softening period allows it to achieve its ultimate velvety texture, making it easier to serve and enhancing the overall enjoyment.
- Can I reduce the sugar content? Sweetened condensed milk is a core ingredient and provides both sweetness and texture. Substituting it or significantly reducing its amount would alter the final consistency and sweetness profile, potentially resulting in an icier or less creamy ice cream. This recipe is designed to be a sweet indulgence!
Creative Variations & Customizations for Your No-Churn Base
Once you’ve mastered this classic no-churn Oreo ice cream, you’ll discover that the underlying no-churn base is an incredibly versatile canvas for endless customization. Use this recipe as a foundation to unleash your creativity and craft your own unique frozen delights:
- Mint Oreo Dream: For a refreshing twist, use mint-flavored Oreos. You could also add a few drops of food-grade peppermint extract to the condensed milk mixture before folding for an extra burst of cool flavor.
- Peanut Butter Blast: Elevate the chocolate-and-cookie experience by swirling in some melted peanut butter into the base, and adding chopped Reese’s Peanut Butter Cups along with (or instead of) some of the crushed Oreos.
- Coffee Lover’s Treat: Infuse your ice cream with a rich coffee flavor. Add a tablespoon of instant espresso powder or strong cold-brew coffee concentrate to the sweetened condensed milk mixture before folding it into the whipped cream. Consider using coffee-flavored cream cookies if you can find them for an extra layer of flavor.
- Fruity & Cookie Combo: While Oreos are decidedly chocolatey, you could introduce a surprising and delightful contrast by swirling in fresh berry compote (raspberry, strawberry, or blueberry) or a citrus zest for a brighter, fresher profile.
- Holiday Spice Spectacular: During festive seasons, get creative with holiday-themed Oreos like gingerbread or peppermint. You could also add a pinch of warm spices like cinnamon, nutmeg, or allspice to the ice cream base for a cozy, comforting flavor.
- Salted Caramel Crunch: Drizzle in a generous amount of homemade or store-bought salted caramel sauce instead of hot fudge. Add some pretzels or even more caramel-filled cookies for extra crunch and salty-sweet balance.
This no-churn method truly opens up a world of possibilities for homemade ice cream, allowing you to enjoy your favorite flavors without specialized equipment. Experiment, have fun, and enjoy the delicious results!

Print Recipe
Recipe Rating: 5 out of 5 stars (Based on 1 user vote)
No-Churn Oreo Ice Cream
By:
Julie Chiou
Every bite of this homemade Oreo ice cream is filled with that irresistible cookies and cream taste you know and love, and the hot fudge swirl just takes it over the top!
Prep Time: 15 minutes
Freeze Time: 8 hours
Total Time: 8 hours 15 minutes
Servings: 8 generous servings
Equipment
- Food processor (optional, or zip-top bag and mallet for crushing cookies)
- Stand mixer with whisk attachment or Electric hand mixer
- Large mixing bowl
- Rubber spatula
- Freezer-safe container (e.g., a 9×5 inch bread loaf pan works wonderfully)
Ingredients
- 20-30 Classic Oreo cookies
- 2 cups (473 ml) heavy whipping cream, well-chilled
- 14 ounce (397 ml) can of sweetened condensed milk
- ½ teaspoon pure vanilla extract, optional (highly recommended for enhanced flavor)
- ½ cup (152 g) hot fudge topping
Instructions
-
1. Crush Oreos: In a food processor, pulse 20-30 Oreo cookies until you have a mix of fine crumbs and some larger chunks. If using a zip-top bag, crush with a rolling pin. Set aside about ¼ of the crushed Oreos for topping.

-
2. Whip Cream: In a large, chilled mixing bowl, whip the cold heavy whipping cream using a stand mixer or electric hand mixer until stiff peaks form.
-
3. Combine Base: Gently fold the sweetened condensed milk into the whipped cream until just combined. If using, add the ½ teaspoon of vanilla extract and fold it in carefully.
-
4. Add Oreos: Gently fold in ¾ of the crushed Oreos into the ice cream base until evenly distributed. Reserve the remaining ¼ for topping.
-
5. Pour into Container: Pour the ice cream mixture into your freezer-safe container (like a bread loaf pan) and spread the top into an even layer with a spatula.
-
6. Swirl Fudge: Briefly warm the ½ cup hot fudge topping in the microwave (approx. 20-30 seconds) until it’s pourable but not hot. Drizzle 2-3 lines of fudge over the ice cream mixture. Use a knife or skewer to gently swirl the fudge throughout, creating beautiful marbled patterns.
-
7. Final Topping: Sprinkle the reserved ¼ crushed Oreos evenly over the top of the fudge-swirled ice cream.
-
8. Freeze: Cover the container tightly (ideally with plastic wrap pressed directly onto the surface before covering with a lid) and freeze overnight, or for at least 6-8 hours, until thoroughly firm.
-
9. Enjoy: Allow the ice cream to sit at room temperature for 5-10 minutes before scooping and serving for the best creamy texture. Indulge in your incredible homemade no-churn Oreo ice cream!
Nutrition
Serving Size: 1 serving (approx. 8-ounce scoop)
- Calories: 572 kcal
- Carbohydrates: 62g
- Protein: 8g
- Fat: 34g
- Saturated Fat: 19g
- Polyunsaturated Fat: 2g
- Monounsaturated Fat: 11g
- Trans Fat: 1g
- Cholesterol: 99mg
- Sodium: 289mg
- Potassium: 347mg
- Fiber: 1g
- Sugar: 46g
This website provides approximate nutrition information for convenience and as a courtesy only. Nutrition information can vary for a variety of reasons based on specific ingredients and brands used. For the most precise nutritional data, we recommend using your preferred nutrition calculator based on the actual ingredients you used in the recipe.
The default measuring system for this website is US Customary. Unit conversions are provided for convenience and as a courtesy only. While we strive to provide accurate unit conversions, please be aware that there may be some discrepancies due to rounding or different measurement standards.