

Perfect Thin Crust Pizza Dough: Your Ultimate Guide to Homemade Pizzeria Quality
Craving that authentic, crispy, yet delightfully chewy pizza you only find at your favorite pizzeria? Look no further! This comprehensive guide and recipe for thin crust pizza dough is designed to become your absolute go-to for all your homemade pizza creations. Master the art of crafting a perfect foundation that is irresistibly crisp, satisfyingly chewy, and entirely customizable with your beloved toppings.
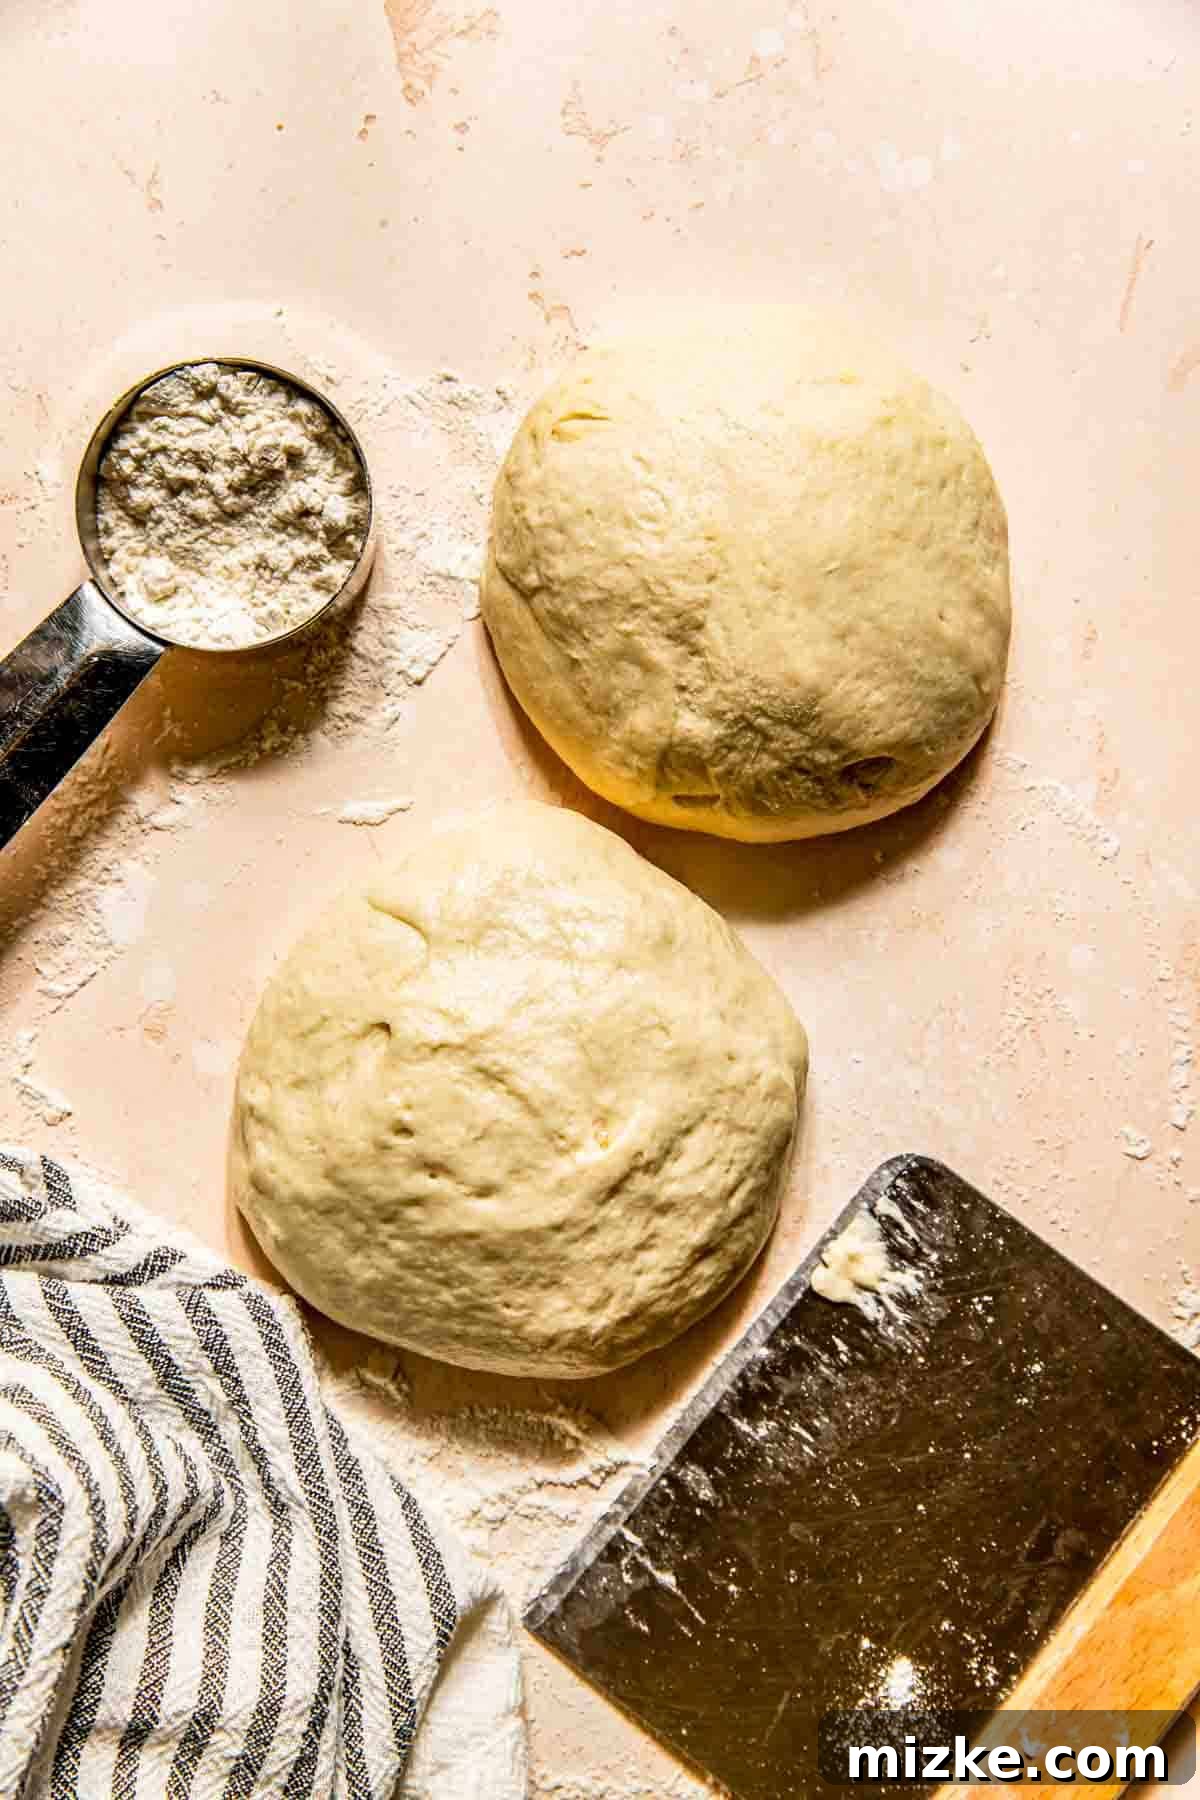
The Rising Cost of Pizza: Why Homemade Thin Crust is the Solution
Have you noticed how ordering pizza has become an increasingly expensive affair? Just the other night, my family and I considered ordering two large thin crust pizzas from a beloved local shop. After factoring in delivery fees, service charges, and taxes, the total came to a staggering $80! Even exploring options from popular chain restaurants revealed similar exorbitant prices, even for pick-up. This experience, while frustrating, served as the ultimate catalyst. Why spend a small fortune when you can create superior, restaurant-quality thin crust pizza right in your own kitchen for a fraction of the cost?
That disheartening realization led me back to the drawing board, prompting me to perfect this homemade thin crust pizza dough recipe. And trust me, it’s an absolute game-changer. This recipe will not only save you money but also empower you to create pizzas that are perfectly chewy, wonderfully crispy, and incredibly easy to make. The secret to its success lies in one crucial ingredient: yeast. While yeast requires a little patience for activation and rising, this essential step guarantees a light, airy texture that is simply unattainable without it. Skipping the yeast would result in a flat, dense, and truly unappealing pizza, especially when aiming for that desirable thin crust.
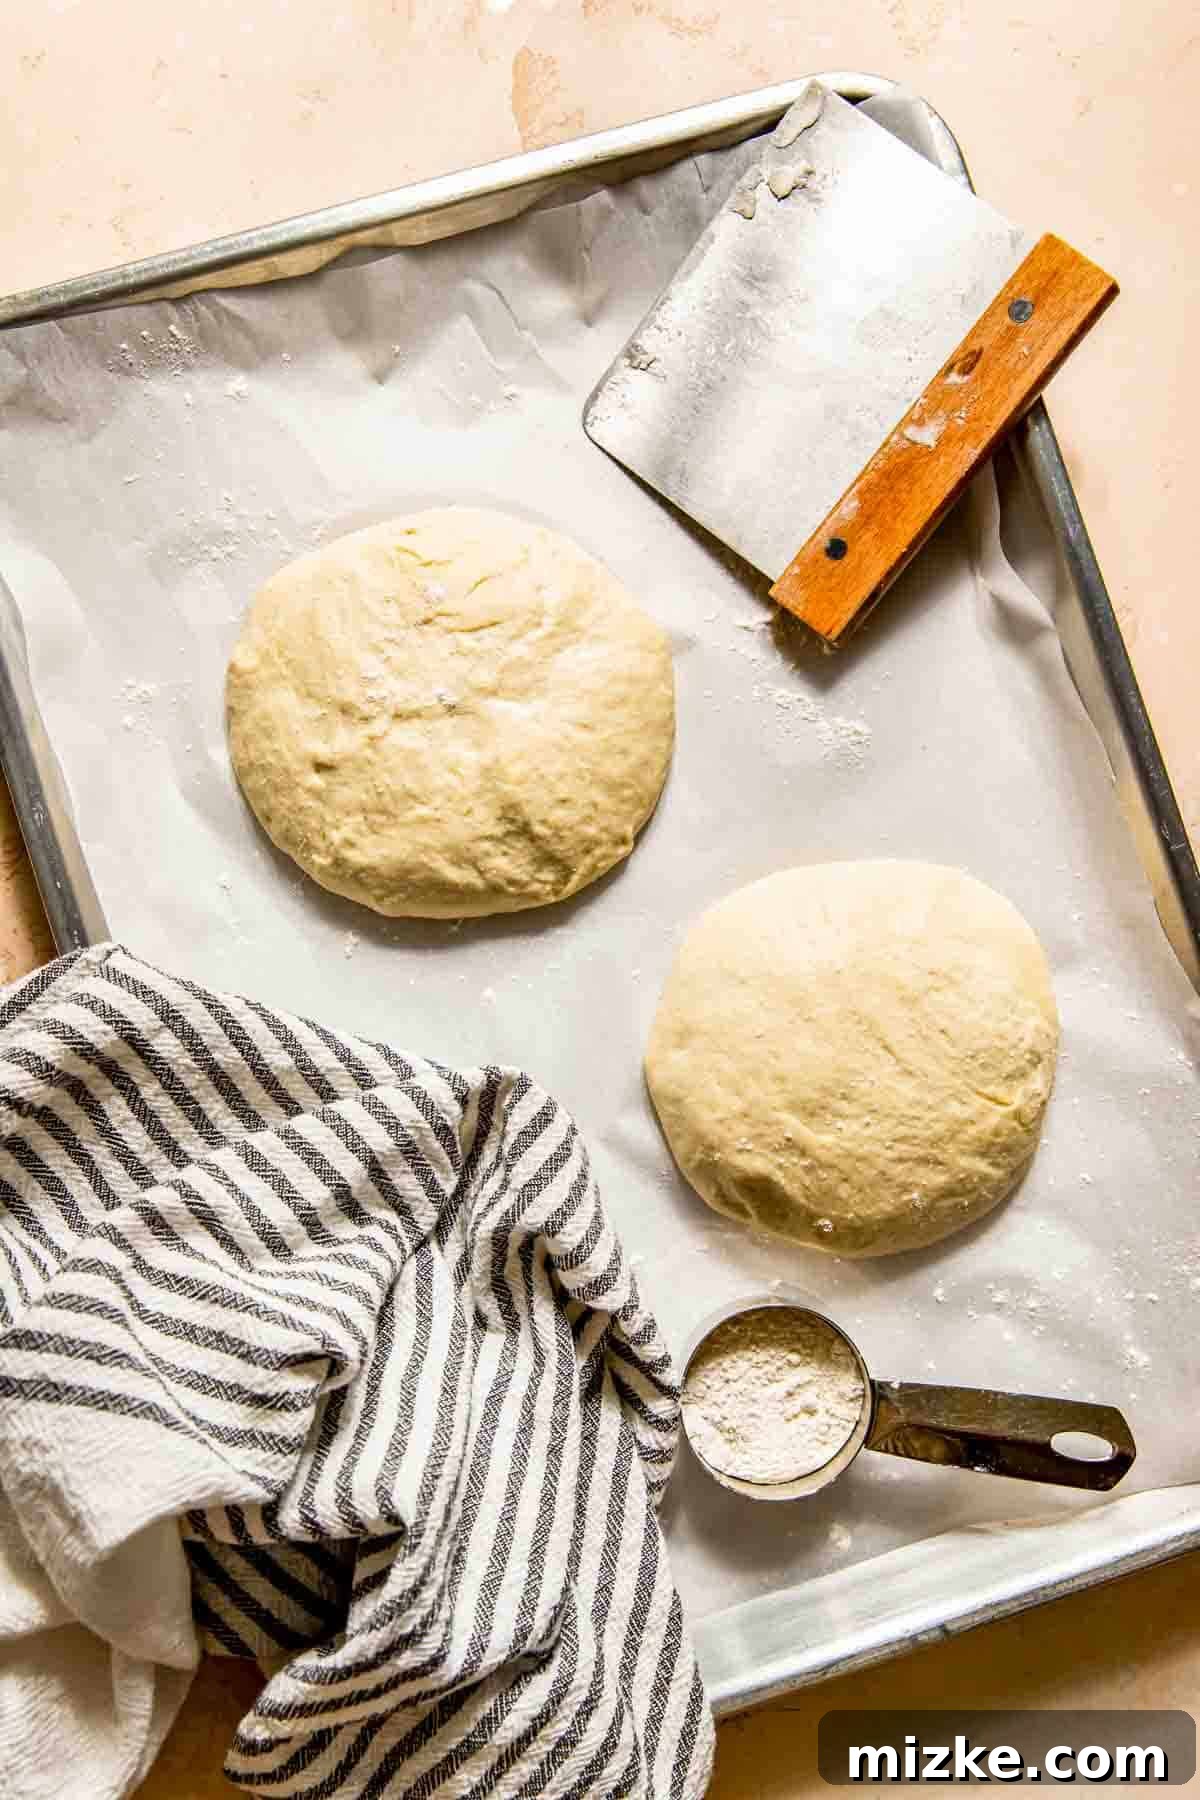
Mastering Your Thin Crust Pizza Dough: Essential Tips for Success
Achieving the perfect thin crust pizza dough is a culinary triumph, blending simple ingredients with precise techniques. Here are some indispensable tips to ensure your homemade pizzas are always a resounding success:
- Prioritize Rising Time: As highlighted, yeast is the heart of this thin crust pizza dough. It requires ample time to activate and allow the dough to properly rise, developing its flavor and texture. Don’t rush this process; patience will be rewarded with a superior crust. A properly risen dough will be visibly doubled in size and feel soft and airy.
- Embrace “00” Pizza Flour: This is arguably the most critical tip for achieving an authentic thin crust. Unlike regular all-purpose flour, “00” pizza flour boasts an incredibly fine grind and a specific protein structure. This unique composition is vital for developing the elasticity and sturdiness needed when kneading and stretching your thin crust pizza dough. It ensures your dough will stretch beautifully thin without tearing and bake up with a delightful crispness, avoiding a rubbery or tough outcome. It’s also fantastic for homemade pastas. Many specialty grocery stores and even warehouse clubs like Costco (where I found a large bag of King Arthur Flour 00 pizza flour) stock this essential ingredient.
- Verify Your Yeast’s Potency: A common pitfall in baking is using expired or inactive yeast. Always check the expiration date on your yeast package. If your yeast isn’t fresh and active, it simply won’t perform its magic, leading to a flat and lifeless dough. If unsure, you can proof it first by mixing it with a small amount of warm water and a pinch of sugar; it should foam within 5-10 minutes.
- Ensure Dough is at Room Temperature Before Rolling: This tip is paramount, especially if you’ve prepared your thin crust pizza dough in advance and stored it in the refrigerator. Cold dough is stiff and difficult to work with, making it prone to snapping back or tearing when you try to roll it out thinly. Allowing the dough to gradually come to room temperature (typically 1-2 hours) relaxes the gluten, making it pliable, elastic, and much easier to stretch to your desired thinness.
- Precision with a Kitchen Scale: While the recipe provides approximate teaspoon measurements for some ingredients, for baking, precision is key. Using a digital kitchen scale to measure your flour, water, salt, and yeast by weight (grams) will give you the most consistent and reliable results, ensuring your thin crust pizza dough turns out perfectly every time.
Make-Ahead Thin Crust Pizza Dough Guidance
One of the many advantages of homemade thin crust pizza is the flexibility it offers. Whether you prefer to make your dough fresh, prepare it a day in advance, or freeze a batch for future convenience, this recipe accommodates various schedules and preferences. This adaptability makes homemade pizza night truly effortless.
- For Same-Day Usage: If you’re planning a pizza night for later today, simply follow the recipe instructions below. Once the dough has completed its initial rise and doubled in size, it’s ready for immediate use. This method yields a wonderfully fresh crust with a delicate texture.
- Prepping Ahead (Refrigerator Fermentation): To deepen the flavor profile and enhance the dough’s workability, consider preparing your thin crust pizza dough the day before. After forming the dough into individual balls, lightly grease 16-ounce airtight containers (or similar sized containers with lids). Place one dough ball in each container, cover them securely, and refrigerate. This slow, cold fermentation process can last up to 72 hours, resulting in a more complex, nuanced flavor and an even more elastic dough. Remember to remove the dough from the refrigerator and let it come to room temperature for at least 1-2 hours before you plan to roll it out and use it. This crucial step ensures easy stretching and prevents tearing.
- Freezing the Dough for Later: For ultimate convenience, this thin crust pizza dough freezes beautifully for up to two months. After shaping the dough into balls, transfer them to individual freezer-safe containers with lids. I’ve found that clean, sturdy take-out soup containers from Chinese restaurants work exceptionally well for this purpose! When you’re ready for a pizza night, simply transfer the frozen dough balls to the refrigerator to thaw overnight, then allow them to come to room temperature for 1-2 hours before rolling and baking. This makes impromptu pizza nights a breeze!
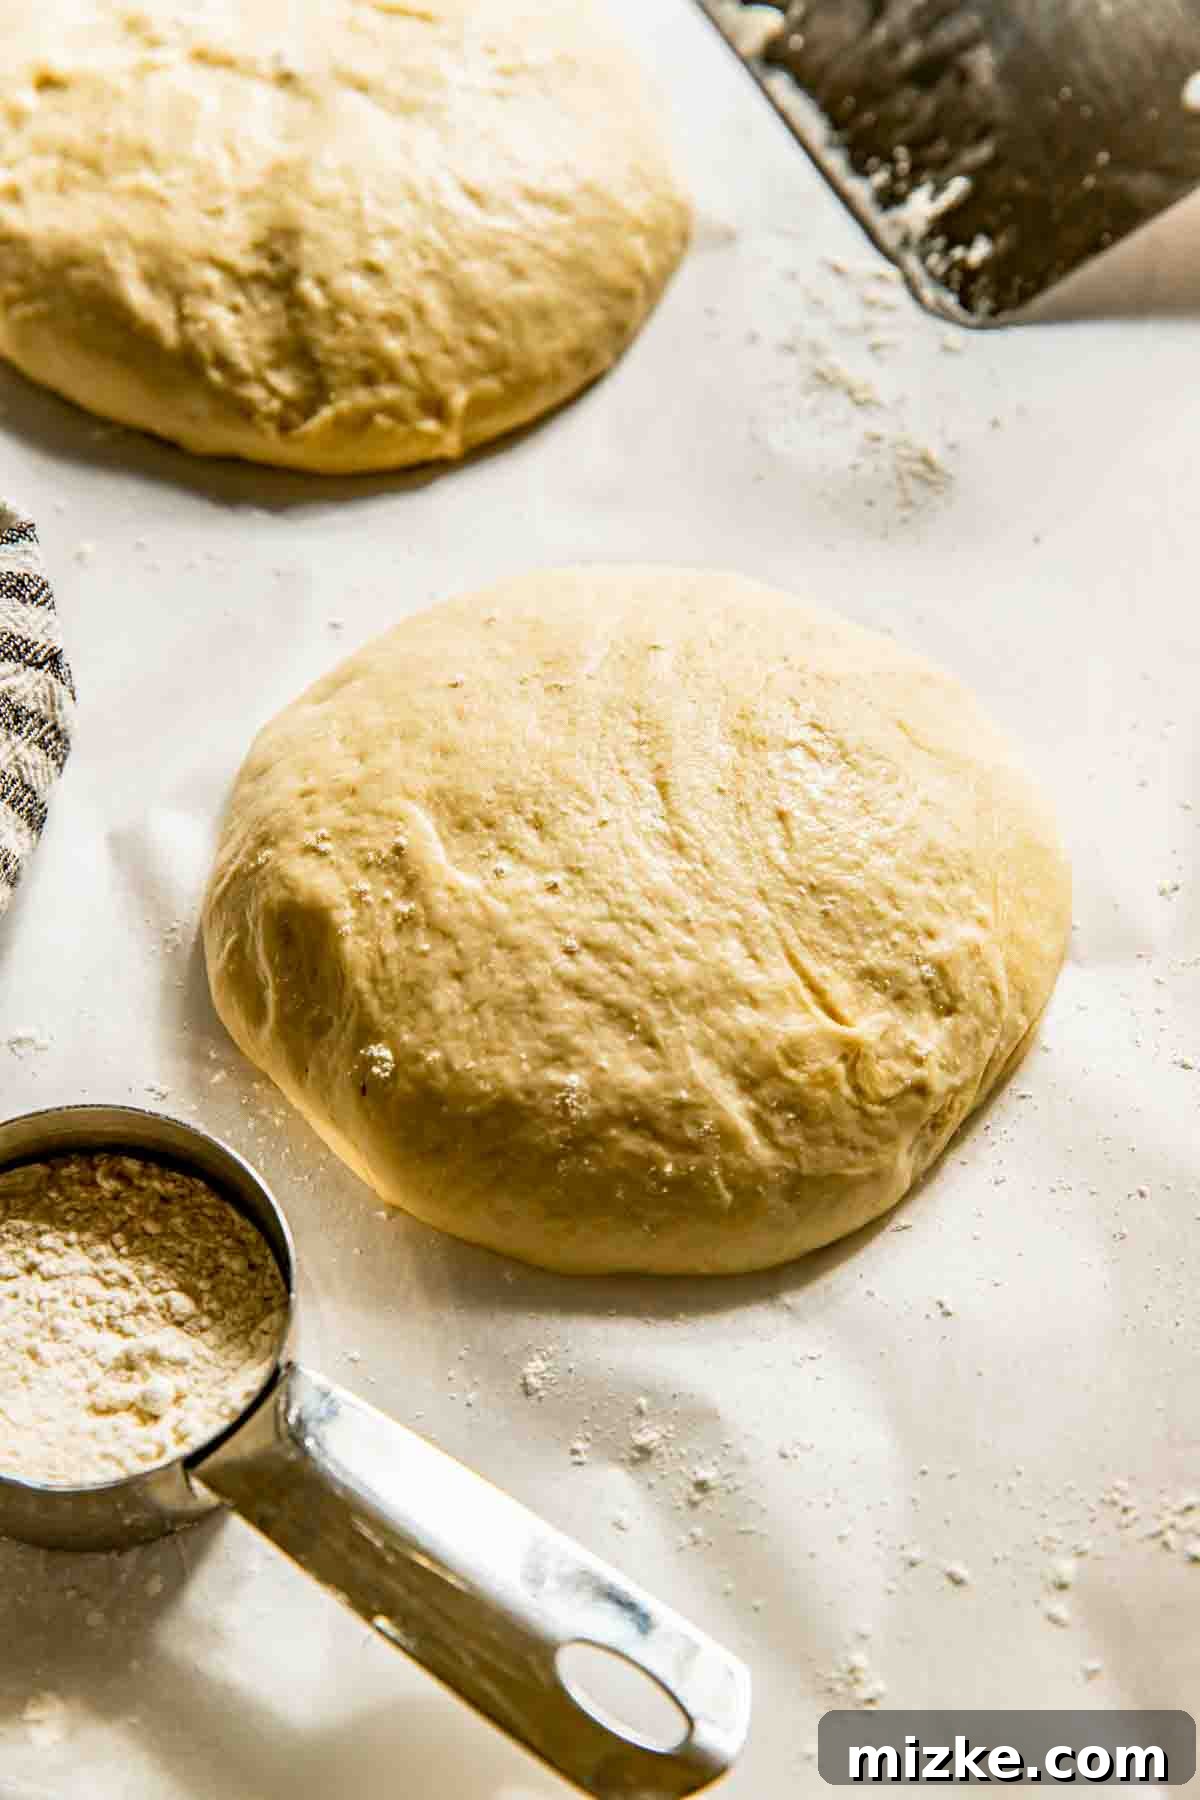
How to Transform Your Thin Crust Pizza Dough into a Culinary Masterpiece
Once your thin crust pizza dough is at the ideal room temperature, it’s time for the exciting part: shaping and baking! This process, while requiring a bit of practice, is incredibly rewarding.
Gently transfer a dough ball to a lightly floured work surface. Using a rolling pin and your hands, begin to stretch and roll the dough into a circular shape, aiming for a 12-14 inch diameter. Don’t be discouraged if it doesn’t form a perfect circle on your first attempt; practice makes perfect! If the dough resists stretching or starts to tear, simply let it rest for a few minutes to allow the gluten to relax, then continue working it. I’ve certainly torn my fair share of doughs, so know you’re not alone in the learning process!
Once you’ve achieved your desired thinness and shape, carefully transfer the dough to a pizza peel or pizza pan that has been generously dusted with cornmeal or semolina. This dusting acts as tiny ball bearings, ensuring your pizza slides effortlessly off the peel and onto your hot baking surface in the oven. Now comes the best part: pile on your favorite pizza sauce, cheeses, and toppings!
For an exceptionally crispy thin crust that rivals your favorite pizzeria, bake your pizza in an oven preheated to its highest possible temperature, typically 500 degrees Fahrenheit (260 degrees Celsius). A crucial element for achieving this professional-level crispness is a preheated baking steel or pizza stone. Place it in the oven during the preheating phase to ensure it gets intensely hot. The high heat from the steel or stone instantly crisps the bottom of the crust, creating that coveted crackle. Keep a close eye on your pizza as it bakes; cooking times can vary depending on your oven and toppings, but it typically takes 8-12 minutes for the crust to turn golden brown and the cheese to be bubbly and melted.
Essential Equipment for the Home Pizza Chef
While this thin crust pizza dough recipe is quite forgiving, having the right tools can elevate your homemade pizza experience from good to extraordinary:
- Rolling Pin – Essential for initially shaping and flattening your dough to an even thickness before stretching by hand.
- Stand Mixer (with Dough Hook) – A true time-saver for kneading the dough. It ensures thorough mixing and gluten development without the strenuous effort of hand-kneading, making the process much more enjoyable.
- Pizza Peel – This paddle-shaped tool is indispensable for smoothly transferring your topped pizza into and out of a scorching hot oven, minimizing the risk of burns or messy spills.
- Cornmeal or Semolina – Sprinkle a generous layer on your pizza peel before adding the dough. This creates a non-stick surface, allowing the pizza to glide effortlessly onto your hot baking steel or stone.
- Baking Steel or Pizza Stone – This is the ultimate game-changer for achieving a truly crispy thin crust. Preheating it along with your oven ensures intense, even heat transfer to the dough, mimicking the conditions of a professional pizza oven. It’s the closest you’ll get to pizzeria-style perfection at home.
Unleash Your Creativity: Pizza Topping Inspiration
With your perfect thin crust pizza dough as a blank canvas, the possibilities for flavor combinations are endless. Get inspired to create your next culinary masterpiece!
- Classic Pepperoni Pizza
- Creamy White Pizza
- Zesty Buffalo Chicken Pizza
- Fresh Grilled Caprese Pizza
- Smoky BBQ Chicken Grilled Pizza
- Sweet & Savory Fig Caramelized Onion Pizza
- Hearty Chicken Bacon Ranch Pizza
Thin Crust Pizza Dough Recipe
By: Julie Chiou
This versatile thin crust pizza dough recipe is going to be your go-to pizza dough recipe for all your thin crust pizzas! Crisp, chewy, and completely customizable to your favorite pizza toppings.
Prep Time: 1 hour 15 minutes
Rise time: 2 hours
Total Time: 3 hours 15 minutes
Servings: 2 pizzas (approx. 12-14″ in diameter)
Equipment
- Stand mixer
Ingredients
- 471 g “00” pizza flour
- 283 g cold water
- 6 g salt (about 1 ½ teaspoons)
- 2 g instant yeast (about ¾ teaspoons)
- 40 g olive oil (about 3 tablespoons)
Instructions
- The dough is enough to make TWO 12-14 inch diameter pizzas.
- Stir together the flour, salt, and instant yeast in the bowl of an electric mixer with a dough hook attachment. Add the olive oil and the cold water and stir on low speed until the flour is all absorbed. Mix on medium speed for 5 to 7 minutes, or as long as it takes to create a smooth, sticky dough. The dough should clear the sides of the bowl but stick to the bottom. The finished dough will be springy, elastic, and smooth, not overly tacky.
- Transfer the dough to a lightly floured work surface, and cut it into 2 equal pieces (about 400 grams each). Lightly dust your hands with flour and shape the dough into tight balls.
- If you’re planning to make pizza the next day, place the dough balls (separately) into lightly greased containers with lids. Refrigerate overnight or up to 3 days. When ready to use, remove the dough from the refrigerator and let it come to room temperature for about 2 hours before rolling out and using.
- If you’re planning on using the dough immediately, allow dough to rest in a lightly greased bowl (covered) at room temperature until it has doubled in size. Then, proceed with gently rolling out the dough on a lightly floured surface into a 12-14 inch diameter and prepare your pizza as you normally would.
Nutrition
Serving: 1 dough ball (400 grams)
Calories: 1030kcal, Carbohydrates: 171g, Protein: 29g, Fat: 24g, Saturated Fat: 3g, Polyunsaturated Fat: 4g, Monounsaturated Fat: 15g, Sodium: 1175mg, Potassium: 245mg, Fiber: 6g, Sugar: 1g
Photographs by Meg McKeehan Photography
Conclusion: Your Journey to Homemade Pizza Perfection Starts Here
Embarking on the journey of making your own thin crust pizza dough is more than just a recipe; it’s an investment in countless delicious, cost-effective, and deeply satisfying pizza nights. This versatile recipe provides the perfect foundation for a crispy, chewy crust that will impress your family and friends, all while giving you the freedom to experiment with an endless array of toppings and flavors. Say goodbye to overpriced takeout and hello to the unparalleled joy of a homemade thin crust pizza. Gather your ingredients, follow these tips, and prepare to elevate your pizza game to professional levels. Happy pizza making!