
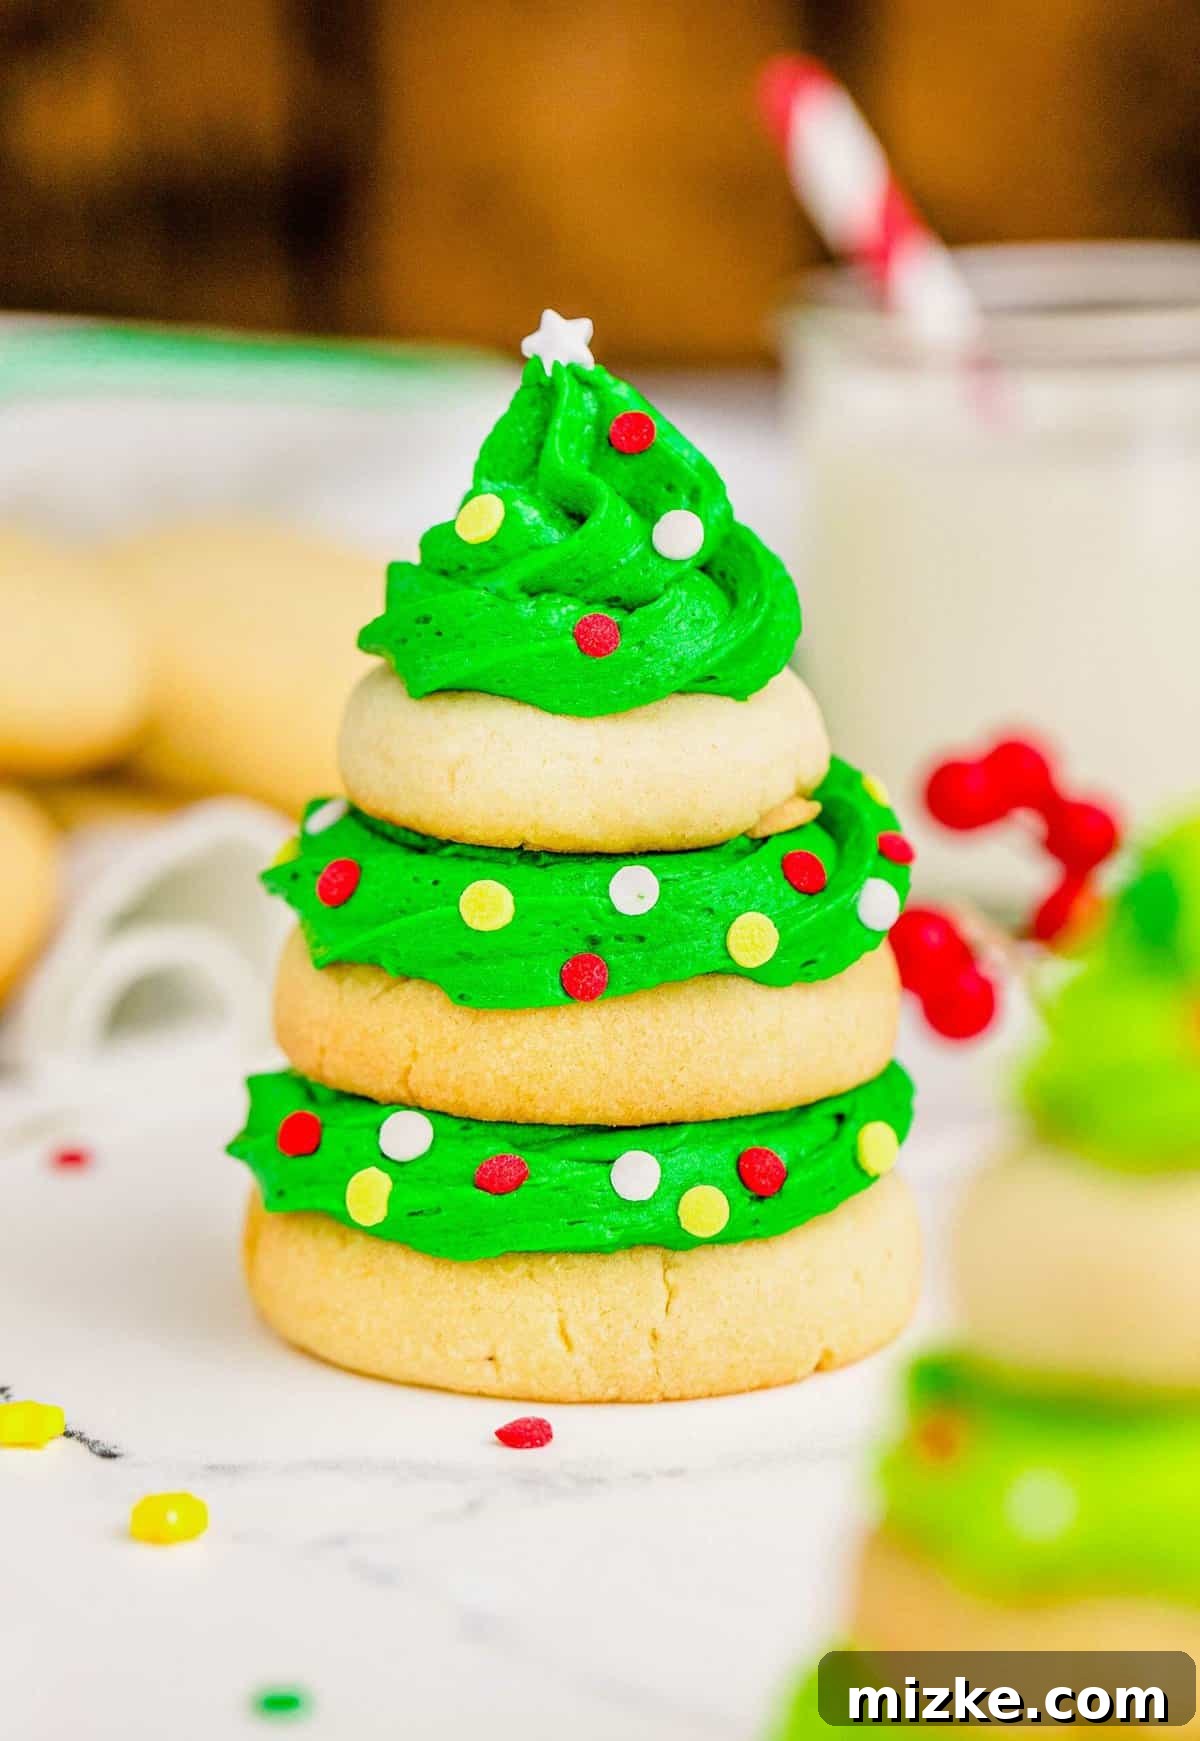
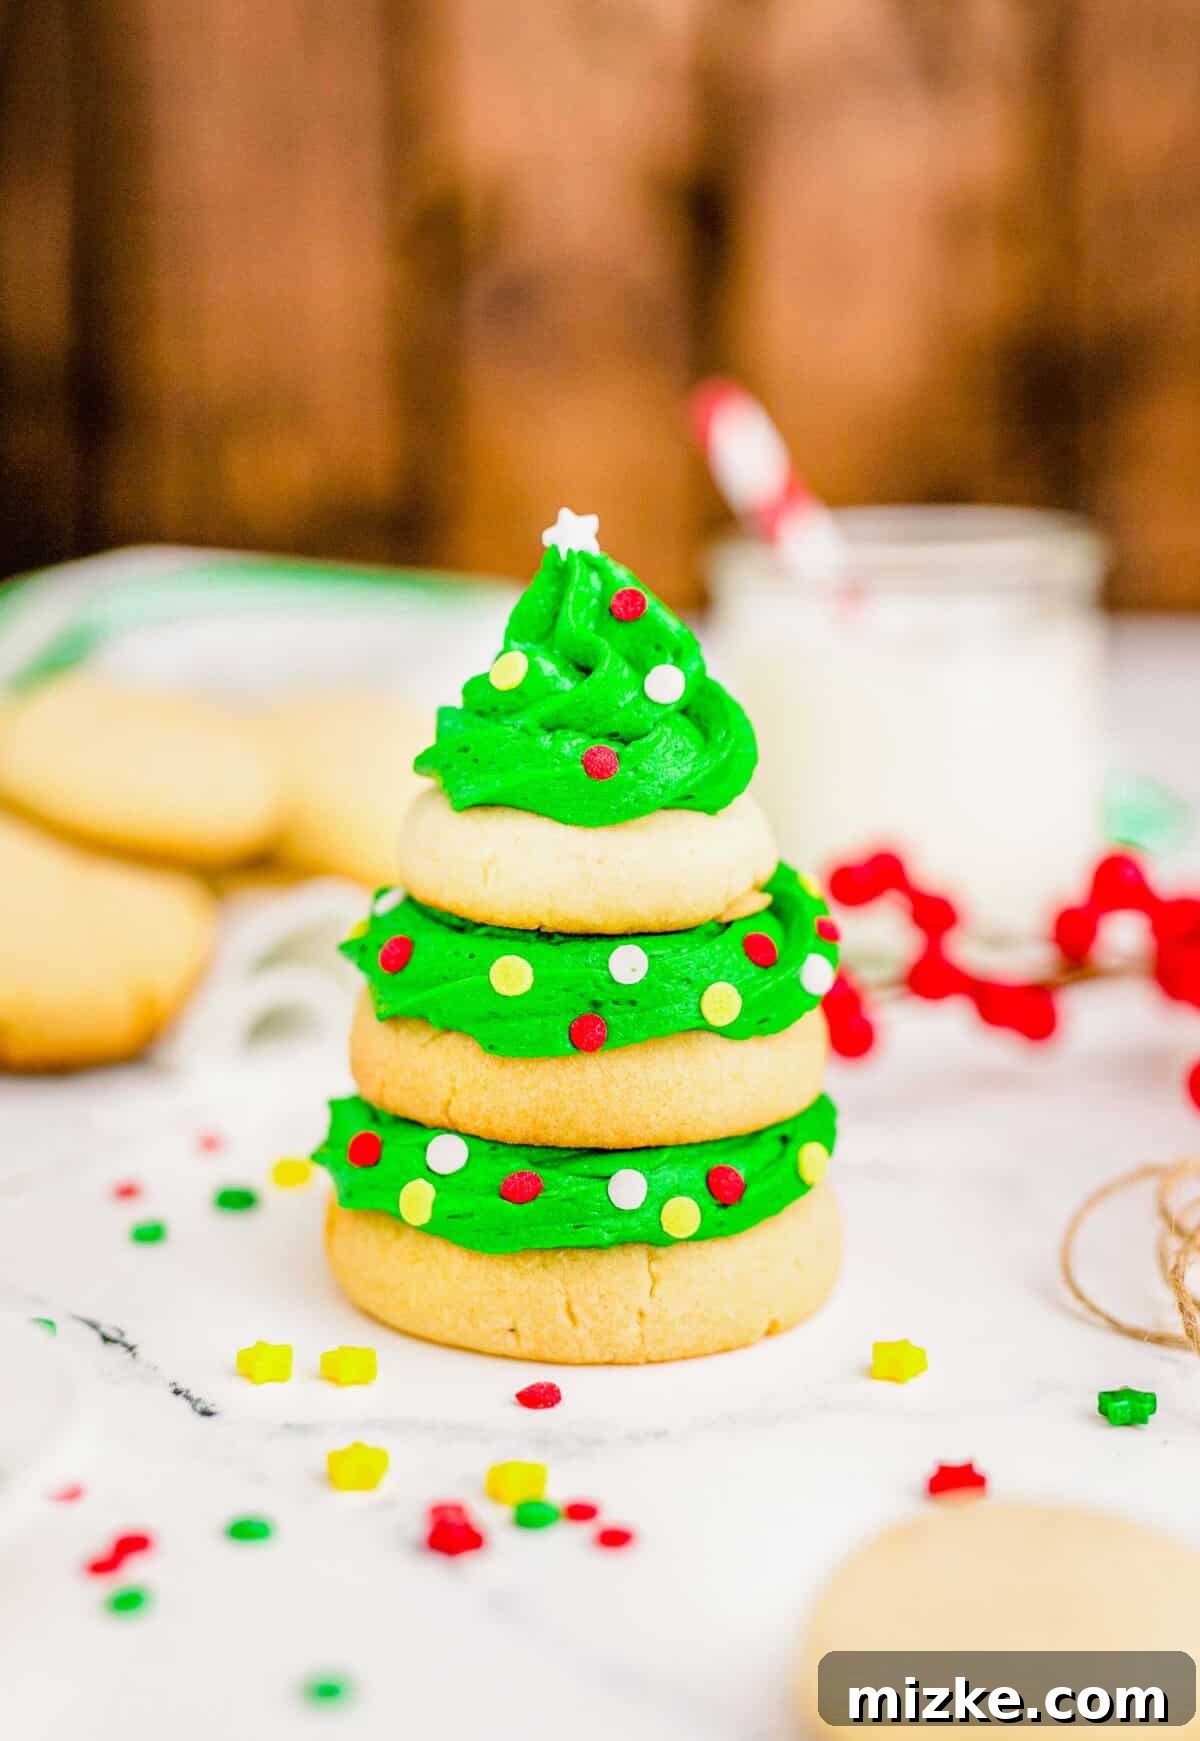
Christmas Tree Cookies are the epitome of festive cheer, transforming simple homemade sugar cookies into adorable, edible holiday trees. Each cookie is artfully stacked with layers of vibrant green frosting, then adorned with colorful sprinkles that mimic twinkling ornaments. These scrumptious and visually stunning treats are not just cookies; they’re tiny masterpieces ready to brighten any holiday table or cookie exchange.
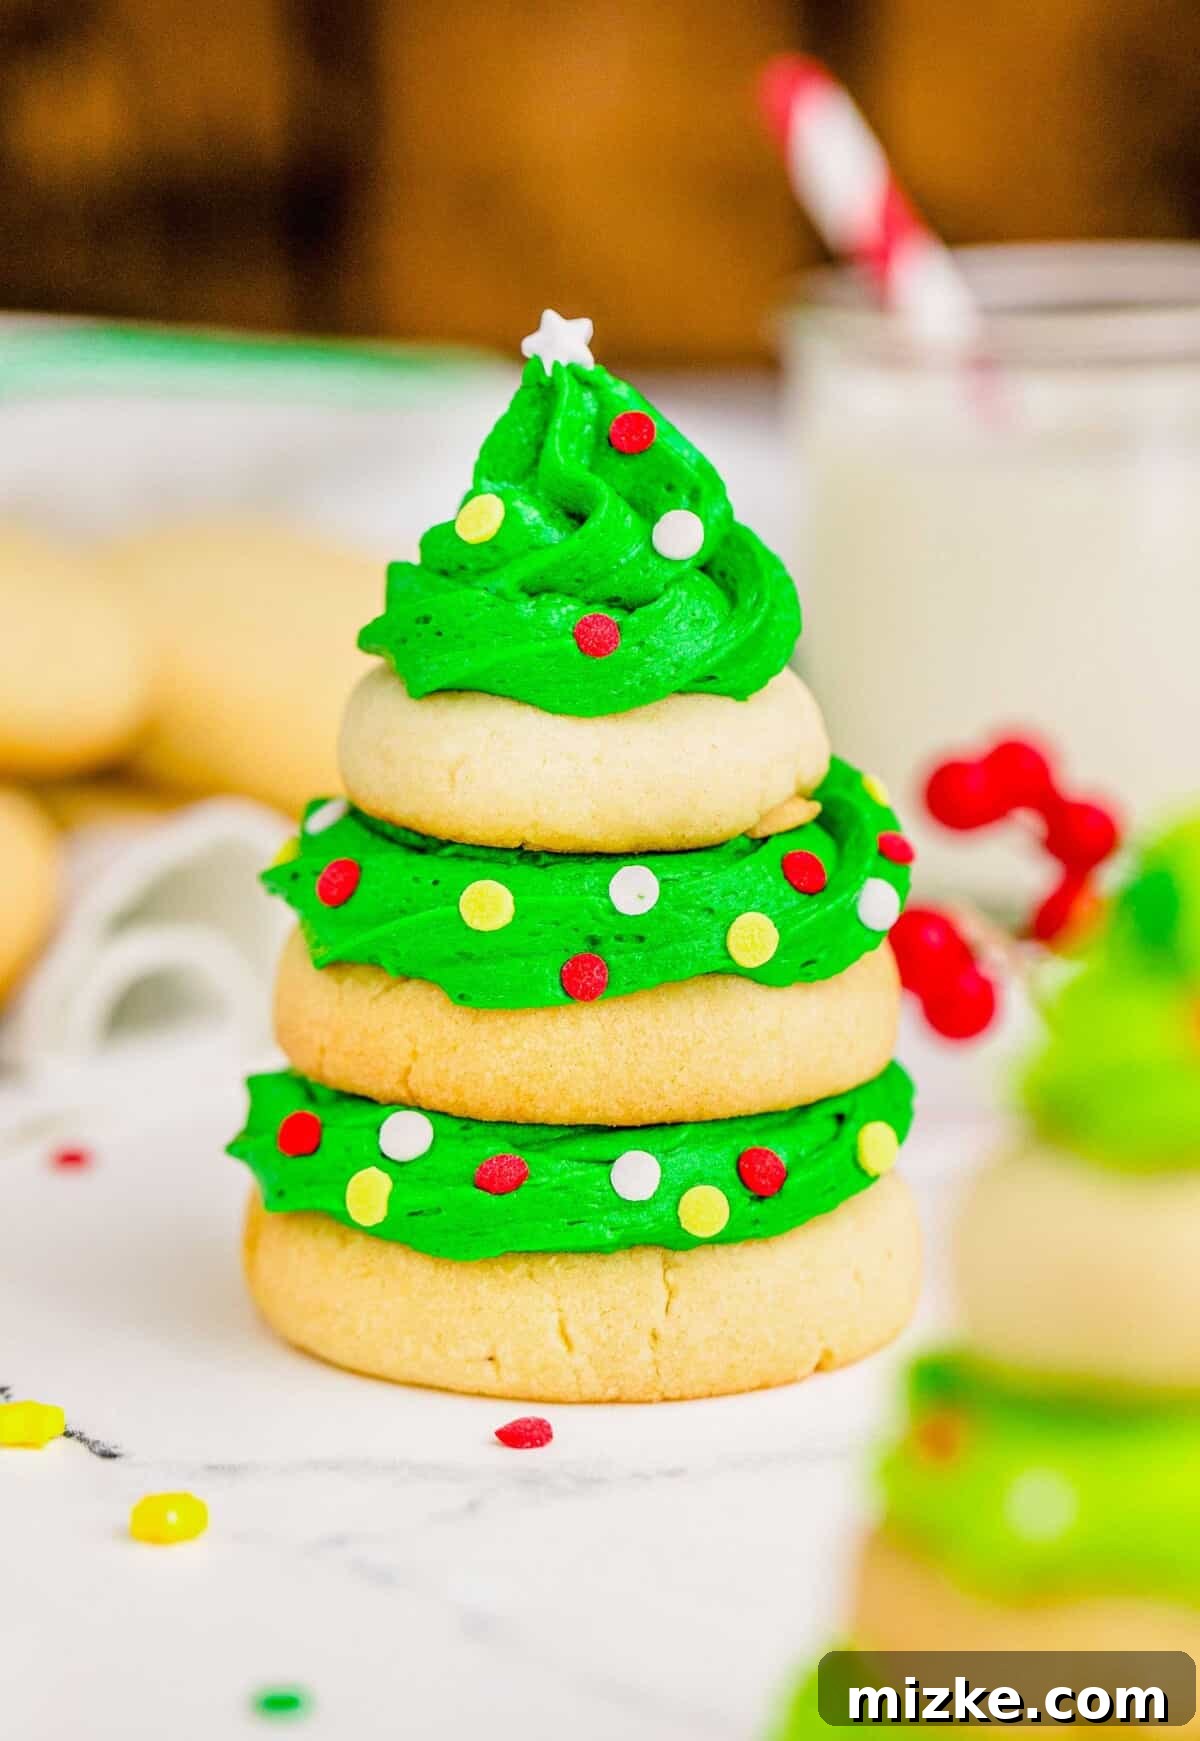
Step into the enchanting world of holiday baking with a recipe that promises both simplicity and show-stopping results. Our Christmas Tree Cookies are arguably the most festive confection you can create, offering a delightful blend of classic sugar cookie flavor and whimsical design. While these delectable cookies are crafted entirely from scratch, rest assured, this recipe is incredibly easy to follow, even for novice bakers. If your goal is to truly impress at this year’s Christmas cookie exchange or simply bring extra magic to your family gatherings, you’ve undoubtedly found the perfect recipe!
Nothing captures the spirit of the season quite like these charming treats. Imagine tender, buttery sugar cookies, baked to golden perfection, then meticulously stacked. Each layer is generously frosted with a rich, vibrant green buttercream, creating the iconic tiered shape of a Christmas tree. The final touch? An cascade of colorful sprinkles, thoughtfully scattered to resemble festive ornaments. The joy of decorating a full-sized Christmas tree is undeniable, but the playful fun of embellishing these miniature edible trees is an experience in itself! They are a fantastic addition to any holiday cookie platter, beautifully complementing other seasonal favorites like classic Gingerbread Man Cookies and elegant Raspberry Thumbprint Cookies.
Why These Christmas Tree Cookies Will Become Your Holiday Favorite
These adorable Christmas Tree Cookies offer more than just a sweet taste; they bring joy, creativity, and a touch of homemade magic to your holiday season. Here’s why you’ll absolutely adore baking and sharing them:
- Effortlessly Easy & Fun: Don’t let their picture-perfect appearance intimidate you! Crafting these Instagram-worthy cookies is surprisingly straightforward. The recipe is designed for ease, allowing even beginners to achieve stunning results. Focus on the fun, not the pressure, and you’ll find the process incredibly rewarding. It’s a fantastic baking project for families, where kids can eagerly help with decorating!
- Irresistibly Homemade Goodness: There’s simply no substitute for the melt-in-your-mouth texture and rich flavor of homemade sugar cookies. And when these perfectly baked bases are generously sandwiched with a luscious, creamy homemade buttercream frosting? It’s a match made in culinary heaven, promising a taste that store-bought cookies simply can’t replicate.
- Absolutely Adorable & Festive: Let’s be honest, part of the immense appeal of these cookies lies in their undeniable cuteness! While their taste is exquisite, their festive design truly sets them apart. They’re designed to capture hearts and delight eyes, making them ideal for holiday celebrations, school parties, or as thoughtful homemade gifts. Their charming appearance is guaranteed to bring smiles all around.
- Budget-Friendly Holiday Baking: The holiday season often comes with its share of expenses. Thankfully, this delightful Christmas tree cookie recipe relies on simple, inexpensive pantry staples that you likely already have on hand. This makes it an economical choice for creating impressive, delicious treats without breaking the bank, allowing you to focus on the joy of giving and sharing.
- Perfect for Gifting & Sharing: These cookies aren’t just for eating; they’re wonderful for gifting! Their unique shape and festive decoration make them an ideal present for neighbors, teachers, friends, and family. Package them in small clear bags with a ribbon for a thoughtful, handmade touch that everyone will appreciate.
- Versatile Decoration Fun: While green frosting and classic sprinkles create a traditional tree look, the decorating possibilities are endless! Experiment with different colored sprinkles, edible glitter, or small candy stars for the tree topper. This versatility means you can customize them to fit any holiday theme or personal preference.
How to Make the Perfect Christmas Tree Cookies: A Step-by-Step Guide
Creating these delightful Christmas Tree Cookies is a fun and rewarding process. Follow these detailed steps to ensure your cookies are not only beautiful but also incredibly delicious.
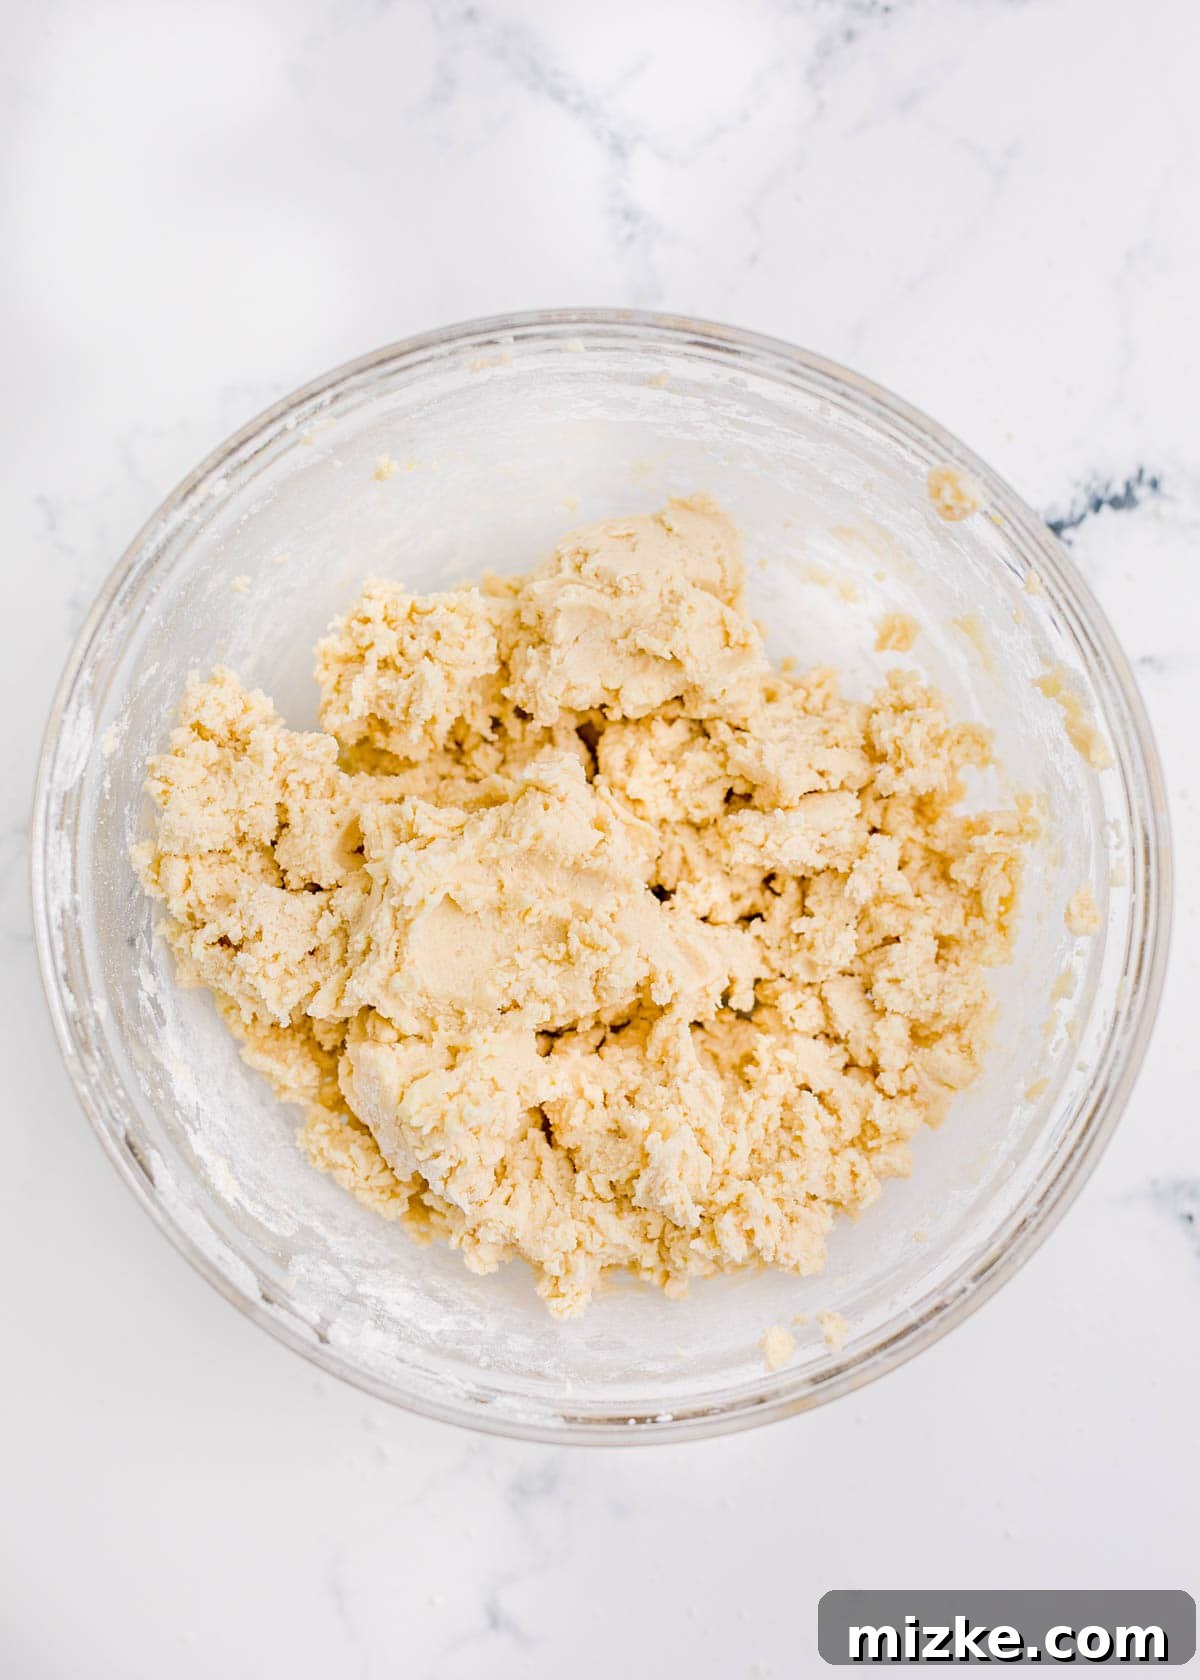
- Prepare the Cookie Dough: In a large mixing bowl, using either a stand mixer with a paddle attachment or a hand mixer, cream together the softened salted butter, granulated sugar, egg, and vanilla extract until the mixture is light, fluffy, and well combined. In a separate, medium-sized bowl, whisk together the all-purpose flour and baking powder. Gradually add the dry ingredients to the wet ingredients, beating on low speed until just combined. Be careful not to overmix, as this can lead to tough cookies. The dough should be soft but manageable.
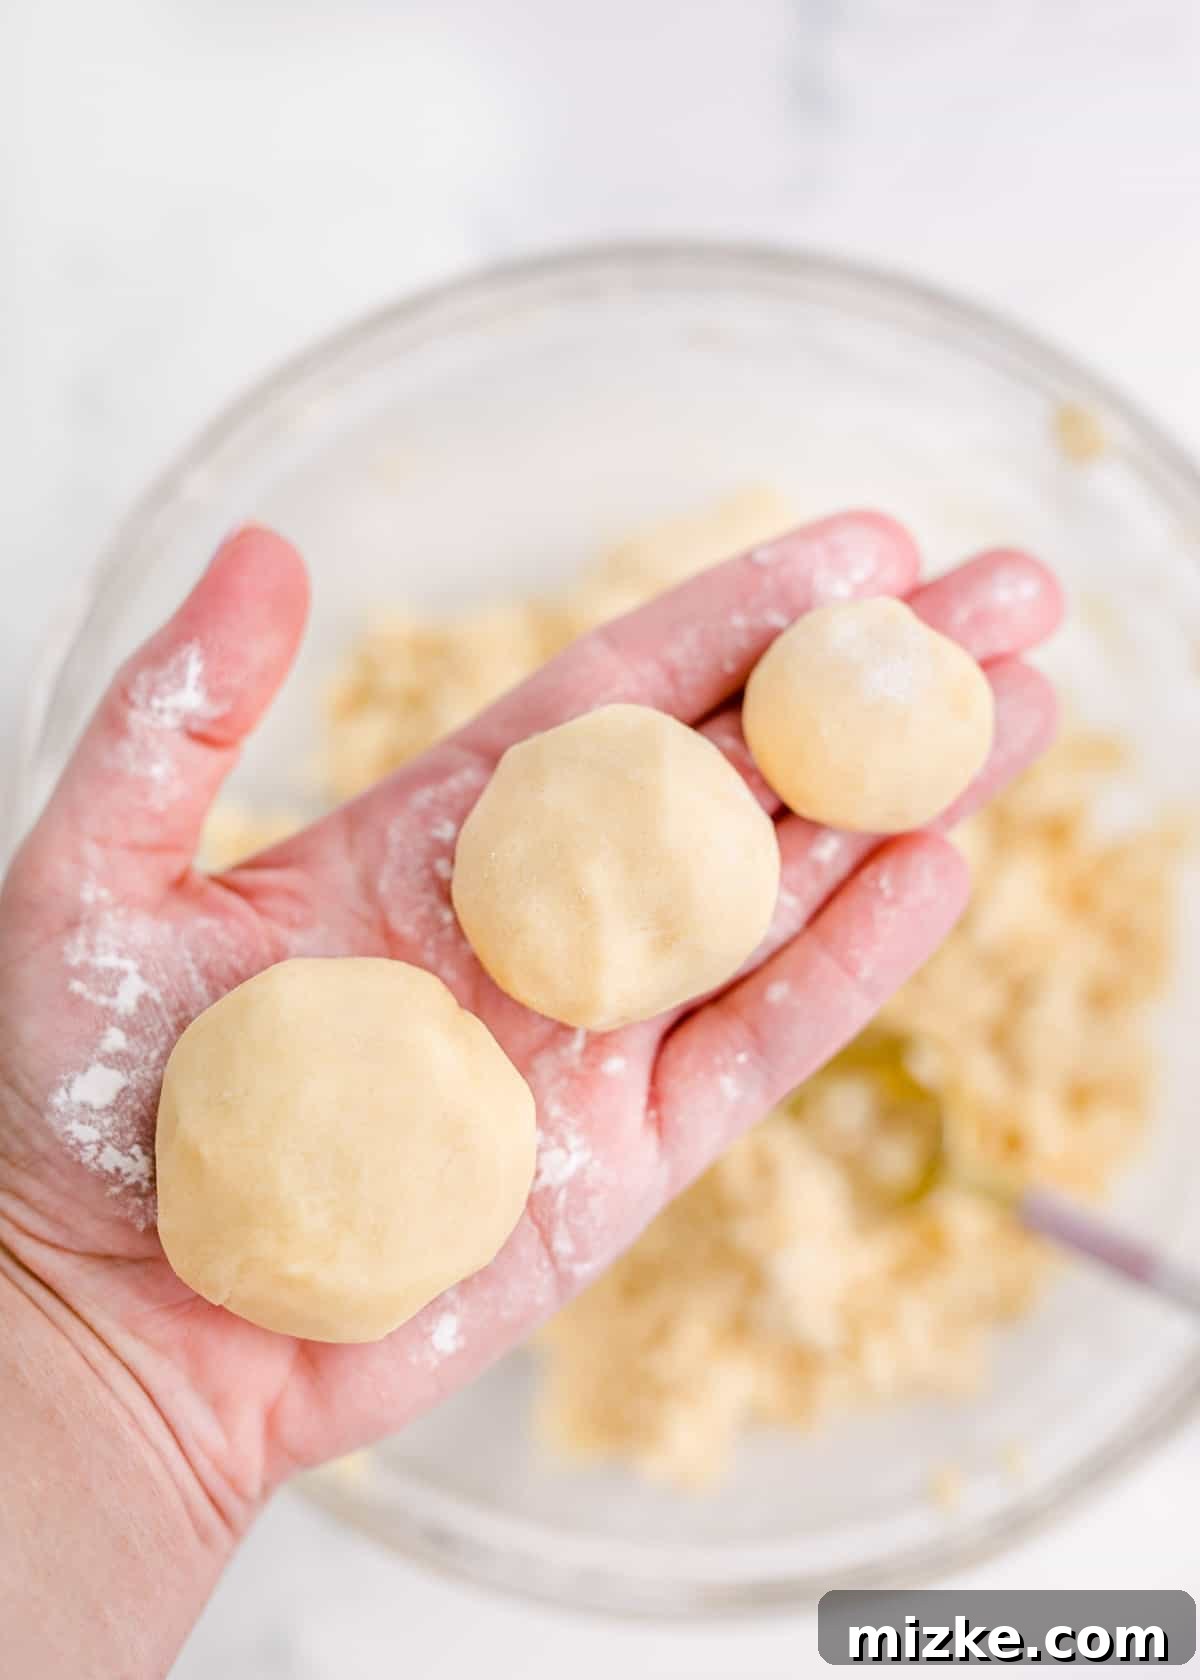
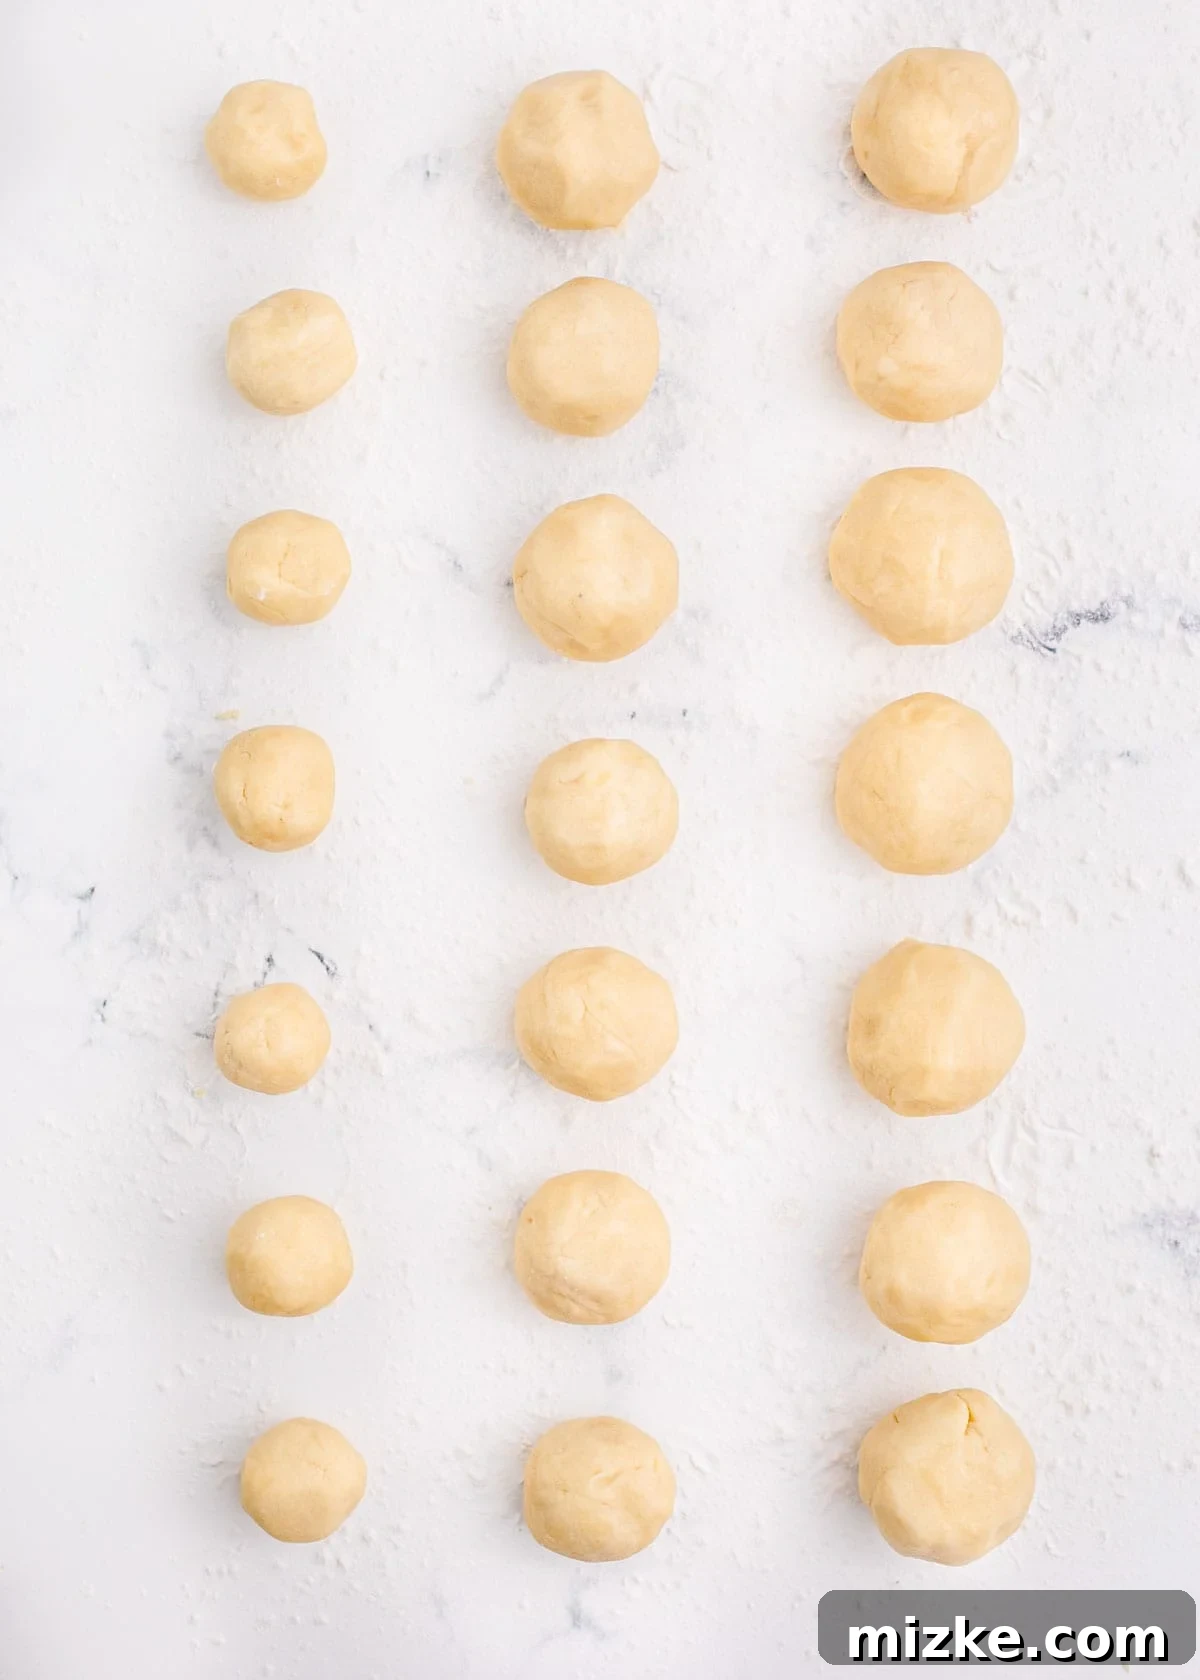
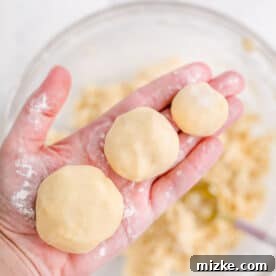
- Shape the Dough into Graduated Balls: For that signature tiered Christmas tree appearance, you’ll need three distinct sizes of cookie dough balls. For the smallest cookies (the top of the tree), measure out 1 rounded teaspoon of dough per ball. For the middle section, use 2 rounded teaspoons of dough per ball. Finally, for the largest cookies (the base of the tree), measure 3 rounded teaspoons of dough per ball. Aim to create an equal number of each size, roughly 15 sets for a total of 45 individual cookies. Roll each portion gently between your palms to form smooth, uniform balls.
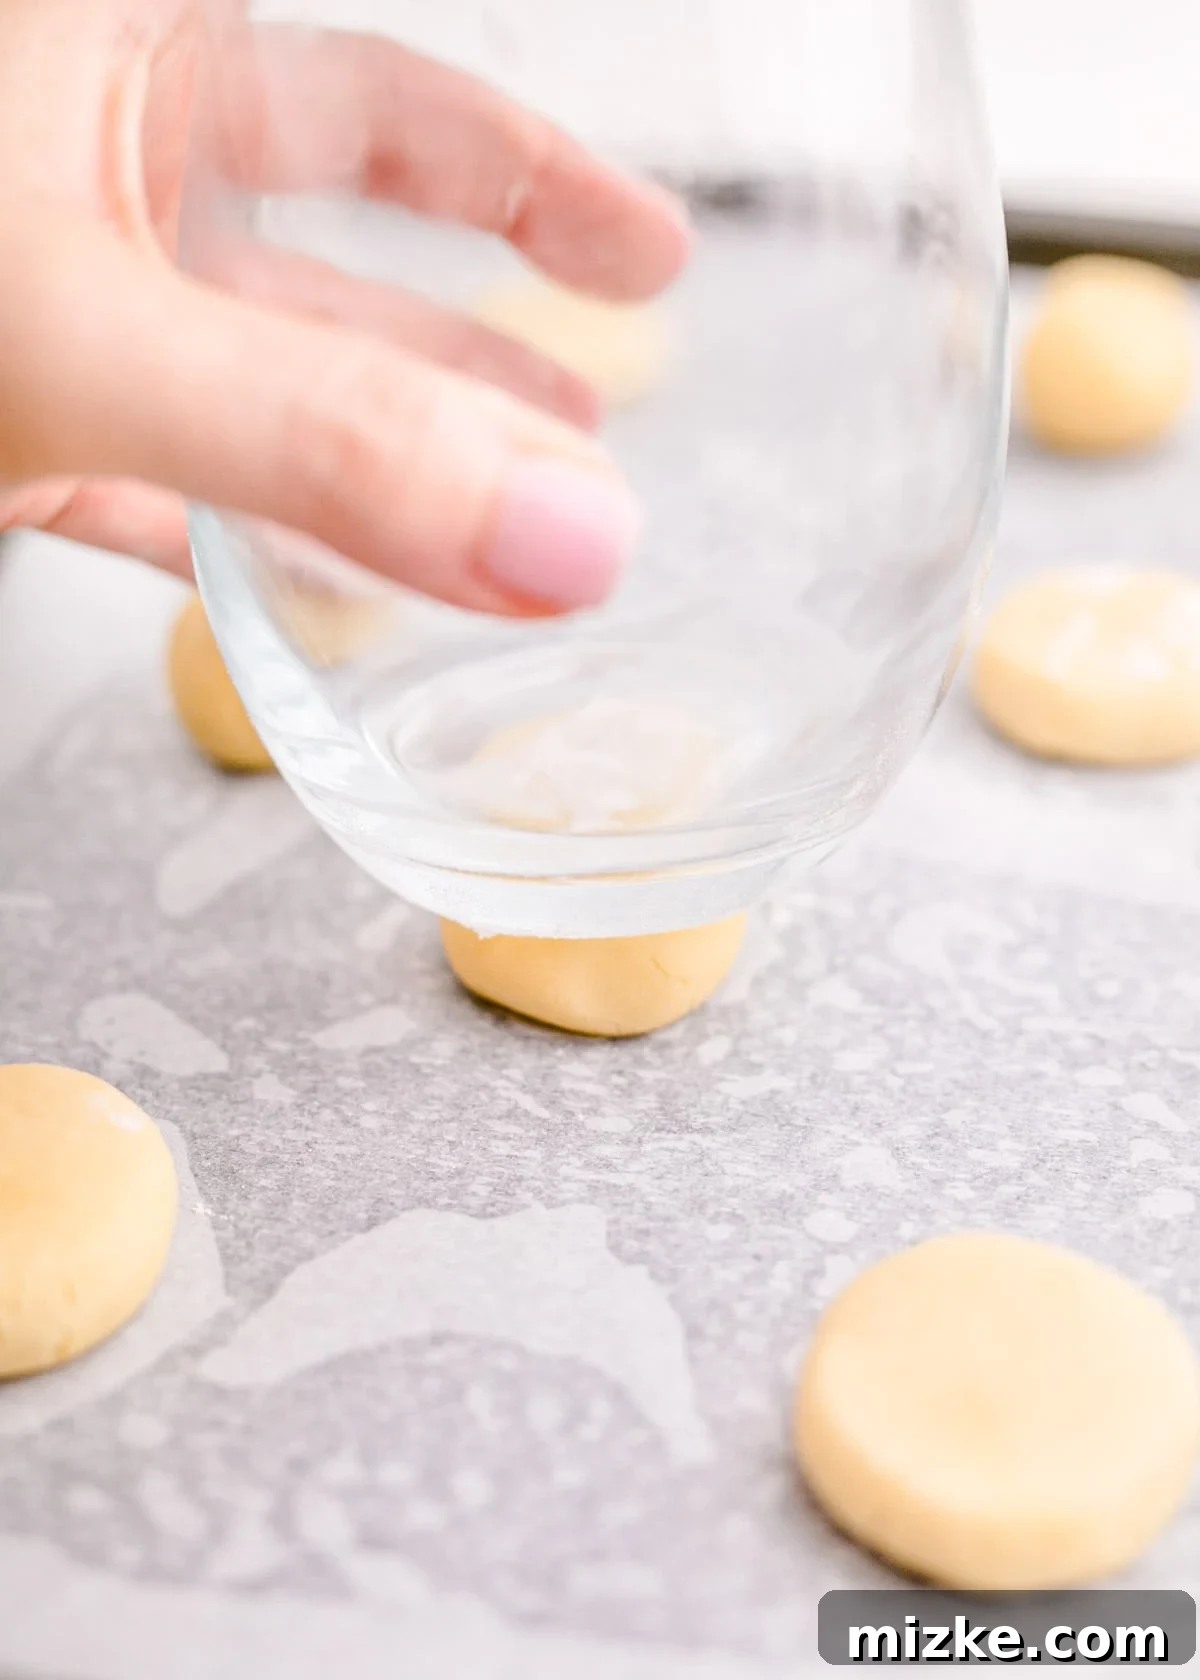
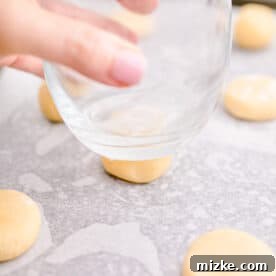
- Gently Flatten the Cookie Dough Balls: Line several baking sheets with parchment paper. Place the smallest cookie dough balls onto one parchment-lined sheet, ensuring they are spaced about 2 inches apart. Use the bottom of a flat-bottomed glass or a measuring cup to gently press down on each ball, flattening them slightly. Repeat this process for the medium-sized balls on a separate baking sheet, and then for the large cookie dough balls on yet another sheet. Baking different sizes on separate sheets is crucial, as their baking times will vary significantly.
- Bake the Cookies to Perfection: Preheat your oven to 350°F (175°C). Bake the cookies until their bottoms are just barely golden, indicating they are cooked through but still soft. Small cookies will typically require 4-6 minutes in the oven. Medium cookies will need slightly longer, approximately 6-8 minutes. The largest cookies will take the longest, baking for about 8-10 minutes. Keep a close eye on them, as baking times can vary between ovens.
- Cool Completely: Once baked, remove the cookies from the oven and allow them to rest on the hot baking sheets for a couple of minutes. This helps them set and prevents breakage. After this initial cooling, carefully transfer the cookies to wire cooling racks to cool completely to room temperature. It’s essential that they are fully cooled before frosting to prevent the buttercream from melting.
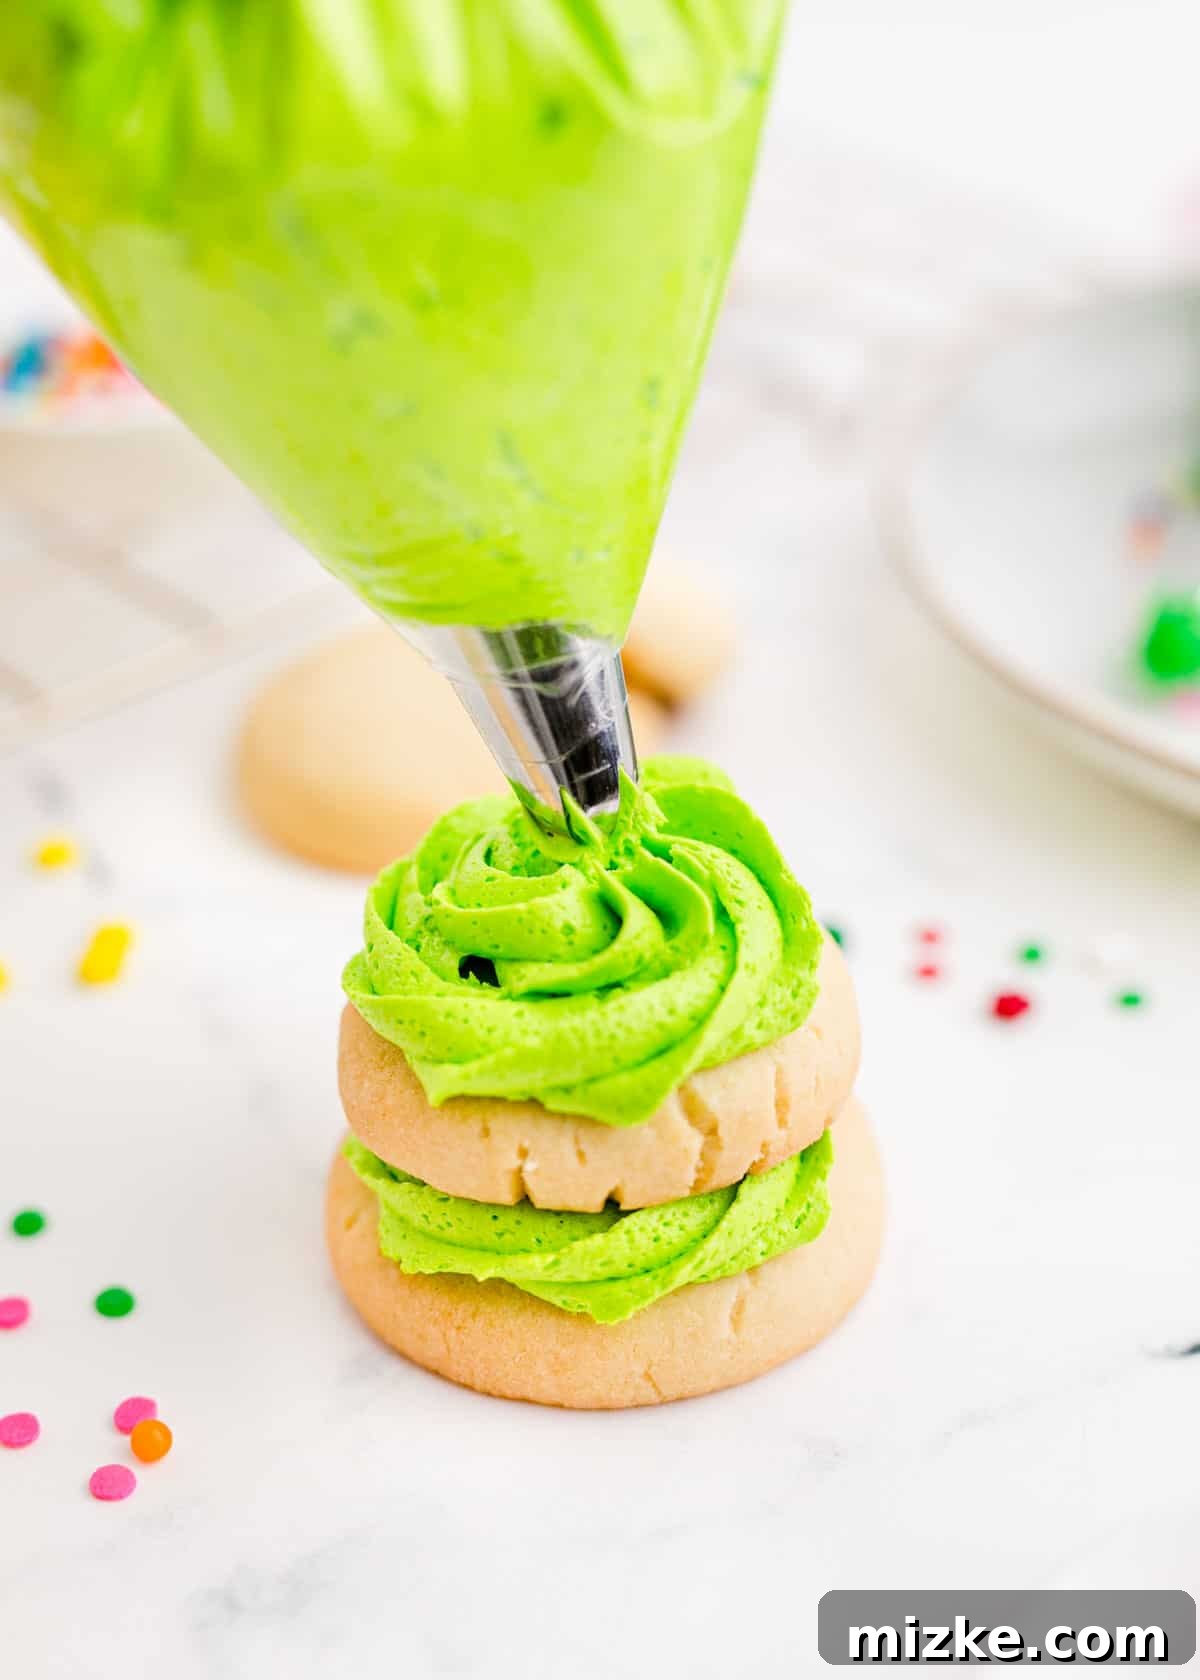
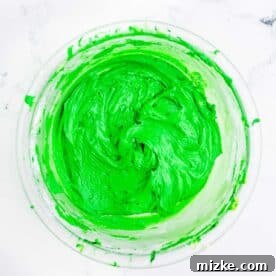
- Prepare the Rich Green Frosting: While your cookies are cooling, it’s the perfect time to whip up the luxurious buttercream frosting. In a medium mixing bowl, beat together the softened butter and powdered sugar until a smooth, thick consistency is achieved. Then, gradually beat in the milk and vanilla extract. At this point, add your desired amount of green food coloring to achieve a vibrant, festive hue. Continue beating until the frosting is light, fluffy, and has reached your desired consistency for piping or spreading.
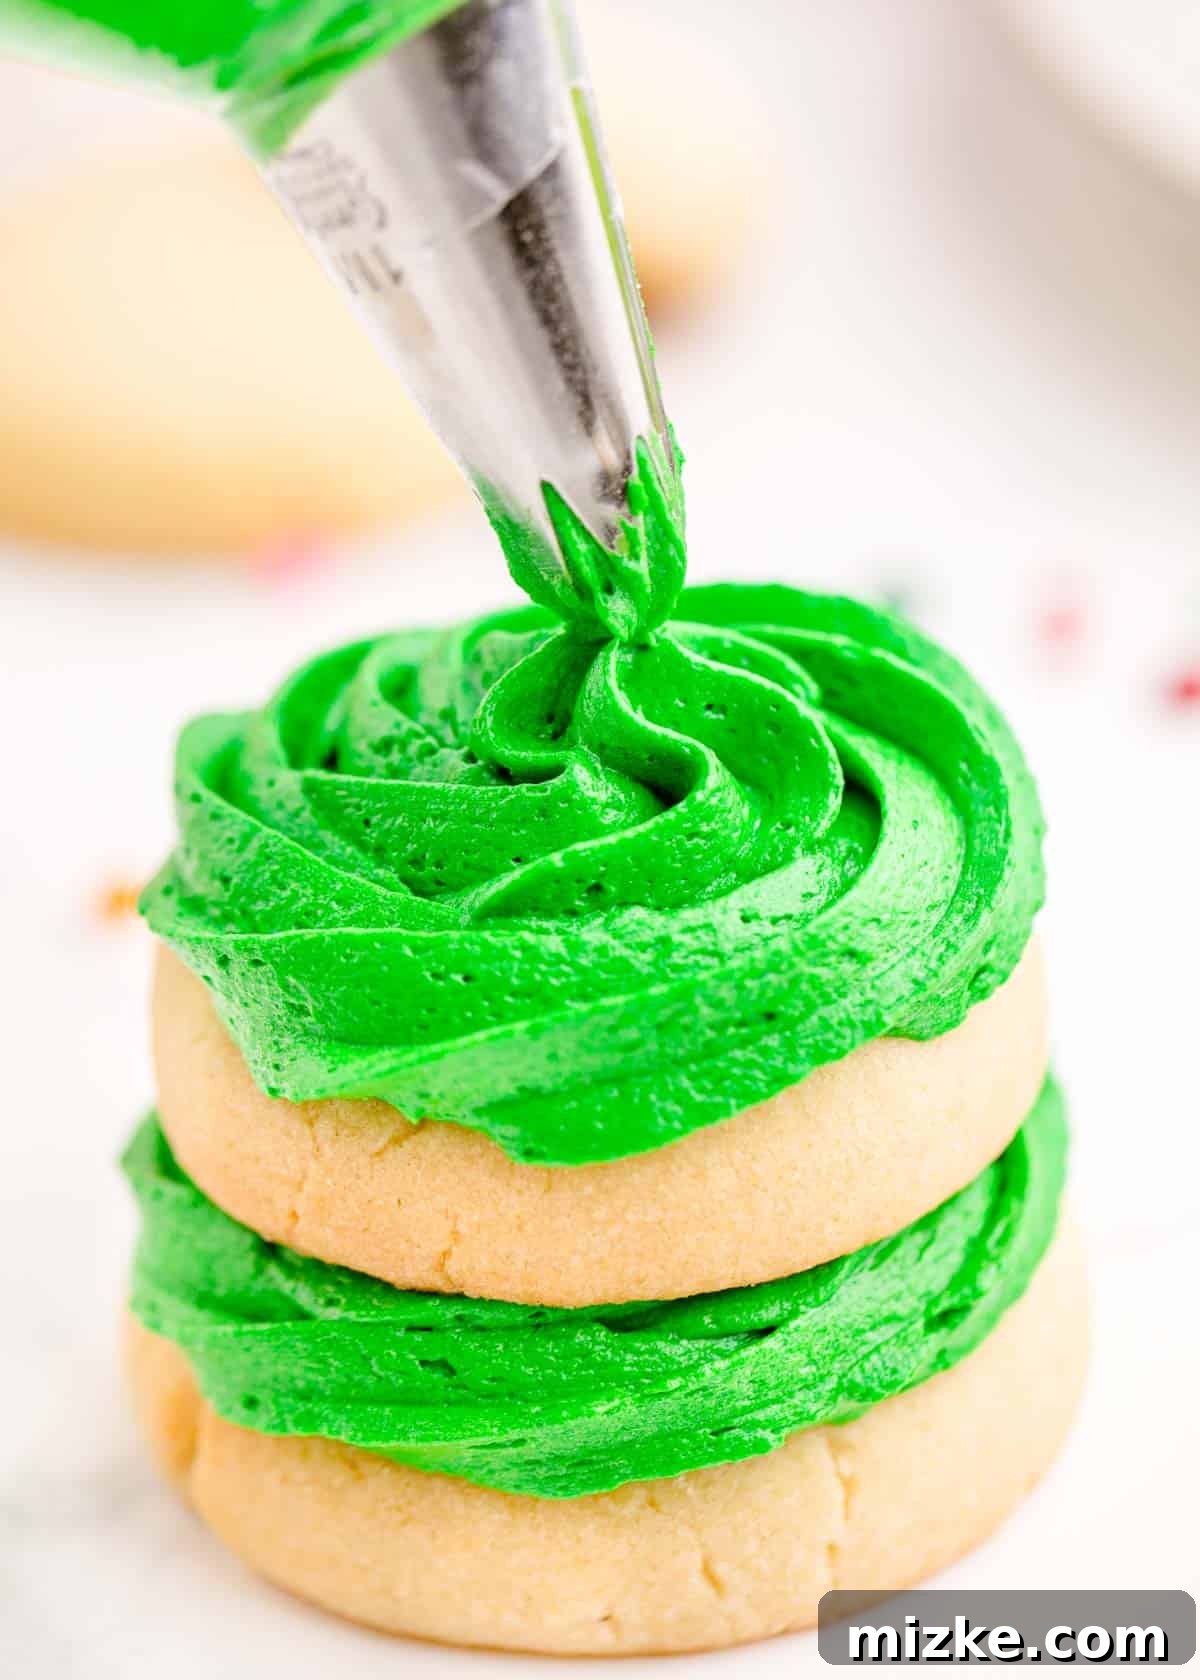
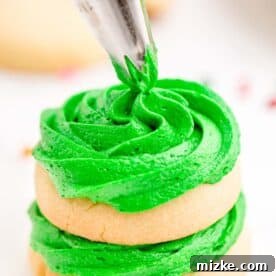
- Assemble and Decorate Your Christmas Trees: Ensure all your cookies have cooled completely to room temperature. This is crucial for successful assembly. Take one large cookie and pipe (or spread) a layer of green frosting onto its top. Carefully place a medium-sized cookie on top, centering it. Add another layer of frosting, then top with the smallest cookie. Continue to pipe or spread frosting around the sides and top of the stacked cookies to create the appearance of a mini Christmas tree. Finally, generously shower your delightful cookie trees with an assortment of festive sprinkles, allowing them to cling to the soft frosting. Enjoy your beautiful, edible creations immediately!
Frequently Asked Questions About Christmas Tree Cookies
We’ve gathered some common questions and helpful answers to ensure your Christmas Tree Cookie baking experience is smooth and successful.
Flour measurement is often the culprit for dry cookies. It’s vital to measure flour accurately. The best method is to spoon the flour lightly into your measuring cup until it overflows, then use a flat edge (like the back of a knife) to level off the top. Scooping flour directly from the bag with your measuring cup can compact it, leading to significantly more flour than intended, resulting in a drier, tougher cookie. For absolute precision, weighing your flour with a kitchen scale is recommended.
Achieving the perfect buttercream consistency is key for beautiful piping. If your frosting is too thick and difficult to spread or pipe, add milk (or cream) gradually, just a teaspoon at a time, beating well after each addition until you reach the desired smooth, workable consistency. If your buttercream is too thin and runny, incorporate more powdered sugar, a tablespoon at a time, beating until it thickens up. Remember, it’s easier to add a little more than to remove, so go slowly!
Absolutely! While homemade dough offers superior flavor, using good quality store-bought refrigerated sugar cookie dough is a fantastic shortcut for these Christmas Tree Cookies, especially when you’re short on time. Just follow the shaping and baking instructions as outlined, adjusting baking times according to the package directions or until golden. The focus here is on the festive assembly!
For these Christmas Tree Cookies, any festive sprinkles will work wonderfully! Green, red, and white jimmies (rod-shaped sprinkles), nonpareils (tiny balls), or even a holiday mix with stars and dots will look fantastic. Edible glitter can also add a magical shimmer. Choose whatever brings you joy and makes your trees sparkle!
Yes, you can! Prepare the cookie dough as instructed, then wrap it tightly in plastic wrap and refrigerate for up to 2-3 days. When ready to bake, let the dough sit at room temperature for about 15-20 minutes to soften slightly before shaping. You can also form the balls, flatten them, and then chill them on baking sheets before baking.
Storage Instructions for Optimal Freshness
To ensure your beautiful Christmas Tree Cookies remain delicious and fresh, proper storage is key. Whether you’re making them in advance for a party or saving some for later, these tips will help maintain their perfect texture and taste.
Once fully assembled and decorated, these festive cookies can be stored in an airtight container at room temperature for up to 1 week. Placing parchment paper between layers of cookies can help prevent them from sticking together and preserve their delicate decorations. Their excellent shelf life makes them ideal for preparing ahead of time for your holiday gatherings, cookie exchanges, or as edible gifts.
For longer storage, these cookies also freeze beautifully! We recommend baking all the cookies and allowing them to cool completely before freezing. Once cool, arrange them in a single layer on a baking sheet and flash freeze for about 30 minutes until firm. Then, transfer the frozen cookies to a freezer-safe bag or airtight container, separated by parchment paper, and store for up to 3 months. When you’re ready to serve, simply allow the cookies to come to room temperature on a wire rack before assembling them with the freshly made buttercream frosting and sprinkles. This method ensures your decorations look pristine and vibrant, as if they were just made.

Christmas Tree Cookies
Julie Chiou
15
25
20
1
15 cookies
Equipment
-
Hand mixer
-
Stand mixer
-
Large rimmed baking sheet
Ingredients
For the cookies:
- 1 cup (227 g) salted butter, softened
- ¾ cup (150 g) granulated sugar
- 1 egg
- 1 teaspoon vanilla extract
- 2 ½ cups (313 g) all-purpose flour
- 1 teaspoon baking powder
For the frosting:
- 3 cups (360 g) powdered sugar
- ½ cup (114 g) salted butter, softened
- 3 Tablespoon milk (or heavy cream)
- 1 teaspoon vanilla extract
- Green Food coloring
- Assorted festive sprinkles for decorating
Instructions
-
Preheat the oven to 350 °F (177 °C). Line multiple baking sheets with parchment paper.
-
In a medium bowl, beat together the softened butter, granulated sugar, egg, and vanilla extract until light and fluffy.1 cup (227 g) salted butter,
¾ cup (150 g) granulated sugar,
1 egg,
1 teaspoon vanilla extract
-
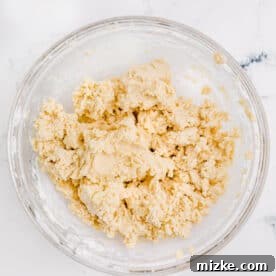
In a separate bowl, whisk together the flour and baking powder. Gradually add this dry mixture to the butter mixture, beating until just combined and well blended, being careful not to overmix.2 ½ cups (313 g) all-purpose flour,
1 teaspoon baking powder -
Next, you will shape the dough into three distinct sizes of cookies to create the tiered tree effect. For small cookies, use 1 rounded teaspoon of dough per ball. For medium cookies, use 2 rounded teaspoons of dough per ball. For large cookies, use 3 rounded teaspoons of dough per ball. You need an equal number of each size; you should be able to make at least 15 balls of each size, totaling 45 cookies.
-
Place the small dough balls onto one parchment-lined baking sheet and gently flatten them slightly with the bottom of a glass. Repeat this process with the medium-sized balls on a separate sheet, pressing them down gently. Place the large balls on a third separate sheet and flatten them slightly as well. Baking different sizes on separate sheets is crucial as they will bake at different rates.
-
Bake until the bottoms are just golden. Small cookies will take approximately 4-6 minutes. Medium cookies will require about 6-8 minutes. Large cookies will bake for roughly 8-10 minutes. Adjust baking times as needed for your oven.
-
Remove the baked cookies from the oven and allow them to cool on the baking sheets for a few minutes before transferring them carefully to wire racks to cool completely to room temperature.
-
While the cookies are cooling, prepare the festive green frosting.
-
In a medium bowl, beat together the powdered sugar and softened butter until well creamed and smooth. Then, beat in the milk, vanilla extract, and green food coloring until the frosting is light, fluffy, and vibrant.3 cups (360 g) powdered sugar,
½ cup (114 g) salted butter,
3 Tablespoon milk,
1 teaspoon vanilla extract
-
To assemble your Christmas tree cookies, ensure the cookies are completely cool. Pipe or spread a layer of frosting onto the top of a large cookie, then center and place a medium-sized cookie on top. Add another layer of frosting, then top with the smallest cookie. Continue decorating with the remaining green icing, piping it around the sides and top of the stacked cookies to form the tree shape. Finish by liberally adding your choice of festive sprinkles to resemble ornaments. Serve and enjoy!
Notes
Nutrition
Serving:
1 cookie
,
Calories:
378 kcal
,
Carbohydrates:
50g
,
Protein:
3g
,
Fat:
19g
,
Saturated Fat:
12g
,
Polyunsaturated Fat:
1g
,
Monounsaturated Fat:
5g
,
Trans Fat:
1g
,
Cholesterol:
60mg
,
Sodium:
197mg
,
Potassium:
37mg
,
Fiber:
1g
,
Sugar:
34g
This website provides approximate nutrition information for convenience and as a courtesy only. Nutrition information can vary for a variety of reasons. For the most precise nutritional data use your preferred nutrition calculator based on the actual ingredients you used in the recipe.
The default measuring system for this website is US Customary. Unit conversions are provided for convenience and as a courtesy only. While we strive to provide accurate unit conversions, please be aware that there may be some discrepancies.
Get Creative with Your Christmas Tree Cookies!
The beauty of these Christmas Tree Cookies lies not only in their charming appearance but also in their adaptability. Feel free to unleash your creativity with different frosting colors, sprinkle combinations, or even a different flavor profile for the cookies themselves. Imagine a subtle hint of almond in the cookie dough, or a peppermint-flavored frosting for a truly wintry twist. You can also experiment with small edible stars or silver balls as toppers for a more polished look.
The Perfect Holiday Treat for Every Occasion
These cookies are truly versatile for the holiday season. They make an unforgettable centerpiece on a dessert platter, a delightful contribution to any holiday potluck, or a cherished gift for friends and family. Their sturdy nature also makes them perfect for transporting to school events or office parties. Pair them with a warm mug of hot cocoa or a festive spiced cider for the ultimate cozy holiday experience. Get ready to spread some serious holiday cheer, one adorable Christmas Tree Cookie at a time!