
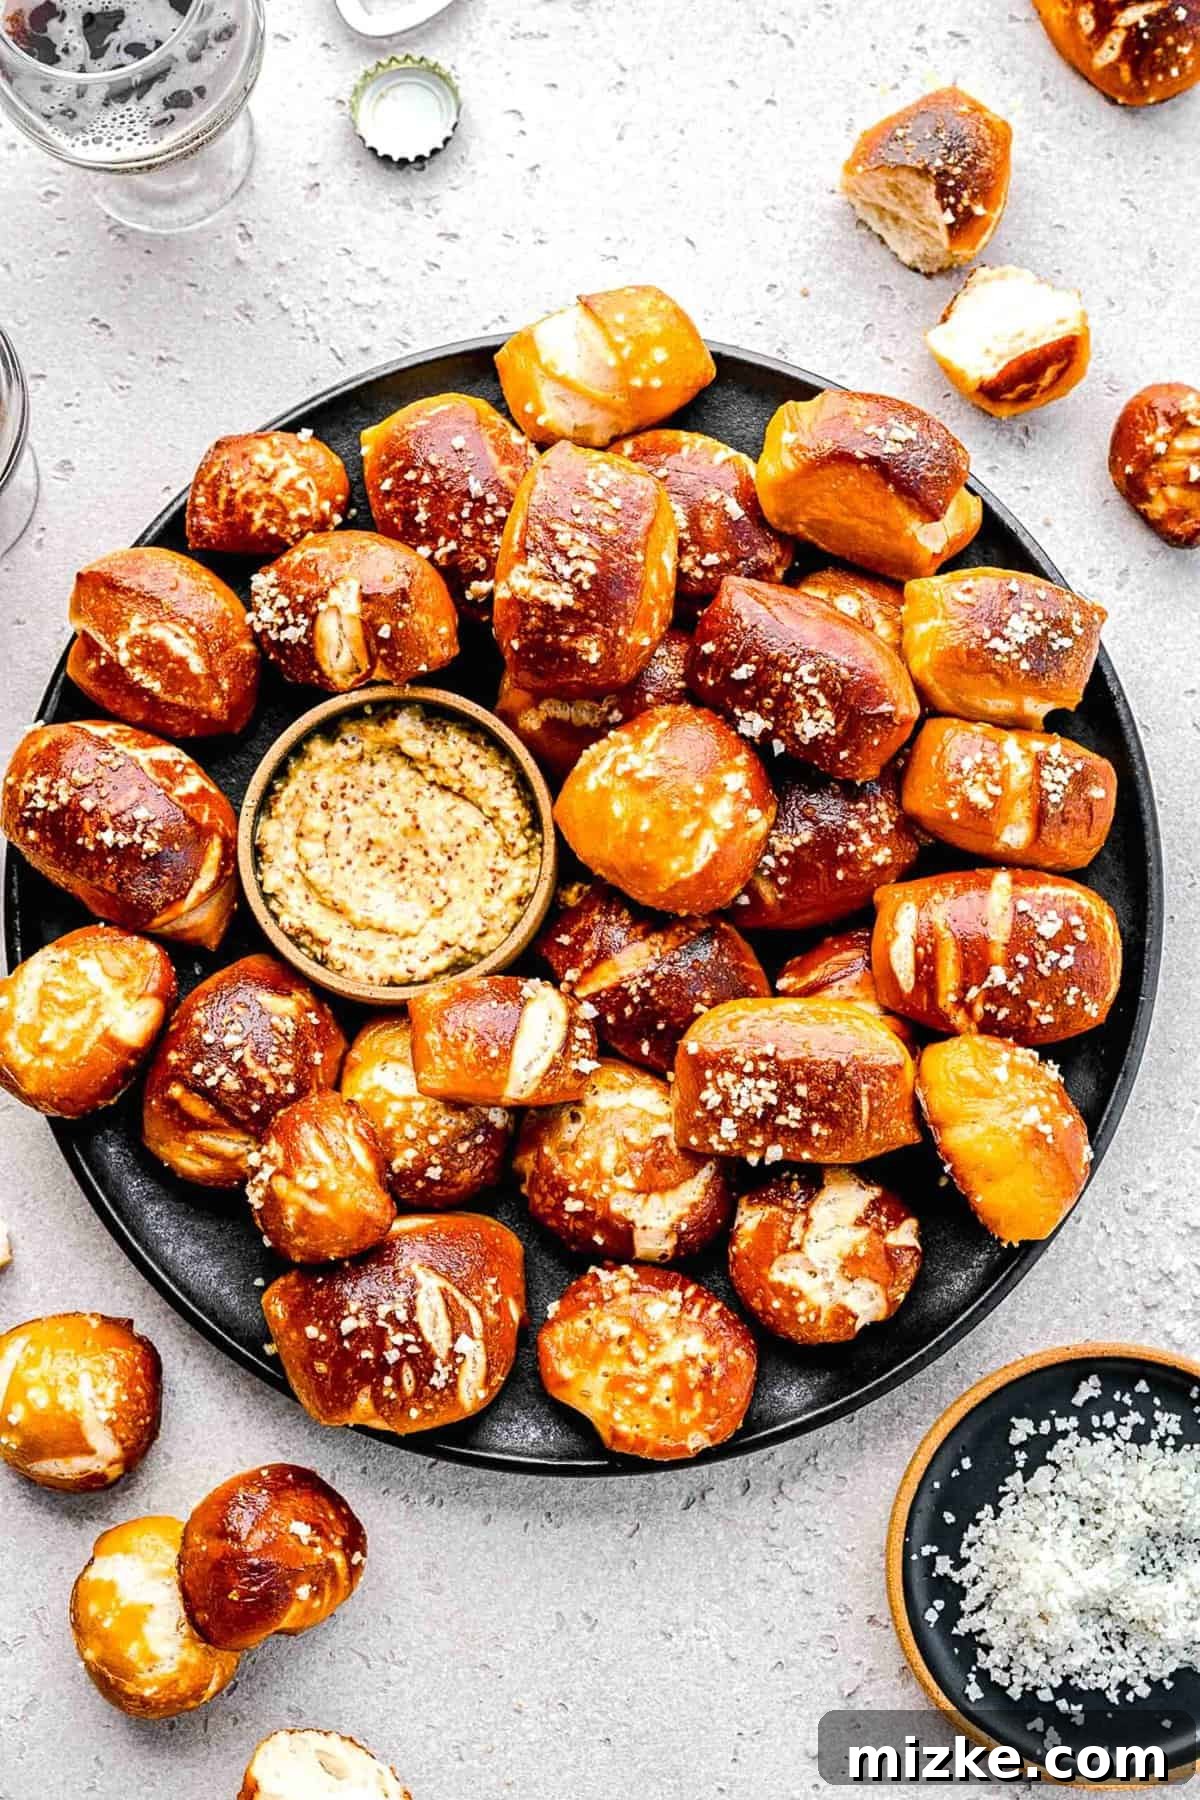
The Ultimate Guide to Homemade Soft Pretzel Bites: Your Perfect Game Day Snack
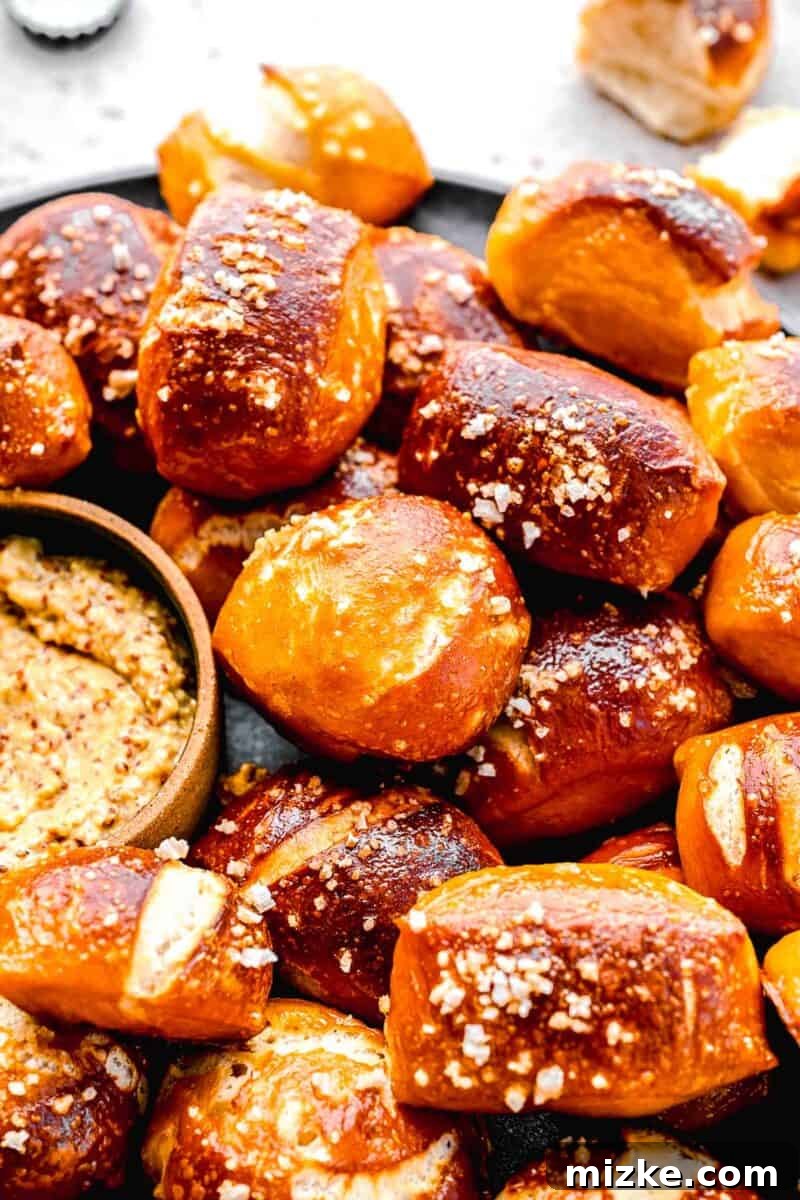
Imagine sinking your teeth into a warm, fluffy pretzel, perfectly golden with a hint of salt, its tender interior yielding to a satisfyingly crisp crust. Now, imagine that same irresistible flavor and texture, but in a convenient, bite-sized form! These homemade soft pretzel bites are a culinary dream come true, offering everything you love about classic pretzels without the commitment of a full-sized twist. They are the quintessential game-day snack, party appetizer, or simply a delightful treat that will have everyone reaching for more.
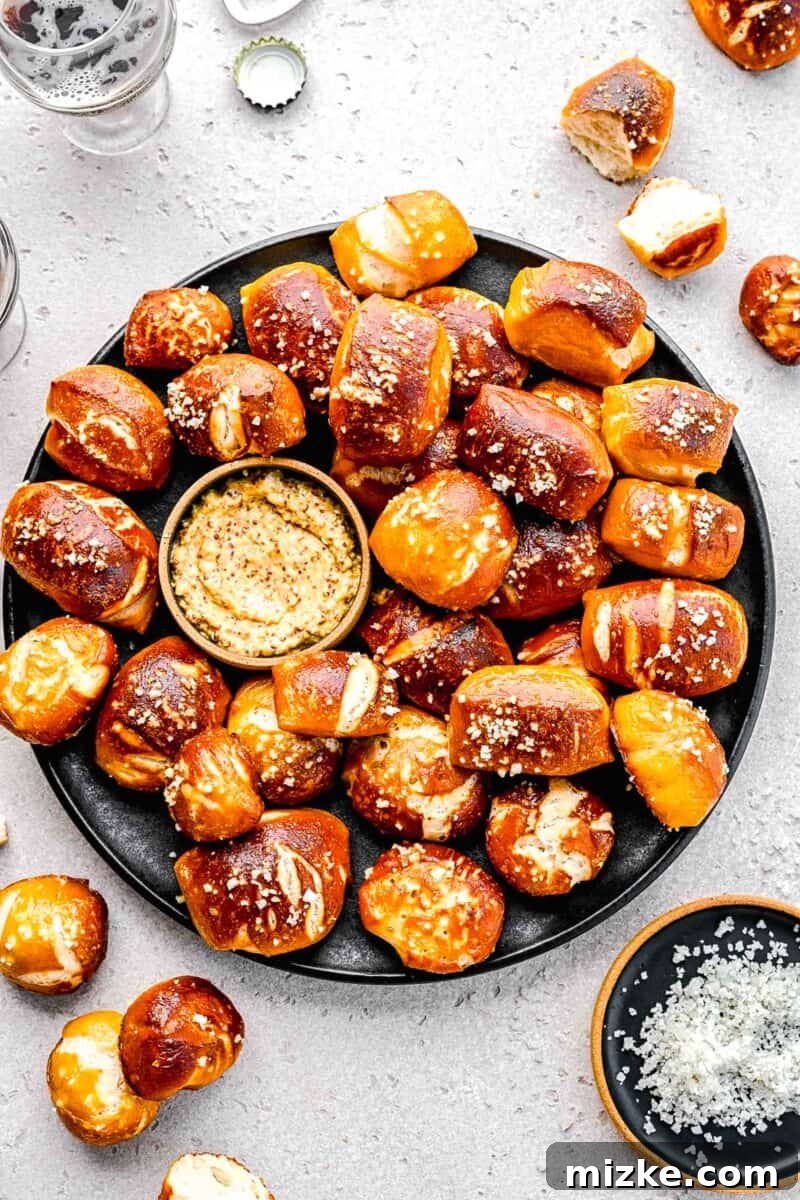
There’s a universal joy that comes with a freshly baked soft pretzel. Whether it’s the iconic street vendor pretzel or a gourmet bakery creation, its unique chew and savory flavor are simply unparalleled. But let’s be honest, sometimes a whole pretzel can feel like a delicious challenge. That’s precisely why these pretzel bites are a stroke of genius. They deliver all the beloved characteristics of a traditional soft pretzel – a wonderfully soft and tender crumb, a beautiful golden-brown exterior with a slight crispness, and a generous sprinkle of coarse sea salt – all in a manageable, pop-able size. They are truly the perfect savory snack, ideal for sharing at your next social gathering or indulging in a special treat for yourself and your loved ones. Get ready to elevate your snack game with this incredible recipe!
Why This Soft Pretzel Bites Recipe is a Must-Try
These homemade pretzel bites are more than just a snack; they’re an experience. Perfect for any occasion, from a lively game night to a quiet evening at home, they consistently earn rave reviews. Here’s a closer look at what makes this recipe an absolute winner:
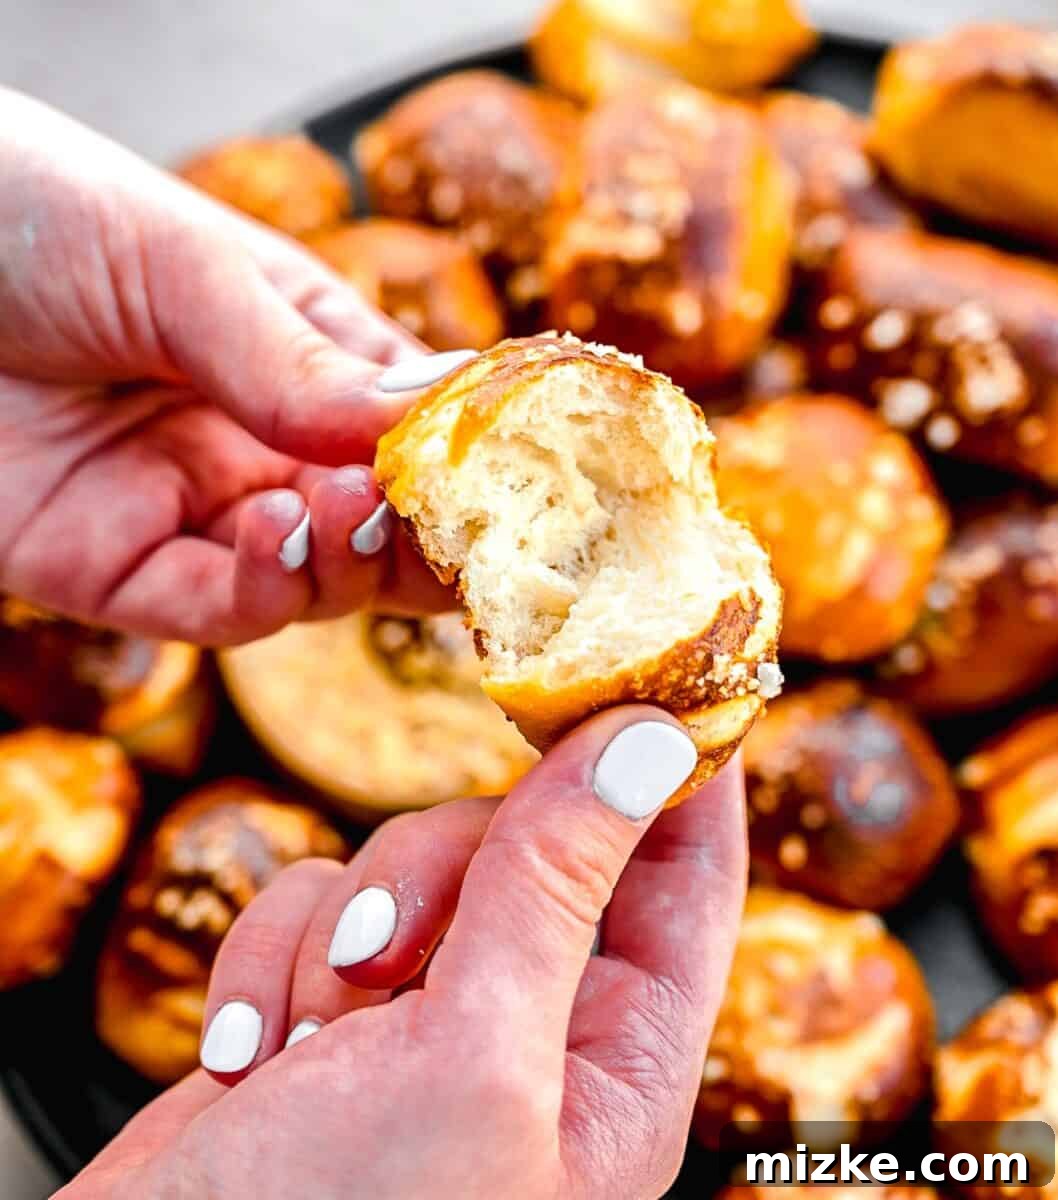
- Effortlessly Enjoyable: The beauty of bite-sized pretzels lies in their convenience. You can effortlessly enjoy a few without feeling overly full, or easily grab a handful to satisfy a bigger craving. No more awkward tearing or sharing a large pretzel – just perfect little portions ready for dipping.
- Irresistibly Addictive Flavor and Texture: This recipe masterfully combines a tender, pillowy interior with a subtly crisp, golden-brown crust. Each bite offers a harmonious blend of buttery richness and savory saltiness, creating a flavor profile that is truly impossible to resist. Warning: they disappear fast!
- Versatility for Every Palate: While a sprinkle of coarse sea salt is a classic choice for a savory snack, the possibilities don’t end there. Are you craving something savory? Stick with the salt and serve with your favorite mustard or cheese dip. Feeling adventurous and sweet? Swap the sea salt for a delightful mixture of cinnamon and sugar before baking, and serve them as is, or with a luscious chocolate sauce for an unforgettable dessert or breakfast treat.
- The Joy of Homemade Baking: There’s immense satisfaction in baking from scratch, especially when the results are this delicious. You’ll impress your family and friends with these freshly made delights, and the aroma filling your kitchen is an added bonus!
- Economical and Fresh: Making pretzels at home is often more cost-effective than buying them pre-made. Plus, you get to enjoy them at their absolute freshest, straight from the oven, which makes all the difference in taste and texture.
Gather Your Ingredients: What You’ll Need
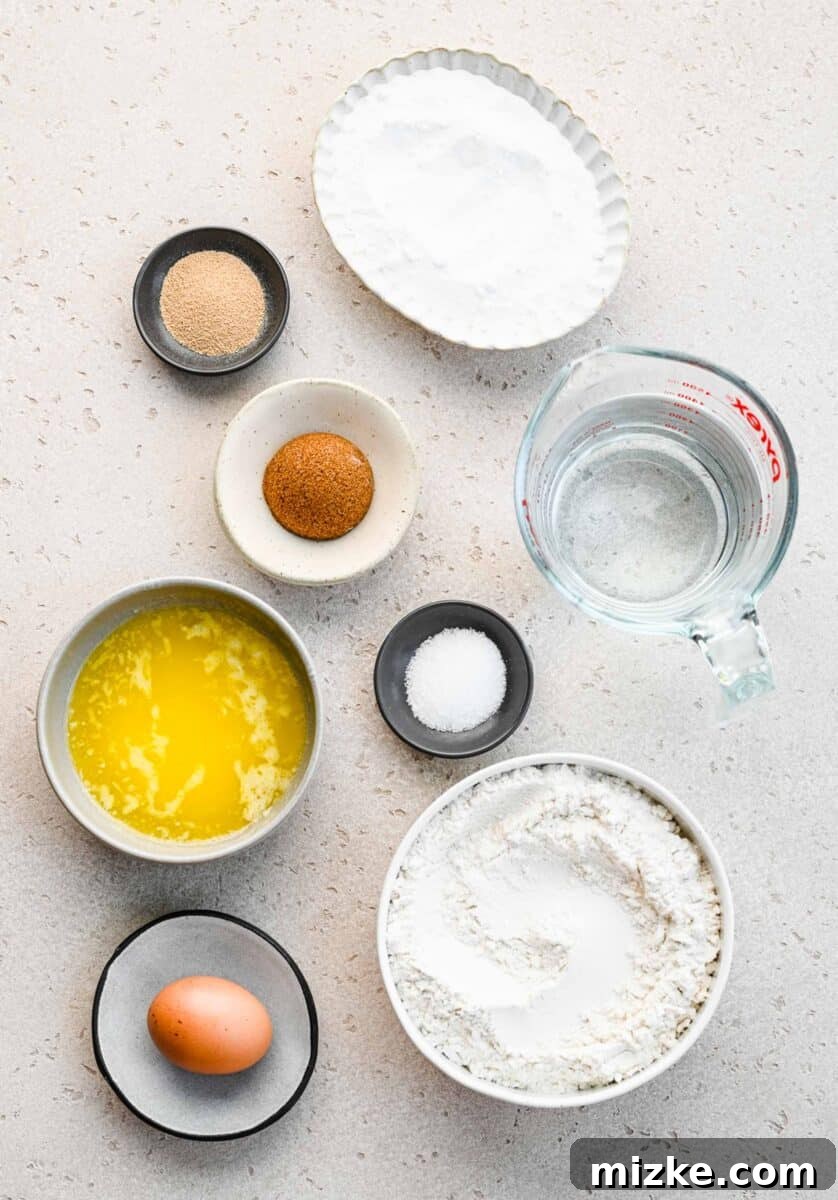
Crafting delicious pretzel bites requires a few basic ingredients, many of which are likely already staples in your kitchen. Each component plays a crucial role in achieving the perfect texture and flavor. Be sure to check the detailed measurements in the recipe card at the end of this article.
- Warm Water: The foundation for activating your yeast. The ideal temperature is crucial – aim for around 105-115°F (40-46°C). If the water is too cold, the yeast won’t activate, and your dough won’t rise. If it’s too hot, it will kill the yeast, leading to the same flat result. Think of it as bathwater warm, not scalding hot or lukewarm.
- Active Dry Yeast: This living organism is what makes your pretzels delightfully soft and airy. It feeds on sugar and produces carbon dioxide, causing the dough to rise. Ensure your yeast is fresh and active for the best results.
- Light Brown Sugar: While granulated sugar can be used, light brown sugar offers a slightly deeper, more nuanced sweetness. Its primary role is to provide food for the yeast, encouraging robust dough rising, and contributing to the golden color during baking.
- Unsalted Butter (Melted): Butter adds richness, flavor, and helps create a tender crumb. Using unsalted butter allows you to control the overall saltiness of your pretzel bites.
- Kosher Salt: Essential for balancing the flavors and enhancing the savory notes of the pretzels. Kosher salt has a larger flake size and purer flavor compared to table salt, which is why it’s often preferred in baking.
- All-Purpose Flour: The primary structural component of your dough. All-purpose flour provides the right balance of protein for gluten development, resulting in a chewy yet tender pretzel. For those with dietary restrictions, a 1:1 gluten-free flour blend can be used as a substitute, though results may vary slightly.
- Vegetable Oil (for coating): A small amount of oil is used to coat the bowl and the dough, preventing it from sticking during the rising process and ensuring a smooth, even rise. Olive oil or avocado oil are also suitable alternatives.
- Water (for boiling bath): This forms the base of the crucial baking soda bath, which is key to pretzel texture.
- Baking Soda: This is the secret ingredient for authentic pretzels! When added to boiling water, baking soda creates an alkaline environment. Submerging the dough in this solution helps to gelatinize the starch on the surface, which leads to the characteristic dark brown crust, distinct chewy texture, and classic “pretzel” flavor that simply can’t be achieved with baking alone.
- Egg: Beaten with a little water, this creates an egg wash. Brushing the pretzel bites with egg wash before baking gives them a beautiful glossy finish and helps the coarse sea salt adhere perfectly.
- Coarse Sea Salt: The signature topping for soft pretzels! Its larger crystals provide a delightful textural crunch and burst of savory flavor that complements the soft interior.
Crafting Your Own Homemade Pretzel Bites: A Step-by-Step Guide
The idea of making homemade pretzels might seem daunting, but I assure you, it’s a straightforward and incredibly rewarding process. Follow these simple steps, and you’ll be enjoying warm, fresh pretzel bites in no time. For even more detailed instructions and precise measurements, refer to the recipe card below.
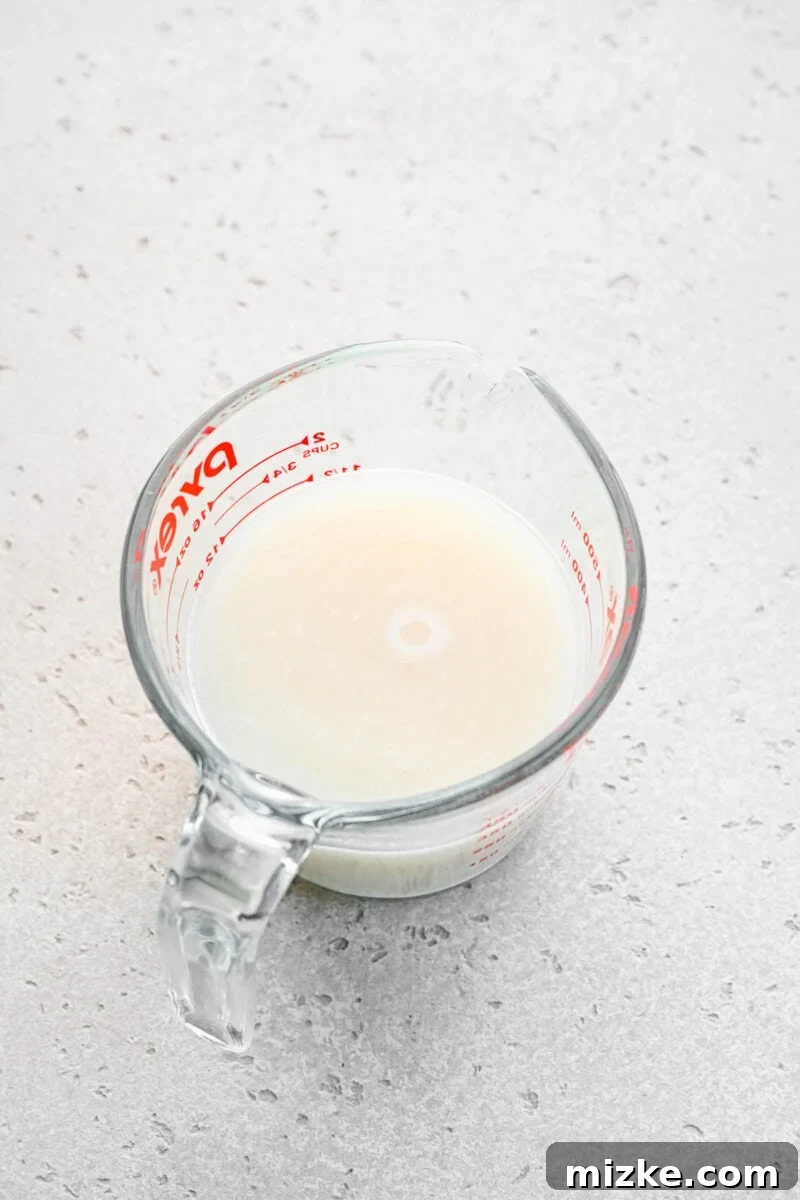
- Step 1: Activate the Yeast. In a liquid measuring cup or small bowl, gently dissolve the active dry yeast in the warm water. Stir briefly and then let it sit for about 5-10 minutes. You’ll know your yeast is active when a foamy layer forms on the surface, indicating the yeast is alive and ready to work its magic.
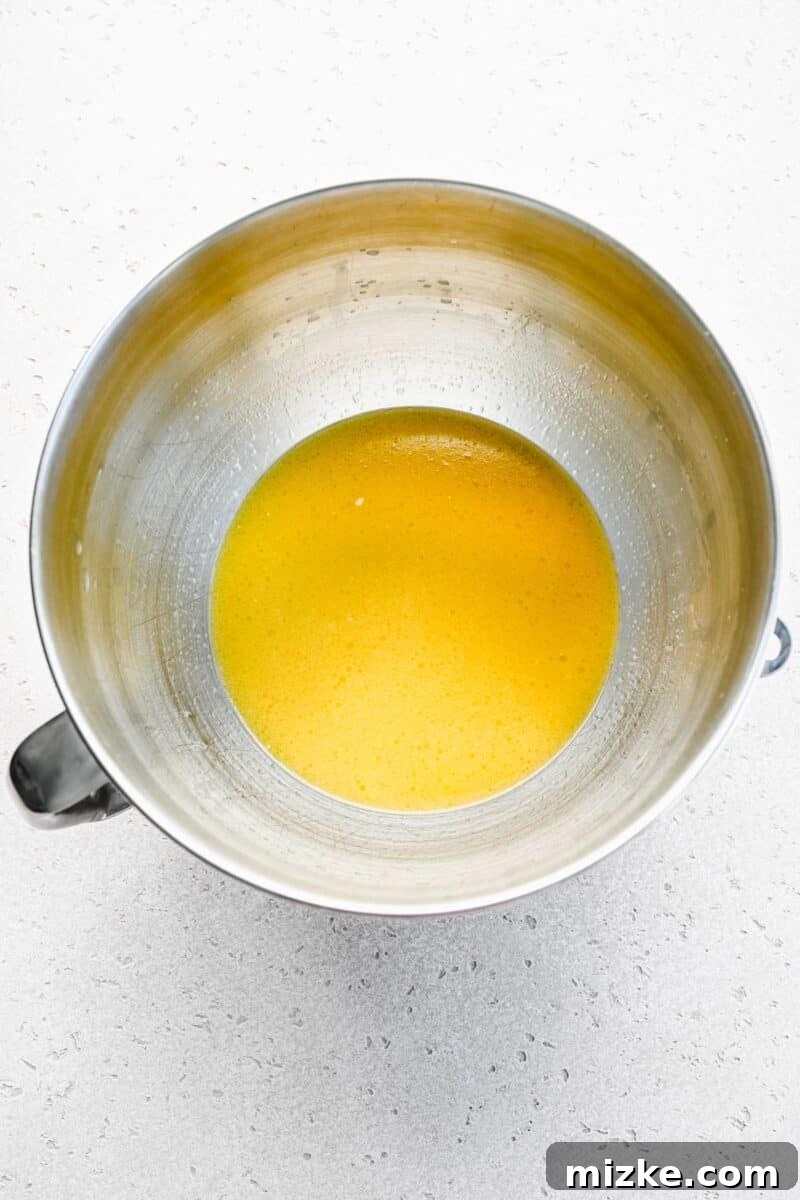
- Step 2: Combine Wet Ingredients. In the bowl of a stand mixer fitted with a dough hook attachment, combine the activated yeast mixture with the light brown sugar and melted unsalted butter. Mix on low speed until all ingredients are well incorporated. Allow this mixture to sit for another 5 minutes, giving the yeast a little more time to mingle with its food (sugar).
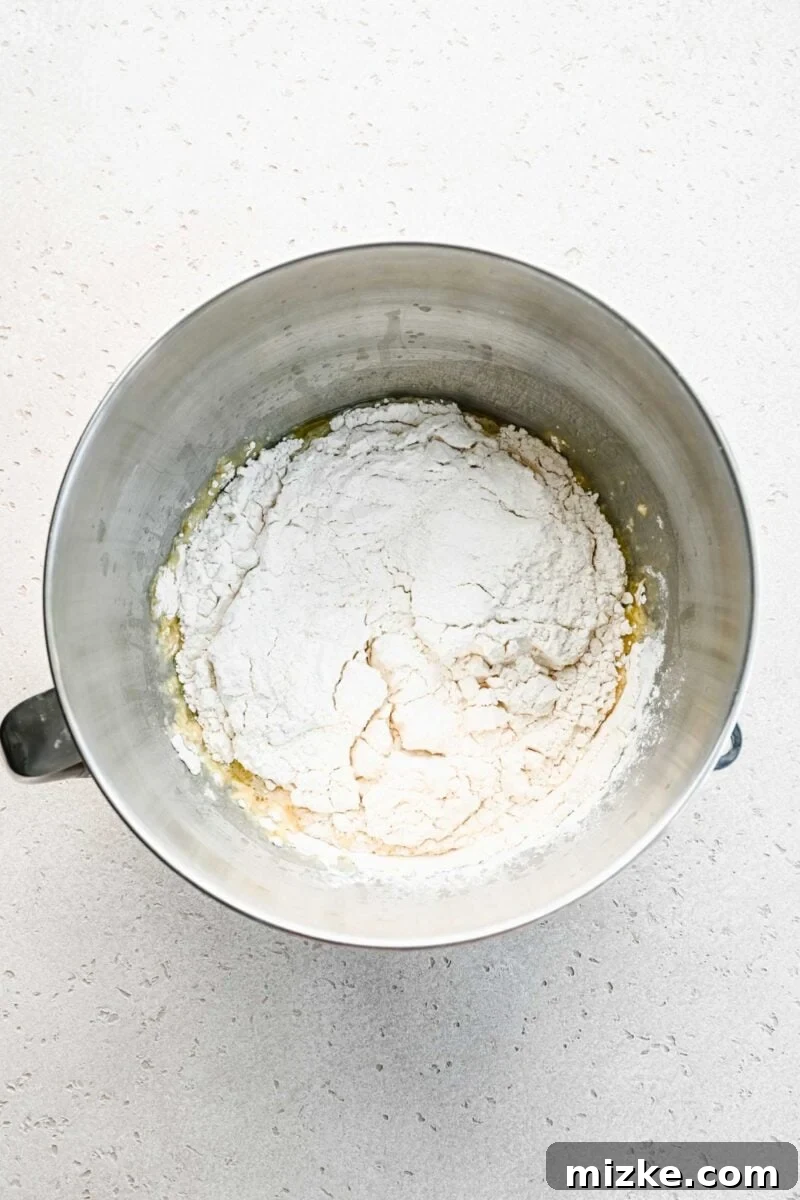
- Step 3: Add Dry Ingredients and Knead. Gradually add the kosher salt and all-purpose flour to the wet mixture. Begin mixing on low speed until the ingredients just come together and a shaggy dough forms. Increase the speed to medium and continue to knead the dough for approximately 5-7 minutes. You’re looking for a dough that becomes smooth, elastic, and pulls away cleanly from the sides of the bowl. If the dough appears too sticky, add an additional tablespoon of flour at a time until the desired consistency is achieved.
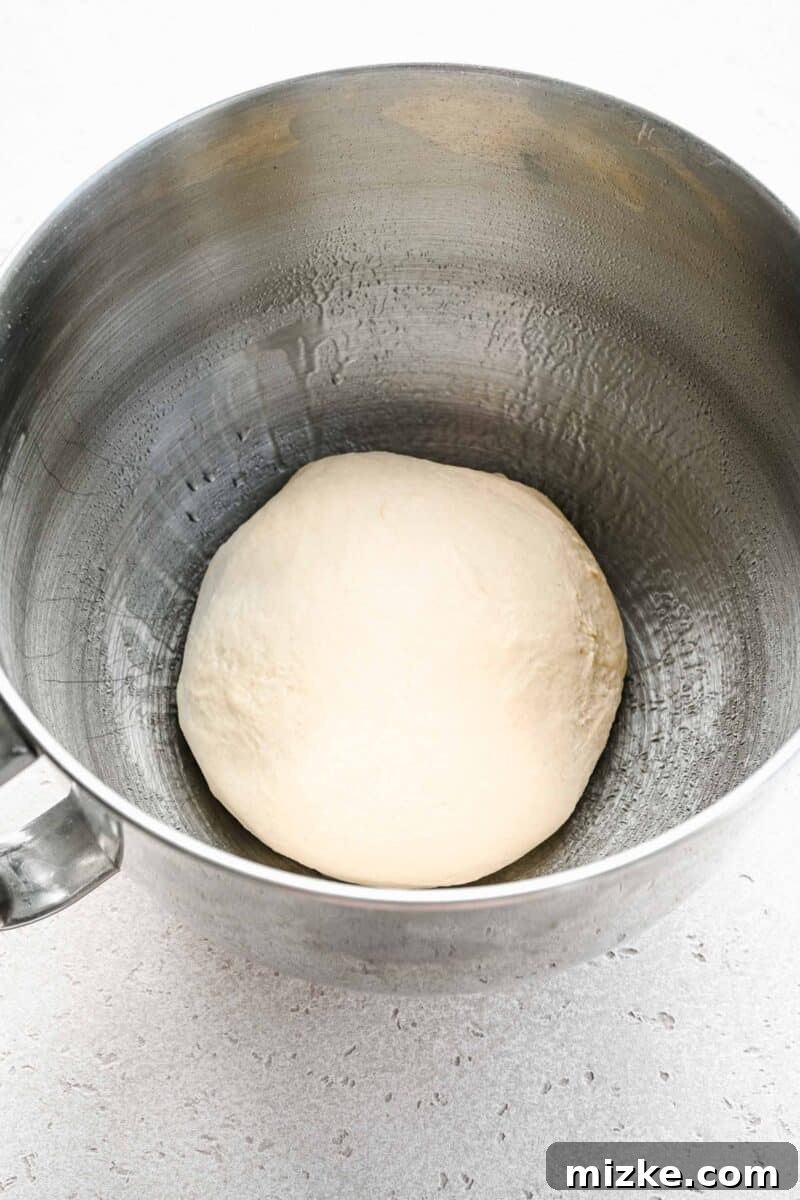
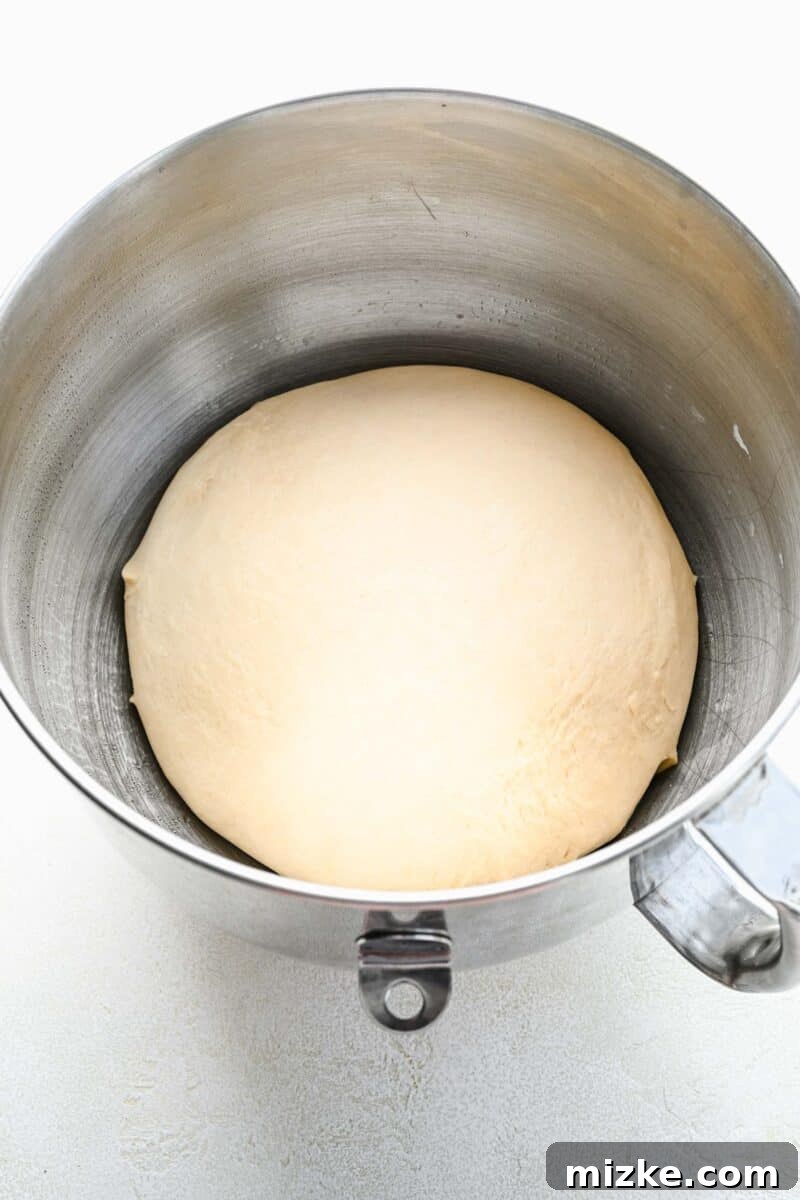
- Step 4: The First Rise. Lightly coat the inside of a large, clean bowl with vegetable oil. Remove the kneaded dough from the mixer and shape it into a smooth ball. Place the dough ball into the oiled bowl, turning it once to ensure it’s fully coated in oil. Cover the bowl tightly with plastic wrap or a clean kitchen towel. Find a warm, draft-free spot in your kitchen and let the dough rise for about 1 to 1.5 hours, or until it has visibly doubled in size. This is crucial for a light and airy texture.
- Step 5: Prepare for Baking. While the dough is rising, preheat your oven to 450°F (232°C). Line two large baking sheets with parchment paper or silicone baking mats and lightly spray them with cooking spray to prevent sticking. In a large pot (at least 5-6 quarts), bring 3 quarts of water to a rolling boil. Carefully add the baking soda to the boiling water; it will fizz up considerably, so add it slowly.
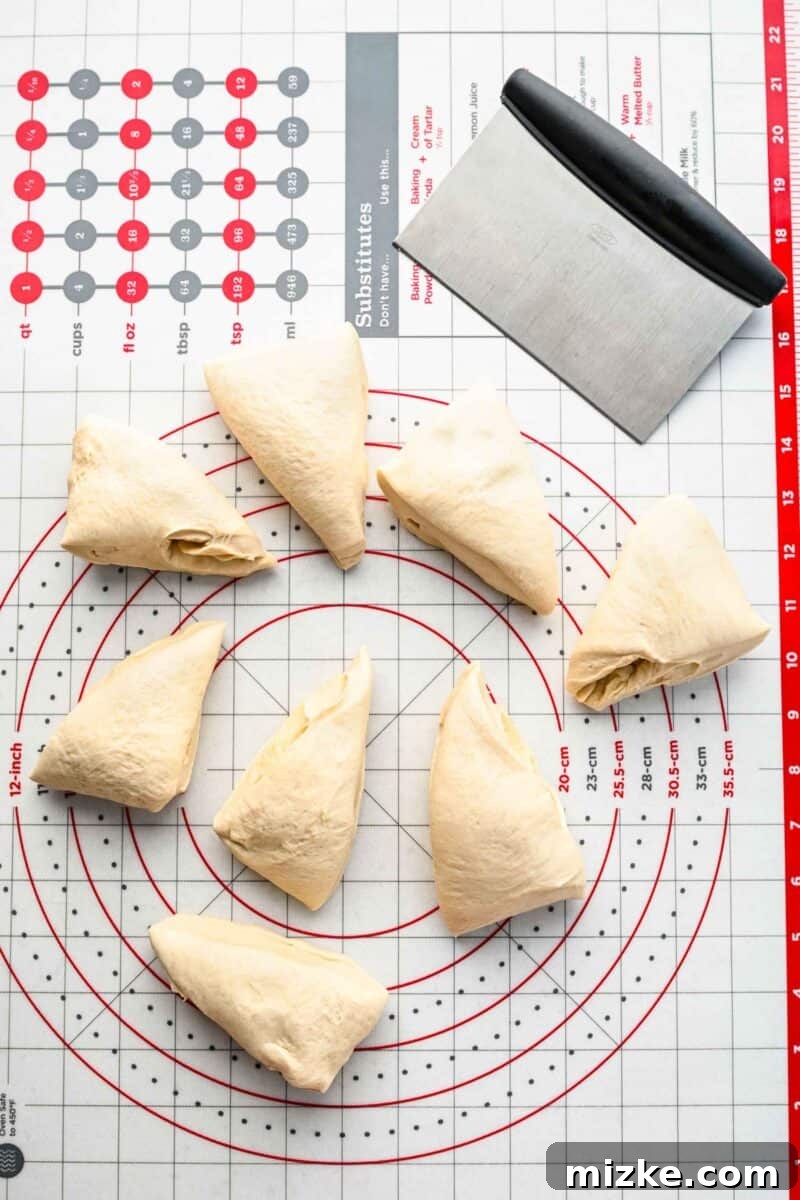
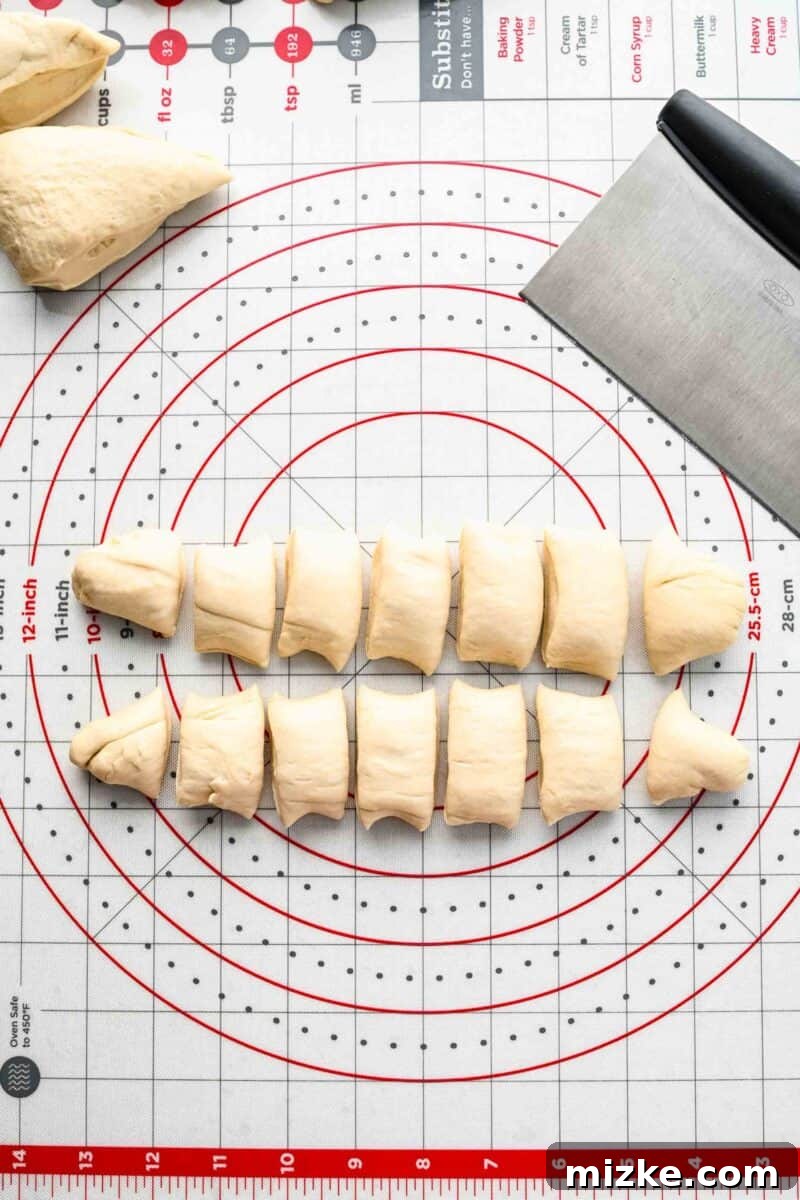
- Step 6: Shape the Pretzel Bites. Once the dough has risen, gently punch it down to release the air. Transfer the dough to a lightly floured surface. Divide the dough into 8 equal portions (each approximately 4.5 ounces for consistency). Roll each portion into a long, thin rope, about 1-inch thick. Using a sharp knife or a bench scraper, cut each rope into 1-inch pieces to form your individual pretzel bites.
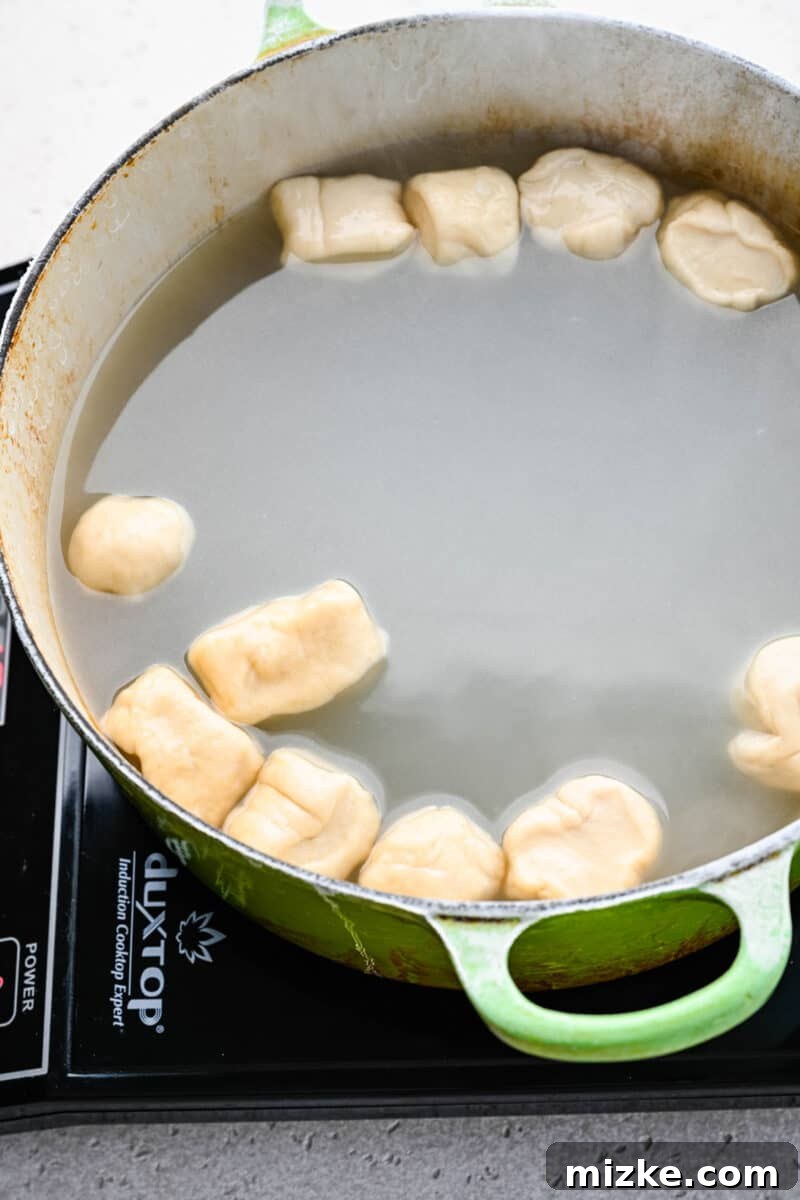
- Step 7: The Baking Soda Bath. Carefully drop the pretzel bites into the boiling baking soda water, working in small batches to avoid overcrowding the pot. Allow them to boil for just 30 seconds. Using a large slotted spoon or spider skimmer, quickly remove the boiled pretzel bites and transfer them to the prepared baking sheets, ensuring there’s a little space between each piece for even baking.
- Step 8: Egg Wash and Season. In a small bowl, whisk together the egg with 1 tablespoon of water to create an egg wash. Brush the tops of all the pretzel bites generously with this egg wash. Immediately after, sprinkle them liberally with coarse sea salt. If you’re making sweet pretzel bites, sprinkle with a cinnamon-sugar mixture instead.
- Step 9: Bake to Golden Perfection. Place the baking sheets in the preheated oven and bake for 15-18 minutes, or until the pretzel bites are beautifully puffed up and golden brown. The baking time may vary slightly depending on your oven.
- Step 10: Serve Warm. Once baked, remove the pretzel bites from the oven and let them cool on the baking sheets for about 5 minutes before transferring them to a serving platter. This brief resting period helps them set and makes them easier to handle. Serve warm with your favorite dips!
Mastering Pretzel Bites: Expert Tips for Success
Creating perfect yeasted dough and transforming it into spectacular pretzel bites might seem like a culinary challenge, but with a few insider tips, you’ll achieve impressive results every time. I am confident you can do it!
- Precision with Water Temperature: As mentioned, the water temperature for activating yeast is paramount. Use a kitchen thermometer to ensure it’s between 105-115°F (40-46°C). Too hot (above 130°F/54°C) will kill the yeast, rendering it inactive. Too cold (below 100°F/37°C) will cause sluggish activation or none at all. The goal is a comfortably warm, but not hot, temperature.
- Proof Your Yeast: Always ensure your yeast is active. After mixing yeast with warm water (and a pinch of sugar if your recipe doesn’t include it in this step), let it sit for 5-10 minutes. If it doesn’t become bubbly and foamy on the surface, your yeast might be old or dead, and it’s best to start over with fresh yeast.
- Mind the Dough Consistency: When kneading the dough with a stand mixer, observe its texture carefully. If the dough seems excessively wet and doesn’t pull away cleanly from the sides of the bowl after several minutes of kneading, add flour one tablespoon at a time. Conversely, if it appears too dry or stiff, add water a teaspoon at a time. The dough should be smooth, elastic, and slightly tacky, but not sticky.
- The Warmth of the Rise: Yeast thrives in warm, draft-free environments. If your kitchen is cool, consider finding a warmer spot for the dough to rise. This could be in a slightly warmed (but turned off) oven, near a sunny window, or by placing the bowl in a larger bowl of warm water. A proper rise is key to a light and fluffy interior.
- Patience is a Virtue: Resist the urge to rush the rising process. Allow the dough to fully double in size. If you attempt to roll and cut the dough prematurely, it won’t have developed enough air pockets, resulting in dense, tough pretzel bites rather than soft, airy ones.
- Boil in Batches for Optimal Puff: When it comes to the baking soda bath, never overcrowd your pot. Each pretzel bite needs adequate space to float freely and swell properly. Boiling too many at once will drastically lower the water temperature and prevent them from puffing up and developing the correct surface texture. Work in small batches, transferring them quickly to the baking sheet.
- Maintain Spacing on the Baking Sheet: After their baking soda bath, arrange the boiled pretzel bites on the prepared baking sheets with enough space between them (at least ½ inch to 1 inch). If they are touching, they will steam rather than crisp up, and you’ll end up with soft spots instead of that desirable chewy-crispy crust.
- Don’t Skimp on the Salt (or Sweet Topping): Apply your coarse sea salt (or cinnamon sugar) immediately after brushing with the egg wash. The egg wash acts as the perfect adhesive. Be generous – a good amount of topping is characteristic of a great pretzel!

Elevate Your Snack: Delightful Serving Suggestions
While these homemade pretzel bites are undeniably delicious on their own, pairing them with the right dip or accompaniment truly takes them to the next level. Here are some of my favorite ways to serve them, ensuring every bite is an unforgettable experience:
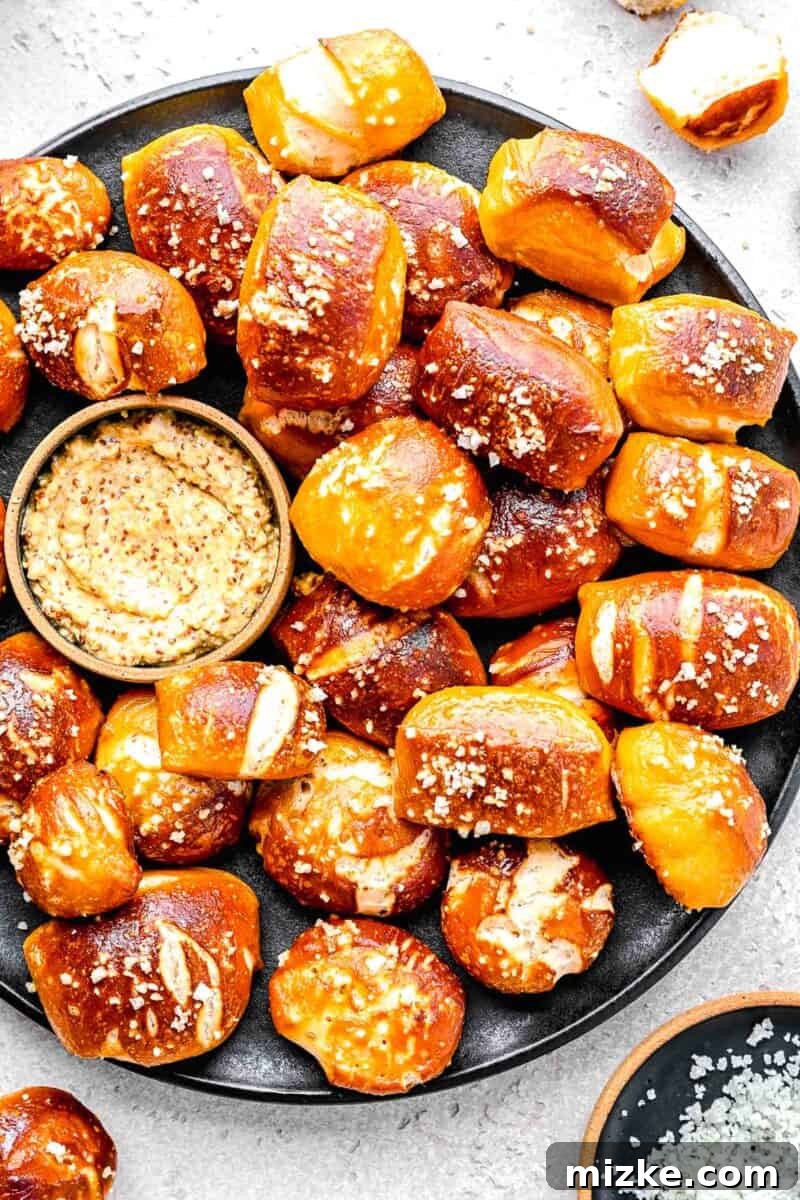
- Classic Mustard Pairings: You can never go wrong with mustard! My personal favorite is a robust whole grain mustard, which offers a delightful texture and complex flavor. However, feel free to experiment with your preferences: a tangy yellow mustard, a sweet and savory honey dijon, a zesty stone-ground dijon, or a bold spicy dijon will all be fantastic choices.
- Creamy Dips and Spreads: Beyond mustard, these pretzel bites are a perfect vehicle for a variety of creamy dips. For a quick and easy option, serve them with store-bought queso or a smooth, garlicky hummus. If you’re feeling a bit more ambitious and want to impress, whip up some Cheesy Chorizo Chili Dip, a refreshing Homemade Tzatziki Dip, a savory Pepperoni Pizza Dip, or a rich Chorizo Pimento Cheese Dip.
- Sweet Delights: Don’t forget the sweet side! If you opted for cinnamon-sugar pretzel bites, serve them with warm chocolate sauce, a caramel dip, or even a cream cheese glaze for a dessert-like experience.
- Beyond the Dips: Consider serving these pretzel bites as part of a larger appetizer spread. They pair beautifully with fresh crudités and dip, a cheese board, or alongside other easy finger foods. For more inspiration, check out the “More Easy Snack Ideas” section below.
- Beverage Pairings: These savory bites are a natural companion to cold beer (especially craft beers like IPAs or lagers), sparkling cider, or even a crisp white wine.
Storing Your Soft Pretzel Bites: Keeping Them Fresh
To ensure your pretzel bites remain delicious, proper storage is key. Always allow them to cool completely to room temperature before storing. Place them in an airtight container or a resealable plastic bag. You can keep them on your countertop at room temperature for up to 2 days. I strongly advise against storing pretzel bites in the refrigerator, as the cool temperatures can quickly dry them out and make them stale.
Can I Freeze Homemade Pretzel Bites?
Absolutely! Freezing is an excellent way to extend the shelf life of your homemade pretzel bites, allowing you to enjoy them at a later date. Once baked, let the pretzel bites cool completely to room temperature. Arrange them in a single layer on a baking sheet and freeze for about 1-2 hours until solid. This prevents them from sticking together. Once frozen solid, transfer them to an airtight freezer-safe container or a heavy-duty freezer bag. They will keep well in the freezer for up to 2 months.
When you’re ready to enjoy them, there’s no need to thaw! Simply spread the frozen pretzel bites out in a single layer on a baking sheet. Reheat them in a preheated oven at 350°F (175°C) for about 5-8 minutes, or until they are heated through and regain their soft interior and slightly crisp exterior. You can also lightly brush them with melted butter before reheating for an extra touch of richness.
More Easy Snack Ideas for Every Occasion
Whether you’re hosting a lively cocktail party, prepping for a casual get-together, or simply looking for delicious and easy finger foods to have on hand, these ideas are sure to be a hit. Pair them with your pretzel bites for an impressive spread!
- Ranch Oyster Crackers: Addictive, seasoned crackers that are perfect for munching.
- Mini Buffalo Chicken Crunchwraps: A spicy and satisfying handheld treat.
- Polenta Fries: Crispy on the outside, creamy on the inside – a unique twist on fries.
- Crispy Golden Spring Rolls: A delightful crunch with flavorful fillings.
- TikTok Pizza Rolls: A viral sensation for a reason, these are easy and crowd-pleasing.
- Homemade Mozzarella Sticks: Gooey, cheesy perfection for any appetizer spread.
Pretzel Bites

These warm, salty pretzel bites are tender on the inside and wonderfully crispy on the outside. They are the perfect game day snack that will keep you and yours coming back for more.
By: Julie Chiou
Prep Time: 1 hour 30 minutes
Cook Time: 30 minutes
Total Time: 2 hours
Servings: 50 pretzels
Print Recipe
Equipment
- Stand mixer
- Large rimmed baking sheet
- Large pot (5-6 quarts)
- Slotted spoon or spider skimmer
Ingredients
- 1 ½ cups (355 ml) warm water
- 1 envelope pack of active dry yeast
- 2 tablespoon light brown sugar
- 6 tablespoon (84 g) unsalted butter, melted
- 2 ½ teaspoon kosher salt
- 4 ½ – 5 cups (563 g) all purpose flour
- Vegetable oil (for coating)
- 3 quarts (2839 ml) water (for boiling)
- ¾ cup (90 g) baking soda
- 1 egg, beaten
- Coarse sea salt (for sprinkling)
Instructions
- In a liquid measuring cup, dissolve the yeast in the warm water to “activate” it. Let sit for 5-10 minutes until foamy.
- In the bowl of a stand mixer, add the water with the activated yeast, along with the brown sugar and melted butter. Mix using the dough hook attachment until combined. Let sit for 5 minutes.
- Add the kosher salt and all-purpose flour to the bowl. Mix on low speed until combined, then increase to medium speed to knead the dough until it is smooth, elastic, and pulls away from the sides of the bowl (about 5-7 minutes). If the dough is too wet, add 1 tbsp. of flour at a time until desired consistency.
- Lightly coat a large bowl with vegetable oil. Shape the dough into a ball, place it in the oiled bowl, and turn to coat. Cover with plastic wrap or a clean cloth and let it rise in a warm place for about 1 to 1.5 hours, or until doubled in size.
- Preheat oven to 450 °F (232 °C). Prepare two baking sheets by lining with parchment paper and spraying with cooking spray.
- In a large pot, bring 3 quarts of water to a rolling boil. Carefully add the ¾ cup of baking soda, stirring slowly as it will fizz. Reduce heat to maintain a gentle boil.
- Remove the risen dough from the bowl and place it on a lightly floured surface. Divide the dough into 8 equal portions (about 4 ½ ounces each). Roll each portion into a long rope, about 1-inch thick, then cut into 1-inch pieces to form the pretzel bites.
- Boil the pretzel bites in the baking soda water in small batches (do not overcrowd) for approximately 30 seconds per batch. Using a large slotted spoon, transfer the boiled pretzel bites to the prepared baking sheets, ensuring they are spaced apart.
- In a small bowl, whisk together the beaten egg with 1 tablespoon of water to create an egg wash. Brush the tops of the pretzel bites generously with the egg wash.
- Immediately sprinkle the tops liberally with coarse sea salt. (Alternatively, for sweet pretzel bites, mix cinnamon and sugar in a bowl and sprinkle this mixture on top).
- Bake for 15-18 minutes, or until the pretzel bites are golden brown and puffed. Remove from oven and let rest on the baking sheets for 5 minutes before serving warm.
Nutrition
Serving: 2 pretzel bites
Calories: 56 kcal
Carbohydrates: 9 g
Protein: 1 g
Fat: 2 g
Saturated Fat: 1 g
Polyunsaturated Fat: 0.1 g
Monounsaturated Fat: 0.4 g
Trans Fat: 0.1 g
Cholesterol: 7 mg
Sodium: 614 mg
Potassium: 14 mg
Fiber: 0.3 g
Sugar: 1 g
This website provides approximate nutrition information for convenience and as a courtesy only. Nutrition information can vary for a variety of reasons. For the most precise nutritional data use your preferred nutrition calculator based on the actual ingredients you used in the recipe. The default measuring system for this website is US Customary. Unit conversions are provided for convenience and as a courtesy only. While we strive to provide accurate unit conversions, please be aware that there may be some discrepancies.
Conclusion: Your New Favorite Homemade Snack Awaits!
There’s nothing quite like the aroma of freshly baked bread filling your home, and these homemade soft pretzel bites bring that comforting experience right into your kitchen. From the moment the yeast activates to the first bite of a warm, salty, perfectly chewy pretzel, this recipe offers a truly satisfying journey for any home baker. Whether you’re a seasoned chef or a novice in the kitchen, you’ll find the process surprisingly simple and the results incredibly rewarding.
These bite-sized wonders are more than just a snack; they’re a versatile crowd-pleaser that adapts to any mood – savory or sweet. They promise to be the star of your next game day gathering, a welcome addition to any party platter, or simply a delightful treat to brighten a quiet afternoon. So, gather your ingredients, follow these steps, and prepare to fall in love with the irresistible charm of homemade soft pretzel bites. Your taste buds (and your guests) will thank you!