

This shockingly easy biscuit donut recipe requires just three simple ingredients, all thanks to the convenience of canned biscuit dough. You heard that right! Prepare to indulge in all the golden, fluffy, and perfectly flaky layers reminiscent of classic yeast donuts, but without the fuss. This sugared donut version is an absolute favorite, delivering that irresistible sweet crunch with minimal effort.
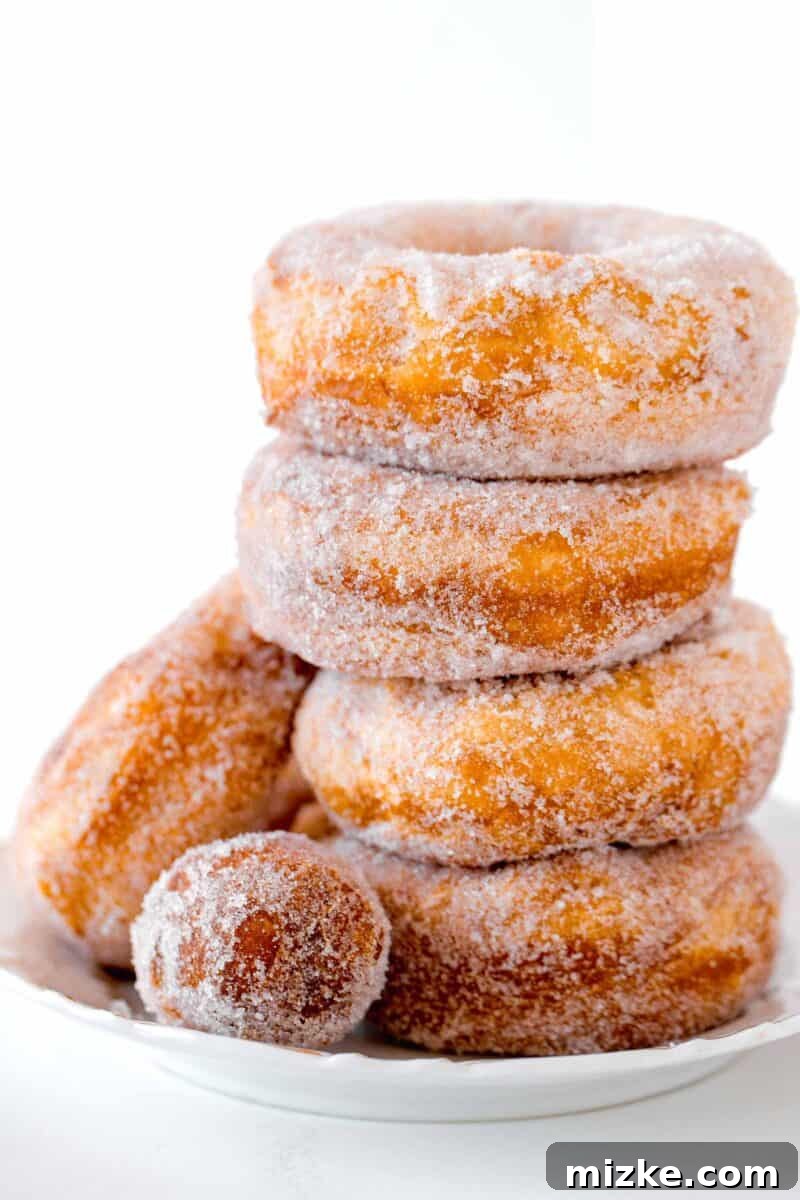
There’s a special magic in starting the day with a classic fried sugared donut and a steaming cup of coffee. It’s a simple pleasure that instantly elevates any morning. My routine often includes a stop at a beloved local coffee shop, where my eyes always scan their pastry display for that glorious sugared donut. The anticipation alone is enough to bring a smile to my face. On those fortunate days when they have them, biting into a warm, freshly fried sugared donut is arguably one of the best ways to kickstart the day. The delicate crispness of the dough combined with the sweet sparkle of sugar crystals coating your lips creates an unforgettable sensory experience. It’s pure breakfast bliss, a moment of sweet indulgence that truly awakens the senses.
However, the disappointment of finding an empty display case is real. That’s why having a reliable, easy recipe for homemade donuts is a game-changer. These incredible biscuit donuts offer the ultimate shortcut to achieving bakery-style perfection right in your own kitchen. They are wonderfully light, incredibly fluffy, and possess a texture so satisfying, you’d swear they were made from scratch with a lengthy yeast proofing process. The most exciting part? You get to enjoy them straight out of the fryer, still wonderfully warm and exceptionally fresh. No hurried drives home hoping they retain their warmth – you can savor these delightful treats almost immediately after their decadent sugary bath!
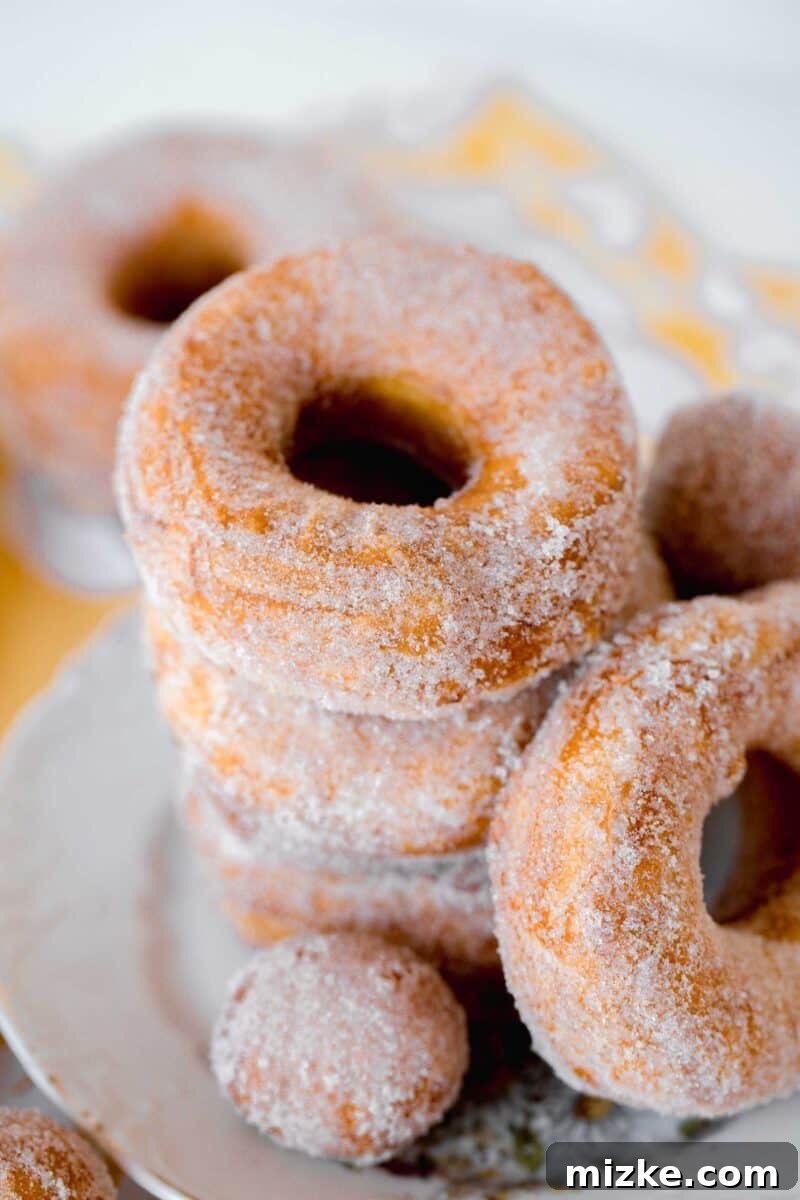
Why You’ll Adore These Easy Biscuit Donuts
Prepare to fall in love with these simple yet sensational homemade donuts. They truly redefine convenience without compromising on flavor or texture. Here’s why this recipe will become your new go-to:
- Bakery-Quality Treats at Home: While fresh-out-of-the-oven pastries are always superior, they’re not always practical. With these quick biscuit donuts, you can enjoy that “just made” warmth and bakery-style deliciousness right from your own fryer. The difference between a fresh, warm donut and a room-temperature one is night and day, and this recipe ensures you experience the absolute best.
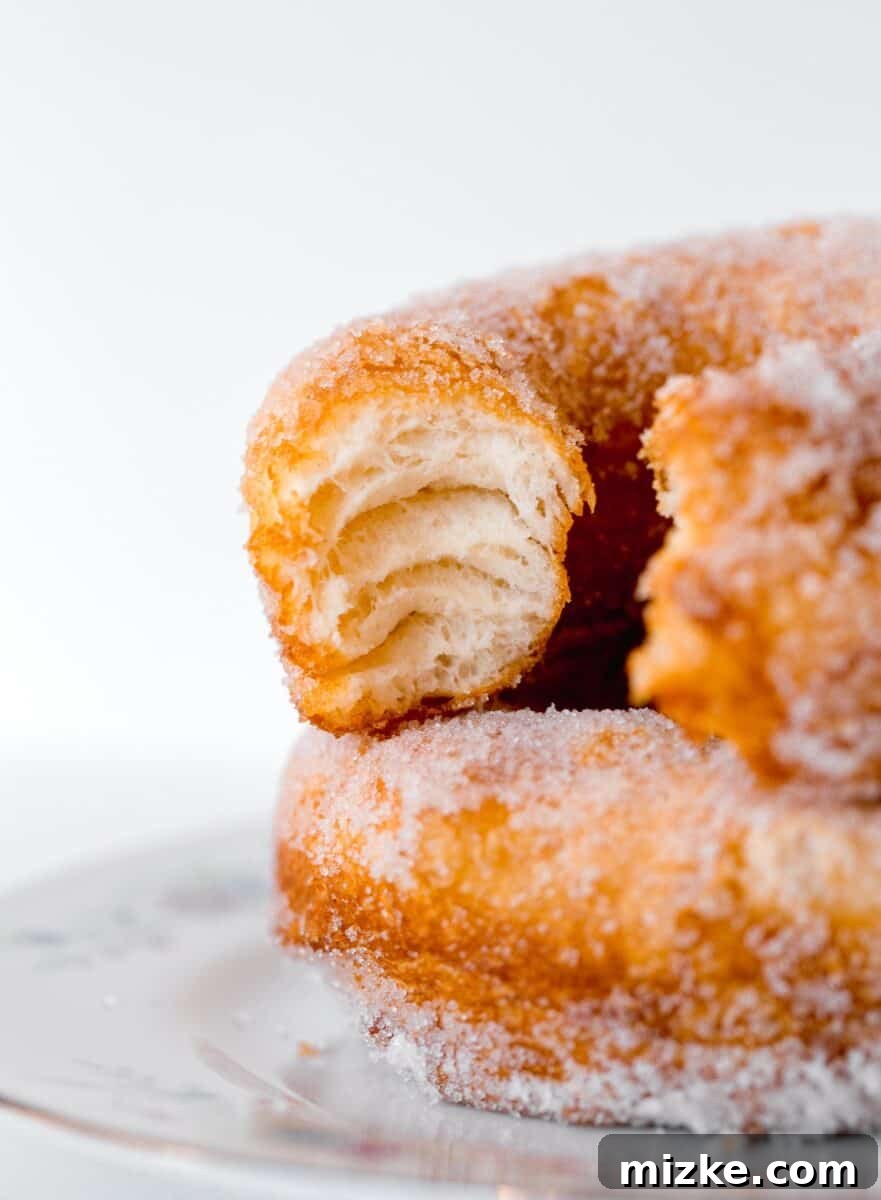
- Remarkably Light and Fluffy Texture: It might seem unbelievable that canned biscuit dough can transform into such airy and delightful donuts when deep-fried, but prepare to be amazed! The distinct layers of biscuit dough puff up beautifully, creating a tender, cloud-like interior that perfectly mimics traditional yeast donuts.
- Only 3 Essential Ingredients: Yes, really! You need just THREE core ingredients to create the most satisfying and perfectly sugared donuts. This minimal ingredient list makes it incredibly accessible, even for novice bakers or those with limited pantry staples. It’s a testament to how simple yet impactful this recipe truly is.
- Incredibly Fast to Prepare: Forget long proofing times or complicated dough preparations. From start to finish, these delightful donuts can be on your plate in under 20 minutes, making them ideal for spontaneous cravings or last-minute breakfast ideas.
- A Fun and Engaging Activity: Making these donuts is not only simple but also a joy! It’s a fantastic activity for families, allowing everyone to participate in shaping and sugaring their own delicious treats. The immediate gratification makes it even more rewarding.
Essential Ingredients for Your Homemade Biscuit Donuts
This recipe is designed for maximum simplicity, so you won’t find a long list of complex items. Despite the short ingredient list, the results are nothing short of spectacular. Make sure to scroll down to view the full recipe card for exact measurements and a detailed breakdown.
- Refrigerated Biscuit Dough: This is the star of our shortcut recipe! We highly recommend using a brand like Pillsbury’s Flaky Layers Biscuits. The distinct layers in this type of dough are crucial for achieving that characteristic light and airy texture once fried, giving your donuts a beautiful, flaky crumb reminiscent of classic pastries.
- Canola Oil (for frying): A neutral-flavored oil with a high smoke point is essential for deep-frying. Canola oil is perfect as it won’t impart any unwanted flavors to your donuts and can handle the high temperatures required for proper frying. Vegetable oil or peanut oil are also excellent alternatives.
- Granulated Sugar: For that iconic sugary coating! Granulated sugar provides the perfect balance of sweetness and a delightful textural crunch that makes these donuts so irresistible.
Crafting Your Delicious Biscuit Donuts: A Step-by-Step Guide
Here’s a general overview of the straightforward steps involved in creating these irresistibly sugary biscuit donuts. For the complete, detailed recipe with precise measurements and timings, please refer to the recipe card at the bottom of this post.
- Prepare Your Frying Station and Heat the Oil: Begin by setting up your frying area safely. In a large, heavy-bottomed pot, such as a Dutch oven (which maintains heat exceptionally well), pour approximately 4 cups (or 1 quart) of canola oil. Attach a candy or deep-fry thermometer to the side of the pot, ensuring the tip is submerged in the oil but not touching the bottom. Slowly heat the oil over medium heat until it reaches a precise temperature of 375°F (191°C). Maintaining a consistent oil temperature is key to perfectly fried donuts.
- Shape Your Biscuits into Donut Perfection: While your oil is gently heating, carefully remove the refrigerated biscuit dough from its packaging and separate the individual biscuits. For each biscuit, use a small round biscuit cutter (or even a clean, sharp bottle cap if you don’t have a cutter) to create a hole in the center. Don’t discard these precious cut-outs! Roll each small piece of dough into a neat ball to create adorable donut holes, which fry up into delightful bite-sized treats.
- Fry the Biscuit Donuts Until Golden: Once your oil has reached the target temperature of 375°F (191°C), it’s time to fry! Carefully and gently drop the shaped donuts into the hot oil, working in small batches of 2-3 at a time. Overcrowding the pot will cause the oil temperature to drop rapidly, leading to greasy, undercooked donuts. Fry each side until puffed, golden brown, and cooked through, which typically takes about 1-2 minutes per side. The beautiful browning indicates they are ready.
- Remove and Prepare for Sugaring: Using a spider strainer or a slotted spoon, carefully remove the fried donuts from the hot oil. Allow any excess oil to drip off before transferring them to a wire cooling rack positioned over a plate lined with a few layers of paper towels. This setup allows for optimal draining and cooling. Repeat this process until all your biscuit dough and donut holes have been perfectly fried.
- Toss in Sugar While Warm: The final, crucial step for our sugared donuts! While the donuts are still wonderfully warm—this is essential for the sugar to adhere properly—transfer them to a shallow bowl filled with granulated sugar. Gently toss and turn each donut, ensuring it’s thoroughly and generously coated with the glistening sugar crystals. Serve immediately and savor every warm, sweet bite!
Pro Tips, Creative Substitutions, and Flavorful Variations
Even though this is an incredibly simple recipe, a few expert tips can elevate your biscuit donut game. Plus, don’t be afraid to get creative with flavors!
- Master the Oil Temperature: This is arguably the most critical tip for perfect donuts. When you overcrowd the oil with too many donuts at once, the temperature drastically drops. This leads to the donuts absorbing too much oil, resulting in a greasy, heavy texture rather than a light and fluffy one. Always fry in small batches, allowing the oil to recover its temperature between additions.
- Invest in the Right Tools for Success: A few inexpensive kitchen gadgets will make your donut-making experience much smoother and safer. You’ll definitely want to grab a candy/fryer thermometer. Clipping it to the side of your pot ensures you can monitor and maintain that consistent 375°F (191°C) oil temperature, which is essential for even cooking and preventing greasiness. Additionally, a spider strainer is incredibly helpful for safely removing the fried donuts from the hot oil. Its wide, mesh basket allows for efficient draining and makes handling the donuts a breeze compared to a smaller slotted spoon.
- Keep an Eye on Oil Level: As you fry, the oil level will naturally decrease. Ensure you have enough oil throughout the process to fully submerge the donuts without them touching the bottom, which can lead to uneven cooking. Add more pre-heated oil if necessary, but be cautious not to splash.
- Explore Different Flavor Profiles: This is where you can truly let your culinary imagination soar! Instead of simply rolling them in granulated sugar, consider these delectable alternatives:
- Powdered Sugar Perfection: For a lighter, melt-in-your-mouth finish, dust the warm donuts generously with powdered sugar (also known as confectioners’ sugar).
- Cinnamon Sugar Twist: Combine granulated sugar with a generous amount of ground cinnamon (about 1 teaspoon of cinnamon per ½ cup of sugar) for a warm, spiced coating that’s incredibly popular.
- Chocolate Frosted Dreams: Once the donuts have cooled completely, dip them into a rich chocolate glaze or spread on your favorite chocolate frosting. Top with sprinkles for extra fun!
- Sweet Glaze Simplicity: Whisk together powdered sugar with a little milk or water (and a dash of vanilla extract) to create a simple, sweet glaze. Dip the warm donuts for a classic finish.
- Jelly-Filled Surprises: For an authentic bakery experience, use a pastry bag fitted with a small, pointed tip (or a clean syringe) to inject fruit jelly or cream filling into the donut holes or the larger donuts after they’ve cooled. Strawberry, raspberry, or custard fillings are always a hit!
Storage and Reheating Recommendations
While the allure of leftover donuts is undeniable, these biscuit donuts truly shine brightest when enjoyed fresh, ideally on the same day they are made. The delicate texture of the fried biscuit dough, especially when coated in sugar, tends to become greasy and slightly soggy as it sits, losing its characteristic crispness and fluffiness. The unparalleled taste and texture of a warm, fresh donut cannot be replicated the next day.
This reality offers a perfect excuse to embrace generosity! Consider sharing your fresh batch with delighted neighbors, appreciative friends, or hosting an impromptu brunch to ensure not a single donut goes to waste. It’s certainly a sad sight when there are no more donuts, but at least you can ensure they are enjoyed at their peak deliciousness. If you absolutely must store them for a very short period (a few hours), keep them loosely covered at room temperature. Avoid airtight containers, which can trap moisture and accelerate sogginess. Reheating is generally not recommended, as it can further compromise their texture.
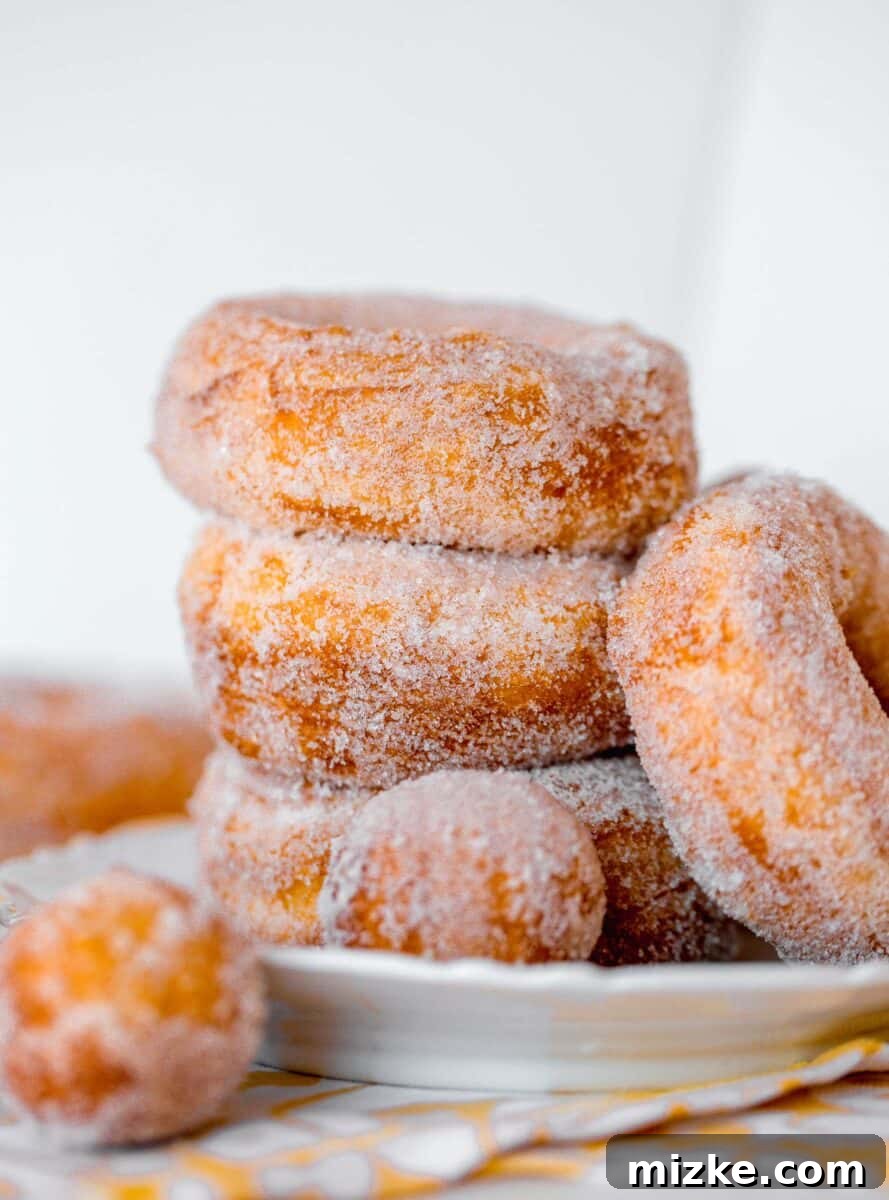
Delightful Ways to Serve Your Sugared Biscuit Donuts
These versatile biscuit donuts offer a multitude of serving possibilities, making them a fantastic addition to various meals and gatherings. Here are some of my favorite ways to enjoy and share these sugary delights:
- Elevate Your Brunch Buffet: Integrate these irresistible sugary donuts into your next brunch spread for an impressive and crowd-pleasing option. They pair wonderfully with a variety of classic brunch favorites, creating a balanced and indulgent feast. Serve them alongside dishes such as Fluffy Blueberry Pancakes, a comforting Hearty Biscuits and Gravy Casserole, savory Cheesy Bacon Sausage Breakfast Sliders, or a light and satisfying Egg White Breakfast Casserole.
- Host a Fun DIY Donut Bar: This is an incredibly interactive and enjoyable idea for parties or family gatherings! Prepare a batch of plain, undecorated biscuit donuts and then set out a vibrant array of toppings. Offer bowls of powdered sugar, cinnamon sugar, chocolate chips, colorful sprinkles, various glazes (like vanilla, maple, or lemon), and even a selection of fruit jams or whipped cream. Guests of all ages will love customizing their own donut creations, experimenting with different flavors and textures. It’s a guaranteed hit and a fantastic way to engage everyone.
- The Traditional Coffee Companion: Recreate that beloved coffee shop experience in the comfort of your home by pairing these warm, sugary biscuit donuts with your favorite brew. Whether you prefer a classic drip coffee, a robust espresso, or a fancy latte, the sweetness of the donut perfectly complements the rich flavors of coffee. Try them with an invigorating Iced Brown Sugar Oatmilk Shaken Espresso Latte or a refreshing Cool Iced Mint Latte for an extra special treat.
- An Afternoon Snack or Dessert: Don’t limit these delightful donuts to breakfast! They make an excellent afternoon pick-me-up with a cup of tea, or a simple yet satisfying dessert after any meal. Their light texture ensures they won’t feel too heavy, making them a perfect sweet ending.

Rate
3-Ingredient Easy Biscuit Donuts
Equipment
-
Dutch oven
-
Candy/deep fry thermometer
-
Spider strainer
Ingredients
- 1 quart (946 ml) canola oil, for frying
- 1 can of Pillsbury buttermilk biscuit dough
- ½ cup (100 g) granulated sugar
Instructions
-
In a 5 1/2 quart Dutch oven, or similar heavy-bottomed pot, heat up 1 quart (4 cups) of canola oil to 375 °F (191 °C). Use a candy/deep fry thermometer to monitor the temperature precisely.1 quart (946 ml) canola oil
-
While the oil is heating, open the can of Pillsbury buttermilk biscuit dough and separate the biscuits. Using a small biscuit cutter (or a similarly sized round object), cut out a hole in the middle of each biscuit dough piece. Roll these cut-out centers into small balls to create donut holes.1 can of Pillsbury buttermilk biscuit dough
-
Once the oil has reached the correct temperature (375°F/191°C), gently and carefully drop the shaped donuts (and donut holes) into the hot oil, frying 2-3 pieces at a time to avoid overcrowding. Fry until they are puffed up and golden brown on both sides, typically about 1-2 minutes per side.
-
Using a spider strainer or slotted spoon, carefully remove the fried donuts from the oil, allowing excess oil to drip off. Transfer them to a wire rack placed over two layers of paper towels to cool slightly and drain any remaining oil. Repeat this process until all donuts and donut holes have been fried.
-
While the donuts are still warm (this is key for the sugar to adhere!), place them in a bowl with granulated sugar. Toss them gently but thoroughly to generously coat them with sugar. Serve immediately for the best taste and texture.1/2 cup (100 g) granulated sugar
-
These delightful donuts are absolutely best eaten warm and within a few hours of frying. They do NOT keep well overnight; by the next day, they tend to become super doughy and lose their wonderful fresh taste and texture.
Notes
If you notice your oil temperature getting too high, reduce the heat source slightly or briefly remove the pot from the heat. Conversely, if the temperature starts to cool down too rapidly (often due to frying too many donuts at once), increase the heat or fry fewer donuts in the next batch to allow the oil to recover. Consistent temperature ensures a beautiful golden exterior and a fully cooked, fluffy interior.
Nutrition
This website provides approximate nutrition information for convenience and as a courtesy only. Nutrition information can vary for a variety of reasons. For the most precise nutritional data use your preferred nutrition calculator based on the actual ingredients you used in the recipe.
The default measuring system for this website is US Customary. Unit conversions are provided for convenience and as a courtesy only. While we strive to provide accurate unit conversions, please be aware that there may be some discrepancies.