
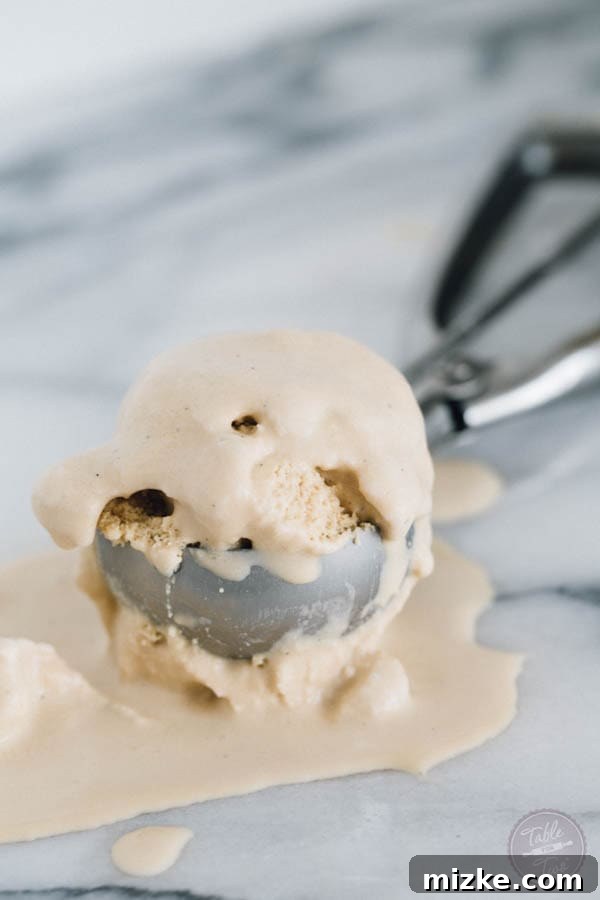
Crafting the Dreamiest Paleo Coffee Coconut Milk Ice Cream
There’s an undeniable allure to the coconut – its rich, exotic aroma instantly transports me to sun-drenched beaches and tranquil island escapes. From my favorite lotions to the culinary delights it inspires, coconut infuses every aspect of my life with a sense of blissful indulgence. In the depths of winter, a simple application of coconut oil becomes a luxurious ritual, a momentary escape to warmer climes. My passion for coconut transcends mere preference; it’s a deep appreciation for its versatility, its health benefits, and the pure joy it brings, especially when transformed into a creamy, coffee-infused frozen dessert that aligns perfectly with a paleo lifestyle.
A Bali Revelation: The Life-Saving Power of Fresh Coconut Water
My profound appreciation for coconuts deepened during a transformative trip to Bali, an island renowned for its vibrant culture and abundant natural beauty. On my very first day there, I found myself in a terrifying state of dehydration. Despite diligently drinking copious amounts of bottled water, my body struggled to retain fluids, leaving me feeling critically unwell. The symptoms were so severe – an incapacitating headache, dizziness, and a general sense of being utterly depleted – that I began frantically searching my phone for international hospitals covered by my health insurance. I was consumed by worry about my well-being and the daunting complexities of overseas medical care, fearing I might need an IV or more intensive treatment. I was moments away from calling for an ambulance, a desperate measure born of sheer panic and intense physical distress.
Fortunately, a wise friend, Gina, intervened with crucial advice: I needed electrolytes. She suggested I inquire about coconut water, a common and highly effective remedy in tropical regions. Skeptical but desperate for any relief, I contacted the hotel’s front desk. Their response was almost humorous; they seemed genuinely surprised by my question, as if I hadn’t yet grasped the sheer abundance of coconuts surrounding me in this tropical paradise. They assured me they had “fresh coconut water.” My immediate thought was, “What exactly do you mean by ‘fresh’?” expecting a bottled or processed version. Their reply was simple yet enchanting: “Well, we cut a hole in the center and give you a straw to drink out of.”
Having never experienced the pure joy of drinking directly from a fresh coconut, I was utterly thrilled by the prospect. Moments later, a staff member arrived at my room, carrying a truly enormous, green coconut. The sheer size alone was impressive! With a straw in hand, I cautiously took my first sips of the cool, clear liquid. Within just two hours, the invigorating electrolytes and natural hydration from that single coconut performed what felt nothing short of a miracle. My headache subsided, my energy returned, and the debilitating symptoms of dehydration vanished completely. I was a completely new person, vibrant and re-energized, saved from a potentially unpleasant hospital visit by nature’s perfect elixir. That day, coconuts cemented their place in my heart, not just as a culinary delight, but as a symbol of natural healing, vital refreshment, and tropical wonder. This powerful experience continues to influence my love for all things coconut, especially in recipes like this one.
The Culinary Muse: Inspired by Rose’s Luxury and a Paleo Vision
Now, let’s talk about the culinary inspiration behind this extraordinary Coffee Coconut Milk Ice Cream. It all began after a truly memorable dining experience at the renowned Rose’s Luxury. A couple of months ago, I had the pleasure of tasting their exceptional coconut milk ice cream, and its unparalleled flavor lingered vividly in my mind. It was simply divine – a revelation of creamy texture, subtle sweetness, and a perfectly balanced taste that made a lasting impression. I remember thinking to myself, “This is absolutely paleo-friendly!” Although I doubt they specifically used coconut sugar in their recipe, the essence of that dessert sparked a powerful idea: I could recreate that magic in my own kitchen, ensuring my version was not only just as delicious but also completely aligned with paleo principles, using natural sweeteners and wholesome ingredients.
This recipe truly captures the spirit of indulgence without compromise, making it an ideal treat for anyone following a paleo diet or seeking a delicious dairy-free alternative. The choice of coconut sugar as a sweetener is deliberate, providing a caramel-like depth that enhances the overall flavor profile while keeping the dessert within paleo guidelines. I almost wish I had perfected this recipe *during* my paleo challenge; it would have been the ultimate guilt-free reward, a true beacon of delight during a period of dietary restriction! But regardless of when this magnificent creation came into being, it’s here now, in all its glorious simplicity and exquisite flavor.
You absolutely *must* try making it. Why? First, it’s incredibly easy to prepare, requiring minimal fuss and straightforward steps. Second, and arguably most importantly, it is undeniably, unbelievably delicious. My intense enthusiasm for this ice cream might just be amplified by the robust espresso notes woven throughout. The addition of espresso powder alongside cold brew coffee creates a sophisticated depth and an energizing kick that elevates the entire dessert, transforming a simple treat into an unforgettable culinary experience that will have you reaching for just one more scoop.
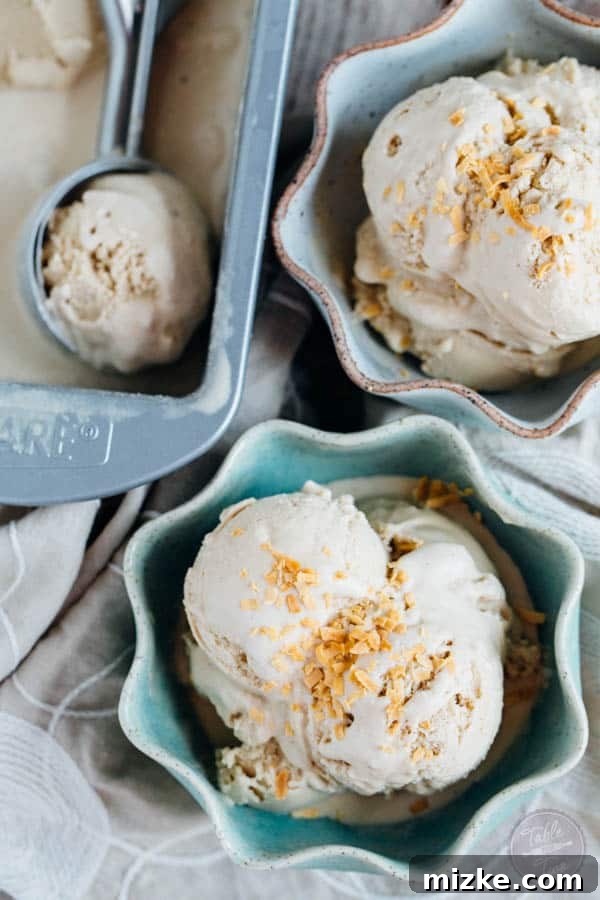
Why You’ll Love This Paleo Coffee Coconut Milk Ice Cream
This recipe isn’t just about making ice cream; it’s about crafting a delightful dessert that caters to specific dietary needs without sacrificing an ounce of flavor or texture. If you’re looking for a homemade treat that’s both healthy and utterly satisfying, this Coffee Coconut Milk Ice Cream is your answer. It’s naturally dairy-free, thanks to the luscious full-fat coconut milk, making it a perfect choice for those with lactose intolerance, dairy allergies, or simply those opting for plant-based alternatives. The use of coconut sugar ensures it remains paleo-friendly, offering a gentler, unrefined sweetness compared to processed sugars, while also imparting a subtle, rich caramel note that complements the other ingredients beautifully.
The star of the show, of course, is the coffee. We’ve carefully combined cold brew coffee with a touch of espresso powder to create a rich, deep, and authentically bold coffee flavor that perfectly complements the creamy coconut base. This isn’t just a hint of coffee; it’s a robust, aromatic presence that will awaken your senses and leave a lasting impression. Whether you’re a devoted coffee connoisseur, a fan of classic coffee desserts, or simply appreciate a sophisticated and well-balanced treat, this ice cream delivers an exquisite balance of flavors that’s surprisingly easy to achieve at home. The blend of rich coffee and tropical coconut creates a unique profile that is both comforting and exciting.
Beyond its incredible taste and significant dietary benefits, making your own ice cream is a truly rewarding experience. There’s a special satisfaction that comes from creating a gourmet-quality dessert from scratch, knowing exactly what ingredients went into it. Plus, you have complete control over the quality and freshness of the components, ensuring the best possible outcome. This recipe simplifies the process, making it accessible even for novice ice cream makers. So, gather your ingredients, fire up your ice cream maker, and prepare to be amazed by this dairy-free, paleo-friendly masterpiece that promises to become a staple in your dessert repertoire.
Rate this recipe
Print Recipe
Coffee Coconut Milk Ice Cream
Ingredients
- 31 ounce (879 ml) full fat coconut milk, (two 15.5 ounce cans)
- 1 cup (237 ml) cold brew coffee, (or alternatively brew a strong cup of coffee)
- ½ teaspoon espresso powder
- ½ cup (80 g) coconut sugar
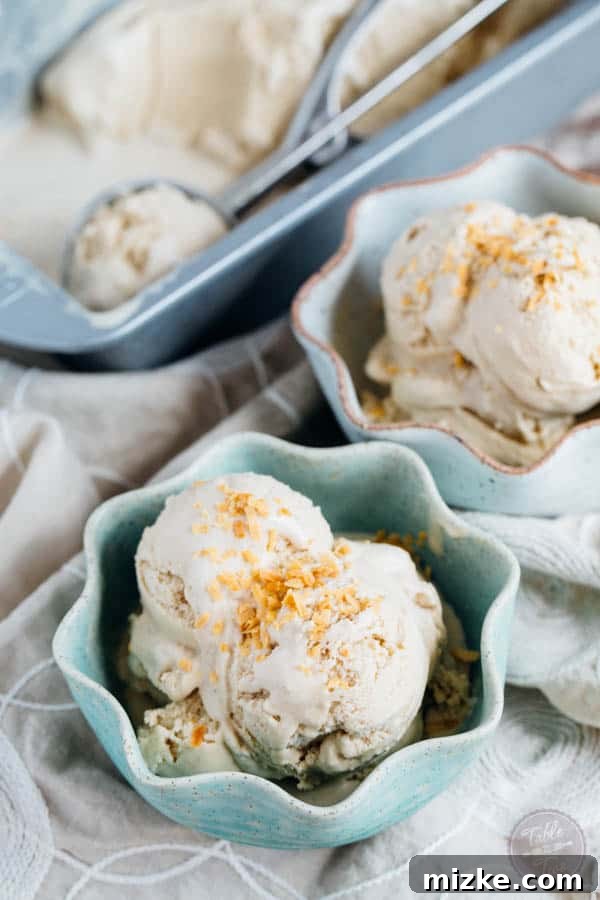
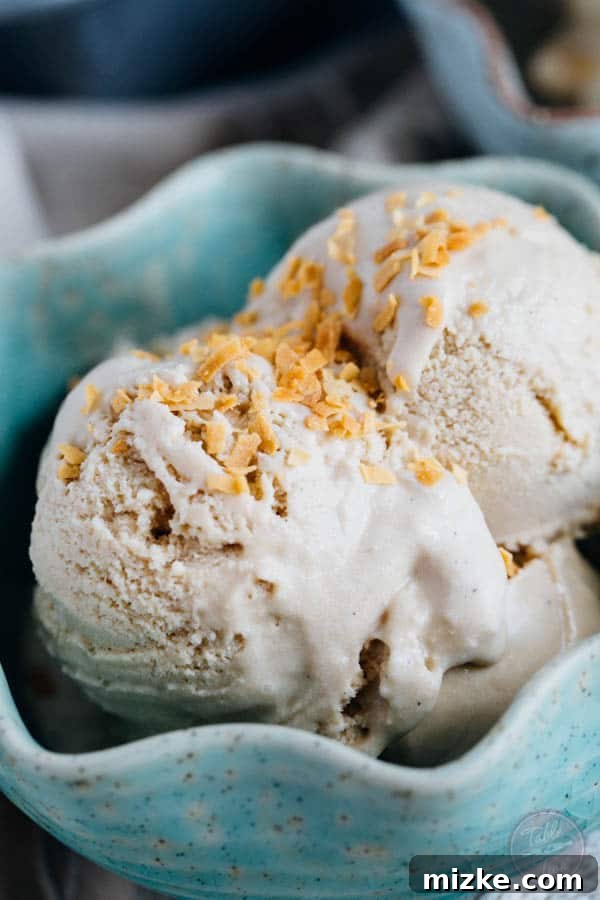
- Toasted coconut flakes, (for garnish, optional)
Instructions
-
In a medium saucepan over low heat, combine the full-fat coconut milk, cold brew coffee, espresso powder, and coconut sugar. Stir continuously until the coconut sugar has completely dissolved. Ensure the mixture does not boil. Once dissolved, remove from heat.Ingredients: 31 oz (879 ml) full-fat coconut milk, 1 cup (237 ml) cold brew coffee, 1/2 tsp espresso powder, 1/2 cup (80g) coconut sugar
-
Pour the liquid mixture into a large, heat-proof bowl. Cover the bowl tightly and refrigerate for at least 4-6 hours, or preferably overnight, until the mixture is thoroughly chilled. This step is crucial for achieving the best ice cream texture.
-
Once the mixture is completely cold, pour it into the bowl of your ice cream maker. Churn according to the manufacturer’s instructions. Continue churning until the ice cream reaches a thick, soft-serve consistency.
-
Carefully scoop the soft ice cream into a freezer-safe container with a lid. Smooth the top into an even layer. Place the container in the freezer and allow it to set overnight. This firming process is essential for scoopable ice cream.
-
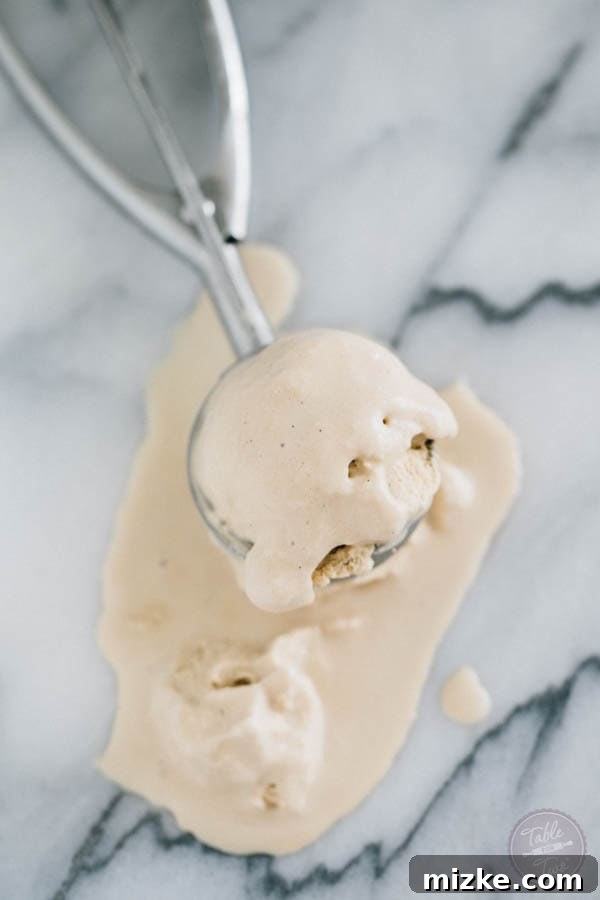
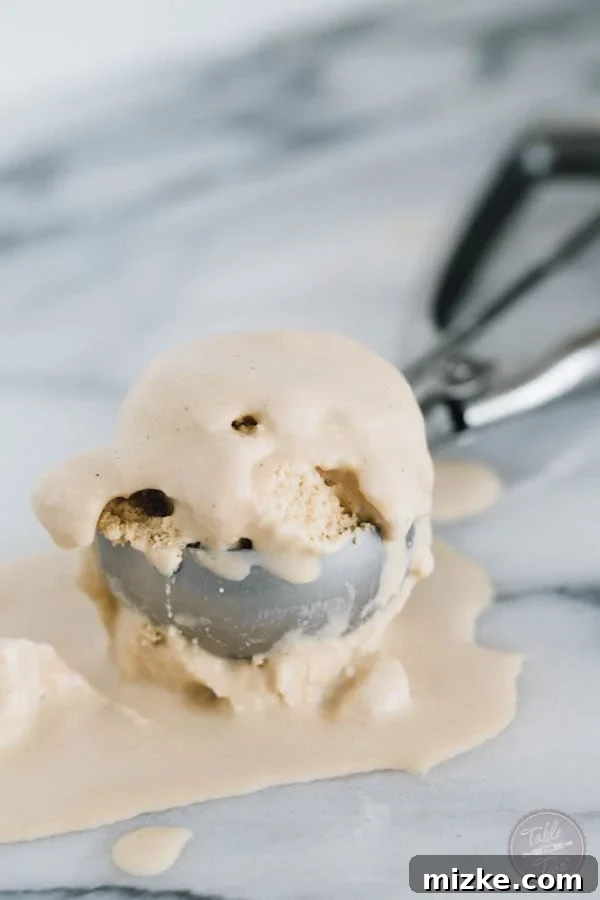
Before serving, remove the ice cream from the freezer and let it stand at room temperature for about 10 minutes. This slight softening period will make it easier to scoop with a warm ice cream scoop.
-
Garnish generously with toasted coconut flakes, if desired, for an added layer of flavor and delightful crunch. Enjoy your homemade paleo coffee coconut milk ice cream!Garnish: Toasted coconut flakes
For a visual guide, consider searching for “Coffee Coconut Milk Ice Cream tutorial” on popular video platforms like YouTube.
Nutrition Information (Approximate)
Serving Size: 0.25 of recipe
Calories: 415 kcal
Carbohydrates: 27g
Fat: 33g
Sugar: 27g
Disclaimers
This website provides approximate nutrition information for convenience and as a courtesy only. Nutrition information can vary for a variety of reasons, including brands of ingredients, measuring techniques, and preparation methods. For the most precise nutritional data, we strongly recommend using your preferred nutrition calculator based on the actual ingredients you used in the recipe.
The default measuring system for this website is US Customary. Unit conversions are provided for convenience and as a courtesy only. While we strive to provide accurate unit conversions, please be aware that there may be some discrepancies. Always double-check conversions for critical measurements.
Always consult with a healthcare professional or a registered dietitian before making any significant changes to your diet or if you have specific dietary needs or concerns.
Tips for the Perfect Scoop Every Time
- Chill Thoroughly: The most crucial step for achieving irresistibly creamy ice cream is ensuring your mixture is absolutely ice-cold before it goes into the machine. Overnight chilling in the refrigerator is highly recommended and often makes a significant difference in the final texture.
- Use Full-Fat Coconut Milk: For the richest, creamiest dairy-free ice cream that truly rivals traditional versions, do not skimp on full-fat coconut milk. The higher fat content is essential for preventing the formation of icy crystals and achieving that desirable smooth mouthfeel.
- Quality Coffee Matters: Since coffee is a prominent flavor in this dessert, using good quality cold brew coffee or freshly brewed strong coffee will yield the best and most aromatic results. Avoid instant coffee for this recipe, as it won’t provide the same depth of flavor.
- Don’t Over-Churn: Churn your ice cream mixture until it reaches a consistency similar to thick soft-serve. It will harden further and develop its final texture in the freezer. Over-churning can sometimes lead to a grainier or less smooth finished product.
- Warm Your Scoop: For perfectly round, easy-to-manage scoops, dip your ice cream scoop in warm water for a few seconds before each scoop. This simple trick helps to glide through the frozen dessert effortlessly.
- Proper Storage: Store your homemade ice cream in an airtight, freezer-safe container to prevent freezer burn and maintain its fresh flavor and creamy texture for up to two weeks. Press a piece of parchment paper directly onto the surface before sealing for extra protection.