
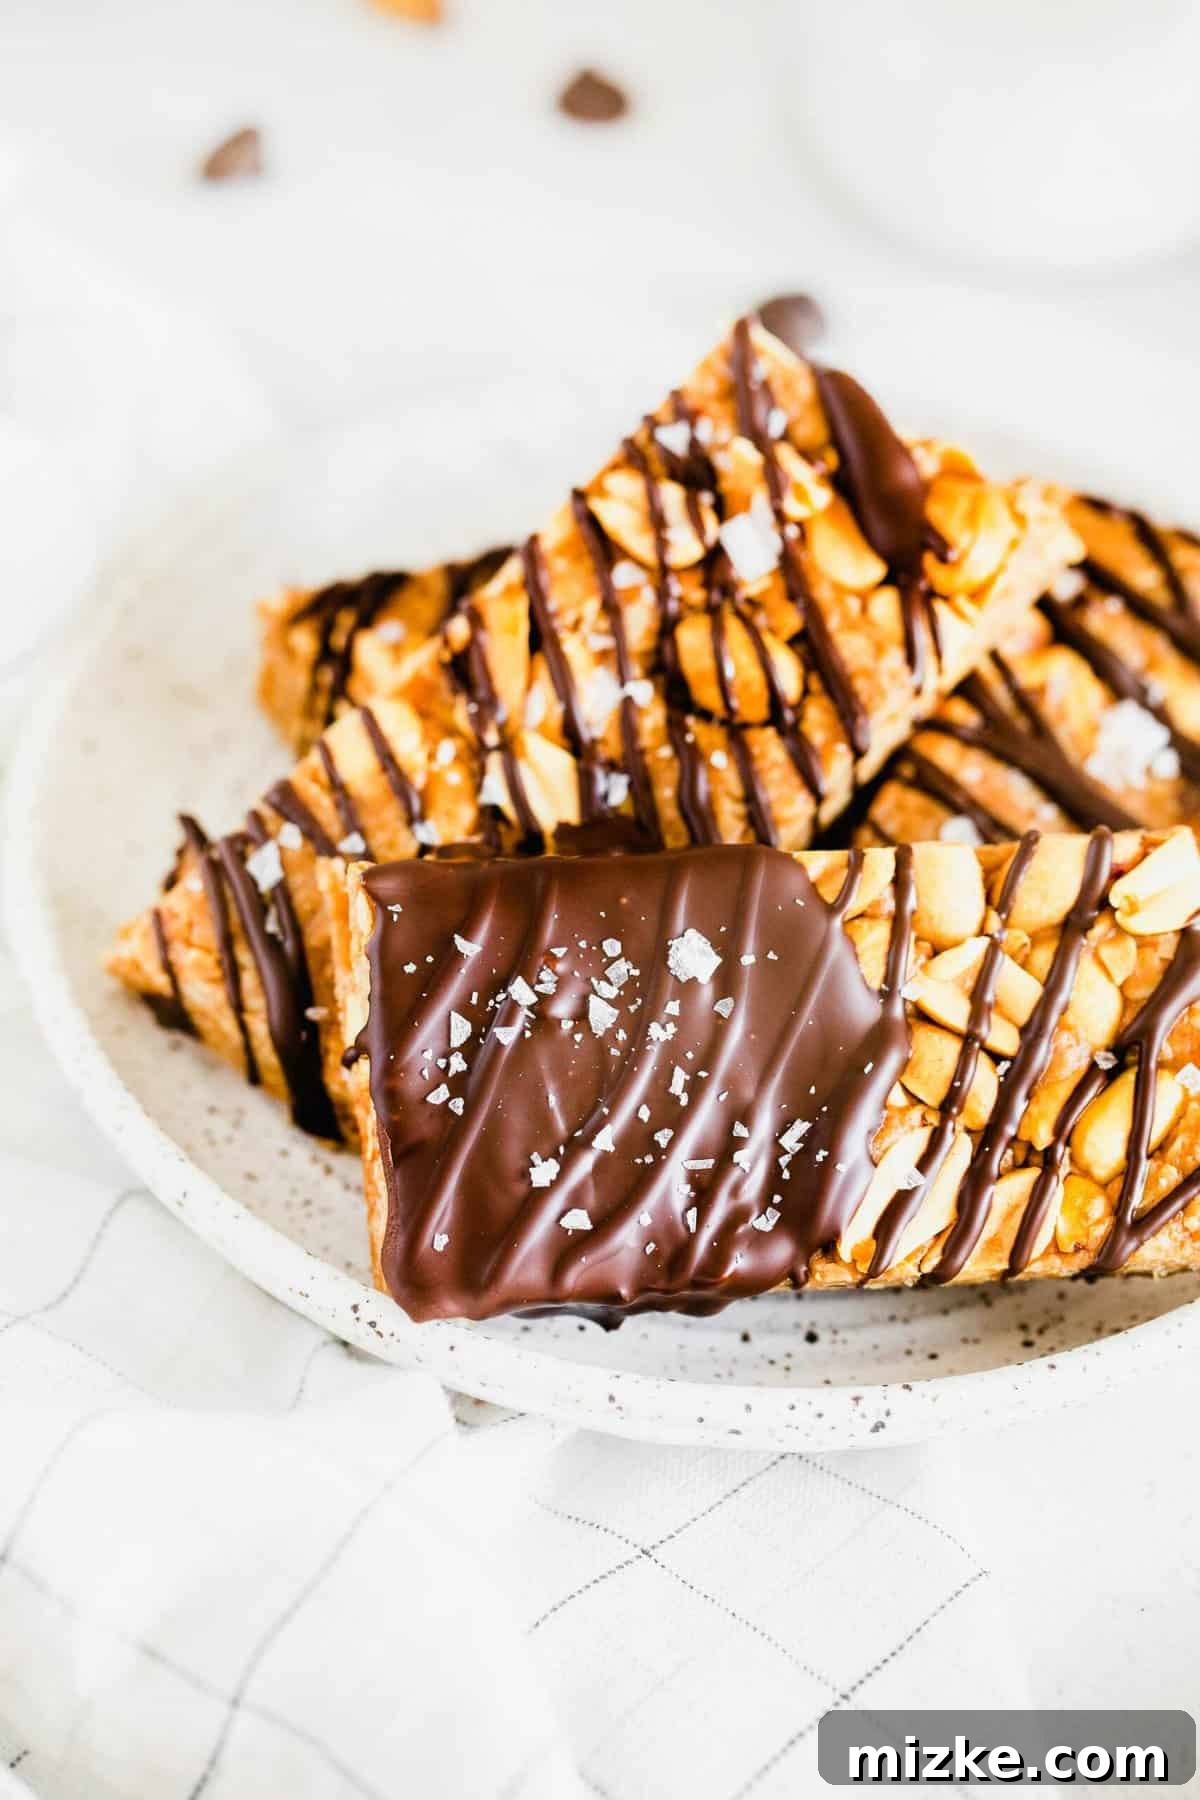
Tired of store-bought granola bars that are often packed with artificial ingredients and hidden sugars? Look no further! These Homemade No-Bake Chocolate Peanut Granola Bars are a game-changer. They’re incredibly simple to prepare, requiring minimal effort and no oven, making them an ideal choice for busy families. Imagine sinking your teeth into a delightful combination of rich chocolate, creamy peanut butter, and wholesome oats, all perfectly bound together into a satisfying bar. They’re not just a snack; they’re a treat that fuels your day!
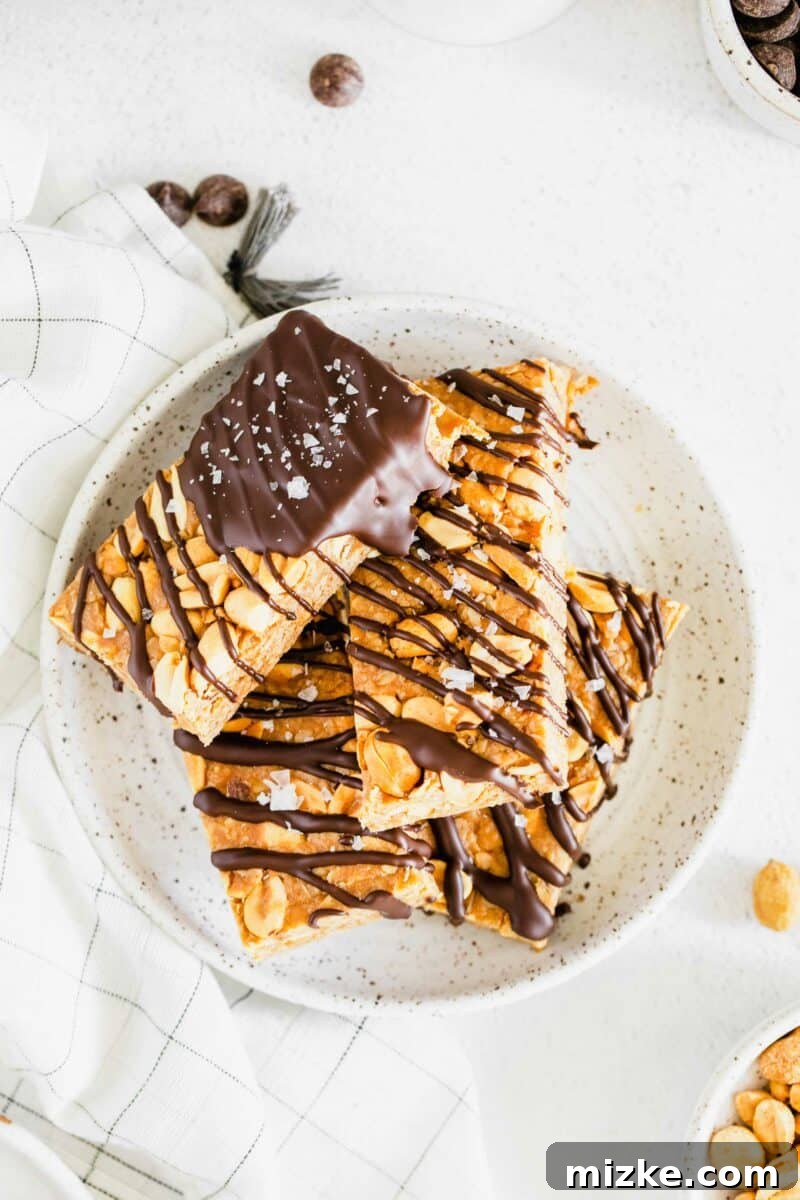
Why Homemade Granola Bars Are the Ultimate Choice
The supermarket aisles are overflowing with an endless array of granola bar options, each promising different flavors and health benefits. However, many fall short, containing preservatives, excessive sugar, and ingredients that are far from natural. That’s where homemade chocolate peanut granola bars truly shine. Crafting your own allows you to control exactly what goes into your family’s snacks, ensuring a healthier, more wholesome treat free from unwanted additives. The fresh taste, superior texture, and customizable nature of homemade bars simply cannot be matched by their mass-produced counterparts.
Effortless Preparation: A Game-Changer for Busy Schedules
One of the most appealing aspects of this recipe is its incredible simplicity. With just 5 minutes of active prep time, you can whip up a batch of these delectable bars. That’s right – only five minutes! In the whirlwind of back-to-school routines or hectic workweeks, having a quick and easy snack recipe like this is invaluable. Not only do you save precious time, but you also earn major bragging rights for serving up homemade goodness. It’s a true win-win situation, delivering both convenience and quality without compromising on flavor.
The Irresistible Flavor and Texture Experience
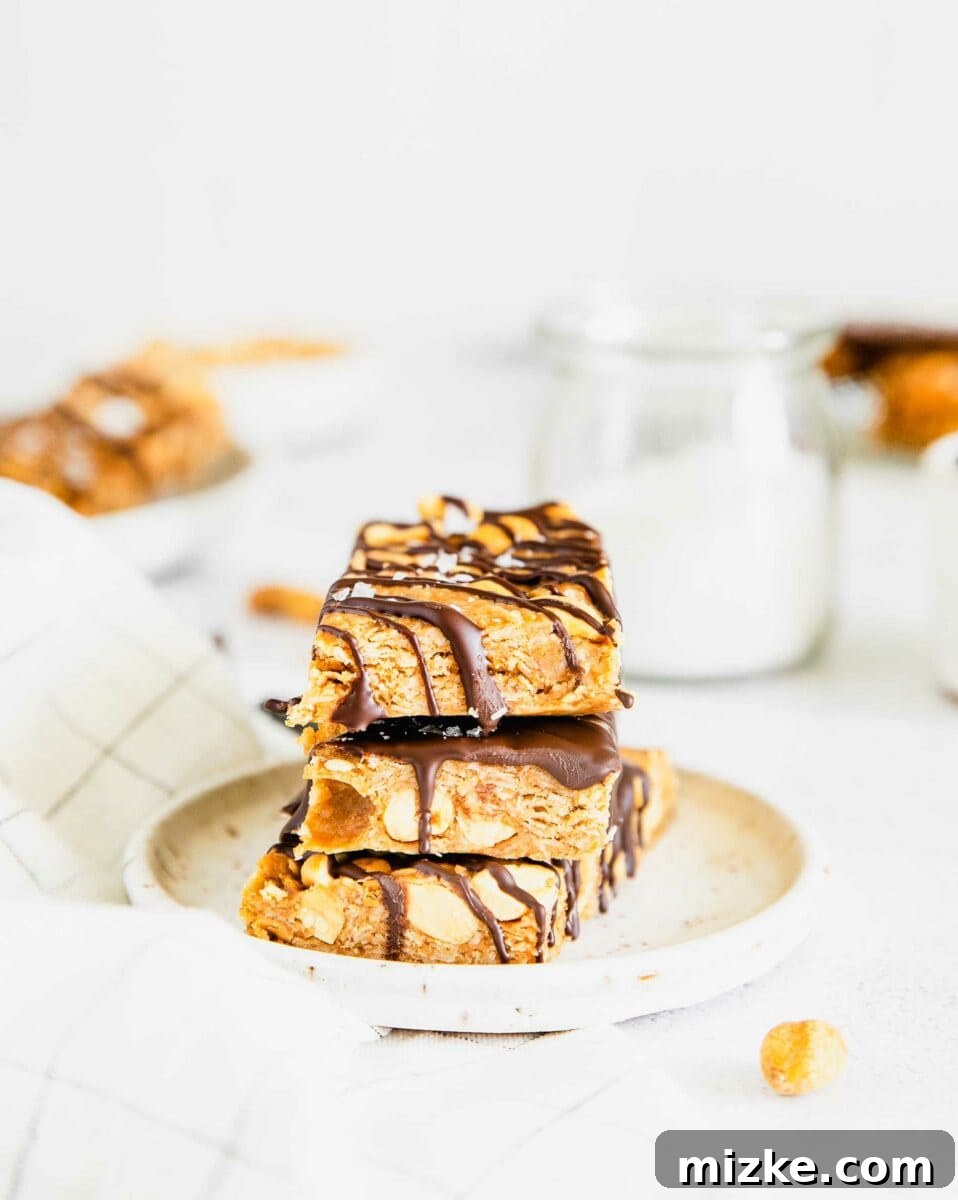
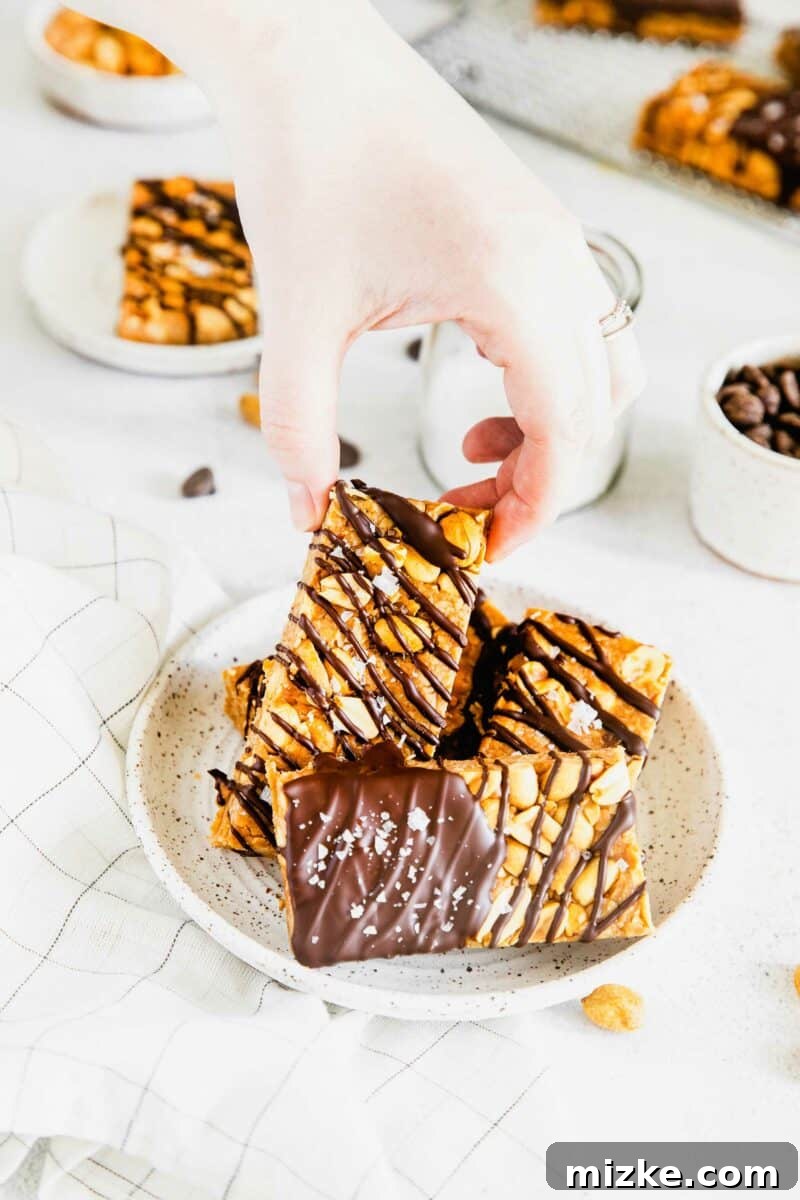
Despite their straightforward preparation, these chocolate and peanut granola bars are profoundly satisfying. Each bite offers a harmonious blend of textures and tastes: the delightful crunch of roasted peanuts, the creamy richness of peanut butter, and the comforting chewiness of old-fashioned oats. A generous drizzle of dark chocolate, perfectly tempered with coconut oil, melts in your mouth, while a hint of honey adds natural sweetness and acts as a crucial binding agent. For an extra layer of gourmet appeal, a sprinkle of flaky sea salt elevates the experience, creating that coveted sweet and salty perfection. You’ll love making these crunchy, sweet, and filling granola bars for your children, because it means you get to sneak a bite (or two!) for yourself!
**Important Note: Always be mindful of food allergies. Please ensure you adhere to your school’s or household’s guidelines on food allergies and make appropriate substitutions if necessary.**
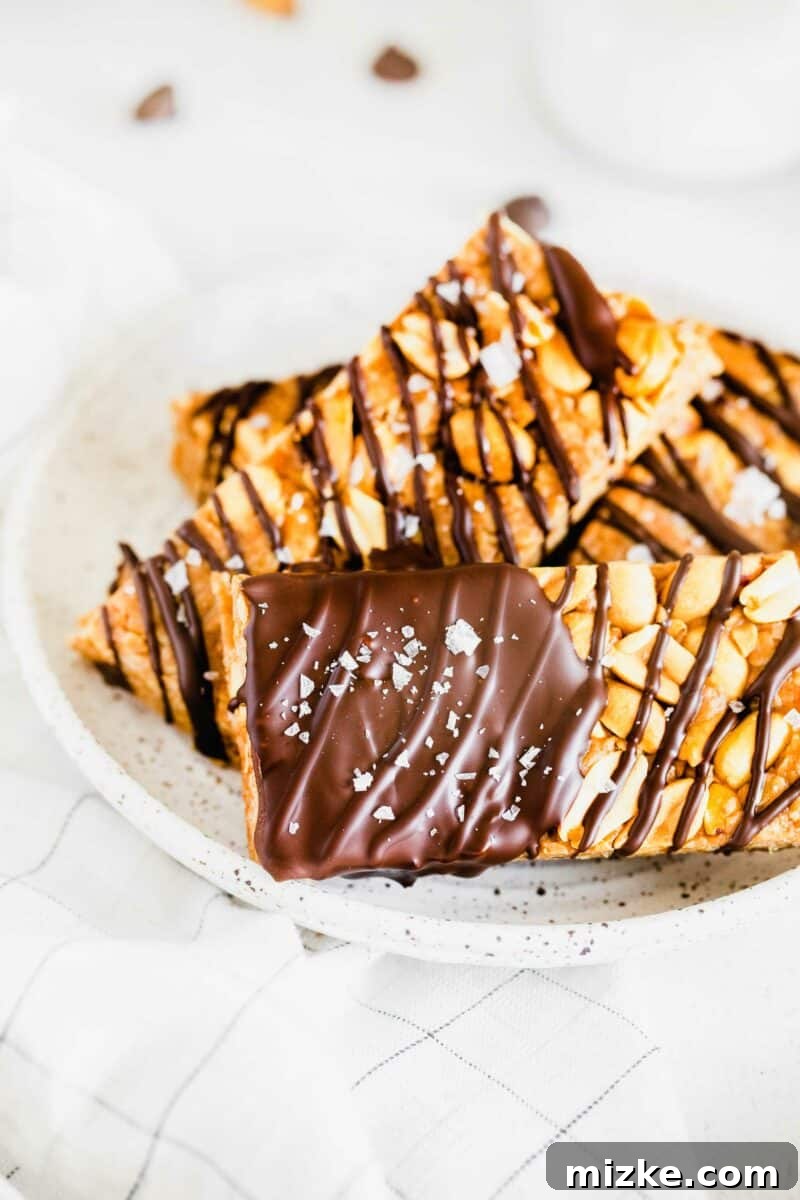
Essential Ingredients for Your Perfect Granola Bars
Creating these delightful no-bake granola bars requires only a handful of common pantry staples. Each ingredient plays a vital role in achieving that perfect balance of flavor, texture, and structure. Here’s a detailed look at what you’ll need:
- Brown Sugar: This provides a deeper, more caramel-like sweetness compared to white sugar, contributing to the rich flavor profile. If you only have white sugar, you can easily make your own brown sugar by combining a tablespoon of molasses with a cup of white sugar.
- Honey: Crucial for both flavor and function, honey acts as the primary binder in this no-bake recipe, giving the bars their signature chewy texture and helping them hold together. Do not substitute honey with maple syrup in this recipe, as honey’s unique chemical composition is key for binding.
- Unsalted Butter: Butter adds richness and a delightful mouthfeel to the bars. Using unsalted butter allows you to control the overall saltiness, especially since we’re adding salted peanuts and an optional sea salt garnish.
- Coconut Oil (Divided): This ingredient is a double threat. It contributes a subtle tropical note and helps create a smooth, pliable mixture for the bars. When combined with chocolate chips, it ensures a perfectly glossy, melt-in-your-mouth chocolate drizzle that sets beautifully.
- Creamy Peanut Butter: The star of the show for that classic peanut flavor and creamy texture. Since we’re adding whole peanuts for crunch, creamy peanut butter ensures a smooth base. Opt for a natural, no-stir variety if possible for best results, but any creamy peanut butter will work.
- Old-Fashioned Oats: These provide the bulk and desirable chewiness to the granola bars. Unlike quick oats, old-fashioned (rolled) oats maintain their structure better, giving the bars a satisfying, substantial texture.
- Salted Peanuts (Divided): For that essential crunch and a fantastic salty counterpoint to the sweetness. Using salted peanuts enhances the flavor, but you can use unsalted if you prefer to control the salt content more precisely. We’ll divide them for mixing into the bars and sprinkling on top for extra texture.
- Dark Chocolate Chips: These bring a deep, intense chocolate flavor without making the bars overly sweet. Dark chocolate balances the sweetness of the honey and brown sugar beautifully. You can certainly use milk chocolate if you have a sweeter tooth, but dark chocolate offers a more sophisticated flavor profile.
- Flaky Sea Salt (Optional, but highly recommended): A sprinkle of flaky sea salt on top of the chocolate drizzle is a game-changer. It intensifies the flavors, creating that irresistible sweet and salty combination that makes these bars truly addictive. Don’t skip this if you love that contrast!
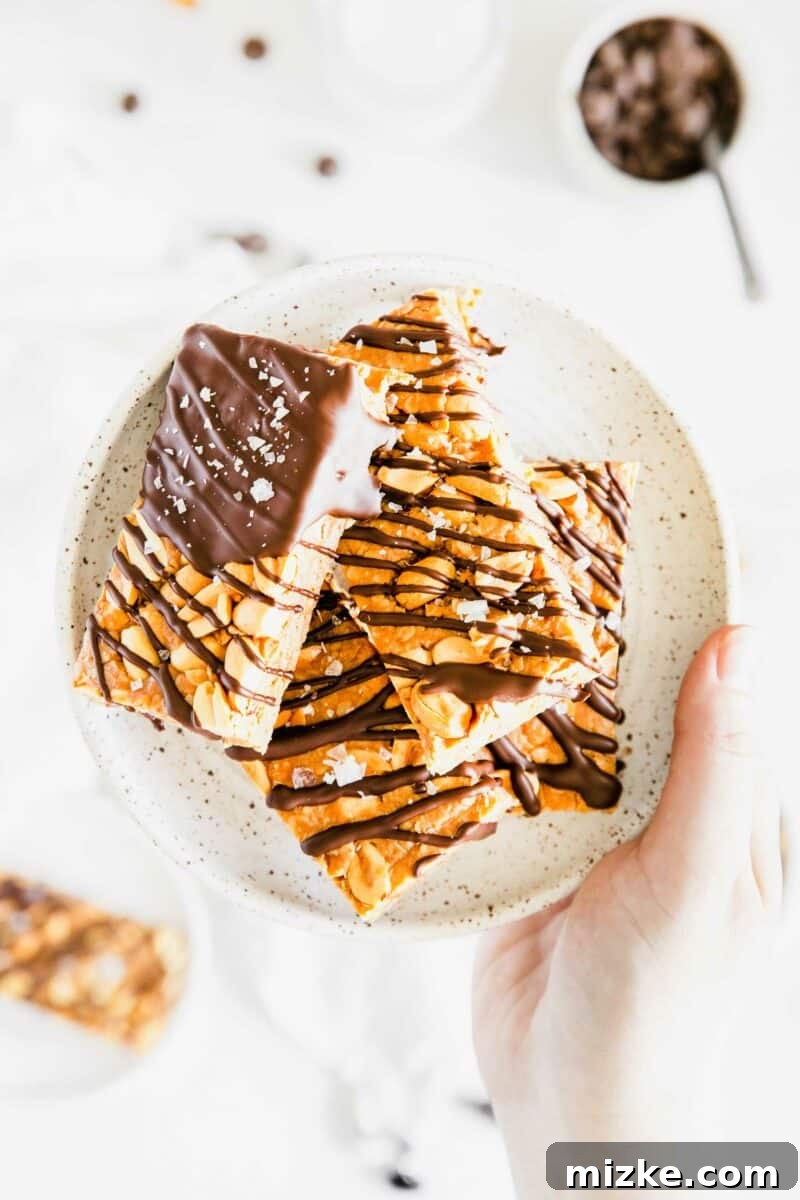
Step-by-Step Guide to No-Bake Chocolate and Peanut Granola Bars
Making these delicious granola bars is incredibly straightforward. Follow these detailed steps to achieve perfect results every time:
1. Prepare Your Baking Dish
Start by lining a 9×9 inch (23×23 cm) baking dish with parchment paper. Ensure the parchment paper hangs over the sides, creating “handles.” This will make it significantly easier to lift the cooled granola bars out of the pan for slicing. Set this prepared dish aside while you begin the mixture.
2. Create the Sweet and Creamy Base
In a large, sturdy saucepan, combine the brown sugar, honey, unsalted butter, and two tablespoons of coconut oil over medium heat. Stir continuously until the butter is completely melted and the sugar has dissolved, forming a smooth, uniform liquid. This process should take about 1-2 minutes. The mixture should be warm and well-integrated, providing the sticky foundation for your bars.
3. Incorporate the Peanut Butter
Remove the saucepan from the heat. Add the creamy peanut butter to the warm mixture and whisk vigorously until it is thoroughly combined and smooth. The residual heat from the saucepan will help melt and integrate the peanut butter seamlessly, resulting in a slightly thickened, rich, and fragrant base.
4. Add the Oats and Peanuts
Now it’s time to add the bulk and crunch! Stir in the old-fashioned oats and half of the salted peanuts (approximately ½ cup). Mix well with a sturdy spoon or spatula until the oats and peanuts are evenly coated with the sticky peanut butter mixture. Ensure there are no dry spots, as proper coating is essential for the bars to hold together.
5. Press into the Pan and Chill
Transfer the granola mixture into your prepared baking dish. Sprinkle the remaining ¼ cup of peanuts evenly over the top. Using another piece of parchment paper or your hands (lightly greased if the mixture is too sticky), press the mixture down firmly and evenly into the pan. This step is crucial for creating dense, cohesive bars that won’t crumble. The tighter you pack it, the better they will hold their shape. Be careful, as the mixture will still be warm! Once packed, transfer the dish to the refrigerator and chill for at least 2 hours, or until completely firm. This setting time is vital for the bars to solidify.
6. Prepare and Drizzle the Chocolate
Once the granola bars are thoroughly chilled and firm, combine the dark chocolate chips and the remaining two tablespoons of coconut oil in a small, microwave-safe bowl. Microwave in 30-second intervals, stirring after each, until the chocolate is completely melted and smooth. Alternatively, you can use a double boiler on the stovetop for a more controlled melting process.
7. Slice, Drizzle, and Set
Lift the chilled granola slab out of the baking dish using the parchment paper handles. Place it on a cutting board and slice it into 9 equal bars, or your preferred size. Drizzle the melted chocolate generously over the sliced bars. For that extra touch, sprinkle with flaky sea salt immediately after drizzling the chocolate. Return the bars to the refrigerator for another 15-30 minutes, allowing the chocolate to set completely. Once the chocolate is firm, your delicious homemade granola bars are ready to enjoy!
Common Questions and Helpful Tips
Here are answers to some frequently asked questions and additional tips to ensure your granola bars are a huge success:
Can I make these peanut-free for allergy concerns?
Absolutely! For households with peanut allergies, you can easily substitute creamy peanut butter with almond butter, cashew butter (if tree nut allergies are not a concern), or even sunflower seed butter (SunButter). When omitting peanuts, consider adding other chopped nuts like almonds or walnuts (again, if no tree nut allergies exist), or incorporate dried fruits such as raisins, chopped apricots, or dried cranberries for added texture and sweetness. Always double-check ingredient labels to ensure they are free from cross-contamination if allergies are severe.
How long will these granola bars stay fresh?
When stored in an airtight container in the refrigerator, these chocolate peanut granola bars will remain fresh and delicious for up to 5 days. Keeping them chilled is highly recommended, especially due to the chocolate coating, which can soften or melt at room temperature. For longer storage, you can freeze them (see below).
Can I use quick oats instead of old-fashioned oats?
While old-fashioned (rolled) oats are preferred for their chewy texture and ability to hold shape, quick oats will work in a pinch. However, quick oats absorb liquid faster and can result in a softer, less chewy bar. If using quick oats, you might find the texture slightly different, but the flavor will still be fantastic.
Can I customize with other mix-ins like candies or dried fruit?
Yes, absolutely! Granola bars are wonderfully versatile. Feel free to add mini M&M’s, other small candies, or chopped dried fruits like raisins, cranberries, or apricots to the mixture along with the oats and peanuts. Just be mindful of the amount; too many large or bulky additions can make the bars harder to pack tightly and prone to crumbling. Stick to mini-sized candies or finely chopped dried fruits for the best results.
Can I use white chocolate or milk chocolate for the drizzle?
Of course! The beauty of homemade snacks is the ability to customize. You can certainly use white chocolate chips or milk chocolate chips for the drizzle if that’s your preference. The coconut oil trick works just as well with these varieties to create a smooth, pourable consistency. Experiment with different chocolates to find your favorite!
Tips for Perfect Granola Bars Every Time
- Don’t Skimp on Chilling: The chilling time is non-negotiable for firm, sliceable bars. Rushing this step will result in crumbly granola.
- Pack it Tightly: Use a flat-bottomed glass or spatula to really press the mixture down into the pan. This compression is key for structure.
- Clean Cuts: For neat bars, use a sharp knife and wipe it clean between cuts, especially after the chocolate has set slightly.
- Storage: Always store these bars in the refrigerator in an airtight container to maintain their freshness and prevent the chocolate from melting.
- Freezing for Later: These bars freeze beautifully! Once the chocolate is fully set, wrap individual bars tightly in plastic wrap, then place them in a freezer-safe bag or container. They can be frozen for up to 2-3 months. Thaw at room temperature or in the refrigerator before enjoying.
More Kid-Friendly Recipes for Back-to-School and Beyond!
As the school year approaches (or for easy snacks anytime!), make sure you have a repertoire of delicious, kid-friendly recipes to treat your little scholars and keep everyone energized. Here are some fantastic ideas:
- Homemade Chocolate Chips and Walnuts Granola Bars
- Breakfast Sandwiches (Freezer-Friendly)
- Classic Chocolate Chip Cookies
- Savory Chex Mix
Chocolate and Peanut Granola Bars
Julie Chiou
Easy to make snacks that are perfect for popping into lunchboxes! These no-bake granola bars are packed with wholesome oats, creamy peanut butter, crunchy peanuts, and a delicious chocolate drizzle.
5 minutes
10 minutes
2 hours 30 minutes
2 hours 45 minutes
9 bars
Equipment
-
9×9 inch Square Baking Pan
-
Large Saucepan
-
Parchment Paper
Ingredients
- ½ cup (110 g) brown sugar, light or dark
- ⅓ cup (113 g) honey
- 4 tablespoons unsalted butter
- 4 tablespoons coconut oil, divided
- ½ cup (129 g) creamy peanut butter
- 2 cups (162 g) old-fashioned oats
- ¾ cup (110 g) salted peanuts, divided
- 1 cup (180 g) dark chocolate chips
- Flaked sea salt, to garnish (optional)
Instructions
-
Line a 9×9 inch baking dish with parchment paper, allowing the paper to overhang on two sides for easy removal. Set aside.
-
In a large saucepan over medium heat, combine the brown sugar, honey, butter, and 2 tablespoons of coconut oil. Cook for 1-2 minutes, stirring until the butter is melted and the mixture is smooth and combined.
-
Remove from heat. Add the creamy peanut butter and whisk thoroughly to combine until the mixture is smooth and slightly thickened.
-
Stir in the old-fashioned oats and ½ cup of the salted peanuts. Mix until all ingredients are evenly coated.
-
Transfer the granola mixture to the prepared baking dish. Sprinkle the remaining ¼ cup of peanuts over the top.
-
Press the mixture firmly and tightly into the pan using a spatula or the back of a spoon. This step is critical to ensure your granola bars hold together. Be cautious as the mixture will still be warm.
-
Transfer the pan to the refrigerator to chill for at least 2 hours, or until completely firm.
-
Once the bars are chilled, combine the dark chocolate chips and the remaining 2 tablespoons of coconut oil in a small microwave-safe bowl. Microwave in 30-second intervals, stirring after each, until the chocolate is fully melted and smooth.
-
Lift the granola slab from the pan using the parchment paper handles. Slice the firm slab into 9 equal bars. Drizzle the melted chocolate over the sliced bars and immediately sprinkle with flaky sea salt, if desired.
-
Return the bars to the fridge for another 15-30 minutes to allow the chocolate to set. Store chilled in an airtight container for up to 5 days. Enjoy!
Notes
- Honey is Key: Ensure you use honey for this recipe, as its unique binding properties are crucial for the no-bake structure. Maple syrup unfortunately does not work as a direct substitute.
- Oat Choice: Old-fashioned (rolled) oats are recommended for their ideal chewy texture. However, quick-cooking oats can be used if that’s all you have, though the bars may be slightly less chewy.
- Peanut Preference: Roasted, salted peanuts were used in this recipe for enhanced flavor. You can opt for unsalted peanuts or any other preferred nut or seed if you adjust the salt content to taste.
- Allergy Alert: Please adhere to all food allergy guidelines, especially for schools. Substitutions for peanuts and peanut butter are possible (see FAQs).
Nutrition Information (Approximate)
Serving: 1 bar, Calories: 514kcal, Carbohydrates: 52g, Protein: 10g, Fat: 32g, Saturated Fat: 17g, Polyunsaturated Fat: 4g, Monounsaturated Fat: 9g, Trans Fat: 0.2g, Cholesterol: 14mg, Sodium: 89mg, Potassium: 374mg, Fiber: 4g, Sugar: 31g
This website provides approximate nutrition information for convenience and as a courtesy only. Nutrition information can vary for a variety of reasons, including specific ingredients used and preparation methods. For the most precise nutritional data, please use your preferred nutrition calculator based on the actual ingredients you used in the recipe.
The default measuring system for this website is US Customary. Unit conversions are provided for convenience and as a courtesy only. While we strive to provide accurate unit conversions, please be aware that there may be some discrepancies.