
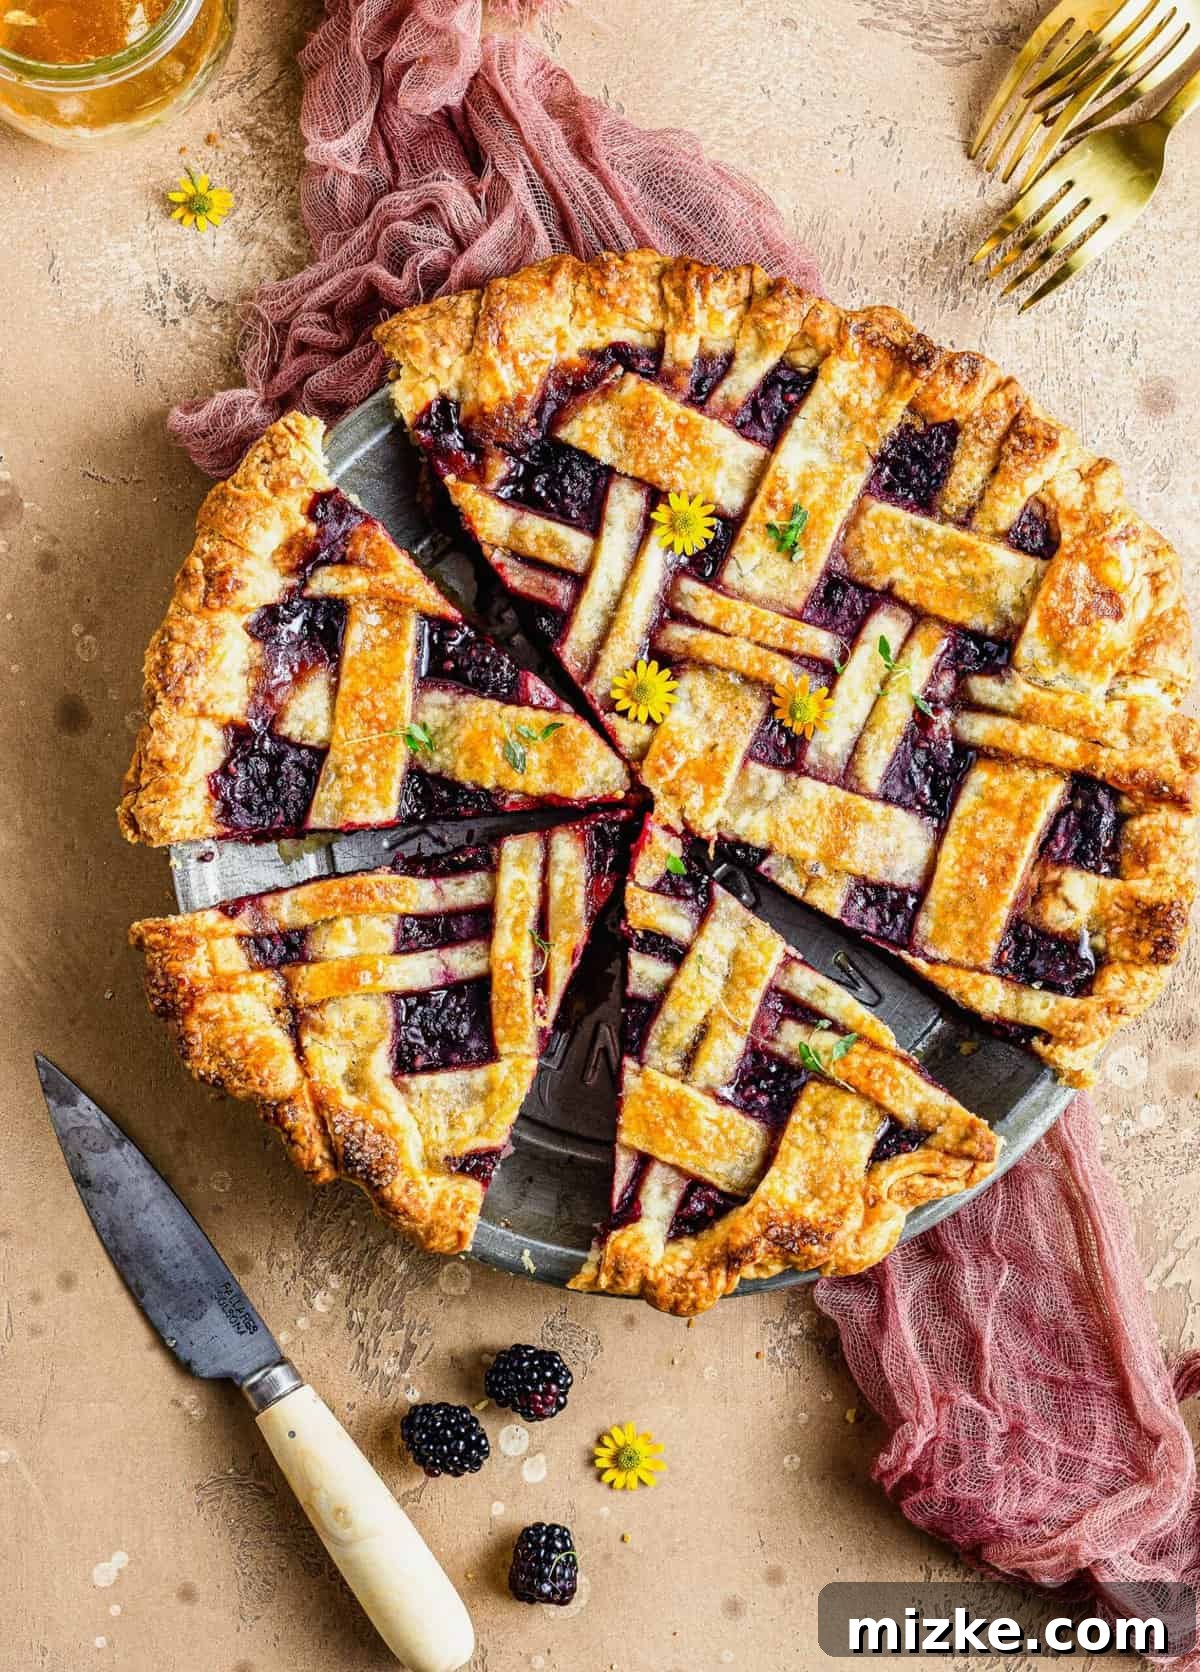
Imagine the sweet and tangy burst of plump blackberries, elevated by a hint of zesty lemon and the unexpected, aromatic touch of fresh thyme. Now, picture all of that natural goodness sweetened with rich honey and encased between two layers of a perfectly flaky, tender sour cream pie crust. This isn’t just any pie; it’s a rustic summer dessert that promises an unforgettable culinary experience: our Honey Thyme Blackberry Pie.
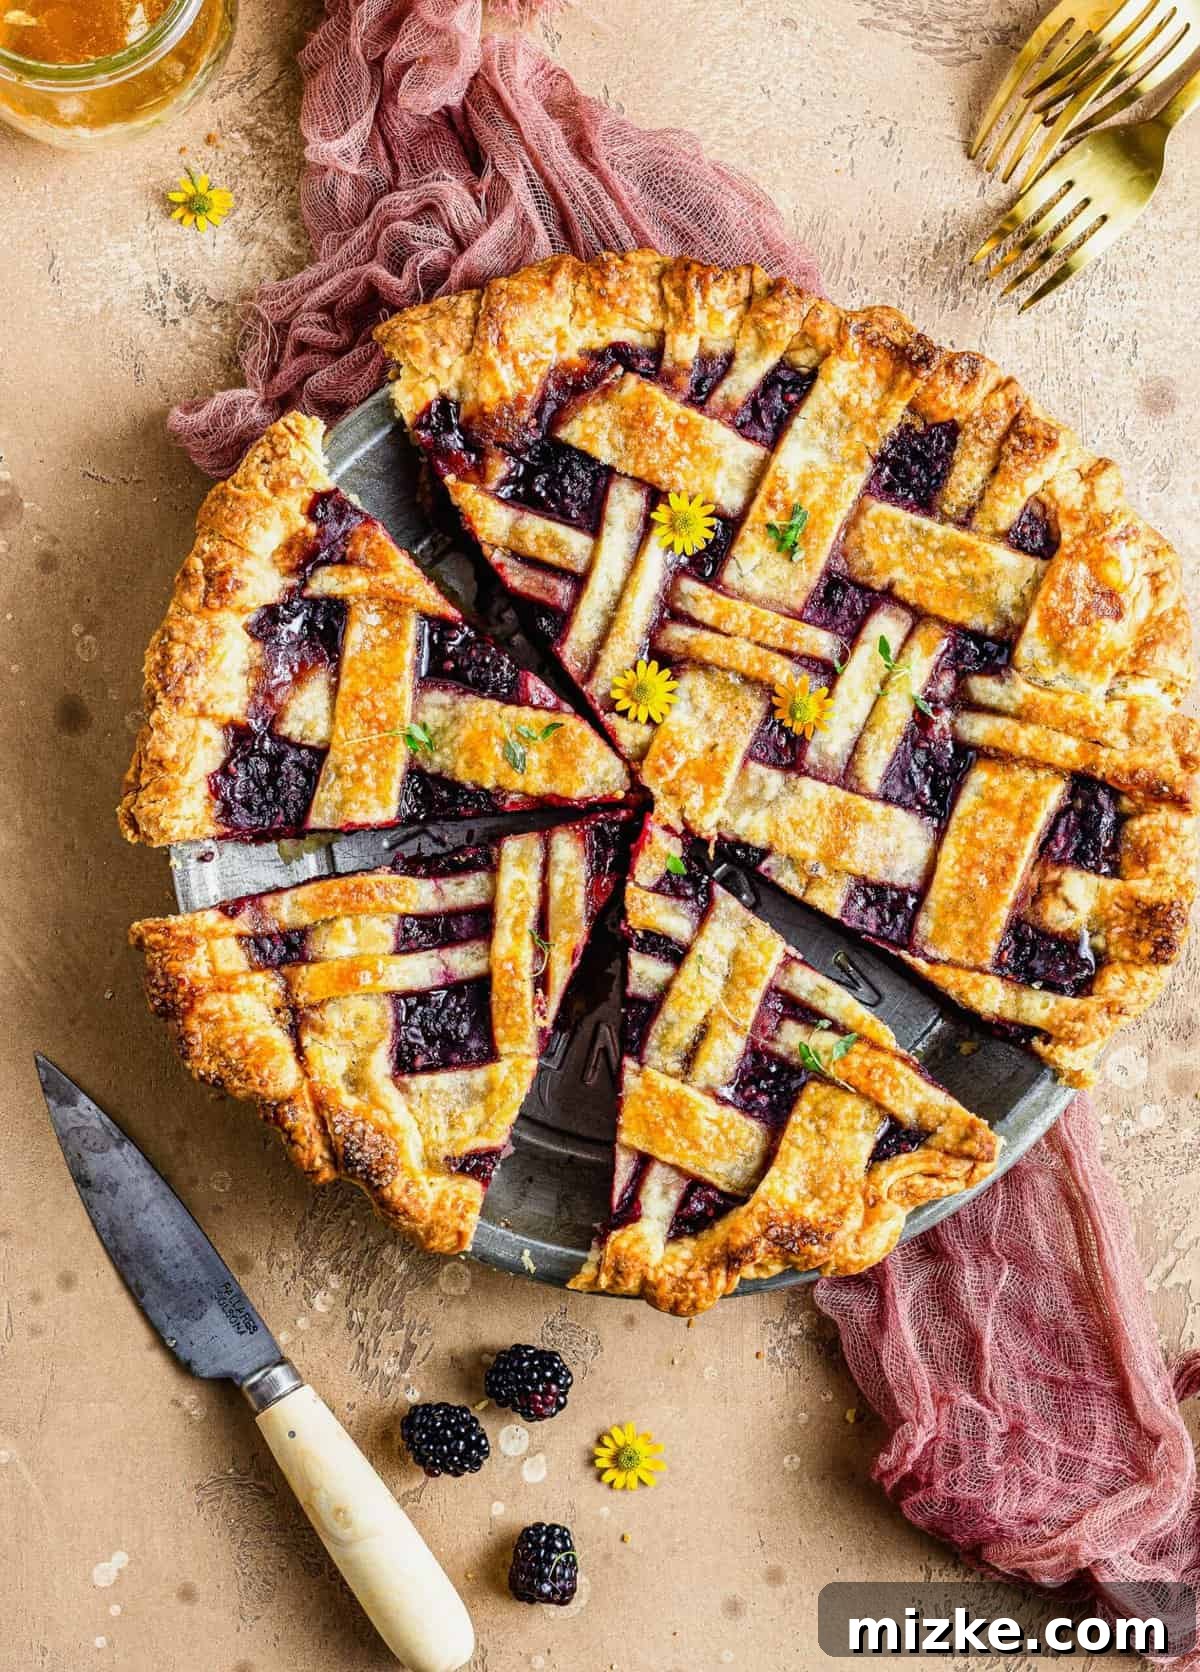
When summer arrives, so does the irresistible call of homemade pie. While classics like cherry pie and blueberry pie often steal the spotlight, a truly exceptional blackberry pie deserves a prime spot on your seasonal baking list. Blackberries, with their delightful balance of sweet and tart, are simply unparalleled in a warm, comforting pie. But what truly makes this particular blackberry pie stand out from the crowd is its innovative flavor profile and a crust that achieves perfection.
This recipe transforms a beloved classic into something extraordinary. Instead of relying solely on granulated sugar, the luscious blackberry filling is subtly sweetened with honey, adding a depth of flavor that’s both comforting and sophisticated. The real secret weapon, however, is the addition of fresh thyme leaves. This unexpected herbal note introduces an earthy, fragrant dimension that beautifully complements the fruit, lifting the entire dessert to a “next-level” status. If you’ve ever experimented with herbs in homemade lemonade, you’ll understand the delightful effect this infusion creates.
Beyond its incredible taste, this pie also boasts a stunning visual appeal thanks to its intricate lattice crust. While it may look like a pastry chef’s masterpiece, creating a lattice top is surprisingly straightforward and incredibly satisfying. The process of weaving the strips of dough together is almost meditative, resulting in a beautiful golden-brown top that hints at the juicy, flavorful filling beneath.
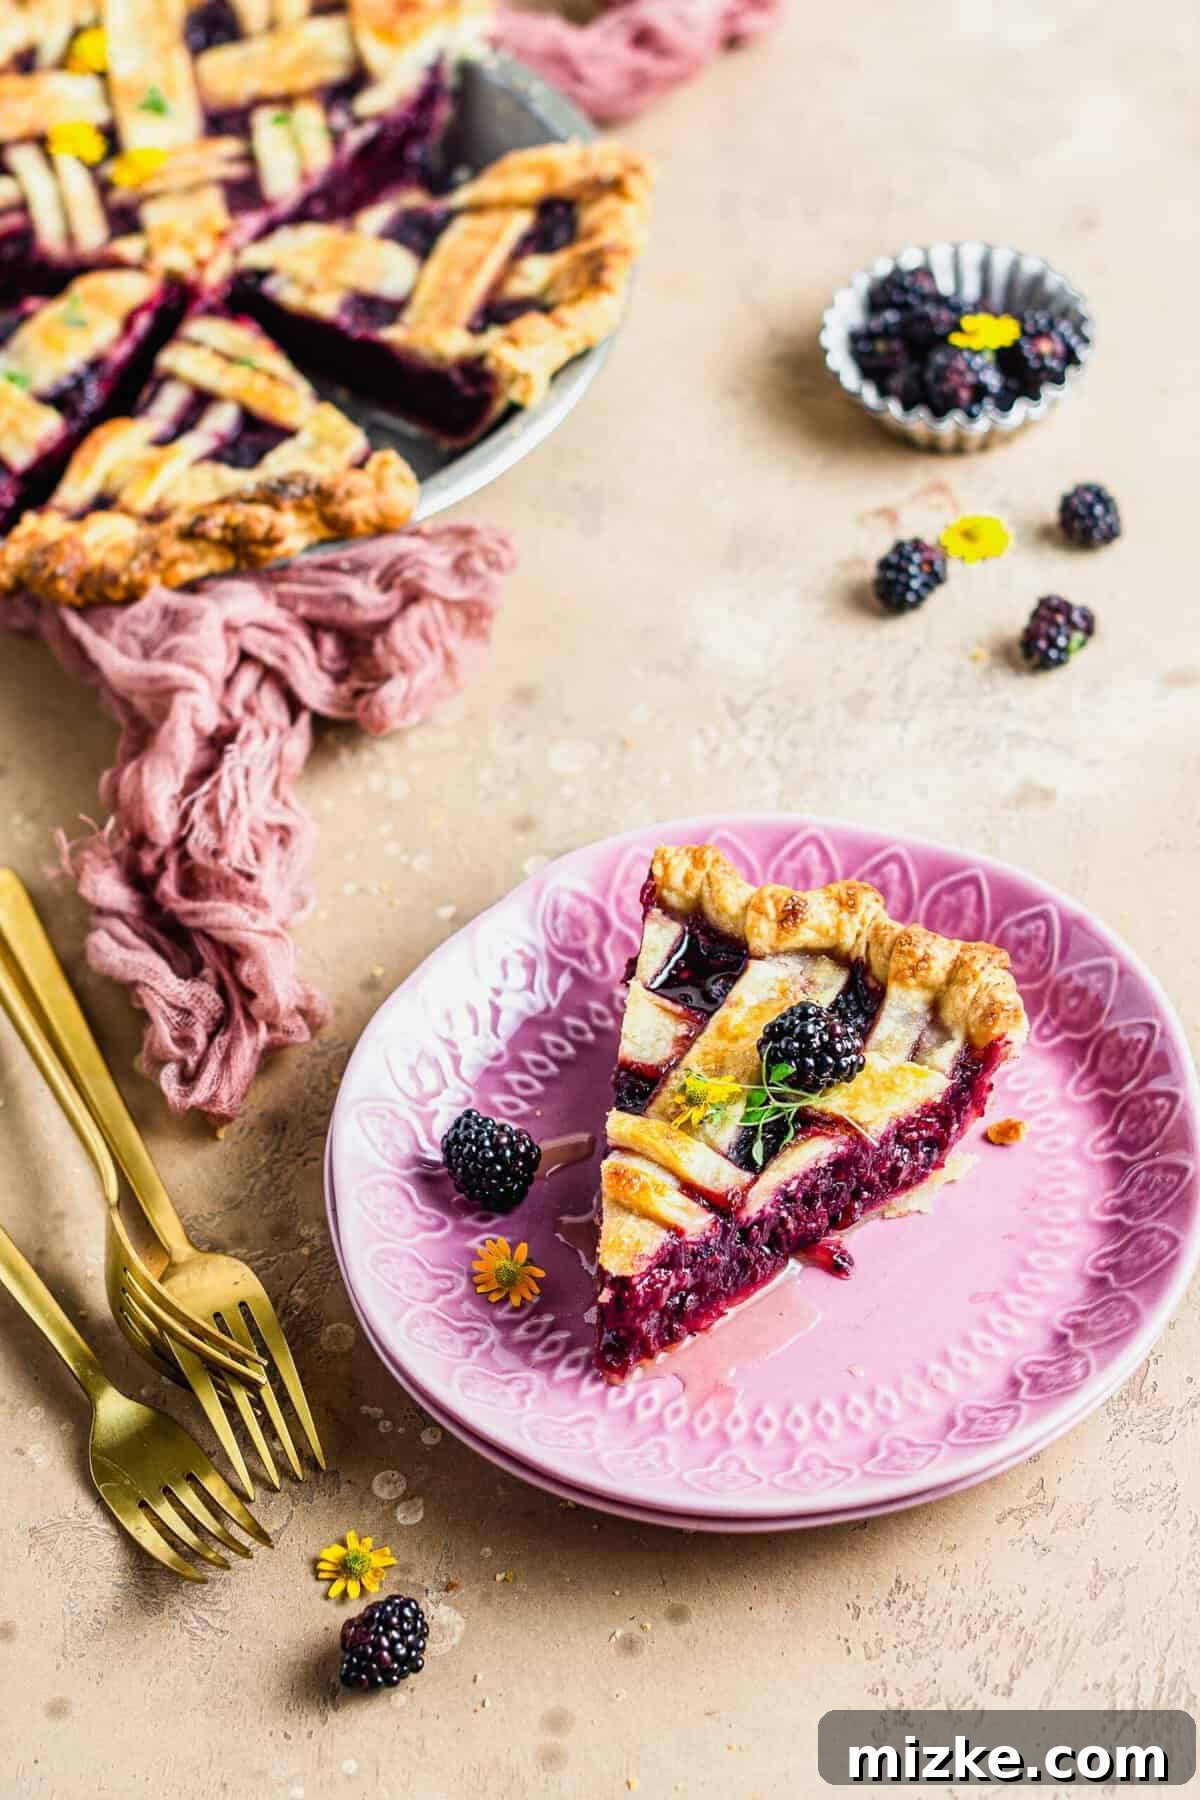
Essential Ingredients for Your Blackberry Masterpiece
Creating a truly remarkable pie starts with high-quality ingredients. Here’s what you’ll need to gather for this Honey Thyme Blackberry Pie, designed to deliver a flaky crust and a uniquely flavorful filling. Each component plays a vital role in achieving that perfect rustic summer dessert experience.
For the Double Sour Cream Pie Crust:
- All-Purpose Flour: The foundation of our flaky crust.
- Granulated Sugar: A touch of sweetness for balance.
- Salt: Essential for enhancing flavor in both the crust and filling.
- Unsalted Butter: Must be cold and cut into cubes. Cold butter is key to creating those desirable flaky layers, as it melts slowly in the oven, releasing steam that separates the dough.
- Full-Fat Sour Cream: The star ingredient for a tender, exceptionally flaky crust. Sour cream adds moisture and tang, contributing to a dough that’s easier to work with and results in a wonderfully soft texture.
For the Signature Honey Thyme Blackberry Filling:
- Fresh Blackberries: The star of the show. Aim for ripe, plump berries for the best flavor and juiciness.
- Runny Honey: Our unique sweetener. Standard liquid honey, like the kind found in a plastic bear, works perfectly. Avoid creamed or overly thick varieties, as they can alter the filling’s consistency. Honey provides a nuanced sweetness that complements the berries and thyme beautifully.
- Lemon Juice: A splash of fresh lemon juice brightens the berry flavor and balances the sweetness of the honey.
- Fresh Thyme Leaves: Chopped fresh thyme introduces an aromatic, earthy note that transforms the pie from ordinary to extraordinary. Its subtle peppery essence pairs surprisingly well with the fruit.
- Vanilla Extract: A classic enhancer that deepens the overall flavor profile.
- Cornstarch: Our thickening agent. Cornstarch ensures the filling sets properly, preventing a runny pie.
- Egg: Separated into white and yolk for the egg wash, which provides a beautiful golden sheen to the crust.
- Coarse Sugar: Such as sanding sugar or Demerara sugar, for sprinkling on top of the crust. This adds a delightful crunch and sparkle.
Cleaning Fresh Picked Blackberries: An Essential Step
If you’re using freshly picked blackberries, proper cleaning is crucial to ensure your pie is perfect. The best method involves gently rinsing the berries under cool, running water in a colander. Alternatively, you can place them in a bowl of cold water and delicately swish them around to dislodge any dirt or small debris. Once rinsed, it’s vital to allow them to dry thoroughly. You can achieve this by letting them air dry completely in the colander, or if you’re pressed for time, gently pat them dry with several layers of paper towels. The key is to avoid water-logging the berries; excess moisture will thin out your pie filling, potentially leading to a runny and less appealing consistency. Take your time with this step – perfectly cleaned and dried berries are the foundation of a robust, flavorful pie.
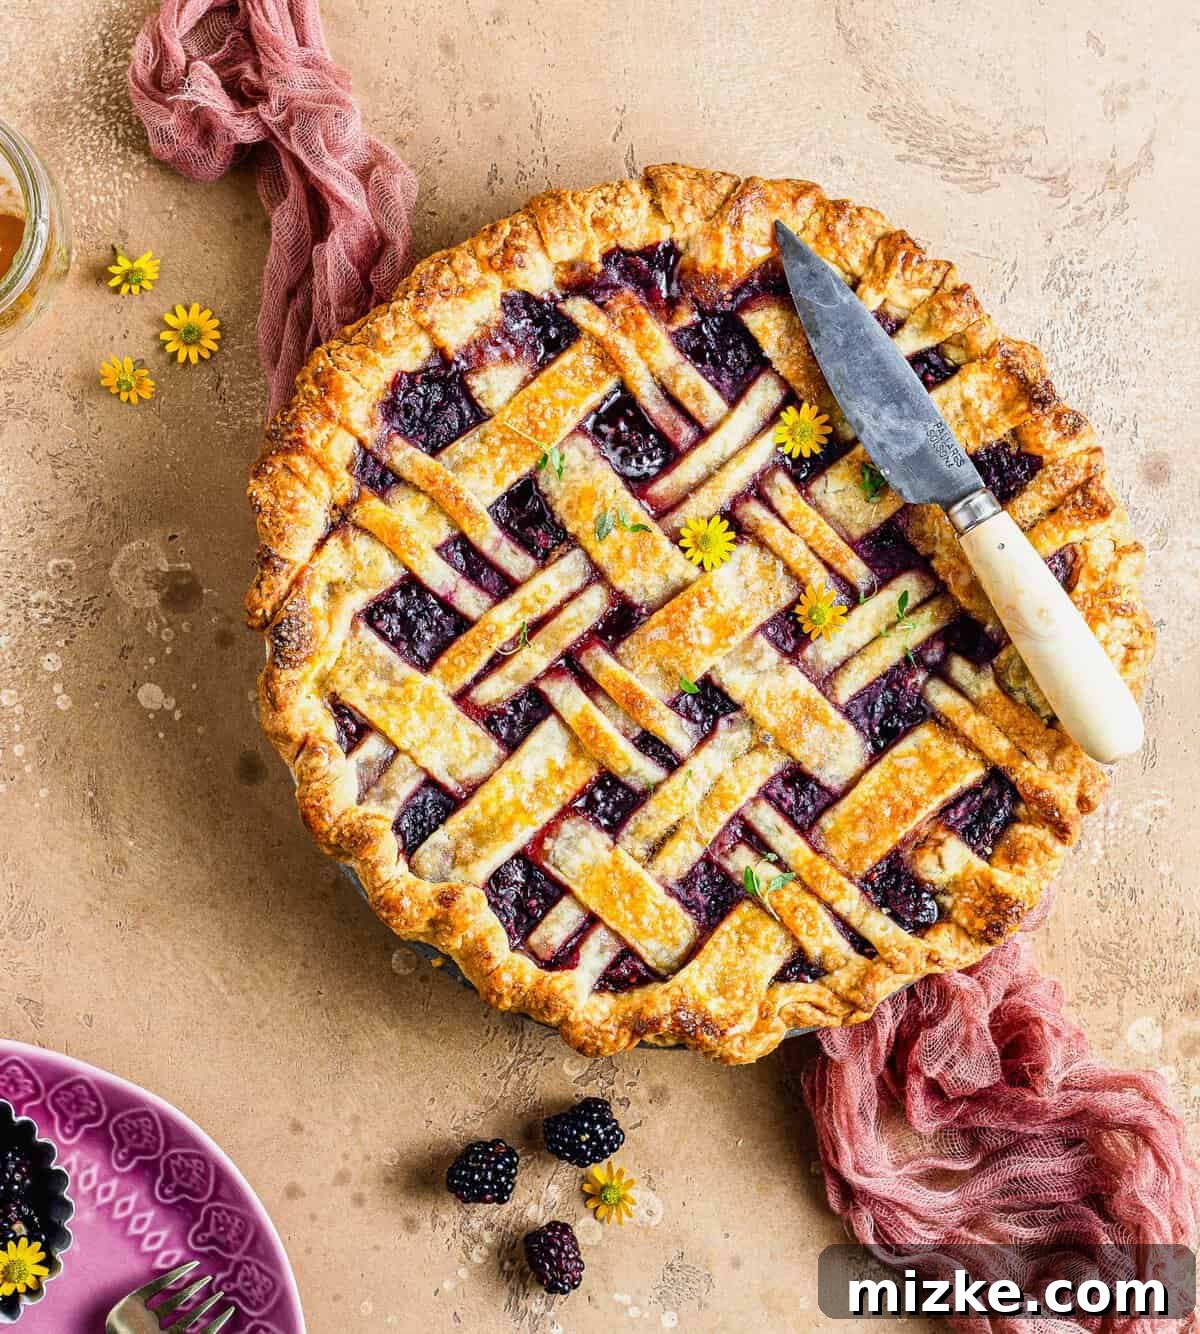
How to Craft Your Honey Thyme Blackberry Pie
While convenience might tempt you to use store-bought refrigerated pie crusts, we highly recommend making the homemade sour cream pie crust for this recipe. Its unmatched flakiness and tender texture truly elevate the entire pie and are absolutely worth the extra effort. Follow these detailed steps to create a show-stopping dessert.
Phase 1: Preparing the Flaky Sour Cream Dough
The secret to a truly spectacular pie starts with a well-made crust. Our sour cream dough is both forgiving and incredibly delicious.
- Combine the Dry Ingredients: In a large mixing bowl, whisk together the all-purpose flour, granulated sugar, and salt. This ensures even distribution of flavors.
- Incorporate the Cold Butter: Scatter the cubed, chilled unsalted butter evenly over the flour mixture. Using clean hands, gently squish and rub the butter into the flour until the mixture resembles coarse crumbs with some pea-sized pieces of butter remaining. Avoid overworking the dough; these butter pieces are what create the flaky layers.
- Add the Sour Cream: Stir in ½ cup of full-fat sour cream with a fork until the flour is just moistened. If the dough still appears too dry and won’t come together, you may add one more tablespoon of sour cream, but be careful not to add too much, as this can make the dough tough.
- Shape and Chill the Dough: Transfer the crumbly dough mixture to a lightly floured work surface. Gently gather and shape it into a cohesive ball. Divide the ball in half with a knife. Pat each half into a flat disk, ensuring there are no visible cracks along the edges. Wrap each disk tightly in plastic wrap and refrigerate for at least one hour. This chilling time is crucial; it allows the gluten to relax, making the dough easier to roll, and keeps the butter cold for maximum flakiness.
Phase 2: Preparing the Aromatic Blackberry Filling and Assembling the Pie
With your crust chilling, it’s time to prepare the star of the pie – the fragrant blackberry filling – and bring your masterpiece together.
- Prepare the Blackberry Filling: In a large bowl, gently toss the fresh blackberries with the runny honey, lemon juice, chopped fresh thyme, vanilla extract, and cornstarch. Ensure the berries are evenly coated. Set this aside to allow the flavors to meld while you prepare the bottom crust.
- Form the Bottom Crust: Remove one disk of chilled pie dough from the refrigerator and place it on a lightly floured surface. Roll it out evenly into a 12-inch circle. Carefully transfer this rolled-out dough into a 9-inch pie dish, gently pressing it against the sides and bottom to ensure a snug fit. Beat the egg white from your separated egg in a small bowl. Brush half of the beaten egg white over the entire surface of the bottom pie crust. This creates a protective barrier, helping to prevent a soggy bottom crust. Place the pie dish with the bottom crust back into the refrigerator to keep it cool.
- Create the Top Crust: Roll out the second disk of dough into another 12-inch circle. Now, using a sharp knife or a pastry wheel, cut this dough into strips for your lattice design. You can aim for strips about ½-inch wide for a classic look.
- Fill the Pie: Retrieve the chilled bottom crust. Pour the prepared blackberry mixture evenly into the dough-lined pie dish.
- Weave the Lattice Top: Carefully arrange your dough strips over the berry filling to create a beautiful lattice pattern. (Refer to the detailed lattice instructions below if you need guidance.) Once your lattice is complete, trim any excess dough from the edges of the pie. Crimp or flute the edges using your fingers or a fork to seal the top and bottom crusts together securely and create a decorative finish.
- Final Chill: Return the assembled pie to the refrigerator for an additional 45 minutes, or place it in the freezer for 15 to 20 minutes. This final chill helps the crust hold its shape during baking and prevents shrinkage. Just before the chilling time is up, preheat your oven to 400°F (204°C). Position an oven rack on the lower third of the oven and place a baking sheet onto it; this baking sheet will preheat and help prevent a soggy bottom.
- Apply Egg Wash and Sugar: Add the reserved egg yolk back into the remaining egg white and whisk thoroughly to create a rich egg wash. Just before baking, gently brush the entire top of the pie with this egg wash. Then, generously sprinkle the coarse sugar over the crust for a sparkling finish and a delightful crunch.
- Bake to Perfection: Carefully place the pie dish onto the hot baking sheet in the preheated oven. Bake at 400°F (204°C) for 15 minutes. After 15 minutes, reduce the oven temperature to 350°F (177°C) and continue baking for an additional 35 to 40 minutes, or until the blackberry filling is visibly bubbling through the lattice and the crust has turned a beautiful golden brown. If the crust begins to brown too quickly, you can loosely tent the pie with aluminum foil.
- Cool Before Serving: Once baked, remove the pie from the oven and allow it to cool completely on a wire rack before slicing. This is crucial for the filling to fully set, ensuring clean, beautiful slices.
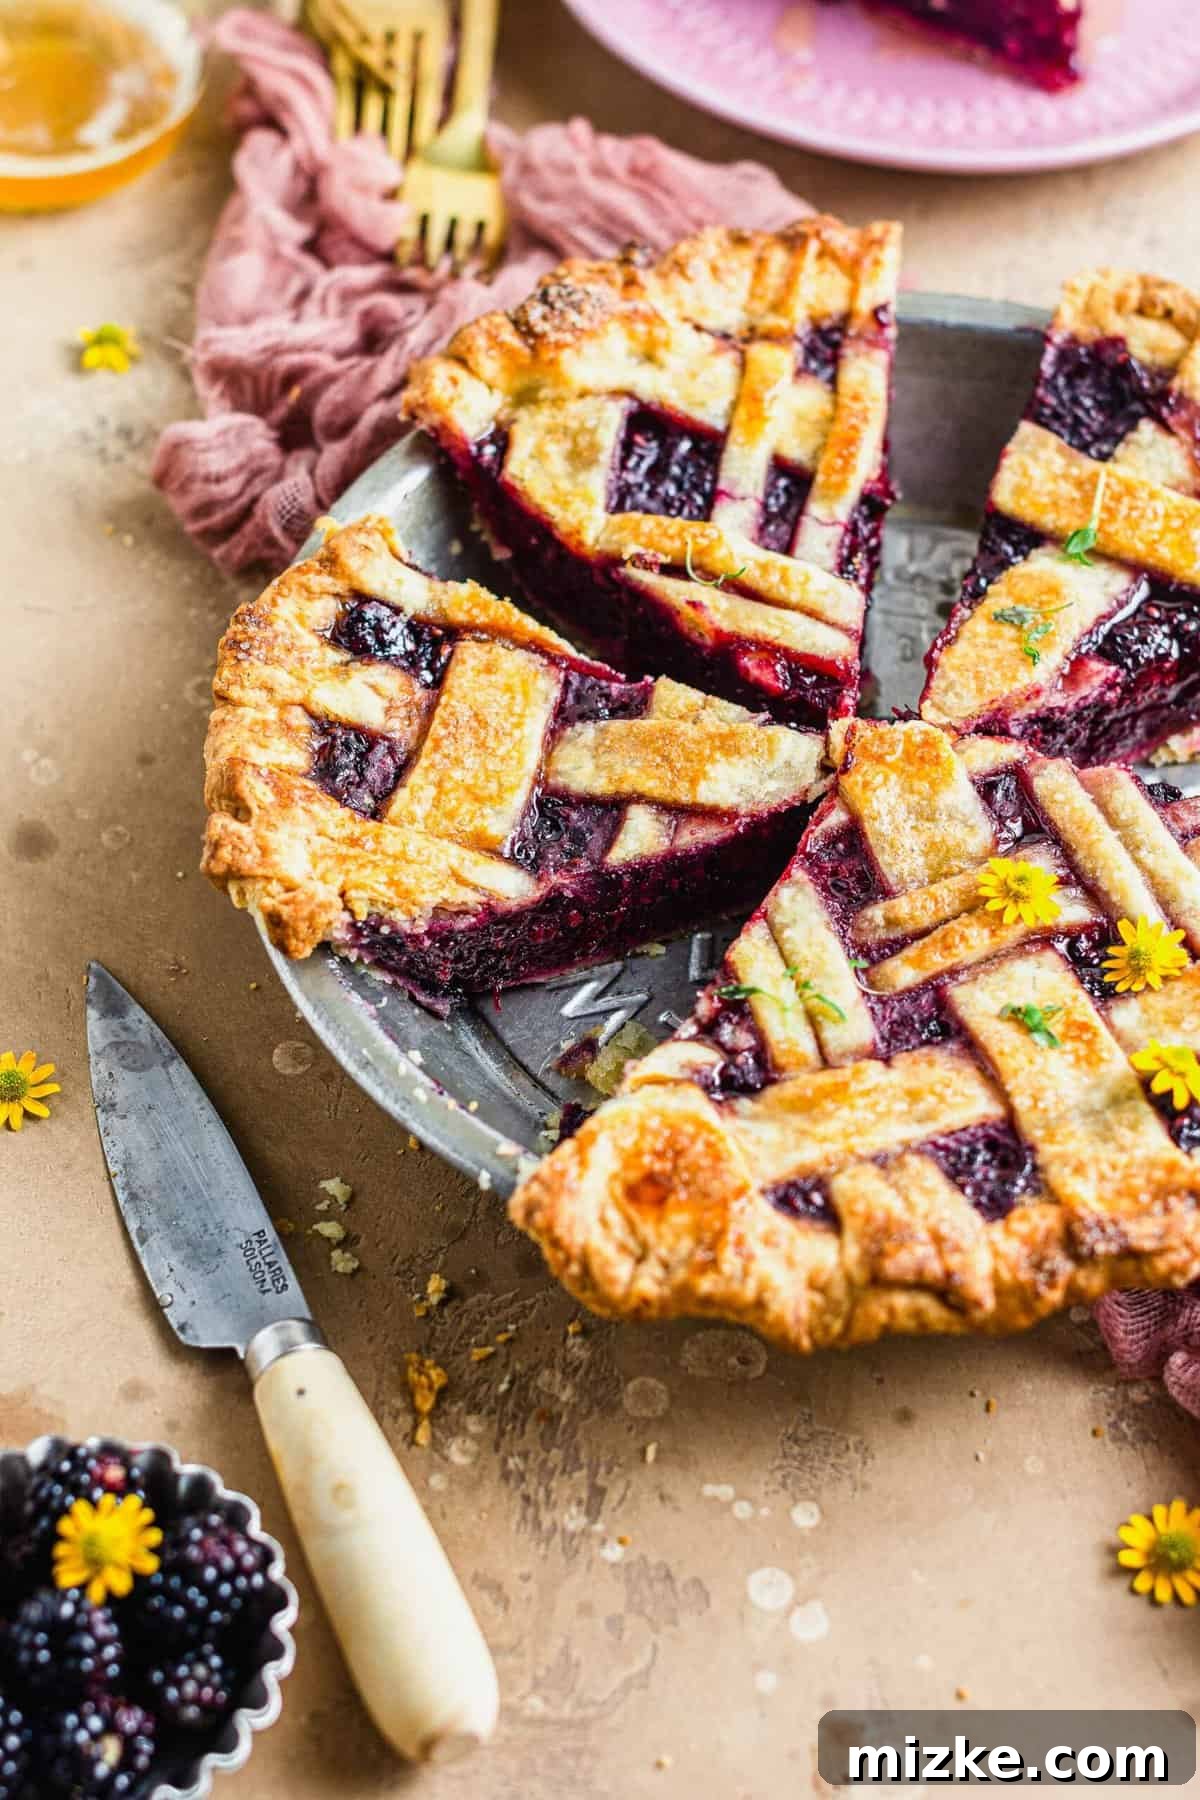
Mastering the Art of a Lattice Pie Crust
A lattice pie crust might seem intimidating, but it’s a skill easily acquired with a few simple steps. It adds a touch of elegance and allows the vibrant filling to peek through. Here’s a detailed guide to weaving your perfect lattice:
- Prepare Your Strips: Once you’ve rolled out your second disk of dough into a 12-inch circle, use a sharp knife or a pastry wheel to cut even strips, approximately ½-inch wide. The key to a neat lattice is consistent strip width.
- Lay the Horizontal Foundation: Take half of your dough strips and carefully lay them horizontally across the top of the pie filling. Arrange them evenly spaced, starting with the longest strips (which usually come from the center of your rolled-out dough circle) in the middle of the pie.
- Begin the Weave (Step 1): Now, fold back every other horizontal strip until they are almost completely off the pie, exposing a gap over the filling.
- Add Your First Vertical Strip: Gently lay one of your remaining dough strips vertically over the unfolded horizontal strips. This is the start of your vertical layer.
- Complete the Weave (Step 2): Carefully unfold the horizontal strips that you folded back earlier, allowing them to lay across the new vertical strip you just added. This secures the vertical strip in place.
- Continue the Pattern: Repeat this weaving process. Fold back the *alternate* set of horizontal strips (those that were not folded back in the previous step). Lay down another vertical strip, and then unfold the horizontal strips over it. Continue this alternating pattern with the remaining vertical strips of dough until your entire pie top is covered with a beautiful lattice design.
- Finish the Edges: Once your lattice is complete, trim any excess dough hanging over the edges of your pie dish. Then, crimp or flute the edges with your fingers or a fork to securely seal the top and bottom crusts, creating a polished and decorative finish. This also helps prevent the filling from bubbling out during baking.
Expert Tips for a Flawless Honey Thyme Blackberry Pie
Achieving the perfect pie is a blend of good ingredients and smart techniques. These tips are designed to help you succeed, ensuring your Honey Thyme Blackberry Pie is nothing short of amazing:
- The Importance of Cold Butter for Crust: If you’re new to pie making or haven’t made a crust in a while, keeping your butter as cold as possible is paramount. For an extra edge, pop your cubed butter into the freezer for 10-15 minutes before incorporating it into the dry ingredients. This “freezer advantage” buys you a little more time during mixing and rolling, preventing the butter from softening too quickly and ensuring those coveted flaky layers.
- Working with Frozen Blackberries: Don’t have fresh berries on hand? Frozen blackberries are a perfectly acceptable substitute! However, to prevent a watery filling, it’s essential to thaw them completely and drain off any excess liquid before tossing them with the other filling ingredients. You might even want to gently blot them dry with paper towels.
- Conquering the Soggy Bottom: Blackberry pie, with its juicy filling, is prone to a soggy bottom crust – a common pie baker’s woe. Fortunately, there are two crucial steps in this recipe specifically designed to combat this:
- The Egg White Barrier: Brushing the bottom crust with a beaten egg white before adding the filling creates a protective, waterproof seal. This barrier prevents the syrupy fruit juices from seeping into the dough and making it soft.
- Preheated Baking Sheet: Placing your pie dish onto a hot baking sheet (which has been preheating in the oven) provides an immediate burst of heat to the bottom crust. This accelerates the baking process for the base, allowing it to firm up and crisp before the juicy filling has a chance to soak in. Skipping either of these steps increases the risk of a less-than-perfect bottom crust!
Delightful Serving Suggestions
While a slice of this Honey Thyme Blackberry Pie is heavenly on its own, a few additions can turn it into an even more decadent treat. Here are some serving ideas to complement its unique flavors:
- A generous dollop of freshly whipped cream is always a classic, cooling counterpoint to warm pie.
- For an extra indulgent experience, add a scoop of premium vanilla bean ice cream. The melting ice cream mingling with the warm berry filling is pure bliss.
- Elevate the sophistication with a spoonful of tangy crème fraîche or a drizzle of velvety crème anglaise.
- For a final touch, garnish each slice with a small sprig of fresh thyme. This not only adds visual appeal but also subtly reinforces the herb’s presence in the pie.
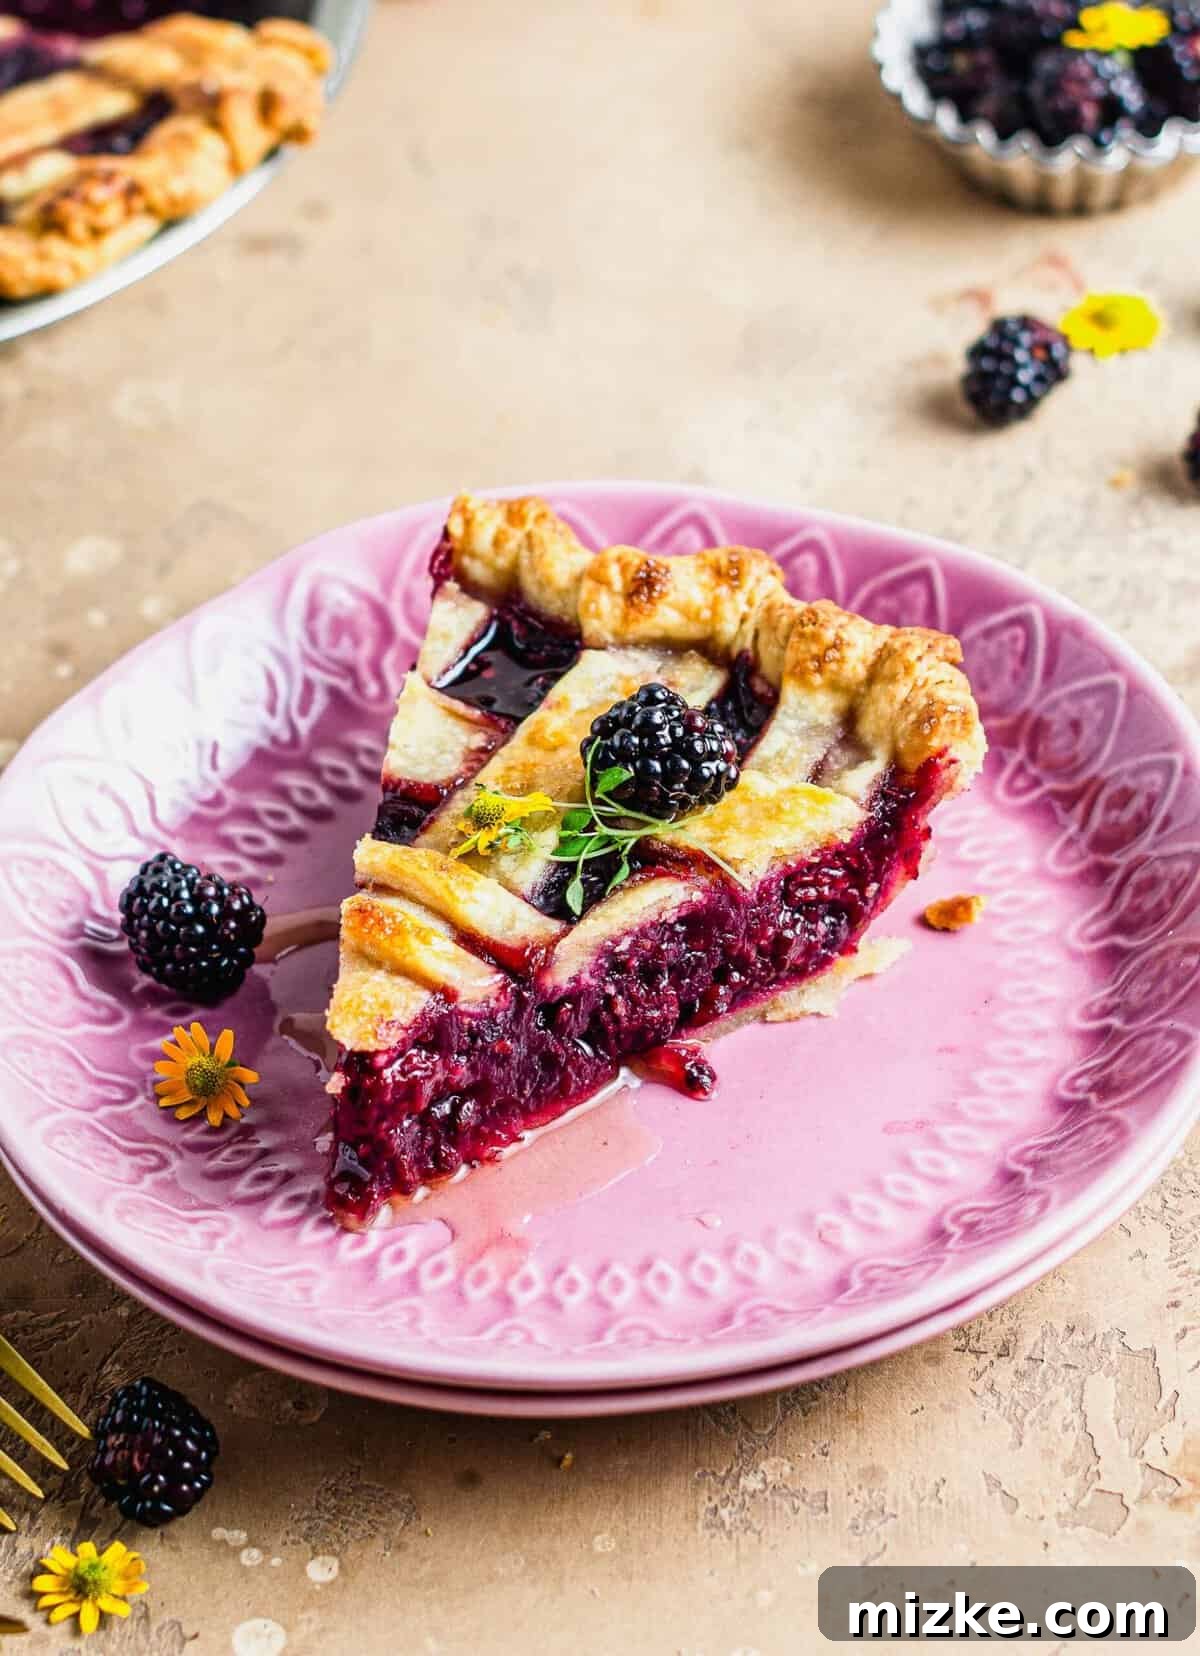
Storage and Make-Ahead Tips for Your Pie
To ensure your Honey Thyme Blackberry Pie stays fresh and delicious, proper storage is key. You can also plan ahead by freezing the pie for future enjoyment.
How to Store Leftovers:
Any leftover blackberry pie should be stored in the refrigerator. Wrap the pie dish tightly with plastic wrap or aluminum foil, or transfer individual slices to an airtight container. Stored this way, the pie will remain fresh and delicious for up to 3 days. Reheat gently in the oven for a warm, fresh-from-the-oven taste, or enjoy chilled.
Can This Recipe Be Frozen?
Yes, this blackberry pie freezes beautifully, making it an excellent option for meal prepping or enjoying a taste of summer later in the year. You can freeze the baked pie for up to 3 months. To freeze, ensure the pie is completely cooled, then wrap it securely in several layers of plastic wrap, followed by a layer of aluminum foil. When you’re ready to enjoy it, thaw the pie overnight in the refrigerator. You can then warm it in a low oven (around 300°F/150°C) until heated through, or serve it at room temperature.
Honey Thyme Blackberry Pie Recipe

Print Recipe
Honey Thyme Blackberry Pie
By:
Julie Chiou
A traditional lattice-top blackberry pie is given an upgrade with the addition of honey and fresh thyme!
45 minutes
55 minutes
45 minutes
2 hours 25 minutes
10 slices
Equipment
-
9-inch Pie Pan
Ingredients
For the Double Pie Crust:
- 2 ⅓ cup (300 grams) all-purpose flour, spoon and level method
- ½ teaspoon salt
- 2 Tablespoons (30 grams) granulated sugar
- 1 cup (230 grams) unsalted butter, cubed and cold
- ½ cup (120 grams) full-fat sour cream, plus more if needed
For the Filling:
- 5-6 cups (700 grams) fresh blackberries, rinsed, picked clean, and patted dry
- ½ cup (150 grams) runny honey, add more if blackberries are tart
- 1 Tablespoon lemon juice
- 1 Tablespoon fresh thyme leaves, chopped
- 1 teaspoon vanilla extract
- ⅓ cup plus 1 Tablespoon (50 grams) cornstarch
- 1 large egg, separated white and yolk
- Coarse sugar for sprinkling
Instructions
Dough:
- In a large bowl, whisk together the flour, salt, and sugar.
- Sprinkle the cold, cubed butter all over the flour mixture. Use your clean hands to squish the flour and butter together until you get a crumbly mixture with some pea-sized pieces of butter remaining. Add ½ cup of sour cream and mix with a fork until the flour is moist. If the dough seems too dry, add a maximum of one more tablespoon of sour cream.
- Transfer the dough to a lightly floured work surface and, using your hands, shape it into a ball. Use a knife to cut the ball in half. Form each half into a flat disk, ensuring there are no cracks. Wrap each disk tightly in cling wrap and refrigerate for at least 1 hour.
Make the Filling and Assemble:
- In a large bowl, gently toss the fresh blackberries with honey, lemon juice, chopped fresh thyme, vanilla extract, and cornstarch; set aside.
- Remove one pie dough disk from the fridge. On a lightly floured surface, roll it out into a roughly circular shape about 12 inches in diameter. Carefully transfer the rolled-out pie dough into a 9-inch pie dish, and shape it so that it’s snug against the dish sides.
- Separate the egg white and egg yolk. Beat the egg white in a small bowl and brush the bottom dough and its edges with half of the beaten egg white. Chill the pie dish with the bottom crust in the refrigerator while you roll out the top crust.
- Roll out the second disk of pie dough for the top crust into a 12-inch circle. Spoon the berry mixture evenly into the dough-lined pie dish.
- Top the pie with the remaining crust by weaving a lattice design (refer to “Mastering the Art of a Lattice Pie Crust” section above) or, if preferred, cut slits to vent a solid top crust. Fold the edges of the crust back over themselves and use your fingers to crimp them to seal the edges securely.
- Place the assembled pie back in the refrigerator for 45 minutes, or in the freezer for 15-20 minutes. This helps the crust hold its shape during baking.
- When ready to bake, preheat the oven to 400°F (204°C). Place an oven rack on the lower third of the oven with a baking sheet inside to preheat.
- For the egg wash, add the reserved egg yolk to the remaining egg white and whisk to combine thoroughly.
- Just before baking, gently brush the top of the pie with the beaten egg wash and generously sprinkle with coarse sugar.
- Place the pie dish on the hot baking sheet in the oven. Bake for 15 minutes at 400°F (204°C). Then, reduce the temperature to 350°F (177°C) and continue baking for an additional 35-40 minutes, or until the filling is bubbling thickly and the crust is golden brown. If the crust begins to brown too quickly, loosely tent it with aluminum foil.
- Remove the pie from the oven and let it cool completely on a wire rack before slicing. This allows the filling to set properly.
- Top with ice cream or whipped cream, if desired. Store leftovers in the refrigerator for up to 3 days.
Notes
- You can use frozen blackberries, but be sure to thaw and drain them thoroughly before incorporating into the filling.
- Brushing egg white over the bottom pie crust creates a watertight barrier that prevents the juicy filling from seeping into the crust and causing a soggy bottom.
- Another effective tip to avoid a soggy crust is to preheat the oven with a baking sheet inside. Placing the pie dish onto this hot baking sheet initiates the baking process for the bottom crust immediately, giving it a head start before the fruit juices can permeate it.
Nutrition Information (per slice, approximate)
Serving: 1 slice, Calories: 408kcal, Carbohydrates: 50g, Protein: 5g, Fat: 22g, Saturated Fat: 13g, Polyunsaturated Fat: 1g, Monounsaturated Fat: 6g, Trans Fat: 1g, Cholesterol: 72mg, Sodium: 131mg, Potassium: 189mg, Fiber: 5g, Sugar: 20g.
Disclaimer: This website provides approximate nutrition information for convenience and as a courtesy only. Nutrition information can vary for a variety of reasons. For the most precise nutritional data, use your preferred nutrition calculator based on the actual ingredients you used in the recipe. The default measuring system for this website is US Customary. Unit conversions are provided for convenience and as a courtesy only. While we strive to provide accurate unit conversions, please be aware that there may be some discrepancies.