
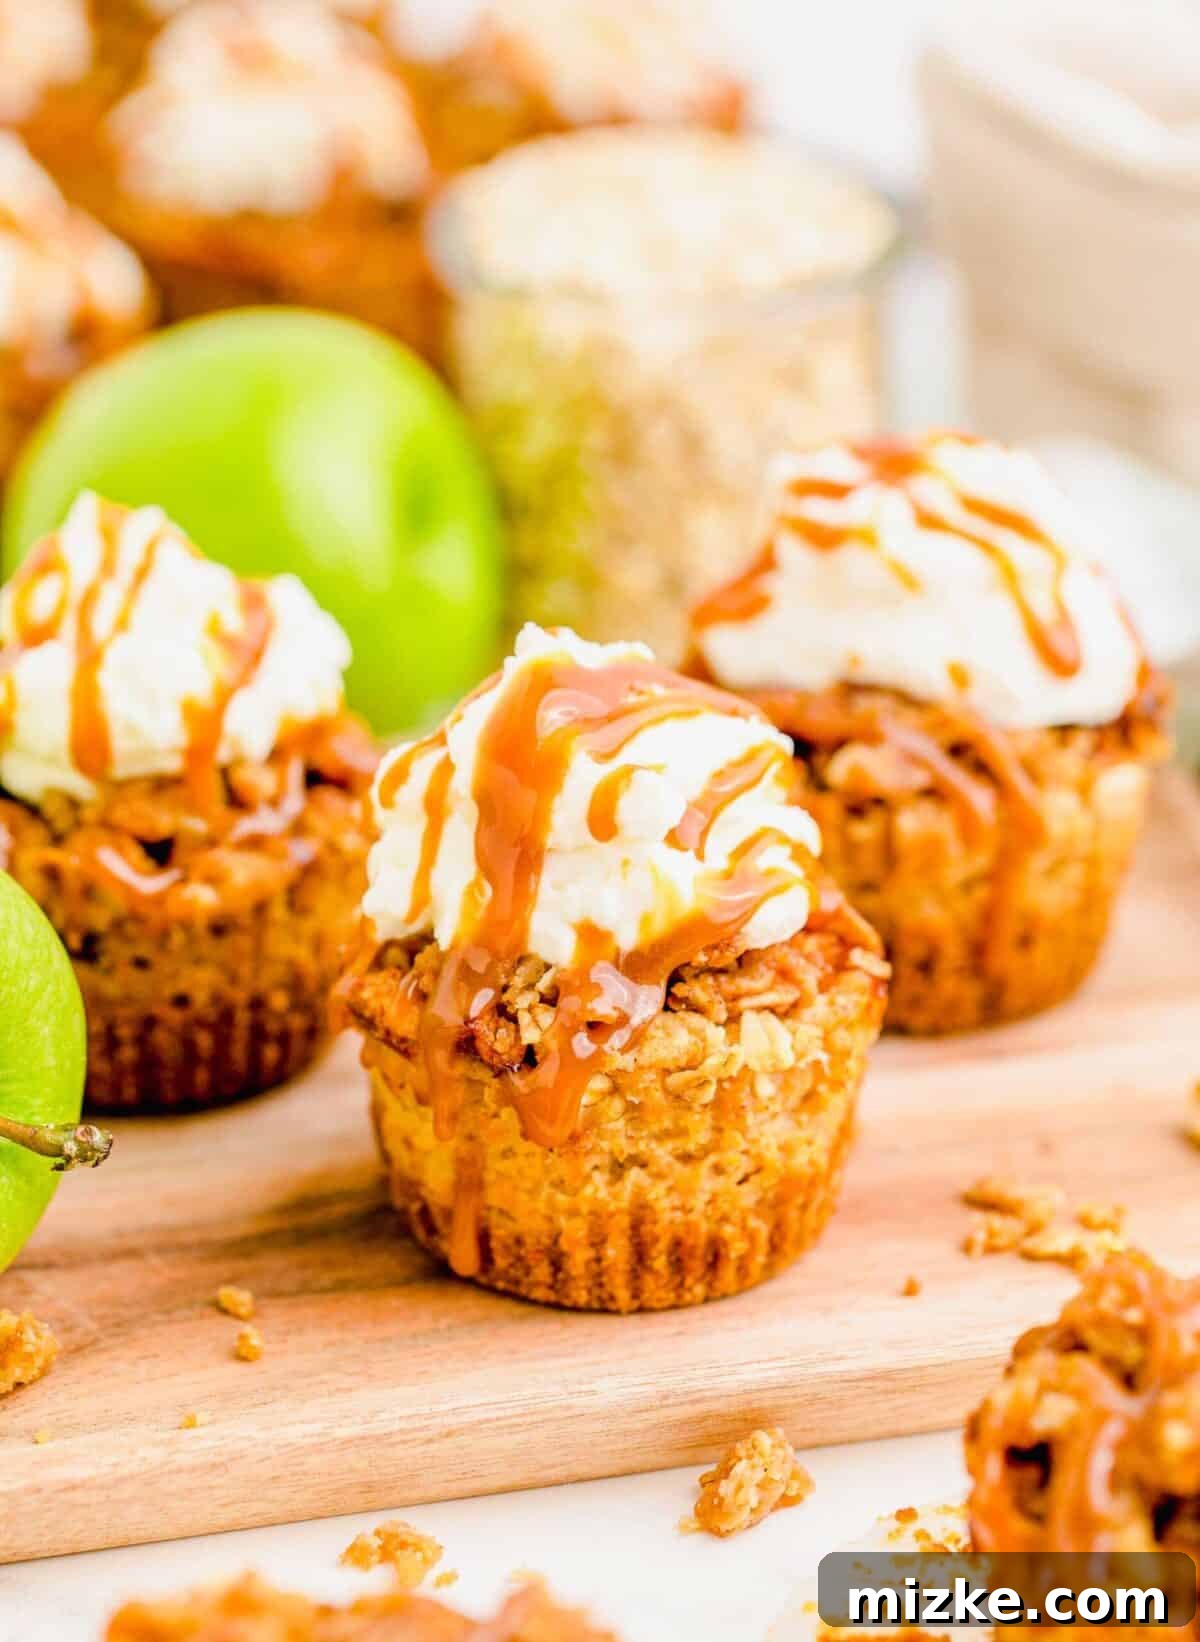
Delight in the perfect blend of creamy, crunchy, and spiced with these irresistibly decadent **Mini Caramel Apple Cheesecakes**. Ideal for autumn gatherings, holiday tables, or simply a cozy treat, these bite-sized wonders offer a harmonious fusion of classic cheesecake luxury and beloved fall flavors. Each mini cheesecake features a perfectly crisp graham cracker crust, a velvety smooth and rich cream cheese filling, and is crowned with a spiced apple topping infused with warm cinnamon and sweet caramel.
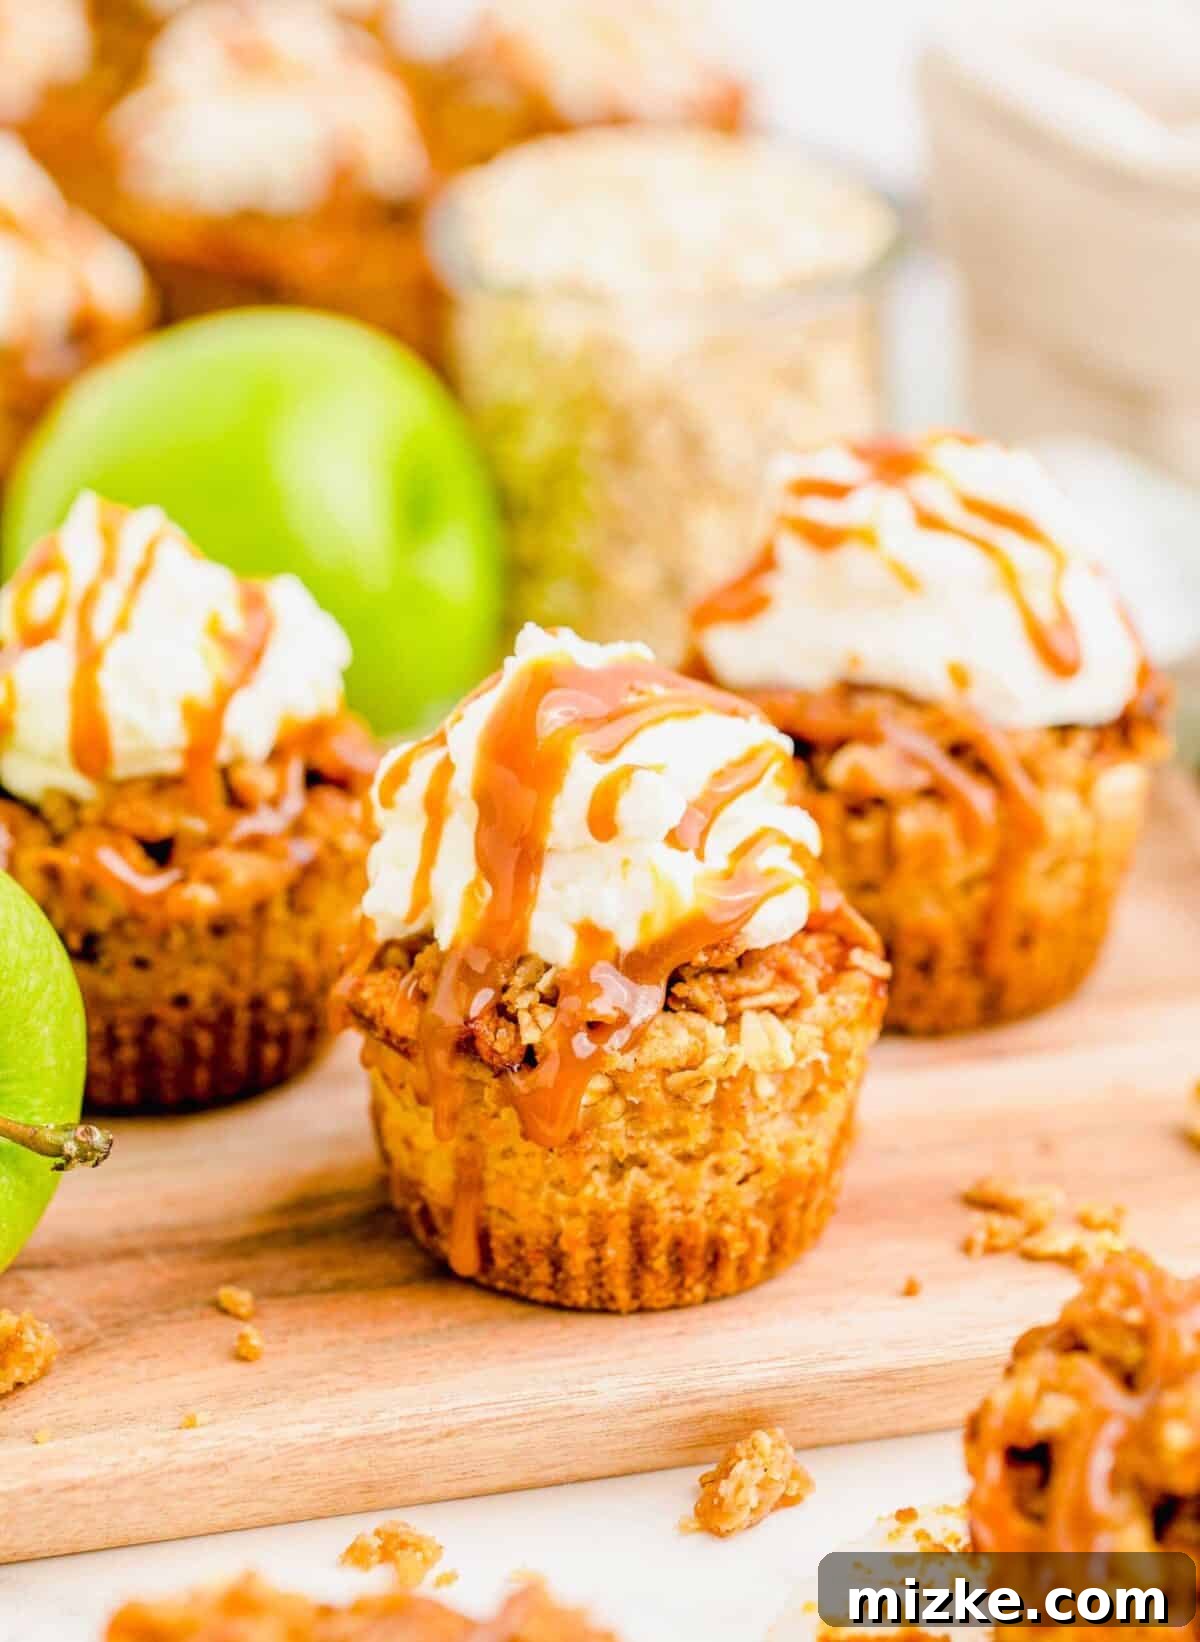
There’s something undeniably comforting and indulgent about a perfectly made cheesecake. Its luxurious texture and rich flavor often make it a standout dessert. However, these individual-sized caramel apple cheesecakes transcend the ordinary, earning a special spot as a personal favorite. They encapsulate the very essence of fall, combining the refreshing tartness of Granny Smith apples with the comforting sweetness of brown sugar, cinnamon, and a luscious caramel swirl within the creamy filling. To complete this seasonal masterpiece, a delightful oat, cinnamon, and brown sugar crumble topping adds an extra layer of texture and warmth. With an easy-to-follow recipe that simplifies the baking process, these mini cheesecakes are poised to become your go-to autumn dessert.
Why You’ll Adore These Mini Caramel Apple Cheesecakes
These captivating mini desserts embody everything a cheesecake lover desires, elevated with a delightful seasonal twist. From their convenient size to their complex layers of flavor and texture, they are designed to impress and satisfy.
- Irresistible Texture Harmony: The foundation of each cheesecake is a buttery, slightly sweet graham cracker crust that provides a satisfying crunch and a perfect counterpoint to the creamy filling. Above this, the cheesecake layer itself is incredibly smooth, rich, and utterly decadent, melting in your mouth with every bite.
- Embrace the Flavors of Fall: What truly sets these cheesecakes apart is their celebration of autumn. They burst with the comforting essence of fall through tender, spiced Granny Smith apples and a generous swirl of rich caramel sauce. A warm cinnamon-infused oat streusel topping further enhances this seasonal delight, making them perfect for any fall occasion.
- Perfectly Portioned & Hand-Held: Baked in individual muffin cups, these cheesecakes are the ultimate grab-and-go dessert. No need for slicing, serving, or extra plates – they are perfectly portioned for easy enjoyment. This makes them ideal for parties, potlucks, lunchboxes, or simply enjoying a sweet moment without the fuss of a full-sized cake.
- Surprisingly Simple to Make: Despite their sophisticated appearance and gourmet taste, this recipe is designed to be straightforward and accessible for bakers of all skill levels. With clear instructions and readily available ingredients, you’ll find the process both enjoyable and rewarding, resulting in a dessert that looks and tastes like it came from a professional bakery.
- A Guaranteed Crowd-Pleaser: Whether you’re serving them at a family dinner, a festive gathering, or as a thoughtful gift, these mini caramel apple cheesecakes are consistently a hit. Their delightful combination of familiar flavors and charming presentation ensures they’ll disappear quickly and leave everyone asking for the recipe.
Essential Ingredients for Your Mini Apple Cheesecakes
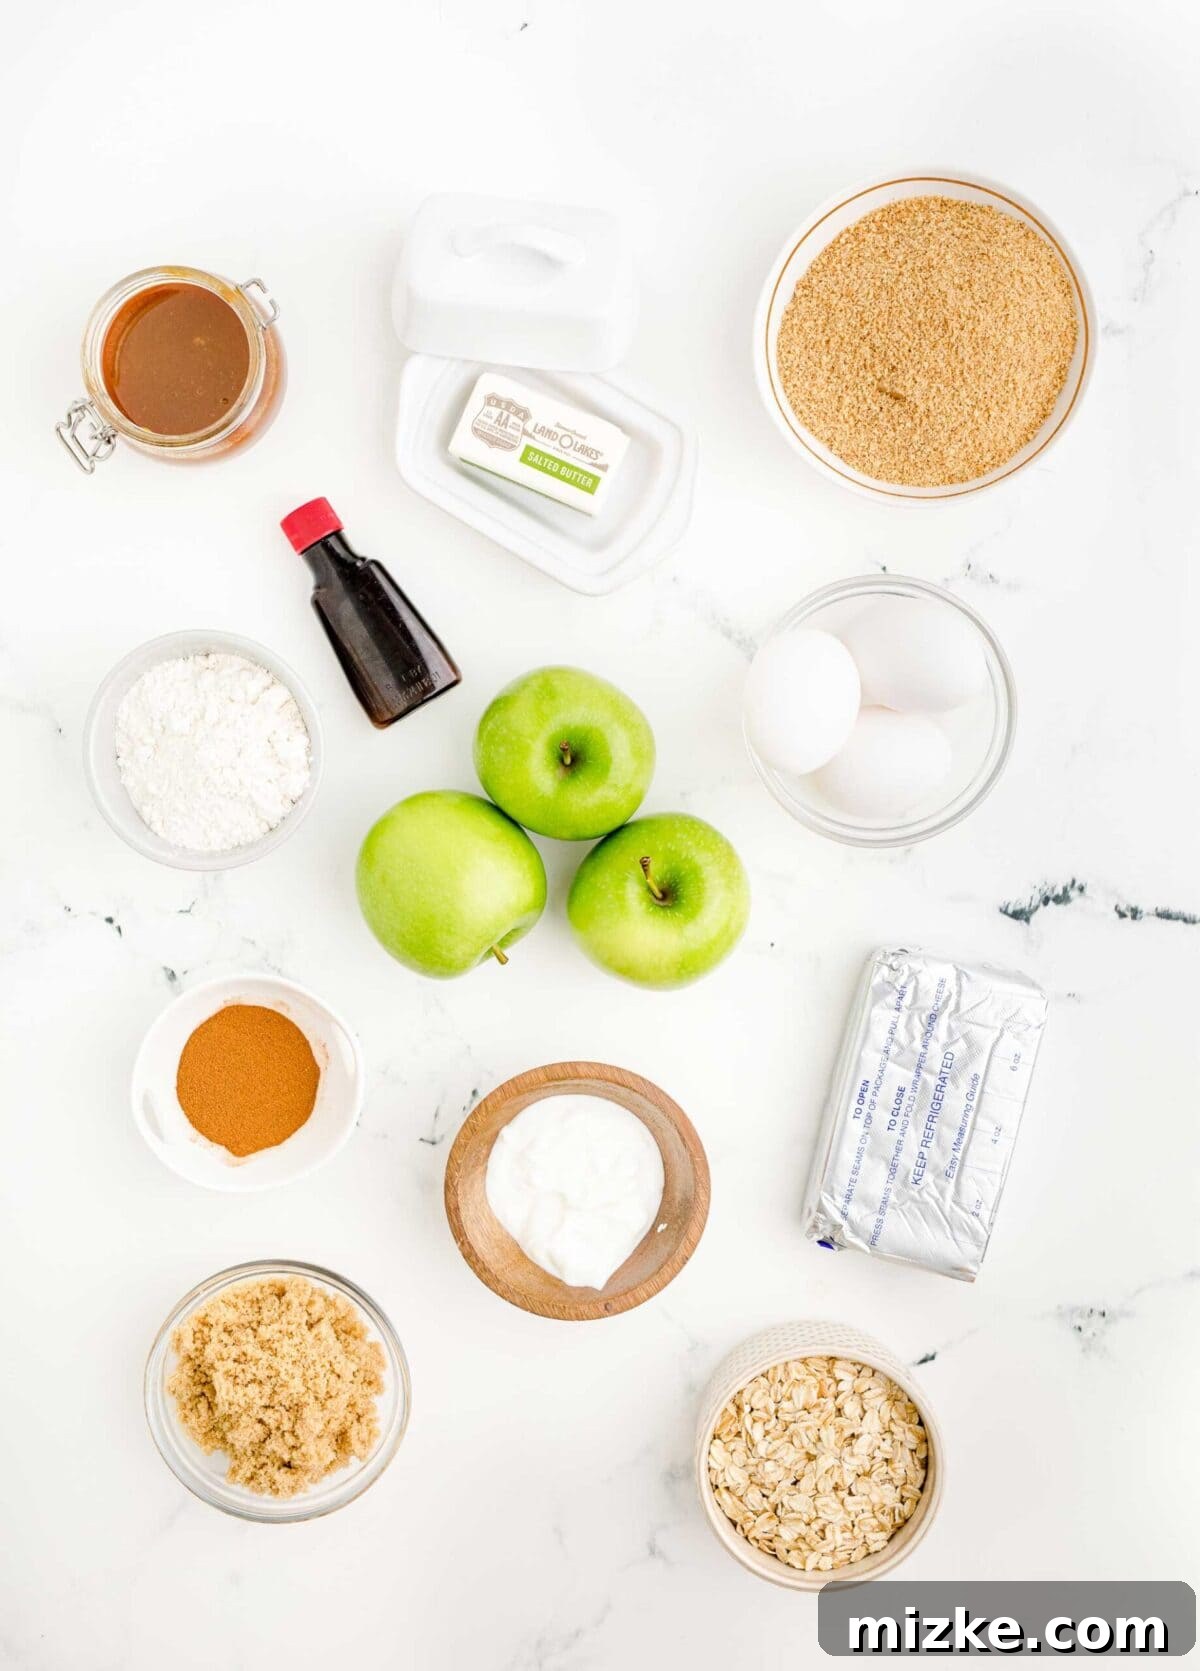
Crafting these delectable mini caramel apple cheesecakes requires a variety of ingredients, each playing a crucial role in building layers of flavor and texture. While the list might seem extensive, every component contributes to the rich, balanced, and utterly satisfying result. Be sure to gather all your ingredients before you begin, and for precise measurements, refer to the detailed recipe instructions provided below.
For the Crunchy Graham Cracker Crust:
- Graham crumbs: The cornerstone of our crust. You can easily make these by finely crushing graham crackers in a food processor or by placing them in a Ziploc bag and rolling with a rolling pin until fine. Approximately 14 full graham cracker sheets will yield the 2 cups needed.
- Salted butter: Melted and mixed with the crumbs and sugar, butter binds the crust together, providing a rich, buttery flavor and a firm yet tender base. If you only have unsalted butter, simply add a small pinch (about ¼ teaspoon) of fine salt to the crust mixture to balance the flavors.
- Brown sugar: Adds a touch of molasses-rich sweetness and helps create that desirable chewy texture in the crust. Both light or dark brown sugar work wonderfully here.
For the Silky Smooth Cheesecake Filling:
- Cream cheese: The star of any cheesecake! It’s essential to use full-fat cream cheese, preferably in block form, softened to room temperature. This ensures a lump-free, smooth, and airy filling when whipped. Avoid using whipped cream cheese from a tub, as it has a different consistency and water content.
- Greek yogurt: A secret ingredient that adds a delightful tang and helps achieve an even creamier, lighter texture without making the cheesecake too heavy. Plain, unflavored regular yogurt can also be used as a substitute.
- Egg: Acts as a binder, providing structure and richness to the cheesecake filling, preventing it from crumbling and ensuring a smooth set.
- Caramel sauce: Elevates the flavor profile with its buttery, sweet, and slightly burnt sugar notes. You can use your favorite store-bought caramel sauce or make your own homemade version for an extra special touch.
- Brown sugar: Contributes a deeper, more nuanced sweetness compared to white sugar, complementing the fall flavors beautifully. Light or dark brown sugar are both suitable.
- Vanilla extract: Always opt for 100% pure vanilla extract for the best flavor. It enhances all the other sweet elements and adds a comforting warmth to the filling.
- Cinnamon: A quintessential fall spice, cinnamon brings warmth and a delicate spice note that pairs perfectly with both apples and caramel.
For the Spiced Apple Layer:
- Granny Smith apples: My preferred choice for their firm texture and tartness, which beautifully cuts through the richness of the cheesecake and caramel. If you find Granny Smiths too tart, sweeter alternatives like Gala, Honeycrisp, or Fuji apples also work well, offering a slightly different flavor profile.
- Brown sugar: Sweetens the apples and helps create a lovely caramelized flavor as they bake.
- Cinnamon: Essential for infusing the apples with that classic warm, inviting autumn spice.
For the Crumbly Oat Topping:
- All-purpose flour: Provides structure to the crumble, ensuring it bakes up with a light, crisp texture.
- Brown sugar: Sweetens the topping and contributes to its golden-brown color and slight chewiness.
- Rolled oats: Crucial for the topping’s signature texture. They create a satisfying chew and rustic appeal. Do not substitute with instant or quick oats, as their finer texture and shorter cooking time will result in a different, less desirable outcome.
- Cinnamon: Reinforces the fall spice theme, adding a fragrant and warm note to the crumble.
- Salted butter: Softened, this butter is cut into the dry ingredients to form the crumbly streusel topping. Its saltiness perfectly balances the sweetness.
Step-by-Step Guide: Crafting Your Mini Caramel Apple Cheesecakes
Creating these delightful mini cheesecakes is a rewarding process, broken down into simple, manageable steps. Follow these instructions carefully to ensure perfect results every time.
- Step 1: Prepare Your Workspace and Oven. Begin by preheating your oven to 325°F (163°C). This ensures the oven is at the correct temperature when your cheesecakes are ready to bake, promoting even cooking. Next, line a standard 12-cup muffin tin with paper liners. For extra insurance against sticking, lightly spray the inside of each muffin liner with a non-stick baking spray. This step is particularly helpful for easy removal of the cheesecakes after chilling.
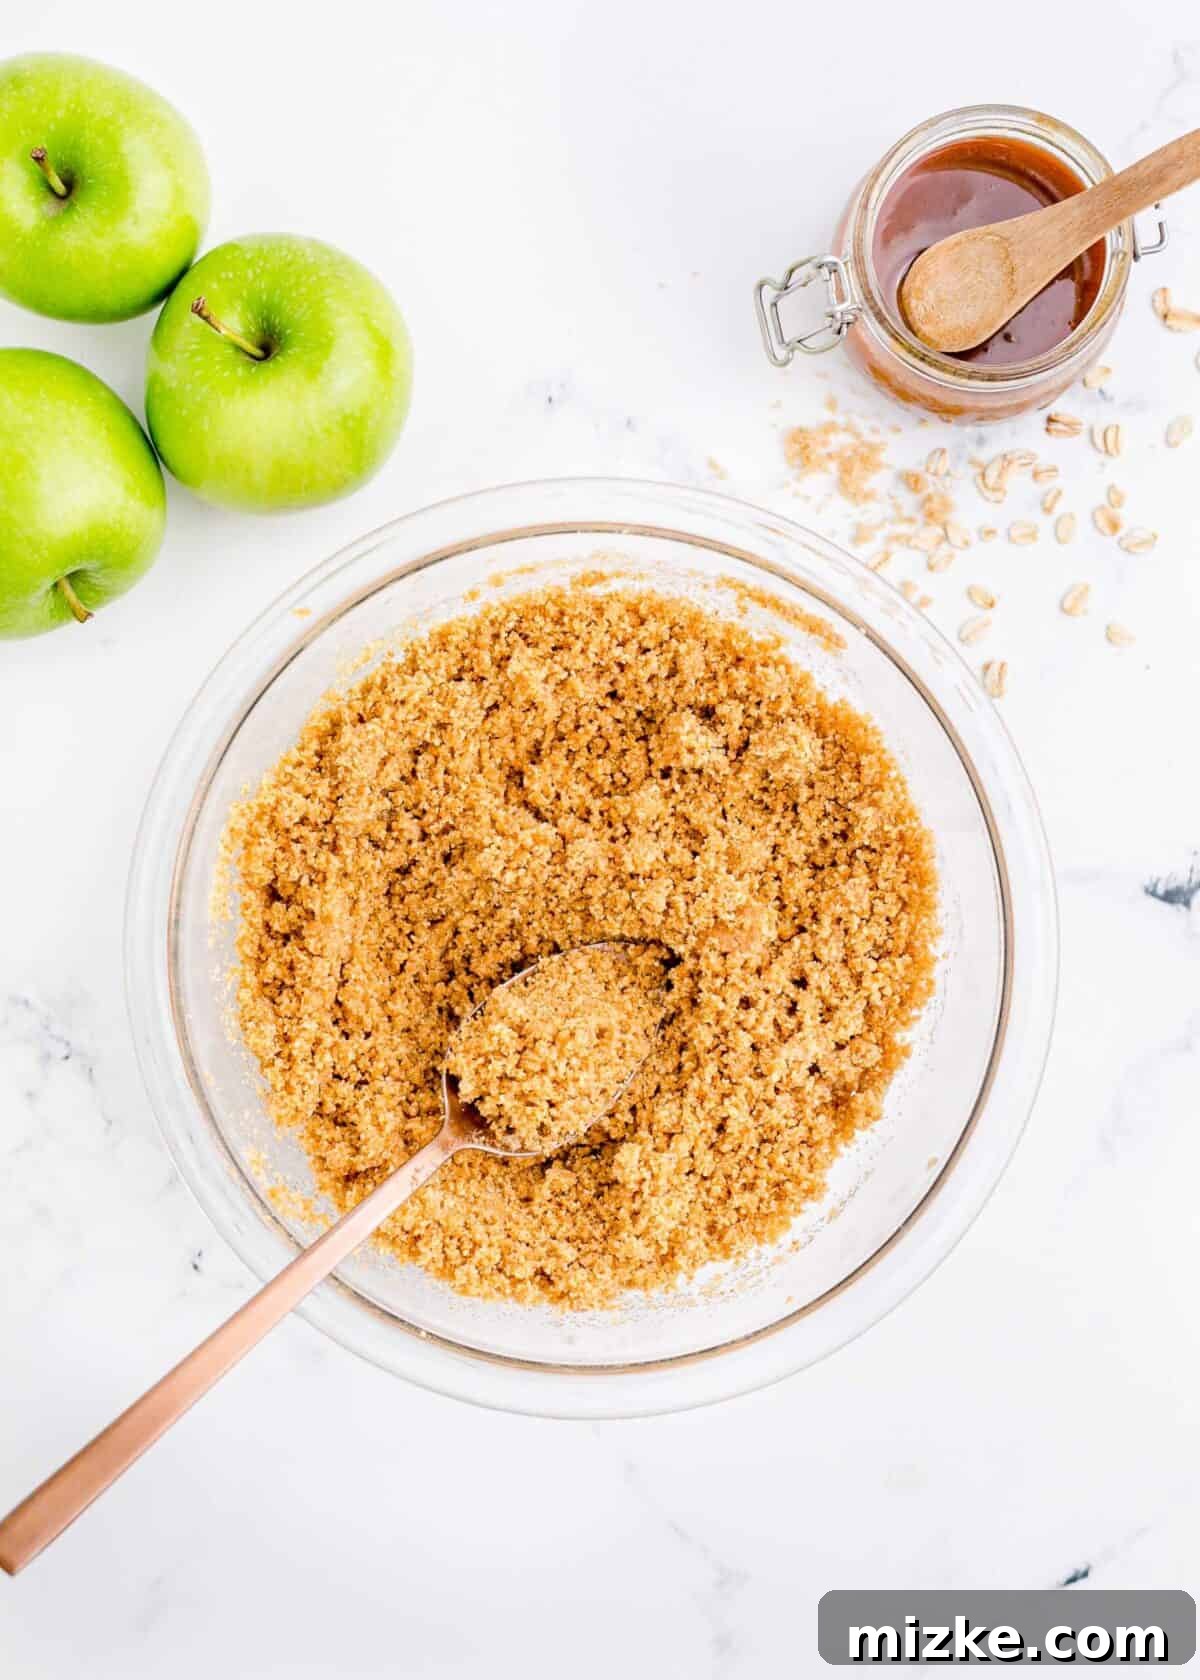
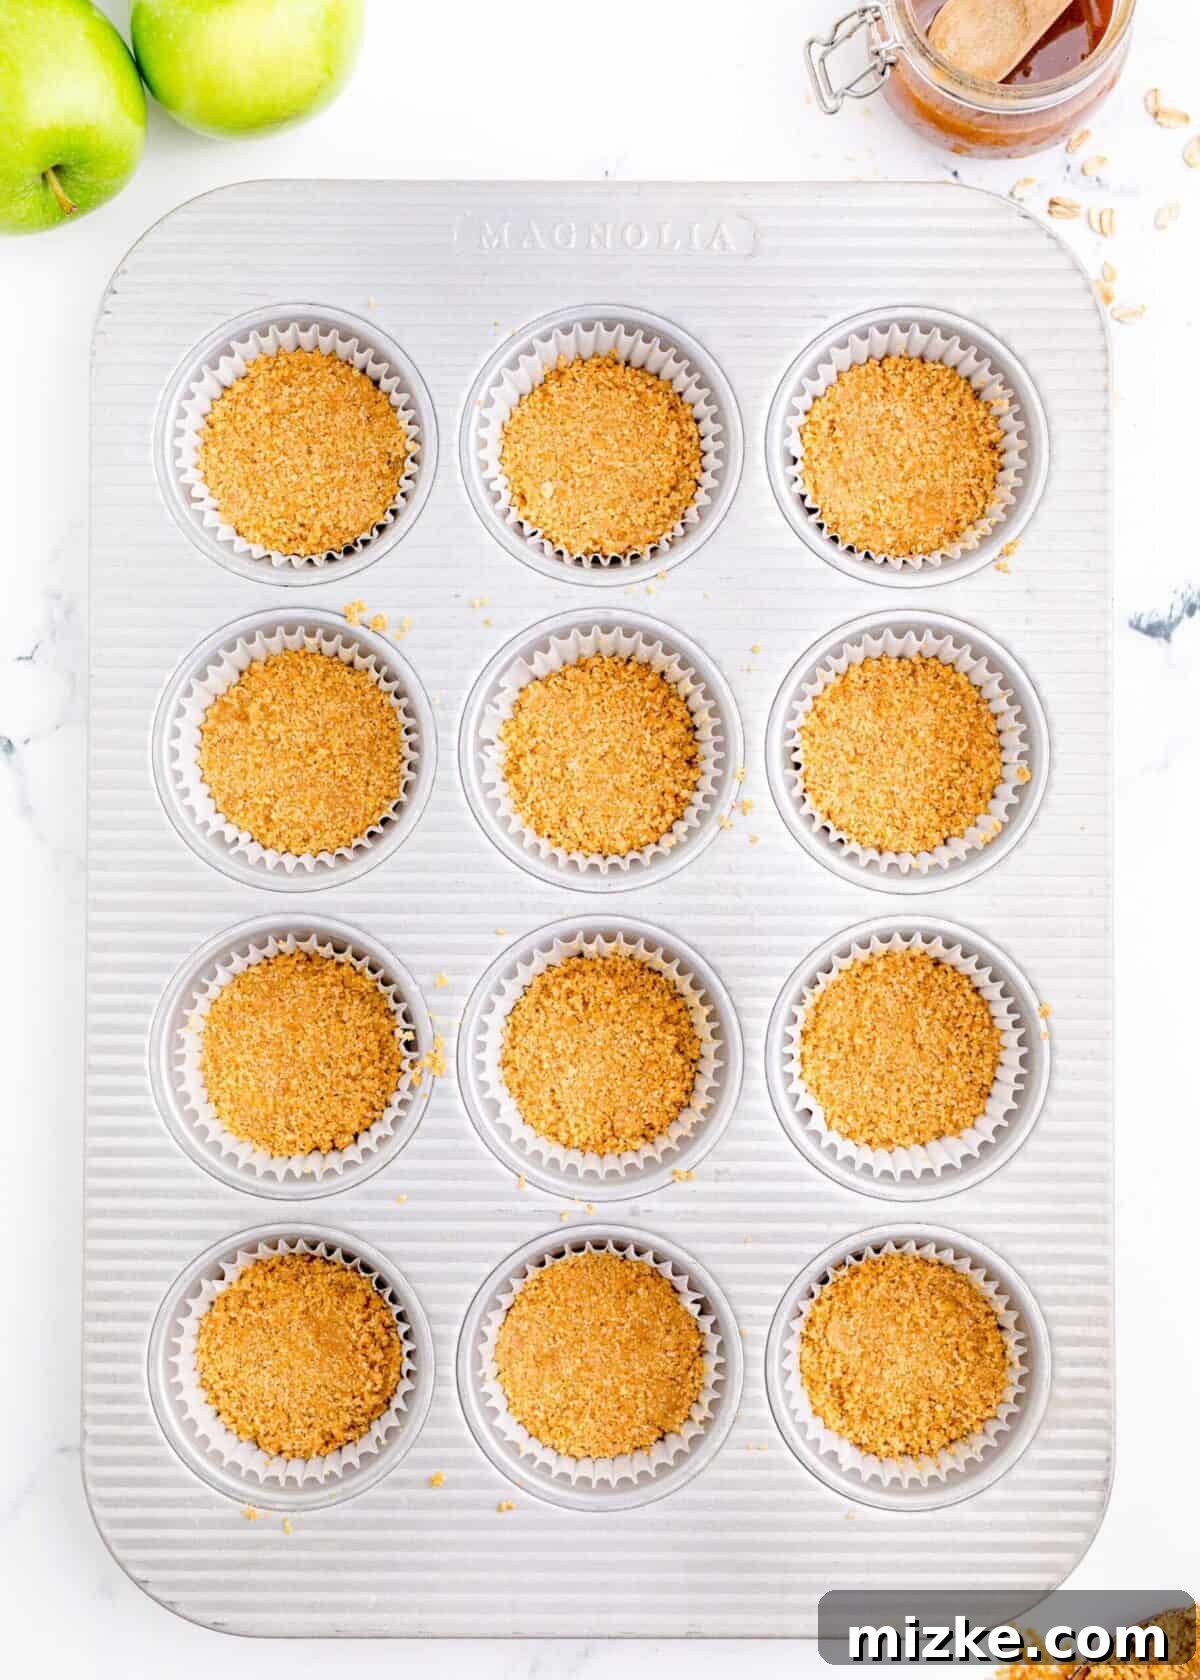
- Step 2: Assemble the Graham Cracker Crust. In a medium-sized mixing bowl, combine the graham cracker crumbs, melted salted butter, and brown sugar. Stir these ingredients thoroughly until the mixture is uniformly moistened and resembles wet sand. This even distribution is key for a consistent crust. Spoon about 1½ to 2 tablespoons of this crumb mixture into the bottom of each prepared muffin cup. Using the back of a spoon or your fingertips, firmly press the mixture down to create a compact, even layer. A well-pressed crust provides a sturdy base that won’t crumble when you lift out your cheesecakes.
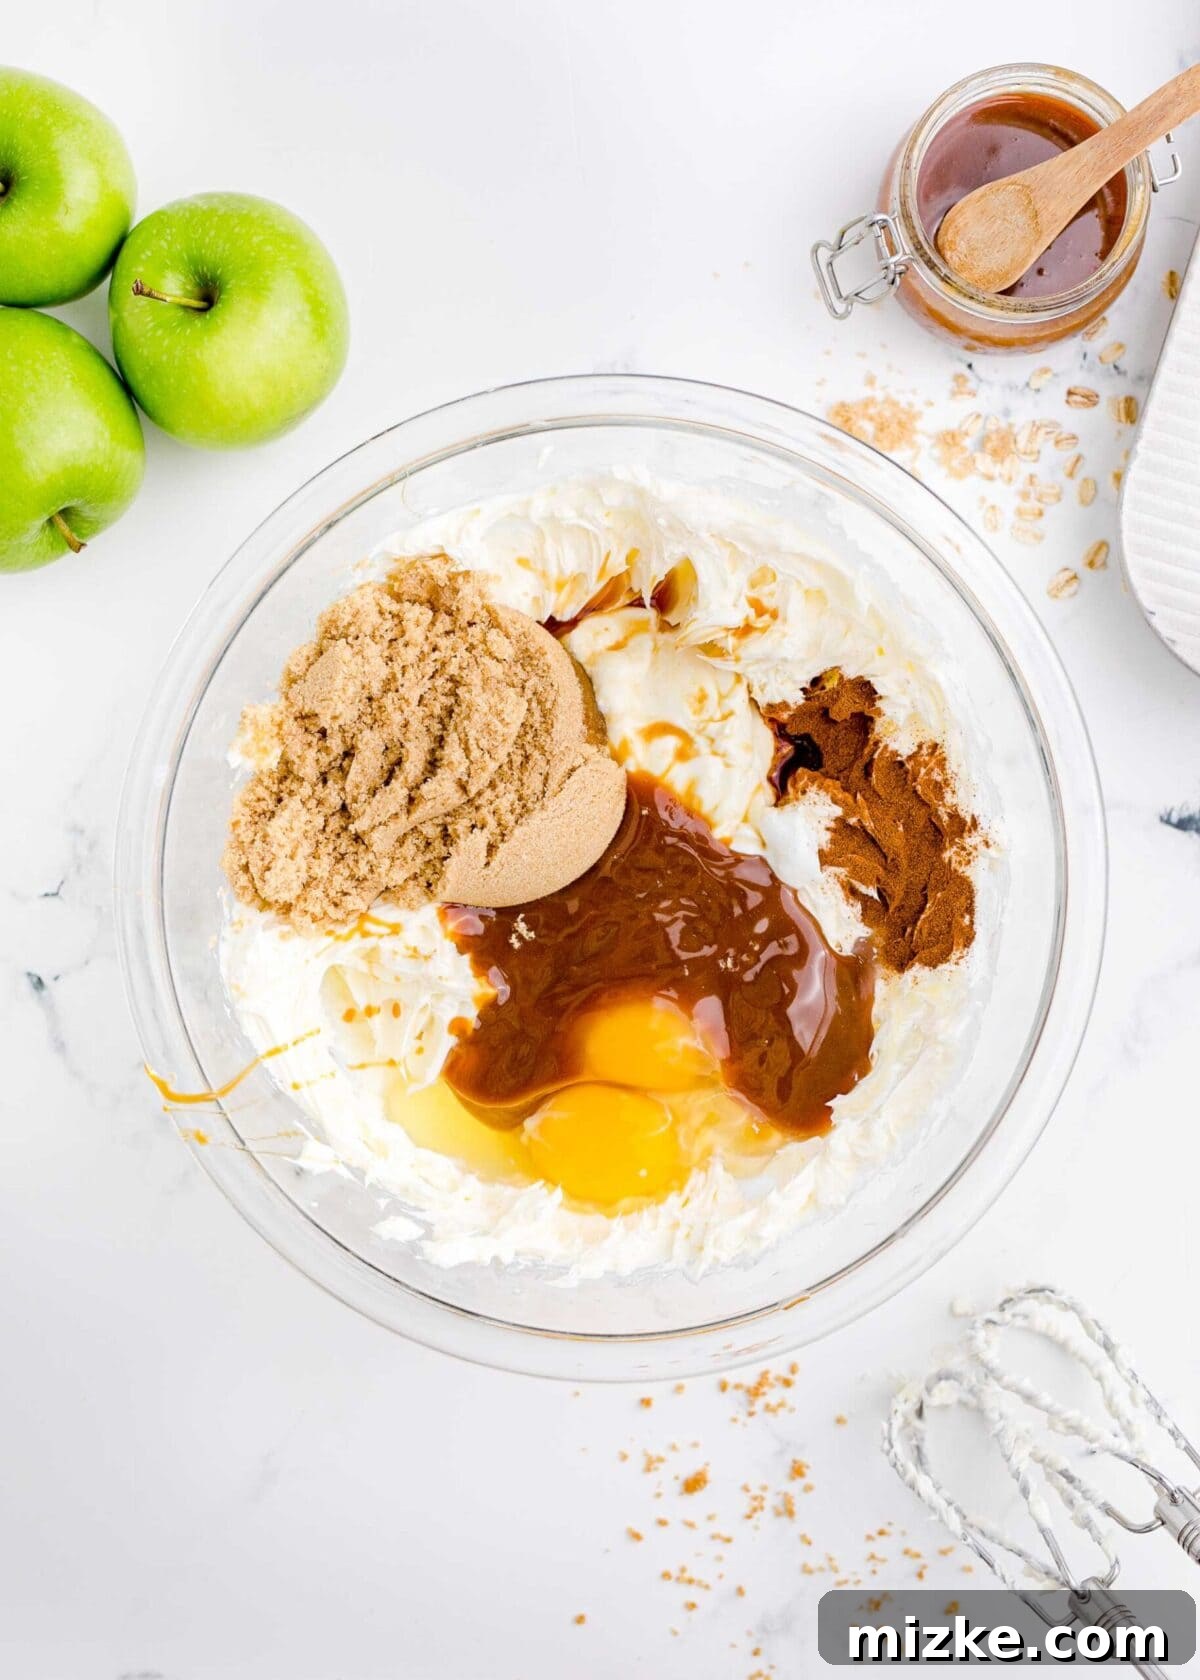
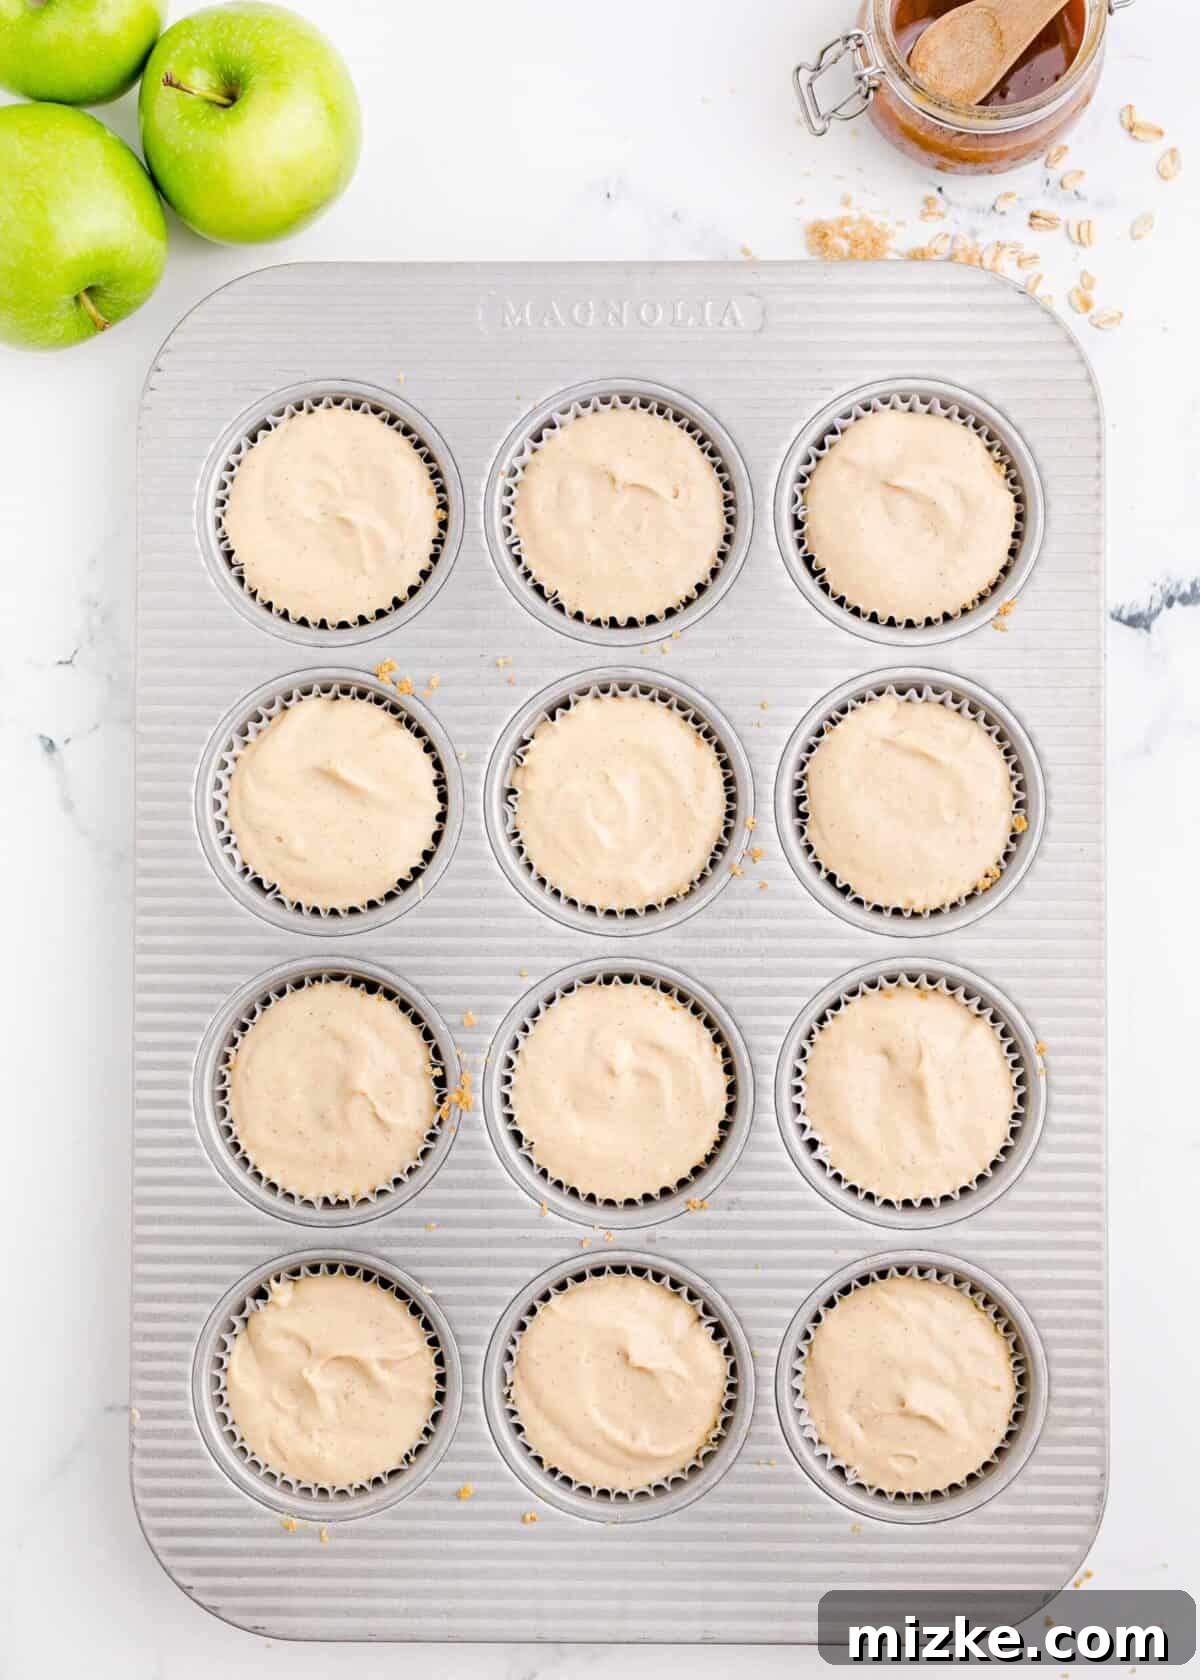
- Step 3: Prepare the Creamy Cheesecake Filling. In the bowl of a stand mixer fitted with a paddle attachment (or using a hand mixer), beat the softened cream cheese on medium speed until it is light, smooth, and completely free of lumps, about 2-3 minutes. Scrape down the sides of the bowl as needed. Next, add the Greek yogurt, egg, caramel sauce, brown sugar, pure vanilla extract, and cinnamon. Beat on low to medium speed until all ingredients are just combined and the mixture is smooth and uniform. Be careful not to overmix, as this can introduce too much air, leading to cracks in the cheesecake. Carefully spoon the creamy cheesecake mixture evenly over the graham cracker crusts in each muffin cup, filling them about two-thirds full.
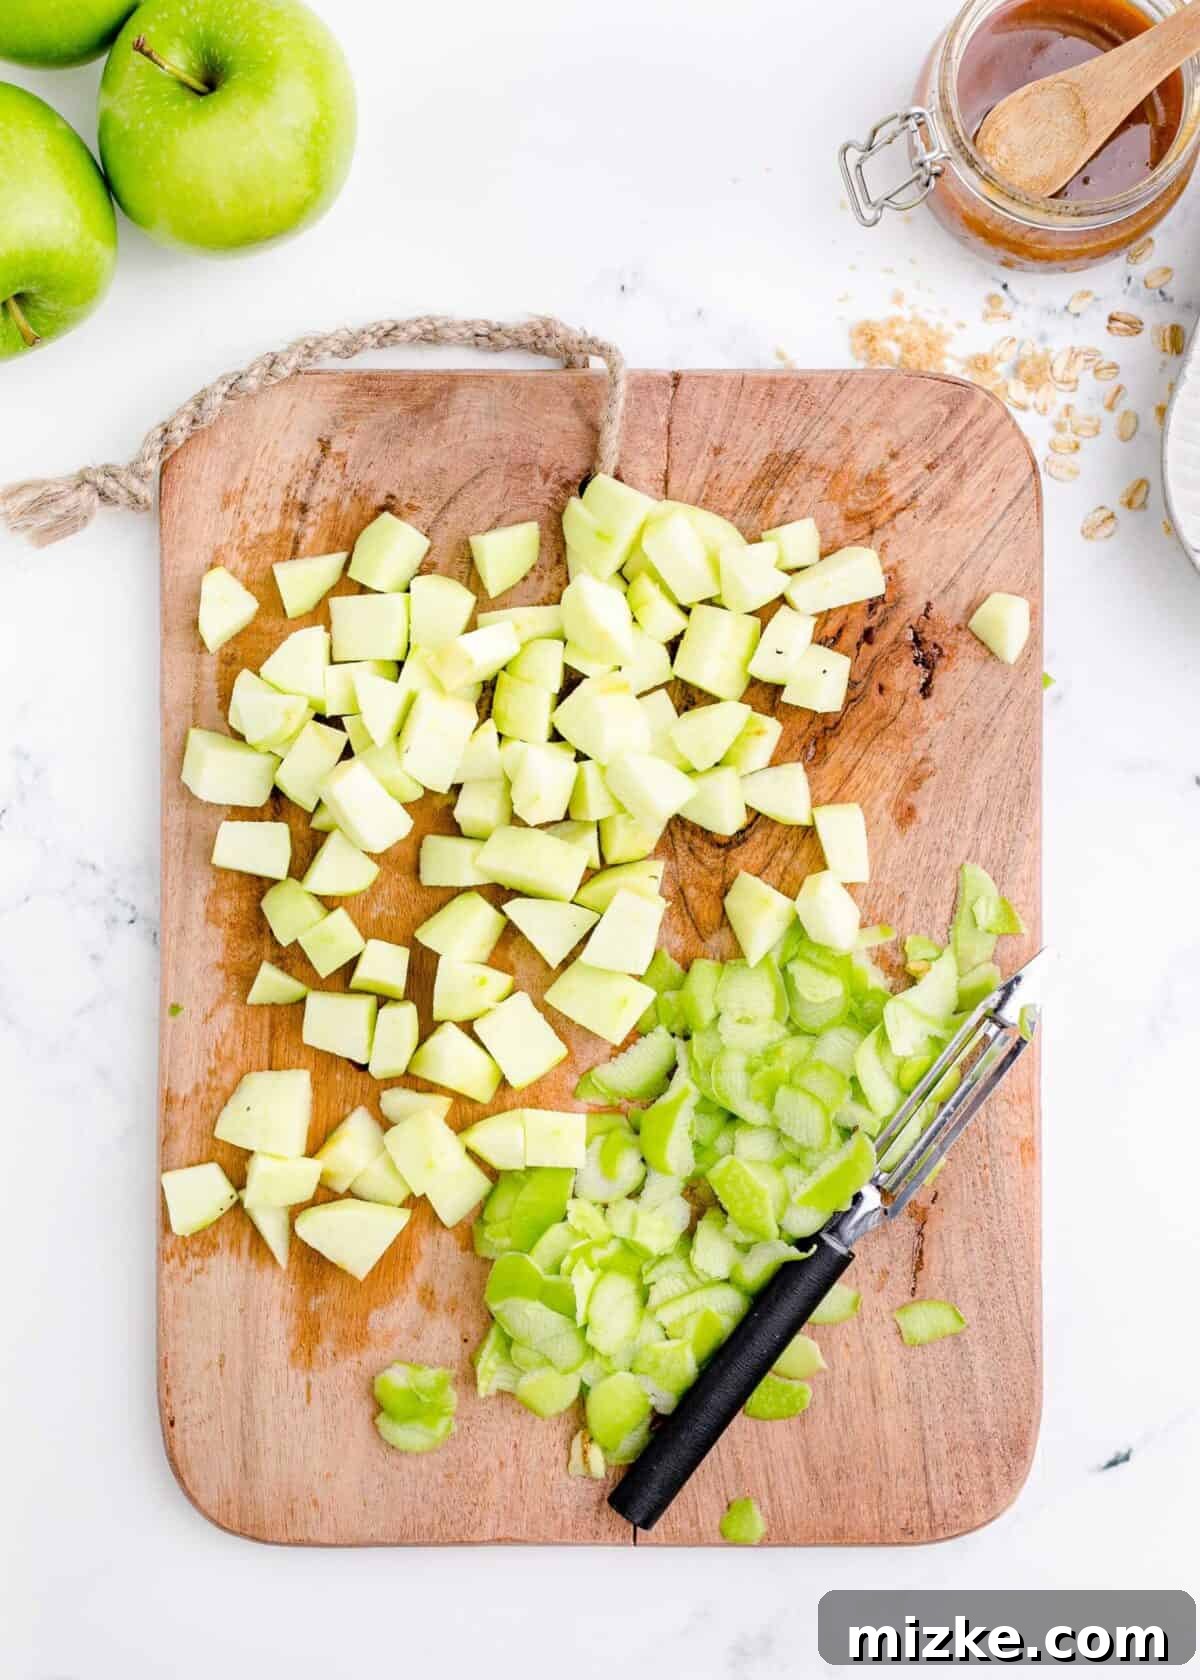
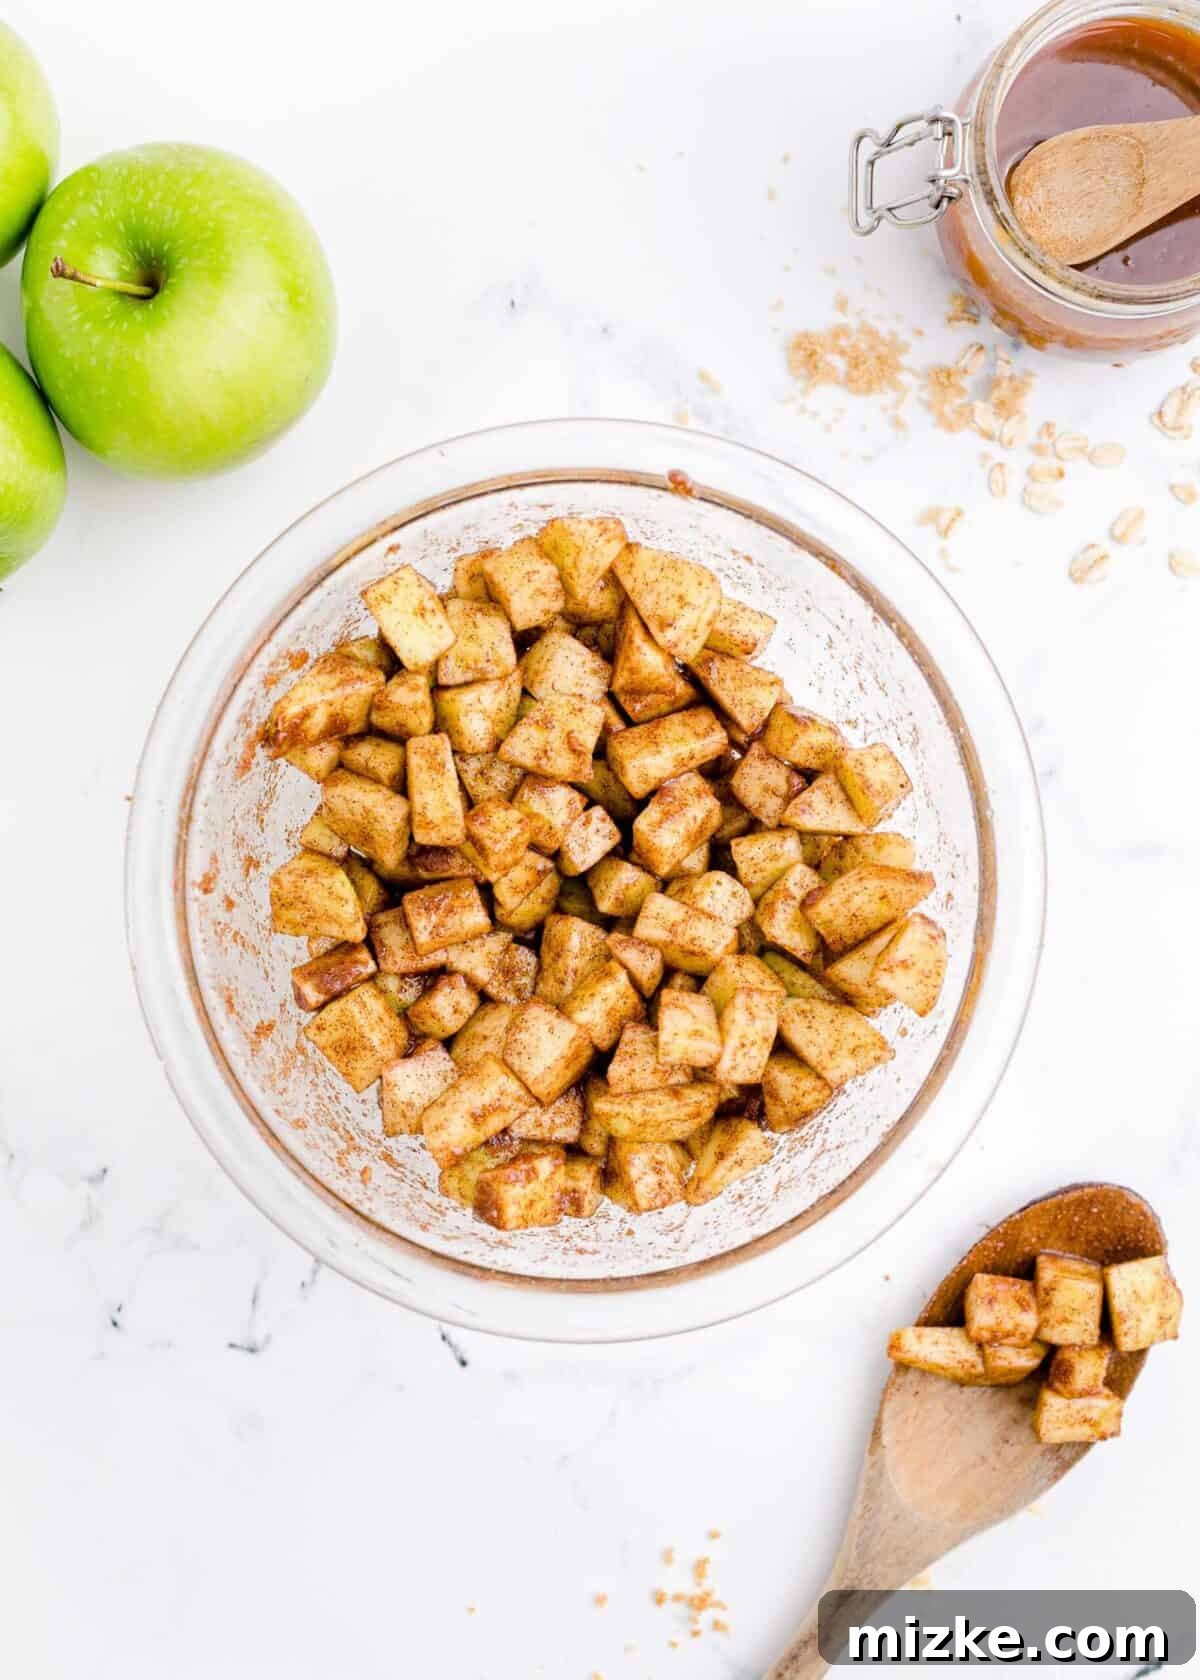
- Step 4: Prepare the Spiced Apple Mixture. First, peel, core, and dice your Granny Smith apples into small, uniform pieces. Aim for about ¼ to ½ inch dice so they soften nicely during baking. In a separate medium bowl, combine the brown sugar and cinnamon for the apples, mixing them thoroughly. Add the diced apples to this spiced sugar mixture and stir gently until all apple pieces are well coated. Setting them aside allows the flavors to meld slightly and prevents the apples from browning too quickly.
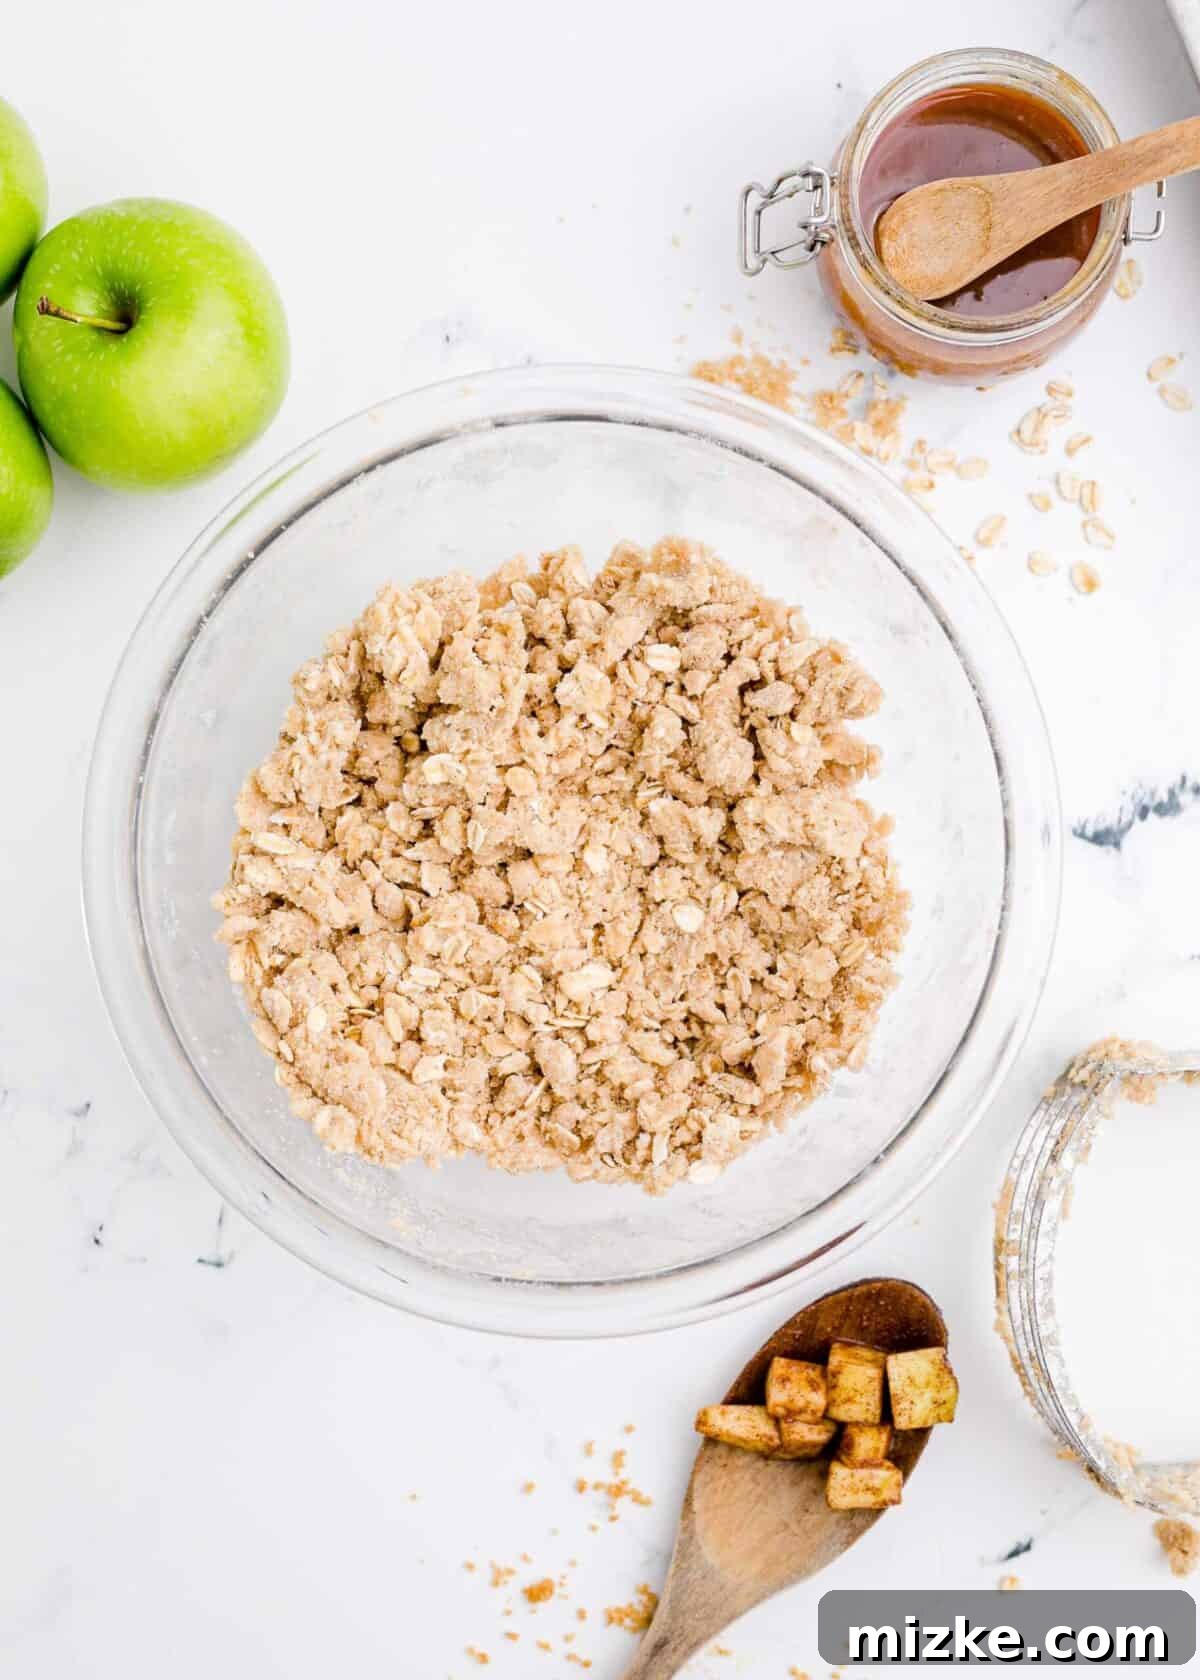
- Step 5: Create the Crumbly Oat Topping. In a large mixing bowl, whisk together the flour, rolled oats, brown sugar, and cinnamon until well combined. Add the softened salted butter in small pieces. Using a pastry cutter (or your fingertips), cut the butter into the dry ingredients until the mixture resembles coarse crumbs. Some larger pea-sized pieces of butter are desirable, as they will create pockets of crispness during baking. Avoid overmixing; just work until the mixture is crumbly.
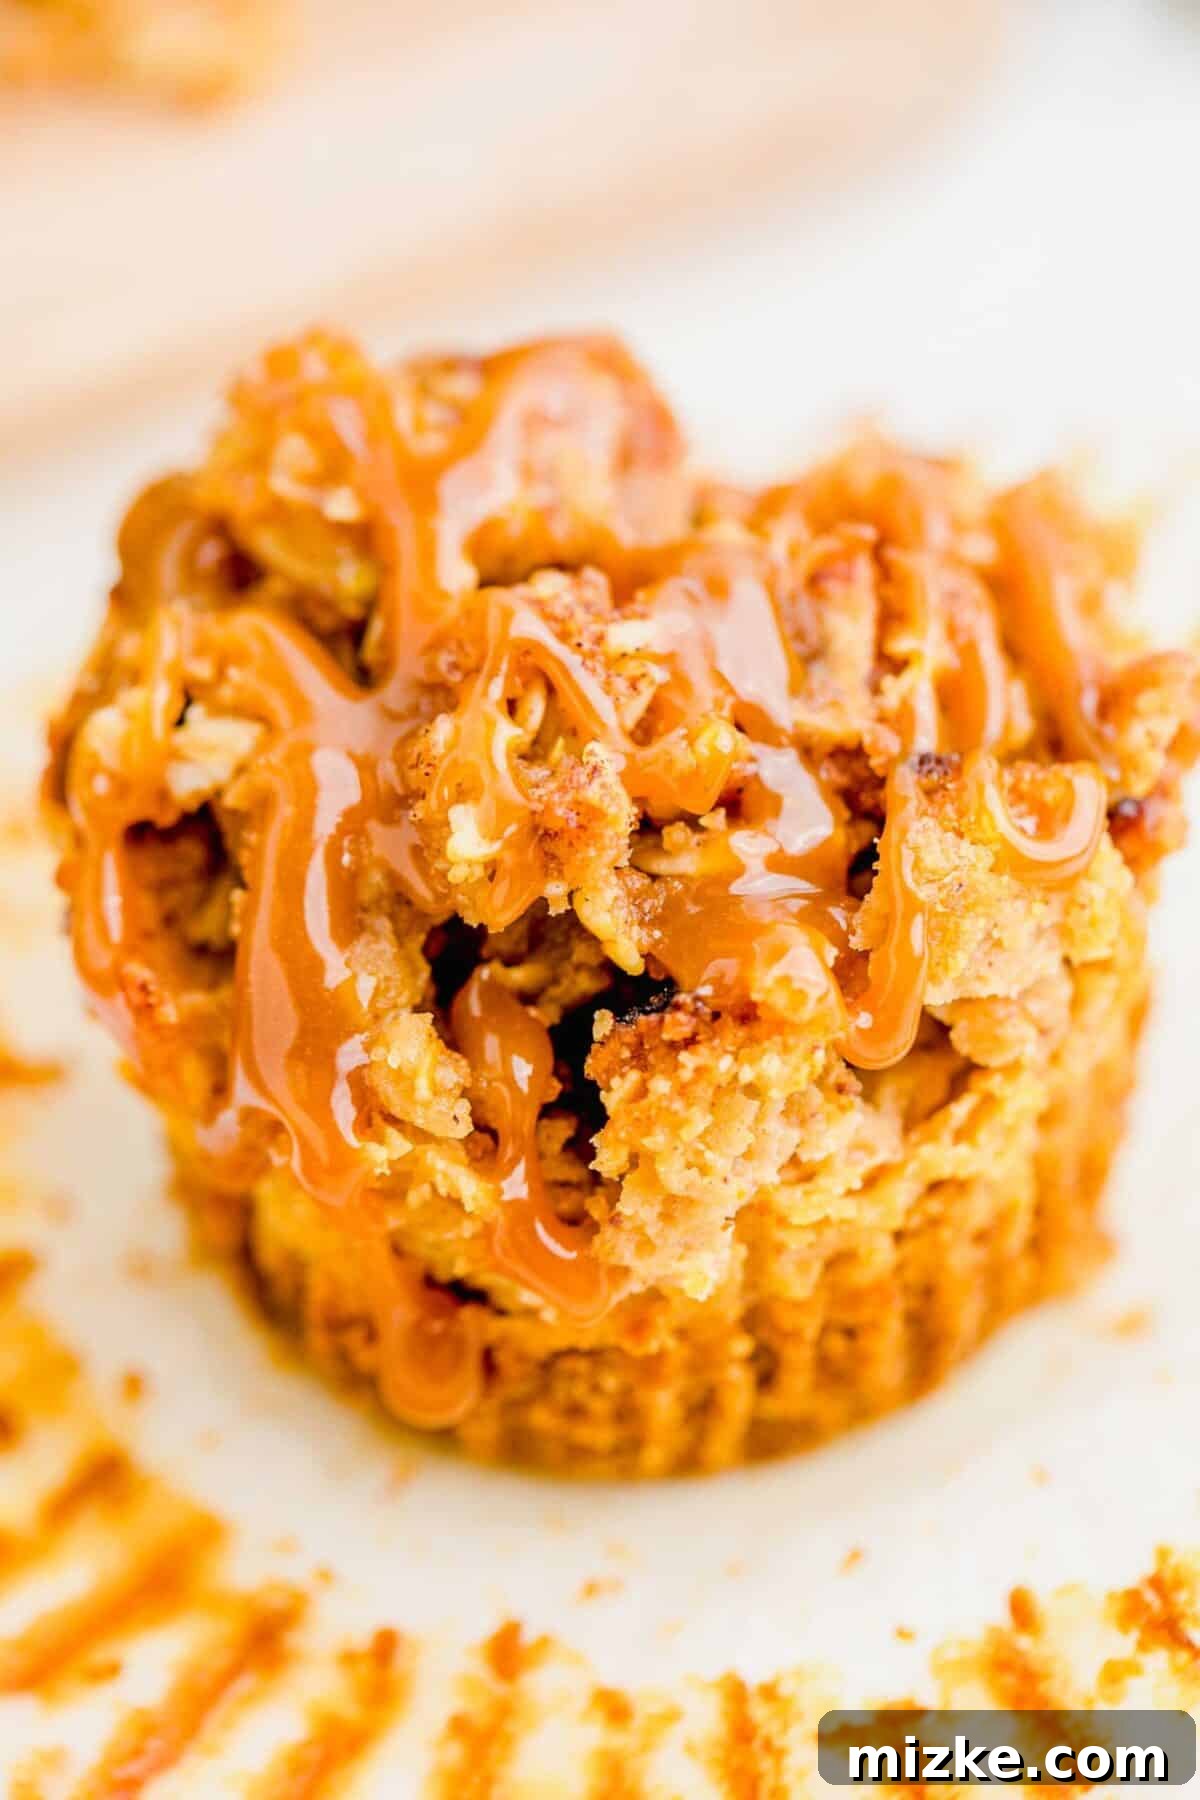
- Step 6: Assemble the Cheesecakes for Baking. With all components ready, it’s time to layer them. Spoon a generous amount of the spiced apple mixture over the cheesecake filling in each muffin cup. Ensure an even distribution for consistent flavor in every bite. Then, sprinkle a generous layer of the oat crumble topping over the apples, covering them completely. This creates a beautiful, textured crown for your mini cheesecakes.
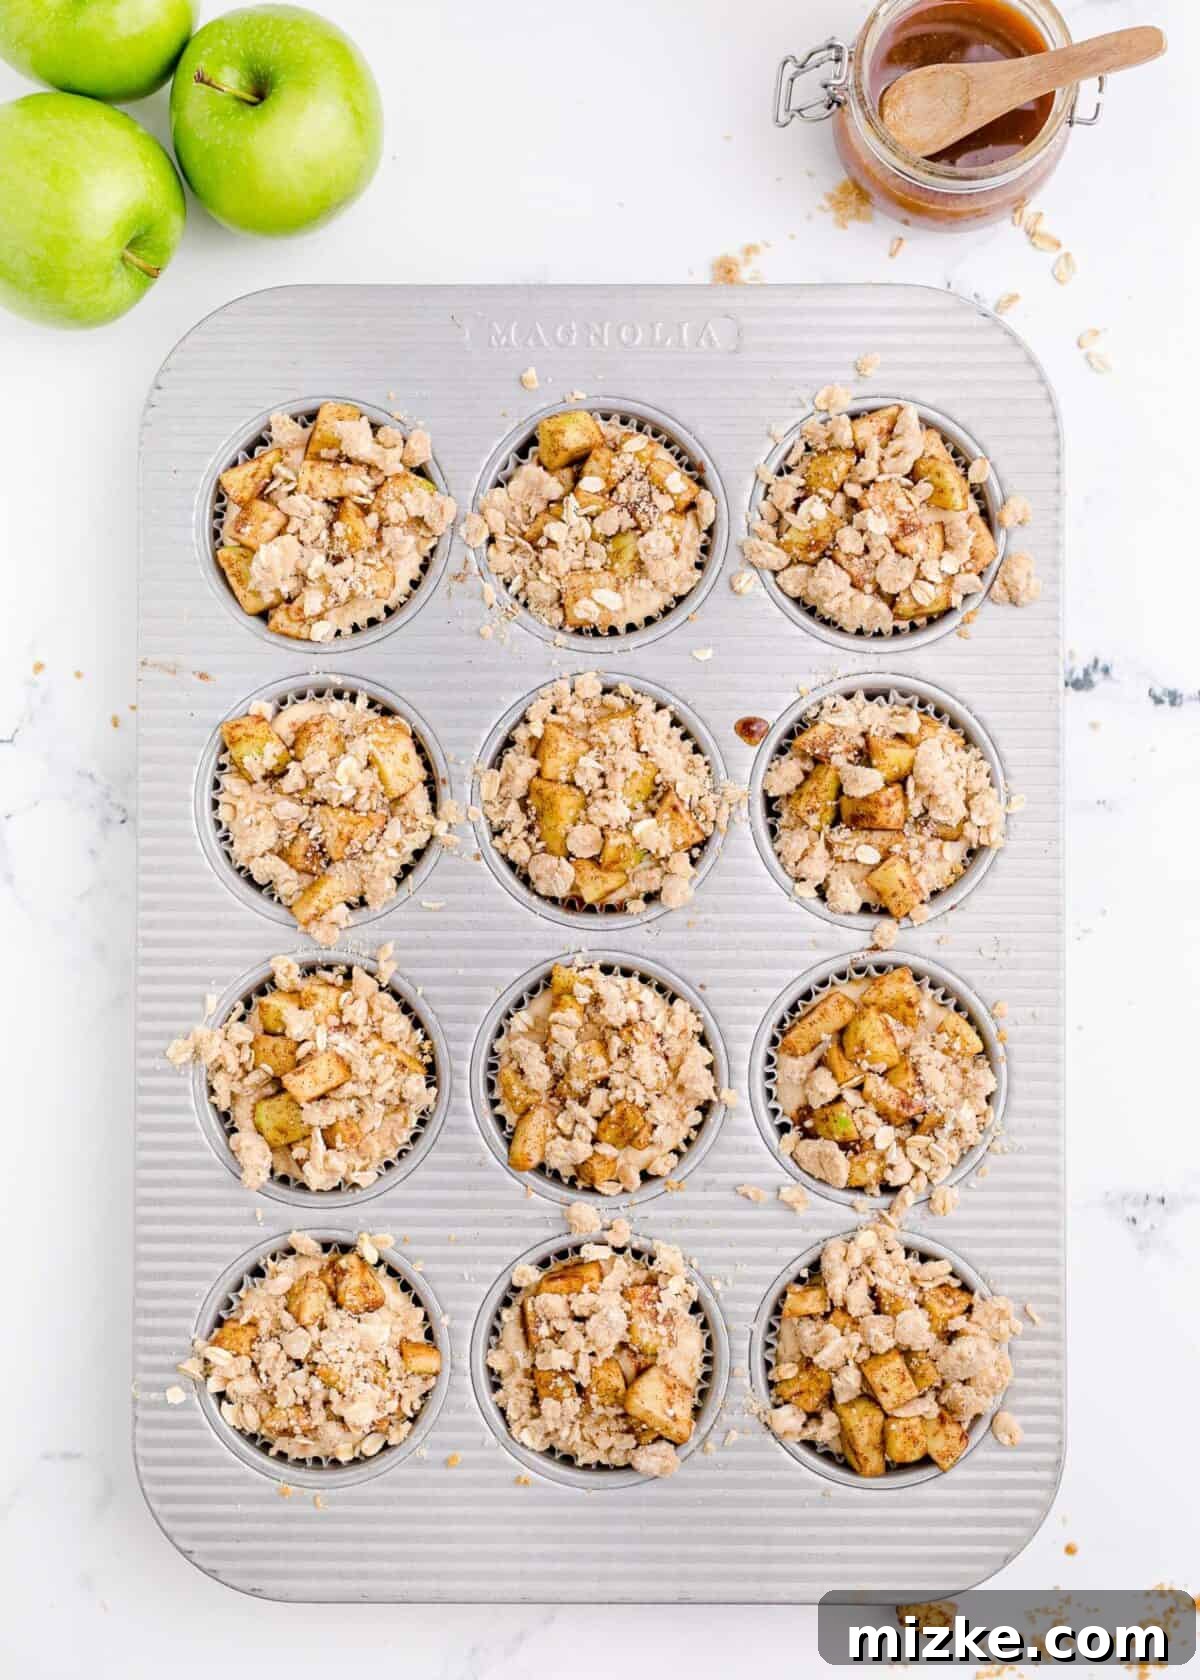
- Step 7: Bake to Golden Perfection. Carefully place the muffin tin filled with your mini caramel apple cheesecakes into the preheated oven. Bake for approximately 30 minutes, or until the cheesecake filling is mostly set (a slight wobble in the center is okay, as it will continue to set as it cools) and the oat topping is golden brown and fragrant.
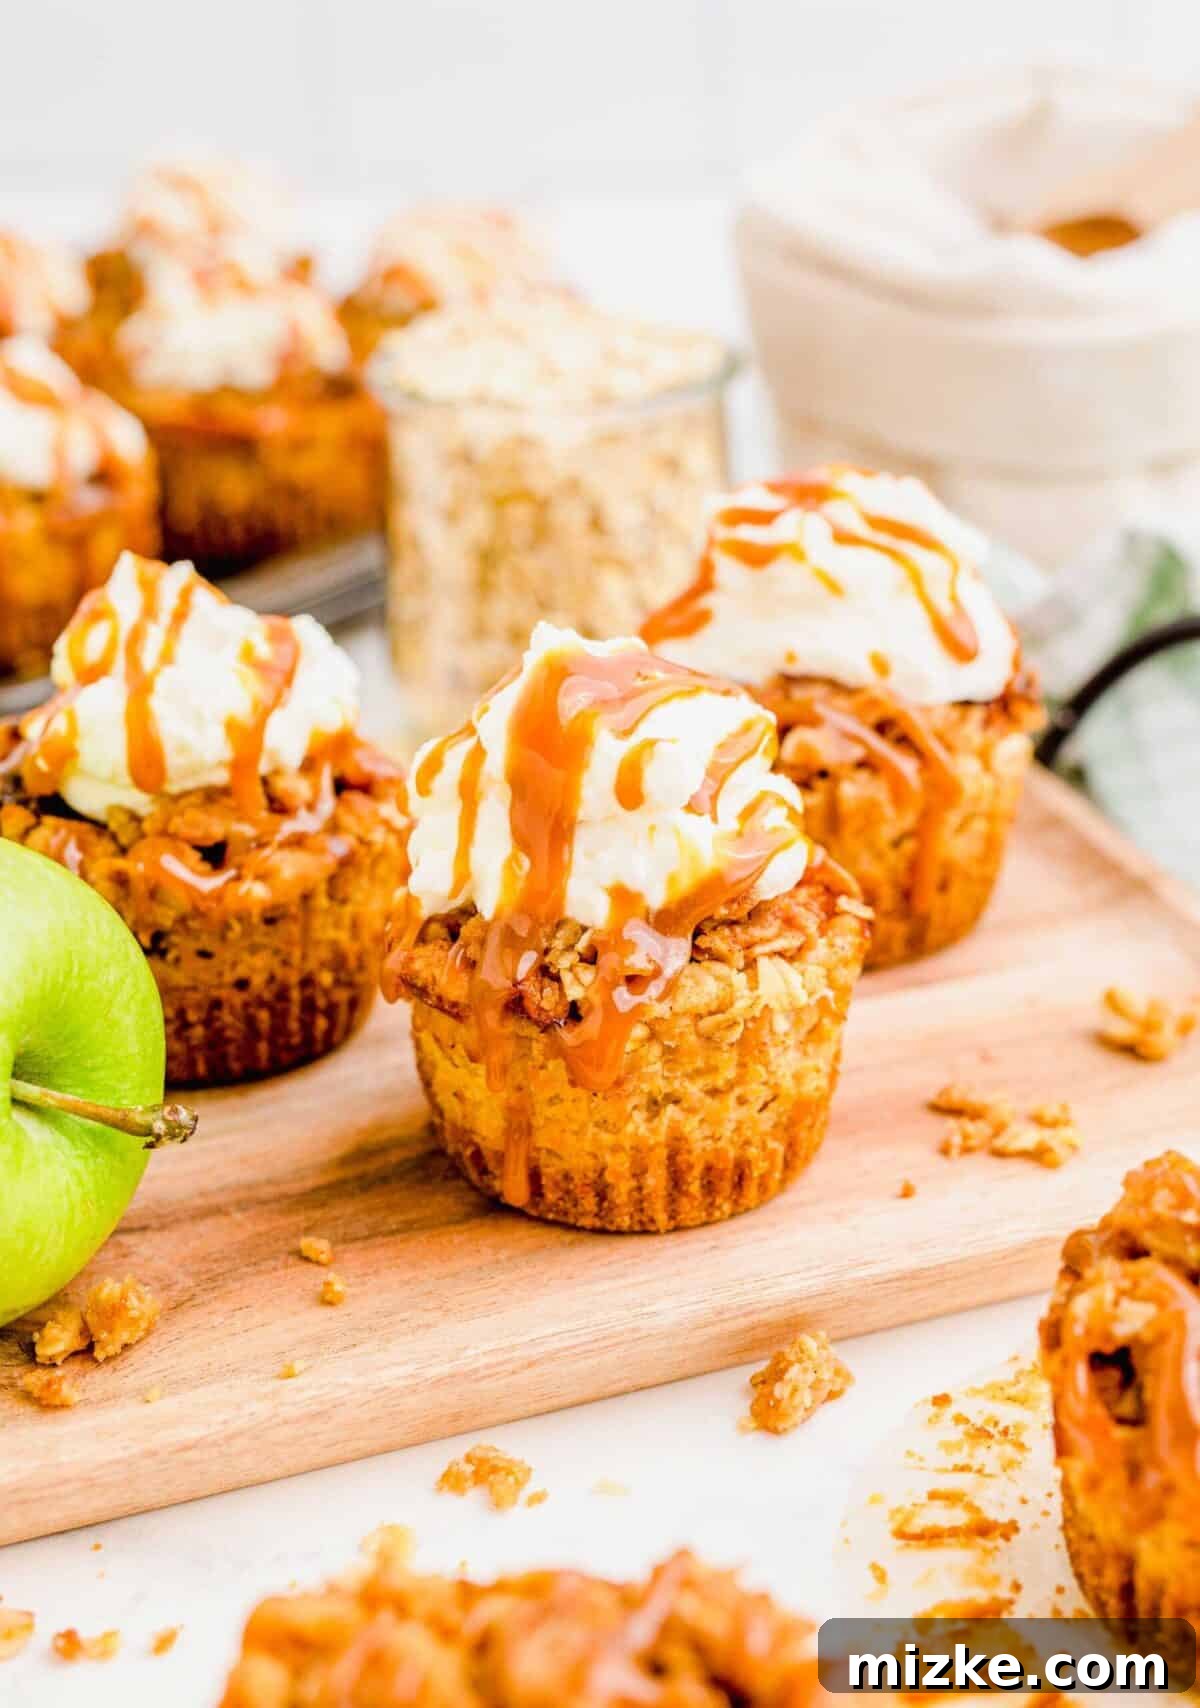
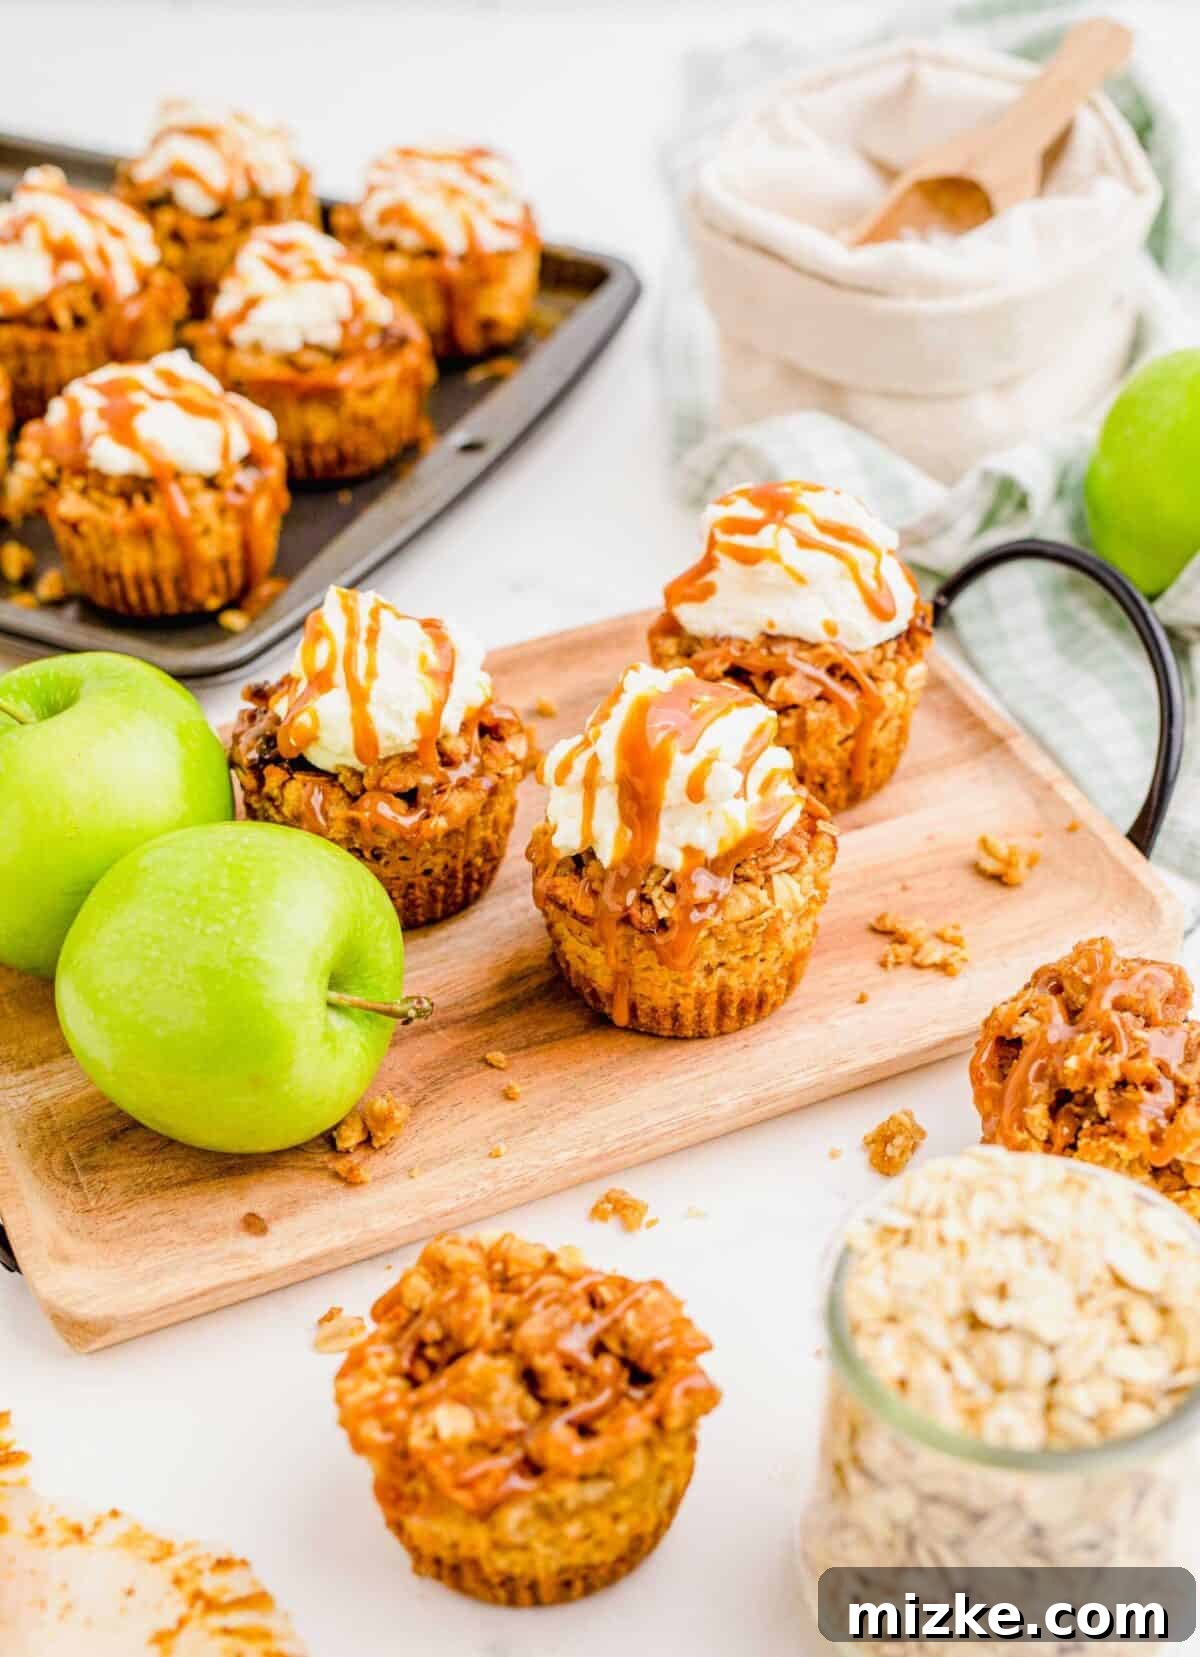
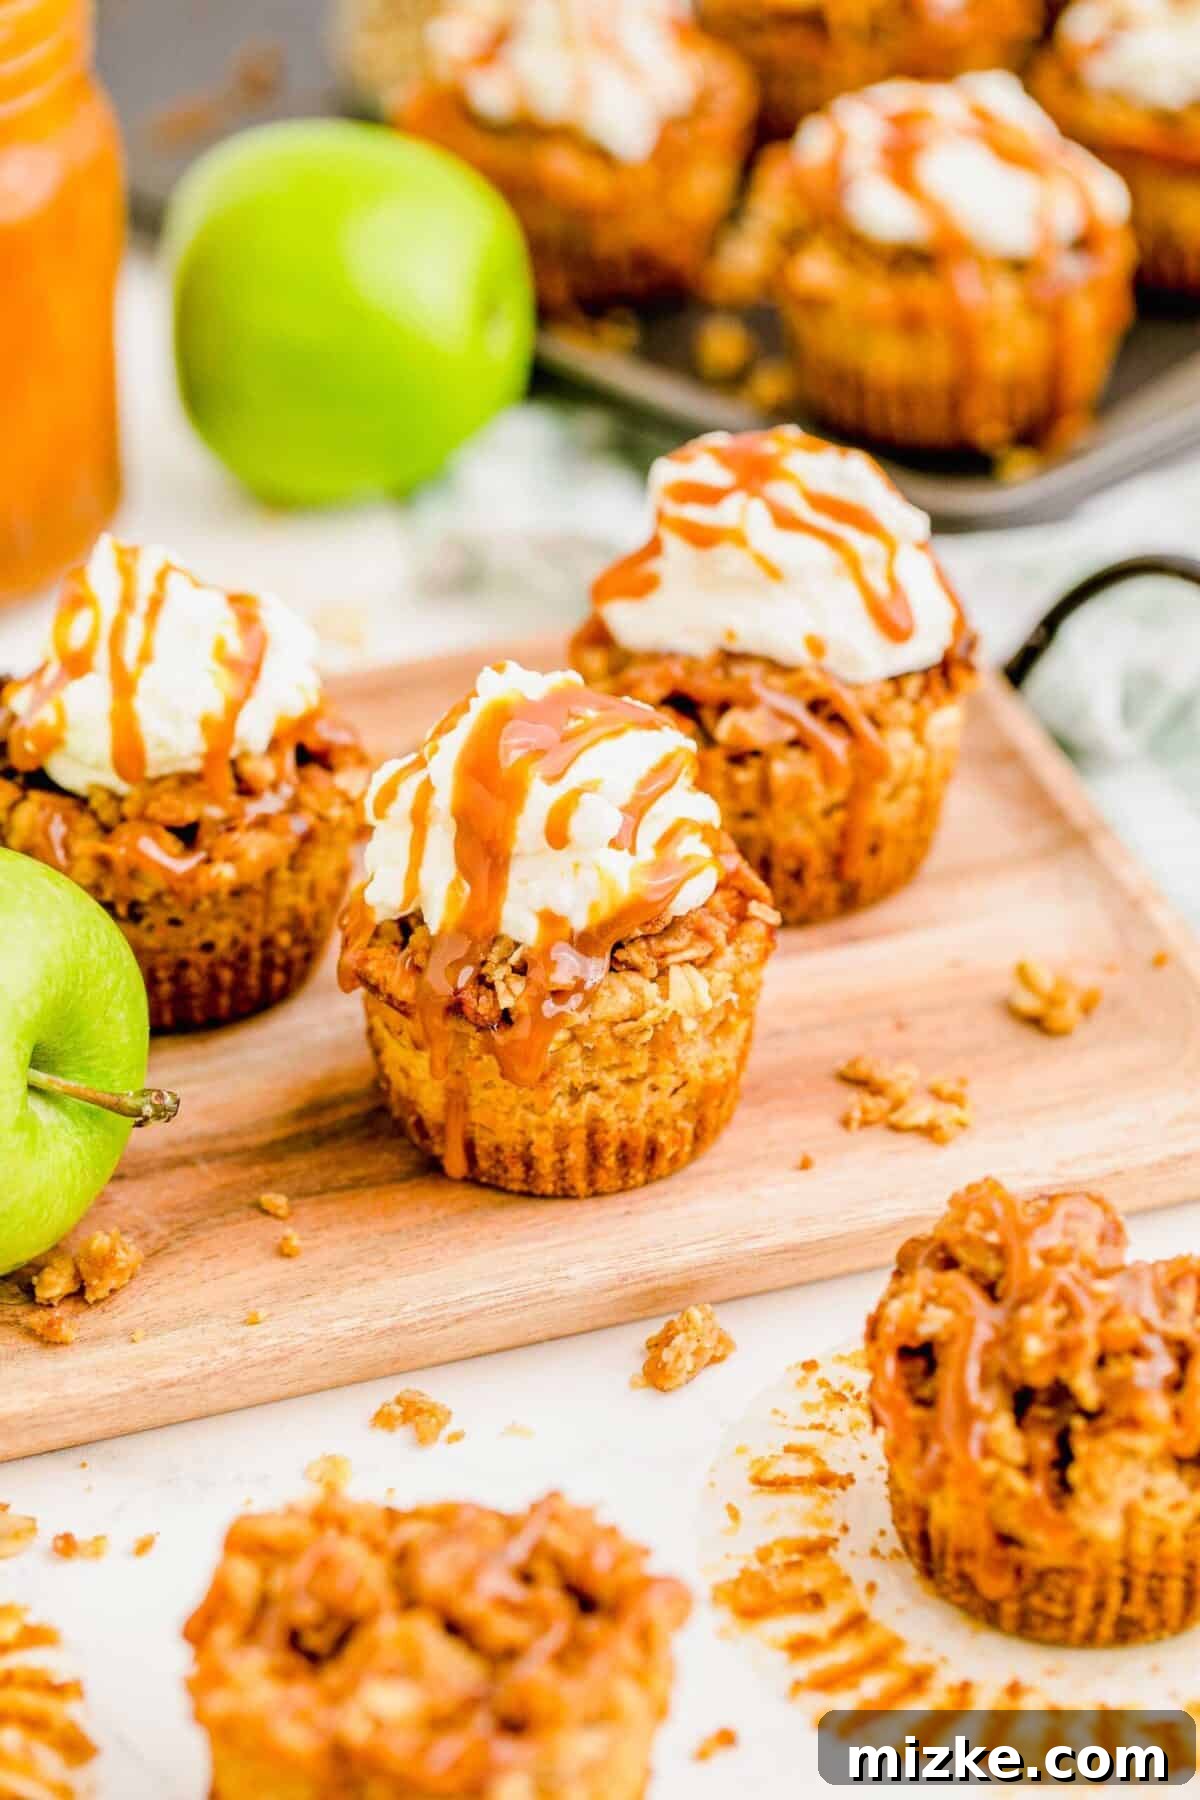
- Step 8: Chill and Enjoy. Once baked, remove the muffin tin from the oven and allow the cheesecakes to cool completely in the pan on a wire rack. This slow cooling helps prevent cracks. Once cooled to room temperature, transfer the cheesecakes (still in their liners) to an airtight container and refrigerate for at least 2 hours. This chilling time is crucial; it allows the cheesecake to fully set, firm up, and develop its optimal creamy texture and flavor. Resist the urge to eat them warm, as the texture won’t be as firm. Garnish with a dollop of whipped cream or an extra drizzle of caramel sauce just before serving, if desired.
Expert Tips for Flawless Mini Caramel Apple Cheesecakes
Achieving perfect mini cheesecakes every time is easier than you think with these professional tips and tricks. Follow these guidelines to ensure your caramel apple cheesecakes are consistently delightful.
- The Secret to Smoothness: Room Temperature Cream Cheese. This is perhaps the most crucial tip for any cheesecake! Ensure your cream cheese is truly at room temperature. Cold cream cheese will not cream smoothly, leading to lumps in your batter and a less-than-silky texture in your final cheesecake. Softened cream cheese whips up beautifully, incorporating air evenly for a light, fluffy, and decadent filling. Take it out of the fridge at least 1-2 hours before you plan to bake.
- Prevent Over-Browning with the “Tent” Method. Keep a close eye on your cheesecakes as they bake. While you want a golden-brown, crisp topping, you don’t want the edges or the topping to burn before the cheesecake filling is fully cooked. If you notice the topping or the edges of the cheesecake becoming too dark, gently cover the muffin tin loosely with aluminum foil. This acts as a “tent,” deflecting direct heat and allowing the cheesecakes to continue baking through without excessive browning on top.
- Patience is Key: The Chilling Process. It can be incredibly tempting to dive into these fragrant mini cheesecakes right out of the oven, but resisting this urge is essential for optimal texture. Chilling for at least 2 hours (and ideally longer) allows the cheesecake filling to fully set and firm up. This process transforms the warm, wobbly batter into a dense, creamy, and sliceable (or in this case, pick-up-able) dessert with the perfect consistency. A properly chilled cheesecake also tastes better as the flavors have time to fully meld.
- Elevate with Toppings and Garnishes. While these mini cheesecakes are spectacular on their own, a little extra flair can take them to a new flavor level. Consider adding a dollop of freshly whipped cream, a scoop of vanilla bean ice cream, an extra drizzle of warm caramel sauce, or even a sprinkle of toasted nuts just before serving. These additions provide contrasting textures and enhance the overall indulgence.
Frequently Asked Questions About Mini Caramel Apple Cheesecakes
Here are answers to some of the most commonly asked questions to help you perfect your mini caramel apple cheesecakes.
What exactly are graham crumbs, and how do I get them?
Graham crumbs are simply finely crushed graham crackers. They form the base of many delicious crusts, including this one. You can easily make them at home! Purchase a box of whole graham crackers, then either pulse them in a food processor until they form fine crumbs, or place them in a sturdy Ziploc bag and crush them with a rolling pin. This recipe typically calls for the crumbs from about 14 full graham cracker sheets.
Are there other apple varieties I can use besides Granny Smith?
Absolutely! While I prefer Granny Smith apples for their firm texture and delightful tartness, which provides a lovely contrast to the sweet caramel and creamy cheesecake, you have options. If you prefer a sweeter profile or a less tart apple, consider using Gala, Honeycrisp, Fuji, or even Braeburn apples. Just note that the flavor balance might shift slightly, and some apples soften more quickly during baking.
Can I incorporate nuts into this recipe?
Yes, nuts are a fantastic addition, especially for fall-themed desserts! If you’re looking to add an extra layer of crunch and nutty flavor to these mini caramel apple cheesecakes, simply mix about ¼ cup of finely chopped walnuts or pecans into the oat topping mixture. They toast beautifully in the oven and add wonderful depth.
Is it okay to use quick oats instead of rolled oats for the topping?
While quick oats might seem like a convenient substitute, I strongly recommend sticking with rolled oats for the topping. Rolled oats, also known as old-fashioned oats, retain their shape and provide a much chewier, more substantial texture that is essential for a truly great streusel crumble. Quick oats are pre-cooked and cut smaller, resulting in a mushier texture and less crisp topping.
Delightful Serving Suggestions
These mini caramel apple cheesecakes are exquisite on their own, but they truly shine when paired with complementary flavors and textures. I’m particularly fond of serving them alongside a scoop of homemade ice cream for an ultimate dessert experience. Here are a few of my favorite ice cream recipes that would create a divine pairing with these autumnal cheesecakes:
- Creamy Cookies and Cream Ice Cream
- Effortless No-Churn Oreo Fudge Ice Cream
- Gourmet Fig and Honey Mascarpone Ice Cream
- Rich Coffee Coconut Milk Ice Cream
- Nutty and Aromatic Pistachio Ice Cream
Storing Your Mini Caramel Apple Cheesecakes
Proper storage ensures your delicious mini caramel apple cheesecakes remain fresh and delightful for as long as possible. Given their dairy content, refrigeration is essential.
For short-term storage, place the cooled cheesecakes in an airtight container and store them in the refrigerator for up to 1 week. This keeps them moist and prevents them from absorbing any unwanted fridge odors.
If you wish to enjoy these treats at a later date, they freeze beautifully. To prevent freezer burn and maintain their quality, it’s highly recommended to individually wrap each mini cheesecake tightly in plastic wrap, then place them in an airtight freezer-safe container or a heavy-duty freezer bag. Stored this way, they can last for up to 3 months in the freezer. When you’re ready to enjoy one, simply thaw it in the refrigerator overnight or for a few hours before serving.
Discover More Apple-Inspired Recipes
If you’ve fallen in love with the comforting flavors of this mini caramel apple cheesecake recipe, then you’ll undoubtedly appreciate these other fantastic dishes that celebrate the versatility of apples. Expand your autumn baking repertoire with these delightful ideas:
- Chewy Apple Blondies
- Classic Apple Cranberry Crisp
- Indulgent Apple Pie Cinnamon Rolls
- Soft Apple Crisp Cookies
- Decadent Caramelized Apple French Toast
Mini Caramel Apple Cheesecakes
By: Julie Chiou
These mini caramel apple cheesecakes boast a creamy filling and a delightfully chewy crust, making them the quintessential fall dessert.
Prep Time: 30 minutes
Cook Time: 30 minutes
Resting Time: 2 hours
Total Time: 3 hours
Servings: 12 cheesecakes
Equipment
- Muffin pan
- Stand mixer
- Hand mixer
Ingredients
For the crust:
- 2 cups (168 g) graham crumbs
- ½ cup (114 g) salted butter, melted
- ¼ cup (55 g) brown sugar
For the filling:
- 8 ounces (227 g) cream cheese, softened
- 2 tablespoons Greek yogurt
- 1 egg
- ¼ cup (57 g) caramel sauce
- ¼ cup (55 g) brown sugar
- 1 teaspoon vanilla extract
- ¼ teaspoon cinnamon
For the apples:
- 2 Granny Smith apples
- 2 tablespoons brown sugar
- ½ teaspoon cinnamon
For the topping:
- ⅓ cup (42 g) all-purpose flour
- ⅓ cup (73 g) brown sugar
- ½ cup (118 g) rolled oats
- 1 teaspoon cinnamon
- 6 tablespoons (84 g) salted butter, softened
Instructions
- Preheat the oven to 325°F (163°C).
- Line 12 muffin cups with paper liners. Spray the liners with non-stick baking spray for easy release.
- In a medium bowl, combine the graham crumbs, melted butter, and brown sugar. Stir until well combined. Spoon a small amount of this mixture into each muffin cup liner and press it down evenly to form a firm crust.
- In a stand mixer or with a hand mixer, beat the softened cream cheese until creamy and smooth. Add the Greek yogurt, egg, caramel sauce, brown sugar, vanilla extract, and cinnamon. Beat until the mixture is smooth and thoroughly combined, scraping down the sides of the bowl as needed.
- Spoon the cheesecake mixture evenly over the prepared crusts in each of the muffin cups, filling them about two-thirds full.
- Peel, core, and dice the Granny Smith apples into small, uniform pieces. In a separate medium bowl, combine 2 tablespoons of brown sugar and ½ teaspoon of cinnamon. Add the diced apples and stir until they are well coated. Set aside.
- In a separate large bowl, whisk together the flour, brown sugar, rolled oats, and 1 teaspoon of cinnamon for the topping. Add the softened salted butter in small pieces. Using a pastry cutter or your fingertips, cut the butter into the dry ingredients until the mixture forms coarse, crumbly pieces.
- Spoon a little of the spiced apple mixture over the cheesecake filling in each muffin cup. Then, generously sprinkle the oat crumble topping over the apples.
- Bake for 30 minutes, or until the cheesecake edges are set and the topping is golden brown.
- Allow the cheesecakes to cool completely in the muffin pan on a wire rack. Once cooled, transfer them to an airtight container and chill in the refrigerator for at least 2 hours before serving. Garnish with whipped cream or extra caramel sauce if desired.
Nutrition
Calories: 303kcal, Carbohydrates: 40g, Protein: 3g, Fat: 15g, Saturated Fat: 9g, Polyunsaturated Fat: 1g, Monounsaturated Fat: 4g, Trans Fat: 1g, Cholesterol: 49mg, Sodium: 226mg, Potassium: 114mg, Fiber: 2g, Sugar: 26g
This website provides approximate nutrition information for convenience and as a courtesy only. Nutrition information can vary for a variety of reasons. For the most precise nutritional data, use your preferred nutrition calculator based on the actual ingredients you used in the recipe.
The default measuring system for this website is US Customary. Unit conversions are provided for convenience and as a courtesy only. While we strive to provide accurate unit conversions, please be aware that there may be some discrepancies.