
For the past three years, a persistent desire has simmered within me: the pursuit of those elusive, effortlessly chic beachy waves. It’s a stark contrast to my college days, when stick-straight hair, long enough to cascade past my chest, was my signature look. My hair straightener was an indispensable tool, a daily ritual to maintain that sleek perfection. Then, on the cusp of graduation, I made a drastic change, opting for a stacked bob that has largely defined my hairstyle ever since.
The internal debate about growing my hair out again is constant. I undeniably miss the versatility and elegance of long hair, envisioning all the styles I could try. Yet, I vividly recall the arduous process of growing it out for my wedding two years ago. My thick, heavy hair felt like a constant weight on my neck, especially during warmer months, leading to almost daily complaints about my eagerness to chop it off. Perhaps it’s a phase I simply need to power through this time, to truly embrace the journey of longer locks without succumbing to the temporary discomfort. Only time will tell what my next hair adventure will be, but the vision of flowing, natural waves remains a powerful motivator.
Mastering the Art of Beachy Waves: Tips for Every Hair Type
My quest for beachy waves led me down the rabbit hole of online tutorials and countless beauty blogs. Many friends enthusiastically recommended investing in a curling wand, touting its superior results for creating those relaxed, natural-looking bends. Convinced by their glowing reviews, I purchased one, eager to transform my hair into a wavy masterpiece. However, my initial attempts were, to put it mildly, a comedic disaster. The curling wand proved far more challenging to wield than anticipated.
I acknowledge that there’s a definite learning curve with any new styling tool, but my patience often wears thin, and the frequent singed fingertips were certainly not helping my enthusiasm. The heatproof glove they provide felt awkward and unnatural, hindering my dexterity and making the whole process feel clunky. I suppose a few more minor burns are part of the initiation rite for mastering this tool. Do you have any invaluable tips for a curling wand novice like me, particularly those with a tendency to get frustrated easily? Part of me also suspects that my short, thick hair, brimming with natural volume, is simply not suited for this style – I often end up looking like I’ve had an unfortunate, overly poofy perm! Yet, despite the setbacks, the allure of those soft, flowing waves remains strong, inspiring me to keep trying.
The Enduring Allure of Beachy Waves: Why We Can’t Get Enough
Beachy waves have captivated the fashion and beauty world for decades, embodying a relaxed elegance that transcends seasons and trends. This versatile hairstyle evokes images of sun-kissed days by the ocean, effortlessly chic and universally flattering. Unlike rigid curls or pin-straight hair, beachy waves offer a soft, natural texture that adds volume and movement without appearing overly “done.” They strike a perfect balance between casual and sophisticated, making them suitable for almost any occasion, from a leisurely weekend brunch to a formal evening event.
For many, beachy waves represent freedom, a touch of bohemian charm, and a carefree spirit. They are often associated with youthfulness and a vibrant, dynamic personality. Achieving this look typically involves creating loose, undulating curls that are then gently separated and tousled to mimic the natural texture hair takes after a day spent by the sea. To enhance and prolong this effect, products like sea salt sprays, texturizing mists, and light-hold hairsprays are often employed, providing essential grit and lasting power to the style. The beauty of beachy waves lies in their imperfection – the less uniform, the more authentic and appealing they tend to look.
Curling Wands vs. Curling Irons: Demystifying Your Styling Tool Choice
The choice between a curling wand and a traditional curling iron often comes down to the desired curl type and individual styling preference. A curling iron features a clamp that securely holds the hair in place as you wrap it around the heated barrel. This design makes it easier for beginners and those looking for more defined, uniform curls. However, the clamp can sometimes leave unwanted kinks or indentations in the hair if not used carefully, and the curls produced tend to be more structured and less natural-looking.
Curling wands, on the other hand, are clamp-free tools. You manually wrap sections of hair around the heated barrel, which allows for greater control over the curl pattern and results in more natural-looking, varied curls and waves. This method often creates an “undone” finish, which is perfect for achieving the quintessential beachy wave, as it avoids the uniform appearance that a clamp can create. The primary downsides, as I’ve experienced firsthand, include a higher risk of burning fingers and a steeper learning curve, especially for those with shorter layers or less developed dexterity. Despite the initial challenges, for my thick, short hair, the wand’s ability to create looser, more organic waves without the clamp’s indentation is incredibly appealing, making me determined to master its use.
Taming Thick, Short Hair for Effortless Waves: Expert Tips
Styling thick, short hair into beachy waves presents its own unique set of challenges. The natural volume, while often desired, can sometimes lead to an overly poofy or “perm-like” appearance if not managed correctly. Here are a few tips I’ve gathered through trial and error, and from seasoned stylists, that can help transform even the most stubborn thick, short locks into beautiful waves:
- Strategic Sectioning: Resist the urge to curl large sections of hair at once. For thick and short hair, smaller, more manageable sections (approximately 1 inch wide) are key. This allows the heat to penetrate more effectively and gives you greater control over the curl pattern, preventing a bulky or frizzy outcome.
- Prioritize Heat Protection: Before applying any heat, always spray a generous amount of high-quality heat protectant. This is crucial for shielding your hair from damage, maintaining its health, and preserving its natural shine, especially when using tools frequently.
- Vary the Curl Direction: To avoid a uniform, unnatural look, alternate the direction in which you wrap your hair around the wand. Curl some sections away from your face and others towards it. This technique creates a more organic, textured, and voluminous wave pattern that looks effortlessly natural.
- Leave the Ends Untouched: For that authentic beachy vibe, avoid curling the very ends of your hair. Leaving about an inch or two of the ends straight provides a relaxed, modern finish and prevents the dreaded “doll-like” or overly polished curl that can make short hair appear too structured.
- Gently Loosen the Waves: Once your curls have completely cooled (this is vital for setting the style), gently run your fingers through them to break them up and create a softer, wavier texture. A wide-tooth comb can also work, but your fingers offer more control for achieving that perfectly tousled, “undone” look.
- Embrace Texturizing Products: Finish your styling with a light spritz of sea salt spray, texturizing spray, or a lightweight hairspray. These products add essential grit, enhance the hold of your waves, and amplify that desirable “beachy” feel, giving your hair volume and definition without stiffness.
- Consider Your Barrel Size: For shorter hair lengths, a curling wand with a smaller barrel (e.g., 1 inch or even ¾ inch) can be much easier to manage. Smaller barrels create more defined waves that can then be stretched and loosened for a natural finish, providing better control over tighter sections of hair.
- Patience and Practice: Remember that mastering a new styling technique takes time. Don’t get discouraged by initial failures. Consistent practice will improve your technique and speed, allowing you to achieve those beautiful beachy waves with ease over time.
Homemade Taro Chips: Your New Favorite Crispy Snack Obsession
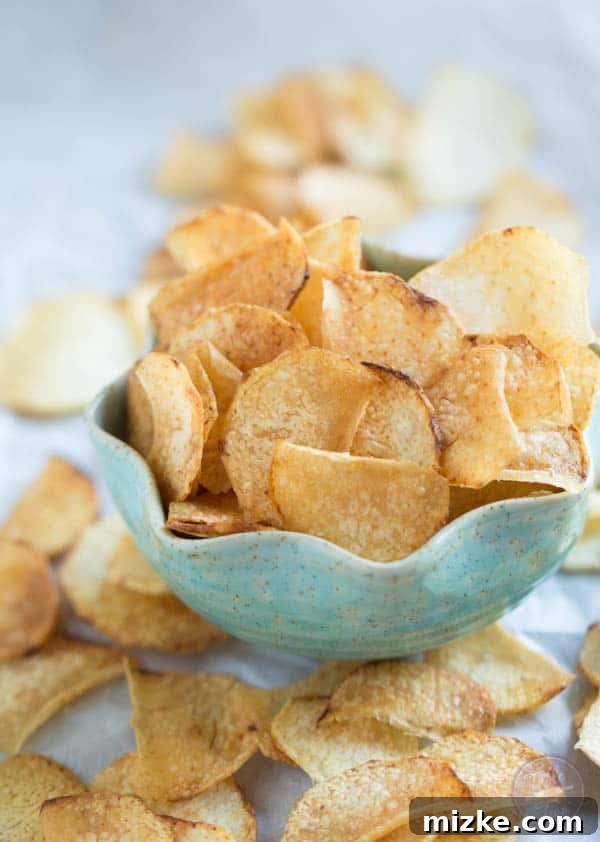
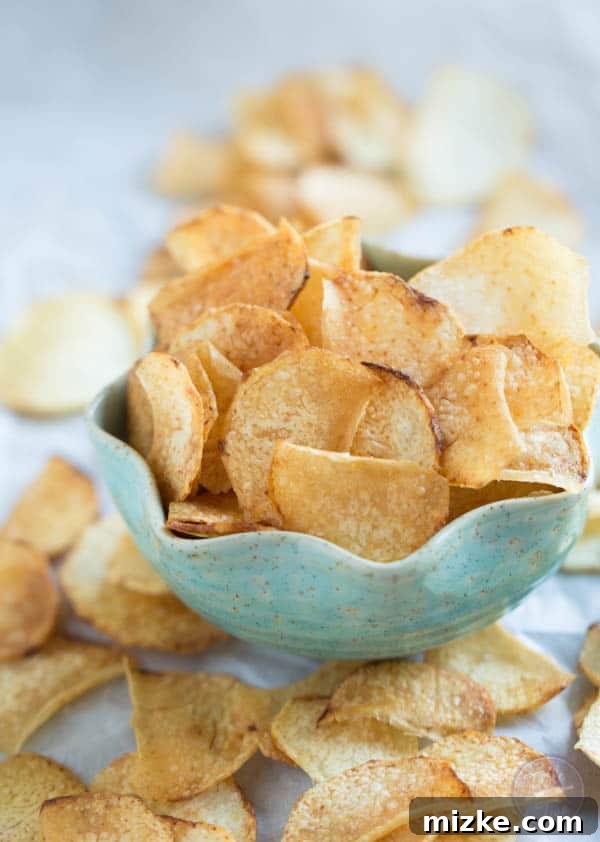
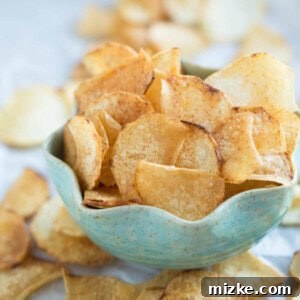
Now, shifting gears entirely from hair styling to a much more delicious obsession: homemade taro chips! You know those distinctive, slightly sweet, and incredibly satisfying chips often found in bags of specialty root vegetable mixes like Terra Chips, or, for the lucky few, occasionally served as a premium snack on JetBlue flights? I confess, I always meticulously pick out the taro chips from mixed bags and save them for last; they are undeniably my absolute favorite. While individual bags of just taro chips have started appearing in stores, they often come with a hefty price tag and a surprisingly small quantity, leaving me wanting more.
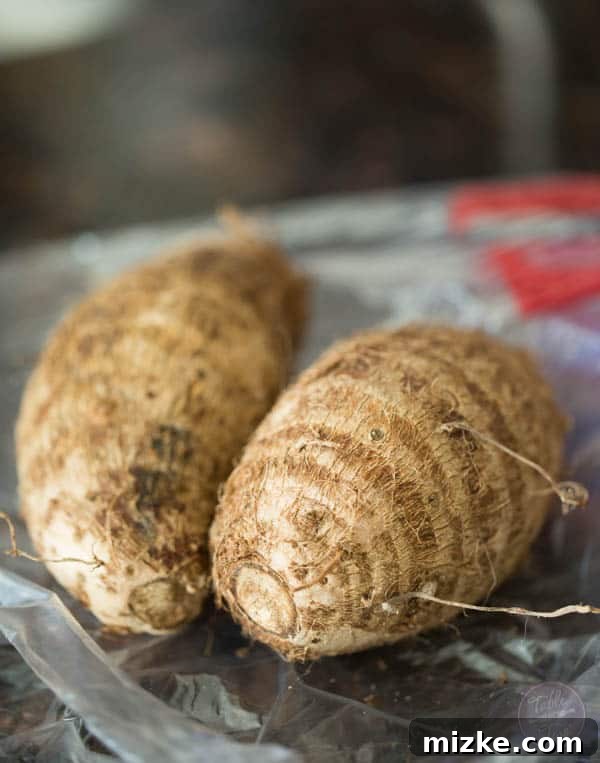
The good news is that homemade taro chips are remarkably simple to make, especially if you don’t mind a bit of deep-frying, and they are incredibly budget-friendly. Taro root itself is quite inexpensive, particularly if you venture to an international or Asian grocery store where it’s a staple. For those curious about what this unique root vegetable looks like before it becomes a delicious chip, I’ve included a photo below.
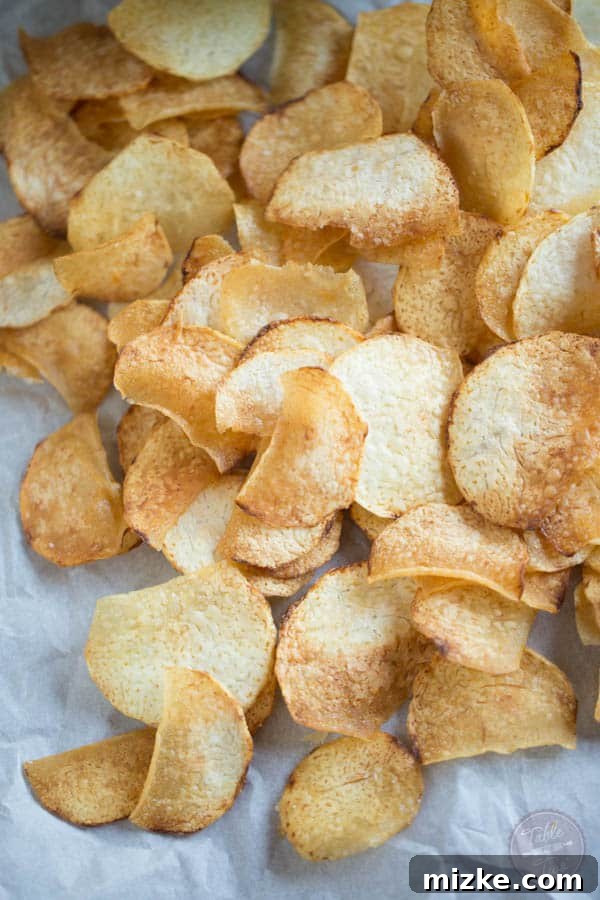
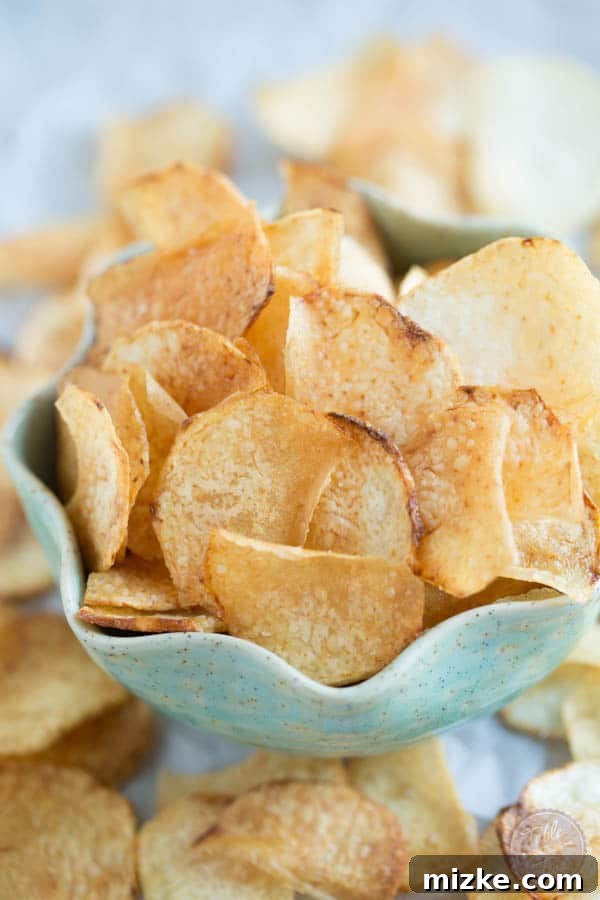
I had genuinely hoped the taro root I purchased would yield chips with a more vibrant purple hue inside, as some varieties do. But alas, you can’t exactly slice it open in the grocery store to check! Regardless of the internal coloration, these homemade taro chips were absolutely delicious – perfectly crispy, with an earthy and subtly sweet flavor, and seasoned just right. Making them yourself means you have complete control over the thickness, the level of crispiness, and the seasoning, allowing you to elevate them far beyond their often-stale and overpriced store-bought counterparts. Get ready to discover your new favorite homemade snack!
The Magic of Taro: A Root with Rich Flavor and Historical Significance
Taro might not be the most visually appealing root vegetable at first glance, with its rough, brownish, sometimes hairy skin, but its culinary versatility and delightfully distinct flavor more than make up for its humble appearance. Originating in Southeast Asia and India, taro has been a foundational staple food in many tropical and subtropical regions for thousands of years. It’s a culturally significant crop in various cuisines across Asia, Africa, and the Pacific Islands, celebrated for its starchy texture and its uniquely subtle sweet, nutty, and slightly vanilla-like taste. When properly cooked, it offers a distinct flavor profile often described as a delicious cross between a potato and a sweet potato, but with its own undeniable character.
Beyond its appealing taste and satisfying texture, taro is also a good source of dietary fiber, complex carbohydrates, and several essential vitamins and minerals, including vitamin E, vitamin B6, potassium, and manganese. It’s also known for being relatively easy to digest. While its raw form contains calcium oxalate, which causes an irritating sensation, proper cooking thoroughly neutralizes this compound, rendering it perfectly safe and delicious to consume. This makes homemade taro chips not just a delightful and addictive snack but also a relatively wholesome option compared to many highly processed alternatives found on grocery store shelves.
Selecting and Preparing Taro Root for the Ultimate Crispy Chips
Choosing and preparing the right taro root is the first and most crucial step towards achieving perfectly crispy, flavorful chips. Follow these guidelines to ensure success:
- Selecting Your Taro: Look for firm, heavy roots without any soft spots, visible blemishes, mold, or sprouts. The size doesn’t significantly affect flavor, but larger, more cylindrical roots will yield more substantial slices and more chips overall. Avoid any taro that feels light for its size, as this can indicate dryness.
- Thorough Rinsing and Careful Peeling: Begin by thoroughly rinsing the taro root under cold water to remove any dirt or soil. Peeling taro can sometimes cause mild skin irritation or itching due due to the presence of calcium oxalate crystals. To avoid this, it’s highly recommended to wear gloves while peeling or to peel the taro under running water. Use a sharp vegetable peeler or a paring knife to remove the skin efficiently.
- Precision Slicing – The Mandoline is Your Best Friend: This is arguably the most critical step for achieving consistently crispy chips. A mandoline slicer is an indispensable tool here. It allows you to achieve uniformly thin, paper-thin slices (ideally 1/16-inch thick). Consistent thickness is paramount; inconsistent slices will result in some chips being perfectly crisp while others remain undercooked and soft, or worse, some burning before others are ready.
- Optional Soaking and Essential Drying: Some recipes suggest soaking the thinly sliced taro in cold water for 15-30 minutes after slicing. This process helps to remove excess surface starch, which can contribute to crispier results. If you opt for soaking, ensure the taro slices are thoroughly patted dry with paper towels before frying. Any residual water will cause the hot oil to splatter dangerously and can prevent the chips from becoming properly crisp.
- Safety First with Hot Oil: Always be cautious when working with hot oil. Ensure your cooking area is clear, and have a lid nearby in case of unexpected splatters or a small grease fire. Never leave hot oil unattended.
Rate This Recipe
Print Recipe
Homemade Taro Chips Recipe
Julie Chiou
20 minutes
10 minutes
30 minutes
50 chips or more
Equipment
-
Dutch oven: Essential for maintaining consistent oil temperature and safely deep-frying.
-
Spider strainer: Perfect for easily removing chips from hot oil and draining excess without breaking them.
-
Mandoline slicer: Crucial for achieving uniform, paper-thin slices of taro root, which is key to perfectly crispy chips.
-
Paper towels: For lining a plate or baking sheet to efficiently drain excess oil from the freshly fried chips.
-
Kitchen thermometer: Recommended for precise temperature control of the frying oil.
Ingredients
- 8 cups (1893 ml) canola oil (or other high smoke point oil like vegetable or grapeseed oil, enough to deep fry)
- 2 large taro roots, thoroughly rinsed, peeled, and then uniformly sliced to 1/16-inch thin with a mandoline slicer
- Kosher salt, to taste
- Optional seasonings: Paprika, garlic powder, onion powder, or a pinch of sugar for a delightful sweet and savory twist.
Instructions
-
Before you begin frying, prepare a large plate or baking sheet by lining it with several layers of paper towels. This will be used to absorb excess oil from the freshly fried chips, ensuring they remain perfectly crispy and not greasy.
-
In a sturdy, heavy-bottomed pot, such as a Dutch oven, pour the canola oil. Heat the oil over medium-high heat until it reaches a precise temperature of 350 °F (177 °C). It’s crucial to use a kitchen thermometer to ensure accuracy, as consistent oil temperature is key to evenly cooked, crispy chips. If the oil isn’t hot enough, the chips will be greasy; too hot, and they’ll burn quickly before cooking through.
-
Once the oil reaches the correct temperature, carefully place a small handful of the thinly sliced taro roots into the hot oil. Avoid overcrowding the pot, as this will significantly drop the oil temperature and lead to soggy, unappetizing chips. Fry the taro slices for approximately 1-2 minutes, or until they turn a beautiful golden brown and become visibly crispy. Make sure to flip them halfway through the frying process with your spider strainer to ensure even cooking and browning on both sides. Using the spider strainer, promptly remove the golden chips from the oil and transfer them immediately to the paper towel-lined plate to drain thoroughly. While still hot, generously sprinkle with Kosher salt and any other desired seasonings, allowing the warmth to help the seasoning adhere effectively.
-
Continue this process, frying the taro in small, manageable batches, until all the sliced taro is transformed into perfectly crispy chips. Monitor the oil temperature diligently between batches, adjusting the heat as necessary to maintain a steady 350°F for optimal results.
-
For the best flavor and ultimate crunch, these homemade taro chips are best enjoyed on the day they are made, ideally warm. Store any leftovers in an airtight container at room temperature for up to 2-3 days, though be aware that they may lose some of their initial crispiness over time. Reheating briefly in an oven or air fryer can help restore some crunch.
Recipe Notes and Variations
For added flavor, don’t hesitate to experiment with different seasonings beyond just salt. A dash of smoked paprika, a sprinkle of garlic powder, onion powder, a pinch of cayenne pepper for a little heat, or even a hint of sugar mixed with salt can elevate your taro chips to new culinary heights.
Make Ahead: While best fresh, you can slice the taro ahead of time and store it submerged in cold water in the refrigerator for up to a day. Ensure to thoroughly pat dry before frying.
Nutrition Information (Approximate)
Calories: 320kcal,
Carbohydrates: 1g,
Protein: 1g,
Fat: 36g,
Saturated Fat: 3g,
Trans Fat: 1g,
Sodium: 1mg,
Potassium: 18mg,
Fiber: 1g,
Sugar: 1g
Disclaimer: This website provides approximate nutrition information for convenience and as a courtesy only. Nutrition information can vary for a variety of reasons based on specific ingredients, preparation methods, and serving sizes. For the most precise nutritional data, we strongly recommend using your preferred nutrition calculator based on the actual ingredients and quantities you used in the recipe.
Unit Conversion Disclaimer: The default measuring system for this website is US Customary. Unit conversions are provided for convenience and as a courtesy only. While we strive to provide accurate unit conversions, please be aware that there may be some discrepancies due to rounding or different measurement standards.
There are affiliate links within this post, which means I may earn a small commission if you make a purchase through them, at no extra cost to you. Your support helps keep this blog running!