
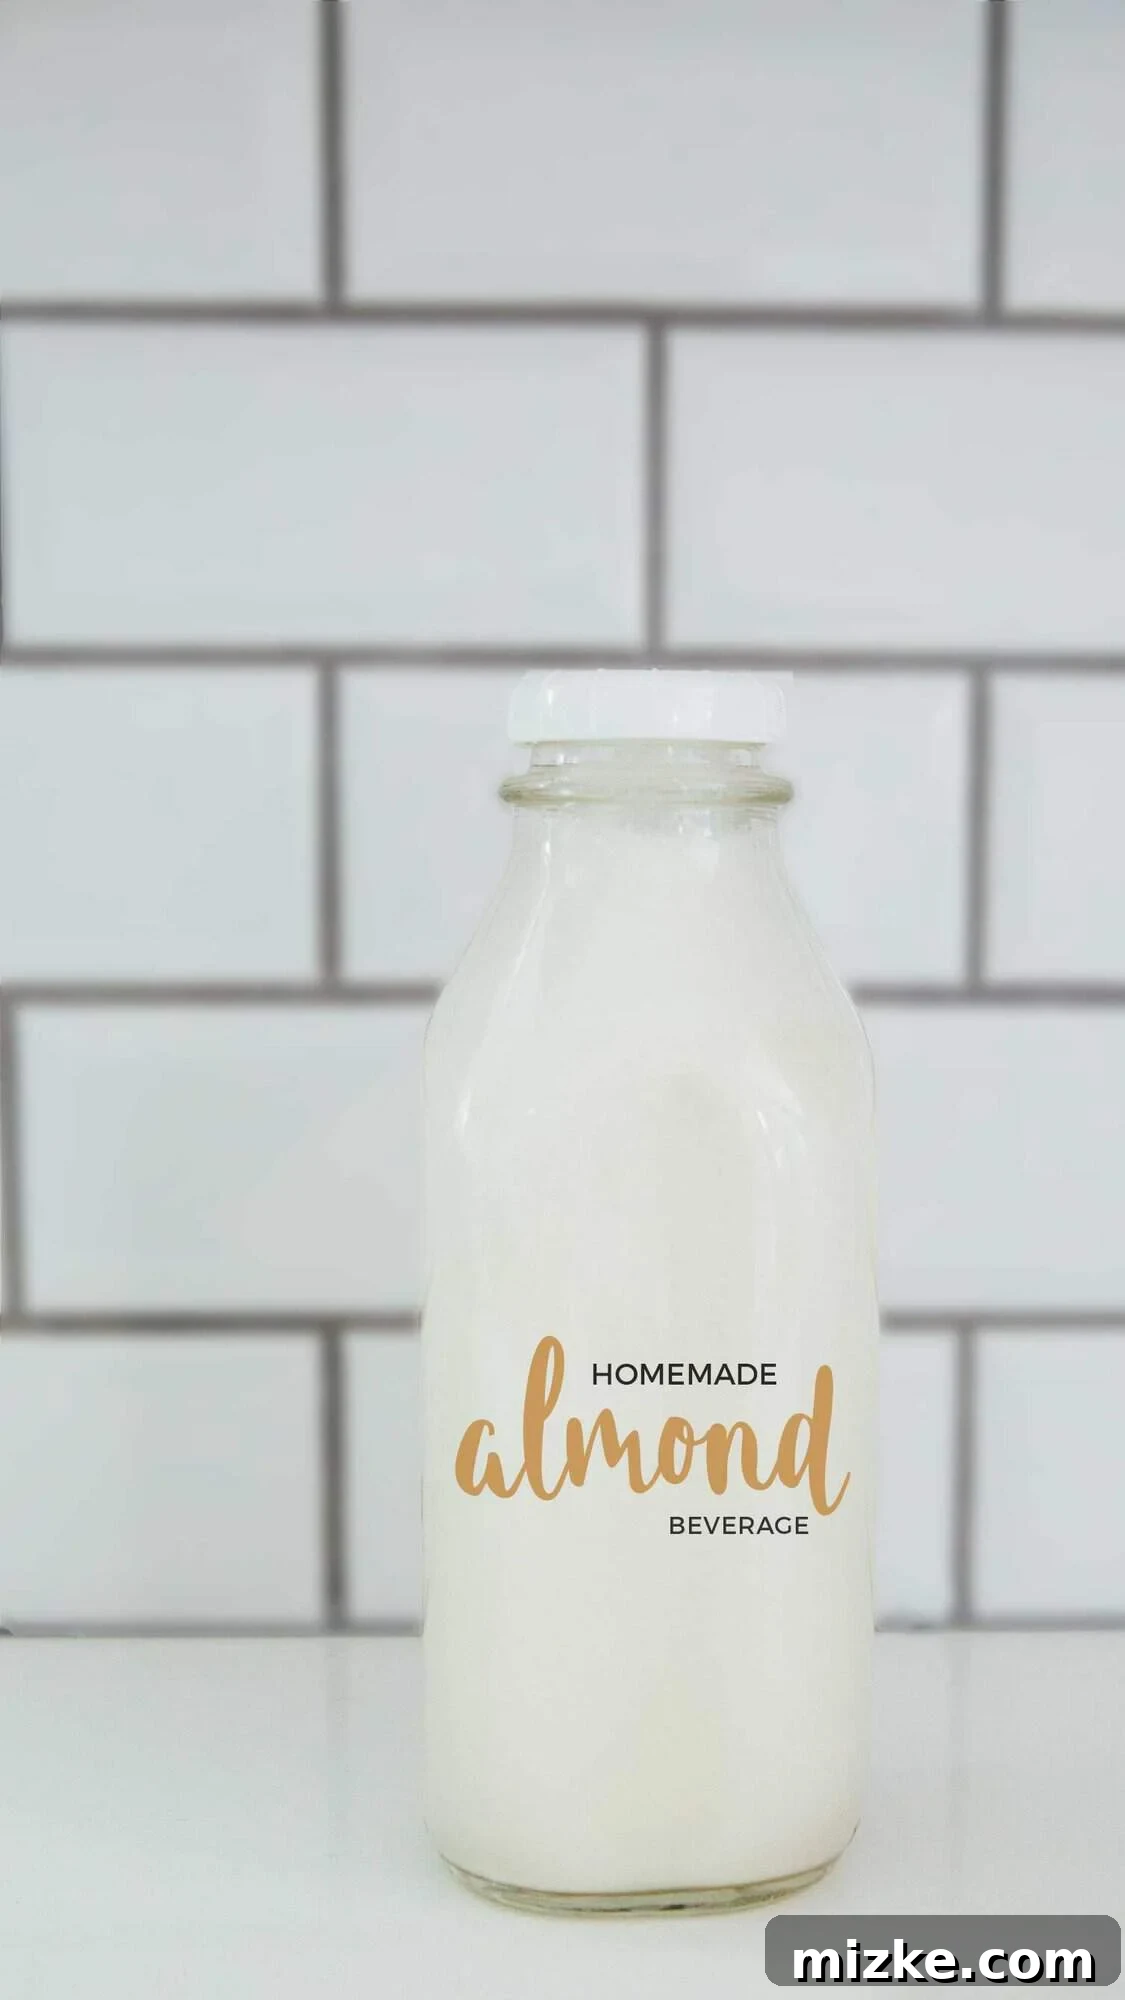
The Ultimate Guide to Homemade Almond Beverage: Fresh, Clean, and Delicious
Prepare to have your perception of plant-based drinks transformed! For months now, I’ve been crafting my own almond beverage at home, and the difference from store-bought varieties is nothing short of dramatic. It’s so superior that returning to commercial options feels like a compromise I’d only make if absolutely necessary. While it might sound a bit high-maintenance or overly “crunchy,” once you experience the pure taste and silky texture of homemade, you’ll instantly understand why it’s worth every bit of effort. The flavor is incredibly clean, devoid of the thick, sometimes gummy consistency often found in packaged versions. You’ll gain complete control over ingredients – typically just almonds and water. Occasionally, I love to add a splash of vanilla extract or a sprinkle of my favorite chai seasoning for a delightful vanilla chai almond beverage experience.
Why Choose Homemade Over Store-Bought?
The world of plant-based alternatives has exploded, with almond beverage leading the charge. However, a quick glance at the ingredient list of many store-bought options reveals a surprisingly long roster of additives: thickeners like carrageenan and gellan gum, emulsifiers like sunflower lecithin, natural flavors, and often added sugars. These ingredients can alter the taste, texture, and even nutritional profile of the beverage. When you make it yourself, you control everything. The purity of just almonds and water (and perhaps a touch of natural sweetener or flavoring) results in a product that tastes genuinely fresh, light, and wonderfully creamy without any artificial aftertaste or unpleasant sliminess.
Beyond the superior taste and texture, homemade almond beverage offers significant health benefits. You avoid unnecessary preservatives, gums, and stabilizers that some people prefer to limit in their diet. It’s also often more cost-effective in the long run, especially if you consume almond beverage regularly. Plus, the environmental impact is reduced by cutting down on Tetra Pak or plastic carton waste.
The ‘Beverage’ vs. ‘Milk’ Distinction
You might notice I consistently refer to it as an “almond beverage” rather than “almond milk.” This isn’t just a linguistic quirk; it’s a conscious choice for accuracy. True “milk” is a lacteal secretion from a mammal. Nut “milks,” while commonly used, are technically plant-based beverages. There’s an ongoing discussion, particularly among dairy farmers, advocating for stricter labeling regulations to differentiate between animal milk and plant-based alternatives. While “almond milk” is widely understood and used, opting for “almond beverage” ensures phonetic correctness and acknowledges the distinct origin of this wonderful plant-based drink. I believe in being precise, even if I’m just a small voice in the vast internet ocean – it sets a better standard for clear communication.
Getting Started: Essential Equipment
Before you dive into the recipe, gather these few essential tools. They’ll make the process incredibly smooth and efficient:
- High-Speed Blender: This is non-negotiable for achieving a super smooth and creamy beverage. A powerful blender like a Vitamix or similar model is highly recommended, as it effectively pulverizes the almonds, extracting maximum flavor and nutrients. While traditional blenders *might* work, you’ll likely get a grittier result.
- Nut Milk Bag: This specialized straining bag is key for separating the liquid from the almond pulp. Its fine mesh ensures a silky-smooth beverage. You can easily find reusable nut milk bags online, such as this one I use from Amazon.
- Large Bowl: You’ll need a bowl large enough to hold the blended almond mixture and the nut milk bag during the straining process, typically accommodating at least 5-6 cups of liquid.
- Storage Bottles: Glass bottles with airtight lids are ideal for storing your fresh almond beverage in the refrigerator. They not only look elegant but also help maintain freshness. I love using these specific glass bottles in my fridge.
Step-by-Step Guide to Homemade Almond Beverage
1. Soaking the Almonds
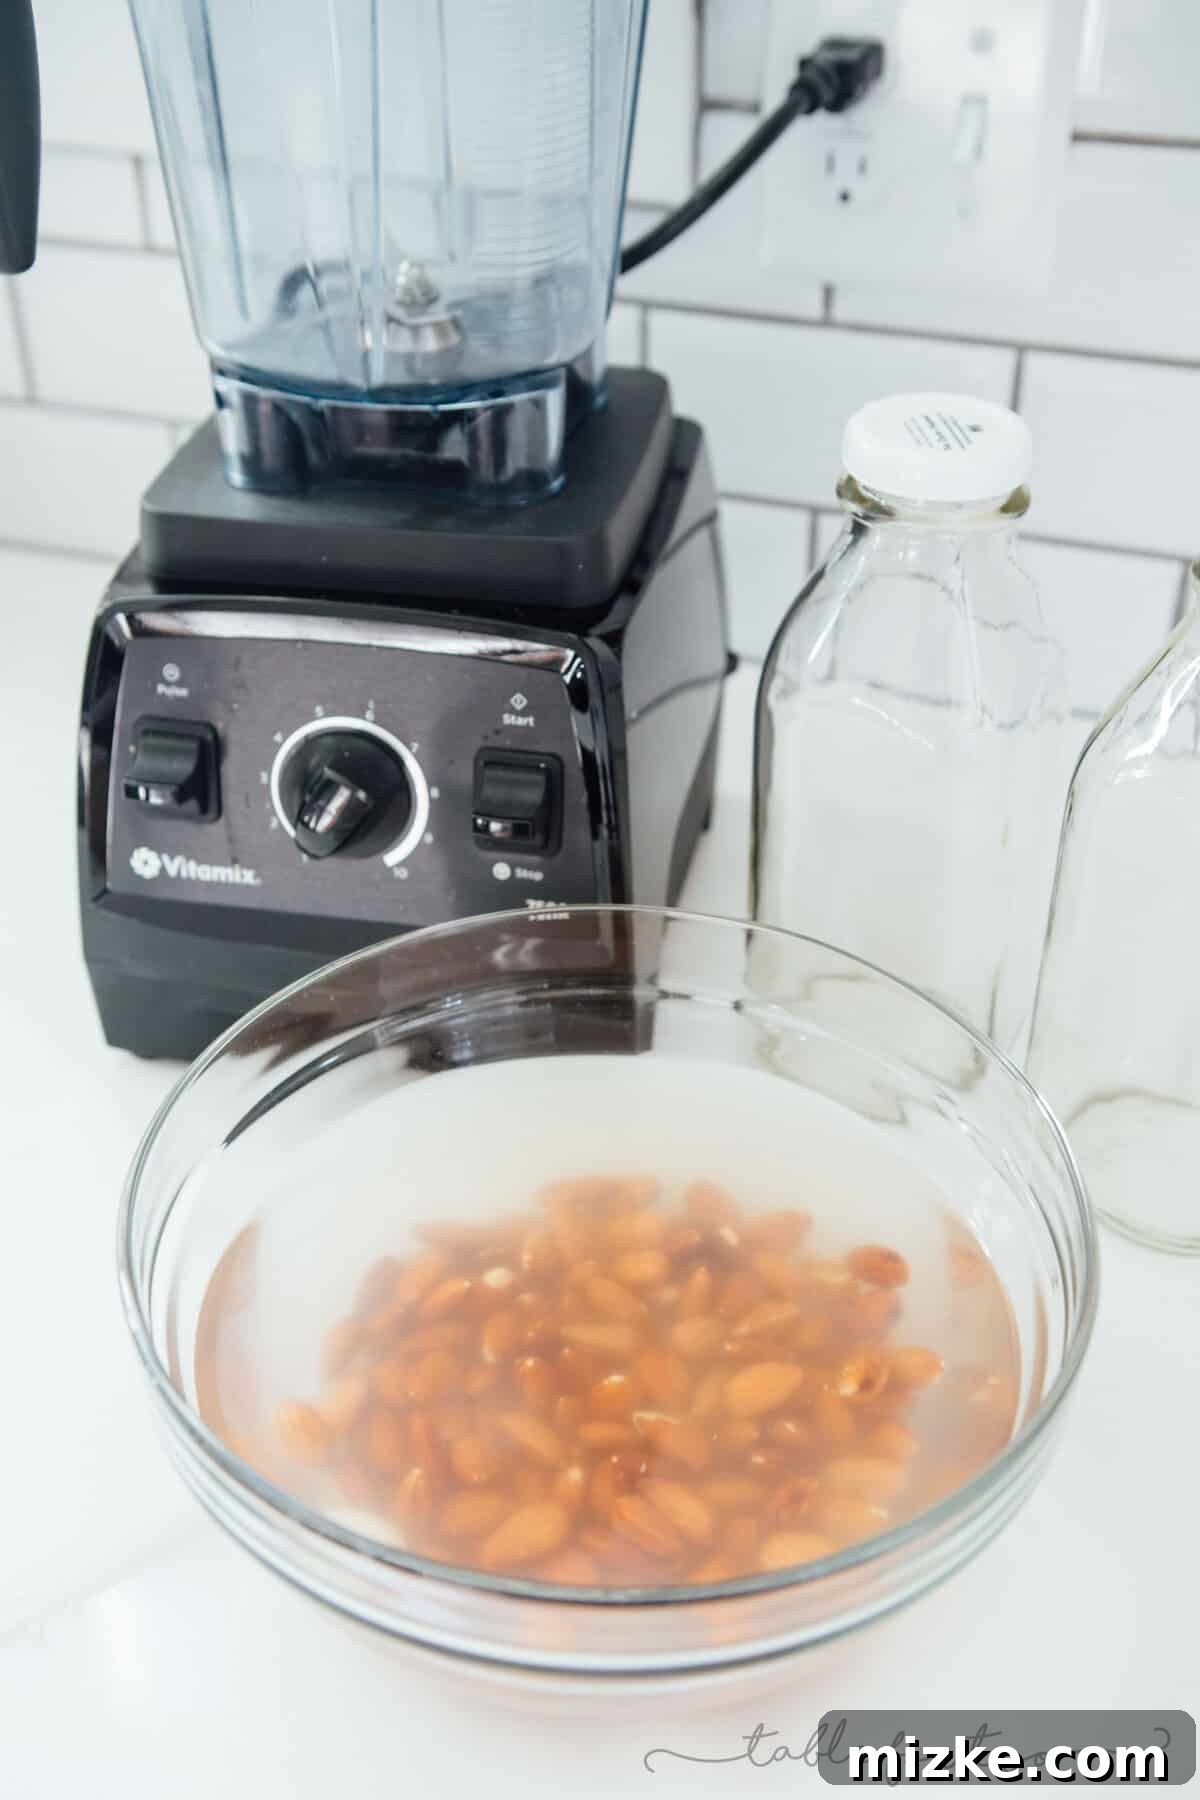
The first and crucial step is soaking your almonds. Take 1 cup of raw, unsalted, unroasted almonds and place them in a bowl. Cover them generously with fresh tap water, ensuring the almonds are fully submerged. Let them soak overnight, or for at least 8-12 hours. Soaking softens the almonds, making them easier to blend into a smooth consistency. It also aids in digestion and nutrient absorption by breaking down enzyme inhibitors. After soaking, you’ll notice the almonds have plumped up and softened considerably.
2. To Peel or Not to Peel?
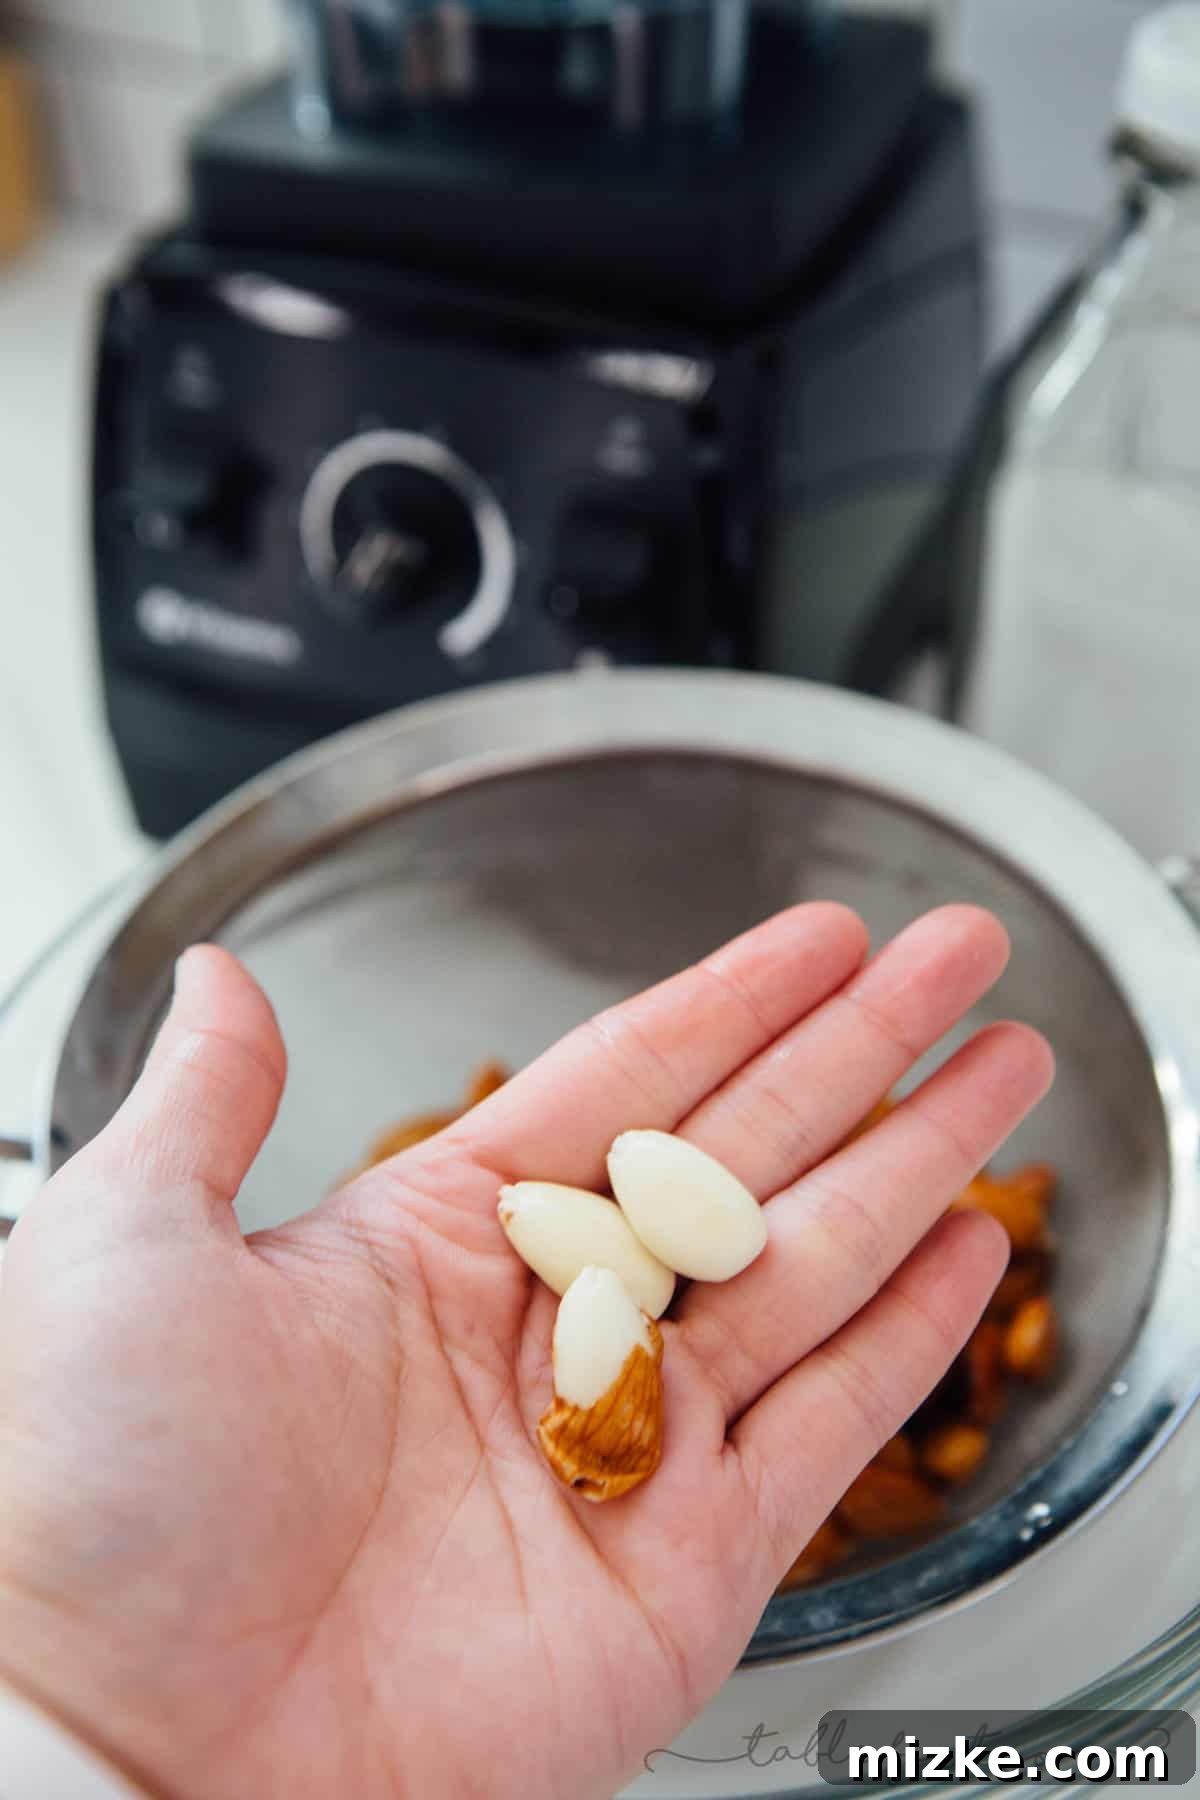
Once your almonds have soaked sufficiently, drain them thoroughly. At this point, you have a choice: peel the skins off or leave them on. The skins will be quite loose and can be easily popped off with your fingers. Some proponents of peeling argue that it leads to an even creamier, smoother beverage, similar to how peeling chickpeas results in smoother hummus. For my very first batch, I diligently peeled every single almond. However, after extensive experimentation, I can confidently say I found absolutely no discernible difference in consistency or taste between skinned and unskinned almonds.
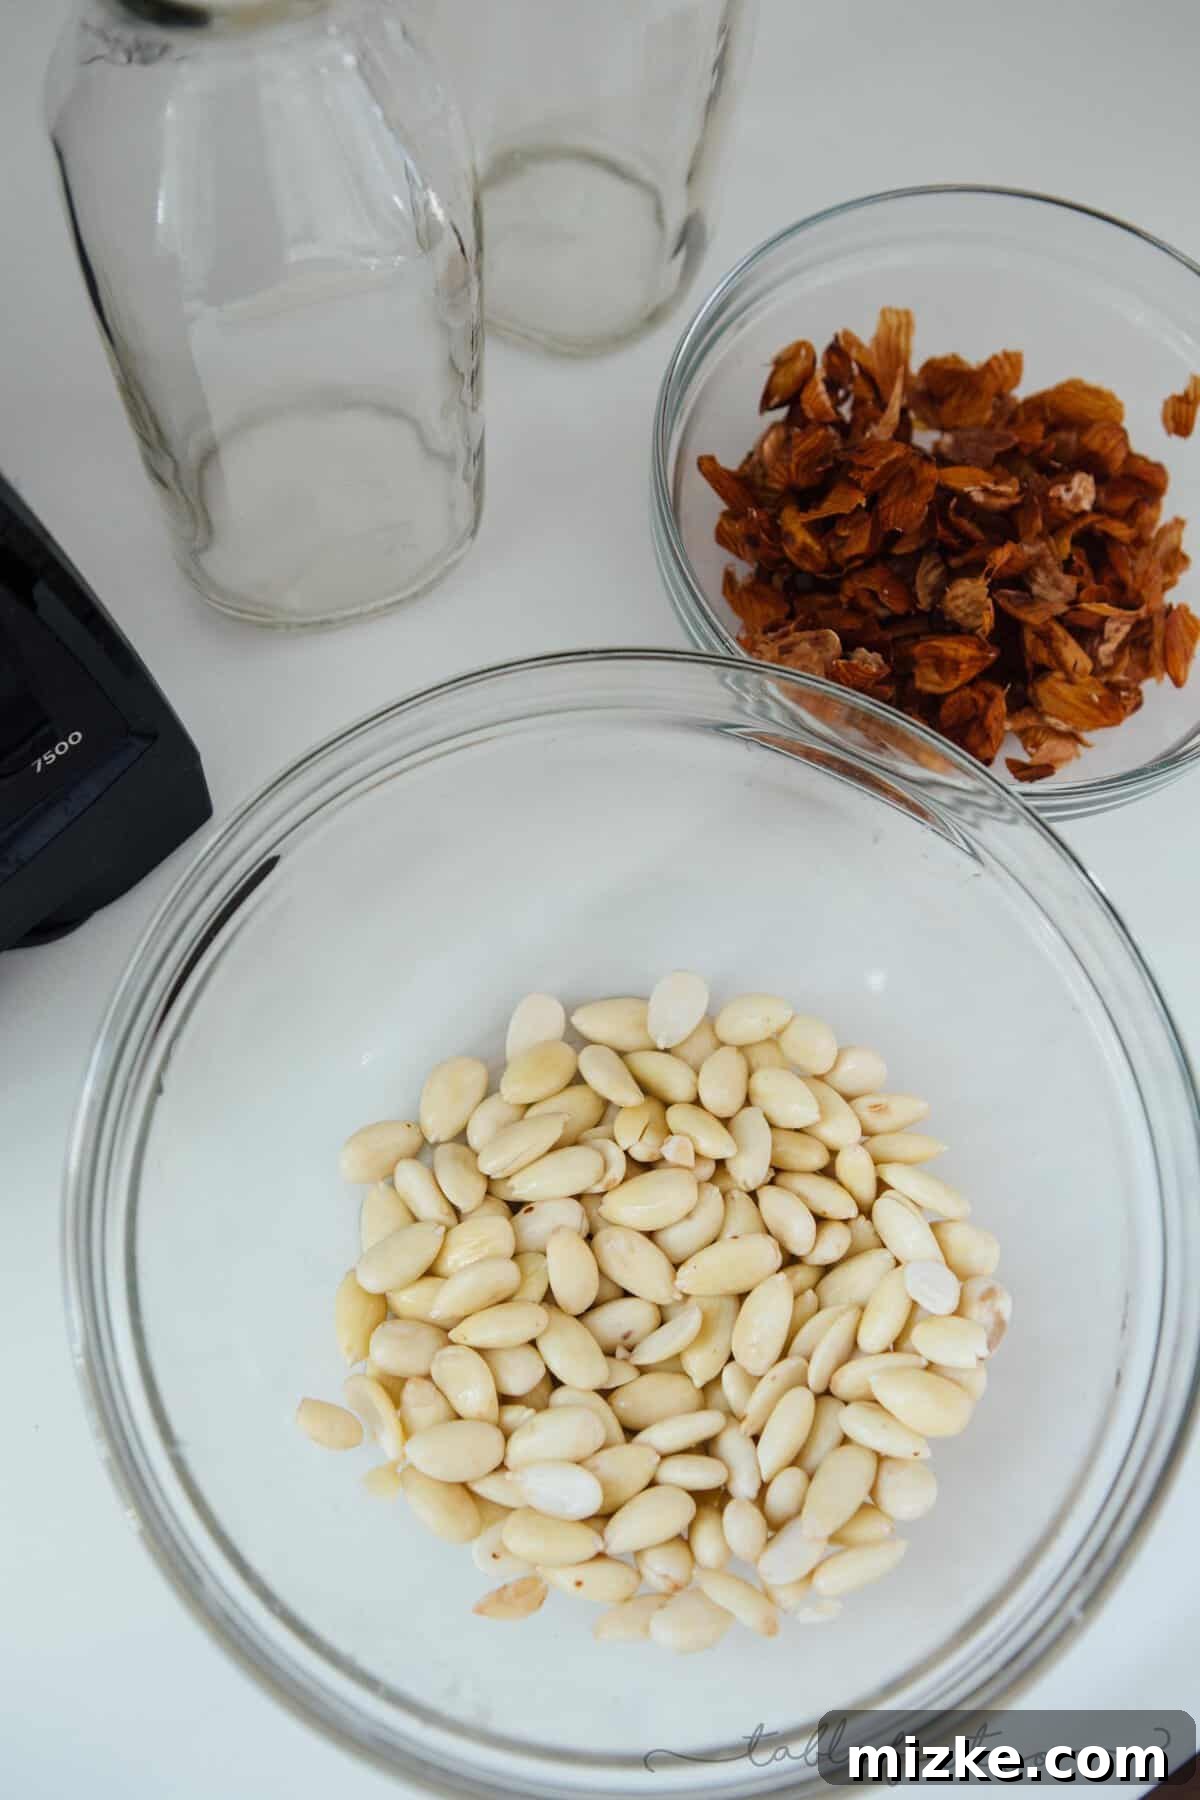
Given the precious 20 minutes (or more!) it takes to peel a cup of almonds, I now skip this step entirely. Simply drain the soaked almonds and transfer them directly into your high-speed blender. This saves time and effort without compromising on the quality of your final beverage. You’re welcome!
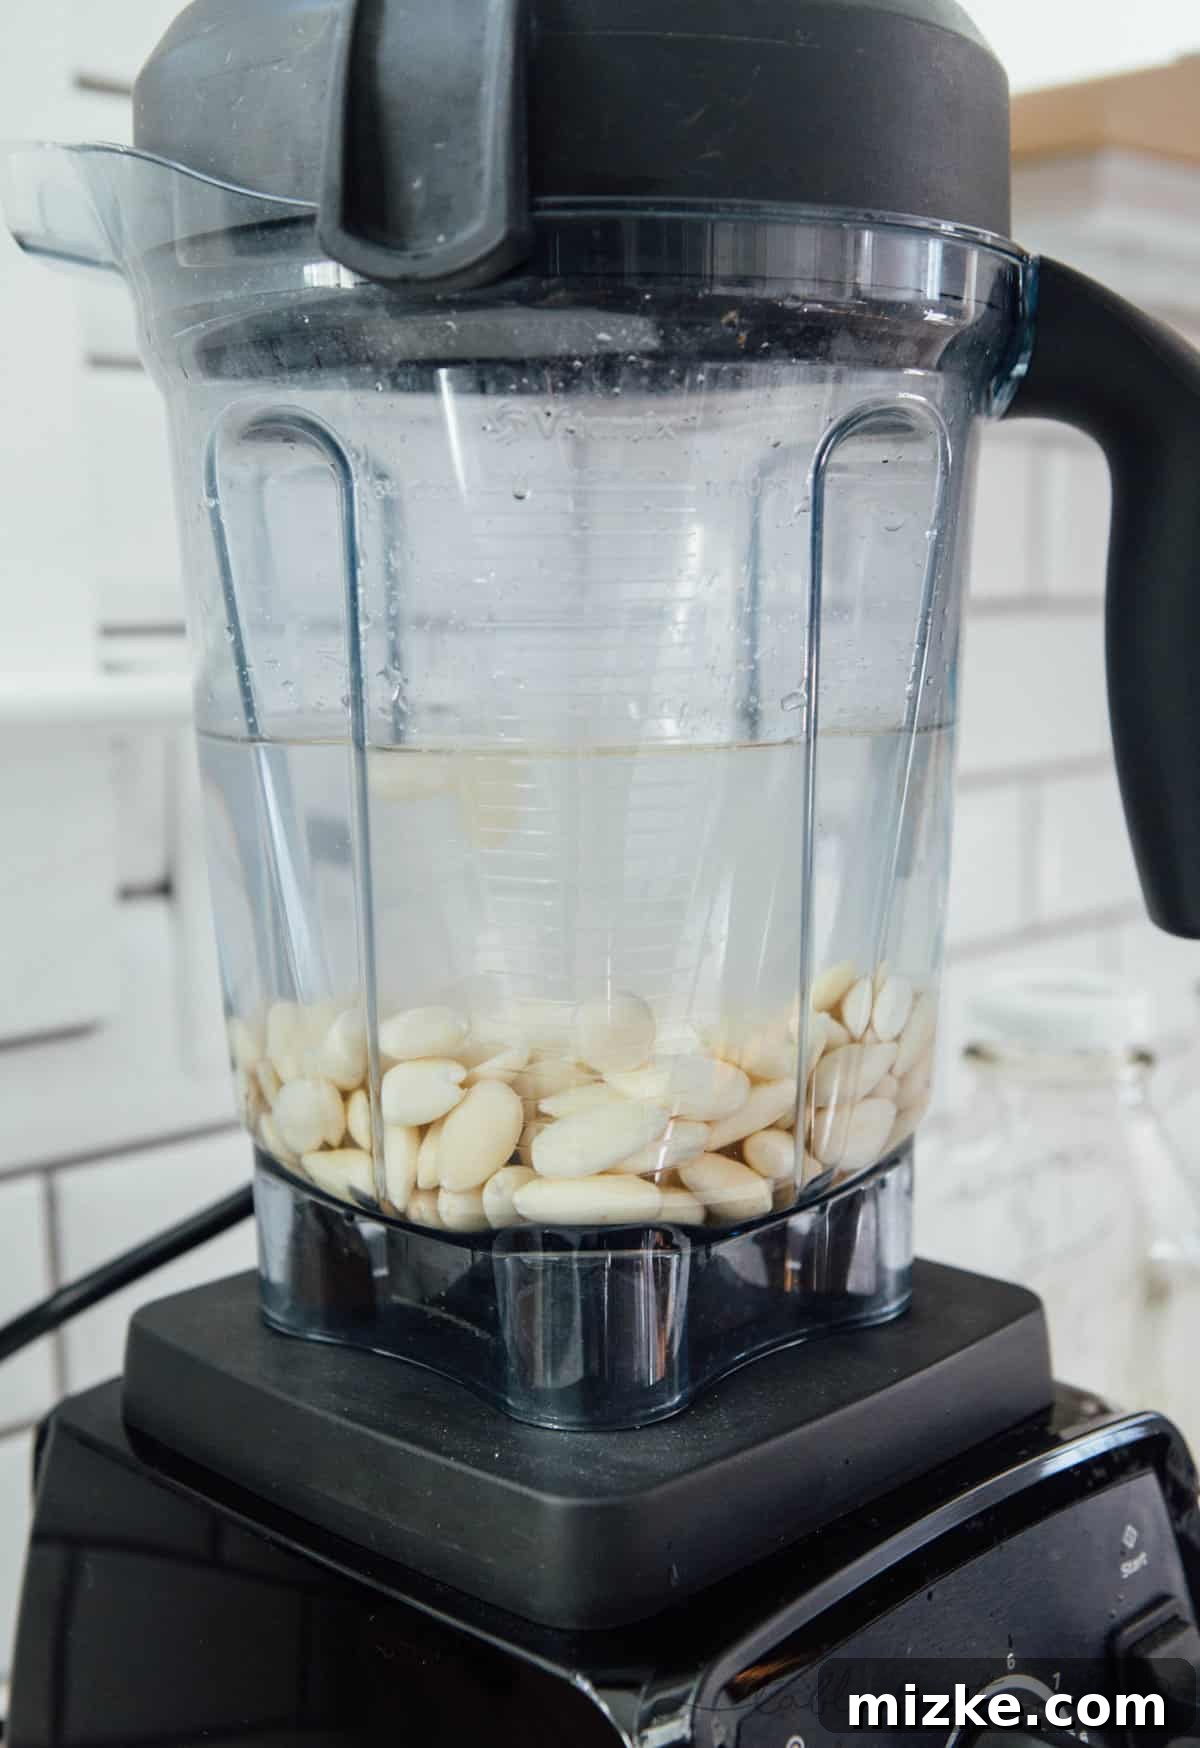
3. Blending to Perfection
Once the drained almonds are in your blender, add 4 cups of fresh, filtered water. Using filtered water is key to a clean-tasting beverage, as it eliminates any unwanted tap water flavors that could otherwise detract from the almonds’ natural sweetness. If you wish to add flavor, now is the time to do it. A teaspoon of vanilla extract is a classic choice, or you could experiment with a pinch of sea salt, a few pitted dates for natural sweetness, or a dash of cinnamon or nutmeg.
Blend on high speed for 1-2 minutes, or until the mixture appears completely smooth and creamy. You want to ensure the almonds are thoroughly pulverized to extract all their goodness. The liquid should be opaque and have a light, frothy top layer.
4. Straining for Smoothness
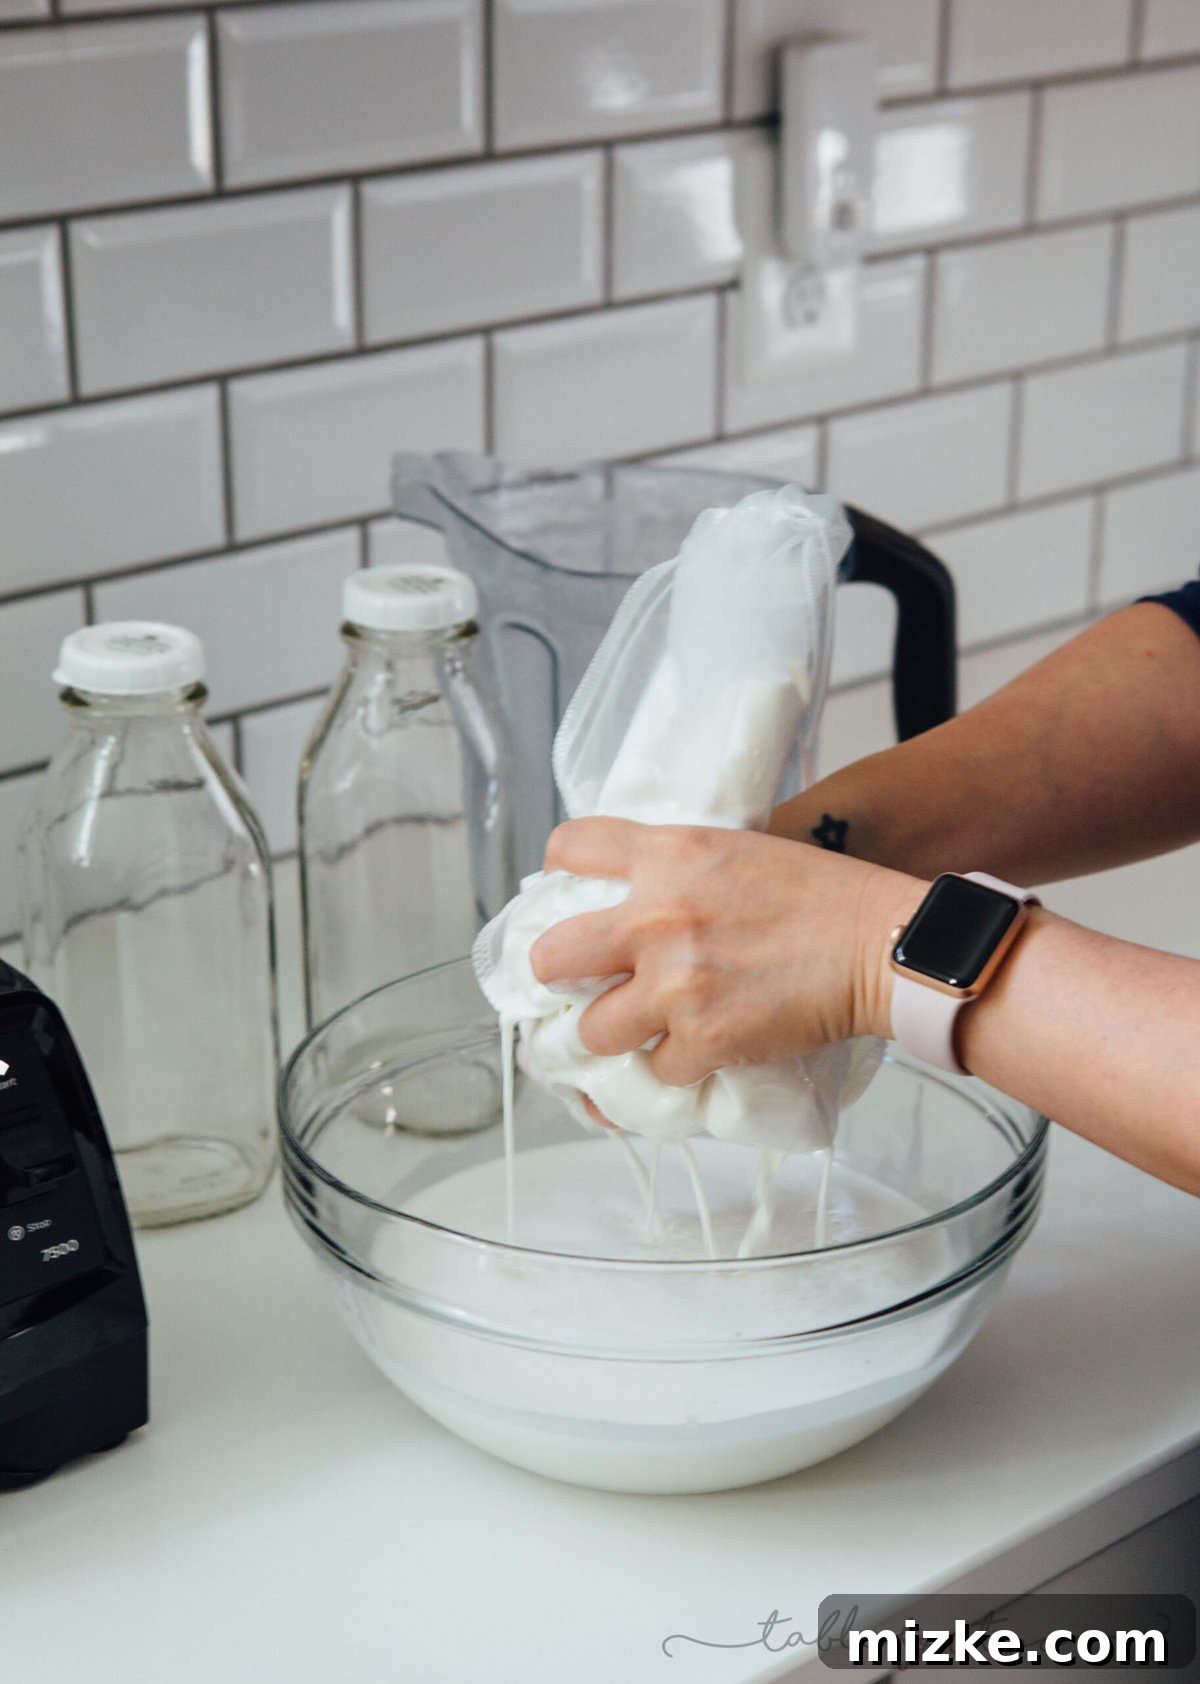
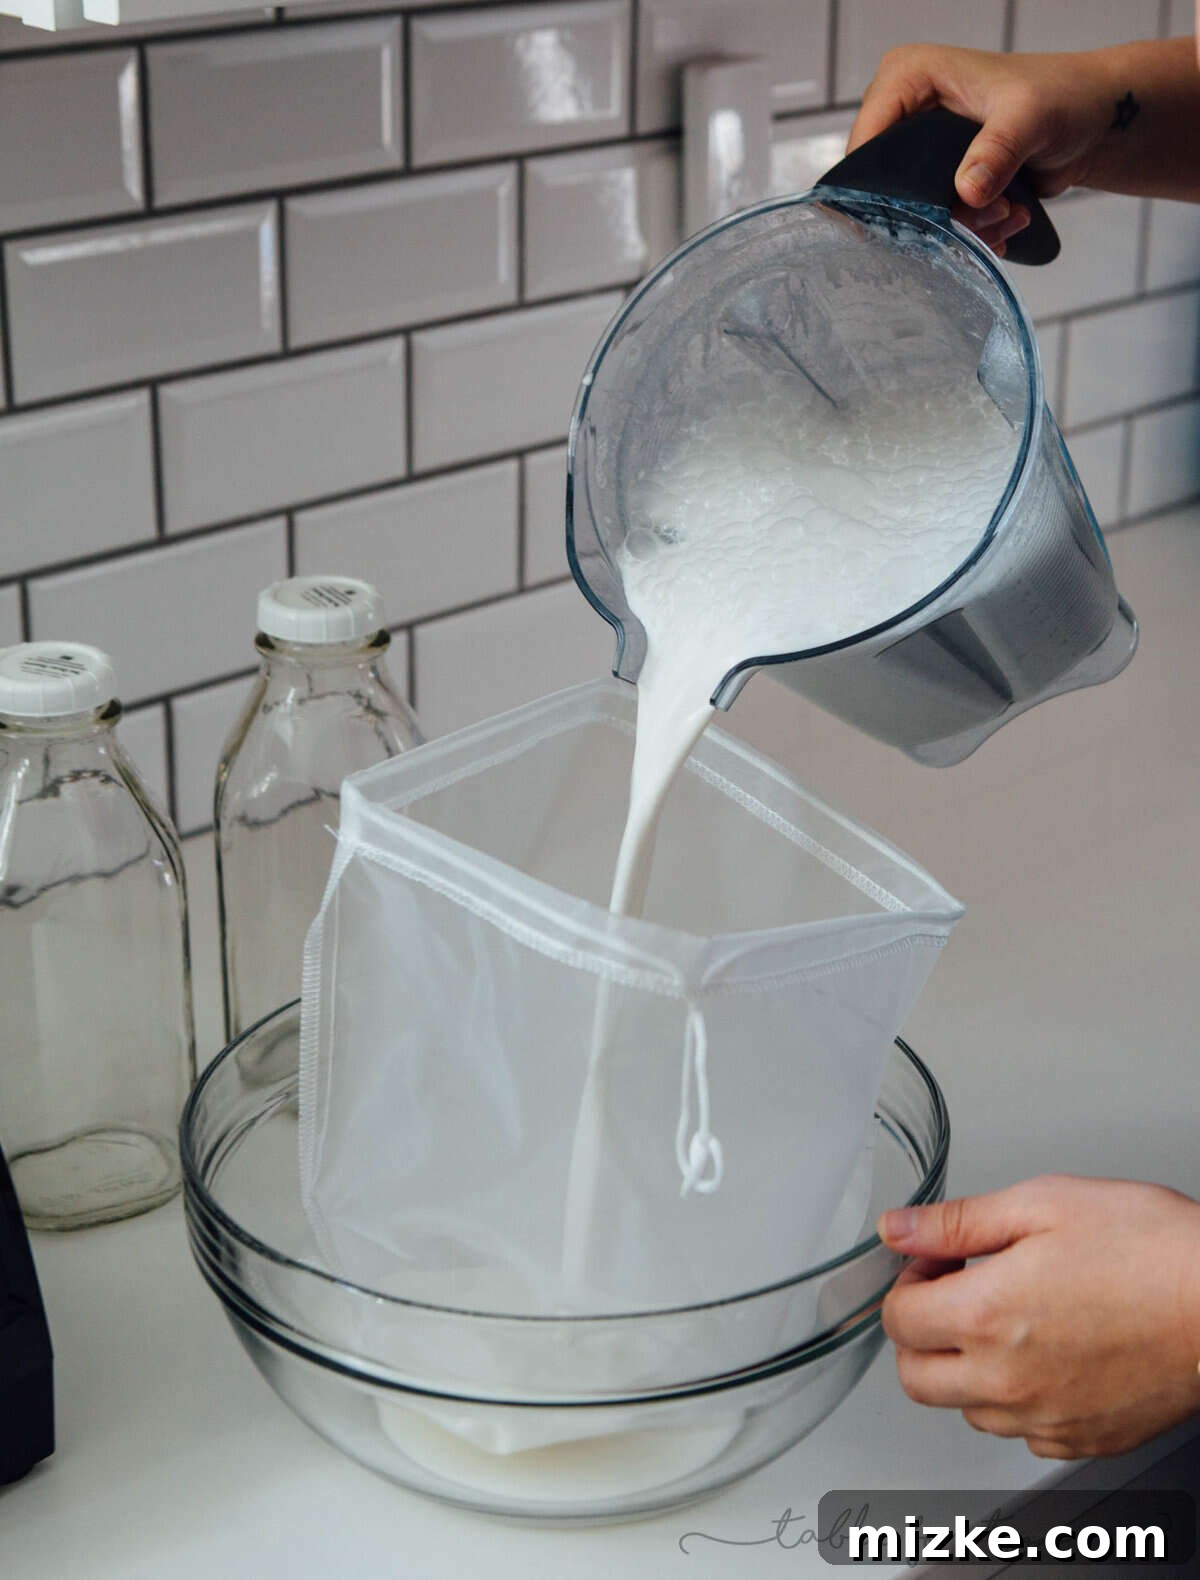
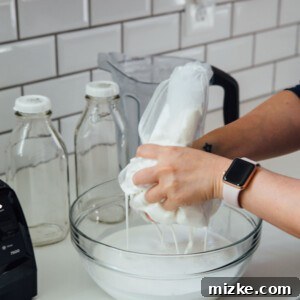
Now for what many on Instagram jokingly call the “nut sack” stage! Place your reusable nut milk bag inside a large bowl. Carefully pour the blended almond mixture into the bag. This is where the magic happens, separating the rich liquid from the fibrous almond pulp.
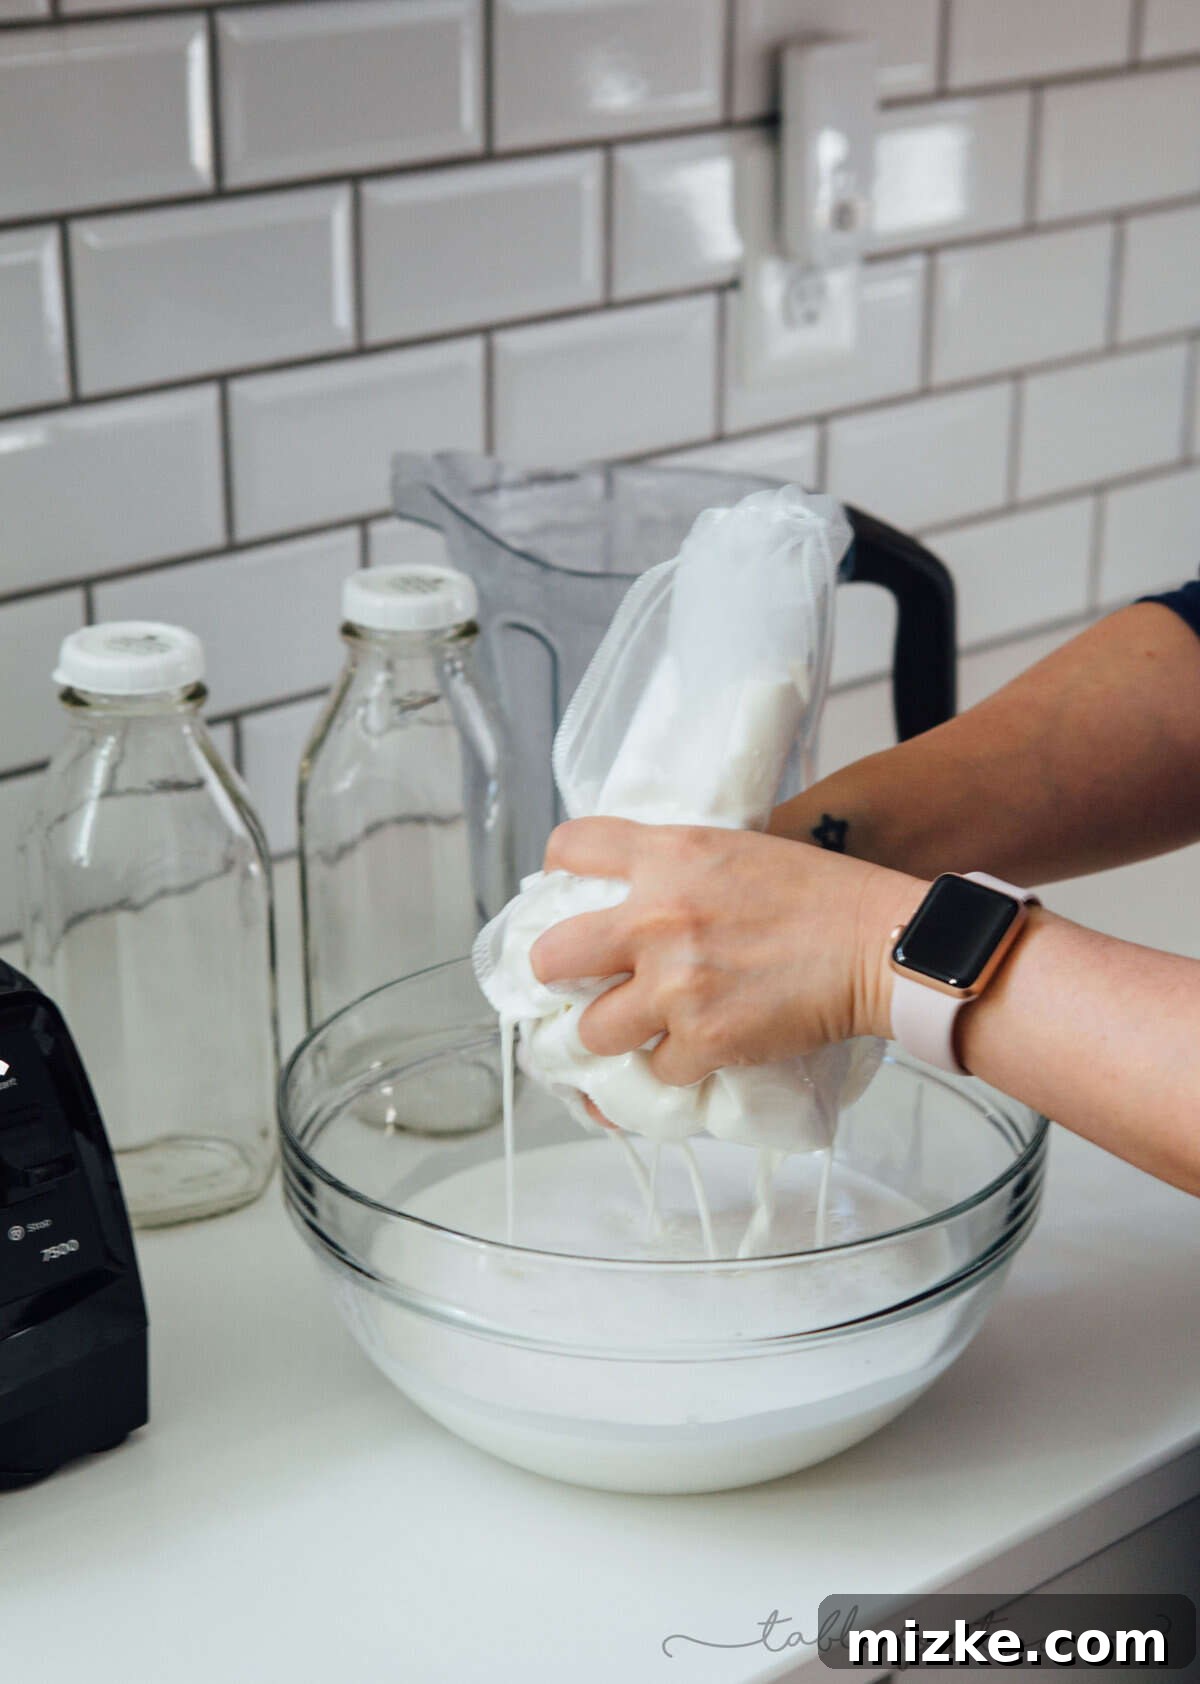
Gently massage and squeeze the nut milk bag to extract all the liquid into the bowl. Be patient with this step; the more thoroughly you squeeze, the more beverage you’ll yield and the drier your pulp will be. It’s a surprisingly simple process!
That is, unless you’re me, and occasionally the entire contents of the bag decide to erupt in a milky explosion! Yes, I’ve had those moments where it looks like a baby spit-up incident right onto me. Lesson learned: always have a firm grip and don’t squeeze too vigorously right at the start!

Humorous mishaps aside, once you’ve successfully strained and collected all the rich, creamy liquid, you’ll be left with the almond pulp. This pulp can either be discarded, composted, or, if you’re feeling adventurous, repurposed into various recipes. It’s a versatile ingredient for things like crackers, energy bites, or even adding texture to smoothies – but that’s a topic for another post!
5. Storage and Enjoyment
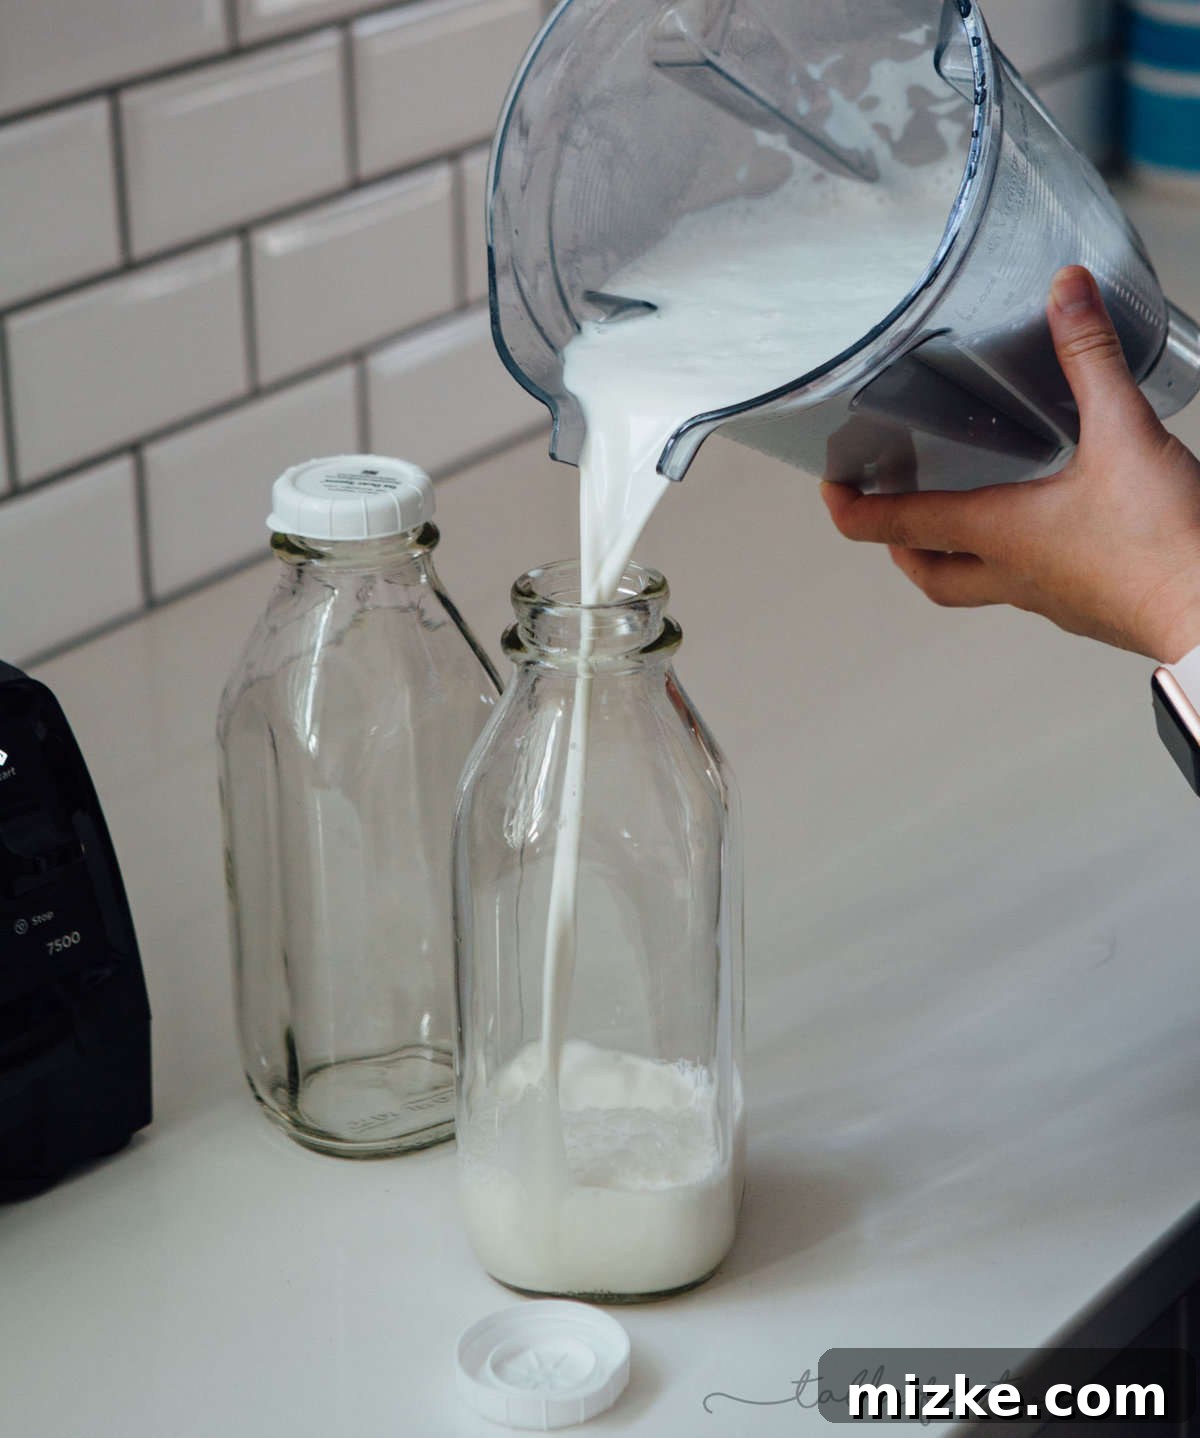
After straining, I usually pour the fresh almond beverage back into my blender pitcher for easy pouring. Then, transfer it into your chosen airtight glass bottles. These not only keep the beverage fresh but also look incredibly chic sitting in your fridge, adding a touch of homemade elegance.
Because your homemade almond beverage contains no preservatives, it’s best enjoyed within 5-7 days. Always keep it refrigerated. While it might not “go bad” immediately past that timeframe (given it’s just almonds and water), the freshness and taste will begin to diminish. For the purest and most vibrant flavor, try to consume it within that optimal window. A quick shake before each use is also a good idea, as natural separation can occur.
Creative Flavor Variations
The beauty of homemade almond beverage lies in its versatility. Once you’ve mastered the basic recipe, you can easily customize it to suit your palate:
- Vanilla Bean: Instead of extract, add a split vanilla bean to the blender with the almonds and water for an intensely aromatic flavor.
- Sweet & Creamy: Blend in 1-2 pitted Medjool dates or a tablespoon of maple syrup for a naturally sweet beverage perfect for coffee or smoothies.
- Chocolate Indulgence: Add 1-2 tablespoons of unsweetened cocoa powder and a sweetener for a homemade chocolate almond drink.
- Spiced Delight: Beyond chai, experiment with a pinch of cinnamon, nutmeg, cardamom, or even a tiny piece of fresh ginger for warming, comforting flavors.
- Matcha Boost: Blend in a teaspoon of matcha powder for a vibrant green, energizing beverage.
Homemade Almond Beverage
Julie Chiou
20 minutes
12 hours
20 minutes
4
cups
Equipment
-
Blender
-
Nut milk bag
Ingredients
-
1
cup
(143 g)
raw almonds, not roasted or salted, RAW -
4
cups
(946 ml)
filtered water -
1
teaspoon
vanilla extract
, optional
Instructions
-
In a small bowl, add raw almonds and cover with tap water. Soak almonds overnight.1 cup (143 g) raw almonds
-
When ready, drain almonds from the water they have been soaking in. Peel skin, if desired (see notes below on why this is optional).
-
Add drained almonds to a powerful blender.
-
Fill with 4 cups (946 ml) of filtered water and add vanilla extract, if using.4 cups (946 ml) filtered water,
1 teaspoon vanilla extract -
Blend until smooth and creamy, for about 1-2 minutes.
-
Pour the blended mixture into a nut milk bag that is placed inside a large bowl to accommodate at least 5 cups of liquid.
-
Gently massage and squeeze out the liquid from the nut milk bag until the almond pulp is pretty much dry and you can get no more liquid out.
-
Pour the collected liquid back into the blender pitcher (for easy pouring) and then transfer into glass bottles or your preferred airtight container.
-
Refrigerate and use within 5-7 days for the freshest taste.
Notes
You’ll definitely need a powerful blender for this. A Vitamix or similar is preferred. I haven’t tried in traditional blenders; still might work!
Nutrition
Serving:
1
cup
,
Calories:
208
kcal
,
Carbohydrates:
8
g
,
Protein:
8
g
,
Fat:
18
g
,
Saturated Fat:
1
g
,
Trans Fat:
1
g
,
Sodium:
12
mg
,
Potassium:
254
mg
,
Fiber:
4
g
,
Sugar:
2
g
Hide Disclaimers
This website provides approximate nutrition information for convenience and as a courtesy only. Nutrition information can vary for a variety of reasons. For the most precise nutritional data use your preferred nutrition calculator based on the actual ingredients you used in the recipe.
The default measuring system for this website is US Customary. Unit conversions are provided for convenience and as a courtesy only. While we strive to provide accurate unit conversions, please be aware that there may be some discrepancies.
Beyond the Beverage: What to Do with Almond Pulp
Don’t throw away that leftover almond pulp! While some might, it’s a valuable byproduct full of fiber and nutrients that can be creatively repurposed. Here are a few ideas:
- Almond Pulp Crackers: Mix the pulp with some flax seeds, herbs, and spices, press it thin, and bake until crispy for a healthy, gluten-free snack.
- Smoothie Booster: Add a spoonful or two of pulp to your morning smoothie for an extra fiber and protein kick.
- Energy Bites: Combine pulp with dates, nuts, cocoa powder, and roll into energy balls for a quick, nutritious treat.
- Baking Ingredient: Incorporate dried almond pulp into muffins, bread, or cookies to add texture and a subtle almond flavor. You can dehydrate the pulp in a low oven or a food dehydrator until completely dry, then store it in an airtight container.
Final Thoughts on Your Homemade Journey
Embarking on the journey of making your own homemade almond beverage is a rewarding experience. It’s a simple act that significantly upgrades your daily coffee, cereal, or smoothie routine. You’ll appreciate the pure, unadulterated taste and the peace of mind that comes from knowing exactly what’s in your glass. While it requires a little prep, the freshness and quality far outweigh the convenience of store-bought cartons. So, go ahead, give it a try, and join the ranks of those who have discovered the truly transformative power of DIY almond beverage!
There are affiliate links within this post.
1. **SEO Compliance:**
* Added `
` and basic ``, `