
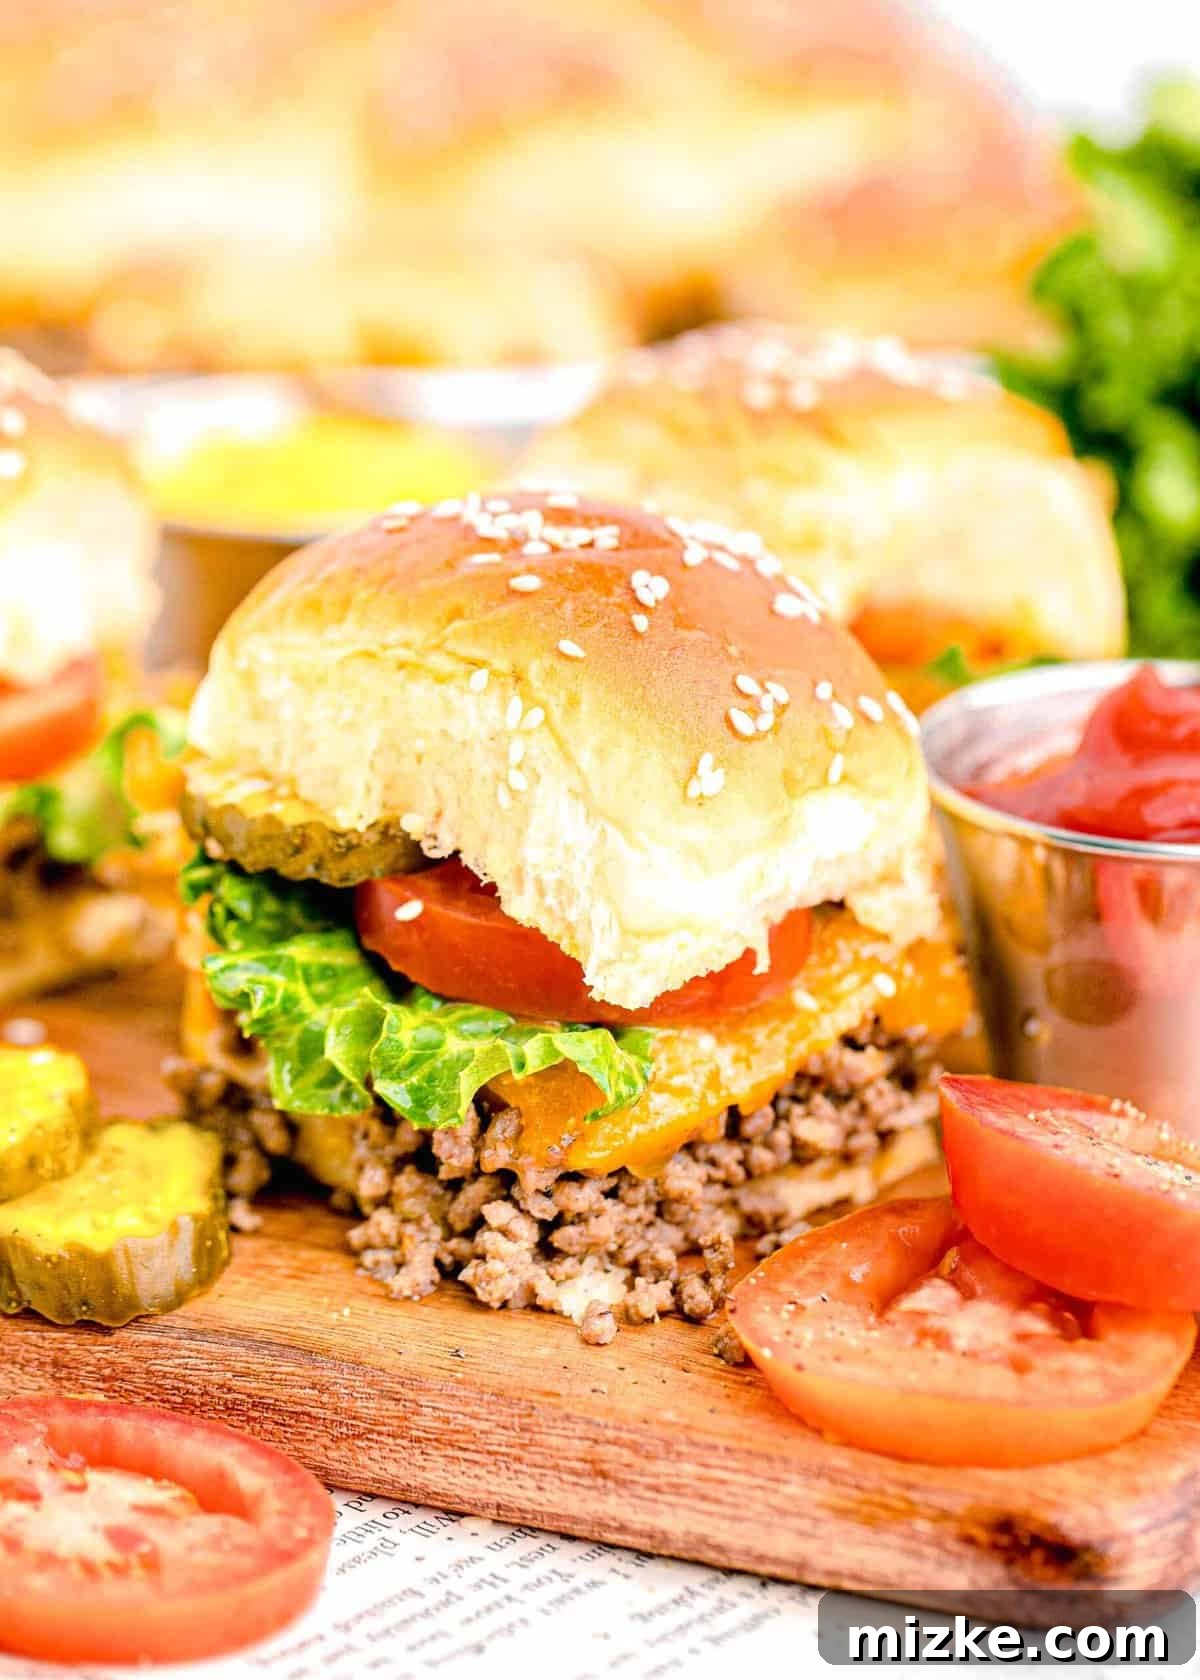
Welcome to the ultimate guide for crafting the most irresistible party snack: **Cheeseburger Sliders**. Forget the hassle of flipping individual patties on a hot grill; these incredibly easy, baked sliders deliver gooey, cheesy perfection with minimal effort. Whether you’re planning a lively 4th of July celebration, a casual potluck with friends, or simply need a crowd-pleasing appetizer, these all-American delights are guaranteed to be the first to disappear from the serving platter. Get ready to impress everyone with these flavorful mini burgers that redefine convenience and taste!
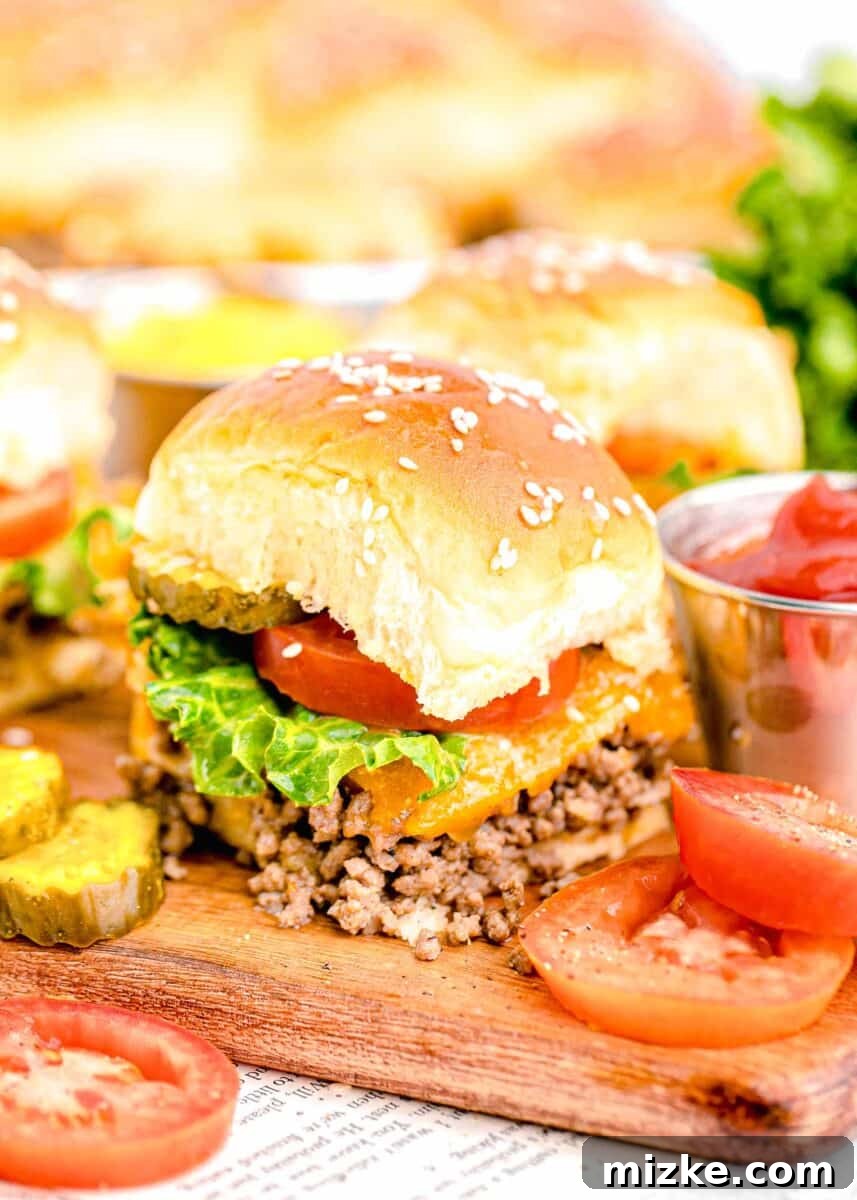
Hosting a gathering should be enjoyable, not stressful. That’s precisely why these effortless cheeseburger sliders are a game-changer. Instead of enduring the heat of a grill to prepare multiple individual burgers, you’ll simply layer all the essential ingredients in a single baking dish and let your oven do the heavy lifting. The process is remarkably straightforward, allowing you more time to mingle with your guests. Below, you’ll find comprehensive yet simple instructions that will guide you through creating a batch of these heavenly bites. You’ll be delighted by how easy it is to achieve such fantastic results!
At their core, these sliders bring together seasoned ground beef, copious amounts of melted cheese, and all your favorite burger toppings to create a miniature masterpiece in every bite. It’s a delightful twist on the traditional burger, offering all the classic flavors in a convenient, shareable format. Prepare to be pleasantly surprised by how much you—and everyone else at your event—will adore this innovative take on a timeless classic.
Why These Cheeseburger Sliders Are a Must-Make
These baked cheeseburger sliders aren’t just a recipe; they’re a solution for effortless entertaining and delicious dining. Here’s why they’ll quickly become a staple in your culinary repertoire:
- Unleash Your Creativity with Customization: One of the greatest advantages of this recipe is its incredible versatility. As you explore the different variations and substitution ideas further down, you’ll realize that these sliders are a blank canvas for your culinary imagination. Want to add a spicy kick? Go for it! Prefer a different type of cheese? Absolutely! These are *your* sliders, and you have complete freedom to tailor them exactly to your taste preferences, making each batch uniquely yours.
- Effortless Preparation for Stress-Free Hosting: The sheer ease of making these sliders is truly remarkable. The process involves layering soft buns, a savory ground beef mixture, and a generous blanket of cheese, all baked under buttery, sesame-seed-studded tops. In just about 10-12 minutes in the oven, the cheese melts into a gooey dream, and the buns toast to golden perfection. This hands-off baking method means you spend less time slaving in the kitchen and more time enjoying the party and your company. It’s the ideal recipe for hosts who want delicious food without the fuss.
- A Guaranteed Crowd-Pleaser for All Ages: Who doesn’t love a good burger? These mini cheeseburger sliders tap into that universal appeal, offering a familiar and beloved flavor profile in an adorable, easy-to-handle size. This kid-friendly recipe consistently earns rave reviews from guests of all ages, making it perfect for virtually any occasion, from casual family dinners to large celebratory gatherings. Watch as plates are cleared and requests for the recipe pour in—these sliders are truly a universal favorite!
Essential Ingredients for Perfect Sliders
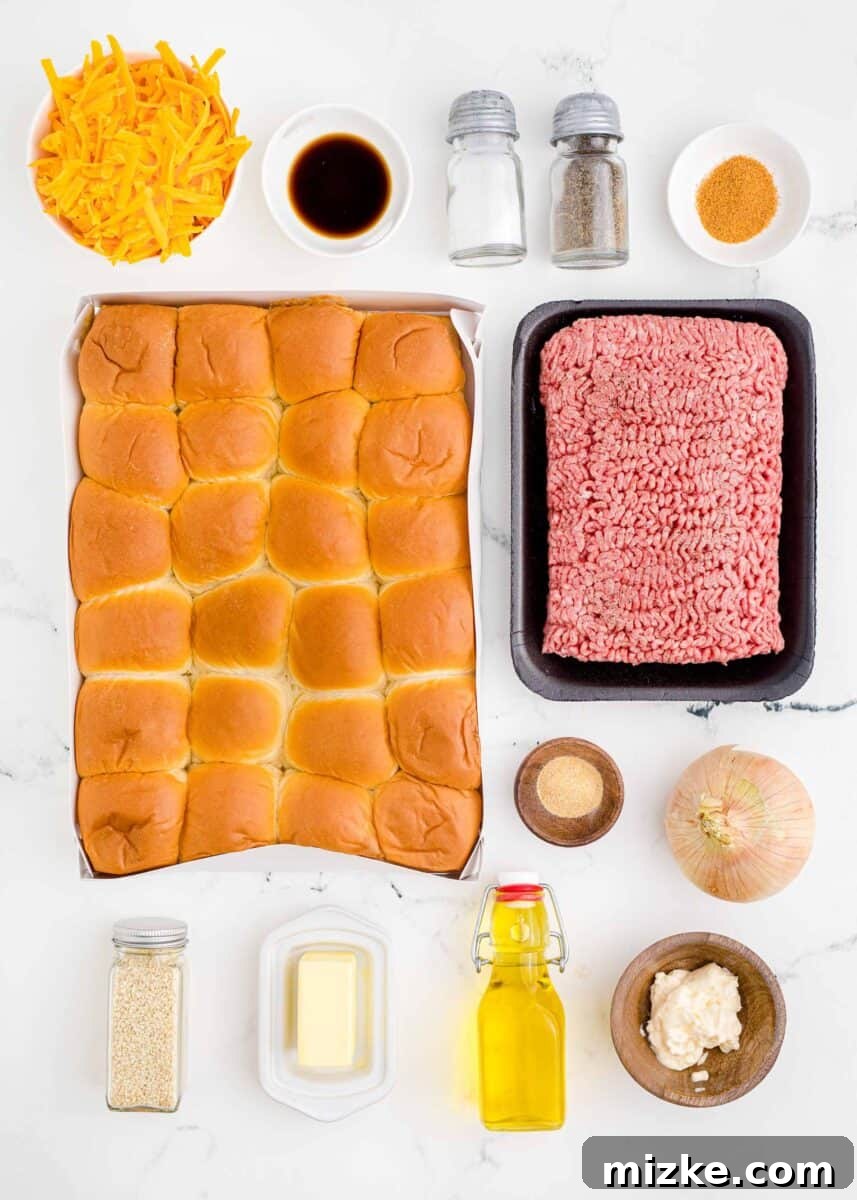
Gathering your ingredients is the first step towards creating these delectable cheeseburger sliders. This list provides a quick overview, but for precise measurements and a detailed recipe, be sure to refer to the full recipe card below. Each component plays a crucial role in building the layered flavors that make these sliders so irresistible.
- Olive Oil: Used for sautéing the onions and browning the ground beef, providing a foundational layer of flavor.
- Onion: Diced finely and cooked until softened, adding a sweet and aromatic depth to the beef mixture.
- Ground Beef: Lean ground beef is recommended for a less greasy result, forming the hearty core of our sliders.
- Worcestershire Sauce: A secret weapon for umami, this sauce enhances the savory notes of the beef significantly.
- Mayonnaise: Contributes to a creamy texture and helps bind the beef mixture, adding richness and moisture.
- Seasoned Salt: A blend of spices that provides a quick and easy way to inject complex flavors into the beef.
- Salt: Essential for seasoning the beef, balancing and enhancing all the other flavors.
- Pepper: Adds a subtle warmth and classic seasoning to the meat.
- Garlic Powder: Delivers a mellow, aromatic garlic flavor that complements the beef without being overpowering.
- Cheddar Cheese: Shredded cheddar cheese melts beautifully, creating that iconic gooey, tangy layer on top of the beef.
- Slider Buns: The perfect mini canvas for our cheeseburgers, these soft buns toast up wonderfully in the oven.
- Salted Butter: Melted butter brushed on top of the buns ensures a golden, crispy crust and adds rich flavor.
- Sesame Seeds: Sprinkled on the buttery buns, they provide that classic burger bun appearance and a delightful nutty crunch.
Step-by-Step: Crafting Your Cheeseburger Sliders
Creating these baked cheeseburger sliders is a breeze, even for novice cooks. Follow these straightforward steps to assemble your batch of irresistible mini burgers. Remember to scroll to the very bottom of this post for the complete recipe card, including exact measurements and additional notes.
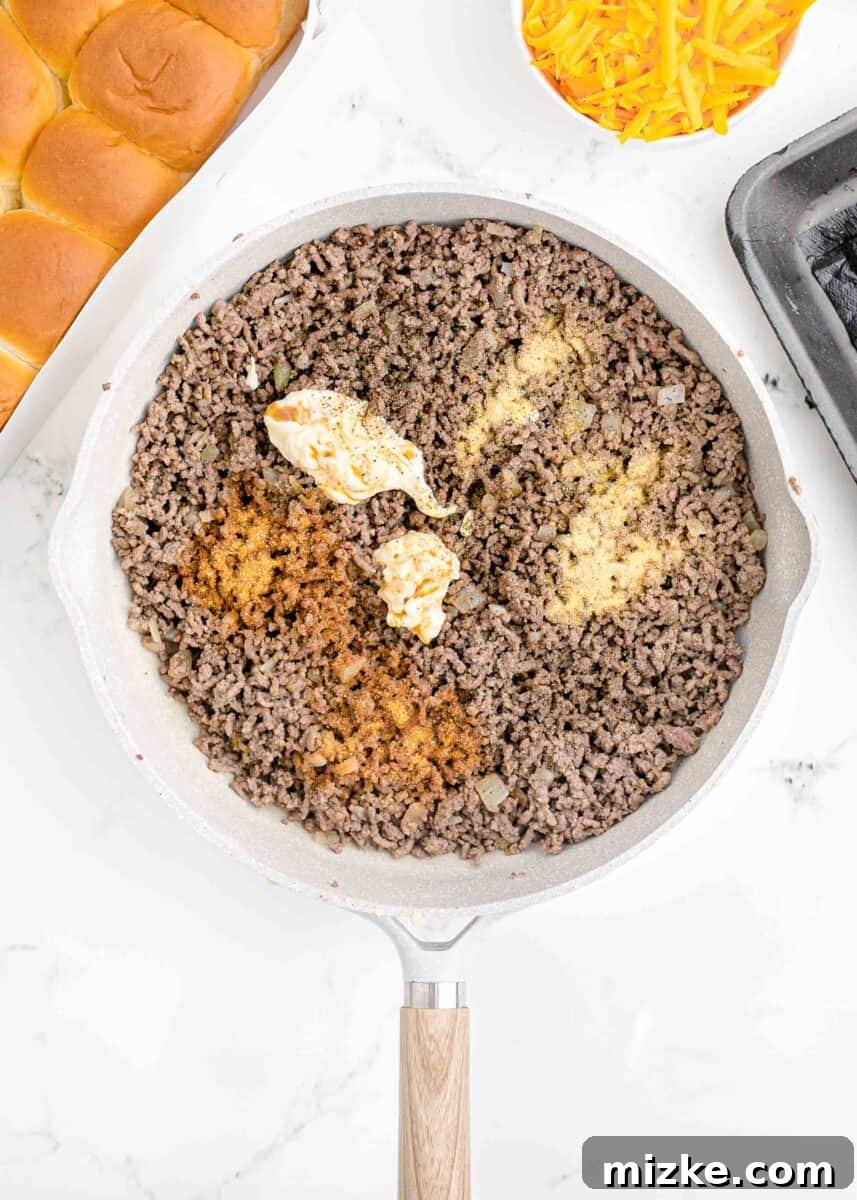
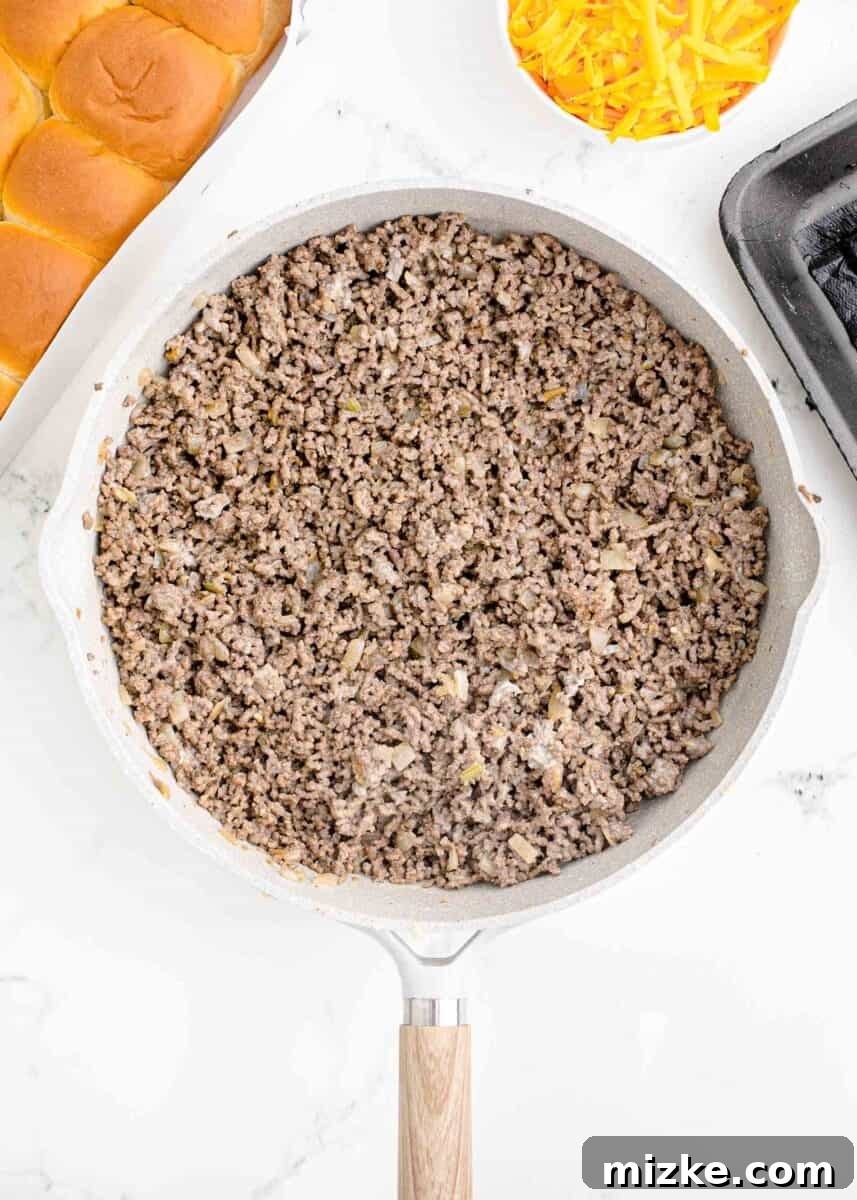
Step 1: Prepare the Savory Beef Filling. Begin by preheating your oven to 350°F (177°C) and lightly greasing a rimmed baking sheet or dish. Heat a tablespoon of olive oil in a large skillet over medium heat. Add the diced onion and sauté, stirring occasionally, until it becomes translucent and tender, usually about 3-5 minutes. Next, add the ground beef to the pan. Break it apart with a spoon and cook until it’s completely browned through, ensuring no pink remains. This typically takes 7-10 minutes. Once cooked, it’s crucial to drain off any excess fat from the pan. This step prevents your sliders from becoming greasy. After draining, stir in the Worcestershire sauce, mayonnaise, seasoned salt, regular salt, pepper, and garlic powder. Mix thoroughly until all ingredients are well combined, then remove the skillet from the heat.
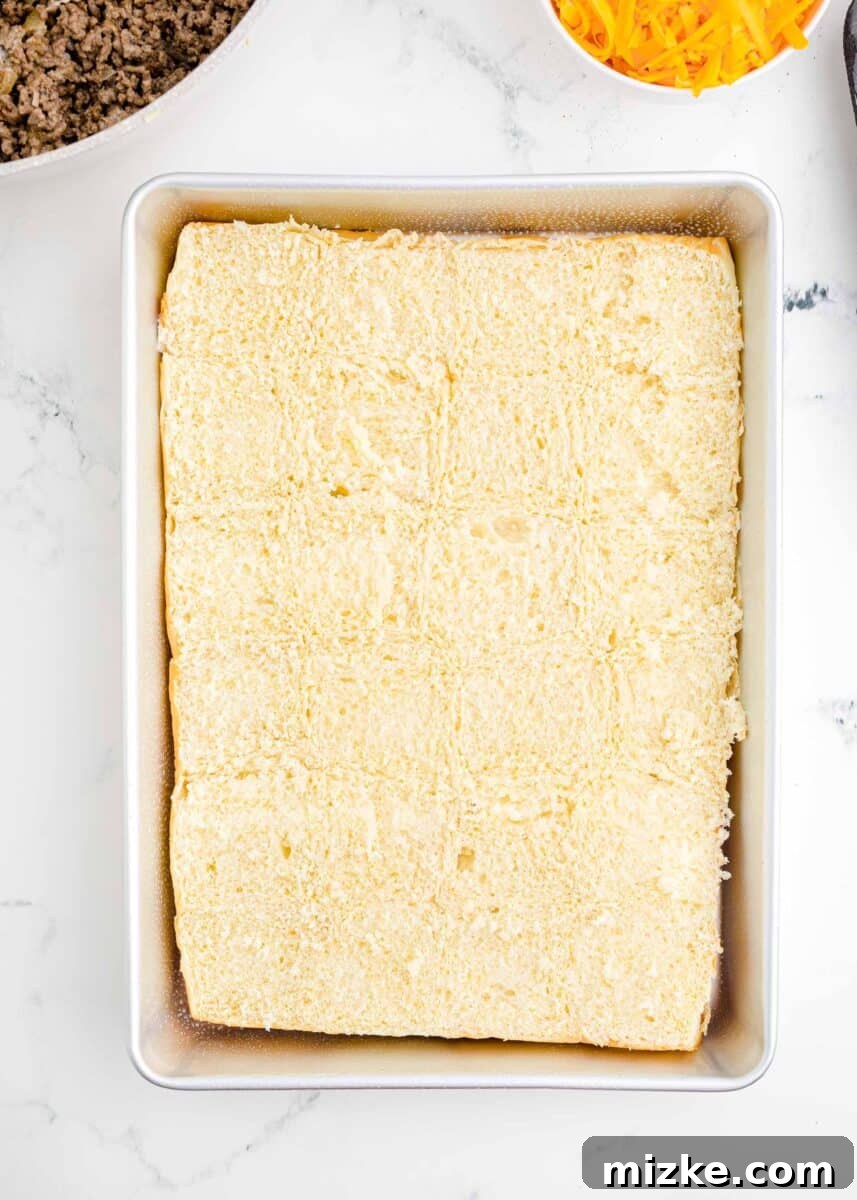
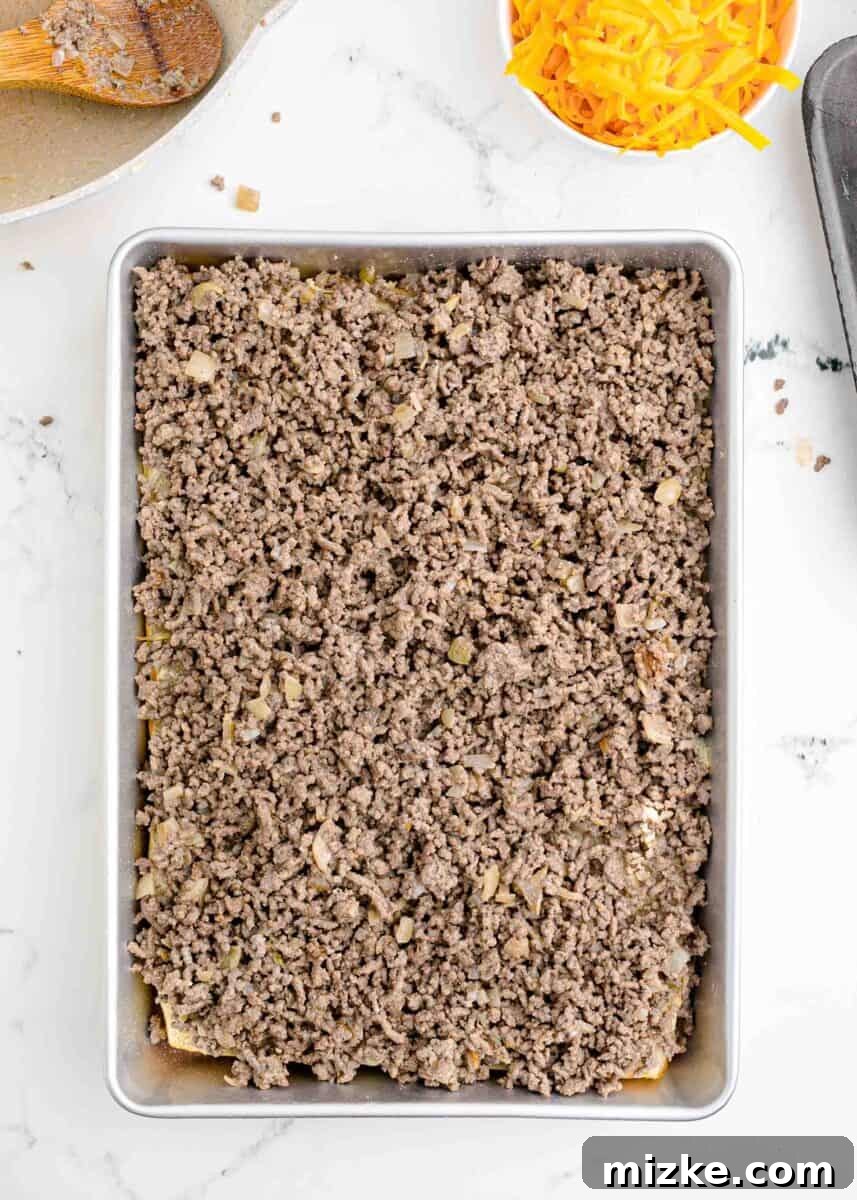
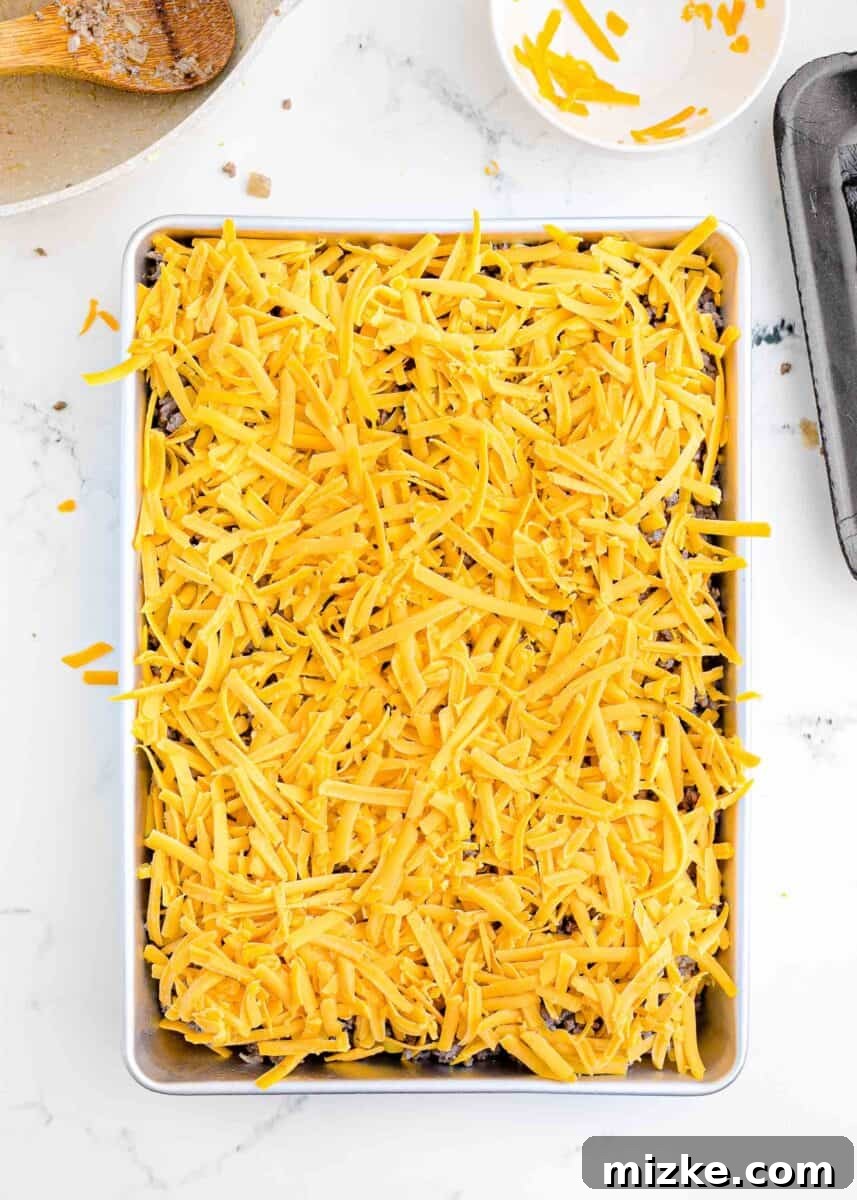
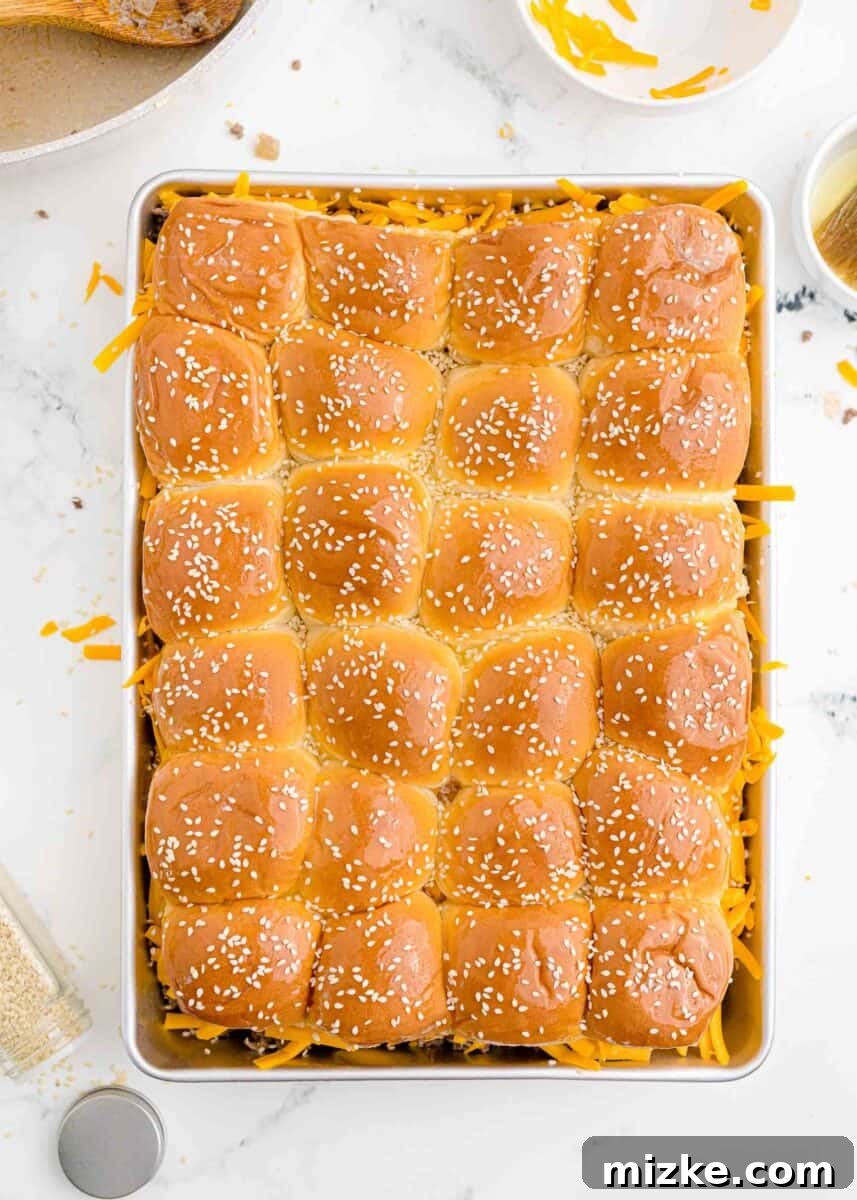
Step 2: Assemble Your Sliders with Care. Take your slider buns and carefully slice the entire block of rolls in half horizontally, creating a top and bottom layer. Place the bottom halves of the buns snugly into your prepared baking dish, ensuring they form an even base. Next, evenly spread the seasoned ground beef mixture over the entire bottom layer of buns. Aim for a consistent thickness. Generously sprinkle the shredded cheddar cheese over the beef layer; this will melt into a delicious, gooey blanket. Finally, carefully place the top halves of the slider buns over the cheese and beef, completing your slider assembly. In a small bowl, melt the salted butter, then use a pastry brush to evenly coat the tops of the buns with the melted butter. Finish by sprinkling the sesame seeds over the buttered tops.
Step 3: Bake to Golden, Cheesy Perfection. Carefully place your assembled baking dish into the preheated oven. Bake for approximately 10-12 minutes, or until the cheese is thoroughly melted and bubbly, and the tops of the slider buns have turned a beautiful golden brown. Keep a close eye on them during the last few minutes to prevent over-browning. Once ready, remove from the oven.
Get Creative: Substitutions and Flavorful Variations
While the classic cheeseburger slider recipe is undeniably delicious, don’t hesitate to experiment and make it your own! Here are just a few ideas to spark your creativity and tailor these sliders to your liking:
- Explore Different Protein Options: While lean ground beef offers a robust flavor and texture, it’s certainly not your only choice. For a lighter alternative, consider using ground turkey or ground chicken; simply adjust cooking times as needed and ensure they are thoroughly cooked. If you’re catering to vegetarian or vegan guests, or simply want a plant-based option, plant-based ground meat substitutes work wonderfully and absorb the seasonings beautifully. This flexibility makes the recipe accessible to various dietary preferences.
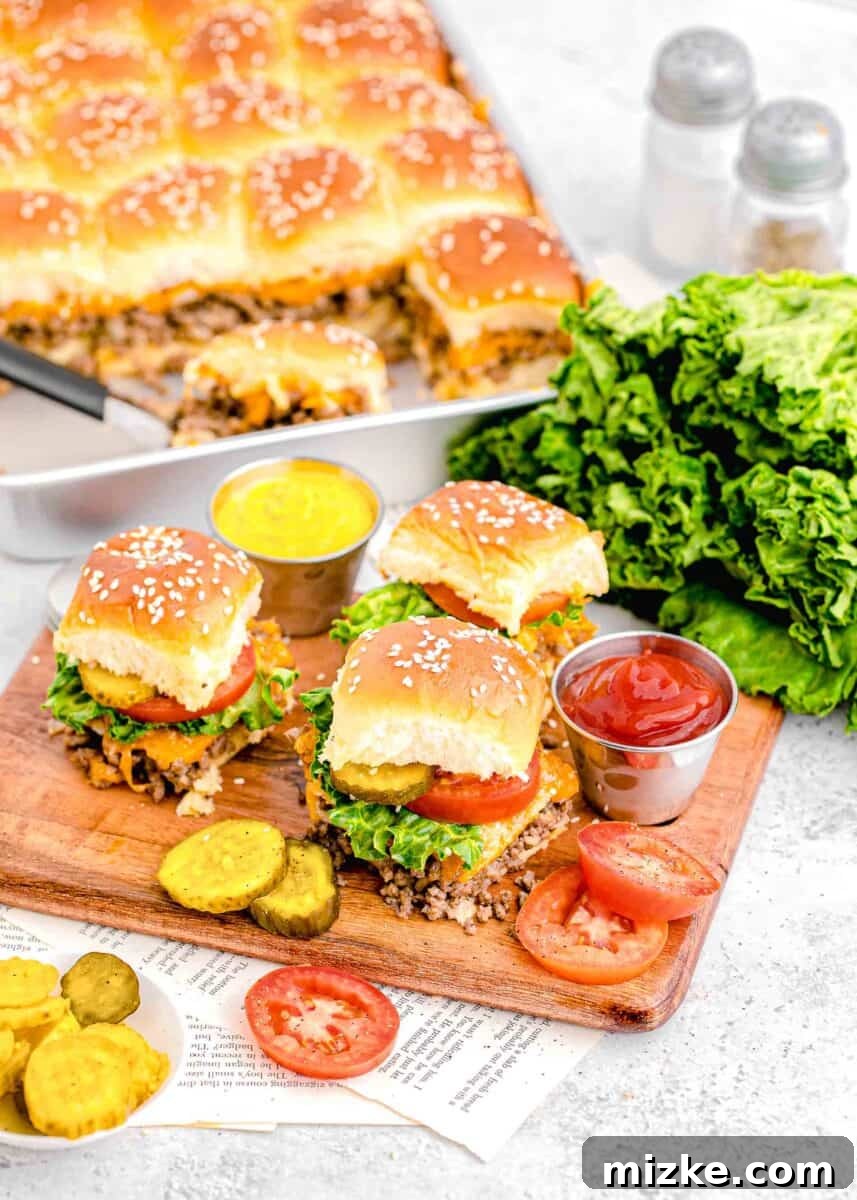
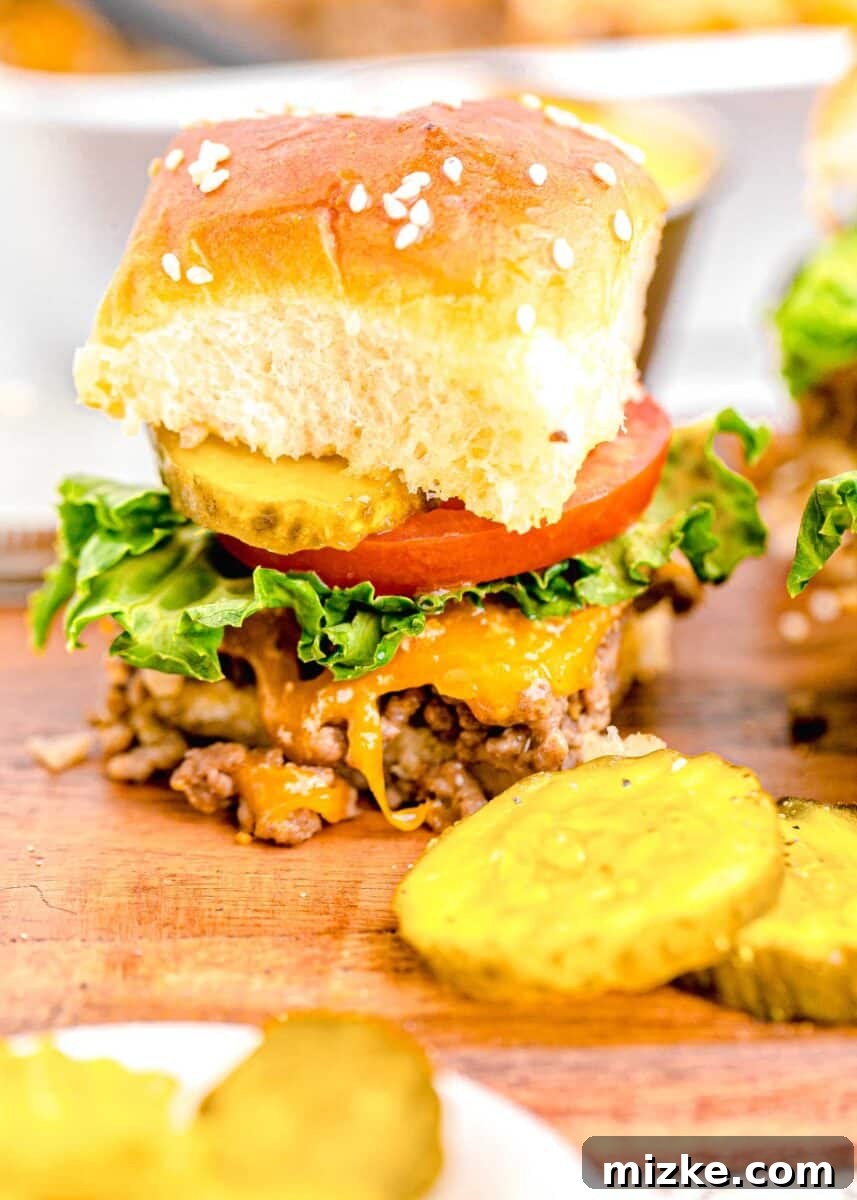
- Elevate with Exciting Toppings and Sauces: The beauty of a slider lies in its ability to be customized with an array of toppings. Ketchup, crisp pickles, and fresh tomato slices are timeless burger accompaniments and always a hit. But why stop there? Introduce a tangy kick with a dollop of mustard, or caramelize some onions for a sweet, savory addition. Other fantastic options include crispy bacon bits, a sprinkle of fresh jalapeños for heat, sautéed mushrooms, or even a drizzle of barbecue sauce for a smoky twist. Let your imagination guide you!
- Cheese Choices Galore: While cheddar is a classic for its melting qualities and sharp flavor, feel free to switch it up! Provolone, Swiss, or Monterey Jack can offer different textures and milder tastes. For a bolder flavor, try pepper jack for a hint of spice, or a smoked gouda for a rich, nuanced profile. Each cheese will bring its unique character to the sliders.
- Halve the Recipe for Smaller Gatherings: Planning a more intimate get-together or just craving sliders for a smaller family meal? This recipe is incredibly adaptable. Simply halve all the measured ingredients, and use 12 slider buns instead of 24. This makes it a fantastic recipe for both large festivities and cozy weeknight dinners, ensuring you always have the perfect amount.
Insider Tips for Flawless Sliders Every Time
Achieving consistently perfect cheeseburger sliders is easy when you keep a few key tips in mind. These small details can make a significant difference in the final taste and presentation of your delicious mini burgers:
- Never Skip the Butter and Sesame Seeds! While your sliders would still taste good without them, the melted butter and sesame seeds on top of the buns truly elevate this recipe to gourmet status. The butter imparts an incredible richness, contributing to a golden-brown crust and an extra layer of moisture and buttery flavor that permeates the bun. The sesame seeds, beyond their nutty crunch, give your sliders that classic, irresistible burger appearance, making them visually appealing and authentic. It’s a simple step that yields significant flavor and aesthetic rewards.
- Thoroughly Drain the Ground Beef: Even lean ground beef can render a surprising amount of fat during cooking. It is absolutely crucial to drain off this excess grease after browning the meat and before mixing in the other ingredients. Failing to do so will result in a soggy, oily mess, diminishing the texture and overall appeal of your sliders. A quick drain ensures a cleaner, more enjoyable eating experience.
- Shred Your Own Cheddar Cheese for Superior Melt: This might seem like an extra step, but trust me, it’s a game-changer for so many recipes, especially those requiring perfectly melted cheese. Pre-shredded cheddar cheese often contains anti-caking agents (like cellulose powder) that prevent the shreds from sticking together. Unfortunately, these agents also inhibit the cheese from melting into that desirable gooey, smooth consistency we all crave in a cheeseburger. By shredding your own block of cheddar, you’ll achieve an effortlessly smooth, deeply flavorful melt that truly sets these sliders apart.
Storing and Reheating Your Leftover Sliders
Should you be fortunate enough to have any leftover cheeseburger sliders (which is a rare occurrence!), proper storage ensures they remain delicious for future enjoyment. Once the sliders have completely cooled down to room temperature, you have a couple of options. You can either transfer them to an airtight container, stacking them carefully with parchment paper in between layers to prevent sticking, or simply wrap the entire baking dish tightly with plastic wrap or aluminum foil. When stored correctly in the refrigerator, these baked cheeseburger sliders will maintain their freshness and flavor for approximately 3-4 days.
For reheating, I highly recommend using your oven to bring them back to life. Preheat your oven to a moderate temperature, around 300-325°F (150-160°C). Place the sliders on a baking sheet, optionally covered with foil to prevent the tops from browning further, and heat for 10-15 minutes, or until they are warmed through and the cheese is soft and gooey again. Reheating in the microwave is possible but often results in softer, less desirable buns.
Perfect Pairings: What to Serve with Cheeseburger Sliders
Cheeseburger sliders are fantastic on their own, but pairing them with the right sides can transform your meal into a truly memorable feast. Here are some of my top recommendations for complementary dishes that will complete your slider experience:
- Fresh and Vibrant Salads: A crisp salad provides a refreshing counterpoint to the rich flavors of the sliders. Consider a delightful Broccoli Salad with its sweet and savory notes, or a classic coleslaw. A simple green salad with a light vinaigrette also works wonders to cut through the richness.
- Hearty and Comforting Classics: For those who love classic American comfort food, a side of rich and creamy Bangin’ Mac and Cheese is an absolute winner. Its cheesy goodness perfectly complements the sliders, making for an incredibly satisfying meal.
- Crispy Fries in Every Form: You can never go wrong with fries when serving burgers! Elevate your side game with a batch of perfectly seasoned Curly Fries with Horseradish Mustard for a fun twist, or opt for the aromatic goodness of Garlic Sweet Potato Fries. Classic crispy potato fries are always a welcome addition too.
- Other Delicious Options: Don’t forget other picnic-friendly sides like baked beans, corn on the cob (especially grilled), or a fresh fruit salad for a sweet and healthy balance.
Print Recipe
Cheeseburger Sliders
By: Julie Chiou
Assembled in a single baking dish and baked to gooey, cheesy perfection, these sliders truly couldn’t be simpler to make while delivering maximum flavor and fun!
Prep Time: 20 minutes
Cook Time: 15 minutes
Total Time: 35 minutes
Servings: 24 sliders
Equipment
- Cast Iron Skillet
- Large Rimmed Baking Sheet
Ingredients
- 1 Tablespoon olive oil
- 1 medium onion, diced
- 2 pounds (907 g) lean ground beef
- 1 Tablespoon Worcestershire sauce
- 3 Tablespoons mayonnaise
- 1 teaspoon seasoned salt
- 1 teaspoon salt
- 1 teaspoon pepper
- 1 teaspoon garlic powder
- 2 cups (226 g) cheddar cheese, freshly shredded
- 24 slider buns
- 2 Tablespoons (28 g) salted butter, melted
- 1 Tablespoon sesame seeds
Instructions
- Preheat your oven to 350°F (177°C). Lightly spray a large rimmed baking sheet or baking dish with non-stick spray, ensuring even coverage.
- Heat the olive oil in a large skillet over medium heat. Add the diced onion and cook, stirring frequently, until the onion softens and becomes translucent, about 3-5 minutes. Add the lean ground beef to the skillet and break it apart with a spoon. Cook until the beef is completely browned and no pink remains, typically 7-10 minutes. Carefully drain off any accumulated fat from the skillet. Stir in the Worcestershire sauce, mayonnaise, seasoned salt, salt, pepper, and garlic powder until well combined. Remove the skillet from the heat.
- Carefully slice the entire block of slider buns in half horizontally. Place the bottom halves of the buns into your prepared baking dish, ensuring they form a single, even layer. Evenly spread the entire ground beef mixture over the bottom layer of slider buns. Sprinkle the 2 cups of freshly shredded cheddar cheese uniformly over the beef. Place the top halves of the slider buns over the cheese layer to complete the assembly.
- In a small microwave-safe bowl, melt the salted butter. Using a pastry brush, generously brush the tops of the slider buns with the melted butter, ensuring each bun is coated. Sprinkle the sesame seeds evenly over the buttered tops of the buns.
- Bake the sliders in the preheated oven for 10-12 minutes, or until the cheese is thoroughly melted and bubbly, and the tops of the buns are golden brown and slightly toasted.
- Remove from the oven, let cool for a few minutes before slicing and serving warm with your favorite burger toppings.
Notes
This recipe yields 24 sliders, which is ideal for large families, parties, and potlucks. If you’re hosting a smaller gathering or simply want fewer leftovers, you can easily halve this recipe to make 12 sliders by using half of all listed ingredients.
Nutrition Information
Serving: 1 slider, Calories: 208kcal, Carbohydrates: 17g, Protein: 13g, Fat: 9g, Saturated Fat: 4g, Polyunsaturated Fat: 1g, Monounsaturated Fat: 3g, Trans Fat: 0.2g, Cholesterol: 36mg, Sodium: 308mg, Potassium: 155mg, Fiber: 1g, Sugar: 3g
This website provides approximate nutrition information for convenience and as a courtesy only. Nutrition information can vary for a variety of reasons. For the most precise nutritional data, please use your preferred nutrition calculator based on the actual ingredients you used in the recipe.
The default measuring system for this website is US Customary. Unit conversions are provided for convenience and as a courtesy only. While we strive to provide accurate unit conversions, please be aware that there may be some discrepancies.