
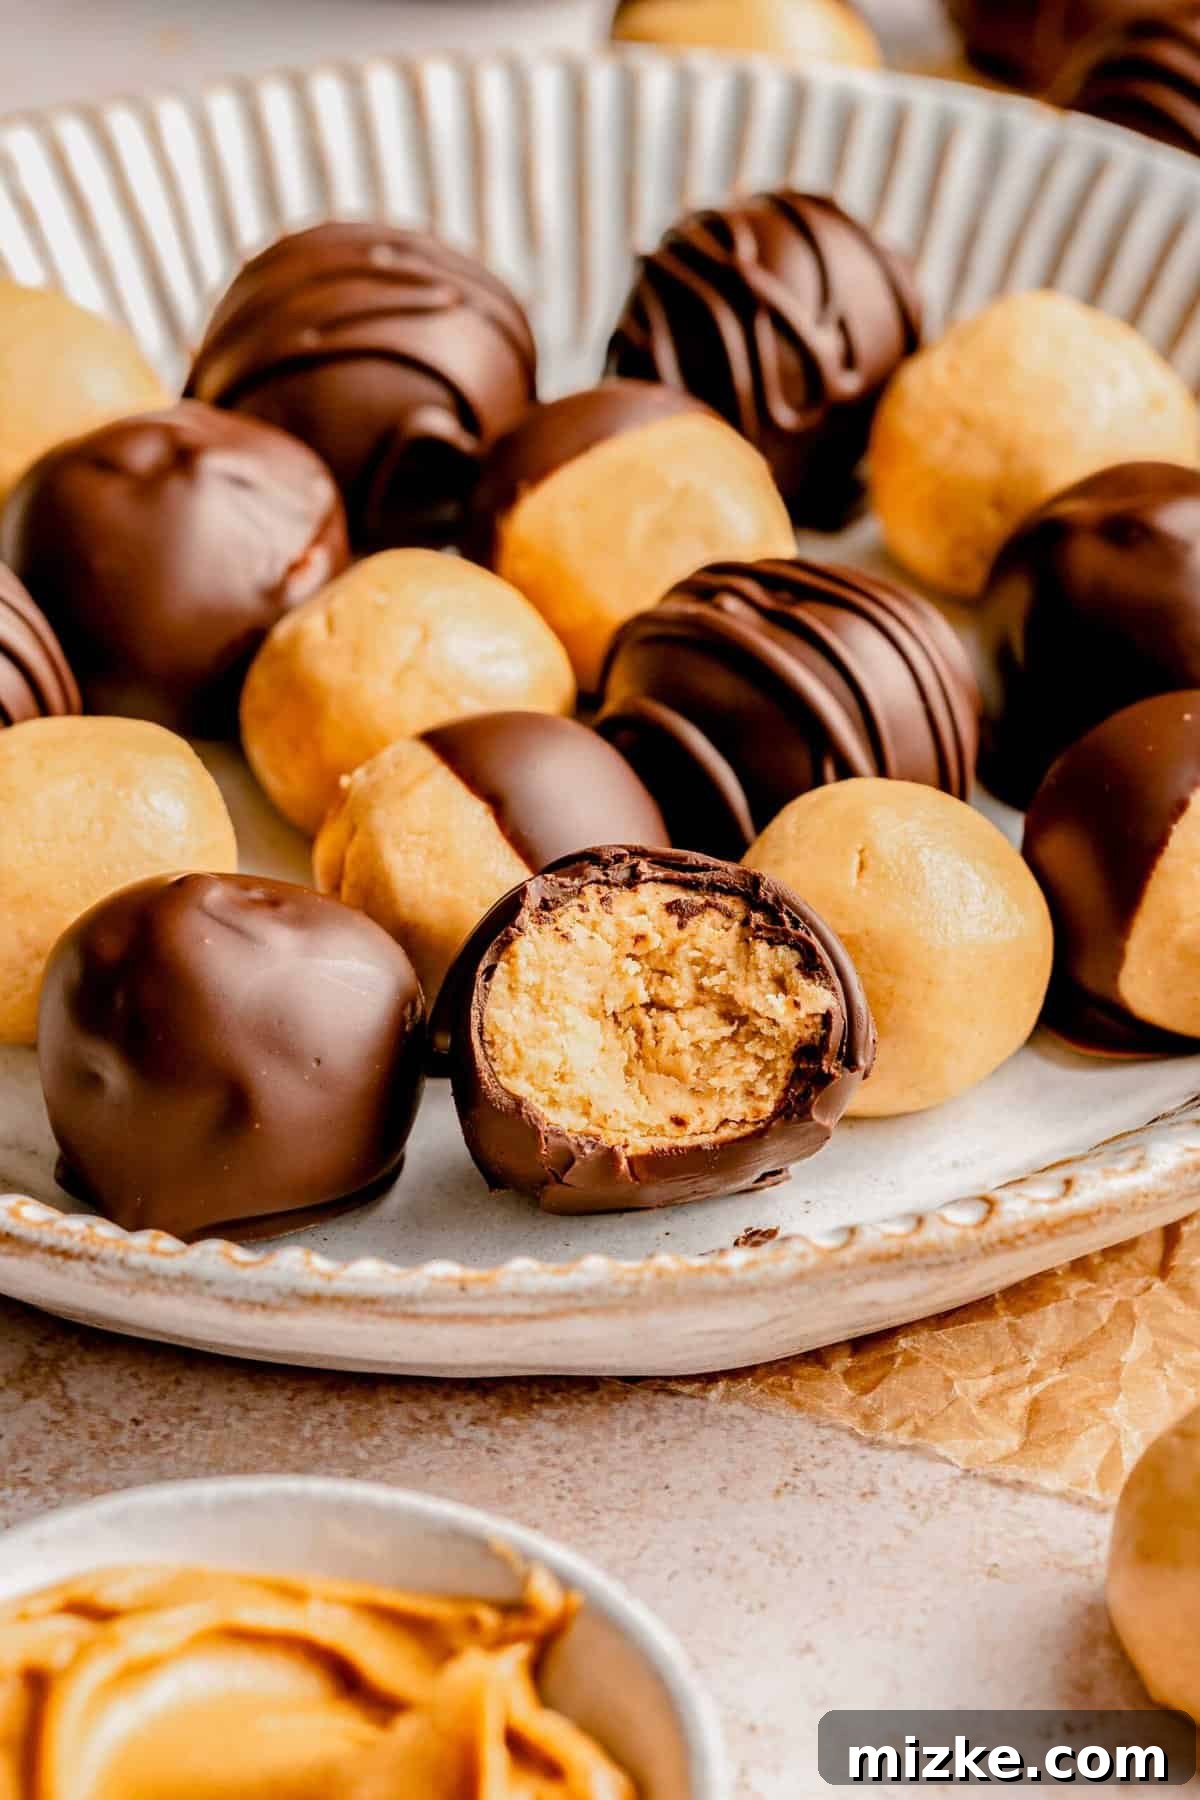
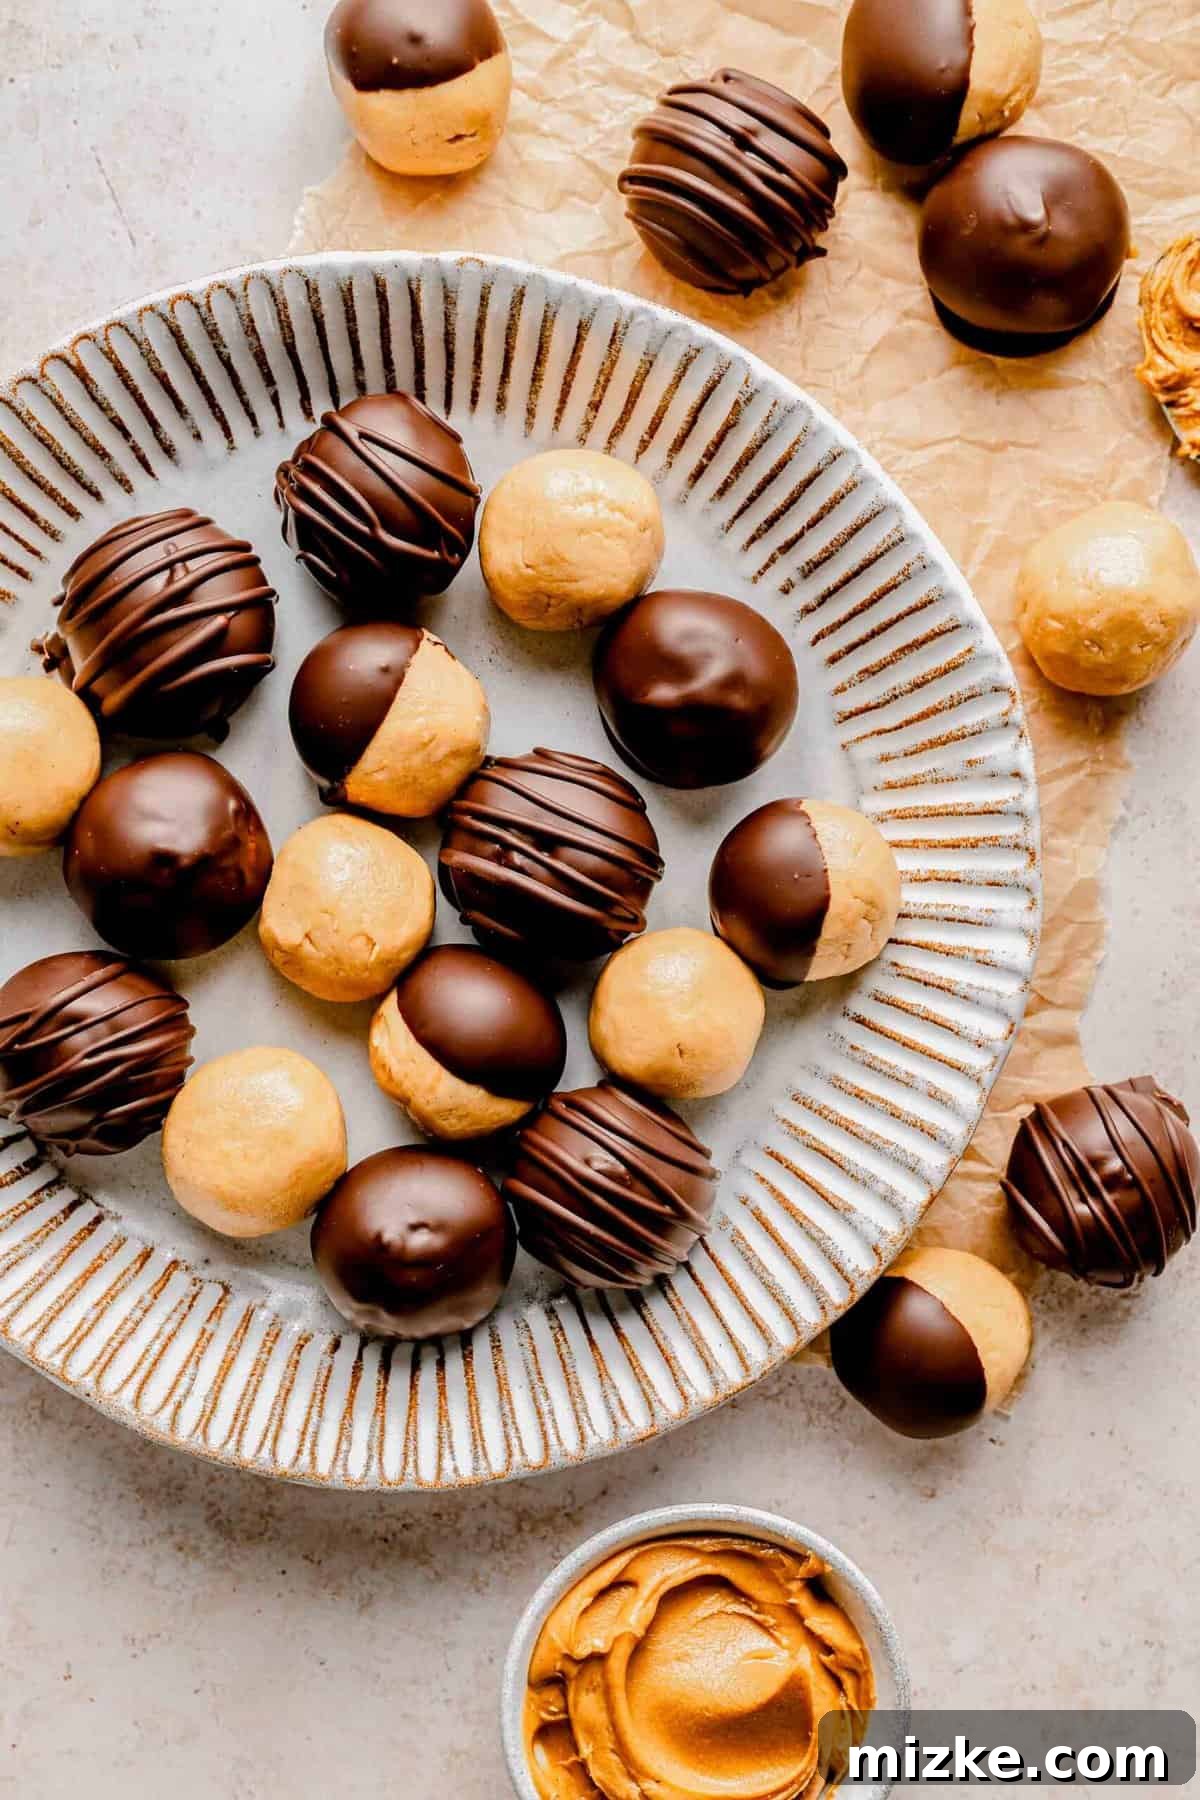
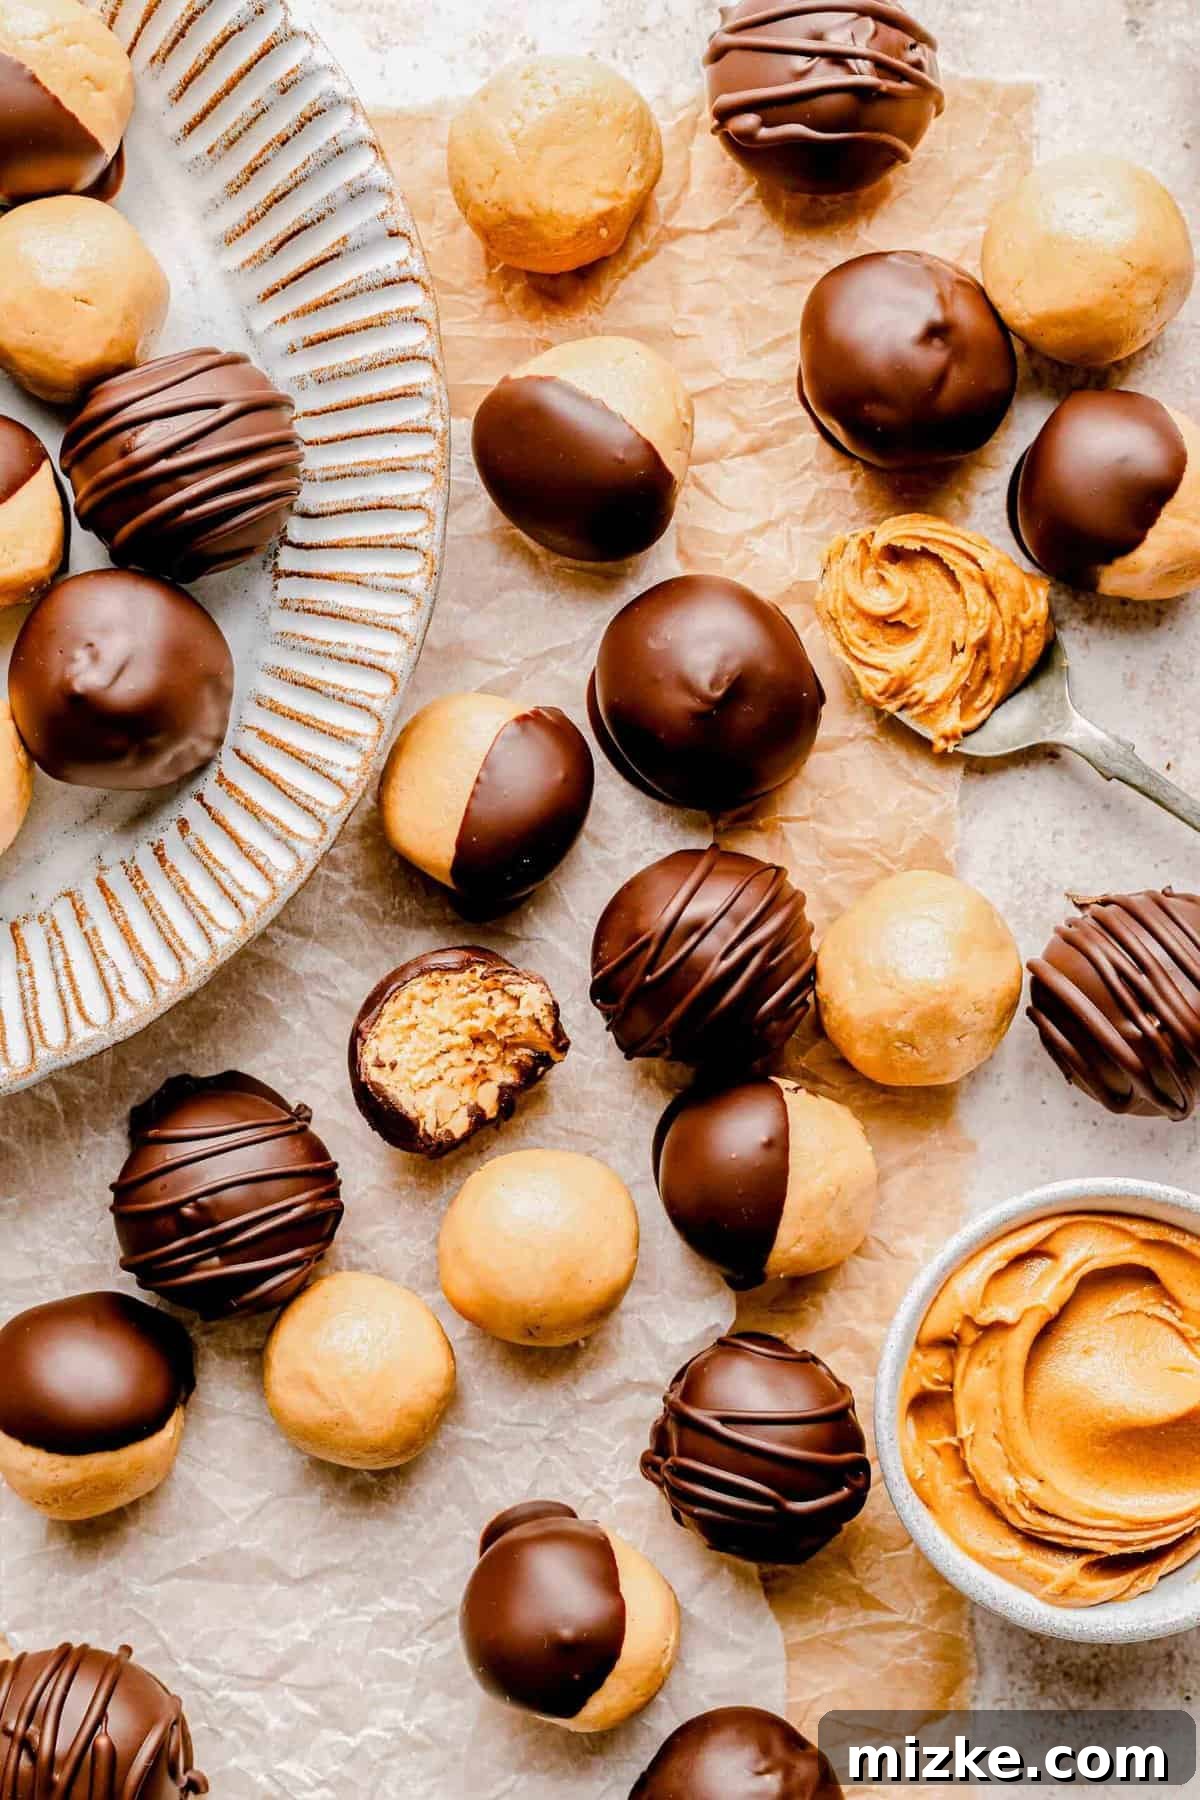
Prepare to fall in love with these utterly decadent chocolate-covered peanut butter balls. Imagine a luxurious blend of creamy peanut butter, a whisper of vanilla, softened butter, and sweet powdered sugar, all rolled into perfect bite-sized spheres. Each delectable ball is then lovingly enrobed in a rich, velvety chocolate coating, creating the quintessential homemade treat that’s impossible to resist.
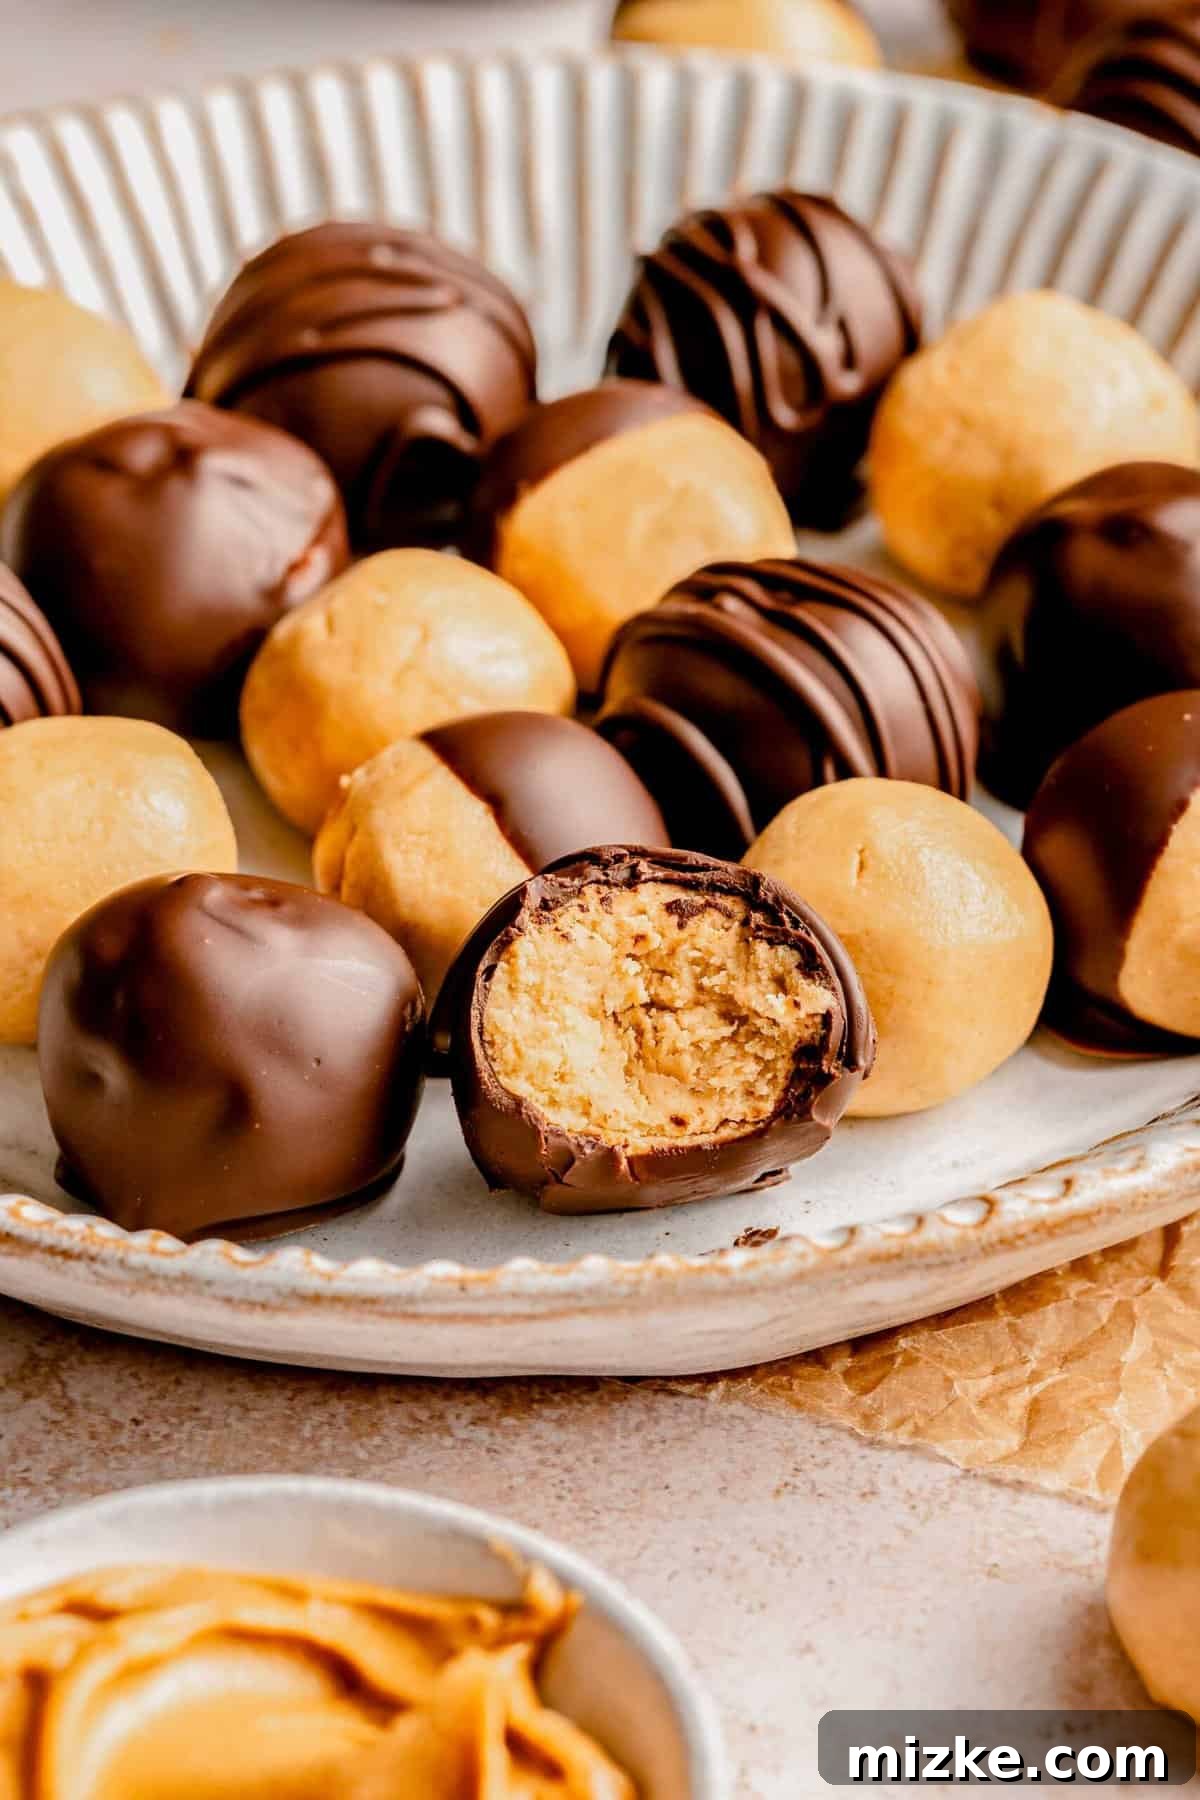
For devoted enthusiasts of the iconic peanut butter and chocolate pairing, these exquisite **chocolate-covered peanut butter balls** are destined to become your next obsession. This no-bake marvel begins with crafting a gloriously rich and sweet peanut butter “dough,” meticulously creamed together from smooth peanut butter, soft butter, delicate powdered sugar, and a touch of fragrant vanilla extract. Once this heavenly mixture is formed into uniform, bite-sized balls, they undergo a chilling period to firm up. The final, magical step involves dipping each chilled ball into a pool of silky, melted dark chocolate, ensuring every surface is perfectly coated before they are returned to the fridge to set into a firm, glossy shell. The result is a truly irresistible confectionery that captures hearts with every bite.
Why You’ll Absolutely Adore This Peanut Butter Balls Recipe
Are you wondering what makes this particular peanut butter balls recipe an absolute must-try? Let me highlight the compelling reasons why these delightful treats deserve a permanent spot in your dessert repertoire:
- Effortlessly Simple & No-Bake: This recipe stands out for its incredible simplicity. Forget the oven and complex baking techniques; these peanut butter balls require no baking at all. The process involves just a few straightforward steps: blending ingredients, shaping the mixture into balls, a quick chill, dipping in chocolate, and a final set. It’s an ideal project for beginner bakers or anyone seeking a quick, fuss-free dessert solution that delivers maximum flavor with minimal effort.
- A Timeless Flavor Combination: The marriage of peanut butter and chocolate is a culinary classic for a reason. Its universal appeal spans generations and palates, evoking feelings of comfort and nostalgic joy. These small dessert bites perfectly encapsulate this beloved pairing, offering a harmonious balance of salty, sweet, nutty, and rich chocolate notes that are truly addictive. It’s a flavor profile that consistently satisfies and never goes out of style.
- Irresistible Texture Contrast: Beyond the extraordinary taste, the textural experience of these peanut butter balls is simply divine. The initial bite offers a satisfyingly crisp snap from the hardened chocolate shell, which then gives way to the luxuriously smooth, creamy, and buttery peanut butter interior. This delightful interplay of textures adds another layer of indulgence, making each bite a multisensory pleasure that keeps you coming back for more.
- Versatile for Any Occasion: Whether you’re preparing for a holiday gathering, a casual family dessert, a potluck, or simply craving a sweet snack, these peanut butter balls fit seamlessly into any occasion. Their bite-sized nature makes them perfect for sharing, elegant enough for a dessert platter, and convenient for portion control. They are also a fantastic edible gift for friends and loved ones.
- Highly Customizable: While the classic recipe is perfect as is, these peanut butter balls serve as a wonderful canvas for creative variations. You can easily adapt them to your preferences, whether it’s experimenting with different chocolate types, adding crunchy mix-ins, or even incorporating a surprise center. This versatility ensures that you can always tailor them to suit your mood or impress your guests with a unique twist.
Essential Ingredients for Perfect Peanut Butter Balls
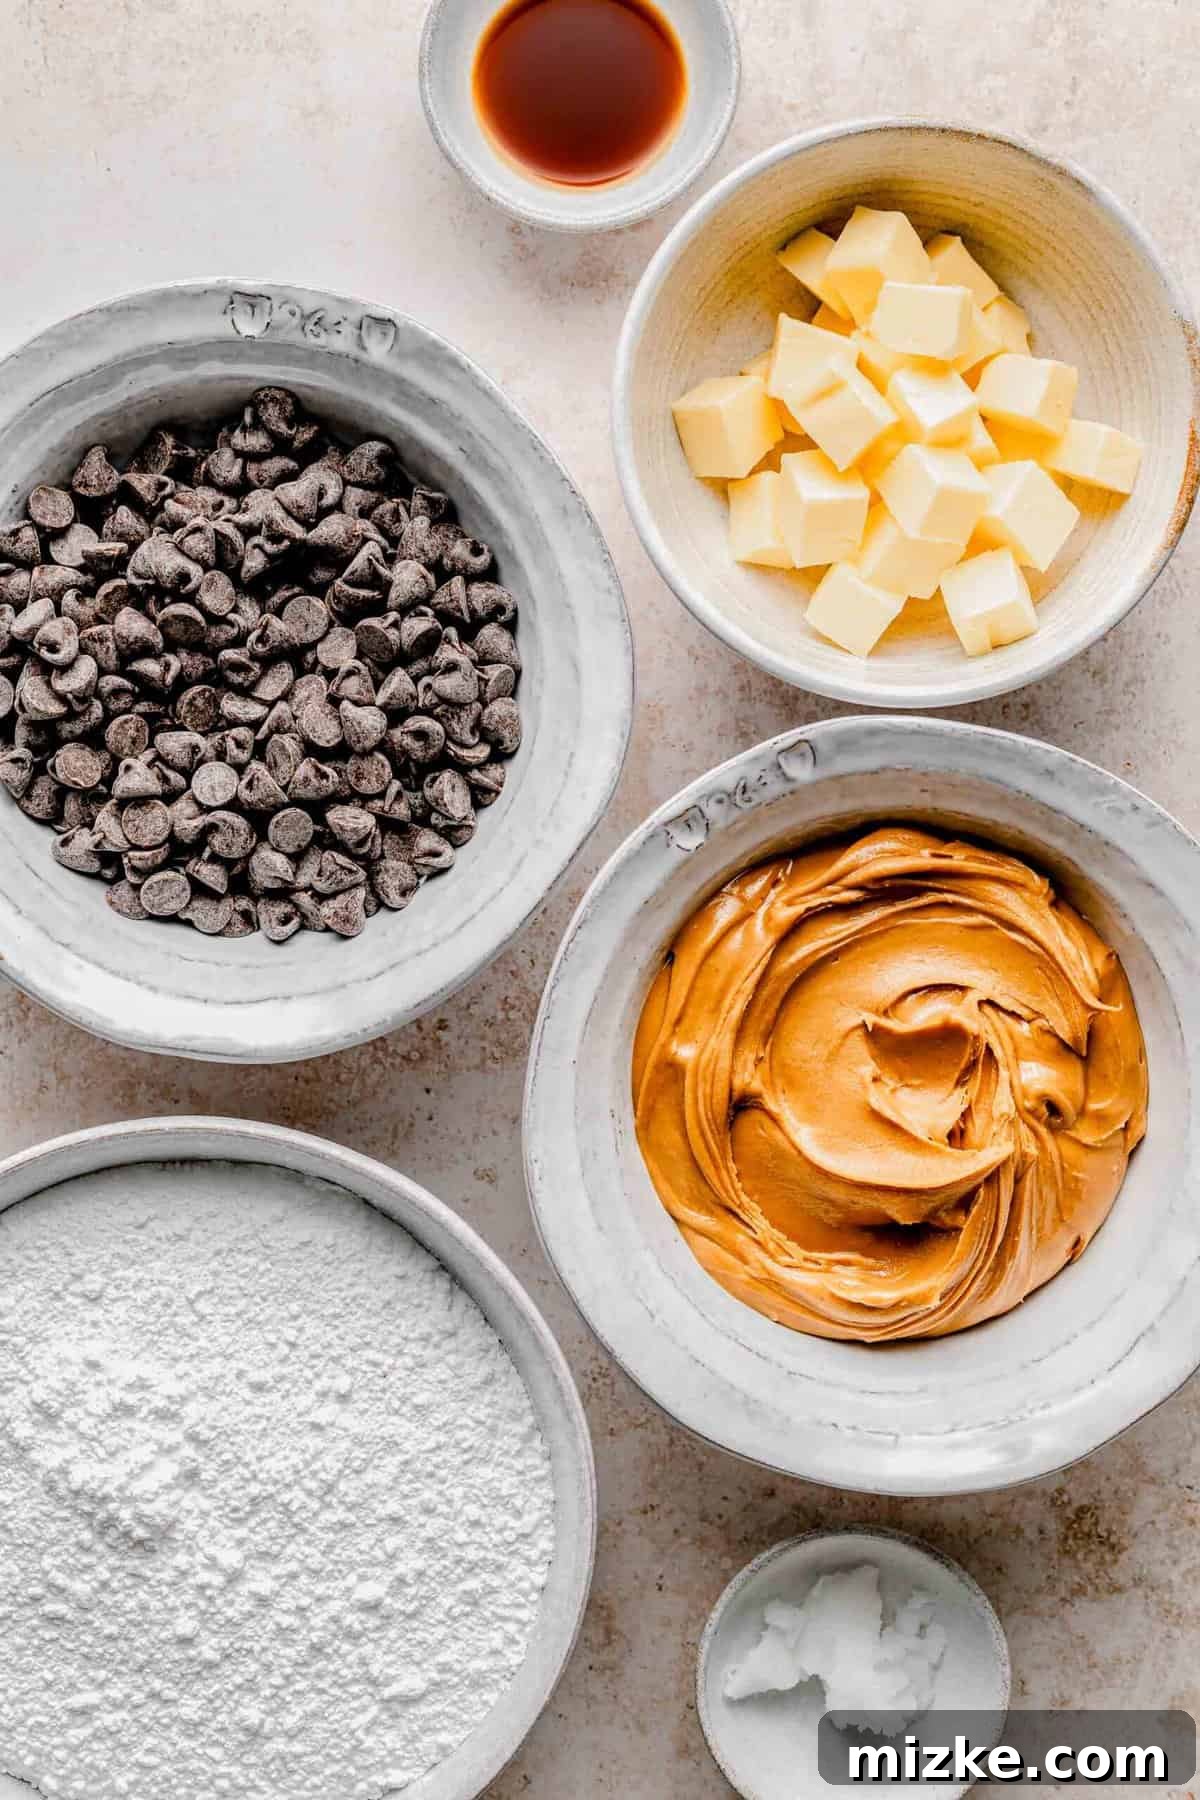
Crafting these wonderfully simple no-bake peanut butter balls requires only a handful of common ingredients, ensuring that you can whip up a batch with ease. Here’s a detailed look at what you’ll need to add to your shopping list. For precise measurements and quantities, please refer to the comprehensive recipe card located further down this page.
- Creamy Peanut Butter: The foundation of our delicious balls. It’s crucial to use a standard creamy peanut butter for this recipe, such as Jif or Skippy. Avoid using natural peanut butter varieties that often separate, as their oil content can make the mixture too loose and difficult to cream properly with butter, resulting in a less consistent dough.
- Salted Butter: Softened salted butter adds richness, moisture, and a crucial touch of salt that perfectly balances the sweetness of the powdered sugar and chocolate. If you only have unsalted butter, you can use it, but consider adding a tiny pinch of extra salt to the mixture to enhance the flavors.
- Powdered Sugar (Confectioners’ Sugar): This fine sugar is essential for achieving the smooth, melt-in-your-mouth texture of the peanut butter filling. Unlike granulated sugar, powdered sugar dissolves seamlessly into the mixture, preventing any gritty consistency and contributing to the overall decadent feel.
- Vanilla Extract: A dash of pure vanilla extract elevates the flavor profile, adding warmth and depth that complements both the peanut butter and chocolate beautifully. It’s a small addition that makes a significant difference in the overall taste.
- Dark Chocolate Chips: These chips will form the luscious outer coating. While dark chocolate offers a sophisticated bitterness that contrasts wonderfully with the sweet peanut butter, feel free to experiment with semi-sweet or milk chocolate chips based on your personal preference. For a fun and unexpected twist, white chocolate chips could also be used!
- Coconut Oil: A small amount of coconut oil is added to the melted chocolate to create a smoother, more fluid consistency. This makes dipping the peanut butter balls much easier and ensures a thin, even coating that hardens beautifully to a shiny finish without cracking. Vegetable shortening can be used as an alternative if coconut oil is unavailable.
Crafting Your Homemade Peanut Butter Balls: Step-by-Step Guide
Making these delightful chocolate peanut butter bites is a straightforward process that yields incredibly satisfying results. Below is a concise overview of the steps involved to guide you. For the most comprehensive and detailed instructions, including timing and specific techniques, please consult the full recipe card at the bottom of this page.
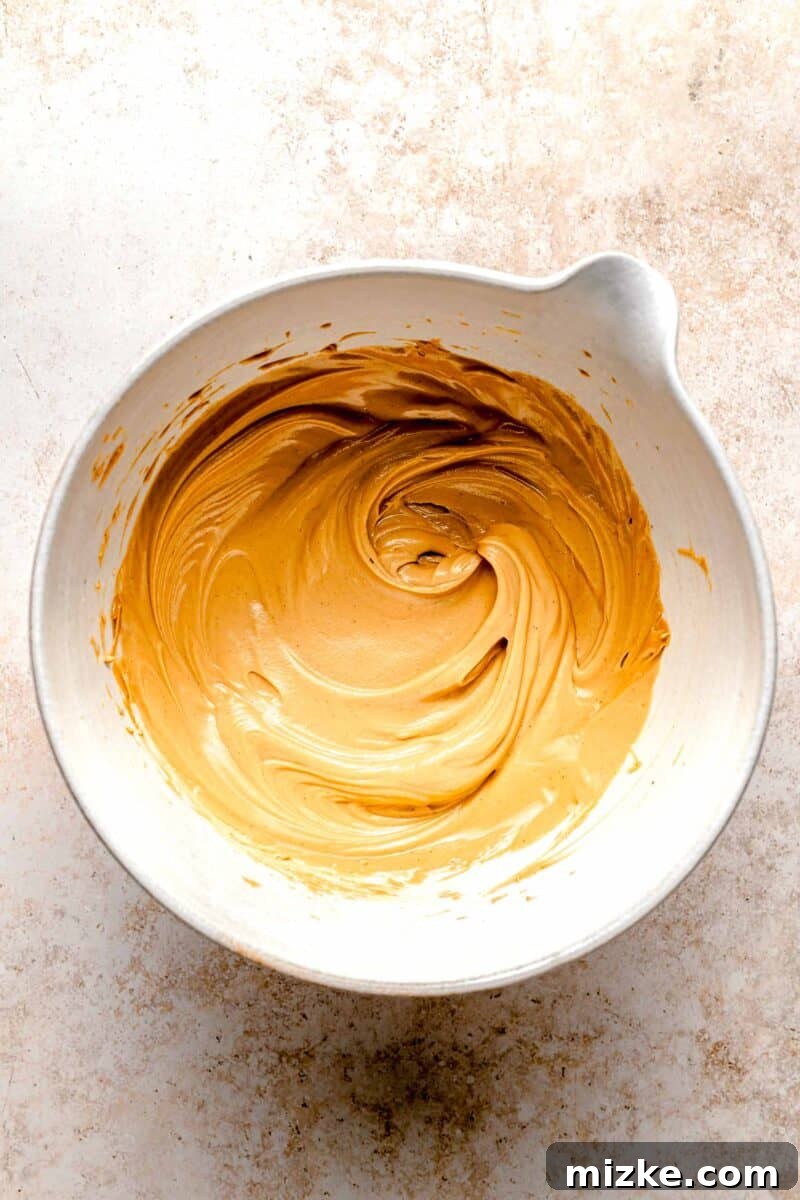
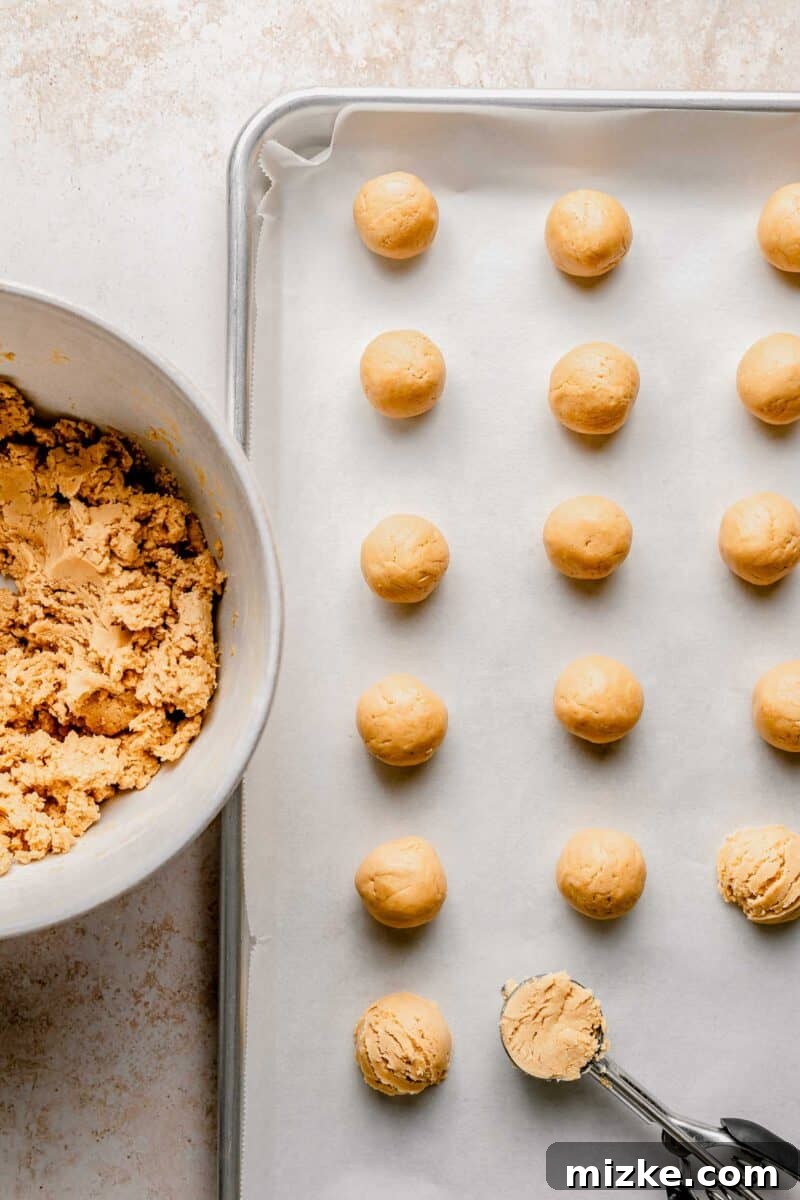
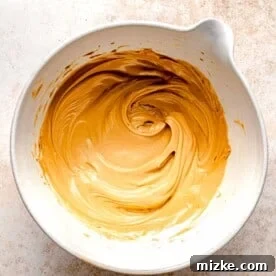
- Prepare the Peanut Butter Dough: In a large mixing bowl, begin by creaming together the softened creamy peanut butter and butter until the mixture is thoroughly combined and smooth. Gradually incorporate the powdered sugar, adding it a little at a time and mixing well after each addition to ensure a uniform consistency. Finally, stir in the vanilla extract until it’s fully integrated into the rich dough.
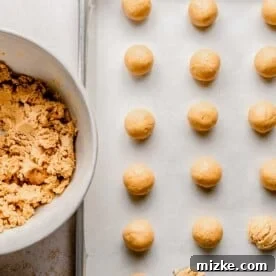
- Form the Balls: Once your peanut butter dough is ready, use a small cookie scoop or your hands to roll the mixture into approximately 1-inch balls. Arrange these perfectly shaped spheres neatly on a baking sheet that has been lined with parchment paper. This parchment paper will prevent sticking and make for easy removal later.
- Initial Chill: Place the baking sheet with the formed peanut butter balls into the refrigerator and allow them to chill for at least 30 minutes. This crucial step helps the balls firm up, making them much easier to handle and ensuring they maintain their shape when dipped into the warm chocolate.
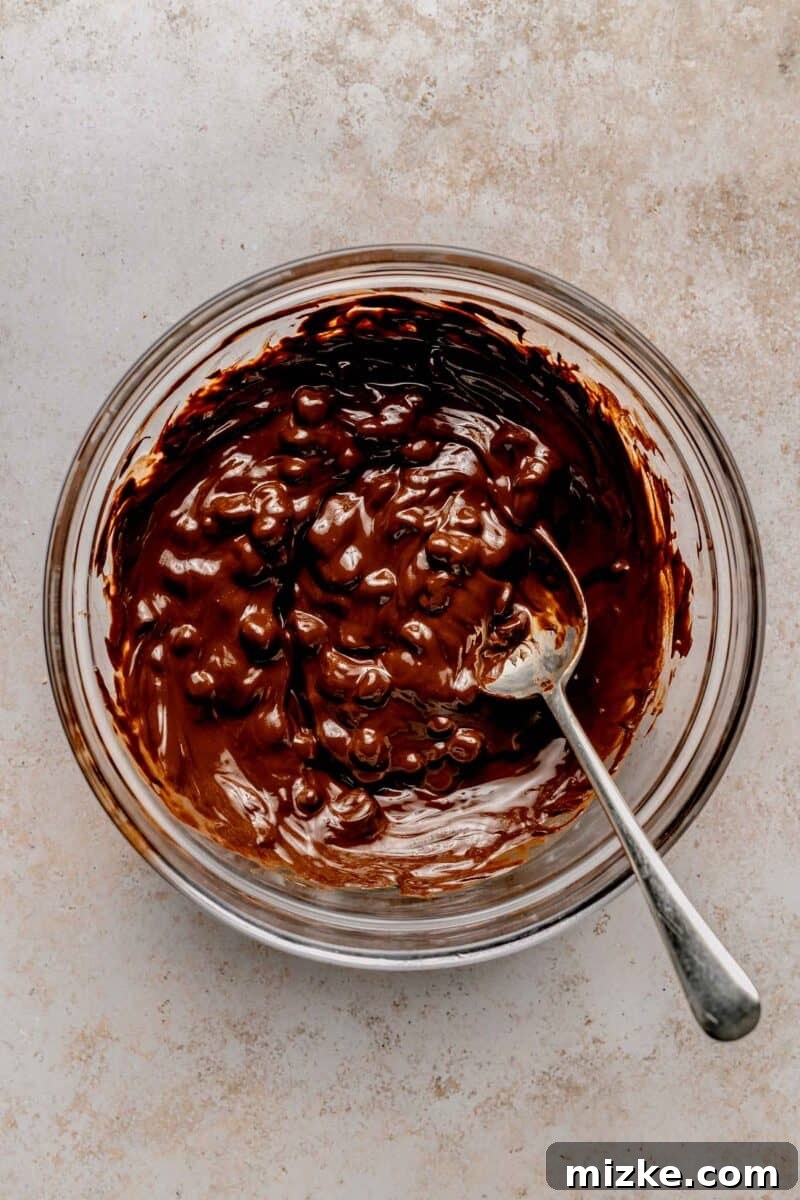
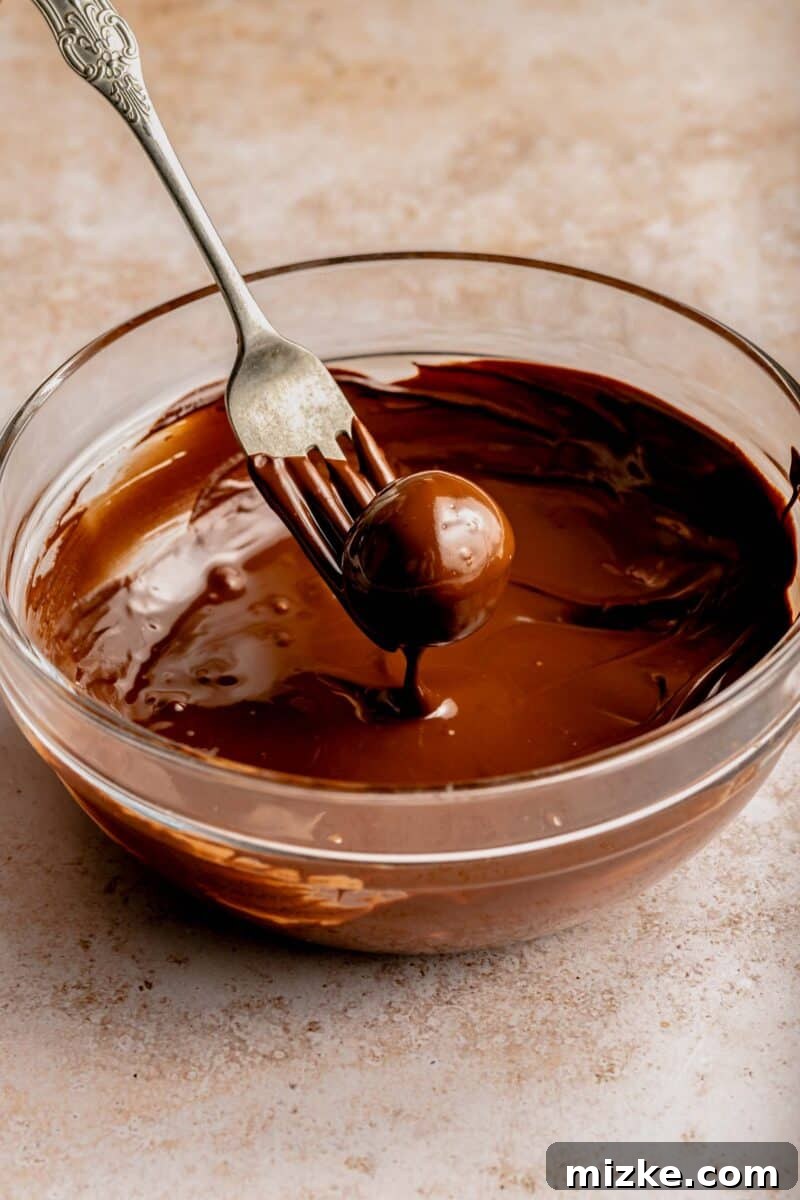
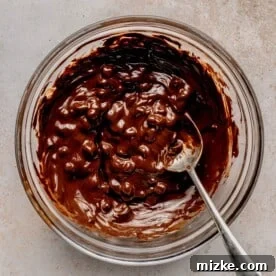
- Prepare the Chocolate Coating: While the peanut butter balls are chilling, prepare your luscious chocolate coating. Combine the dark chocolate chips and coconut oil in a microwave-safe bowl. Heat the mixture in 30-second intervals in the microwave, stirring thoroughly after each interval, until the chocolate is completely melted and beautifully smooth. Be careful not to overheat the chocolate, as this can cause it to seize.
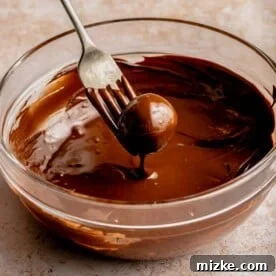
- Dip and Coat: Once the chocolate mixture is ready and the peanut butter balls are chilled, it’s time for dipping. Using a fork or a dipping tool, carefully submerge each peanut butter ball into the melted chocolate, ensuring it’s fully coated. Lift the ball, gently tap the fork against the side of the bowl to allow any excess chocolate to drip off, and then return the dipped ball to the same parchment-lined baking sheet. Repeat this process until all the peanut butter balls are beautifully coated.
- Final Chill to Set: For the grand finale, place the chocolate-coated peanut butter balls back into the refrigerator for another 30 minutes. This final chilling period allows the chocolate shell to fully harden and set, creating a firm, glossy, and irresistible exterior that perfectly encases the soft, creamy peanut butter center.
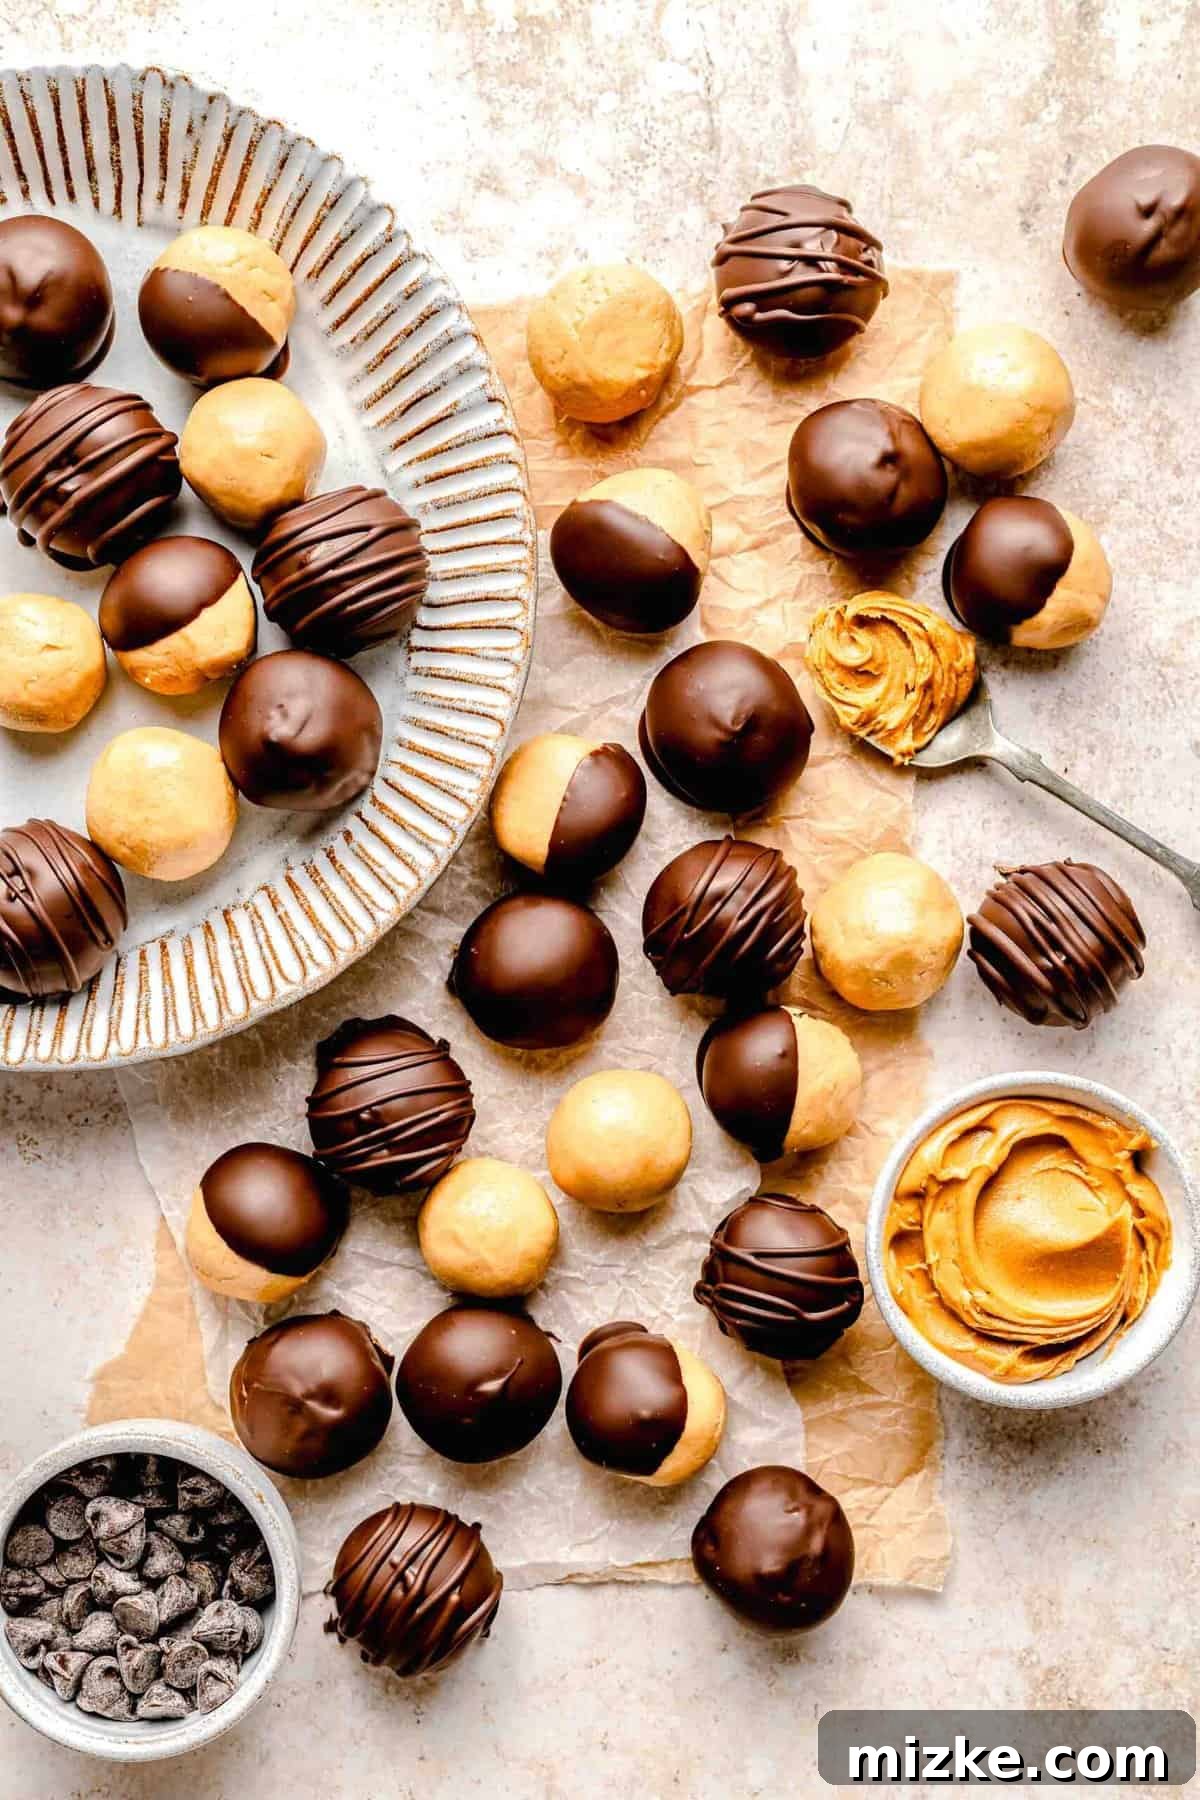
Expert Tips & Creative Variations for Your Peanut Butter Balls
Achieving perfect results the first time around is easy with these tried-and-true tips and tricks. Skip the learning curve and enjoy flawless peanut butter balls every time. Plus, explore some fun and delicious ways to customize these delightful dessert bites to truly make them your own!
- Masterful Make-Ahead Dessert: These chocolate peanut butter balls are a dream for meal preppers and party planners! You can prepare the peanut butter “dough” a couple of days in advance. Simply wrap it tightly in plastic wrap and store it in the refrigerator until you’re ready to roll it into balls. Alternatively, you can form the peanut butter balls ahead of time and store them in an airtight container in the fridge before dipping them in chocolate. This allows you to spread out the preparation process and save time on the day of your event.
- The Power of Chilling: Don’t underestimate the importance of chilling! If you find that your peanut butter dough is too soft, sticky, or difficult to work with, don’t hesitate to pop it into the refrigerator for an extra 15-30 minutes. A firmer dough is much easier to roll into smooth, perfectly round balls, ensuring a more consistent and appealing final product.
- Lubricate Your Hands: For a mess-free rolling experience, lightly rub a small amount of butter or coconut oil onto your hands before forming the peanut butter dough into balls. This simple trick significantly reduces stickiness, making the process smoother, quicker, and much more enjoyable.
- Parchment Paper is Your Best Friend: Utilize parchment paper (or wax paper) both before and after dipping your peanut butter balls in chocolate. Placing the un-dipped balls on parchment paper prevents them from sticking to the baking sheet during their initial chill. After dipping, setting them back on parchment paper ensures they peel off effortlessly once the chocolate has set, making cleanup an absolute breeze and preventing any sticky disasters.
- Experiment with Different Nut Butters: While classic peanut butter is undeniably delicious, this recipe is incredibly adaptable. Feel free to substitute it with almond butter, cashew butter, or even sunflower butter for a nut-free option. Be aware that the consistency of natural nut butters can vary significantly; some are looser than others. If you opt for an alternative, you might need to adjust the amount of powdered sugar slightly, adding a bit more if the mixture feels too wet, to help the balls hold their shape properly.
- Crunchy Additions and Toppings: Elevate your chocolate peanut butter balls with exciting textures and flavors! Immediately after dipping the balls in chocolate, while the coating is still wet, sprinkle them with finely chopped nuts (like peanuts, almonds, or pecans), toasted coconut flakes, mini chocolate chips, or even a dash of sea salt for a gourmet touch. Rolling them in sprinkles can also add a festive and colorful flair.
- Surprise Candy Center: For an extra layer of delight, embed a sweet surprise in the center of your peanut butter balls! Before shaping the dough, gently wrap a small piece of candy, such as a peanut M&M, a mini Reese’s peanut butter cup, or even a caramel bit, around the center of the peanut butter mixture. Then, proceed with chilling and coating with chocolate as usual. It’s a wonderful way to add an unexpected burst of flavor and texture.
- Temperature Control for Chocolate: When melting your chocolate, low and slow is key. Overheating chocolate can cause it to seize and become thick and grainy. Using 30-second increments in the microwave and stirring thoroughly ensures a smooth, workable consistency. If the chocolate starts to thicken too much while dipping, simply warm it gently again for a few seconds.
- Efficient Dipping Technique: To ensure a clean and even chocolate coating, use two forks or a specialized dipping tool. Drop a ball into the melted chocolate, flip it once to coat, then lift it out with one fork, using the second fork to gently push off any excess chocolate back into the bowl. This minimizes drips and ensures a beautiful, smooth finish.
Storing Your Delicious No-Bake Peanut Butter Balls
Proper storage is essential to maintain the freshness and delightful texture of your homemade peanut butter balls. Once the chocolate coating has fully solidified, carefully arrange the balls in an airtight container. To prevent them from sticking together, especially if you’re stacking multiple layers, place a sheet of parchment paper between each layer. These delectable treats can be stored in the refrigerator for up to 1 week, allowing you to enjoy them throughout the week. For longer storage, you can freeze them for up to 2 months. When you’re ready to indulge after freezing, simply allow the balls to thaw in the refrigerator for a few hours or at room temperature for about 30 minutes before enjoying their creamy goodness.
Explore More Easy Peanut Butter Desserts
If these delightful chocolate peanut butter balls have sparked your craving for more peanut butter goodness, you’re in luck! There’s a whole world of easy and satisfying peanut butter desserts waiting to be discovered. Keep the good times rolling and indulge in these other favorite recipes that celebrate the incredible versatility of peanut butter:
- Peanut Butter Blossom Cookies
- Peanut Butter Chocolate Mug Cake
- Peanut Butter Overload Cookies
- Peanut Butter Sandwich Cookies
- Peanut Butter Cookie Bars

Peanut Butter Balls
Equipment
-
Large rimmed baking sheet
-
Cookie scoop
Ingredients
- 1 cup (258 g) creamy peanut butter, not natural peanut butter
- 6 tablespoons (84 g) salted butter
- 2 cups (240 g) powdered sugar
- ½ teaspoon vanilla extract
- 1 cup (180 g) dark chocolate chips
- 1 teaspoon coconut oil
Instructions
-
In a large bowl, cream together peanut butter and butter until combined.
(Ingredients: 1 cup (258 g) creamy peanut butter, 6 tablespoons (84 g) salted butter)

-
Add in the powdered sugar in increments, mixing after each addition.
(Ingredients: 2 cups (240 g) powdered sugar)
-
Add the vanilla and mix.
(Ingredients: ½ teaspoon vanilla extract)
-
Line a large rimmed baking sheet with parchment or wax paper.
-
Scoop 1-inch balls of the peanut butter mixture then gently roll with your hands into a ball shape and place on the baking sheet. Repeat until all the peanut butter mixture has been used up.
-
Allow to firm up in the refrigerator for 30 minutes.
-
When the peanut butter balls are almost done firming up, melt dark chocolate chips and coconut oil together in the microwave, stirring in 30 second increments.
(Ingredients: 1 cup (180 g) dark chocolate chips, 1 teaspoon coconut oil)
-
Dip the peanut butter balls into the chocolate mixture with a fork and allow excess to drain off. Repeat until all has been dipped then place in the refrigerator for another 30 minutes.
Nutrition Information
Calories: 108 kcal,
Carbohydrates: 10 g,
Protein: 2 g,
Fat: 7 g,
Saturated Fat: 3 g,
Polyunsaturated Fat: 1 g,
Monounsaturated Fat: 2 g,
Trans Fat: 0.1 g,
Cholesterol: 5 mg,
Sodium: 49 mg,
Potassium: 69 mg,
Fiber: 1 g,
Sugar: 9 g
Disclaimers
This website provides approximate nutrition information for convenience and as a courtesy only. Nutrition information can vary for a variety of reasons. For the most precise nutritional data use your preferred nutrition calculator based on the actual ingredients you used in the recipe.
The default measuring system for this website is US Customary. Unit conversions are provided for convenience and as a courtesy only. While we strive to provide accurate unit conversions, please be aware that there may be some discrepancies.
Photographs by Eat Love Eat