
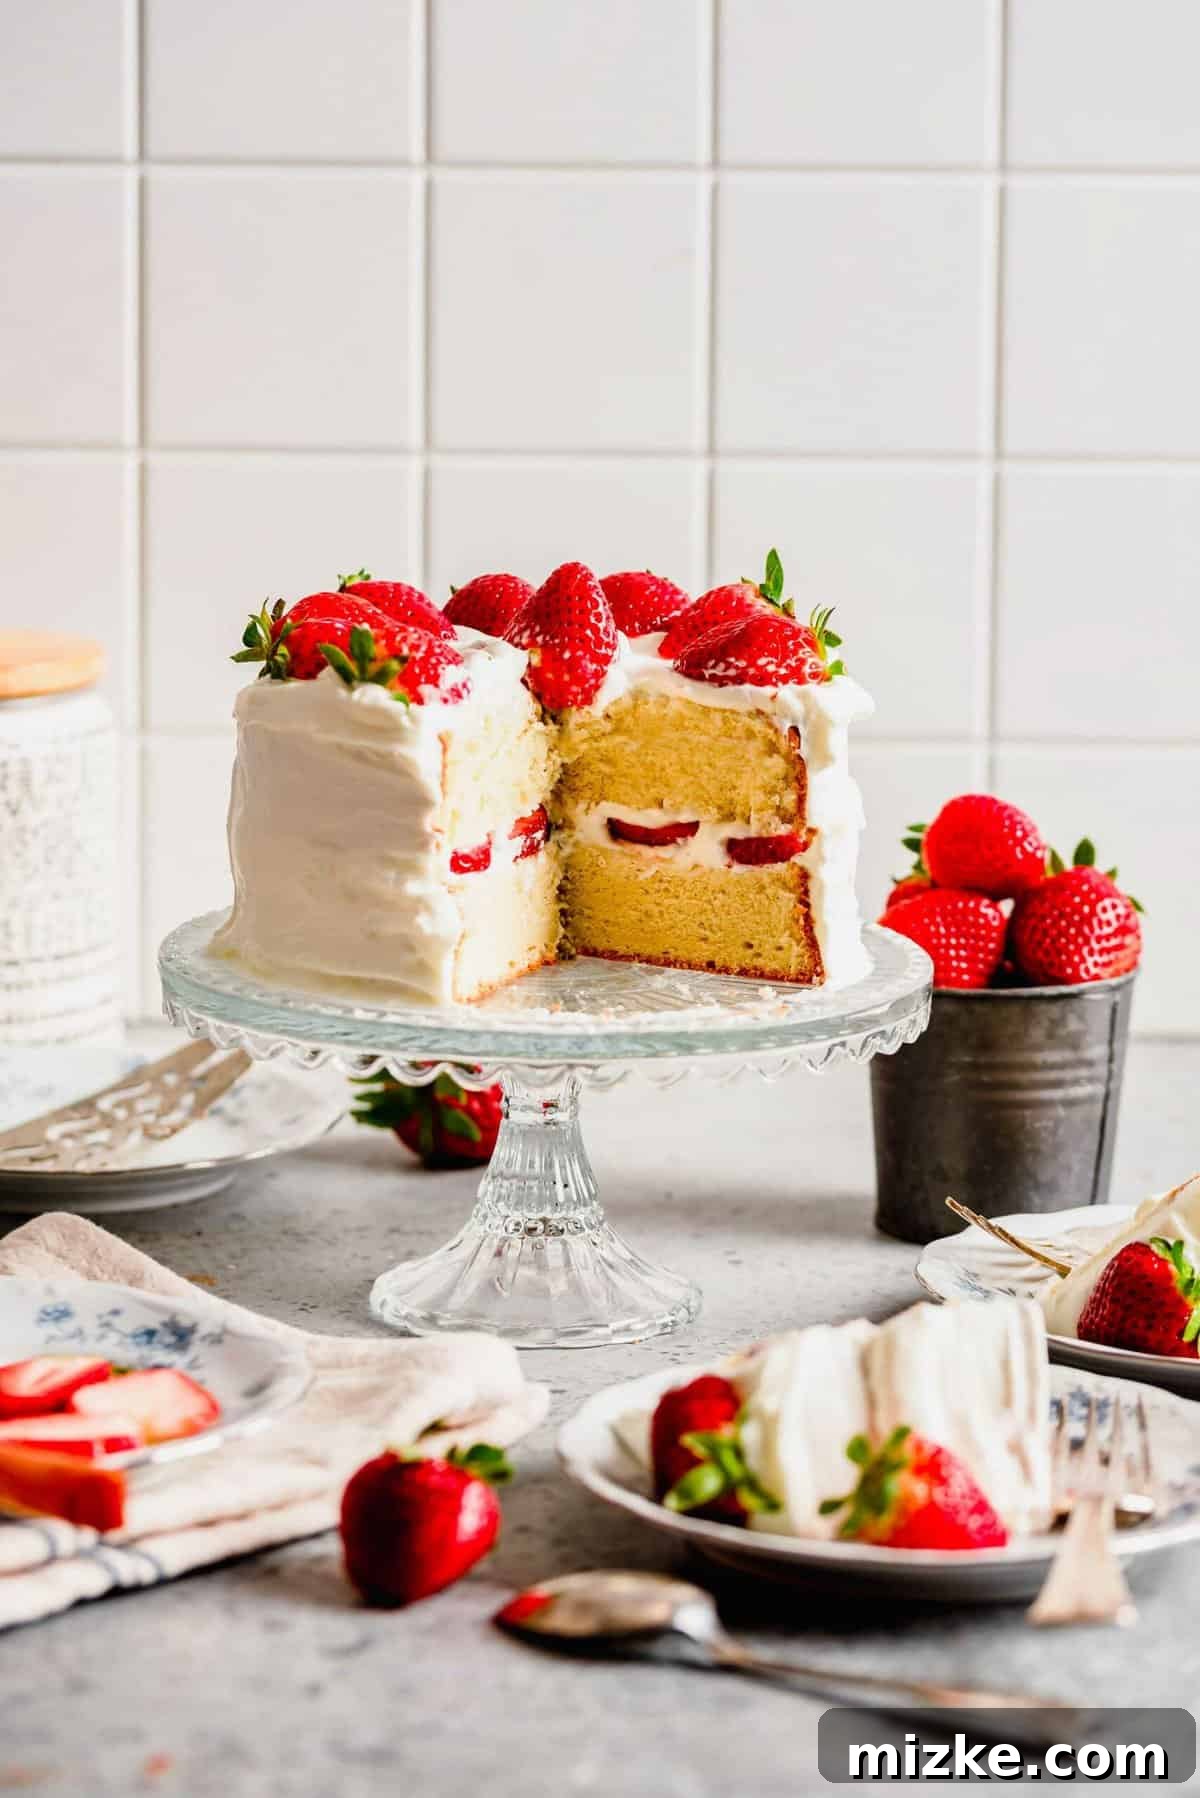
Experience the magic of a homemade strawberry sponge cake – a delightful confection that pairs unbelievably light and airy vanilla cake layers with luscious whipped cream and vibrant fresh strawberries for a truly cloud-like dessert.
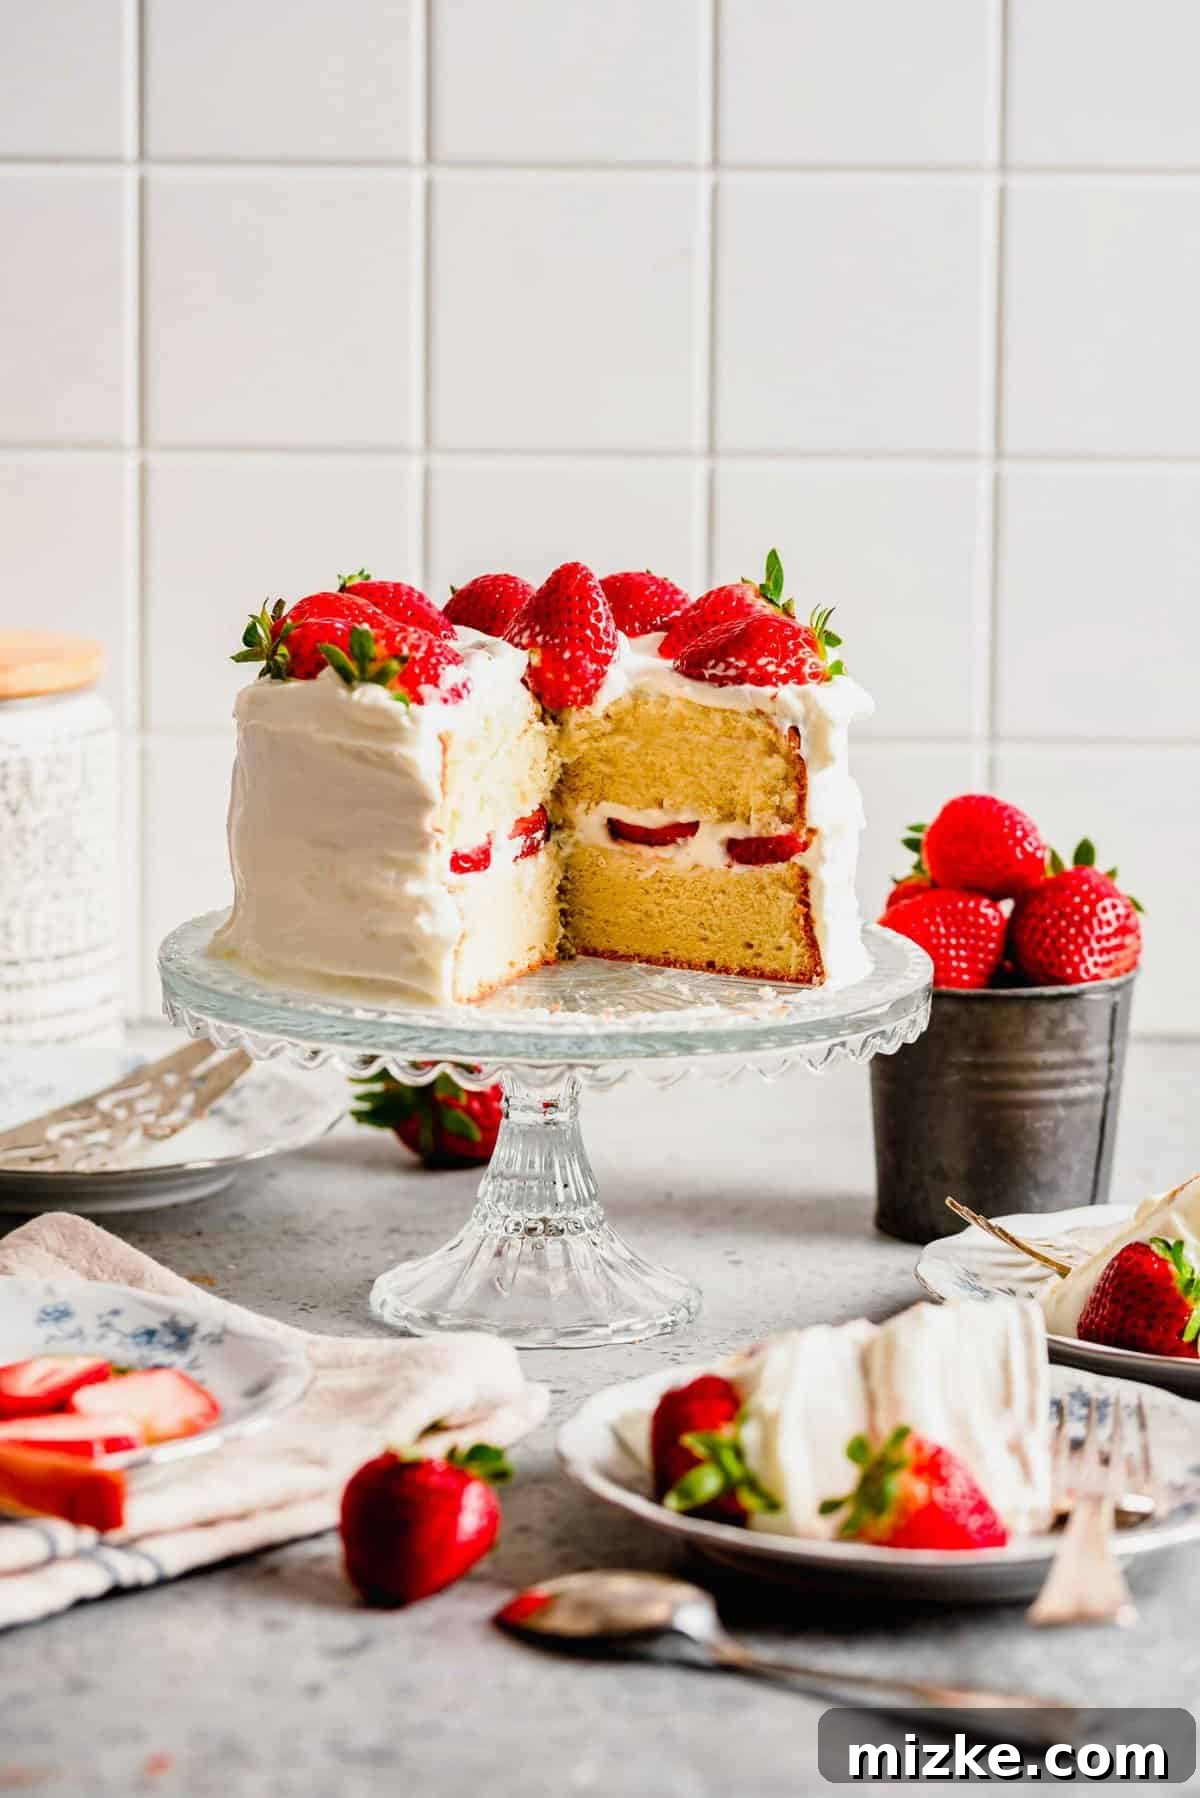
The Secret to the Perfect Strawberry Sponge Cake: Light, Fluffy, and Irresistibly Fresh
There’s a reason why this particular style of cake holds a special place in my heart – it’s simply my all-time favorite dessert. Growing up, these ethereal creations were a staple at Asian bakeries, so much so that I affectionately dubbed them “Asian cakes.” Unlike the typically dense, heavily frosted cakes often found in Western patisseries, these Asian-style sponge cakes are a testament to subtle elegance. They feature an incredibly soft, fluffy crumb, delicately sweet whipped cream, and allow the vibrant flavors of fresh fruit to truly shine as the star of the show.
Whether you visit a Japanese, Korean, or Chinese bakery, you’ll likely encounter variations of this beloved cake. For those who don’t live near such a culinary gem, the wonderful news is that recreating this cloud-like confection in your own kitchen is not only achievable but often simpler than tackling many traditional fancy layer cakes. If elaborate cake decorating isn’t your forte, this strawberry sponge cake recipe is your gateway to a show-stopping yet deceptively easy dessert!
(P.S. If you’re as smitten with strawberries as I am, don’t miss my delightful Mini Strawberry Heart Hand Pies!)
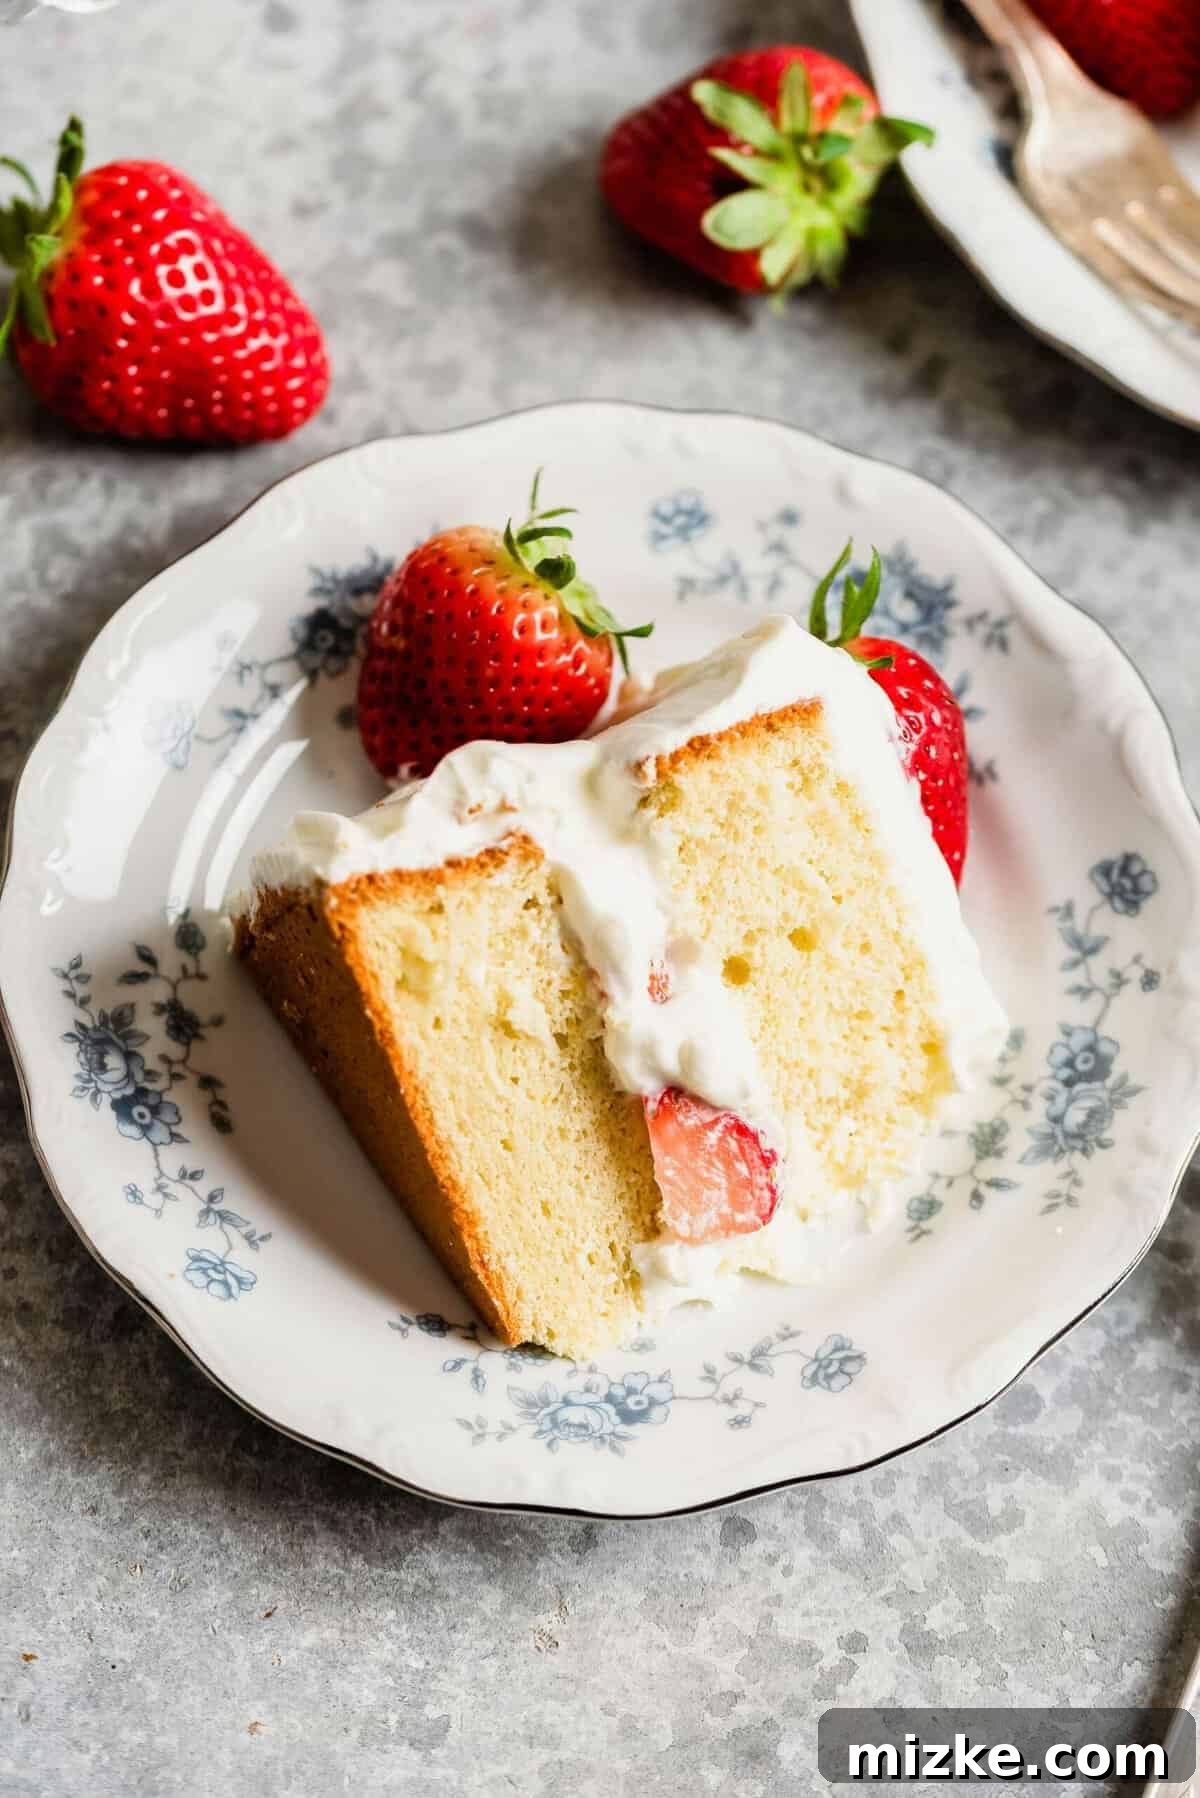
Crafting Your Dream Dessert: What You’ll Need for Strawberry Sponge Cake
To embark on your journey to a truly light, airy, and utterly delicious strawberry sponge cake, gather these essential ingredients. Quality ingredients are the foundation of any great bake, so choose wisely!
For the Sponge Cake Layers:
- Eggs: You’ll need to separate the whites and yolks. The whites will be whipped into a meringue, providing the essential lift and airy texture characteristic of a true sponge cake. Using large eggs is generally recommended for consistent results.
- Granulated Sugar: This provides sweetness and, crucially, helps stabilize the egg whites as they are whipped, ensuring a sturdy meringue.
- Milk: Any kind of milk will work beautifully. It adds moisture and tenderness to the cake. Ensure it’s at room temperature for better emulsion with other ingredients, leading to a smoother batter.
- Vanilla Extract: A touch of pure vanilla extract enhances the overall flavor profile of the cake, complementing the strawberries and cream beautifully.
- Cake Flour: This is a non-negotiable ingredient for achieving that signature light texture. Cake flour is more finely milled than all-purpose flour and has a lower protein content. Less protein means less gluten development when the batter is mixed, resulting in a much more tender and airy crumb.
- Butter: Unsalted butter is preferred, as it allows you to control the total salt content in your recipe. You’ll melt the butter before incorporating it, which helps it blend smoothly into the delicate batter without deflating the carefully whipped eggs.
- Fresh Strawberries: The star fruit! Choose ripe, vibrant strawberries. You’ll need some for filling between the layers and more for decorating the top. Their natural sweetness and slight tartness cut through the richness of the cream.
Understanding Cake Flour: The Secret to a Perfect Sponge
Many home bakers wonder if they can substitute all-purpose flour for cake flour. While both are made from wheat, the difference in milling and protein content is vital. Cake flour contains a lower percentage of protein (typically 7-8%) compared to all-purpose flour (around 10-12%). This lower protein level minimizes gluten formation during mixing. Gluten, while desirable for chewy breads, can make cakes tough and dense. For a light, fluffy cake like our strawberry sponge, avoiding excessive gluten is paramount. Trust me, for this recipe, the light and tender texture is *everything*, so using proper cake flour is highly recommended for the best results.
For the Stabilized Whipped Cream:
Stabilized whipped cream is a game-changer for layered cakes, especially those with fresh fruit. It prevents the cream from weeping and losing its shape, keeping your cake looking beautiful and structurally sound for longer.
- Unflavored Gelatin: This is the key to stabilization. When properly bloomed and dissolved, it gives the whipped cream enough structure to hold up beautifully without feeling rubbery.
- Cold Water: Used to bloom the gelatin before it’s heated and dissolved.
- Heavy Cream: Ensure it’s very cold to achieve maximum volume when whipped. Look for cream with at least 36% milk fat.
- Confectioners’ Sugar: Also known as powdered sugar, it sweetens the cream and helps to create a smooth, light texture. Unlike granulated sugar, it dissolves instantly, preventing a gritty mouthfeel.
- Vanilla Extract: Just like in the cake, vanilla extract enhances the flavor of the whipped cream, making it even more irresistible.
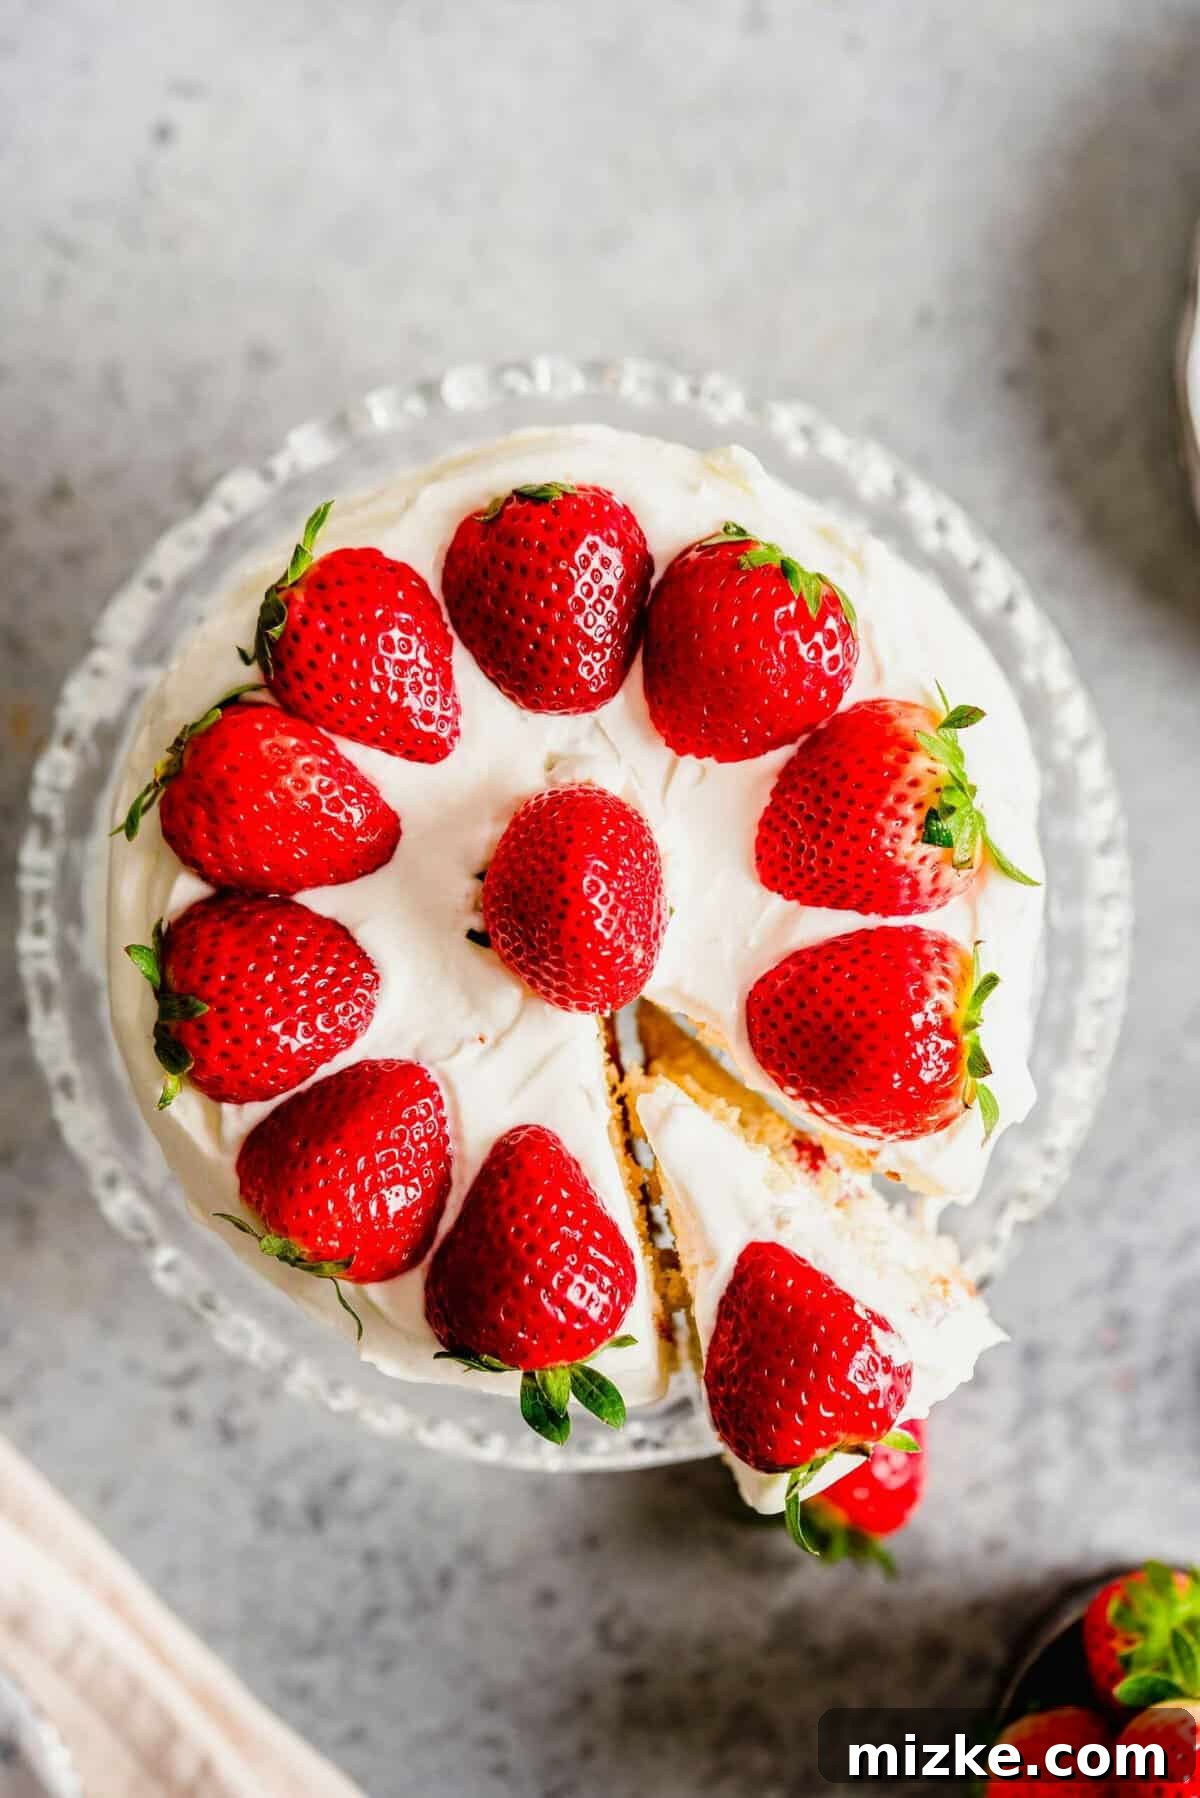
Step-by-Step Guide: How to Make a Light Strawberry Sponge Cake at Home
Ready to create a bakery-worthy sponge cake in your own kitchen? Follow these detailed instructions for a truly remarkable dessert:
- Prepare Your Workspace and Pan: Begin by preheating your oven to 350°F (175°C). Lightly grease a 9-inch round cake pan. For extra assurance against sticking, you can also dust it lightly with flour or line the bottom with parchment paper. This preparation is crucial for an easy release.
- Whip Egg Whites to Perfection: In the clean bowl of a stand mixer fitted with the whisk attachment, add the granulated sugar and egg whites. Begin beating on medium speed, gradually increasing to high. Continue until the egg whites form stiff, glossy peaks. This means when you lift the whisk, the peaks hold their shape firmly and appear shiny. Be patient; this step is fundamental for the cake’s airy texture.
- Gently Incorporate Egg Yolks: With the mixer still on low speed, add the egg yolks one at a time, allowing each to fully incorporate before adding the next. This gentle approach helps maintain the volume you’ve built in the egg whites.
- Fold in Remaining Wet and Dry Ingredients: Carefully remove the bowl from the stand mixer. Using a rubber spatula, gently fold in the room temperature milk, followed by the vanilla extract, and then the sifted cake flour. It’s essential to fold (lightly scoop from the bottom and fold over the top) rather than stir, to avoid deflating the airy batter. Once just combined, gently fold in the melted butter until no streaks remain. Be careful not to overmix!
- Bake to Golden Perfection: Pour the prepared cake batter into your greased 9-inch cake pan. Bake for approximately 25 to 30 minutes, or until the cake turns a beautiful golden brown on top. To test for doneness, gently press the center of the cake; it should spring back immediately. Avoid opening the oven door too early, as this can cause the cake to sink.
- Cool Completely: Remove the cake from the oven and let it cool in the pan on a wire rack for about 10-15 minutes. Then, carefully invert it onto the wire rack to cool completely. Allowing the cake to cool fully is vital before attempting to slice or frost it, as a warm cake will crumble and melt your whipped cream.
- Prepare the Stabilized Whipped Cream: While the cake cools, begin preparing your stabilized whipped cream. In a small pot, sprinkle the unflavored gelatin evenly over the cold water. Let it sit undisturbed for 5 minutes to “bloom” (absorb the water and soften). After 5 minutes, stir the mixture and place the pot over very low heat, stirring constantly, until the gelatin is completely dissolved and the mixture is clear. Immediately remove it from the heat and let it cool slightly – it should still be liquid but not hot.
- Whip the Cream and Gelatin: In the bowl of your stand mixer (or a large bowl with a hand mixer), whisk the very cold heavy cream, confectioners’ sugar, and vanilla extract until medium-stiff peaks form. While the mixer is still running on low speed, slowly drizzle in the cooled, dissolved gelatin mixture. Increase the speed to high and continue to beat until the whipped cream is fluffy, firm, and holds its shape beautifully.
- Assemble Your Masterpiece: Once the cake is completely cool, use a long, serrated knife to carefully slice the cake horizontally into two even layers. Take your time and use a steady hand.
- Layer and Decorate: Place the first cake layer on your serving plate or cake stand. Spread a generous, even layer of the stabilized whipped cream over it. Arrange a layer of sliced fresh strawberries over the whipped cream. Gently spread another thin layer of whipped cream over the strawberries – this acts as a “glue” for the next cake layer and prevents the top layer from becoming soggy. Carefully place the second cake layer on top.
- Frost and Garnish: Use the remaining whipped cream to frost the entire cake, covering the top and sides smoothly. For a rustic look, you can use an offset spatula to create gentle swirls. Finally, artfully arrange the remaining fresh strawberries on top of the cake for a stunning finish.
- Chill Before Serving: For the best texture and stability, serve your strawberry sponge cake immediately or, ideally, refrigerate it for a few hours before serving. This allows the flavors to meld and the cream to set perfectly.
Tips for Success: Ensuring Your Strawberry Sponge Cake is Perfect Every Time
Achieving that delicate, fluffy texture requires a few key insights. Here are some tips to help you succeed:
- No Stand Mixer? No Problem! While a stand mixer makes whipping egg whites and cream significantly easier, an electric hand mixer works just as well. However, I strongly advise against trying to mix this batter and whipped cream entirely by hand; it’s an immense amount of work and very difficult to achieve the desired volume.
- The Golden Rule: Avoid Over-Mixing. This is perhaps the most critical tip for a light sponge cake. Over-mixing the batter develops gluten, which leads to a tough, dense cake. Once you add the flour and melted butter, mix only until just combined. The goal is to retain as much air as possible.
- Make It Your Own with Fruit Variations: While strawberries are classic, this cake is incredibly versatile. Feel free to swap them out or combine them with other fresh berries like raspberries, blueberries, or blackberries. Sliced banana, mango, or kiwi are also popular choices in Asian bakeries and add a wonderful tropical twist.
- Ensure Room Temperature Ingredients (for cake batter): For the cake batter, make sure your milk and egg yolks are at room temperature. This helps them emulsify better with the other ingredients, creating a smoother, more uniform batter and contributing to a tender crumb.
- Sift Your Cake Flour: Sifting the cake flour before adding it to the batter removes any lumps and, more importantly, aerates the flour. This further contributes to the lightness of the cake and ensures even distribution without overmixing.
- Patience During Cooling: Do not rush the cooling process. A warm cake is fragile and difficult to handle. Trying to slice or frost a warm cake will result in crumbling and melting cream. Allow it to cool completely on a wire rack to stabilize its structure.
- Chill the Whipped Cream Bowl and Whisk: For the best whipped cream, place your mixer bowl and whisk attachment in the freezer for 10-15 minutes before whipping. This extra chill helps the heavy cream whip up faster and achieve a firmer, more stable consistency.
How to Store Your Strawberry Sponge Cake
This strawberry sponge cake is at its absolute best when enjoyed fresh. It should be stored in the refrigerator, either covered loosely or in an airtight cake container, to prevent it from drying out or absorbing refrigerator odors. For optimal taste and texture, aim to consume the cake within 2 days. Beyond this timeframe, you might notice the cake starting to harden slightly, losing some of its signature spongy, light quality, and the fresh fruit might begin to weep.
Can This Cake Be Frozen?
Unfortunately, I do not recommend freezing this particular strawberry sponge cake. The delicate nature of both the fresh strawberries and the stabilized whipped cream does not lend itself well to freezing and thawing. When frozen and then thawed, the strawberries tend to release excess water, which can make the whipped cream watery and impact its texture, potentially causing it to become grainy or separated. For the best experience, always enjoy this cake fresh!
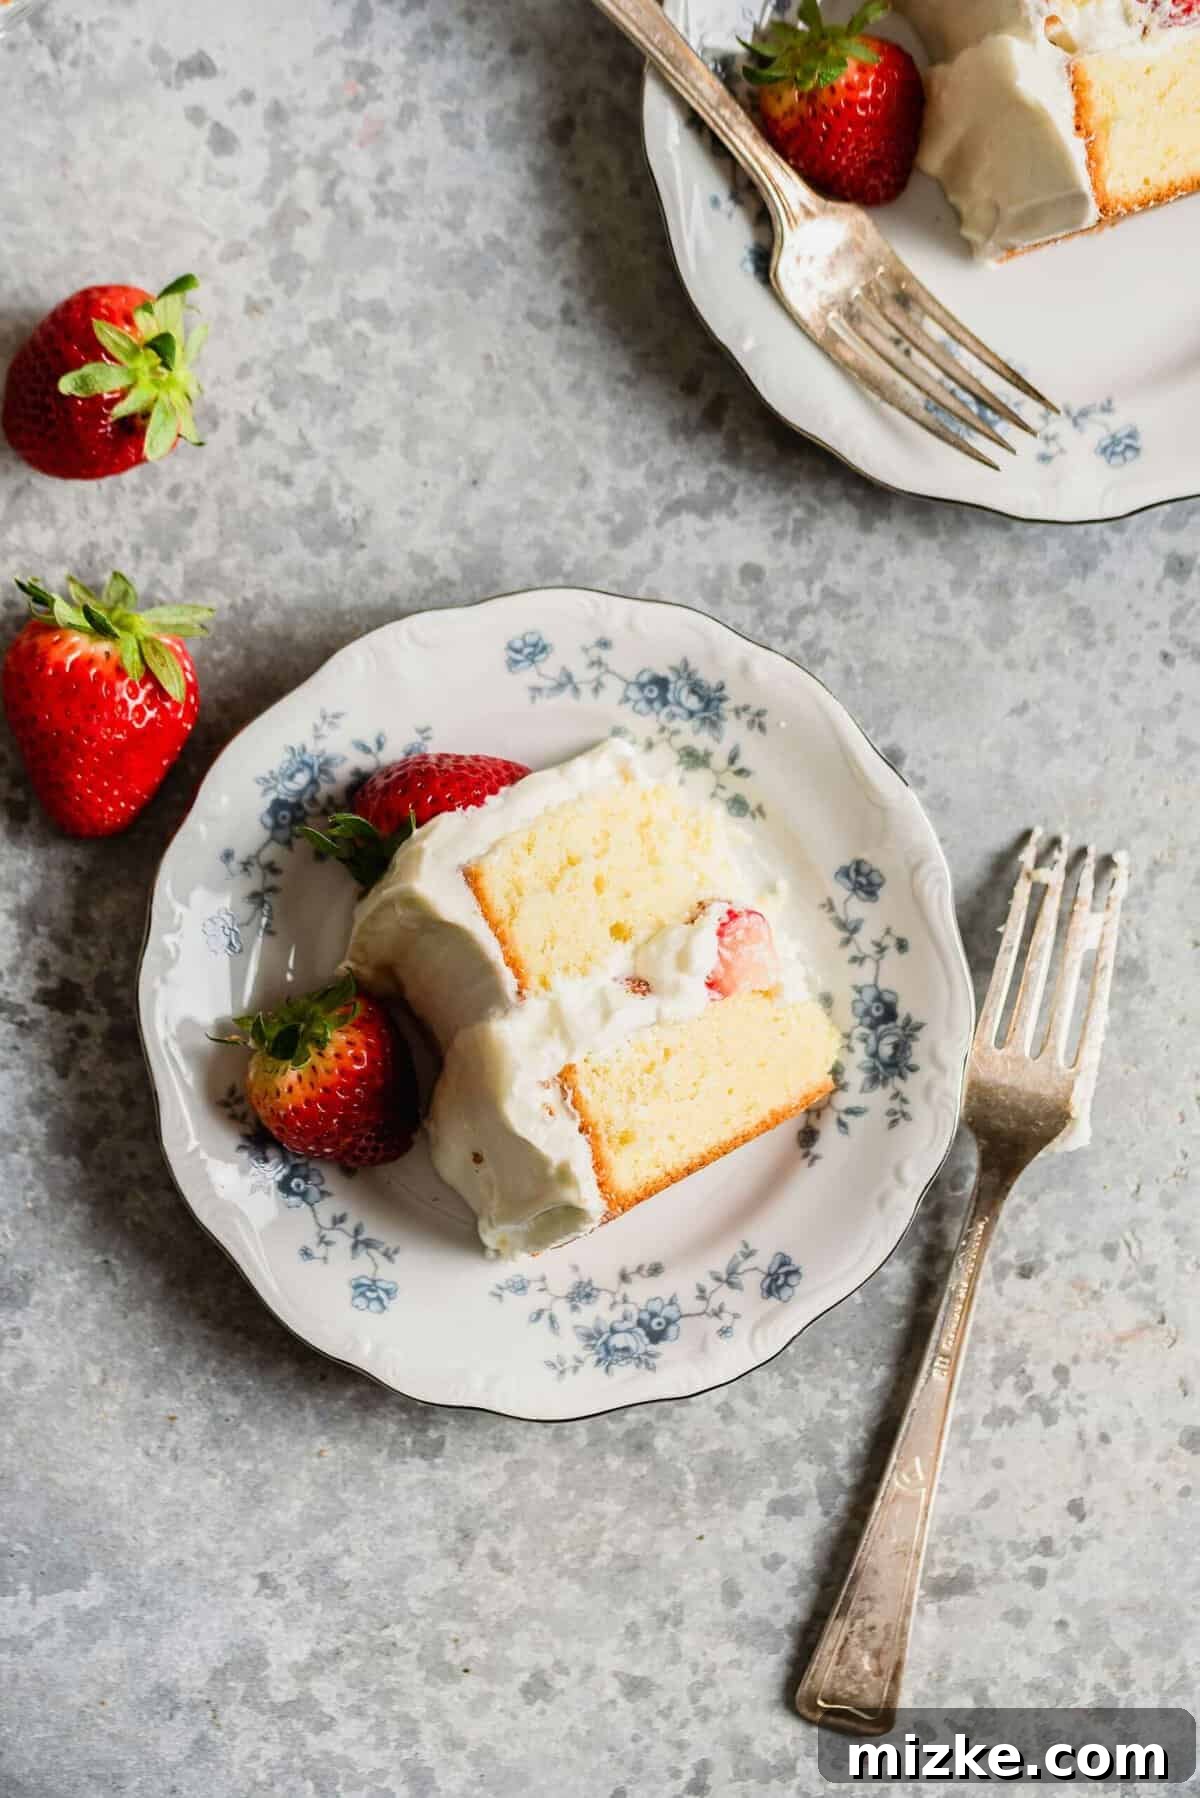
The Allure of Asian-Style Sponge Cakes: A Culinary Philosophy
The “Asian cake” style, exemplified by this strawberry sponge, represents a distinct philosophy in baking. Unlike many Western counterparts that often prioritize intense sweetness and rich, dense textures, Asian bakeries frequently focus on lightness, delicate flavors, and the natural freshness of ingredients. The sponge cake itself is a marvel of aeration – often relying on perfectly whipped eggs to create its cloud-like structure rather than heavy leavening agents. This subtle approach allows the true essence of fruits like strawberries to come forward, creating a dessert that feels refreshing and indulgent without being overly heavy.
This preference for less sweetness and more focus on texture and fresh components has made these cakes incredibly popular globally. Think of the famous Japanese Strawberry Shortcake – a perfect example of this style, where simple ingredients combine to create something extraordinary and unforgettable.
Why Bake This Light & Fluffy Cake at Home?
Beyond the sheer joy of baking, there are several compelling reasons to try this strawberry sponge cake recipe at home:
- Unbeatable Freshness: Store-bought cakes, while convenient, can rarely match the freshness of a homemade cake. You control the quality of every ingredient, from the ripest strawberries to the freshest cream, ensuring peak flavor.
- Customization at Your Fingertips: Making it yourself means you can adjust the sweetness level to your preference, or experiment with different fruits and flavorings. Have a preference for slightly less sugar? You can do that!
- The Satisfaction of Creation: There’s immense satisfaction in presenting a beautiful, homemade cake to friends and family. This particular recipe, with its impressive appearance, is sure to garner compliments.
- A Healthier Indulgence: While still a dessert, the lighter nature of this sponge cake and the emphasis on fresh fruit often make it feel like a slightly healthier option compared to denser, more sugary alternatives.
Perfecting Your Sponge Cake: Common Pitfalls and Solutions
Even experienced bakers can encounter challenges. Here’s a quick guide to common issues and how to avoid them:
- Dense or Flat Cake: This is almost always due to deflating the egg whites or overmixing the batter after the flour is added. Remember to fold gently and stop mixing as soon as ingredients are just combined. Ensure your egg whites are whipped to firm, stable peaks.
- Dry Cake: Overbaking is the main culprit here. Keep a close eye on your oven and use the “spring back” test as your guide rather than relying solely on time. An accurate oven thermometer can also be very helpful.
- Cake Sticking to the Pan: Insufficient pan preparation is usually the cause. Always grease and flour (or line with parchment paper) your pan thoroughly, especially for delicate sponge cakes.
- Whipped Cream Collapsing or Weeping: This can happen if the cream isn’t cold enough, if it’s under-whipped, or if the gelatin isn’t fully dissolved or incorporated correctly. Ensure all cream ingredients are very cold and follow the gelatin steps precisely.
- Uneven Layers: Using a long serrated knife and a gentle sawing motion is key to cutting even layers. Some bakers even use a cake leveler or toothpicks as a guide around the cake’s perimeter to ensure a straight cut.
Serving Suggestions for Your Light & Fluffy Sponge Cake
This strawberry sponge cake is versatile enough for many occasions. It makes a stunning centerpiece for a birthday celebration, a refreshing dessert for a summer gathering, or a light and elegant treat for an afternoon tea. Serve it simply on its own, perhaps with an extra scattering of fresh berries. It pairs beautifully with a light, unsweetened tea, a delicate coffee, or even a glass of sparkling rosé.
Strawberry Sponge Cake Recipe
This strawberry sponge cake is light and airy—like eating a cloud! Its delicate vanilla layers, fresh strawberries, and stabilized whipped cream create an unforgettable dessert experience.
By: Julie Chiou
Prep Time: 30 minutes
Cook Time: 45 minutes
Total Time: 1 hour 15 minutes
Servings: 10 slices
Equipment:
- Round baking pan (9-inch)
- Stand mixer (or electric hand mixer)
- Hand mixer (alternative to stand mixer)
- Offset spatula
- Serrated knife
- Wire cooling rack
Ingredients:
For the Cake:
- 4 large eggs, whites & yolks separated
- ½ cup (100 g) plus 1 ½ tablespoons granulated sugar, sifted once
- 3 tablespoons milk, room temperature
- ½ teaspoon vanilla extract
- ¾ cup (94 g) plus 2 tablespoons cake flour, sifted
- 2 tablespoons (28 g) unsalted butter, melted and cooled slightly
- 1 cup (144 g) fresh strawberries, sliced (plus more for garnish)
For the Stabilized Whipped Cream:
- 1 teaspoon unflavored gelatin
- 4 teaspoons cold water
- 1 cup (236 ml) heavy cream, very cold
- ¼ cup (30 g) confectioners’ sugar, sifted
- ½ teaspoon vanilla extract
Instructions:
- Preheat oven to 350°F (175°C) and generously grease a 9-inch cake pan. Set aside.
- In the clean bowl of a stand mixer fitted with the whisk attachment, add the granulated sugar and egg whites. Beat on medium-high speed until stiff and glossy peaks form.
- Gently add the egg yolks, one at a time, to the egg white mixture, beating on low speed until fully incorporated.
- Remove the bowl from the stand mixer. Using a rubber spatula, gently fold in the milk, followed by the vanilla extract, and then the sifted cake flour (in that order) until just combined. Be careful not to deflate the batter. Gently fold in the melted butter until no streaks remain.
- Pour the cake batter into the prepared pan and bake for 25-30 minutes, or until the cake is golden brown and springs back when lightly pressed in the center.
- Cool the cake in the pan on a wire cooling rack for 10-15 minutes, then invert it onto the rack to cool completely.
- While the cake cools, prepare your stabilized whipped cream: In a small pot, sprinkle the gelatin over the 4 teaspoons of cold water and let it sit undisturbed for 5 minutes to bloom.
- After 5 minutes, stir the bloomed gelatin and place the pot over very low heat, stirring constantly, until the gelatin is completely dissolved (the mixture should be clear). Remove from heat and let cool slightly.
- In a clean stand mixer bowl, whisk the very cold heavy cream, confectioners’ sugar, and vanilla extract until medium-stiff peaks form. While whisking on low speed, slowly drizzle in the cooled, dissolved gelatin mixture. Increase speed and beat until the whipped cream is fluffy and holds its shape well.
- Once your cake has cooled completely, use a long, sharp serrated knife to carefully slice the cake horizontally into two even layers.
- Place one cake layer on your serving plate. Spread a thin, even layer of the stabilized whipped cream over it. Arrange a layer of sliced strawberries on top of the cream. Spread another thin layer of whipped cream over the strawberries, then carefully place the second cake layer on top.
- Use the remaining whipped cream to frost the entire cake, covering the top and sides. Garnish with the remaining fresh strawberries.
- Serve immediately, or refrigerate for a few hours before serving for best stability and flavor melding.
- For optimal texture, consume this cake within 2 days. It tends to harden slightly and lose its spongy lightness after longer storage.
Nutrition Information:
Approximate nutritional values per serving (1 slice):
- Calories: 234 kcal
- Carbohydrates: 25g
- Protein: 5g
- Fat: 13g
- Fiber: 1g
- Sugar: 16g
Disclaimer: This nutrition information is an estimate for convenience only. Nutritional values can vary based on actual ingredients and preparation methods.