
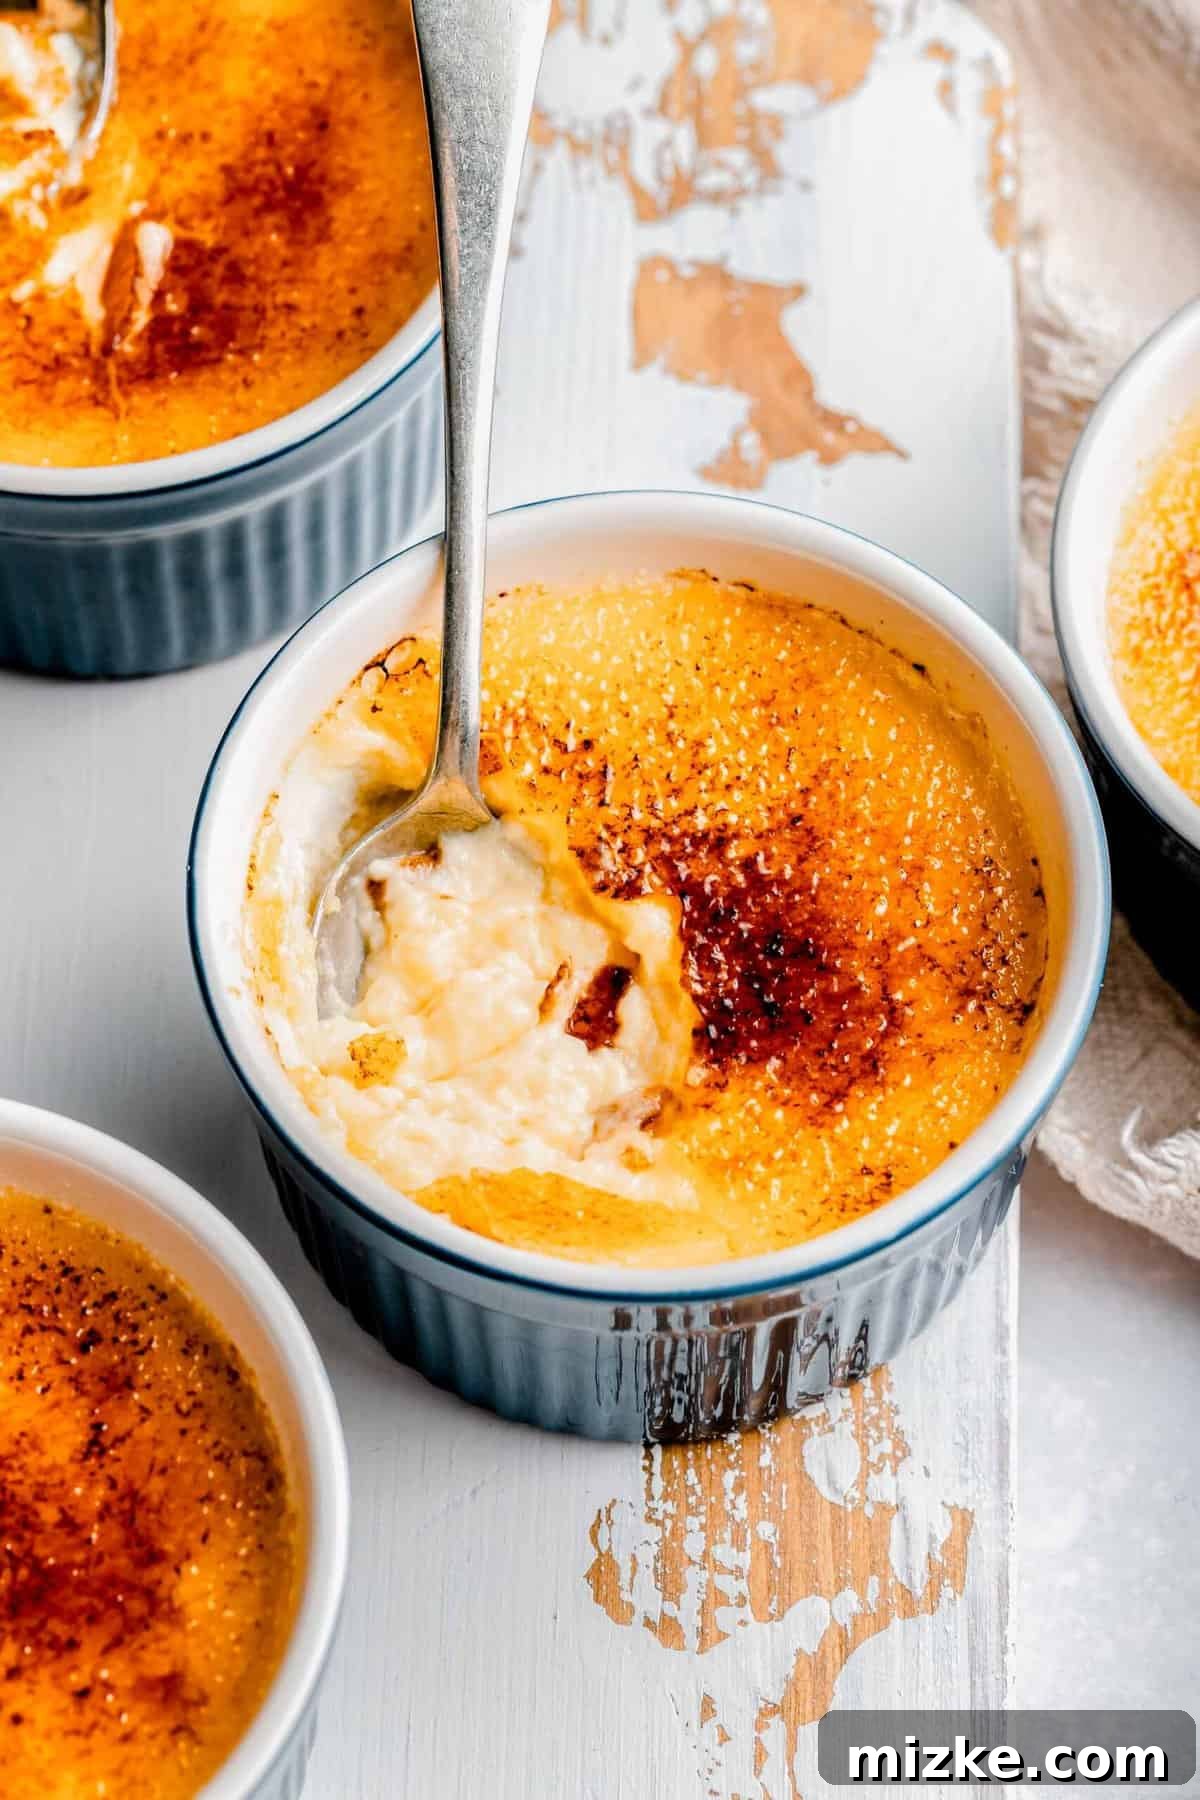
Ever dreamed of creating exquisite crème brûlée right in your own kitchen? This remarkably easy 5-ingredient recipe is your gateway to achieving creamy, rich, and truly restaurant-quality crème brûlée, crowned with that irresistible, perfectly caramelized sugar top you adore. Forget expensive dining; pure indulgence is now within arm’s reach.
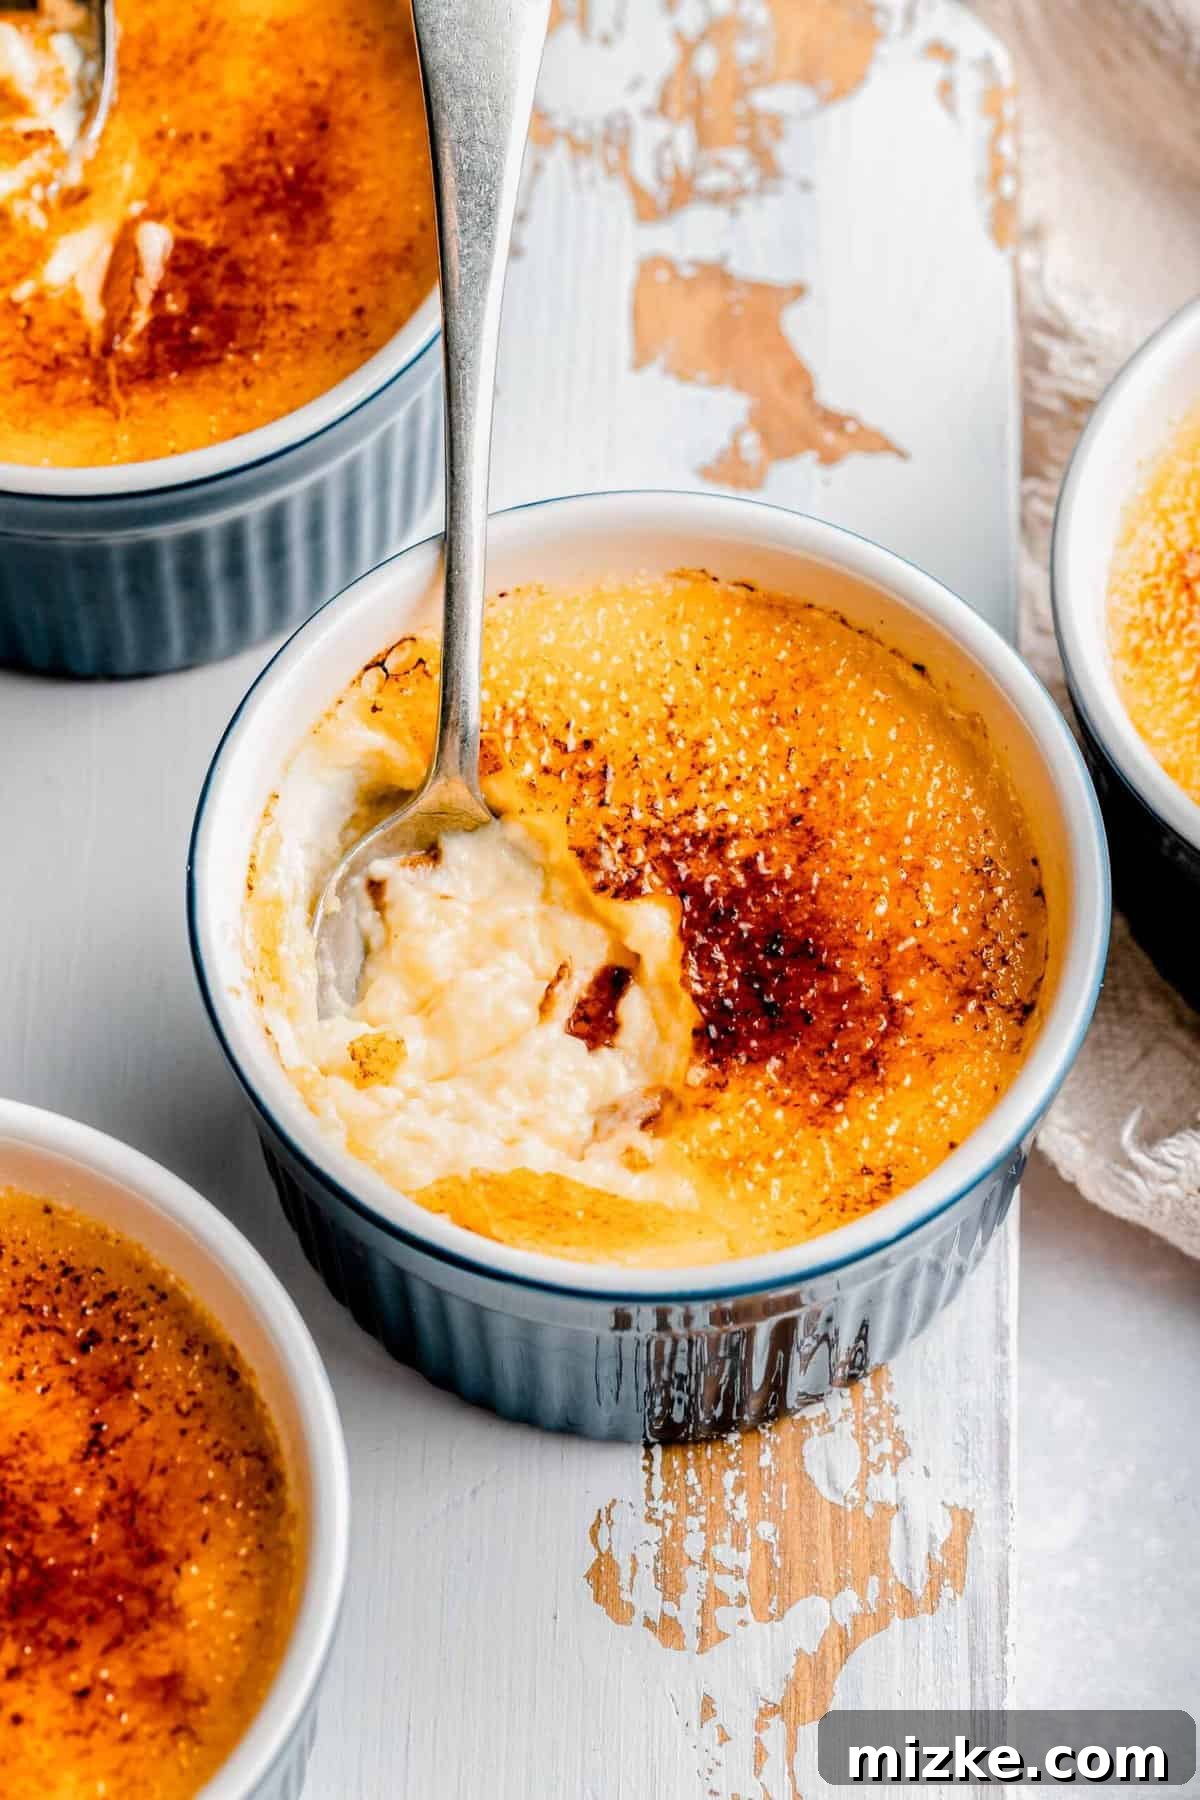
Mastering Crème Brûlée: Your Guide to a Flawless 5-Ingredient Dessert
Crème brûlée. The mere mention of this classic French dessert often conjures images of upscale restaurants and special occasions. It’s a treat typically reserved for fine dining, often accompanied by a hefty price tag. But what if you could recreate this luxurious dessert at home, with minimal effort and for a fraction of the cost? Prepare to transform your dessert repertoire, because you’re about to unlock the secrets to crafting a truly spectacular crème brûlée that will leave you wondering why you ever paid a premium.
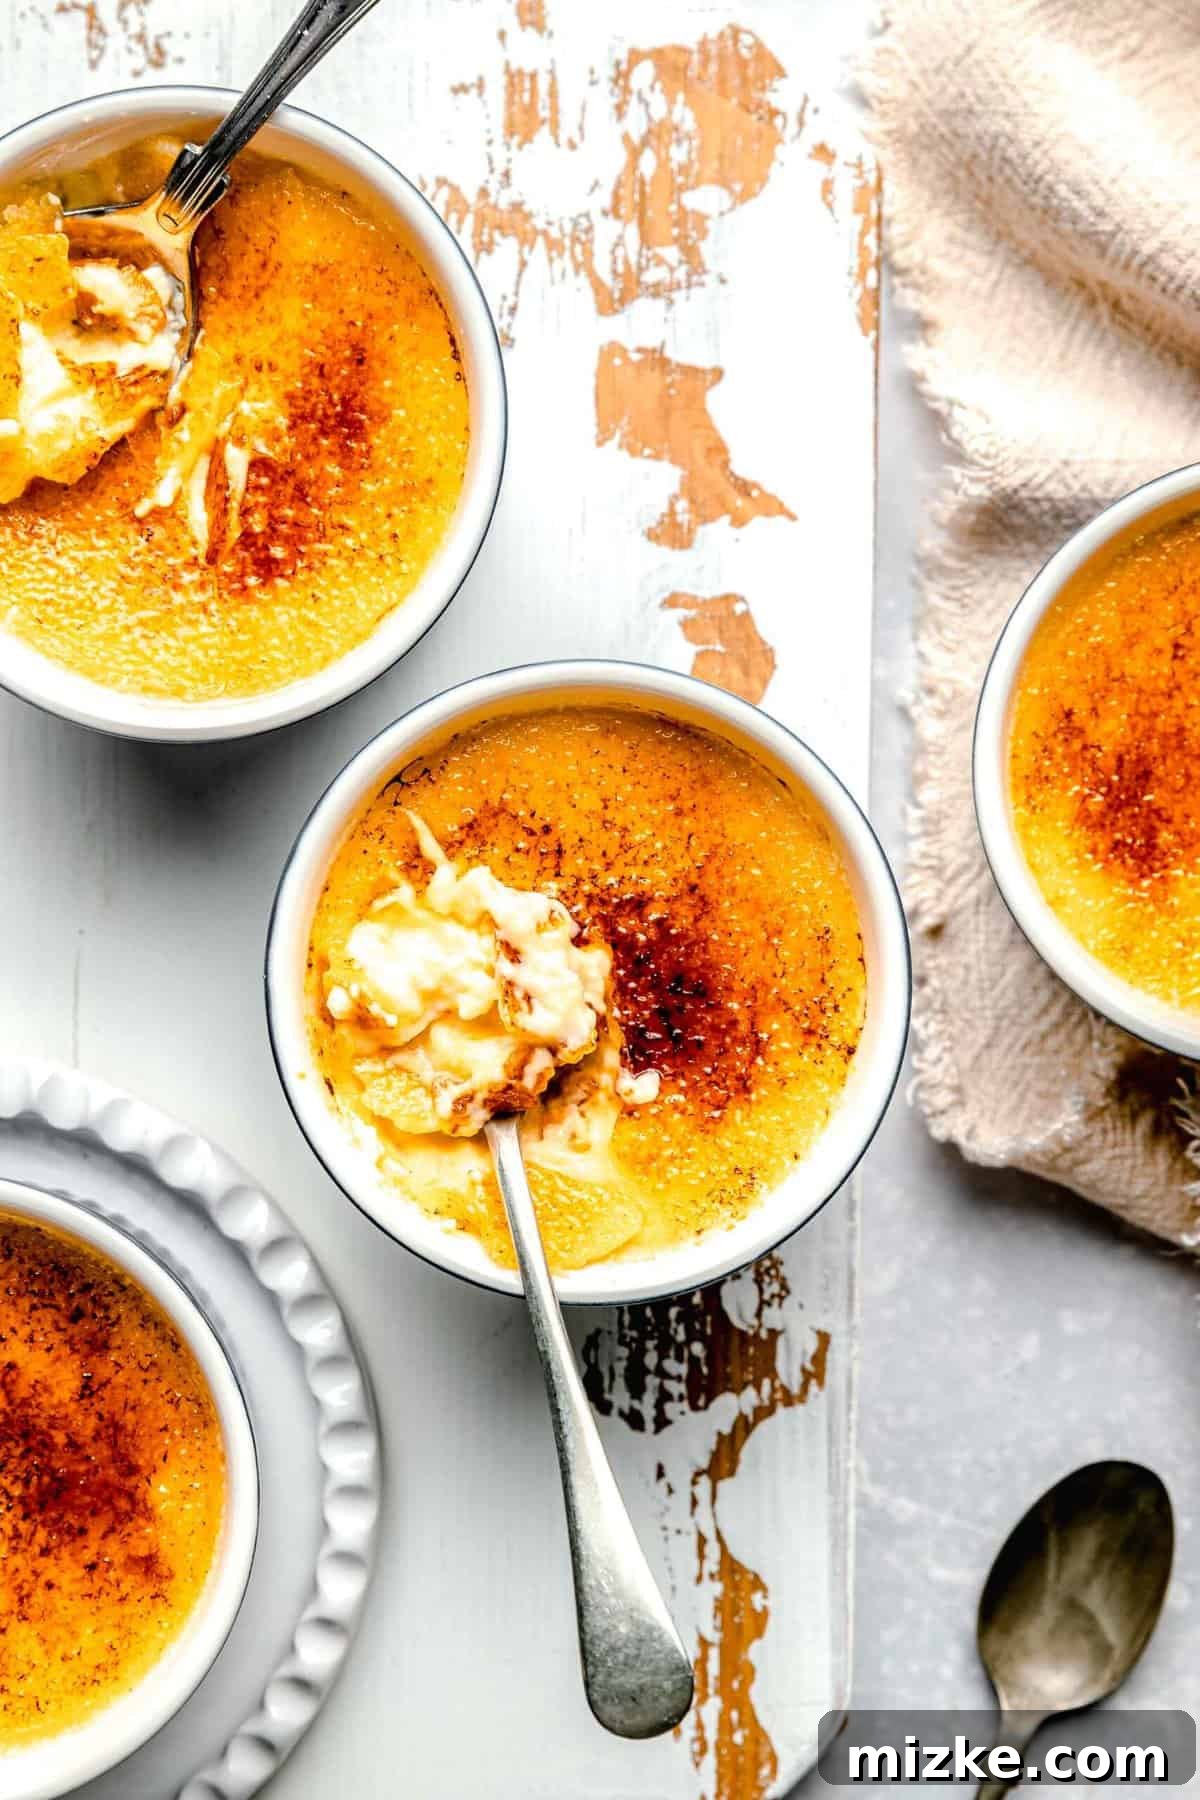
Imagine the scene: You gently tap your spoon against a captivating, glassy surface. With a satisfying crack, the perfectly caramelized sugar crust yields, revealing a hidden treasure of luscious, silky vanilla custard beneath. As the spoon glides to your mouth, the warm, comforting notes of vanilla enveloped in the creamy custard awaken your taste buds. The slight crunch of the sugar crust, followed by glorious waves of rich sweetness, creates an unforgettable symphony of textures and flavors. Long after the first bite, the exquisite taste lingers, and a quiet sense of accomplishment washes over you as you realize, “I made that.”
This isn’t just a recipe; it’s an invitation to elevate your dessert experience. With a mere handful of affordable ingredients – five, to be exact – you’re poised to whip up a crème brûlée that rivals any culinary masterpiece. Get ready to dive into the art of this elegant indulgence and impress everyone with your newfound dessert prowess!
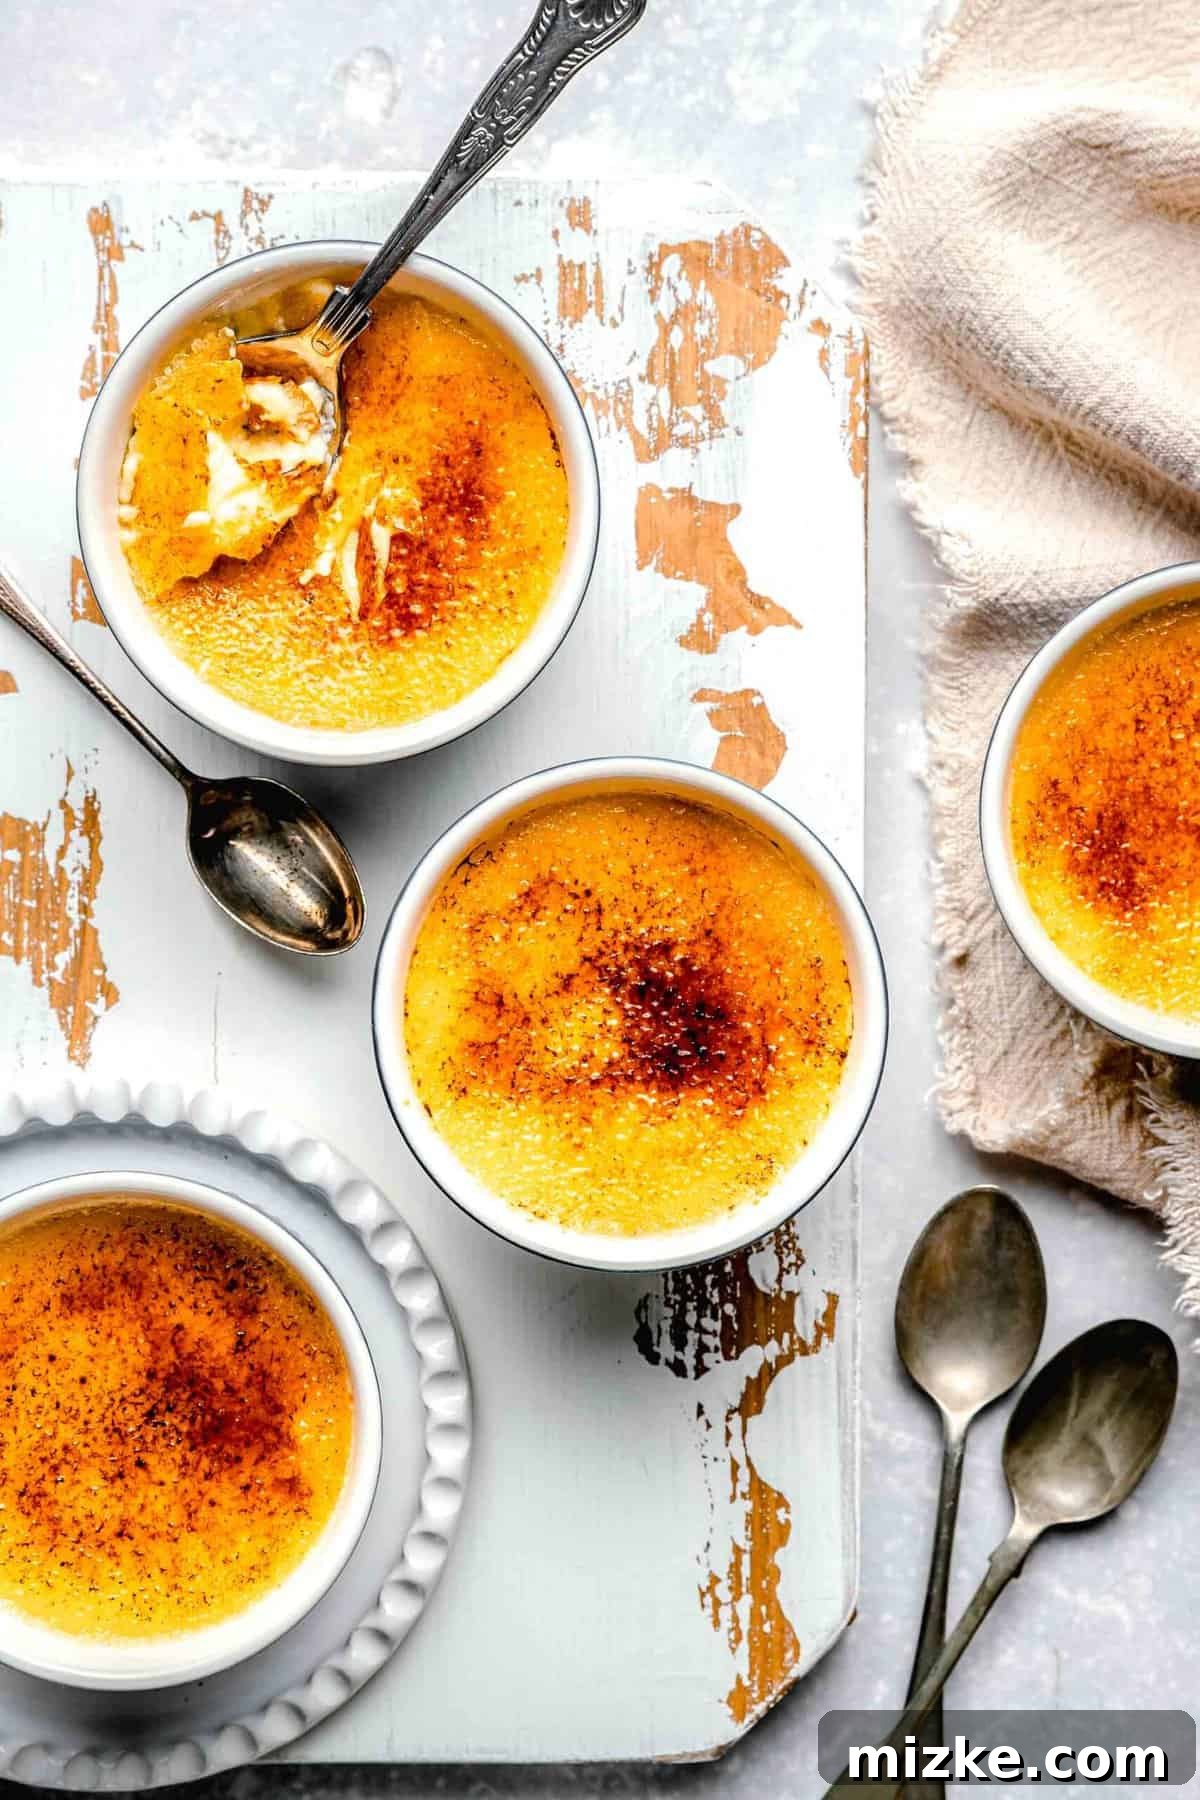
Why You’ll Fall in Love with This Easy Crème Brûlée Recipe
Crème brûlée stands as a testament to timeless elegance in the dessert world, a dish that consistently captivates hearts and palates. This particular recipe, however, offers more than just a delicious outcome; it delivers an unparalleled experience in simplicity and satisfaction. Here’s why this recipe is destined to become your go-to for this celebrated classic:
- Effortless with Just 5 Ingredients: Yes, you read that correctly! Achieving this sophisticated dessert requires only heavy cream, vanilla paste (or a vanilla bean), egg yolks, granulated sugar, and a pinch of salt. Say goodbye to daunting grocery lists and complex preparations. Most of these staples are likely already residing in your refrigerator or pantry, making spontaneous dessert cravings a delightful reality.
- Elegance Meets Simplicity: This recipe delivers a dessert that looks and tastes as though it originated from a Michelin-starred restaurant, yet it demands surprisingly little effort. Your guests will be showering you with compliments, marveling at your culinary skills. You can simply smile and accept the praise, knowing your secret to effortless gourmet dining is safe. It’s the ultimate illusion of high-end cooking without the fuss.
- A Symphony of Perfect Textures: The magic of crème brûlée lies in its captivating textural contrast, and this recipe absolutely nails it. The vanilla custard, infused with rich, aromatic vanilla, possesses an ethereal creaminess that glides effortlessly over your tongue, reminiscent of a delicious, velvety cloud. This luxurious smoothness is perfectly complemented by the crisp, golden caramelized sugar crust, which provides a delicate, subtle crunch, creating a wonderful and unforgettable juxtaposition with every spoonful.
- The Brilliance of Make-Ahead Magic: Planning a dinner party or a special gathering can be stressful, but your dessert doesn’t have to add to it. This crème brûlée is a dream come true for hosts, as it can be prepared up to three days in advance. Simply follow the baking and chilling steps, stopping just before adding the caramelized sugar topping. Store the baked custards, securely covered, in the refrigerator. When it’s time to serve, a quick sprinkle of sugar and a torching session are all that stand between you and a show-stopping dessert. This feature truly makes entertaining a breeze!
What Exactly Is Crème Brûlée? A French Classic Unveiled
Crème brûlée, translating literally to “burnt cream,” is a quintessential French dessert celebrated globally for its delicate balance of rich custard and crisp caramel. At its core, it’s a sublime custard base, meticulously crafted from heavy cream, egg yolks, granulated sugar, and a generous hint of vanilla – often from a fragrant vanilla bean or high-quality paste. This mixture is gently baked until it achieves a silken, creamy consistency. The distinctive hallmark of crème brûlée, and indeed its namesake, is the thin, glassy layer of caramelized sugar that forms its crowning glory. Just before serving, a sprinkle of sugar is either broiled briefly or, more traditionally, torched with a culinary flame, transforming into a brittle, amber-hued crust that provides a delightful textural contrast to the smooth custard beneath. It’s this exquisite interplay of smooth and crunchy, sweet and subtly bitter, that makes crème brûlée an enduring and beloved indulgence.
What You’ll Need to Create This Dessert Masterpiece
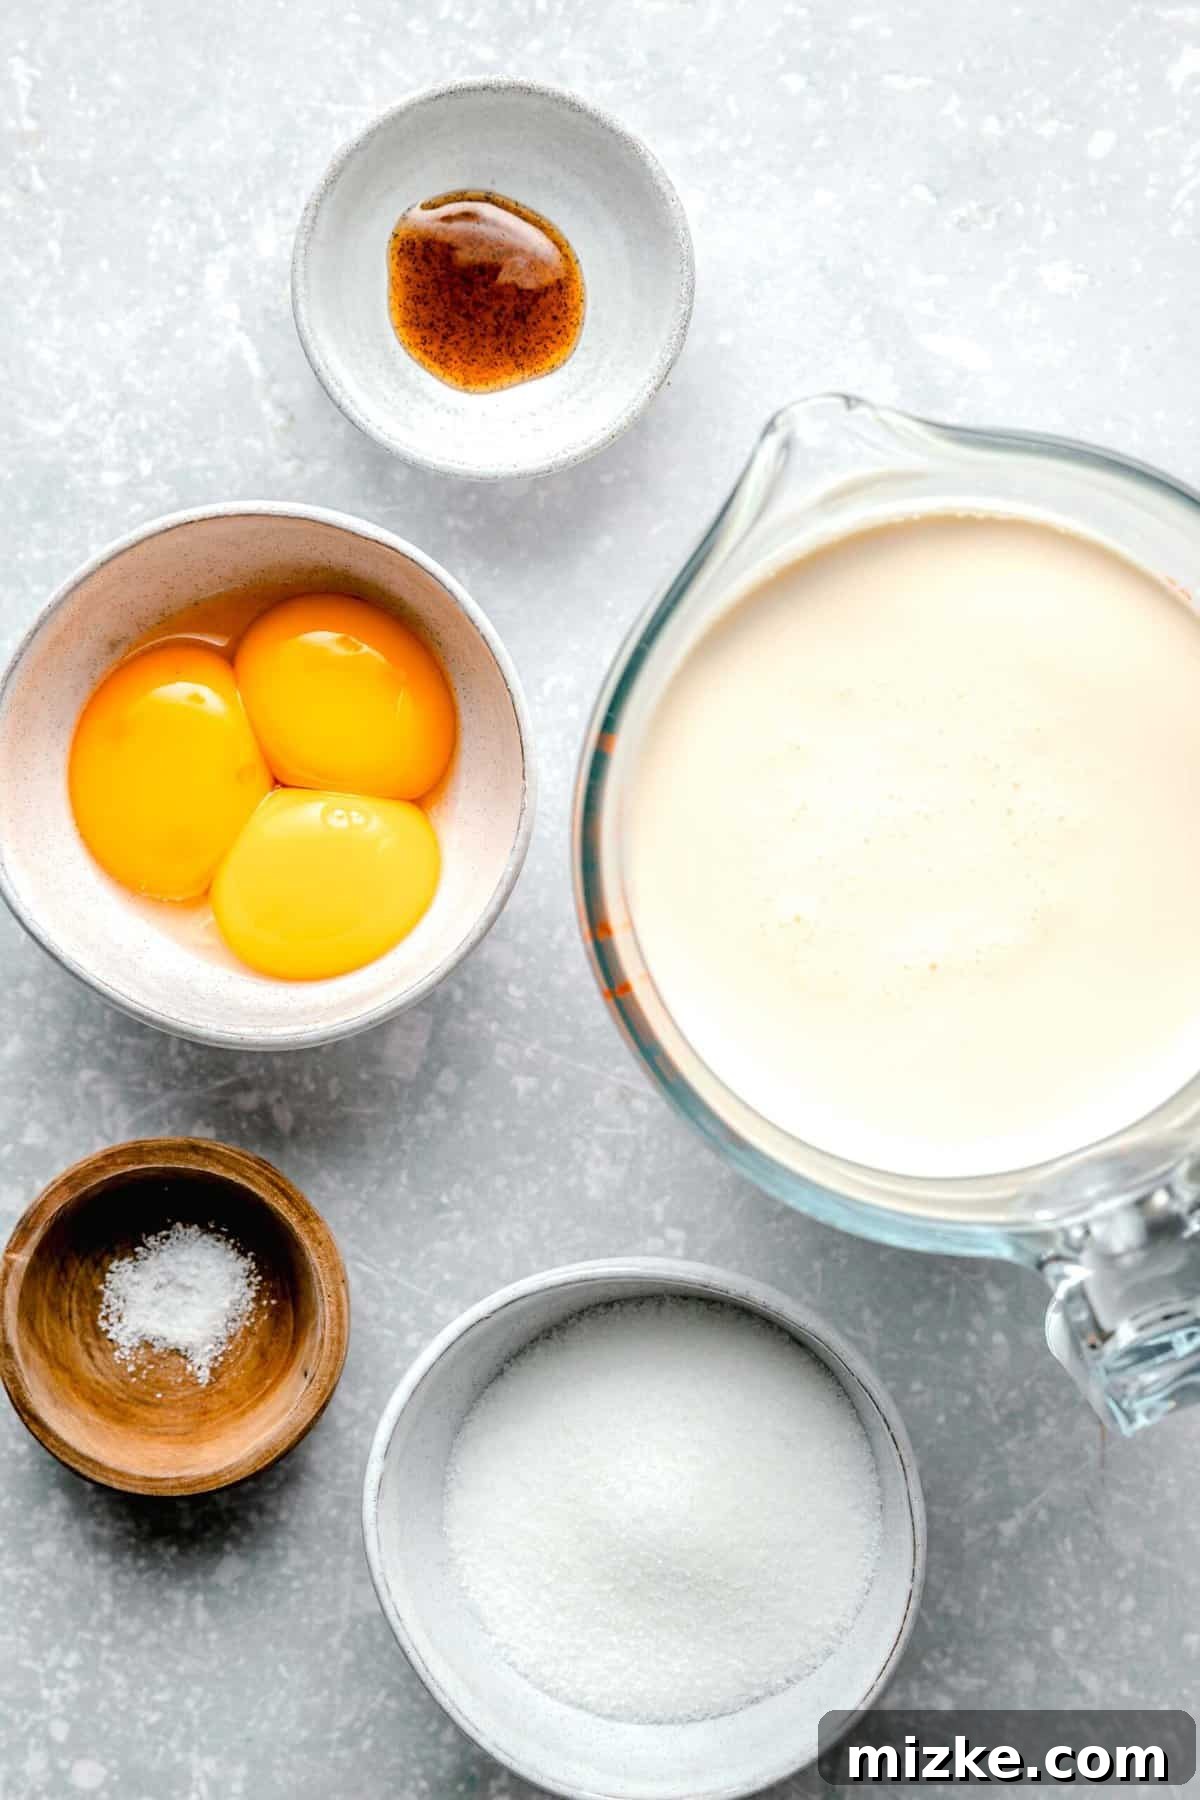
One of the most appealing aspects of this exquisite vanilla bean crème brûlée is its minimalist ingredient list. You only need five core items to create a truly spectacular dessert. Here’s a brief overview of what you’ll want to have on hand. For precise measurements, please refer to the detailed recipe card below.
- Heavy Cream: This is the foundation of your custard, providing the essential richness and creamy texture that defines crème brûlée. Choose a high-quality heavy cream for the best results.
- Vanilla Bean Paste: For that truly authentic and aromatic vanilla flavor, vanilla bean paste is unbeatable. It offers the specks and intense flavor of a whole vanilla bean without the fuss. Alternatively, you can use half of a fresh vanilla bean, split and scraped, to infuse your cream.
- Egg Yolks: The egg yolks are crucial for the custard’s velvety texture and rich color. They act as a natural thickener, binding the cream into a silky-smooth dessert.
- Granulated Sugar: Essential for sweetening the custard and, of course, for creating that iconic caramelized crust. You’ll use it in two stages for distinct purposes.
- Salt: Just a pinch of salt is needed to balance the sweetness and enhance all the other flavors, making the vanilla and cream truly sing. Don’t underestimate its subtle but significant role!
How to Make Vanilla Bean Crème Brûlée: A Step-by-Step Guide
Ready to embark on the journey of making this incredible crème brûlée? Here’s a quick overview to familiarize yourself with the process. While this section provides a general outline, remember to consult the comprehensive recipe card below for more detailed instructions, specific temperatures, and expert tips to ensure your success.
- Prepare Your Workspace: Begin by preheating your oven to the precise temperature and preparing a water bath. This critical step ensures even cooking and a perfectly smooth custard.
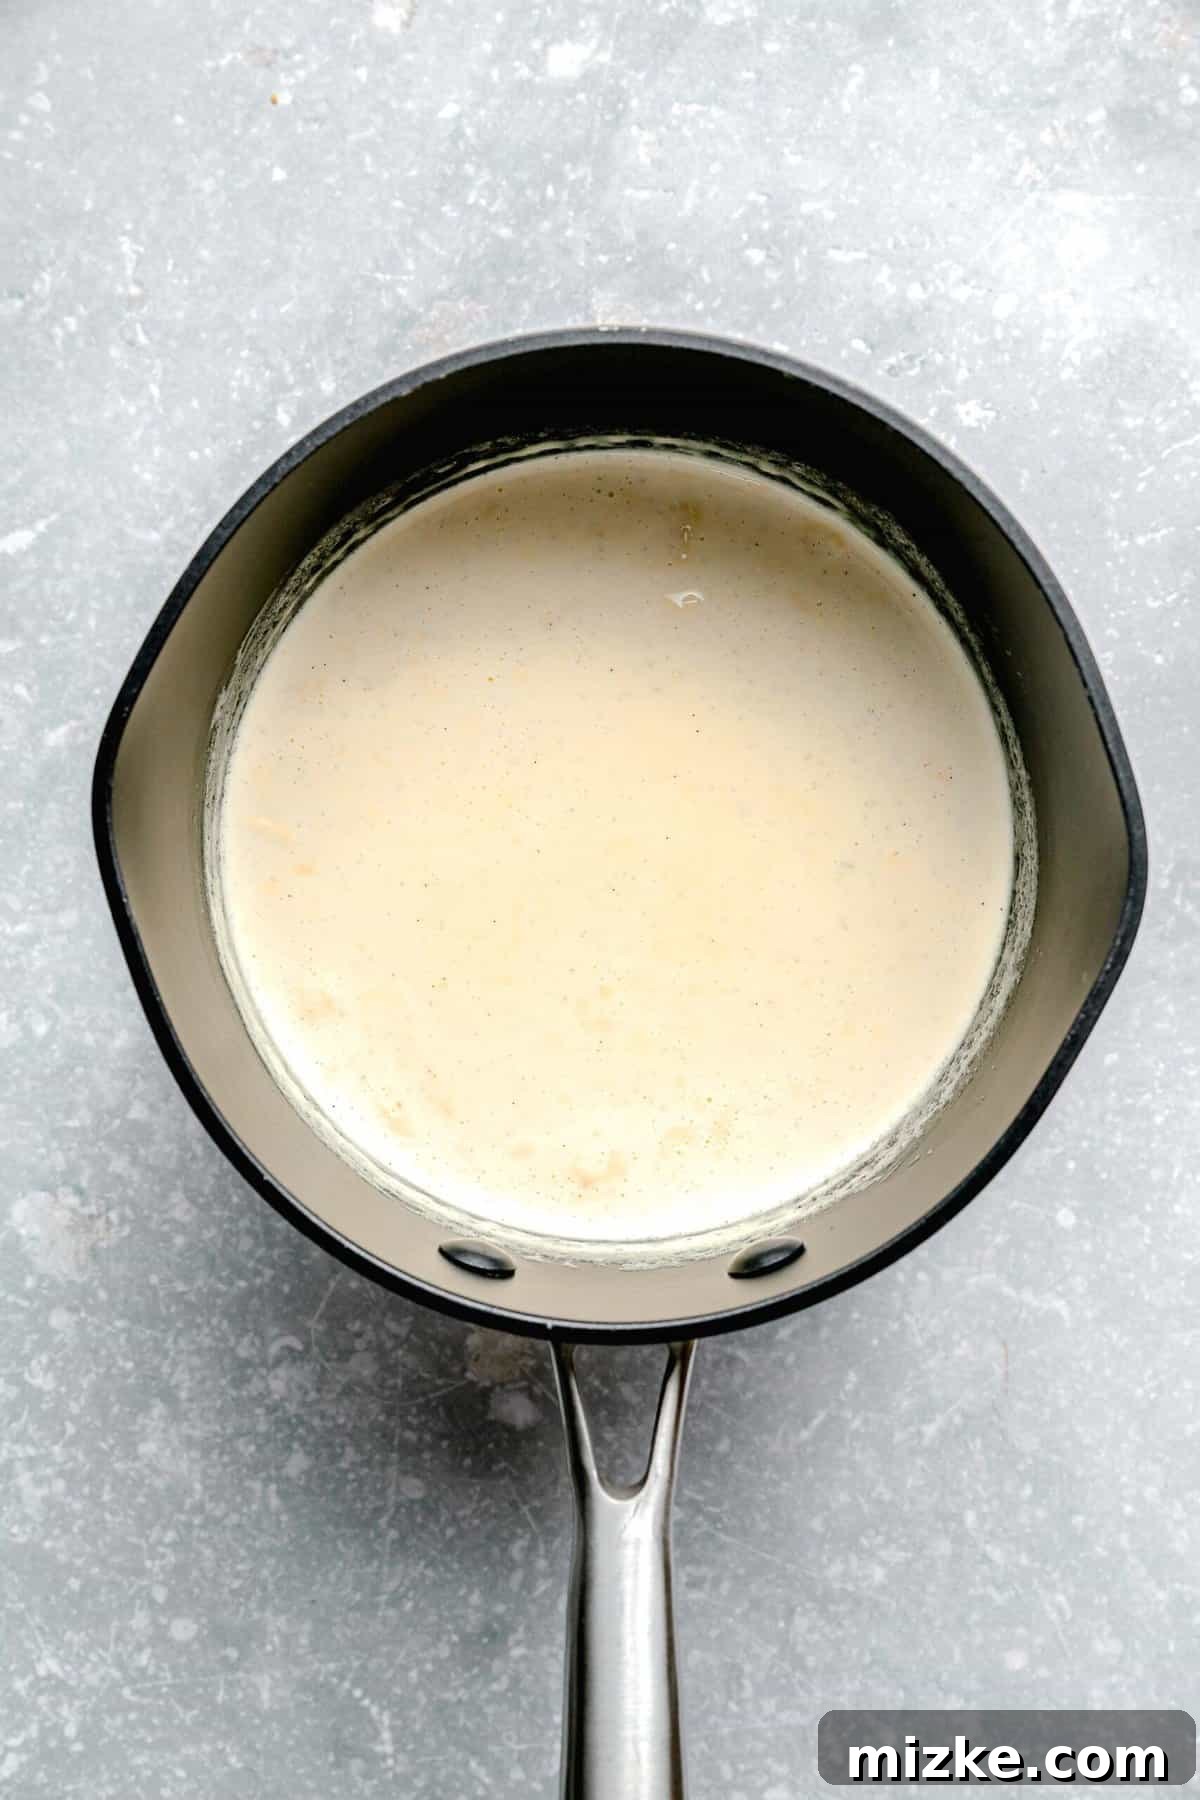
- Infuse the Cream: Gently heat the heavy cream with your vanilla bean paste (or vanilla bean) over a medium-low flame. Watch for tiny bubbles to form around the edges, indicating it’s ready to be removed and steeped, allowing the vanilla to fully bloom.
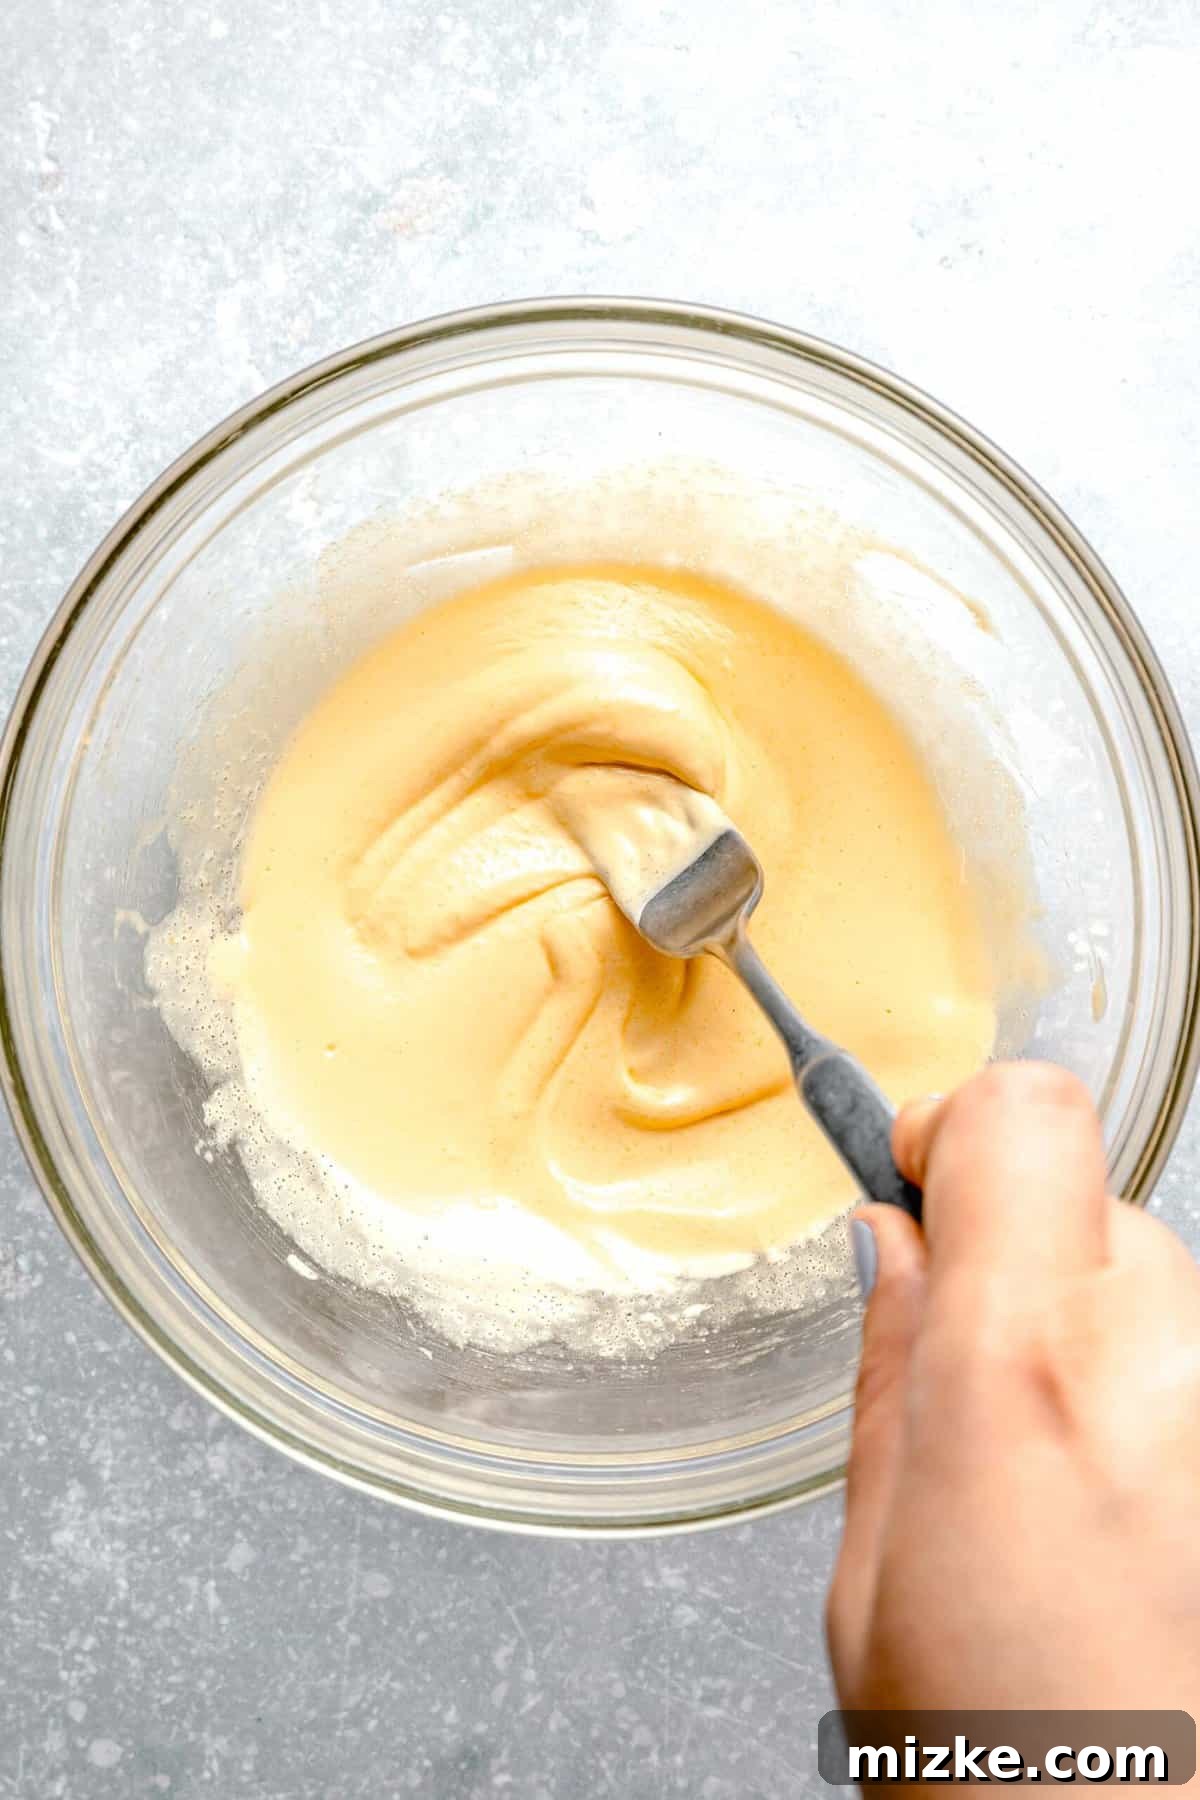
- Craft the Custard Base: In a separate bowl, combine the egg yolks, sugar, and a pinch of salt. Whisk them diligently until the mixture transforms into a pale yellow, slightly thickened consistency. This is where you build the richness of your dessert. Gradually temper the egg mixture with the warm cream, ensuring a smooth, cohesive base.
- Bake to Perfection: Divide your velvety custard mixture among individual ramekins. Place these ramekins into a larger rimmed baking pan, then carefully pour boiling water into the pan, creating a crucial water bath that will gently cook your custards. Cover loosely with foil and bake until the edges are just set, leaving the center with a slight wobble.
- Cool Down: Once baked, remove the ramekins from the water bath and transfer them to a wire rack. Allow them to cool completely to room temperature before moving to the next stage.
- Chill for Flavor Development: Cover the cooled custards tightly with plastic wrap and refrigerate for a minimum of four hours. This chilling period is essential for the custard to fully set and for the flavors to meld beautifully. You can chill them for up to three days, making this an ideal make-ahead dessert.
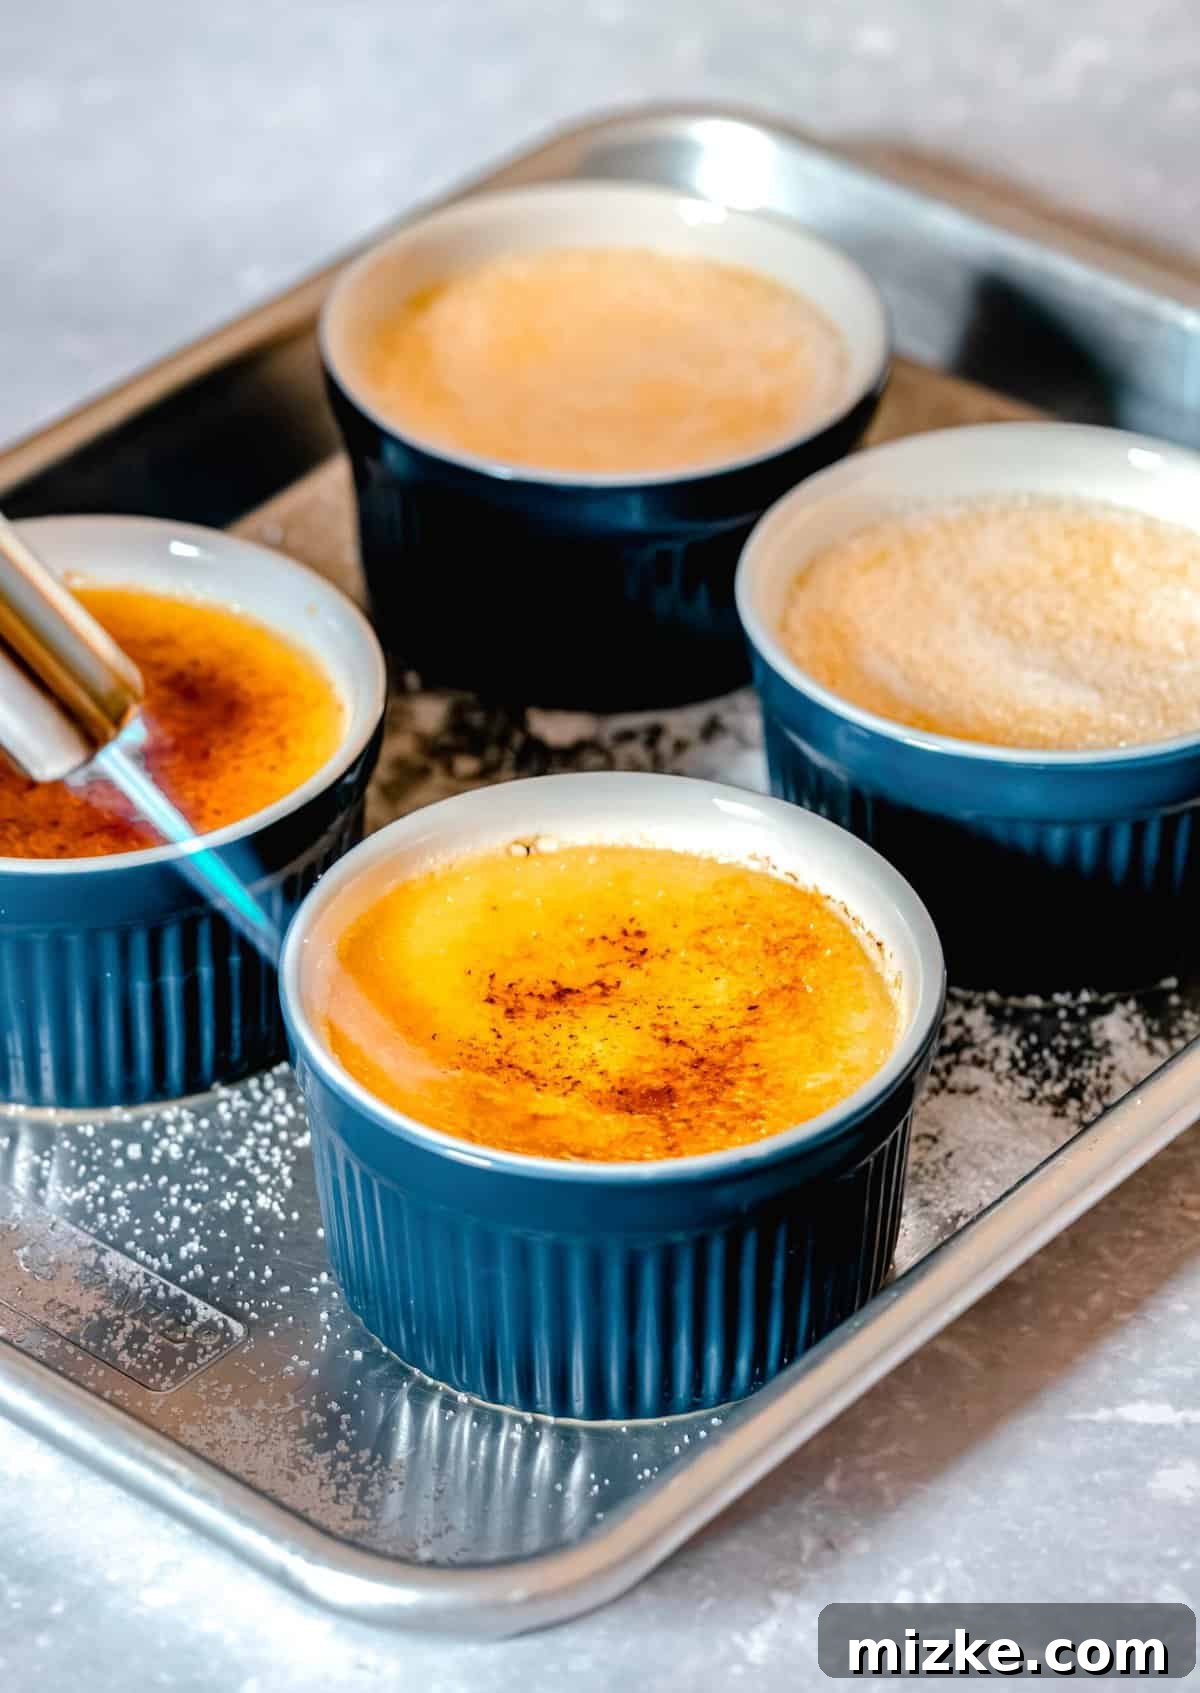
- Torch and Serve: The grand finale! Just before serving, generously sprinkle an even layer of granulated sugar over the surface of each chilled custard. Using a culinary torch, move the flame steadily in small circles over the sugar until it melts, bubbles, and transforms into a beautiful, golden-brown, brittle crust. If you don’t have a torch, a hot broiler can achieve a similar effect. Allow the caramelized sugar to harden for a minute or two, then serve immediately to enjoy the delightful contrast of warm, crisp topping and cold, creamy custard.
Expert Tips for Crème Brûlée Success Every Time
While crème brûlée may carry a reputation for being an intimidating dessert, achieving restaurant-quality results at home is surprisingly straightforward, even for first-timers. The key lies in paying attention to a few crucial details and following these simple tips and tricks. With a little care, you can ensure your homemade crème brûlée is nothing short of perfection.
- Precision in Heating the Cream: When infusing your heavy cream with vanilla, heat it gently and carefully. The goal is to warm the cream just until you see small bubbles forming around the very edges of the saucepan, and a wisp of steam begins to rise. Do not bring it to a rolling boil, as overheating can cause the cream to scorch or negatively impact the delicate flavor of the vanilla. A slow, gentle infusion is essential for extracting the best aroma and taste.
- Whisking with Finesse: This might seem counter-intuitive, but when combining the egg yolks, sugar, and salt, opt for a fork rather than a traditional balloon whisk. A whisk can incorporate too much air into the mixture, leading to tiny air bubbles within your finished custard, which will detract from its desired silky-smooth texture. Instead, use a fork and move it quickly back and forth across the bottom of the bowl, rather than in circular motions. This technique effectively combines the ingredients while minimizing air incorporation, ensuring a denser, more luxurious custard.
- The Art of Tempering Eggs: Tempering is a critical step to prevent your egg yolks from scrambling when introduced to the warm cream. You don’t need any complex techniques here, just patience and a steady hand. Very slowly, in a thin, continuous stream, pour the warm vanilla-infused cream mixture into your whisked egg yolks, stirring consistently with that same fork as you pour. This gradual addition slowly raises the temperature of the eggs, allowing them to gently integrate with the cream without cooking prematurely. If you add the hot cream too quickly, the eggs will scramble, resulting in a lumpy, unappealing custard.
- Embrace the Water Bath (Bain-Marie): Never skip the water bath – it’s not just an optional step! Placing your ramekins in a larger baking pan filled with boiling water is vital for creating a gentle, moist, and evenly heated environment in the oven. This indirect heat prevents the edges of your custard from overcooking or curdling, while ensuring the center cooks slowly and uniformly. The result is an incredibly silky, smooth, and perfectly set custard from edge to center, completely free of any rubbery texture.
- Vigilance During Baking: While this recipe provides a baking time of 30-35 minutes, oven temperatures can vary, and the depth of your ramekins can also influence cooking time. It’s crucial to keep a close eye on your custards. Bake them just until the edges are set and firm, but the very center still retains a slight, delicate wobble when gently nudged. Overbaking will lead to a dense or grainy texture, rather than the desired custardy melt-in-your-mouth experience.
- Thorough Chilling is Non-Negotiable: After baking and cooling to room temperature, the crème brûlée absolutely requires thorough chilling. Refrigerate the custards for a minimum of four hours, or ideally, overnight. This extended chilling period allows the custard to fully set and firm up, ensuring that perfect velvety texture. More importantly, it gives all the exquisite flavors time to meld and deepen, resulting in a more harmonious and delicious dessert.
Common Questions About Crème Brûlée Answered
It’s natural to have questions when delving into a classic like crème brûlée. You’re certainly not alone! Here are some of the most frequently asked questions about this beloved French dessert, providing clarity and confidence for your culinary adventures.
Is crème brûlée eaten hot or cold?
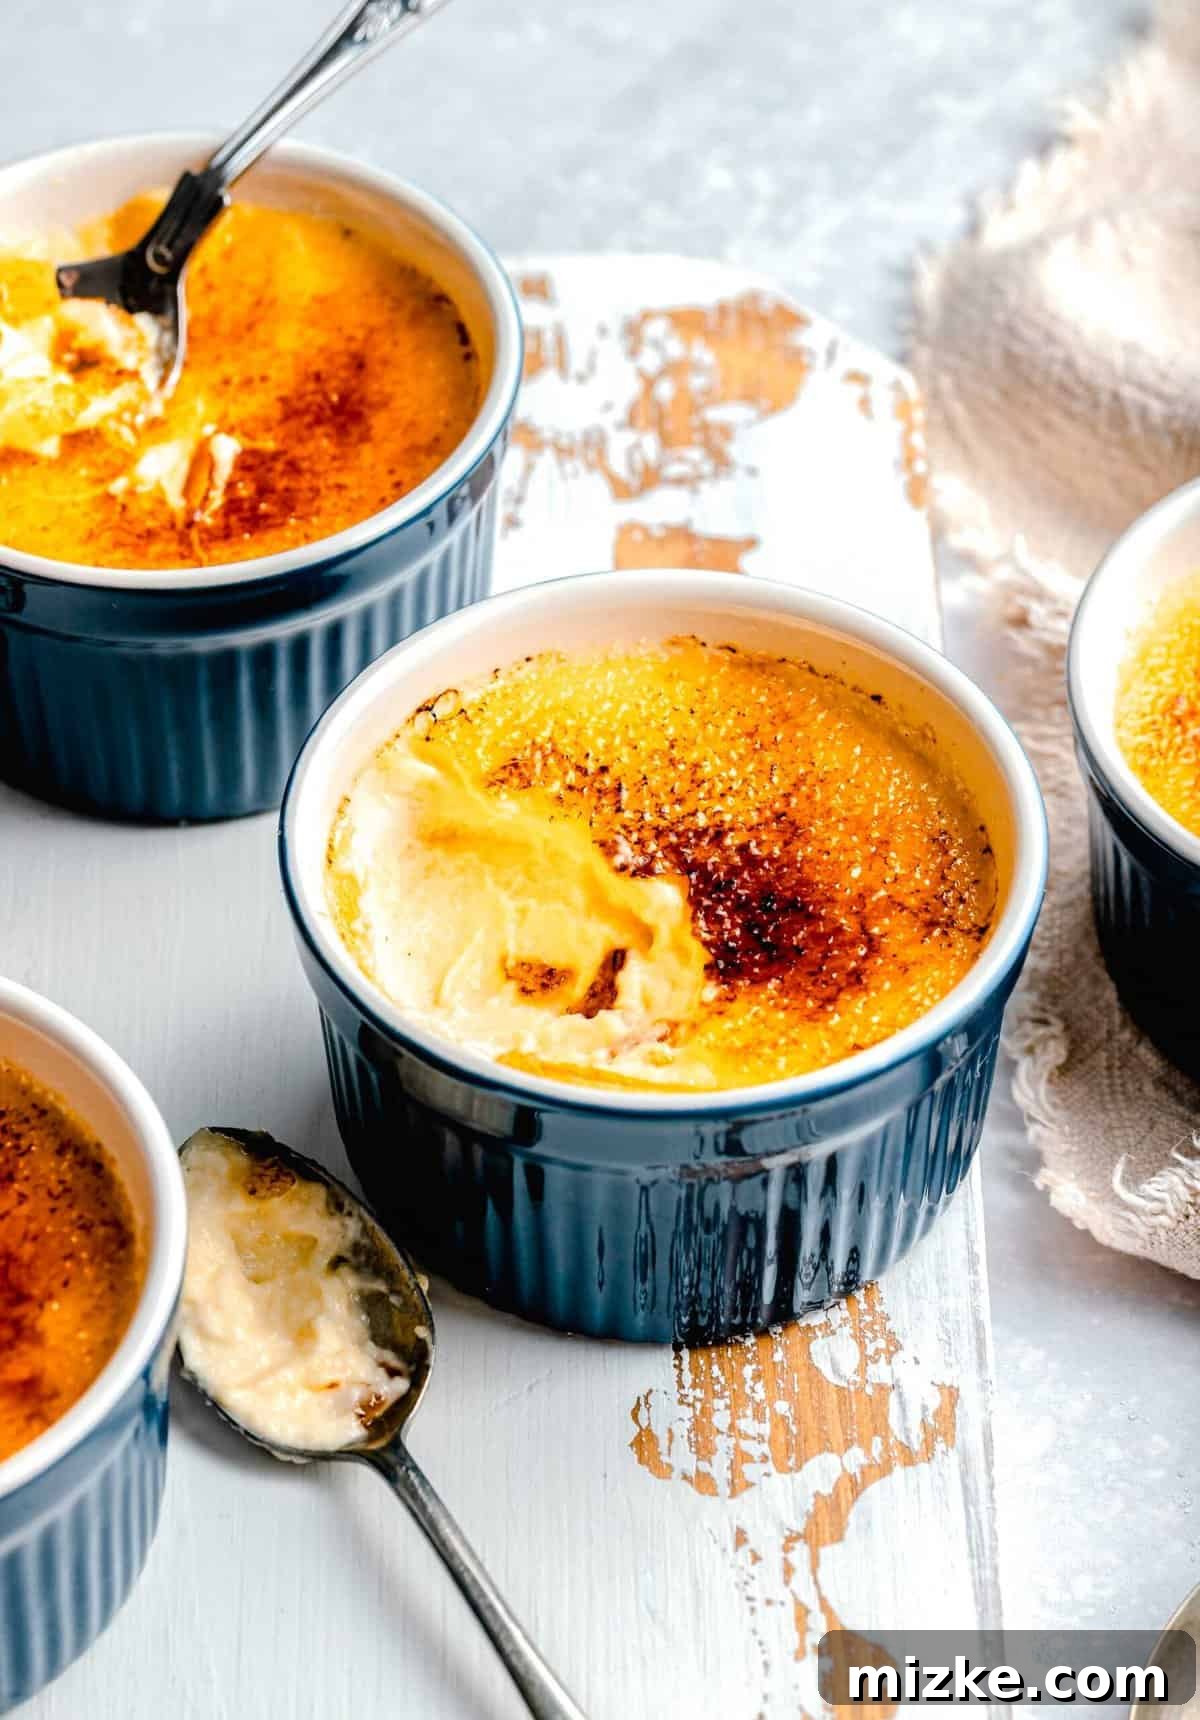
This is a fantastic question with a nuanced answer! The custard base of crème brûlée is always served cold, ensuring its rich, velvety texture. However, the magic happens just before serving when the sugar topping is caramelized. At this point, the brittle sugar crust should still hold a delightful hint of warmth from the culinary torch, creating an exquisite temperature contrast with the cool, creamy custard beneath. It’s this hot-and-cold sensation that truly elevates the experience.
What should crème brûlée taste like?
A perfectly executed crème brûlée offers a harmonious blend of flavors and textures. The custard itself should be incredibly smooth, velvety, and rich, with the luxurious depth of heavy cream and the unmistakable warmth and floral notes of vanilla. It should melt on your tongue. The caramelized sugar topping introduces a delicate sweetness with complex, slightly bitter caramel undertones, providing a captivating crunch that beautifully contrasts the custard’s softness. The overall taste is one of elegant sweetness, rich dairy, and aromatic vanilla, all balanced by the bittersweet caramel.
What’s the difference between crème brûlée and custard?
Crème brûlée is, in fact, a type of custard! The term “custard” broadly refers to a wide range of dishes made by thickening dairy with egg yolks or whole eggs, often baked. What makes crème brûlée distinct is its signature hard, caramelized sugar shell, a feature not typically found on other custards. Furthermore, crème brûlée custards tend to be exceptionally rich, usually made with heavy cream and a higher proportion of egg yolks, contributing to their signature decadence compared to lighter custards.
What tools do I need to caramelize the sugar topping?
The most traditional and effective tool for achieving that perfect crisp sugar crust is a culinary torch. Its precise flame allows for even and controlled caramelization. If you don’t own a torch, you can use your oven’s broiler. Place the sugared ramekins on a baking sheet under a hot broiler, watching them constantly and rotating as needed, until the sugar melts and turns golden brown. Be extremely careful, as the sugar can burn very quickly under the broiler.
Exquisite Serving Suggestions for Your Crème Brûlée
While this vanilla crème brûlée is undeniably magnificent and complete in its own right, its versatility allows for delightful embellishments that can add an extra layer of flavor, texture, or visual appeal. Here are some inspiring ideas to add your unique twist to this classic dessert:
- Fresh Berries: For a vibrant and refreshing contrast, artfully arrange a few fresh berries on top of your crème brûlée just before serving. The tartness of blueberries, raspberries, or sliced strawberries beautifully cuts through the richness of the custard and the sweetness of the caramel, adding a burst of fresh flavor and color. My top picks are often blueberries and raspberries for their delicate balance.
- A Dollop of Whipped Cream: Enhance the luxurious texture by adding a spoonful of freshly whipped cream. You can either use a high-quality store-bought option or whip up your own. For an extra special touch, consider a lightly sweetened honey cream, as featured in recipes like these Boozy Peaches and Honey Cream Shortcakes. The airy cream adds another dimension of indulgence that your taste buds will adore.
- Elegant Herb Garnish: Introduce an unexpected twist of freshness and sophistication with a simple herb garnish. A couple of vibrant mint leaves, artfully placed atop the caramelized crust, provide a beautiful visual appeal and a subtle, aromatic counterpoint to the sweetness. This simple addition elevates the dessert’s presentation to an even more impressive level.
- The Perfect Coffee Companion: Crème brûlée pairs exceptionally well with a warm beverage. I personally love to sip on a rich shot of espresso while savoring each spoonful of crème brûlée; the coffee’s bitterness beautifully complements the dessert’s sweetness. For those feeling a little more adventurous, try pairing it with my Iced Brown Sugar Oatmilk Shaken Espresso Latte for a truly decadent experience.
- Crisp Cookie Pairing: For an added textural delight, serve your crème brûlée alongside a crunchy cookie. A delicate biscotti or a buttery shortbread cookie provides a satisfying crunch that mirrors the caramelized topping. Consider trying my Salted Shortbread Chocolate Chunk Cookies or these delightful Caramel Pretzel Linzer Cookies for a truly memorable dessert pairing.
How to Store Homemade Crème Brûlée for Lasting Enjoyment
Proper storage is key to extending the life and maintaining the quality of your homemade crème brûlée. Whether you’ve made them ahead for a party or have delicious leftovers, these guidelines will help you keep your dessert fresh and delightful.
- Refrigerator Storage: Once your crème brûlée has completely chilled and set (which typically takes at least 4 hours in the fridge), you can store it for later enjoyment. For best results, wrap each individual ramekin tightly with plastic wrap or transfer them to an airtight container. They will remain fresh in the refrigerator for up to 3 days. It’s important to note that the signature caramelized sugar topping will begin to soften over time due to moisture in the fridge. Therefore, if you are planning to store any extra crème brûlée, it’s highly recommended to do so *before* adding the caramelized topping. Then, when you’re ready to serve, simply sprinkle with sugar and torch.
- Freezer Storage: For longer preservation, crème brûlée can be frozen. After the initial chilling period (at least 4 hours in the refrigerator), and ideally before adding the caramelized sugar topping, wrap each ramekin meticulously in several layers of plastic wrap, followed by a layer of aluminum foil to prevent freezer burn. You can store these frozen custards for up to 3 months. When you’re ready to enjoy them, transfer the ramekins to the refrigerator and allow them to thaw slowly overnight. Once thawed, proceed with adding the granulated sugar and torching it to create that fresh, crisp crust just before serving.
More Decadent Dessert Recipes You’ll Love
If you’ve enjoyed the process of creating restaurant-quality desserts in the comfort of your own home, then you’re in for a treat! Here are a few more mouthwatering, indulgent dessert recipes that are sure to satisfy your sweet tooth and impress anyone lucky enough to try them. Get ready to expand your repertoire of homemade decadence!
- Crack Pie
- Brookies
- Slow Cooker Chocolate Cake
- Apple Almond Cake
- Instant Pot White Chocolate Cheesecake with Raspberry Sauce
- Triple Berry Cheesecake Bars

Print Recipe
Crème Brûlée
By: Julie Chiou
You can make this creamy Crème Brûlée in your own kitchen with 5 simple ingredients! Who knew that everyone’s favorite restaurant dessert is so simple to make?
Prep Time: 20 minutes
Cook Time: 30 minutes
Chill Time: 4 hours
Total Time: 4 hours 50 minutes
Servings: 4
Equipment
- Kitchen torch
- Ramekin (4-ounce recommended)
Ingredients
- 2 cups (473 ml) heavy cream
- ½ teaspoon vanilla bean paste, or 1/2 a vanilla bean
- 3 egg yolks
- Pinch of salt
- ¼ cup (50 g) granulated sugar, plus extra for topping
Instructions
- Preheat oven to 300°F (149°C).
- Have a saucepan or tea kettle of boiling water ready for the water bath.
- In a small saucepan, combine the heavy cream and vanilla bean paste. Stir to mix thoroughly. Set the pan over medium-low heat.
- Warm the cream mixture just until small bubbles begin to form around the edges of the pan and steam gently rises to the surface. Remove from heat and let it steep for 15-20 minutes to fully infuse the vanilla flavor.
- While the cream mixture is steeping, in a medium bowl, whisk together the egg yolks, salt, and ¼ cup granulated sugar until the mixture becomes pale yellow and slightly thickened. This should take about 5 minutes of consistent whisking. *Important: Use a fork instead of a whisk for this step to minimize air incorporation. Move the fork rapidly back and forth across the bottom of the bowl, rather than in circles, to prevent creating excessive air bubbles.*
- Once the egg mixture is pale yellow, gradually and very slowly pour the warm cream mixture into the egg mixture, stirring continuously with the fork until everything is well blended. This tempering step prevents the eggs from scrambling.
- Carefully divide the custard mixture evenly among 4-5 ramekins.
- Place the filled ramekins into a larger rimmed baking pan. Pull out the middle rack of your oven and place the baking pan on it.
- Very carefully, pour the ready boiling water into the baking pan until it comes about halfway up the sides of the ramekins.
- Loosely cover the entire baking pan with aluminum foil. Slowly and carefully push the rack back into the oven.
- Bake for 30-35 minutes, or until the custards are just set around the edges but the center still has a slight, delicate wobble when gently moved. The exact time may vary depending on the size of your ramekins (4-ounce ramekins were used in the original recipe).
- Transfer the baked ramekins to a wire rack and allow them to cool completely to room temperature.
- Once cooled, cover each ramekin tightly with plastic wrap and refrigerate for at least 4 hours, or ideally overnight, until thoroughly chilled. They can be stored in the refrigerator for up to 3 days.
- Just before serving, sprinkle an even, generous layer of granulated sugar over the top of each chilled custard.
- Using a kitchen torch, melt the sugar. Move the flame gradually in small, circular motions over the surface of the sugar, heating it until it melts, bubbles, and transforms into a beautiful, golden-brown, hardened caramel crust. (If you don’t have a torch, place ramekins under a broiler, watching constantly, until sugar caramelizes.)
- Allow the caramelized sugar to harden for a minute or two. Your homemade crème brûlée is now ready to enjoy!
Nutrition
, Calories: 499 kcal
, Carbohydrates: 17g
, Protein: 6g
, Fat: 47g
, Saturated Fat: 29g
, Polyunsaturated Fat: 2g
, Monounsaturated Fat: 12g
, Cholesterol: 280mg
, Sodium: 39mg
, Potassium: 128mg
, Sugar: 16g
This website provides approximate nutrition information for convenience and as a courtesy only. Nutrition information can vary for a variety of reasons. For the most precise nutritional data use your preferred nutrition calculator based on the actual ingredients you used in the recipe.
The default measuring system for this website is US Customary. Unit conversions are provided for convenience and as a courtesy only. While we strive to provide accurate unit conversions, please be aware that there may be some discrepancies.
Photographs by Eat Love Eat
**Self-Correction/Review:**
1. **SEO Compliance:**
* Added `meta` description and keywords in the `