
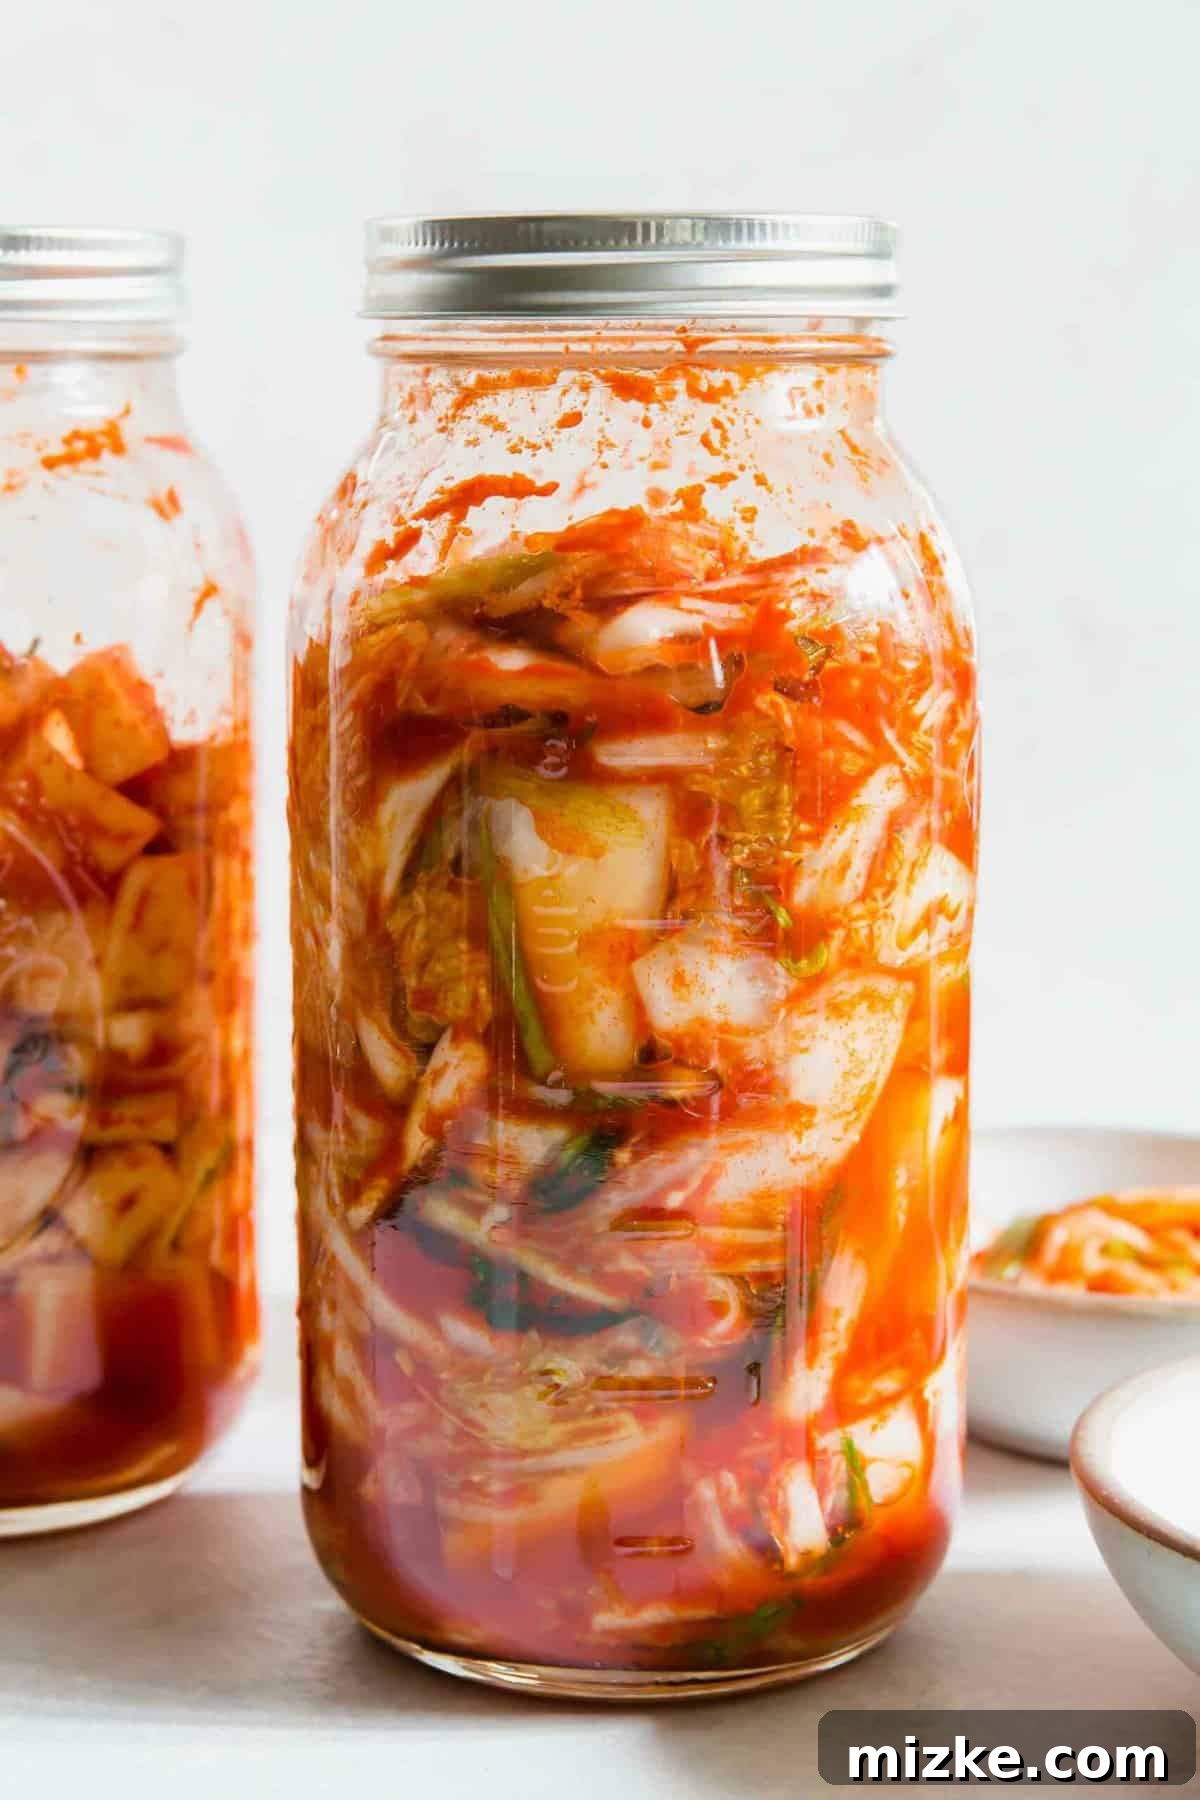
Authentic Homemade Kimchi: Your Definitive Guide to a Korean Culinary Staple
For years, the thought of making authentic homemade kimchi felt like a daunting culinary challenge. My pantry was regularly stocked with bags of store-bought kimchi, a vibrant, spicy, and irresistibly sour fermented delight that I simply couldn’t get enough of. While convenient, the cost quickly added up – a single bag, often priced around $13, would barely last me a week! My love for kimchi knew no bounds; it found its way into countless dishes, from sizzling kimchi fried rice and topping fluffy scrambled eggs to enhancing juicy bulgogi burgers and traditional bulgogi. Its versatility is truly one of its greatest charms.
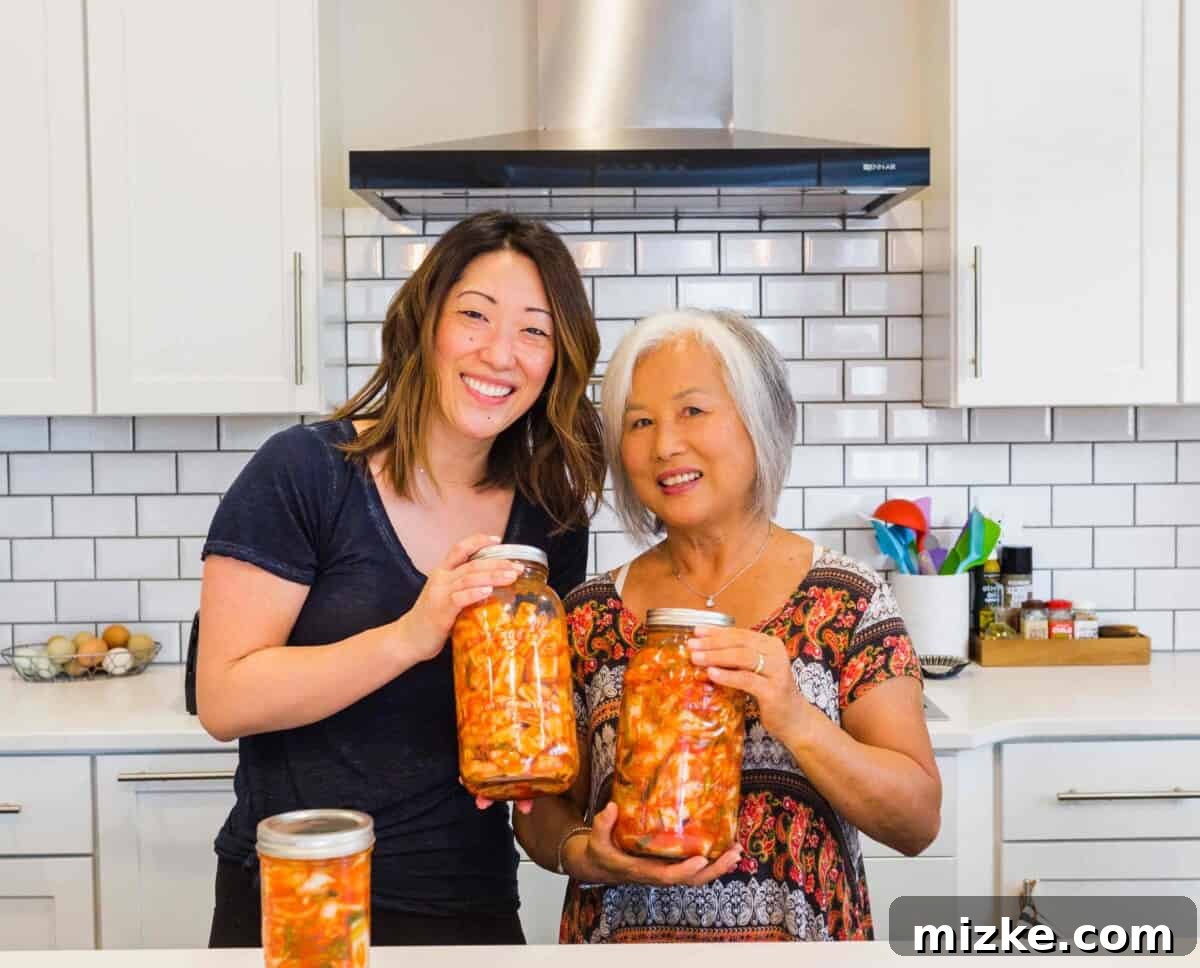
Then, a truly invaluable opportunity arose. My dear friend’s Korean mother, Chun Ok, a masterful practitioner of traditional Korean cuisine, graciously visited my home to impart her cherished, generational knowledge on how to prepare homemade kimchi. This hands-on lesson was nothing short of transformative. I am endlessly grateful for her patience and expertise, which demystified the process and made this beloved staple accessible. Now, I’m overjoyed to share her authentic methods and indispensable tips with you, so you too can confidently create this incredible fermented delicacy in your own kitchen!
What is Kimchi? Unveiling Korea’s Iconic Fermented Dish
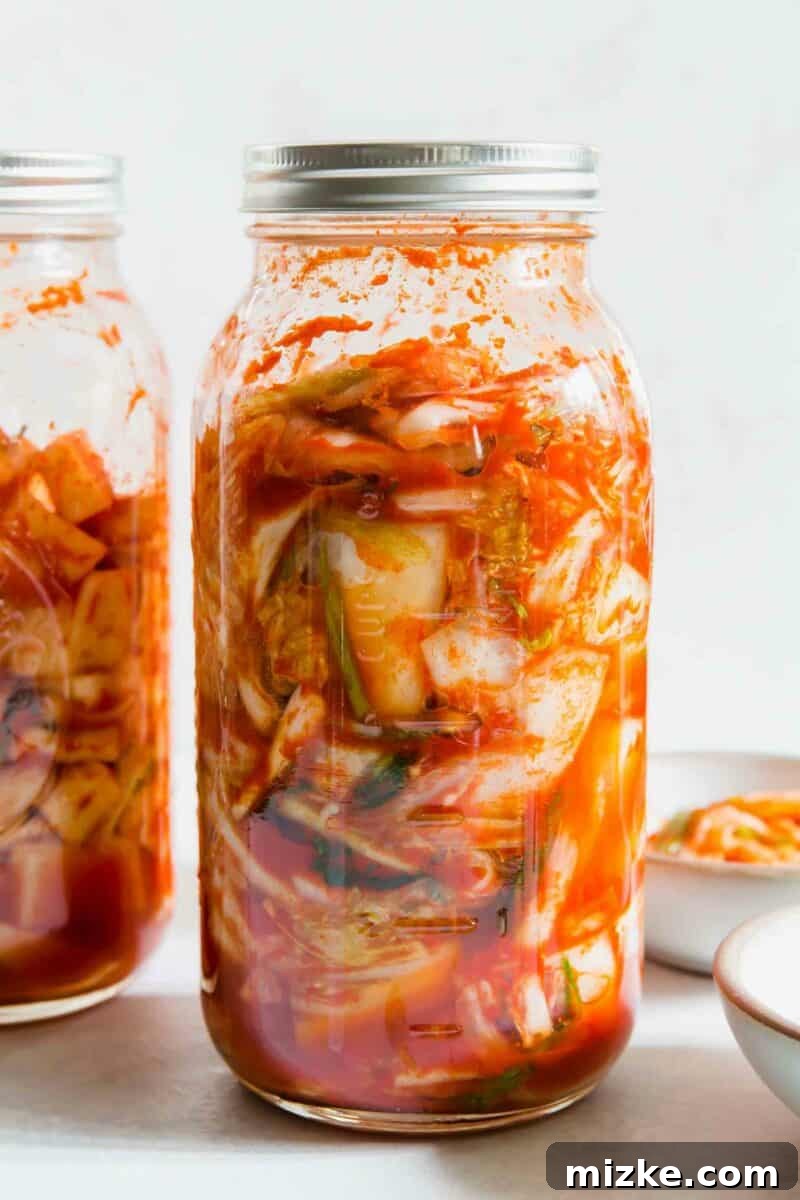
Kimchi is far more than just a simple side dish; it stands as a cultural icon and a vital component of Korean gastronomy, so much so that its cultural practice of “Kimjang” (the making and sharing of kimchi) is recognized by UNESCO as an Intangible Cultural Heritage of Humanity. Essentially, kimchi is a traditional Korean side dish (banchan) primarily composed of salted and fermented Napa cabbage and sometimes Korean radish. However, the term “kimchi” is incredibly broad, encompassing an astonishing array of hundreds of regional variations, each boasting unique ingredients, preparation methods, and flavor profiles.
The essence of kimchi lies in its fermentation process. This intricate biological transformation, driven by beneficial lactic acid bacteria, not only preserves the vegetables but also deeply develops their flavors. It evolves from fresh produce into a dish with complex sour, spicy, and umami notes, simultaneously enriching it with probiotics essential for gut health. This ancient culinary art form has been refined over centuries, deeply woven into the fabric of daily life and communal traditions across Korea, symbolizing connection, resilience, and culinary heritage.
Exploring the Rich Flavor Profile of Authentic Kimchi
A true sensory experience, kimchi delights the palate with a complex interplay of flavors. The most prominent characteristics are typically a robust garlicky punch, a refreshing and tangy sourness derived from its fermentation, and a delightful, invigorating spiciness. Beyond these core elements, you might also detect subtle sweetness from ingredients like Asian pear, apple, or a touch of sugar, alongside a profound umami depth contributed by fish sauce or salted shrimp paste. The Napa cabbage itself retains a satisfying crispness, offering textural contrast to the soft seasoning paste. This dynamic flavor profile evolves continuously as the kimchi ferments, growing deeper, more pungent, and increasingly sour with time, promising a unique experience with every bite.
Customizing Your Homemade Kimchi’s Spice Level
One of the most appealing aspects of preparing kimchi at home is the complete control it offers over its spice level. While commercially produced kimchis often come with a fixed range of heat, from mildly spiced to intensely fiery, your homemade creation can be perfectly tailored to your personal preference. The key ingredient for heat is gochugaru (Korean red pepper powder). If you prefer a gentler warmth, simply reduce the quantity of gochugaru in your seasoning paste. For those who crave an exhilarating kick, feel free to add a bit more. This flexibility ensures that your homemade kimchi will be ideal for your family and friends, catering to everyone from adventurous spice lovers to those who prefer a more subdued flavor experience.
Kimchi vs. Kimchee: Understanding the Spelling Nuance
It’s common to encounter both spellings: ‘kimchi’ and ‘kimchee.’ Historically, ‘kimchee’ was a popular romanization, particularly prevalent in North America, largely reflecting earlier phonetic attempts to represent the Korean pronunciation in English. However, ‘kimchi’ has now gained widespread acceptance as the standard and most accurate spelling, adhering to the Revised Romanization of Korean. While both forms are generally understood, ‘kimchi’ is the preferred modern spelling for consistency and precision in culinary and cultural contexts. For a more detailed exploration of this linguistic evolution and the historical debates around the spellings, resources such as KimcheeGirl.com provide excellent insights. In this comprehensive guide, we will predominantly use ‘kimchi’ to align with contemporary standardization.
The Undeniable Advantages of Homemade Kimchi
Embarking on the journey of making your own kimchi at home offers a multitude of benefits that often elevate it far beyond its store-bought counterparts:
- Remarkable Cost Savings: As a frequent consumer of kimchi, I can personally attest that making it yourself is incredibly economical. The initial investment in fresh ingredients is significantly lower than the cumulative cost of regularly purchasing pre-made versions. A large batch of homemade kimchi can provide several weeks’ worth of deliciousness, proving to be much more budget-friendly in the long run.
- Unparalleled Freshness and Quality Control: When you make kimchi at home, you are in complete control of every single ingredient. This empowers you to select the freshest, highest-quality Napa cabbage, crisp green onions, potent garlic, and premium gochugaru, ensuring a final product that boasts superior taste, texture, and nutritional integrity compared to mass-produced varieties.
- Tailored to Your Exact Preferences: The ability to customize is a huge advantage. You can adjust the spice level, the amount of garlic, the saltiness, and even add other vegetables to suit your specific palate. Do you prefer a sweeter kimchi? Add more fruit. A milder heat? Less gochugaru. This personalization ensures your kimchi is perfect for you.
- The Joy of Sharing and Gifting: There’s a profound sense of satisfaction in crafting a delicious food from scratch and sharing it. Homemade kimchi makes an incredibly thoughtful and unique gift for friends and family, allowing them to experience an authentic taste of Korean culinary tradition, imbued with your personal touch and effort.
- Superior Probiotic Benefits: While all fermented kimchi contains probiotics, homemade versions often boast a more diverse and potent microbial community due to less industrial processing and greater control over the fermentation environment. These live cultures are crucial for a healthy gut microbiome, contributing to overall well-being.
- A Deeply Rewarding Culinary Adventure: The process of making kimchi is an enriching culinary experience. From preparing the vegetables to mixing the vibrant paste and watching the fermentation transform the ingredients, it’s an engaging and educational journey. It’s not just food; it’s a connection to a rich cultural heritage and a fun, hands-on project for any food enthusiast.
Essential Ingredients: The Non-Negotiables for Authentic Kimchi
Can I use regular American cabbage for kimchi?
For an authentic and traditional kimchi experience, substituting regular round green cabbage for Napa cabbage is strongly advised against. Napa cabbage (also known as Chinese cabbage or celery cabbage) is fundamental to kimchi due to its distinct characteristics. Its leaves are naturally softer, more delicate, and possess a mild, slightly sweet flavor that perfectly complements the spicy and savory kimchi paste. Critically, its layered structure allows it to absorb the seasoning paste beautifully and wilt down to the ideal crisp-tender texture during fermentation. Regular green cabbage, with its denser, tougher leaves and stronger flavor, will not achieve the desired texture or taste, fundamentally altering the essence of the dish. Stick to Napa cabbage for genuine results.
Can I substitute gochujang for red pepper powder (gochugaru)?
This is a critical distinction in kimchi making: under no circumstances should gochujang (Korean chili paste) be used as a substitute for gochugaru (Korean red pepper powder). These two ingredients, while both red and spicy, serve entirely different roles and possess distinct compositions. Gochujang is a thick, fermented paste made from glutinous rice, fermented soybeans, gochugaru, and salt, offering a complex profile of sweet, savory, and spicy flavors with a distinct umami depth. Gochugaru, conversely, is a pure chili powder, vibrant in color, with a unique fruity, smoky, and subtly sweet heat that is specific to Korean chilies. Its texture is flaky, allowing it to coat the cabbage evenly without adding extra moisture or changing the fermenting environment. Using gochujang would introduce unwanted starches and flavors, drastically altering the texture, taste, and the delicate fermentation balance of your kimchi, resulting in a product that bears little resemblance to traditional kimchi.
What kind of salt is best for kimchi?
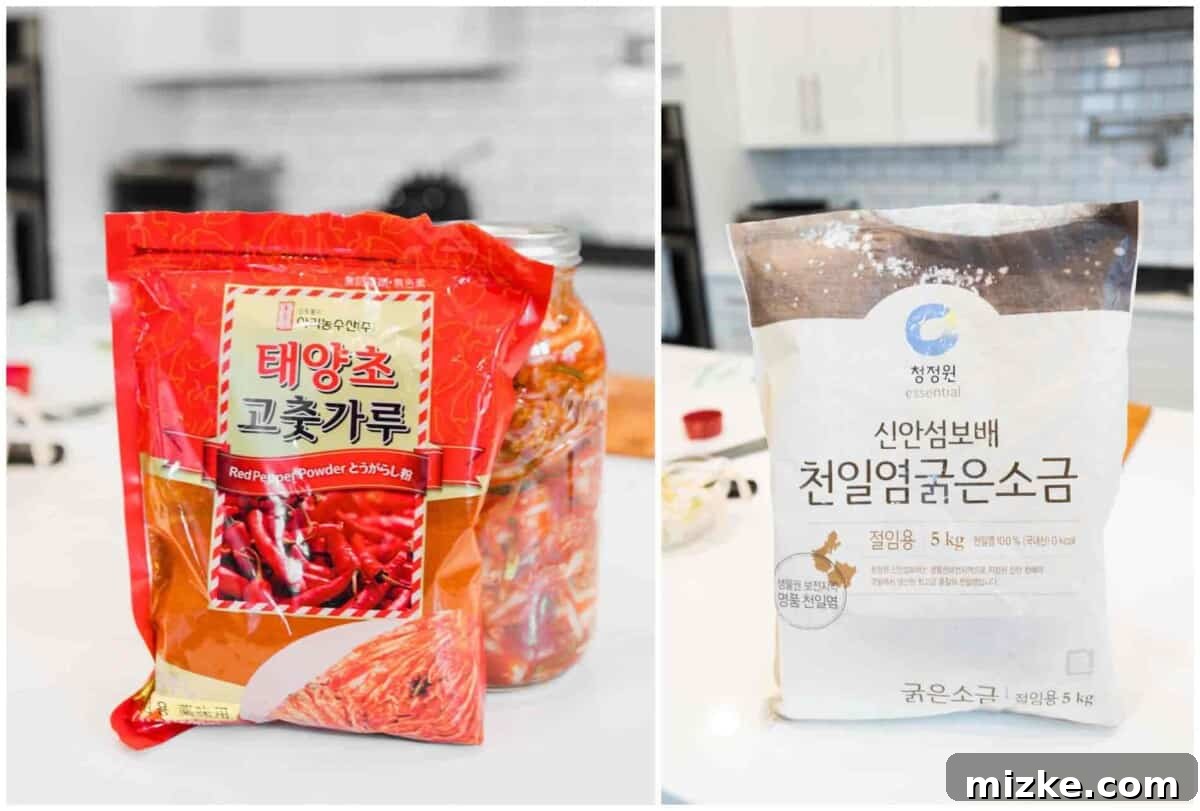
The choice of salt for brining your cabbage is surprisingly impactful. My mentor, Chun Ok, specifically emphasized the importance of using coarse sea salt granules, strongly advising against fine table salt or even common kosher salts like Morton’s or Diamond Crystal. Her reasoning is practical: fine salts tend to dissolve too quickly and aggressively extract moisture from the cabbage, leading to an overly soft, excessively wilted texture and an abundance of liquid in the finished kimchi. Coarse sea salt, however, draws out moisture at a more controlled pace, allowing the cabbage to soften gradually while retaining its crucial crispness. This slower brining process ensures the cabbage remains firm yet pliable, providing the perfect foundation for the kimchi. When shopping, look for coarse sea salt, sometimes labeled as “pickling salt” or “Korean coarse sea salt” at Asian markets or specialty stores.
The Indispensable Gochugaru (Korean Red Pepper Powder)
Let’s be absolutely unequivocal: Gochugaru is an indispensable ingredient for authentic kimchi, and there is no acceptable substitute. I completely understand the desire to find alternatives when specific ingredients are hard to source, especially when aiming to recreate an “authentic cultural recipe” without what some might perceive as “exotic” ingredients. However, in the realm of kimchi, gochugaru stands alone, defining the dish’s flavor, color, and character.
To be perfectly clear, Gochugaru is NOT:
- Cayenne pepper (too sharp, different flavor profile)
- Generic chili powder (often a blend of multiple spices, not pure chili)
- Common red pepper flakes (like those used on pizza, which are coarser and lack the specific Korean chili flavor)
- Pulverized red pepper flakes (still not the same chili variety)
- Sriracha or any other chili sauce (adds moisture, vinegar, and other flavors that are not part of traditional kimchi)
Each of these alternatives possesses a distinctly different flavor profile, heat level, and textural property compared to authentic gochugaru. Korean red pepper powder boasts a unique fruity, smoky, and subtly sweet taste, with a heat range that can vary from mild to intensely spicy, yet always retaining a specific nuanced character essential to Korean cuisine. It is the sole ingredient responsible for kimchi’s iconic vibrant red hue and its signature, deeply layered flavor.
If you encounter difficulty finding gochugaru at your local supermarket, please seek out an Asian grocery store. Most Korean or well-stocked pan-Asian markets will carry it. Alternatively, it is conveniently available for purchase online through platforms like Amazon. I sincerely urge you, for the integrity and intended deliciousness of this traditional dish, to refrain from substituting this crucial ingredient. Equating all red spices or Asian condiments is a significant culinary misstep, akin to believing you can create a classic Italian pasta sauce using ketchup because both are red and contain tomatoes – the outcome will be profoundly different and far from satisfying.
Mastering Your Kimchi’s Fermentation and Sourness
How do I get my homemade kimchi more sour, like what I’m used to?
The characteristic sourness of kimchi is a direct result of its fermentation process, during which lactic acid bacteria convert sugars into lactic acid. To achieve a more pronounced, tangy, and deeply fermented flavor profile, simply extend the period your kimchi ferments at room temperature before refrigerating it. After the initial overnight fermentation, taste a small piece daily. Depending on your home’s ambient temperature (warmer environments accelerate fermentation, cooler ones slow it down), this might mean leaving it out for an additional day or even two. Continue to taste until it reaches your desired level of piquant sourness, then transfer it to the cold to slow further activity.
How do I get my homemade kimchi less sour? It’s too pungent for me.
If your preference leans towards a milder, fresher-tasting kimchi with less of the intense pungency associated with longer fermentation, the key is to refrigerate it sooner. After you have completed the seasoning and packing into jars, allow it to sit at room temperature for just one night (approximately 12-24 hours). The very next morning, transfer the jars directly into your refrigerator. The cold temperature will significantly slow down the activity of the lactic acid bacteria, effectively pausing the fermentation process. This method will preserve its fresher, crisper flavor profile for a longer duration, allowing you to enjoy the subtle benefits of initial fermentation without the overpowering sourness.
Essential Kitchen Tools for Your Kimchi Endeavor
What if I don’t have a blender?
Don’t worry if a blender isn’t part of your kitchen arsenal! A food processor is an excellent alternative for creating the smooth onion and garlic puree required for your kimchi paste. The goal is to achieve a consistent, finely processed mixture that will seamlessly integrate with the other seasoning ingredients, ensuring an even distribution of flavor throughout your cabbage.
What types of jars are best for storing homemade kimchi?
For optimal storage and ease of preparation, wide-mouth half-gallon mason jars are highly recommended for your homemade kimchi. The wide opening is incredibly practical, making it significantly easier to stuff the seasoned cabbage into the jars and firmly press it down. Compressing the kimchi into the jars is a crucial step that removes air pockets, creating an anaerobic environment vital for proper fermentation. Using multiple jars ensures you have adequate space and can manage the fermentation process effectively. Always ensure your jars are meticulously cleaned and sterilized before use to prevent any unwanted microbial growth.
Watch and Learn: Our Detailed Homemade Kimchi Video Tutorial!
To truly master the nuances of preparing authentic kimchi, there’s no substitute for seeing the process unfold visually. We’ve captured an invaluable video tutorial featuring Chun Ok, my friend’s Korean mother, as she meticulously demonstrates her time-honored techniques. This video is an exceptional resource, providing clear visual guidance on every critical step, from the initial salting of the Napa cabbage to expertly mixing the vibrant seasoning paste and efficiently packing the jars. Watching her skillful hands at work will not only clarify any uncertainties but also instill confidence, empowering you to tackle this rewarding culinary project with ease. After viewing, you’ll be fully prepared to create your own delicious batches of homemade kimchi!
A most sincere and heartfelt thank you goes out to Chun Ok for her immense generosity in sharing her incredible knowledge and expertise in crafting homemade kimchi. This recipe and the invaluable wisdom she imparted are truly a treasured gift, one that I am incredibly delighted and honored to pass on to all of you, hoping it brings as much joy and deliciousness to your kitchens as it has to mine.
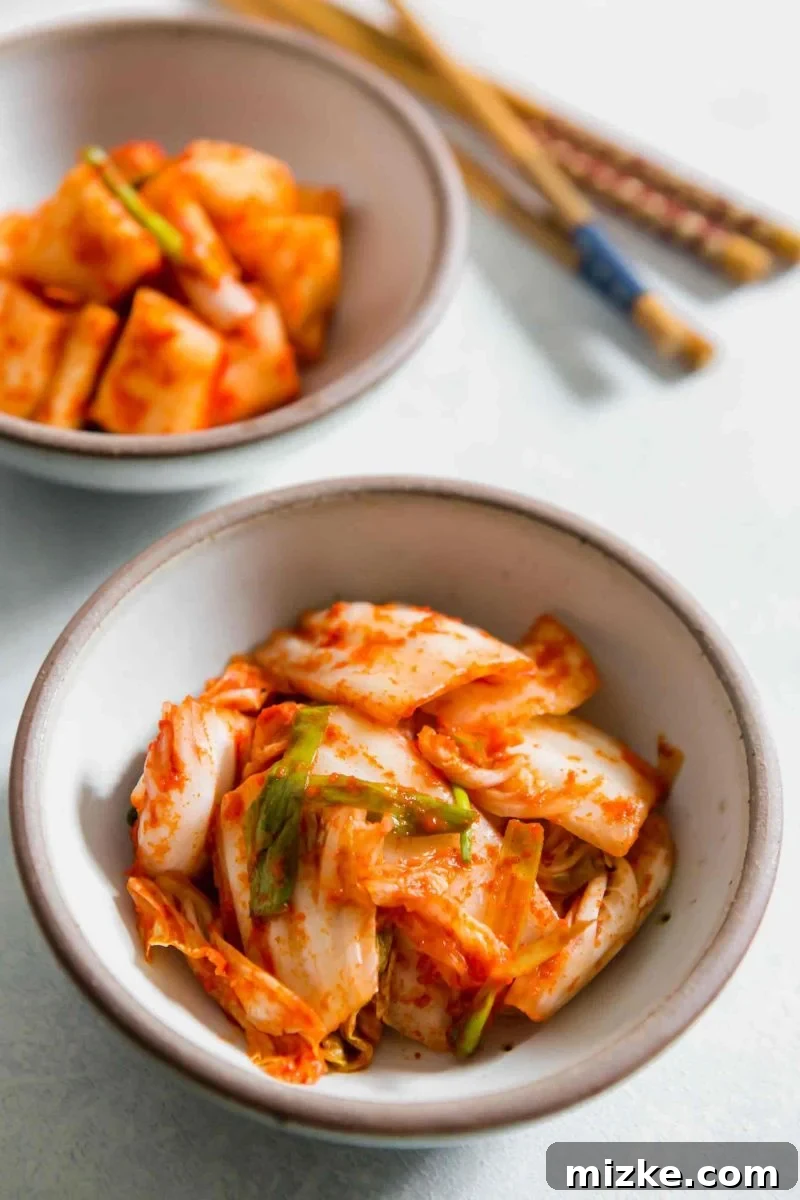
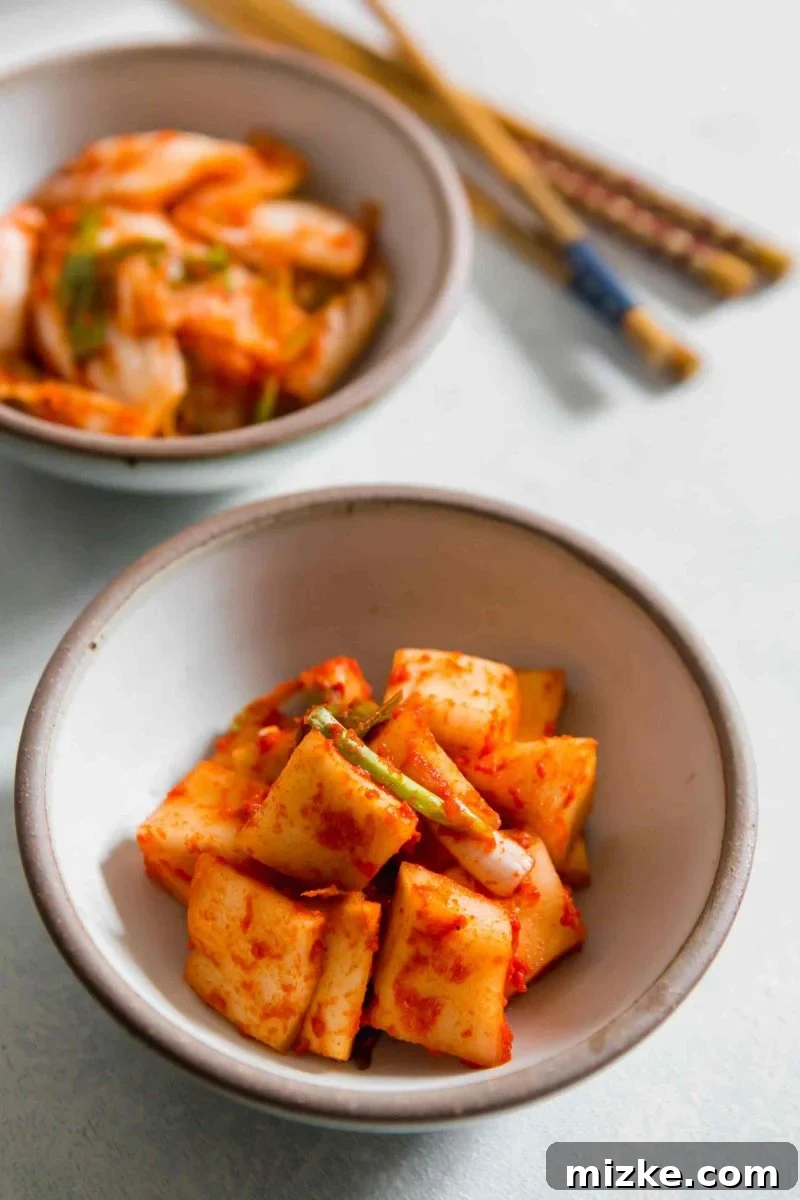
Homemade Kimchi
If you adore authentic Korean kimchi, embarking on the journey to make it homemade is an absolute must! This recipe is incredibly cost-effective, grants you complete control over customization, and delivers a freshness that is simply unmatched by store-bought alternatives. Prepare to savor the rich, complex, and deeply satisfying fermented flavors of this traditional Korean staple, made right in your own kitchen.
Fermentation Time: 1 day (adjustable)
Total Time: 1 day 2 hours (minimum)
Yields: 1 gallon
Rating: 4.82 from 137 votes
Ingredients
For the Cabbage Brine:
- 5 pounds (2268 g) Napa cabbage, cut into 1-inch, bite-sized pieces
- ½ cup (146 g) coarse sea salt (essential, no substitutes)
- 1 cup (236 ml) water
For the Kimchi Seasoning Paste:
- ½ medium sweet onion
- 1 bulb garlic, peeled (approx. 10-12 cloves)
- ¼ cup (59 ml) water (for blending)
- ½ cup (118 g) Korean red pepper powder (Gochugaru – non-negotiable)
- 1 bundle green onions, julienned
Instructions
- Prepare the Cabbage for Brining: Begin by placing all the cut Napa cabbage pieces into a very large mixing bowl. In a separate bowl, combine the ½ cup coarse sea salt with 1 cup of water, stirring well until the salt is mostly dissolved. Pour this brine solution evenly over the cabbage. Using clean hands (gloves are recommended), thoroughly mix and massage the cabbage, ensuring every piece is coated. Let the cabbage sit undisturbed for 1.5 to 2 hours. This brining process is crucial for drawing out excess moisture and softening the cabbage to the perfect texture.
- Craft the Kimchi Paste Base: While the cabbage is brining, prepare the aromatic base for your seasoning paste. In a blender or food processor, combine the half sweet onion, the peeled garlic bulb, and ¼ cup of water. Blend these ingredients until they form a completely smooth, uniform puree. Transfer this vibrant mixture into a medium-sized bowl.
- Complete the Seasoning Paste: To the pureed onion and garlic mixture, add the ½ cup of Korean red pepper powder (gochugaru) and the julienned green onions. Mix all the components together thoroughly with a spoon or gloved hands until a rich, uniform, and fragrant red paste is achieved. If you plan to make a separate batch of radish kimchi, you can reserve a small portion of this paste now.
- Rinse and Drain the Cabbage: After the designated brining time, you’ll notice the cabbage has significantly wilted and reduced in volume. Carefully transfer the cabbage to a colander and rinse it very thoroughly under cold running water to remove most of the excess salt. Gently squeeze handfuls of the cabbage to remove some of the rinse water, but avoid wringing it out completely as some moisture is still desirable. Return the rinsed cabbage to the very large mixing bowl.
- Season the Cabbage: Now comes the fun part! Add the entire kimchi seasoning paste from step 3 to the rinsed cabbage in the large bowl. Don your gloves once more and vigorously toss and massage the cabbage with the paste. Ensure every single piece of cabbage is evenly and generously coated with the vibrant red seasoning. Take your time to work the paste into all the layers and crevices of the cabbage.
- Pack the Kimchi into Jars: Begin transferring the seasoned kimchi into your wide-mouth half-gallon mason jars. As you add the kimchi, use your fist or a sturdy blunt tool to firmly punch down and compress the cabbage within the jar. This vital step eliminates air pockets, which is crucial for creating the anaerobic environment necessary for safe and proper fermentation. Continue this process until the jar is completely full, ensuring there’s about an inch of headspace at the top. Use additional jars if needed for the entire batch.
- Initiate Fermentation: Securely close the lids on your mason jar(s). Leave the jars out at room temperature for an initial fermentation period of approximately 12-24 hours (overnight). The next day, open a jar and taste a small piece of kimchi. If you desire a more pronounced sour and tangy flavor, leave the kimchi out for an additional day or even longer, tasting daily until it reaches your preferred level of fermentation. Once the sourness is to your liking, transfer the jars directly to the refrigerator to significantly slow down further fermentation.
- Long-Term Storage: Kimchi, being a fermented food, boasts an impressive shelf life when properly stored in the refrigerator. It can typically last for several months, often up to a year or even longer. However, its flavor will continue to evolve and deepen, becoming increasingly sour over extended periods. Enjoy your delicious homemade kimchi as a versatile side dish or incorporate it into your favorite Korean-inspired recipes!
Video Tutorial
Don’t miss our detailed video where Chun Ok, my friend’s Korean mother, personally guides us through each and every step of the traditional kimchi-making process. It’s an invaluable visual aid that perfectly complements this written recipe, ensuring your homemade kimchi turns out authentic and delicious!
Notes
Please be aware that the recipe demonstrated in the accompanying video uses roughly half the quantity of ingredients compared to the comprehensive recipe detailed above. The written recipe, specifically designed for 5 pounds of Napa cabbage, accurately reflects the precise proportions that Chun Ok consistently employs when preparing her authentic batches of kimchi for optimal flavor and texture.
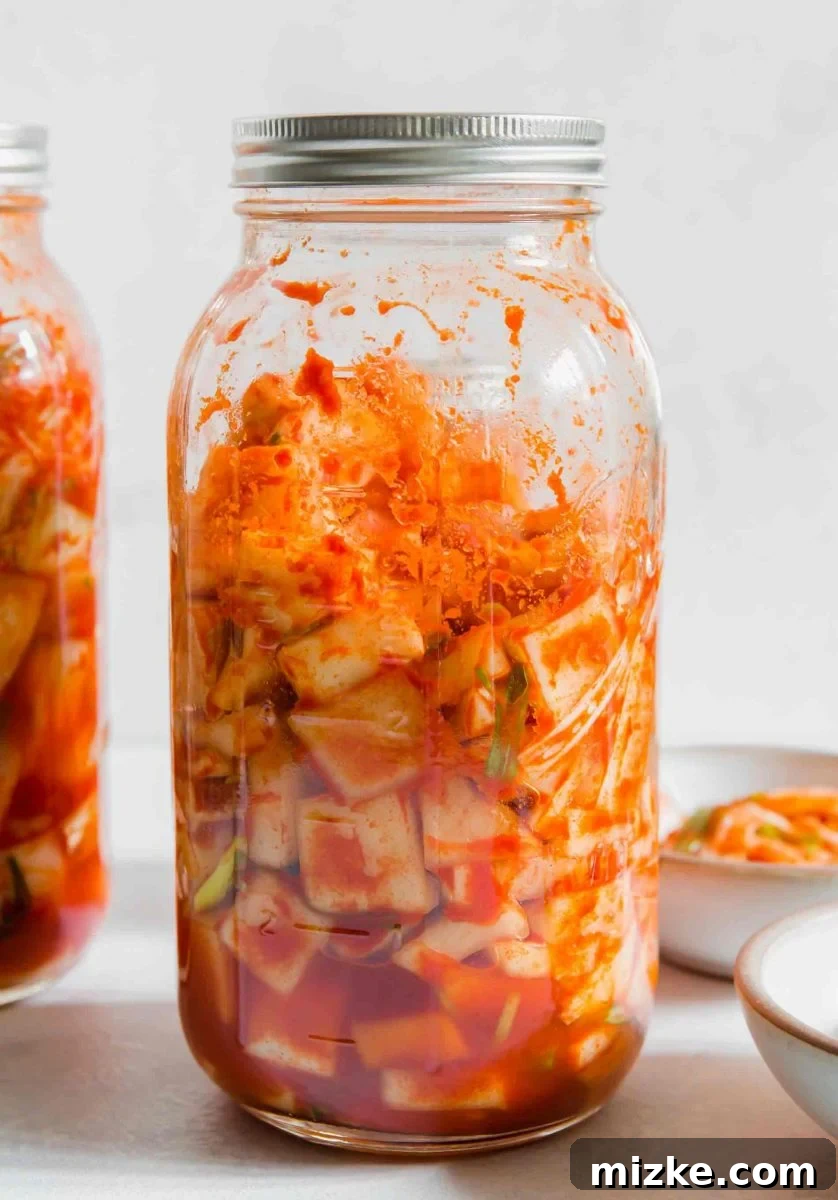
For those interested in exploring variations, radish kimchi (kkakdugi or chonggak kimchi) follows a similar methodology: the radish pieces are first salted, then rinsed, and finally coated in the same versatile seasoning paste. You have the flexibility to either combine the seasoned radish with the Napa cabbage for a mixed kimchi or ferment them separately, as Chun Ok often prefers to do, to maintain distinct textures and flavor profiles.
Nutrition Information (Approximate)
This nutrition information is provided for convenience and as a courtesy only. Nutritional data can vary significantly due to differences in ingredient sourcing, preparation methods, and specific brands used. For the most precise nutritional data, we recommend using your preferred nutrition calculator based on the actual ingredients you use in the recipe.
Serving Size: Approximately 1 gallon (total recipe yield)
Calories: 763 kcal
Carbohydrates: 146 g
Protein: 42 g
Fat: 25 g
Saturated Fat: 5 g
Sodium: 56844 mg
Potassium: 7879 mg
Fiber: 60 g
Sugar: 47 g
The default measuring system used in this recipe and website is US Customary. Any unit conversions provided are for convenience and as a courtesy only. While every effort is made to ensure accuracy in unit conversions, please be aware that minor discrepancies may occur.