Unlock the Secret to Perfect Homemade Cold Brew Coffee
There’s nothing quite like a refreshing glass of iced coffee to kickstart a summer morning or provide an afternoon pick-me-up. For me, that perfect elixir comes in the form of homemade cold brew, ideally crafted with a splash of half-and-half and a touch of sweetened condensed milk. This delightful concoction has become my absolute summer obsession, transforming my daily routine and saving me a considerable amount of money.
Gone are the days of spending $3 (or more!) every morning at the coffee shop around the corner from work. Now, I simply wake up to the most amazing, ready-to-enjoy iced coffee, effortlessly prepared the night before. This shift has not only been kind to my wallet but has also elevated my coffee experience to an entirely new level.
The Unexpected Demand for DIY Cold Brew
Just a few weekends ago, I shared a simple photo of my homemade cold brew on Instagram, and to my surprise, the response was overwhelming! So many of you reached out, eager to learn how to replicate this coffee shop favorite in your own kitchens. Initially, I hadn’t planned on dedicating a full blog post to it, but seeing such genuine interest, I realized it was a perfect opportunity to demystify the process.
Many expressed hesitation, worried that making cold brew would be a significant time commitment. Let me assure you, this couldn’t be further from the truth! The beauty of cold brew lies in its simplicity: you literally combine coffee grounds and water, let them steep overnight in the refrigerator, and wake up to a smooth, rich coffee concentrate. It’s a “set it and forget it” method that yields incredible results with virtually no hands-on time.

Why Choose Cold Brew? The Benefits Beyond the Buzz
Beyond the undeniable deliciousness and cost savings, cold brew offers several advantages that make it a superior choice for many coffee lovers, especially those who prefer their coffee chilled.
- Smoother, Less Bitter Taste: Unlike traditional hot brewing, which extracts more bitter compounds from coffee grounds, cold brewing uses time, not heat, to create a distinctly smoother, naturally sweeter, and less bitter flavor profile.
- Lower Acidity: For individuals with sensitive stomachs or those prone to acid reflux, cold brew is a game-changer. The cold water extraction process results in a coffee concentrate that is significantly less acidic than hot brewed coffee, making it much gentler on your digestive system.
- Exceptional Versatility: Cold brew concentrate is incredibly versatile. It can be diluted with water, milk, or dairy alternatives, served hot or cold, and used as a base for countless coffee creations, from lattes to cocktails.
- Time-Saving Convenience: Prepare a large batch once, and you’ll have delicious coffee concentrate ready for days or even weeks. This means no more daily brewing rituals or waiting in line at the coffee shop.
- Economic Advantage: As mentioned, making your own cold brew at home drastically cuts down on daily coffee expenses. Those few dollars saved each day quickly add up!
Essential Equipment for Your Cold Brew Journey
You don’t need any fancy equipment to make exceptional cold brew. Here’s what you’ll need:
- Large Container with a Lid: A pitcher, a large plastic food storage container, or even a mason jar will work. Aim for something that can hold at least 12-16 cups.
- Fine-Mesh Strainer: Essential for separating the coffee grounds from the liquid.
- Cheesecloth: An extra layer of filtration to ensure a super smooth, sediment-free cold brew. You can also use a nut milk bag or a clean coffee filter.
- Storage Container: A clean bottle or jar with a tight-fitting lid to store your finished cold brew concentrate in the refrigerator.
The Ultimate Homemade Cold Brew Coffee Recipe
This simple recipe will guide you through creating a rich, flavorful cold brew concentrate that will be the foundation of your favorite summer coffee drinks. Remember to pour slowly when straining to avoid any spills – you won’t want to waste a single drop of this liquid gold!
How to Make Cold Brew Coffee at Home
By: Julie Chiou
It takes no time and very minimal effort! Just in time for summer!
Prep Time: 12 hours | Total Time: 12 hours | Yields: 10 cups of concentrate
Ingredients
- 12 ounce bag of coarsely ground coffee (Medium or dark roast works well. Coarse grounds are crucial for optimal extraction and easy straining.)
- 10 ½ cups of room temperature water (Filtered water is recommended for the best flavor.)
Instructions
- Pour the coarsely ground coffee into a large plastic container (or pitcher) with a lid. Ensure your container is large enough to accommodate the coffee and water comfortably.
- Fill the plastic container with the room temperature water. Using room temperature water helps in the initial saturation of the grounds.
- Stir the coffee grounds around gently with a spoon until all the grounds are thoroughly moistened. This ensures even extraction during the steeping process.
- Place the lid tightly on the plastic container and pop it into the refrigerator. Let it steep overnight, or for a minimum of 12 hours and up to 18-24 hours for a stronger concentrate.
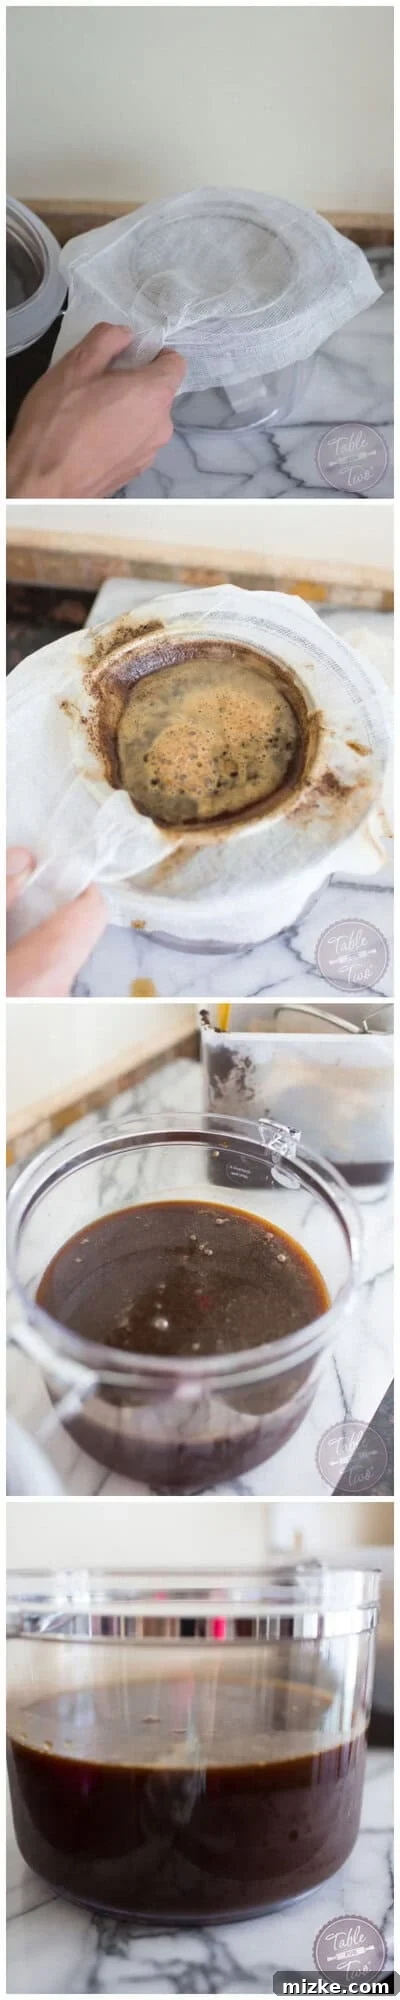
- After the overnight steeping process, prepare your straining setup. Place a layer of cheesecloth (folded into 2-3 layers for better filtration) over a fine-mesh strainer. Position this strainer over another large, clean plastic container or pitcher with a lid.
- Gently and SLOWLY pour the steeped coffee mixture over the cheesecloth-lined strainer. It’s crucial to pour slowly to prevent the strainer from overflowing and to allow the liquid to filter properly. If the strainer becomes too full, pause and let it drain before continuing.
- Continue pouring until all the coffee liquid has passed through the strainer, leaving behind the spent coffee grounds. For maximum yield, you can gently press the coffee grounds in the strainer with the back of a spoon to squeeze out any remaining liquid. Be careful not to press too hard, as this can force fine sediments through the cloth.
- Once strained, transfer the cold brew concentrate to an airtight container. Store it in the fridge for up to three months. However, you’ll likely enjoy it all long before then!
- Before preparing your drink, be sure to read the notes below for dilution and serving suggestions.
Notes
Keep in mind that this is a concentrated coffee, so it needs to be diluted with water or milk when you make your coffee drink. Unless you truly enjoy extremely strong coffee, dilution is key to enjoying its full flavor profile.
Here’s how I typically prepare my perfect 16-ounce iced coffee:
- Grab a 16-ounce cold drink tumbler (or any regular glass or mason jar you have on hand).
- Fill the tumbler generously with ice.
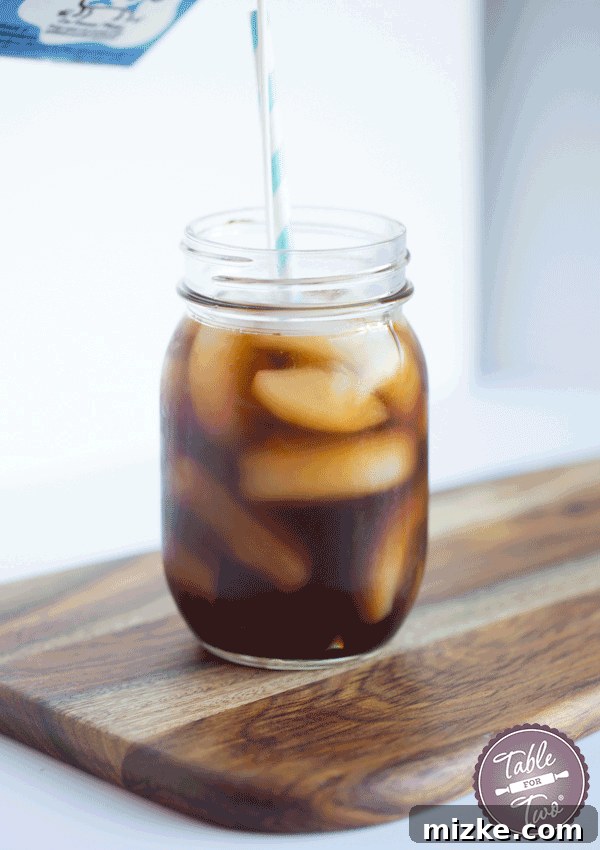
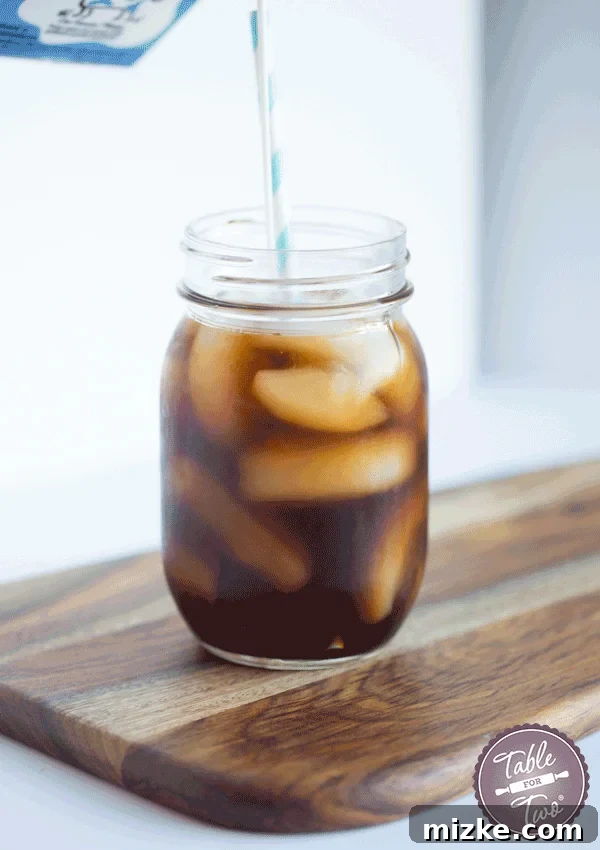
- Pour your homemade cold brew concentrate until the tumbler is about half full.
- Fill the remaining space with cold water, leaving just a little room at the top.
- Add about 1/2 tablespoon of half-and-half and 1/2 tablespoon of sweetened condensed milk for a creamy, sweet touch.
- Screw on the lid, insert a straw, and stir well to combine all the flavors. Enjoy your refreshing and perfectly balanced coffee drink!
Remember, coffee is a personal journey! You don’t have to follow my exact recipe for preparation. Adjust the amount of concentrate, water, milk, and sweeteners to match your personal taste preferences. This is merely a suggestion to get you started on your cold brew adventure.
Nutrition (Approximate per 1 cup serving of concentrate, pre-dilution)
Serving: 1 cup, Calories: 0.3kcal, Protein: 0.04g, Fat: 0.01g, Saturated Fat: 0.001g, Monounsaturated Fat: 0.01g, Sodium: 13mg, Potassium: 17mg
This website provides approximate nutrition information for convenience and as a courtesy only. Nutrition information can vary for a variety of reasons. For the most precise nutritional data, use your preferred nutrition calculator based on the actual ingredients you used in the recipe.
The default measuring system for this website is US Customary. Unit conversions are provided for convenience and as a courtesy only. While we strive to provide accurate unit conversions, please be aware that there may be some discrepancies.
Serving Suggestions & Creative Customization
The beauty of cold brew concentrate is its adaptability. Once you have your batch ready, the possibilities are endless for crafting your ideal coffee drink. Here are a few ideas to inspire you:
- Classic Iced Cold Brew: Dilute with water and pour over ice for a straightforward, refreshing experience. Add a slice of orange or lemon for a bright twist.
- Creamy Cold Brew Latte: Combine with your favorite milk (dairy or plant-based) over ice. Froth some milk for an extra decadent touch.
- Sweetened Delights: Integrate various syrups like vanilla, caramel, hazelnut, or even a homemade simple syrup. Sweetened condensed milk, as mentioned, offers a unique creamy sweetness that’s hard to beat.
- Hot Cold Brew: Don’t let the “cold” in cold brew fool you! You can absolutely heat the concentrate (after dilution) for a smooth, low-acid hot coffee. This is great for cooler mornings.
- Coffee Cocktails: For adults, cold brew concentrate makes an excellent base for coffee-infused cocktails. Think espresso martinis or a boozy iced coffee with a splash of Kahlúa or Irish cream.
- Flavored Infusions: Experiment by adding spices like cinnamon sticks, star anise, or even a few cardamom pods to your cold brew concentrate during storage for an extra layer of flavor.
Cold Brew Coffee FAQs: Your Questions Answered
How long does homemade cold brew concentrate last in the fridge?
When stored in an airtight container in the refrigerator, homemade cold brew concentrate can last for up to 2-3 weeks. Some claim it can last longer, even up to a month or more, but for optimal freshness and flavor, it’s best consumed within a couple of weeks.
What kind of coffee grounds are best for cold brew?
Coarsely ground coffee is highly recommended for cold brewing. Fine grounds can lead to over-extraction, resulting in a bitter taste, and they are much harder to filter, often leaving a muddy residue in your final product. A medium or dark roast typically provides a rich, smooth flavor that shines in cold brew.
Can I use regular fine-ground coffee for cold brew?
While you *can* use fine-ground coffee, it’s not ideal. It increases the risk of over-extraction, leading to a bitter concentrate, and the fine particles can be challenging to filter out, potentially making your cold brew murky. If it’s all you have, use less coffee and steep for a shorter period, and be prepared for a more rigorous straining process.
My cold brew is too strong/too weak. What should I do?
Cold brew strength is all about the coffee-to-water ratio and steeping time. If it’s too strong, dilute it further with more water or milk. If it’s too weak, try increasing your coffee grounds, decreasing the water, or extending the steeping time in your next batch. The recommended ratio in this recipe provides a good starting point, but feel free to adjust based on your preference.
Why is my cold brew bitter?
Bitterness in cold brew is usually a sign of over-extraction. This can happen if the coffee grounds were too fine, if you steeped the coffee for too long (e.g., beyond 24 hours), or if you pressed the coffee grounds too aggressively during straining, forcing bitter compounds through. Ensure you use coarse grounds and don’t over-steep.
Conclusion: Your Summer Coffee Awaits!
Making cold brew coffee at home is genuinely one of the simplest and most rewarding kitchen hacks you can master. It requires minimal effort, saves you money, and consistently delivers a superior iced coffee experience. Whether you’re a seasoned coffee aficionado or just looking for a refreshing new way to enjoy your daily caffeine, this homemade cold brew recipe is guaranteed to become a staple in your summer routine. Say goodbye to expensive coffee shop runs and hello to your personal barista experience!