
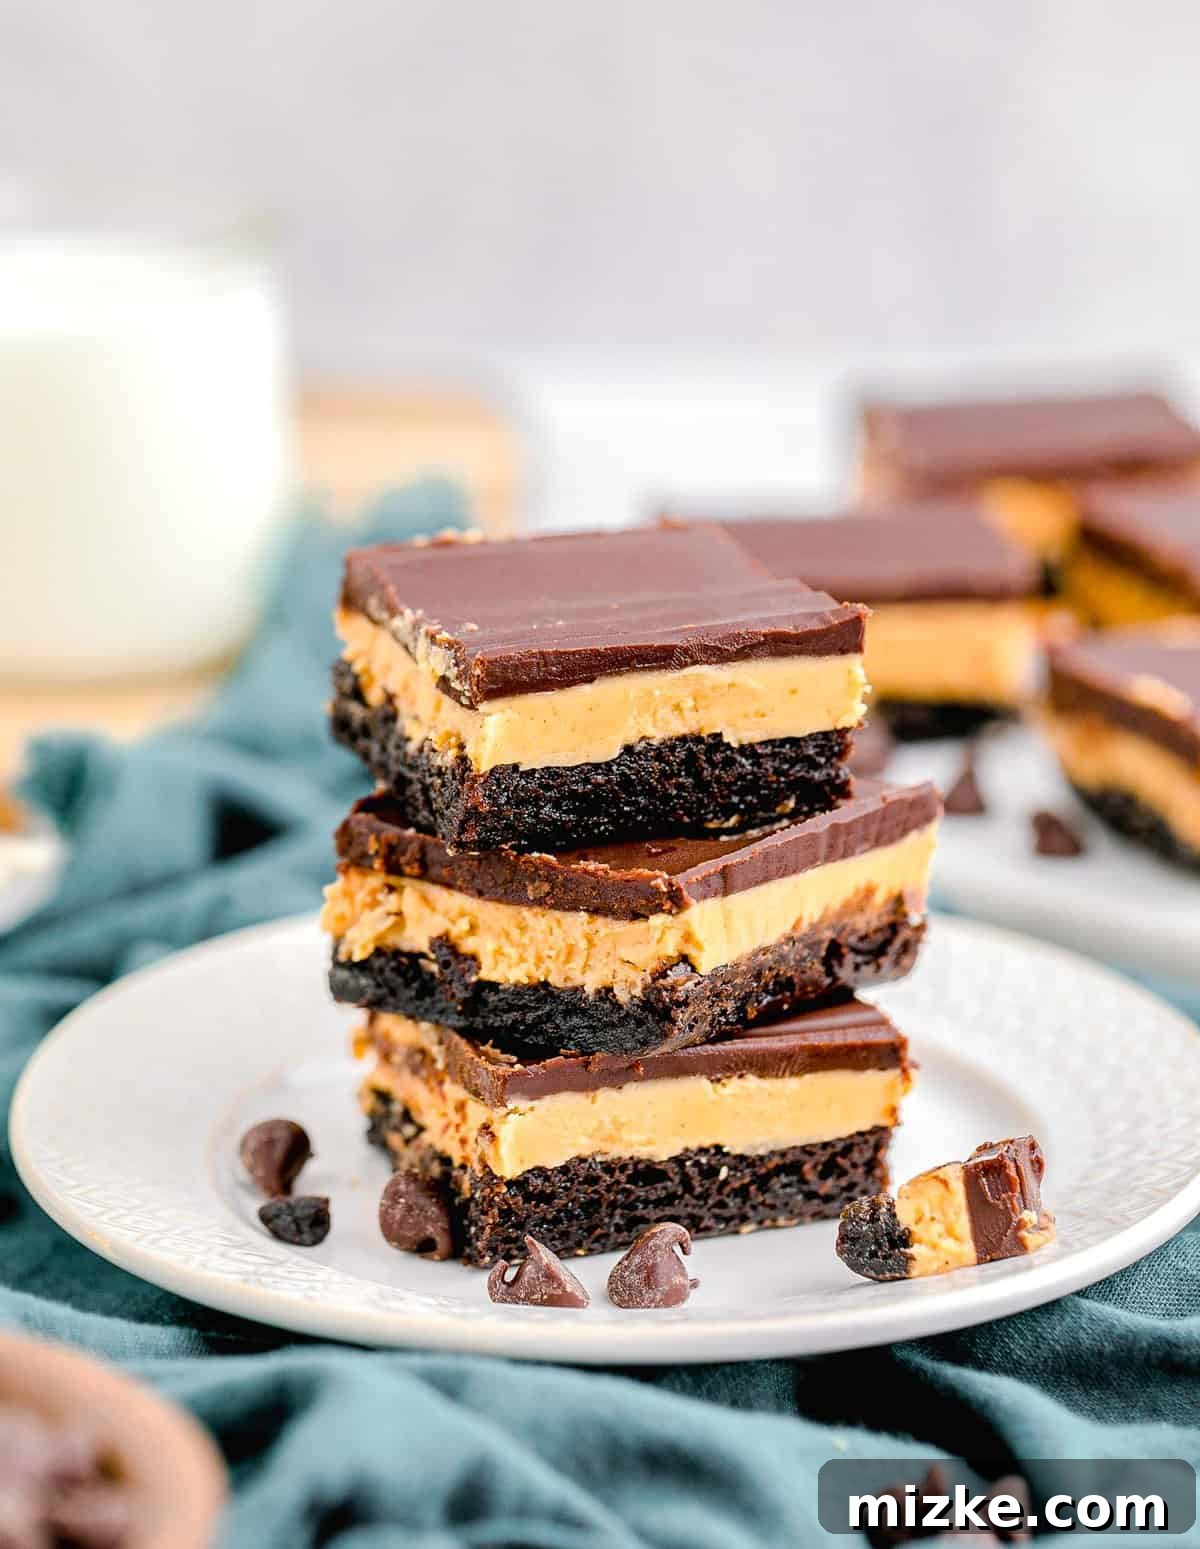
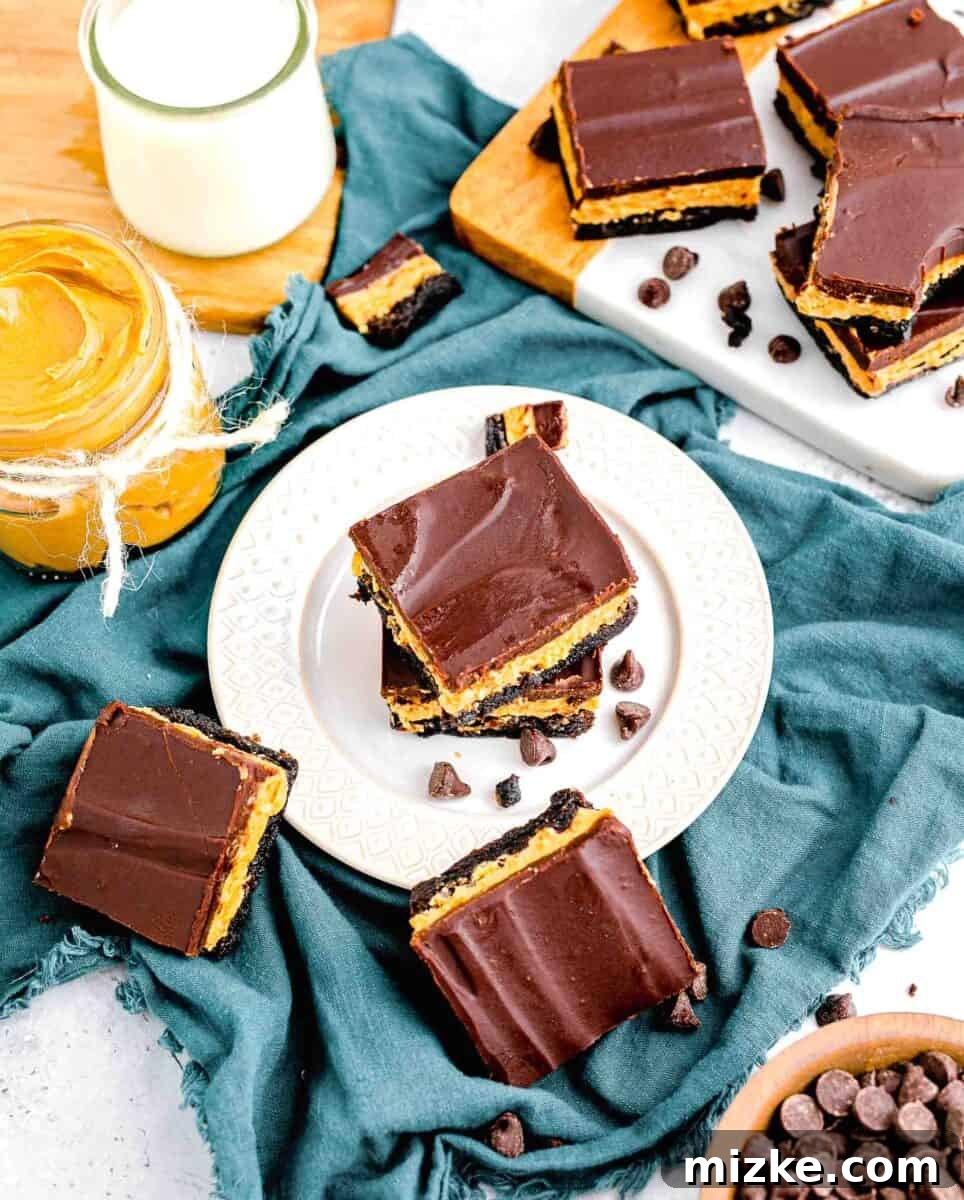
Buckeye Brownies are a dream come true for anyone who adores the classic combination of chocolate and peanut butter. This recipe elevates a simple boxed brownie mix into an extraordinary dessert, featuring a luscious layer of sweetened peanut butter and a velvety, thick chocolate ganache. Prepare yourself for pure indulgence!
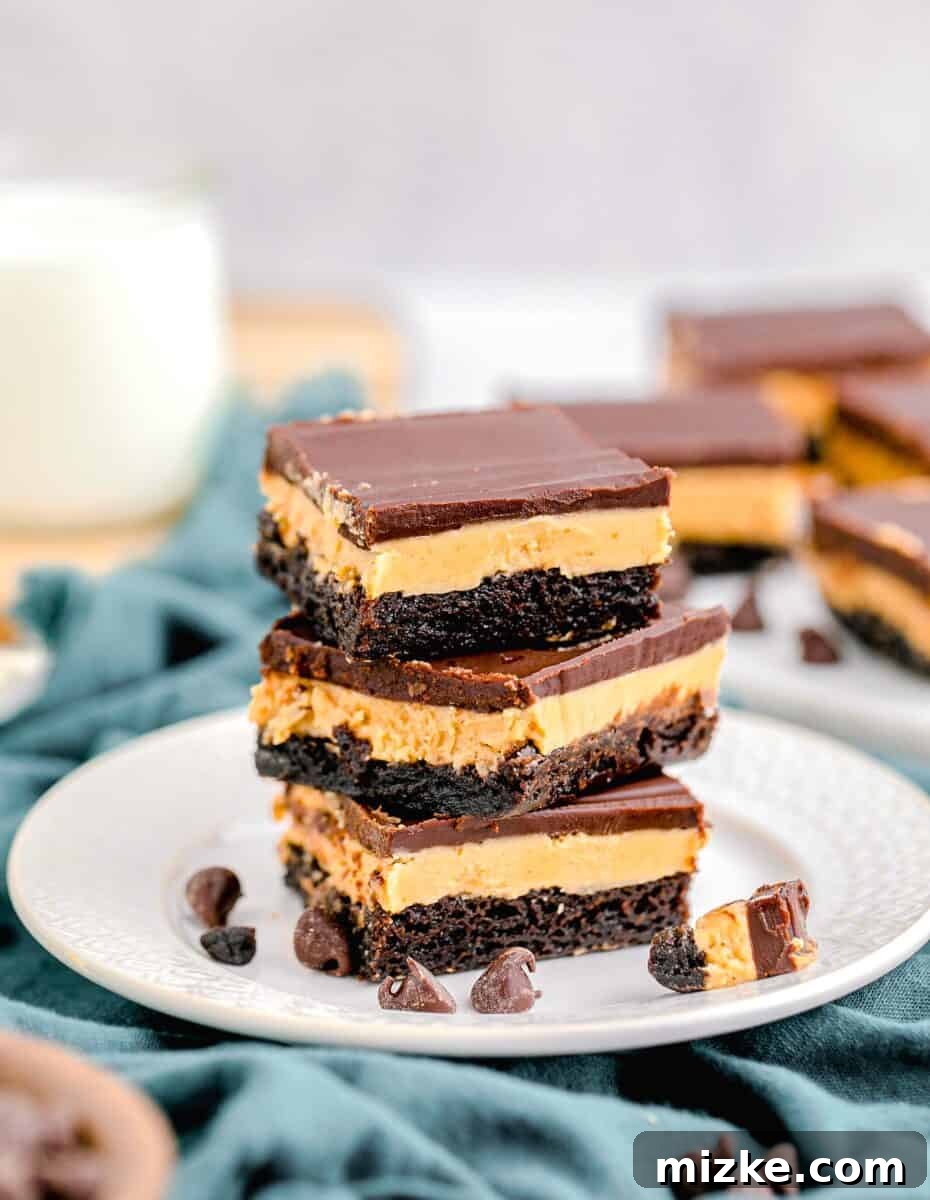
For all the chocolate and peanut butter enthusiasts out there, this recipe is tailor-made for you. Imagine sinking your teeth into a rich, fudgy brownie, followed by a sweet, smooth peanut butter layer, all crowned with a luxurious chocolate ganache. Is your mouth watering yet? Mine certainly is! This incredibly easy dessert takes everything you cherish about traditional buckeye candies and transforms it into an irresistible brownie form. It truly doesn’t get much better than this delightful marriage of flavors and textures.
One of the many reasons to adore Buckeye Brownies is their year-round versatility. They are a welcome addition to any gathering, from festive Christmas parties to casual summer movie nights or vibrant spring birthday celebrations. The timeless appeal of chocolate and peanut butter layered atop a brownie never goes out of style. Plus, the convenience of starting with a boxed brownie mix means this impressive dessert is surprisingly simple to whip up, even for novice bakers. It’s a guaranteed crowd-pleaser that looks and tastes like you spent hours in the kitchen, when in reality, it’s a breeze.
Why You’ll Fall in Love with These Buckeye Brownies
These Buckeye Brownies are more than just a dessert; they are an experience. Here’s why they’re destined to become a staple in your recipe collection:
- Effortless Elegance with Boxed Brownie Mix: We all appreciate a shortcut that doesn’t compromise on quality or taste. This recipe cleverly utilizes a standard box of brownie mix, transforming it into a gourmet dessert. It’s the perfect way to take an everyday staple and elevate it with two indulgent, homemade layers, making baking approachable and fun.
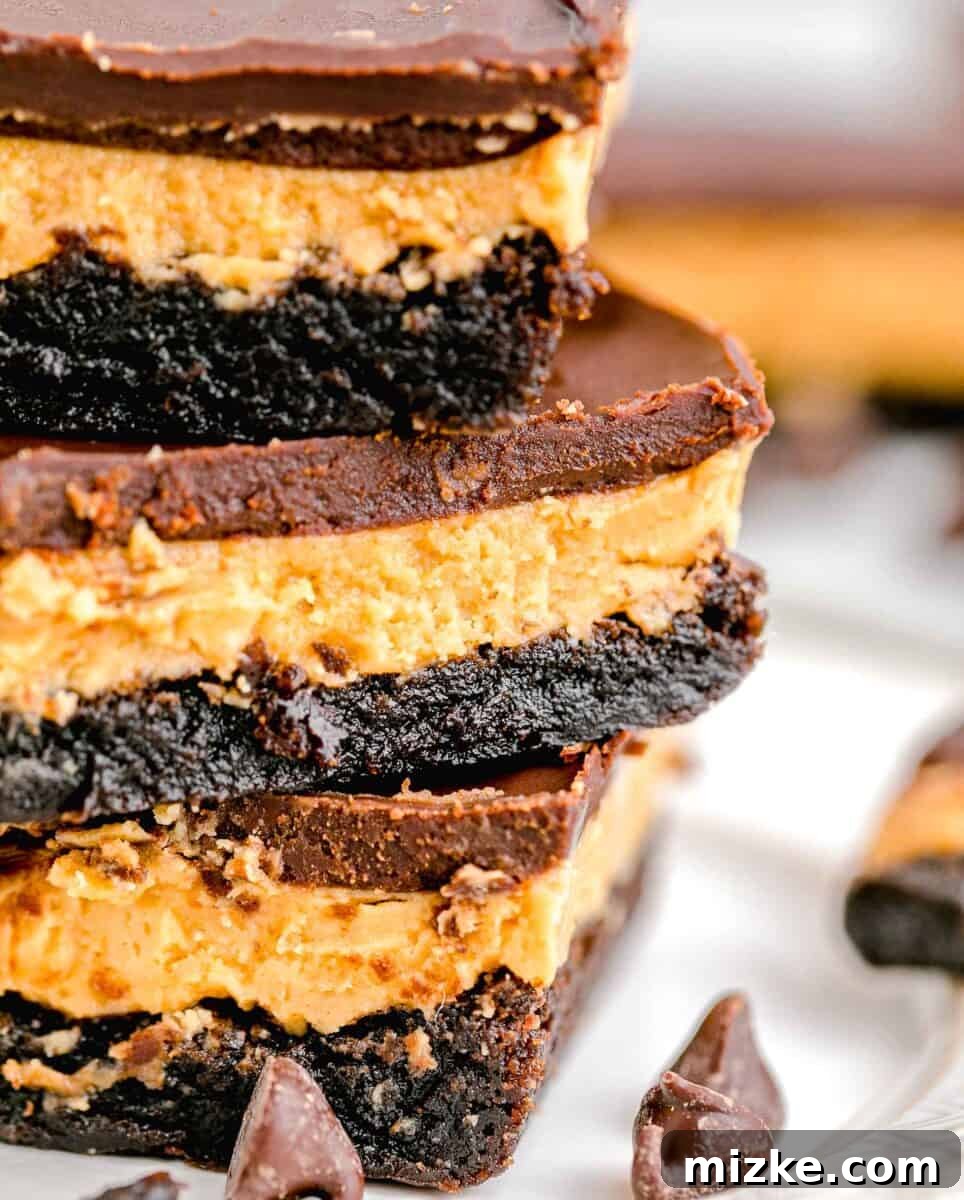
- The Unforgettable Layered Experience: While the fudgy brownie base is undoubtedly delicious, it’s the dreamy peanut butter and rich chocolate ganache layers that truly steal the spotlight. These layers aren’t just pretty; they deliver that iconic, melt-in-your-mouth buckeye flavor with every bite. The contrasting textures and complementary tastes create a symphony of deliciousness that’s surprisingly easy to achieve.
- Deceptively Impressive Presentation: The striking layered appearance of these brownies gives them a sophisticated edge, making them look far more complex than they actually are. Your guests will be amazed by your baking prowess, and it can be our little secret just how quick and straightforward this recipe truly is. It’s the ideal dessert for impressing without the stress!
- The Perfect Harmony of Flavors: Chocolate and peanut butter are a match made in heaven, and these brownies celebrate that union beautifully. The sweetness of the chocolate, the nutty richness of the peanut butter, and the fudgy texture of the brownie create a balanced and deeply satisfying treat that caters to every craving.
- Versatile for Any Occasion: Whether you need a show-stopping dessert for a holiday gathering, a comforting treat for a cozy night in, or a delightful addition to a potluck, Buckeye Brownies fit the bill. Their universal appeal ensures they’ll be devoured no matter the event.
Essential Ingredients for Buckeye Brownies
Creating these sensational Buckeye Brownies requires a few pantry staples and readily available ingredients. Here’s a detailed list to ensure you have everything on hand. For precise measurements, please refer to the comprehensive recipe card below.
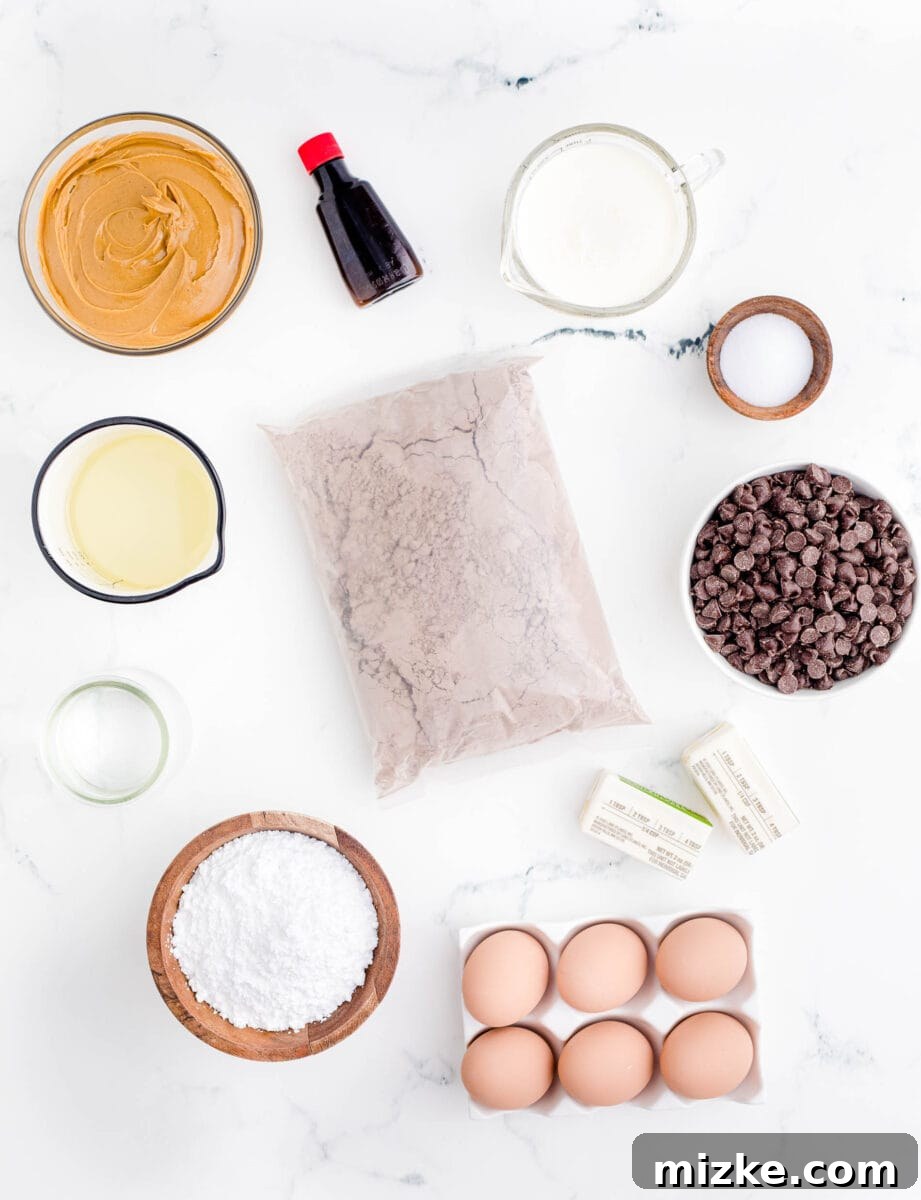
- Brownie Mix: Choose your favorite brand of boxed brownie mix designed for a 9×13 inch pan. The quality of your base brownie will significantly impact the final taste, so pick one you love.
- Additional Brownie Ingredients: As per your chosen brownie mix box instructions, typically water, eggs, and vegetable oil.
For the irresistibly smooth Peanut Butter Layer:
- Icing Sugar (Powdered Sugar): Essential for creating a smooth, sweet, and firm peanut butter layer without a grainy texture.
- Creamy Peanut Butter: Opt for a smooth, creamy peanut butter rather than natural or chunky varieties, as it will blend more easily and create a consistent texture for the layer.
- Salted Butter: Melted butter helps bind the peanut butter layer ingredients and adds richness. Using salted butter enhances the overall flavor balance.
- Vanilla Extract: A touch of vanilla brightens the peanut butter flavor and adds a warm, aromatic note.
- Salt: A pinch of salt is crucial to balance the sweetness of the icing sugar and peanut butter, truly bringing out the nutty flavor.
For the decadent Chocolate Ganache Layer:
- Semisweet Chocolate Chips: High-quality semisweet chocolate chips (or finely chopped semisweet chocolate bar) are ideal for a rich, balanced ganache that’s not overly sweet.
- Heavy Cream (Double Cream): The key ingredient for creating a silky, pourable ganache. The high fat content of heavy cream ensures a smooth, emulsified finish.
- Salted Butter: A small amount of salted butter in the ganache adds an extra layer of richness, gloss, and a touch of savory depth that complements the chocolate beautifully.
Step-by-Step Guide: Crafting Your Buckeye Brownies
Creating these layered masterpieces is simpler than you might think. Follow these detailed steps to assemble your very own batch of chocolate peanut butter perfection. For comprehensive measurements and cooking times, consult the full recipe card at the end of this post.
Step 1: Prepare Your Baking Pan. Start by lining a 9×13 inch baking pan with parchment paper, ensuring it overhangs slightly on the sides. This creates “handles” that will make lifting the cooled brownies out of the pan incredibly easy for clean slicing. Preheat your oven to the temperature specified on your brownie mix box instructions.
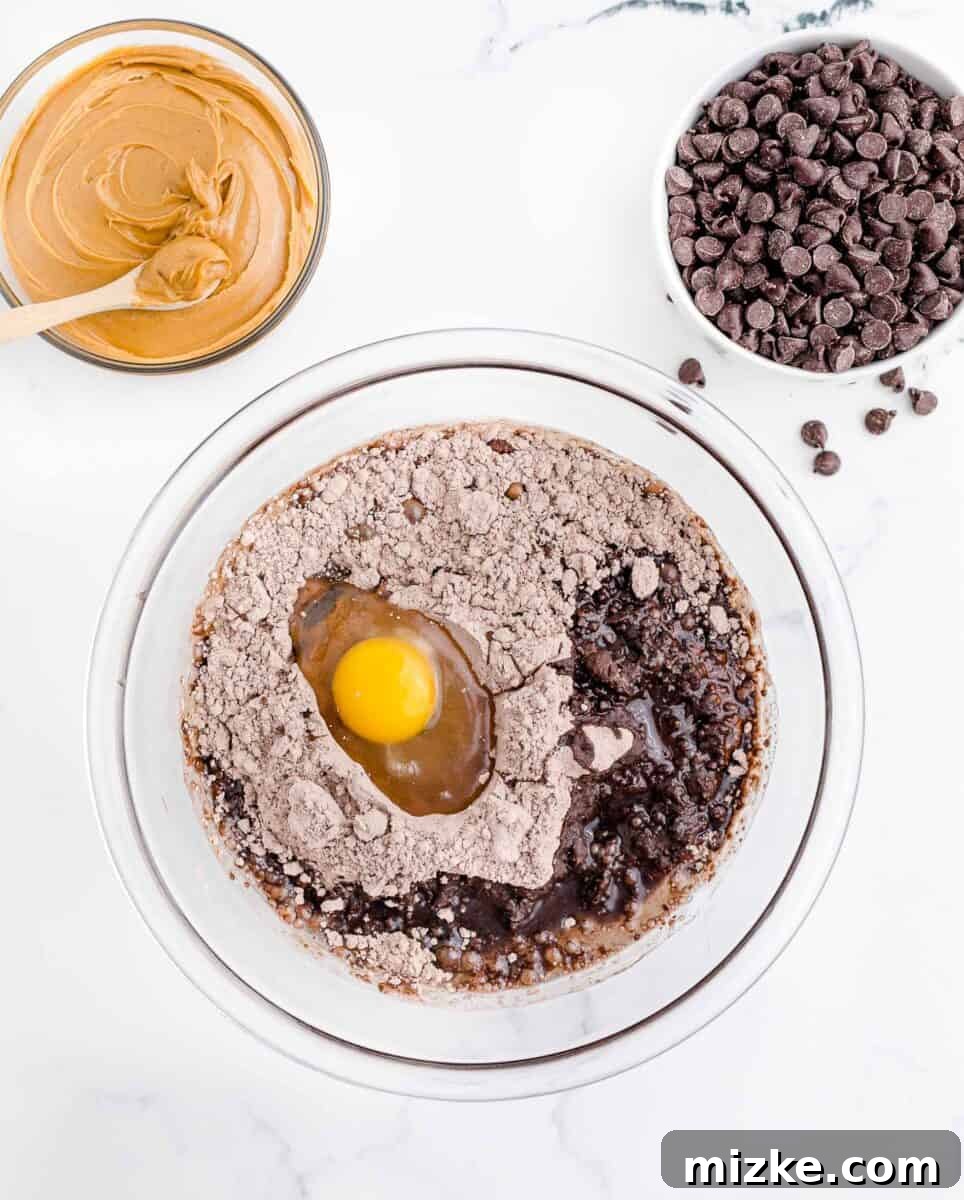
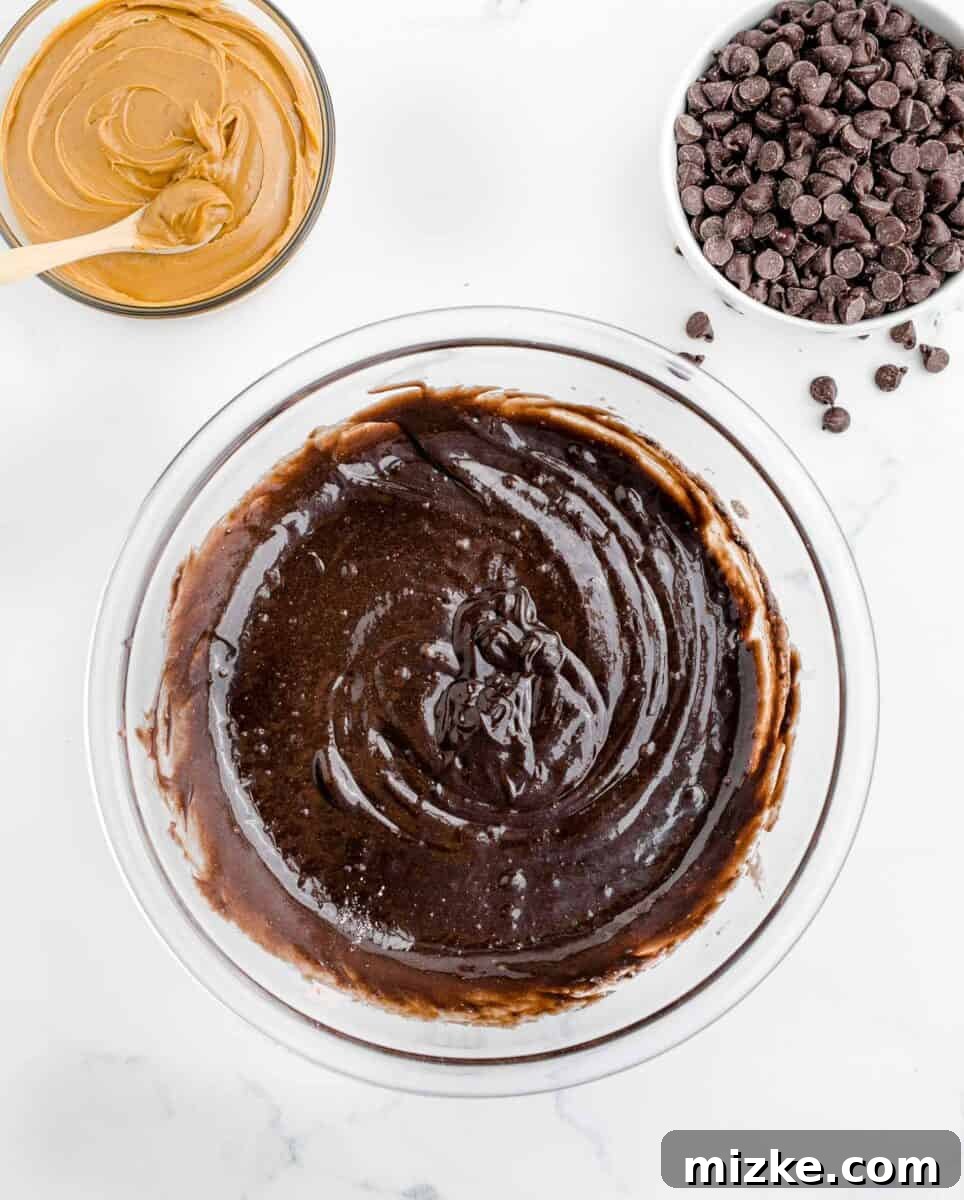
Step 2: Bake the Brownie Base. Follow the directions on your chosen brownie mix box precisely to prepare the batter. Pour the prepared batter into your parchment-lined pan and bake according to the package instructions. Once baked, remove the brownies from the oven and allow them to cool completely at room temperature. This is a crucial step – don’t rush it! While they cool, you can prepare the other two delicious layers.
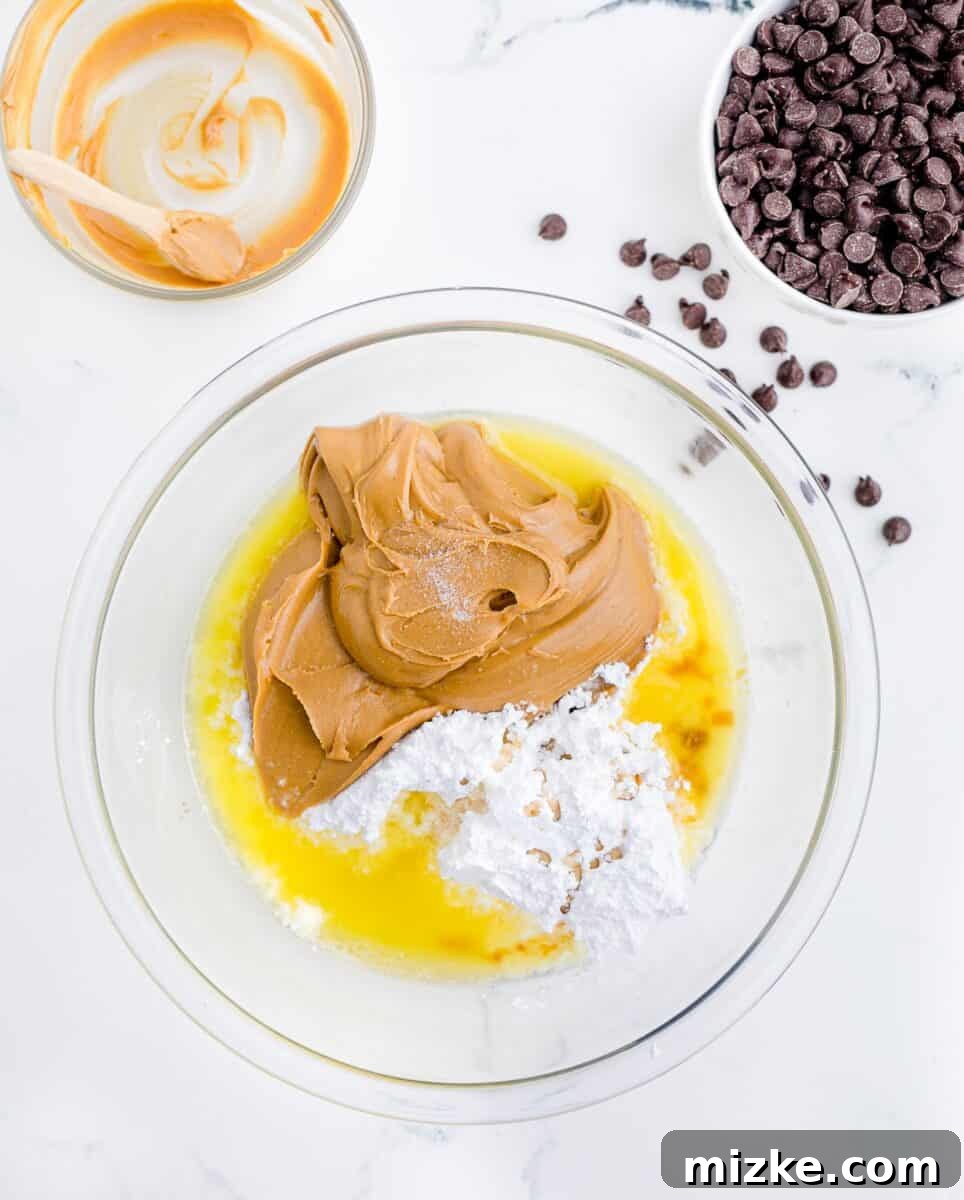
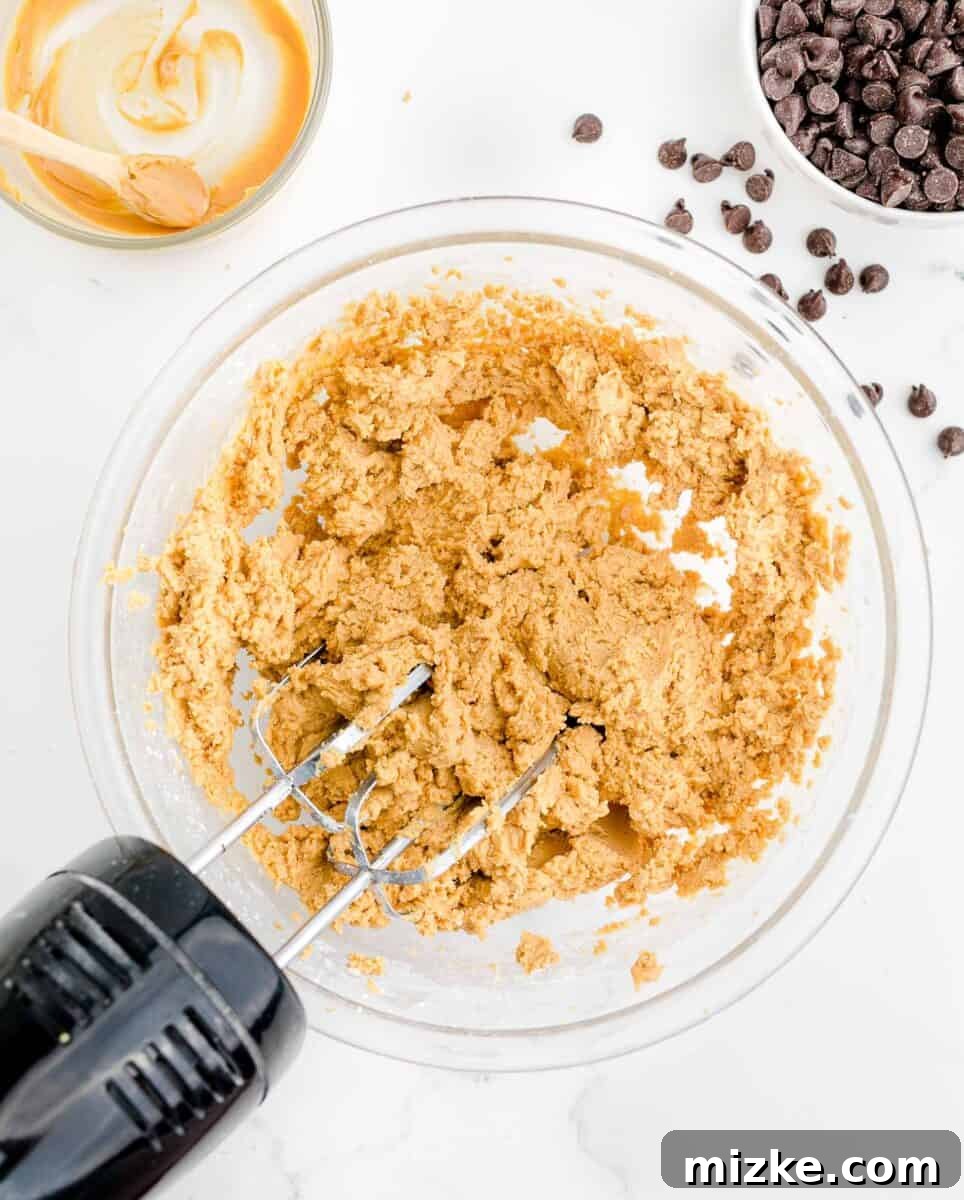
Step 3: Craft the Creamy Peanut Butter Layer. In a large mixing bowl, combine the icing sugar, creamy peanut butter, melted salted butter, vanilla extract, and a pinch of salt. Using an electric mixer, beat these ingredients together on medium speed until the mixture is smooth, well-combined, and has a thick, pliable consistency, much like Play-Doh. This robust texture is essential for creating an even layer on top of your brownies. Set this aside.
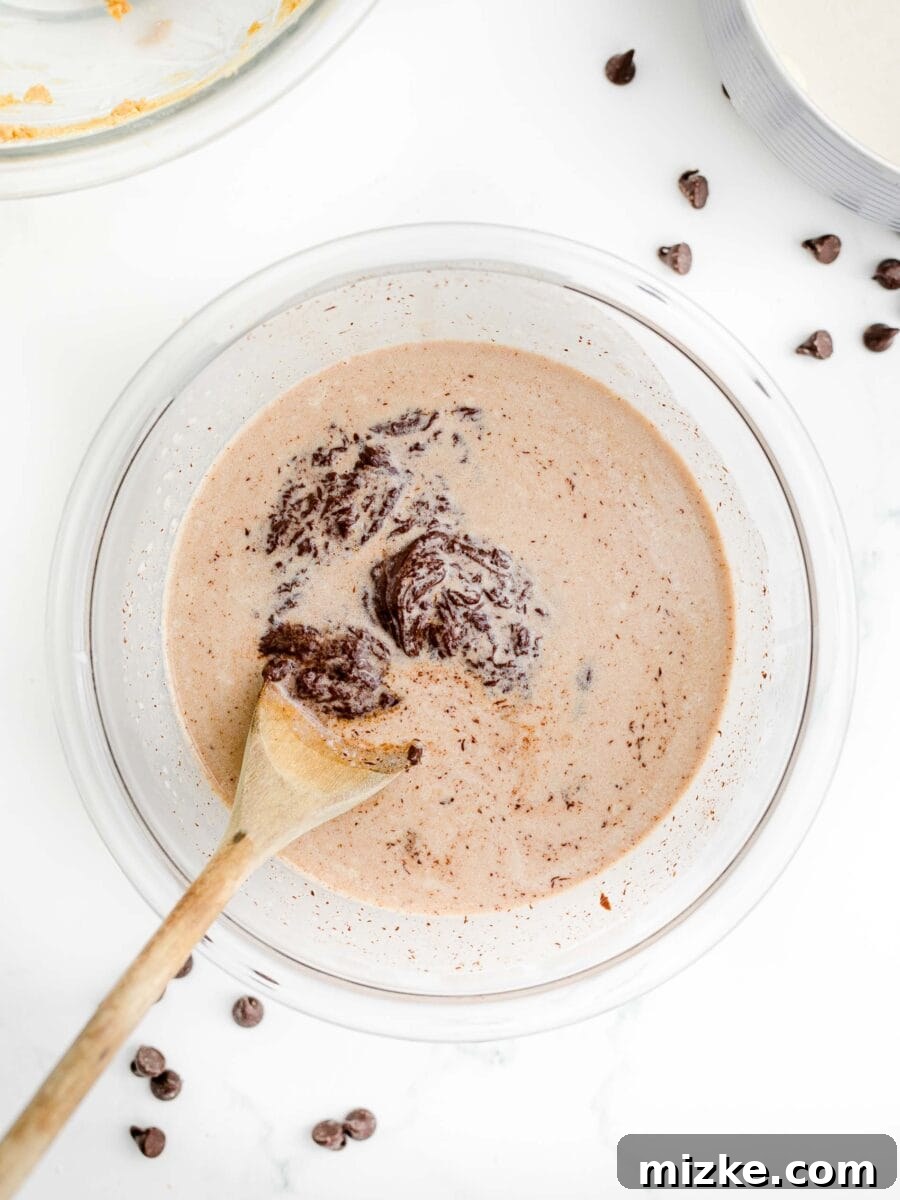
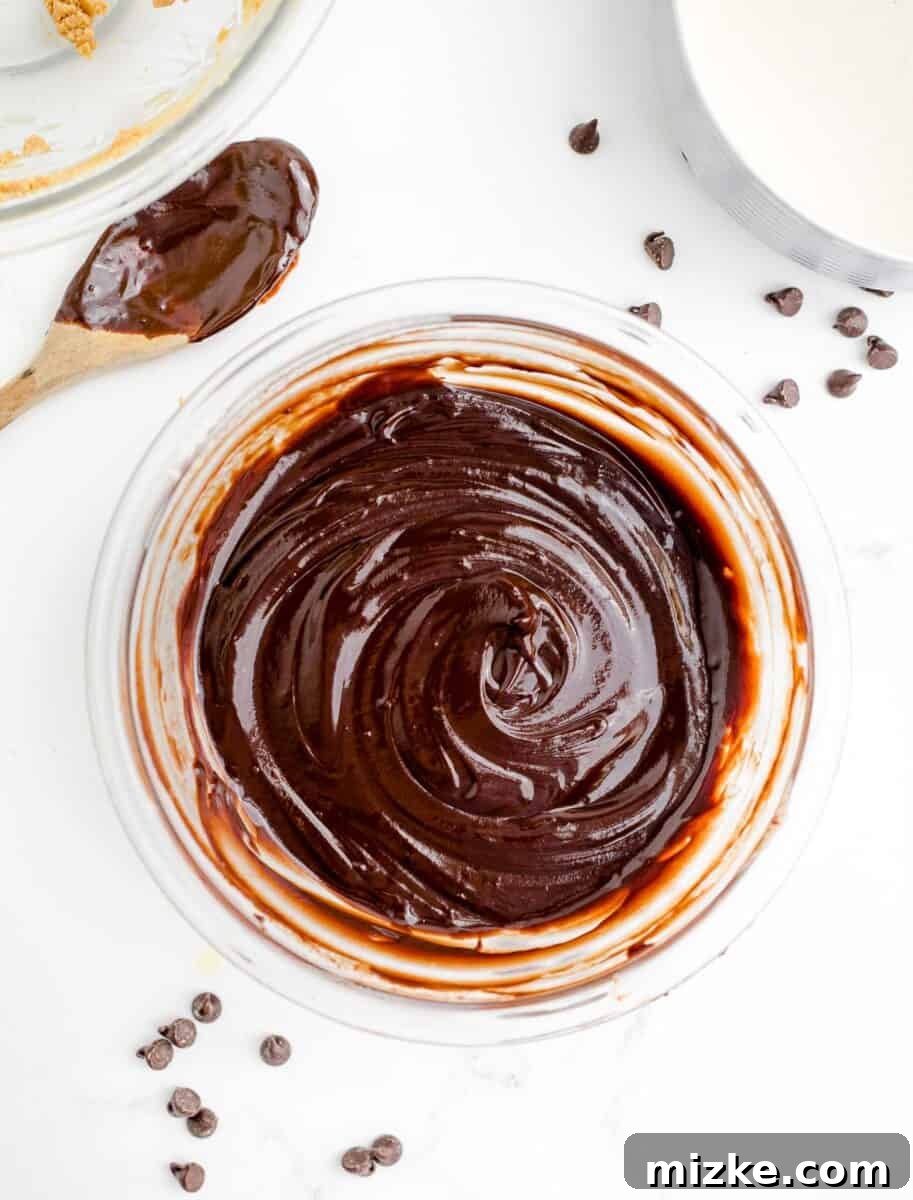
Step 4: Prepare the Silky Chocolate Ganache. Place your semisweet chocolate chips (or chopped chocolate) into a medium-sized heatproof mixing bowl. In a small saucepan, melt the 2 tablespoons of salted butter over medium heat. Once melted, stir in the heavy cream. Increase the heat slightly to medium-high and whisk constantly until the mixture just begins to bubble gently around the edges. Immediately pour this hot cream and butter mixture over the chocolate chips. Cover the bowl tightly with a lid or a plate and let it sit undisturbed for 5 minutes. This allows the hot cream to melt the chocolate chips thoroughly. After 5 minutes, remove the lid and gently stir the mixture with a whisk or spatula until it transforms into a smooth, glossy, and uniform ganache. It may take a minute or two of stirring to achieve this perfect consistency. As the ganache cools, it will thicken slightly; this is normal. Give it another quick stir before spreading if needed.
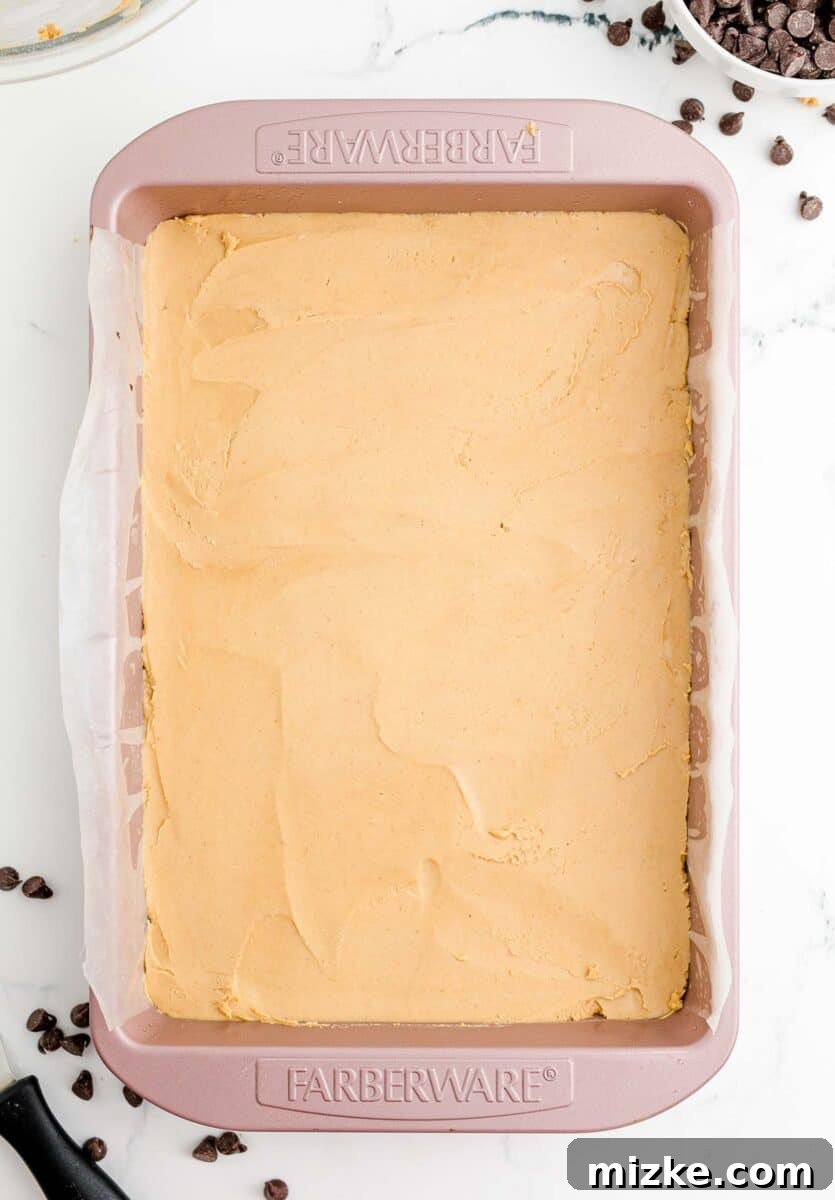
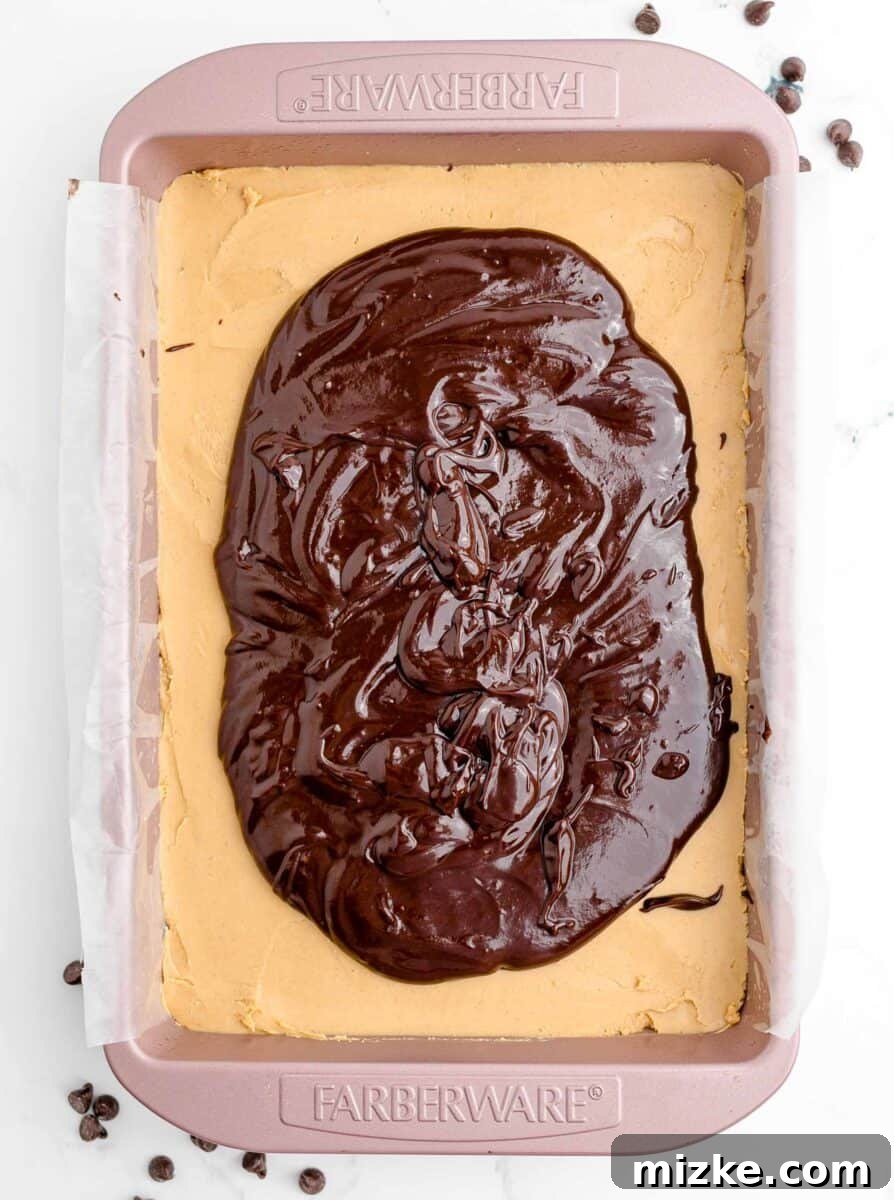
Step 5: Layer and Chill for Perfection. Once your brownies have completely cooled, it’s time to assemble! Take spoonfuls of the thick peanut butter mixture and dot them across the surface of the brownies. Then, using an offset spatula or the back of a spoon, carefully spread the peanut butter mixture into an even, uniform layer, covering the entire brownie surface. Next, pour the still-warm (but not hot) ganache evenly over the peanut butter layer, smoothing it out with your spatula to create a beautiful, glossy finish. Finally, place the entire pan of Buckeye Brownies into the refrigerator to chill for at least 30 minutes. This crucial chilling time allows the layers to set firmly, making them much easier to slice into neat, distinct pieces. Patience is key here for the best results!
Expert Tips, Smart Substitutions, and Creative Variations
To ensure your Buckeye Brownies are nothing short of spectacular every single time, keep these valuable tips in mind. Plus, explore some exciting ways to customize this recipe to your liking:
- Choose Your Favorite Brownie Base: The foundation of these brownies is crucial. While a boxed mix offers convenience, make sure it’s a brand and flavor profile you genuinely enjoy. This recipe is incredibly adaptable, so feel free to use your go-to chocolate fudge, dark chocolate, or even triple chocolate brownie mix. You can also opt for a homemade brownie recipe if you prefer, just ensure it’s baked in a 9×13 inch pan and cooled completely.
- Perfecting the Peanut Butter Layer: For the smoothest peanut butter layer, ensure your melted butter isn’t too hot when mixing with the icing sugar and peanut butter. If it’s too warm, the mixture might become oily. If your peanut butter is very stiff, you can warm it slightly in the microwave for a few seconds to make it easier to mix, but avoid making it liquid.
- Mastering the Ganache Consistency: After pouring the hot cream over the chocolate and letting it sit, stirring is vital. Don’t be alarmed if it looks separated at first; keep stirring gently and continuously. The mixture will eventually come together into a perfectly smooth, glossy ganache. If it seems too thick to spread easily after cooling slightly, you can gently warm it over a double boiler or in the microwave for a few seconds (stirring frequently) until it reaches a spreadable consistency.
- The Importance of Chilling: We know it’s hard to wait, but the chilling step is non-negotiable for clean slices. Refrigerating the brownies for at least 30 minutes (or even longer, up to an hour) allows the peanut butter and ganache layers to set firm. This prevents them from squishing or smearing when you cut into them, ensuring each piece has beautiful, distinct layers. A warm knife dipped in hot water and wiped clean between cuts can also help achieve perfect slices.
- Enhance with a Pinch of Flaky Sea Salt: For a sophisticated touch that truly elevates the flavors, sprinkle a tiny amount of flaky sea salt over the top of the chocolate ganache just before it fully sets. The subtle crunch and salinity will beautifully contrast the sweetness of the chocolate and peanut butter.
Creative Variations & Customizations:
- Nutty Additions: For extra crunch and flavor, finely chop some roasted peanuts and sprinkle them over the peanut butter layer before adding the ganache, or on top of the ganache before it sets.
- Chocolate Choices: Experiment with different types of chocolate for the ganache. Dark chocolate will create a richer, less sweet ganache, while milk chocolate will yield a creamier, sweeter result. You could even use a blend!
- White Chocolate Drizzle: For an artistic flair, melt some white chocolate and drizzle it decoratively over the set ganache before serving.
- Mini Buckeye Bites: For bite-sized treats, bake your brownies in a mini muffin tin. Adjust baking time accordingly. Once cooled, add the peanut butter and ganache layers.
- Seasonal Sprinkles: Add festive sprinkles to the top of the ganache for holidays or birthday celebrations.
Storage and Make-Ahead Instructions
Buckeye Brownies are fantastic for making ahead and can be stored easily. Here’s how to keep them fresh and delicious:
- Room Temperature: Store your Buckeye Brownies in an airtight container at room temperature for up to 3 days. This method keeps the brownie base soft and the layers perfectly set.
- Refrigeration: For longer freshness, you can keep them in an airtight container in the refrigerator for up to 4-5 days. However, be aware that chilling can slightly firm up the peanut butter and ganache layers, making them a bit harder than at room temperature. If you prefer a softer texture, let them sit at room temperature for about 15-20 minutes before serving after refrigeration.
- Freezing: Buckeye Brownies freeze wonderfully! Cut them into individual squares, then wrap each brownie tightly in plastic wrap and place them in a freezer-safe airtight container or freezer bag. They can be frozen for up to 2-3 months. Thaw individual brownies at room temperature for an hour or two before enjoying.
Serving Suggestions for Maximum Enjoyment
While these Buckeye Brownies are perfect on their own, here are a few ideas to make them an even more delightful experience:
- Classic Treat: Serve them as is with a glass of cold milk or a hot cup of coffee.
- A la Mode: Pair a warm brownie square with a scoop of vanilla bean ice cream. The contrast of warm and cold, and the melting ice cream, is pure bliss.
- Dessert Platter: Cut them into smaller squares or triangles and arrange them on a dessert platter with other treats for parties.
- Coffee Break Companion: A perfect companion for your afternoon tea or coffee break, offering a rich and satisfying sweetness.
Explore More Decadent Brownie and Bar Recipes
If you’ve loved these Buckeye Brownies, you’re sure to enjoy these other fantastic brownie and bar recipes that always hit the spot, no matter how you slice them!
- Cake Mix Brownies: Another brilliant way to elevate a simple boxed mix into something extraordinary.
- Brookies: The best of both worlds – a delightful fusion of brownie and cookie in one irresistible treat.
- Peanut Butter Cookie Bars: For when you’re craving that peanut butter goodness in a chewy, convenient bar form.
- Carmelitas: A heavenly combination of oatmeal cookie, rich caramel, and chocolate chips, baked into a delightful bar.
Buckeye Brownies
By: Julie Chiou
These decadent, fudgy, chewy brownies are topped with sweetened, smooth peanut butter and thick chocolate ganache – a perfect chocolate and peanut butter delight!
Equipment
- 9×13 inch baking pan
- Hand mixer
- Small saucepan
- Medium mixing bowl
- Offset spatula (optional, for spreading)
Ingredients
- For the Brownies:
- 1 box Brownie mix for a 9×13 inch pan (or 2 boxes of 8×8 inch mixes)
- Ingredients as directed on box (typically eggs, water, and oil)
- For the Peanut Butter Layer:
- 2 ½ cups (300 g) icing sugar (powdered sugar)
- 1 ½ cup (387 g) creamy peanut butter
- ½ cup (114 g) salted butter, melted
- ½ teaspoon vanilla extract
- Pinch of salt
- For the Ganache Layer:
- 2 cups (360 g) semisweet chocolate chips, or finely chopped semisweet chocolate bar
- 1 cup (237 ml) heavy cream
- 2 Tablespoons (28 g) salted butter
Instructions
- Prepare a 9×13 inch baking pan by lining it with parchment paper, allowing some overhang on the sides for easy removal.
- Preheat your oven to the temperature recommended on your brownie mix box.
- Prepare the brownie mix according to the package directions. Pour the batter into the prepared pan and bake for the recommended time. Allow the brownies to cool completely at room temperature before proceeding.
- While the brownies are cooling, prepare the peanut butter layer, and then the ganache layer.
- To make the peanut butter layer: In a large mixing bowl, beat together the icing sugar, peanut butter, melted salted butter, vanilla, and a pinch of salt with a hand mixer until smooth and thick, resembling Play-Doh. Set aside.
- To make the ganache layer: Place the semisweet chocolate chips into a medium-sized heatproof glass bowl.
- In a small saucepan, melt the 2 tablespoons of salted butter over medium heat. Once melted, stir in the heavy cream.
- Increase the heat to medium-high and whisk the cream mixture constantly until it just begins to form small bubbles around the edges.
- Immediately pour the hot cream mixture over the chocolate chips in the bowl. Cover the bowl tightly with a lid or plate and let it sit undisturbed for 5 minutes to melt the chocolate.
- After 5 minutes, remove the lid and stir the mixture gently but continuously until a smooth, glossy ganache forms. It may take a minute or two of stirring.
- As the ganache cools, it will thicken slightly. This is normal; just stir it again if needed before spreading.
- Once the brownies are completely cool, spread the peanut butter mixture evenly over the brownie layer. It can be helpful to dollop spoonfuls of the mixture across the surface first, then gently spread with an offset spatula.
- Pour the prepared ganache evenly over the peanut butter layer and smooth it out with a spatula.
- Place the Buckeye Brownies into the refrigerator for at least 30 minutes to allow the layers to set completely, which will make them much easier to slice neatly.
- Slice into squares and serve. Enjoy!
Nutrition
Approximate nutrition information per serving:
- Serving: 1 brownie
- Calories: 411 kcal
- Carbohydrates: 32g
- Protein: 7g
- Fat: 30g
- Saturated Fat: 14g
- Polyunsaturated Fat: 3g
- Monounsaturated Fat: 11g
- Trans Fat: 0.3g
- Cholesterol: 33mg
- Sodium: 149mg
- Potassium: 250mg
- Fiber: 3g
- Sugar: 26g
This website provides approximate nutrition information for convenience and as a courtesy only. Nutrition information can vary for a variety of reasons. For the most precise nutritional data, use your preferred nutrition calculator based on the actual ingredients you used in the recipe.
The default measuring system for this website is US Customary. Unit conversions are provided for convenience and as a courtesy only. While we strive to provide accurate unit conversions, please be aware that there may be some discrepancies.