
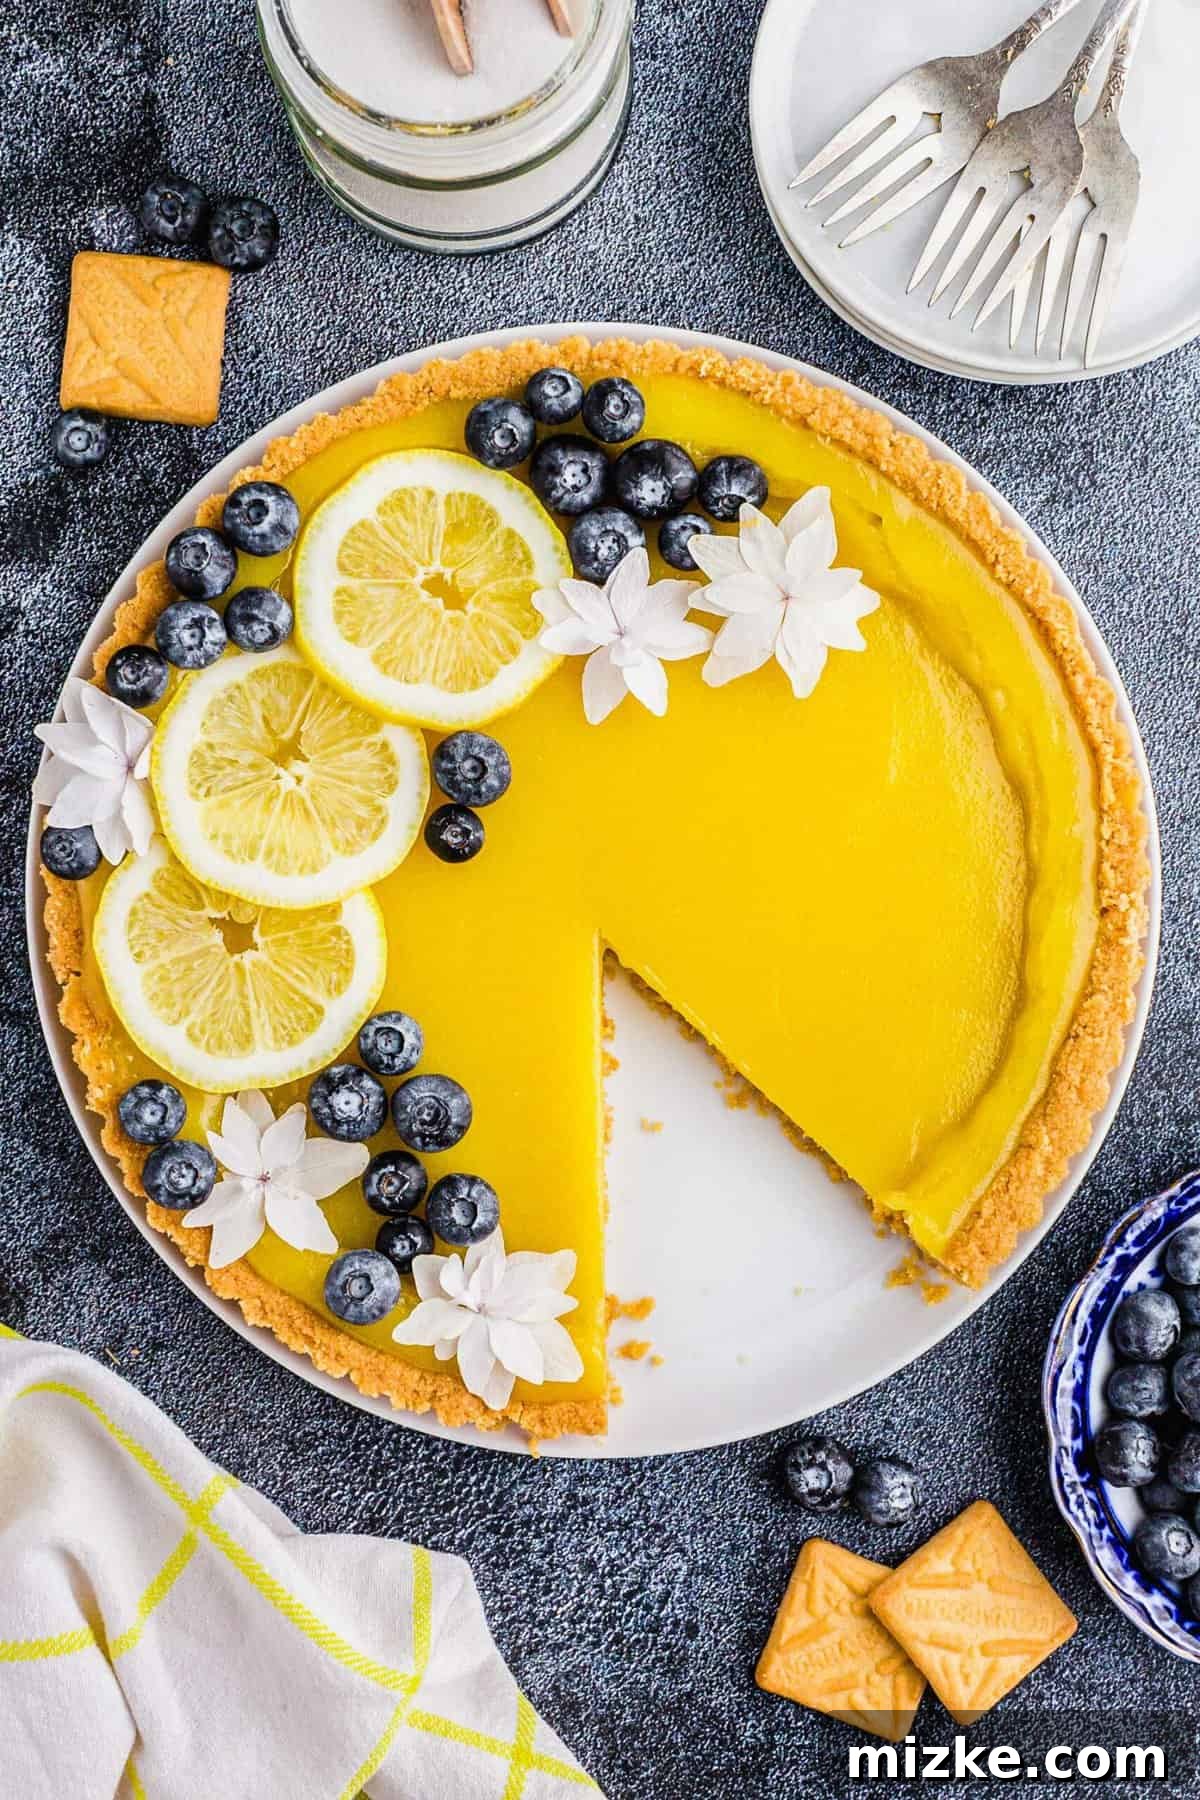
Prepare to be captivated by this exquisite homemade lemon tart! Bursting with vibrant, sunny lemon flavor, this dessert strikes a perfect balance between sweet and tangy, promising to delight your taste buds with every single bite. Often referred to as “tarte au citron” in French, this classic pastry is a timeless indulgence that’s surprisingly simple to master at home. Its stunning yellow hue and refreshing zest make it an instant favorite, perfect for brightening any day or enhancing any gathering.
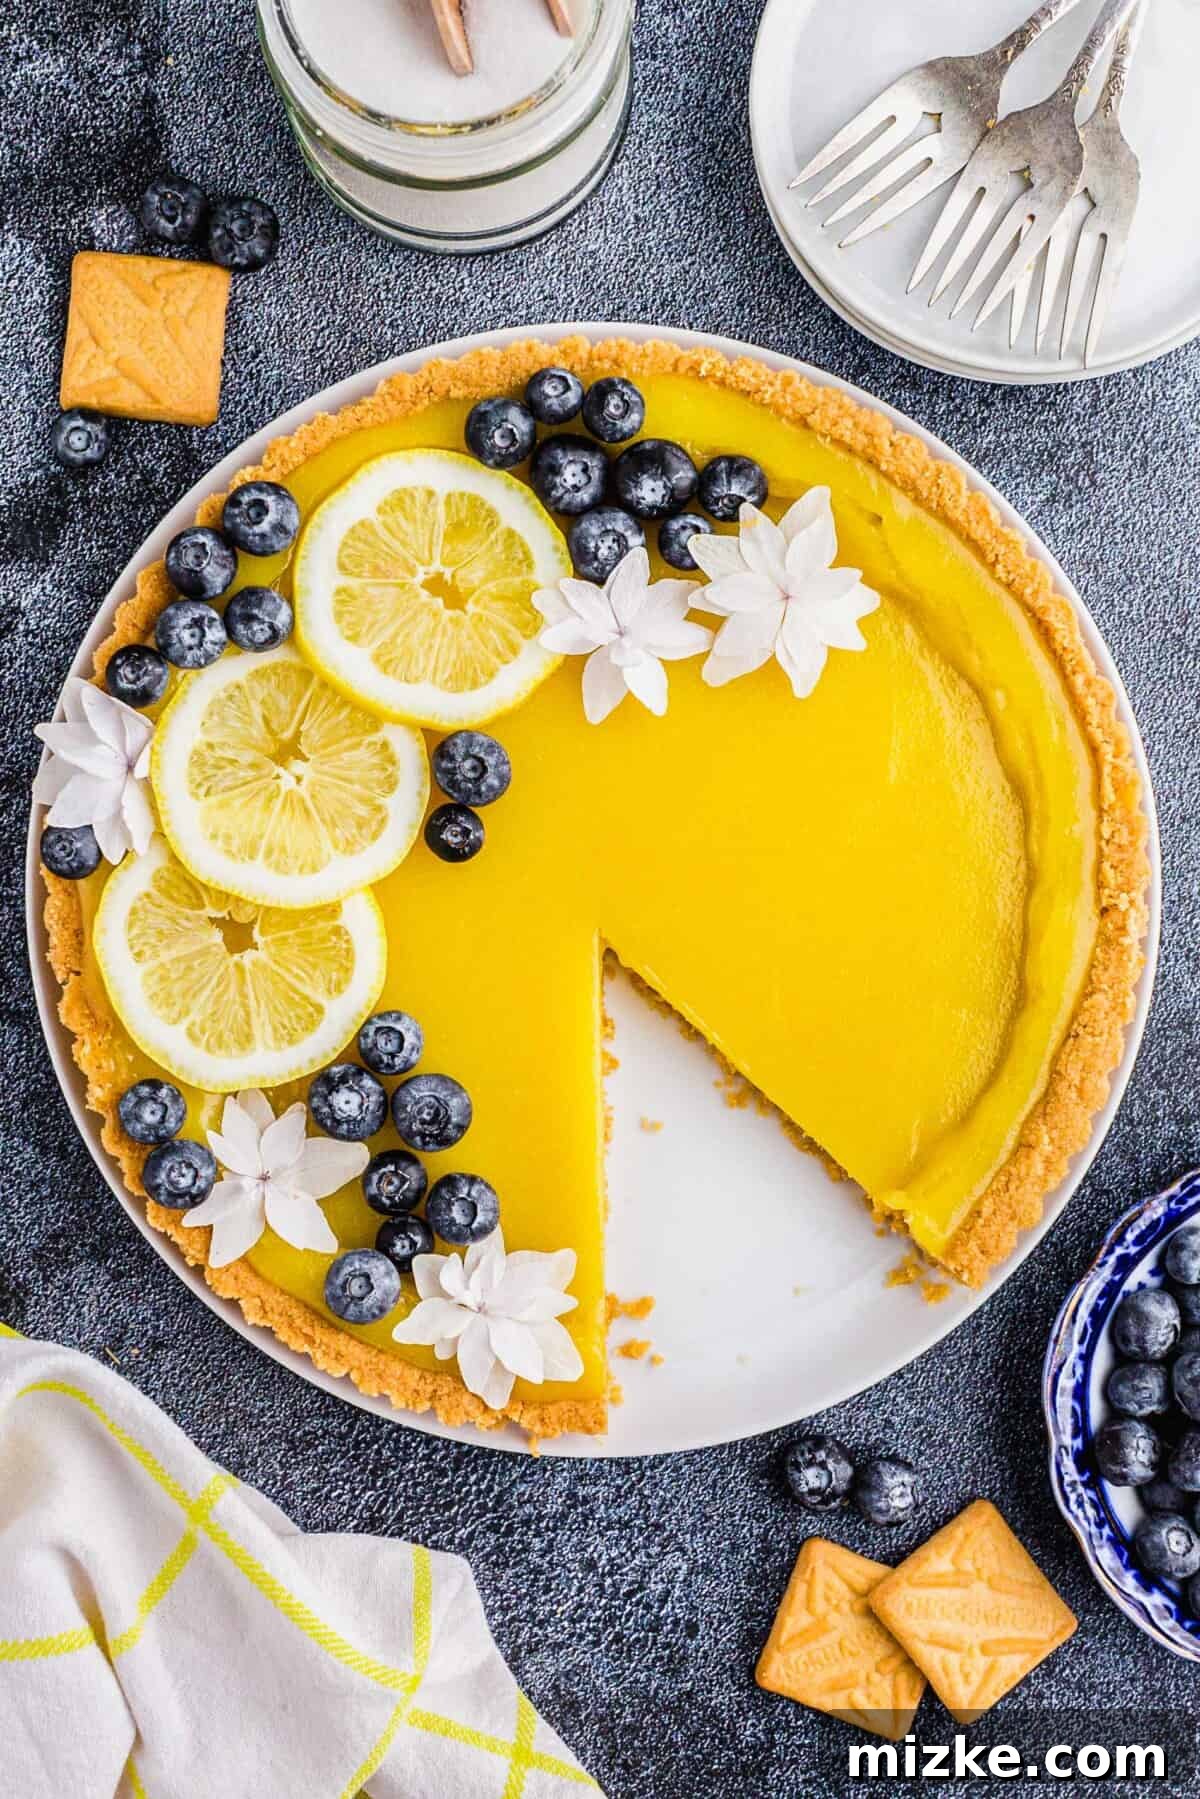
There’s something undeniably uplifting and inherently joyful about lemon desserts. Their bright, zesty character has always held a special place in my heart, possessing an uncanny ability to effortlessly brighten even the gloomiest of days. I find immense pleasure in the exhilarating tangy and refreshing flavors that lemons impart to sweets. My childhood memories are delightfully peppered with countless trips to my favorite local coffee shop, solely for the pure bliss of sinking my teeth into a slice of their famous lemon pound cake. The sheer delight from that first bite was unparalleled, a feeling of bright happiness that I’ve always aimed to replicate and share in my own baking endeavors.
If you share my profound passion for citrus-infused sweets and dream of crafting a dessert that not only tastes incredible but also looks absolutely stunning and seriously impresses, then this easy lemon tart recipe is your ultimate calling! Imagine a smooth, creamy, and intensely lemony filling, boasting a perfect balance of sweet and tart, all perfectly nestled within a golden, impossibly buttery shortbread cookie crust. Every single element of this homemade lemon tart is meticulously designed to evoke feelings of sunshine and pure happiness. Its radiant color and refreshing taste make it an ideal centerpiece for elegant spring gatherings, lively summertime celebrations, chic ladies’ brunches, or even a heartfelt Mother’s Day treat. It truly is the perfect sweet finale for any meal, especially your anticipated end-of-summer bash!
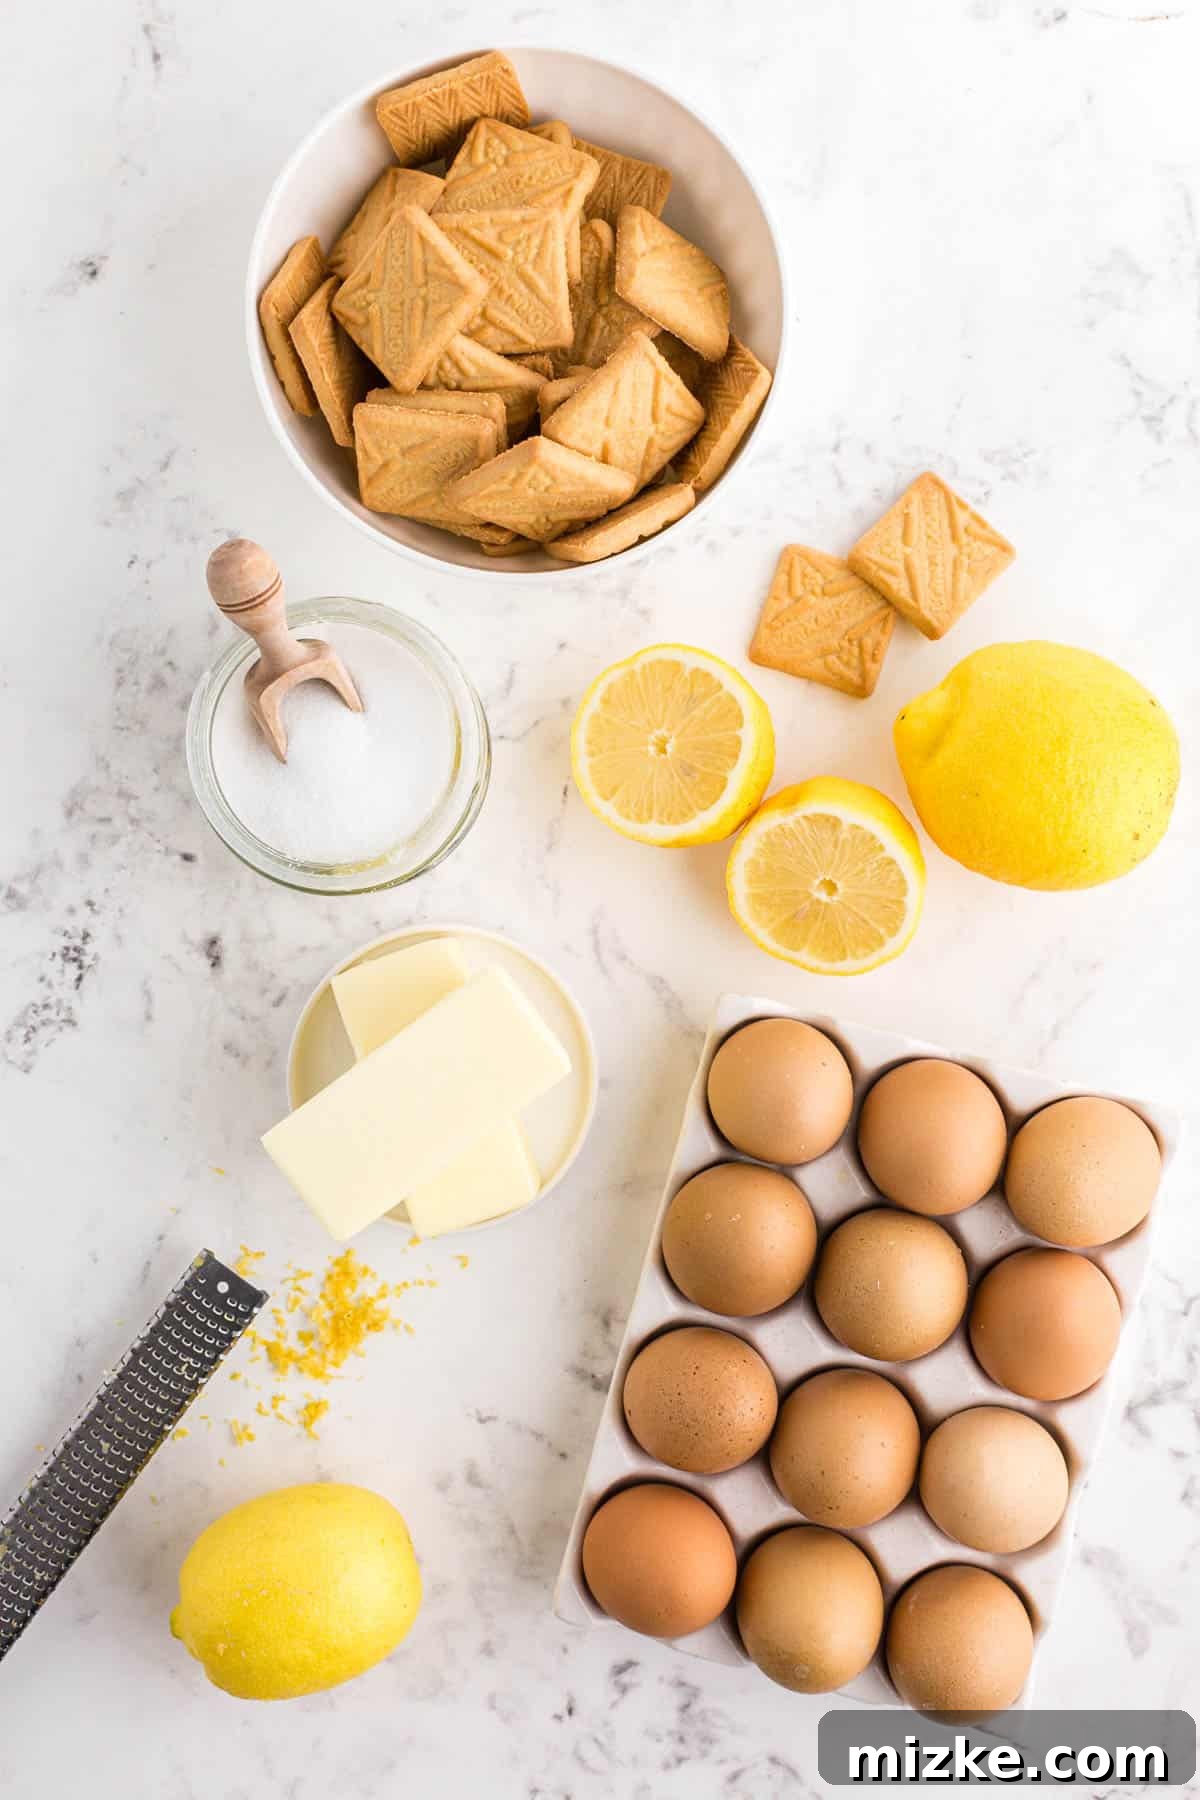
Essential Ingredients for Crafting a Classic Lemon Tart
Crafting this delightful lemon tart requires two main, yet distinct, components: a wonderfully crumbly and rich crust, and a lush, tangy lemon curd filling. Each ingredient plays a crucial role in achieving the perfect flavor and texture. Here’s what you’ll need to create this culinary masterpiece:
For the Irresistibly Buttery Shortbread Crust:
- Shortbread Cookies (10 ounces / 284g): The foundation of our tart, offering a delightful crispness and inherent buttery sweetness. I highly recommend using Lorna Doone cookies for their perfect texture and flavor, which consistently yield incredible, reliable results. Their fine crumb structure forms an ideal, sturdy base that beautifully complements the vibrant tart lemon filling.
- Unsalted Butter, Melted (¾ cup / 170g): Melted butter is the crucial binding agent that holds the cookie crumbs together, creating a firm yet tender crust. Using unsalted butter allows you precise control over the overall saltiness of the tart, ensuring a harmonious and balanced flavor profile that lets the lemon shine.
For the Luscious & Zesty Lemon Curd Filling:
The heart and soul of our tart is the vibrant, intensely flavored lemon curd. While pre-made lemon curd is an option, making it from scratch truly elevates the flavor profile to an incomparable level. For your convenience, here are the simple yet vital ingredients for creating the most exquisite homemade lemon curd:
- Granulated Sugar (1 cup): This provides the necessary sweetness to gracefully balance the intense tartness of the lemons. This careful balance creates that quintessential sweet-and-sour profile we all adore in a classic lemon tart, ensuring a truly satisfying dessert.
- Freshly Squeezed Lemon Juice (⅔ cup): This is arguably the most crucial ingredient, a non-negotiable for a truly outstanding lemon tart! It’s imperative to use freshly squeezed lemon juice. Bottled juices often contain preservatives and artificial flavors that simply cannot replicate the bright, natural zest and pure, unadulterated tang of fresh lemons. The difference in vibrant flavor is monumental and will be noticed.
- Large Eggs (3, at room temperature): Eggs act as a vital thickener and emulsifier, giving the curd its wonderfully smooth, custard-like texture. Ensuring they are at room temperature helps them incorporate more smoothly and evenly into the mixture, significantly reducing the risk of a curdled or lumpy texture.
- Egg Yolks (4, at room temperature): Adding extra egg yolks contributes significantly to a richer, silkier, and more intensely golden-yellow lemon curd. This also helps achieve that luxurious, melt-in-your-mouth consistency that is the hallmark of a premium tart. Remember to save the whites for another delightful recipe, perhaps a light and airy meringue to serve alongside or on top of your tart!
- Lemon Zest (2 teaspoons): The aromatic powerhouse of this dessert! Lemon zest is packed with essential oils that amplify the natural lemon flavor to an unbelievable degree, adding incredible depth and a delightful, fragrant complexity that juice alone simply cannot provide. Do not skip this essential ingredient for maximum citrus impact!
- Salted Butter, cut into ½-inch cubes (½ cup): Unlike the butter used in the crust, salted butter is preferred here for the filling. It enhances the overall flavor of the curd, subtly balancing the sweetness and tartness, and adds an incredible richness and gloss. Cutting it into small pieces helps it melt and incorporate evenly into the warm curd, resulting in a perfectly smooth, velvety finish.
- Cornstarch (1 teaspoon): A clever addition that acts as a stabilizer and thickening agent. Cornstarch ensures your lemon curd sets beautifully, giving it that perfect sliceable texture that holds its shape, without becoming overly firm or rubbery.
Step-by-Step Guide: How to Make a Flawless Lemon Tart
Creating this stunning dessert might seem intimidating at first glance, but with these clear, concise, and easy-to-follow steps, you’ll achieve perfection every single time. We’ll guide you meticulously through making the irresistibly buttery shortbread crust and then the luscious, silky lemon curd filling, ensuring a triumphant baking experience.
- Step 1: Prepare Your Oven and Tart Pan. Begin by preheating your oven to a steady 350°F (177°C). While the oven heats up, lightly spray a 10-inch tart pan (preferably one with a removable bottom, which greatly simplifies serving) with a non-stick baking spray. Ensure an even coating, then set it aside, ready to receive the crust.
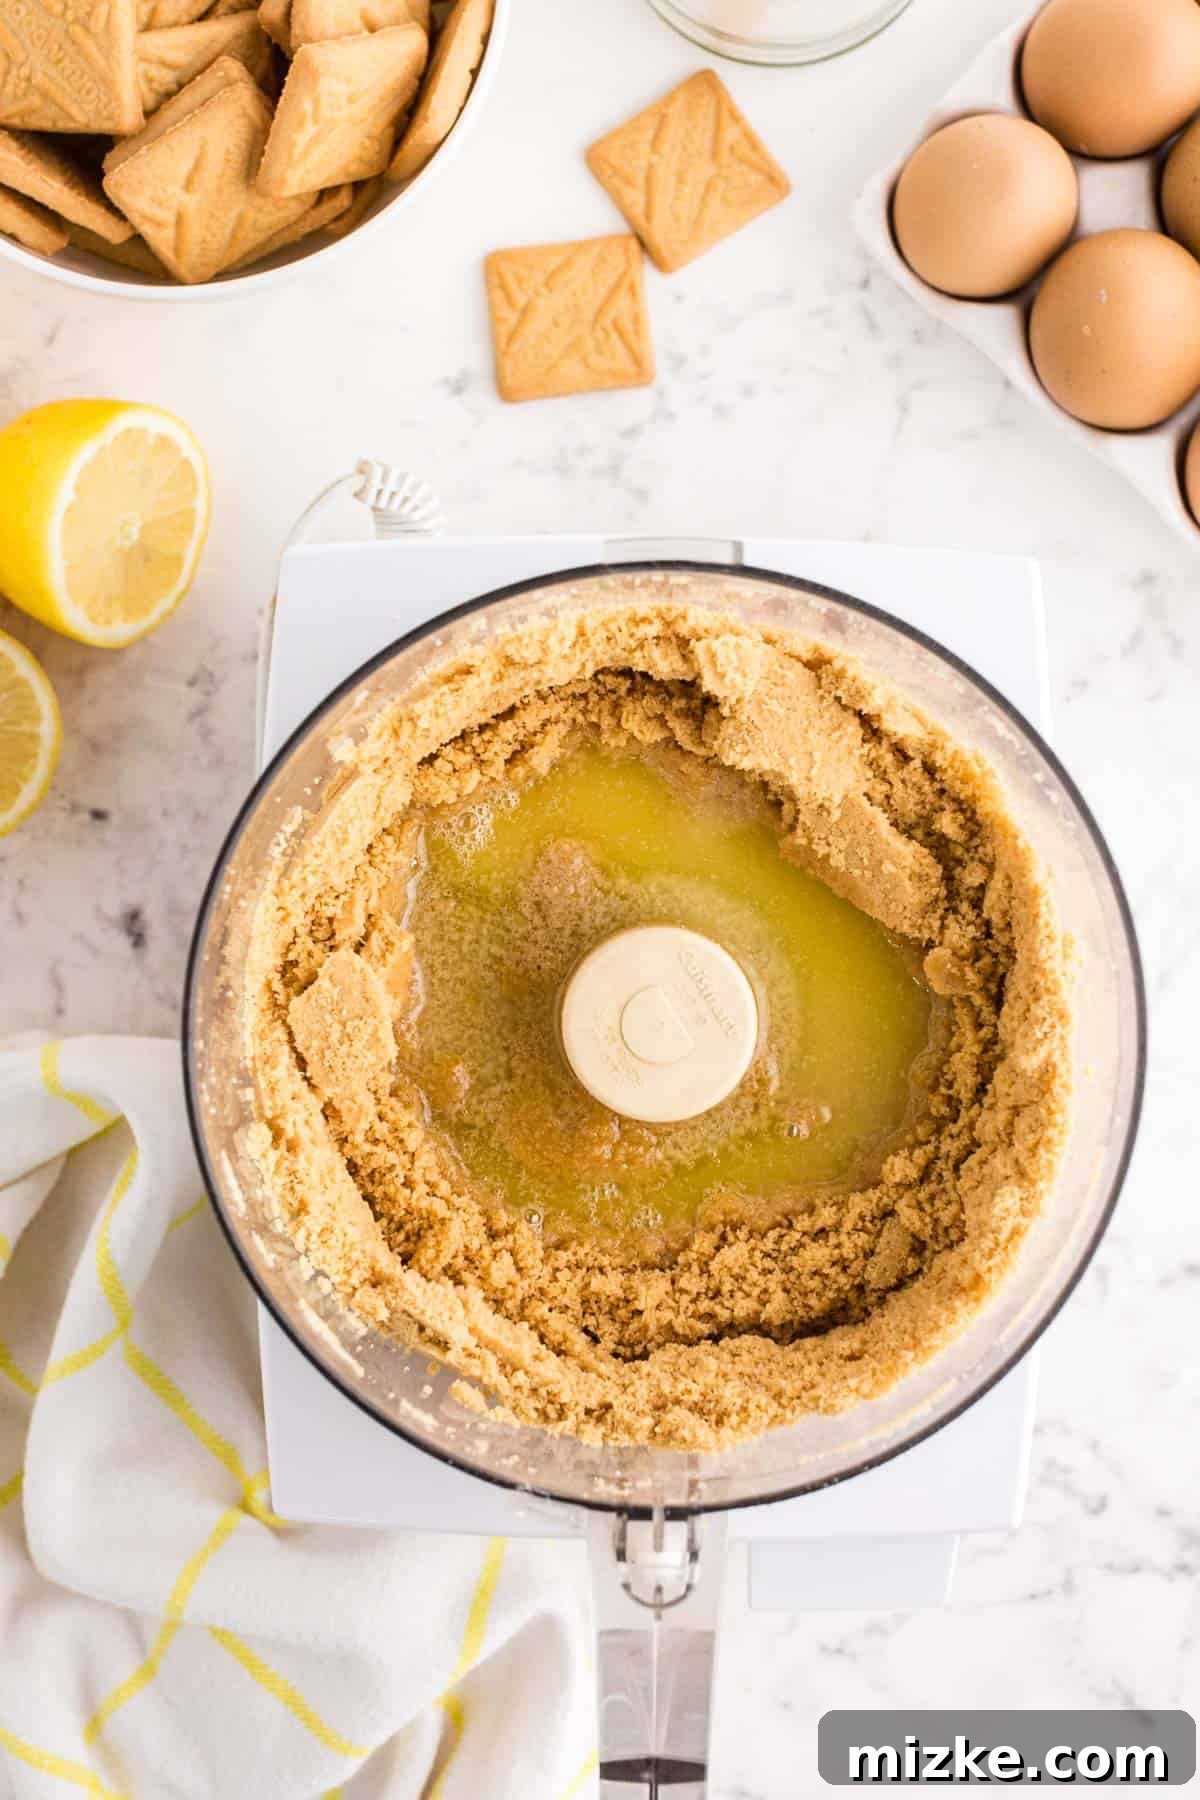
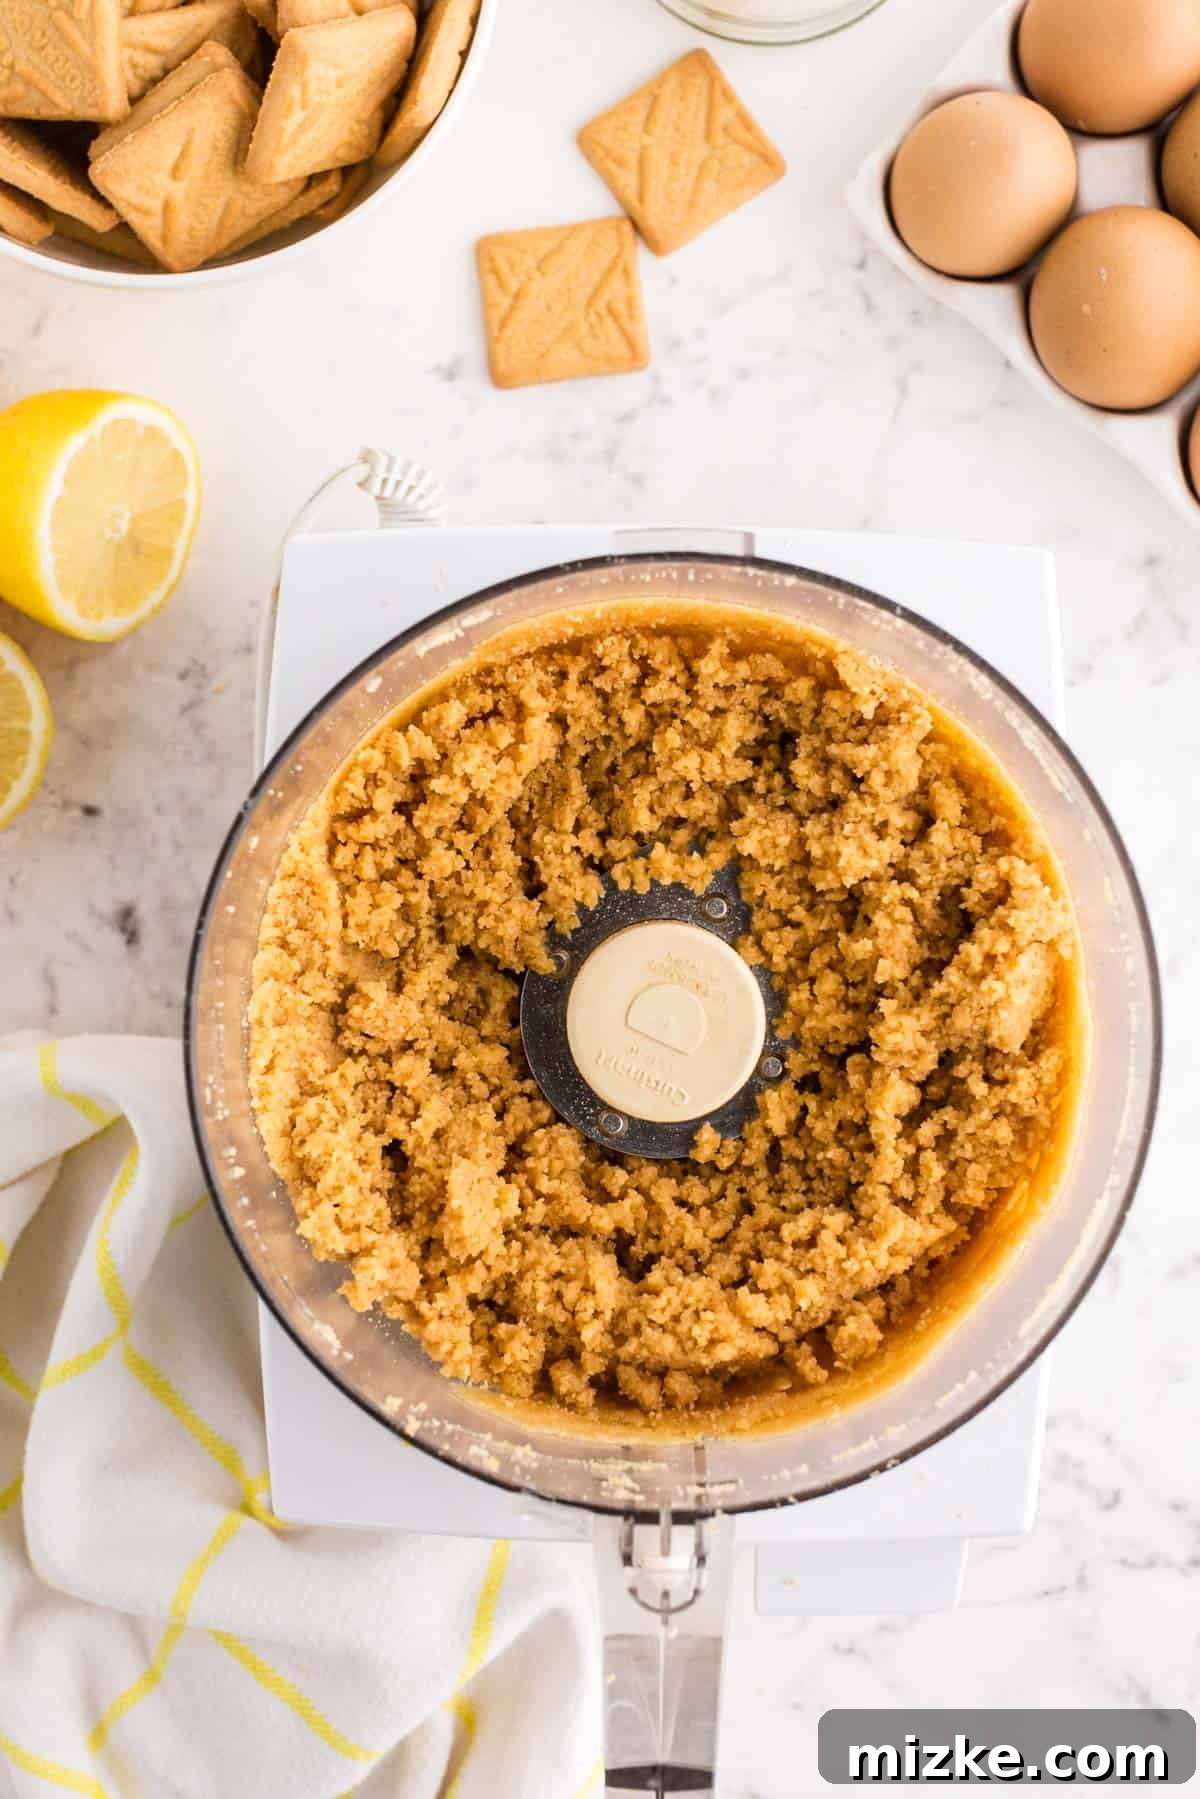
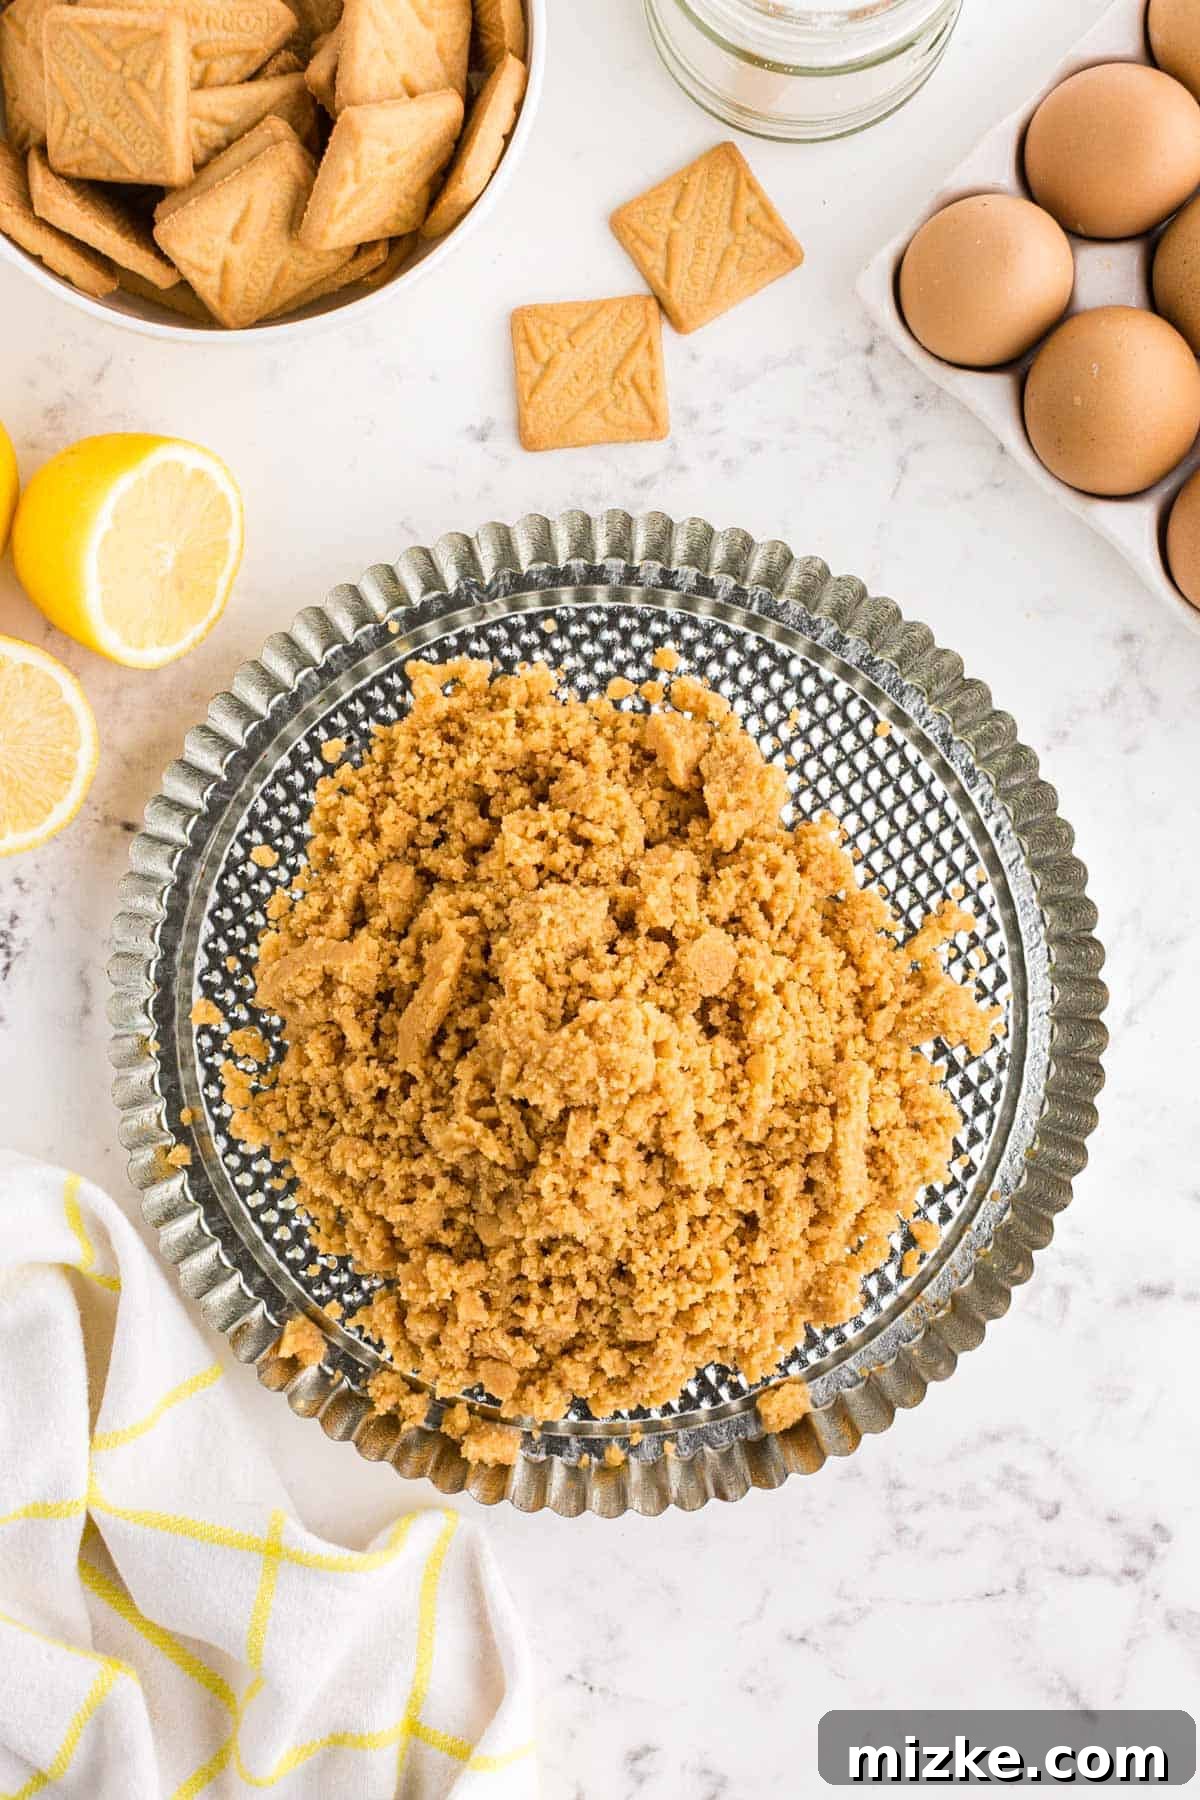
- Step 2: Create the Buttery Shortbread Tart Crust. In the bowl of a food processor, add your shortbread cookies. Pulse them repeatedly until they are finely crumbled, resembling coarse sand or fine breadcrumbs. This ensures a uniform texture for your crust. Next, pour the melted unsalted butter evenly over the cookie crumbles. Continue to pulse the mixture until it comes together and begins to clump, indicating it’s perfectly moistened and ready to form a cohesive crust that will hold its shape.
- Step 3: Press the Crust into the Pan. Transfer the moist cookie mixture into your prepared 10-inch tart pan. Using the flat bottom of a measuring cup or a specialized tamper, firmly and evenly press the crumbs into the bottom and gently up the sides of the tart pan. It’s crucial to ensure it’s compact and even for a sturdy, crumb-free crust that will support the filling beautifully.
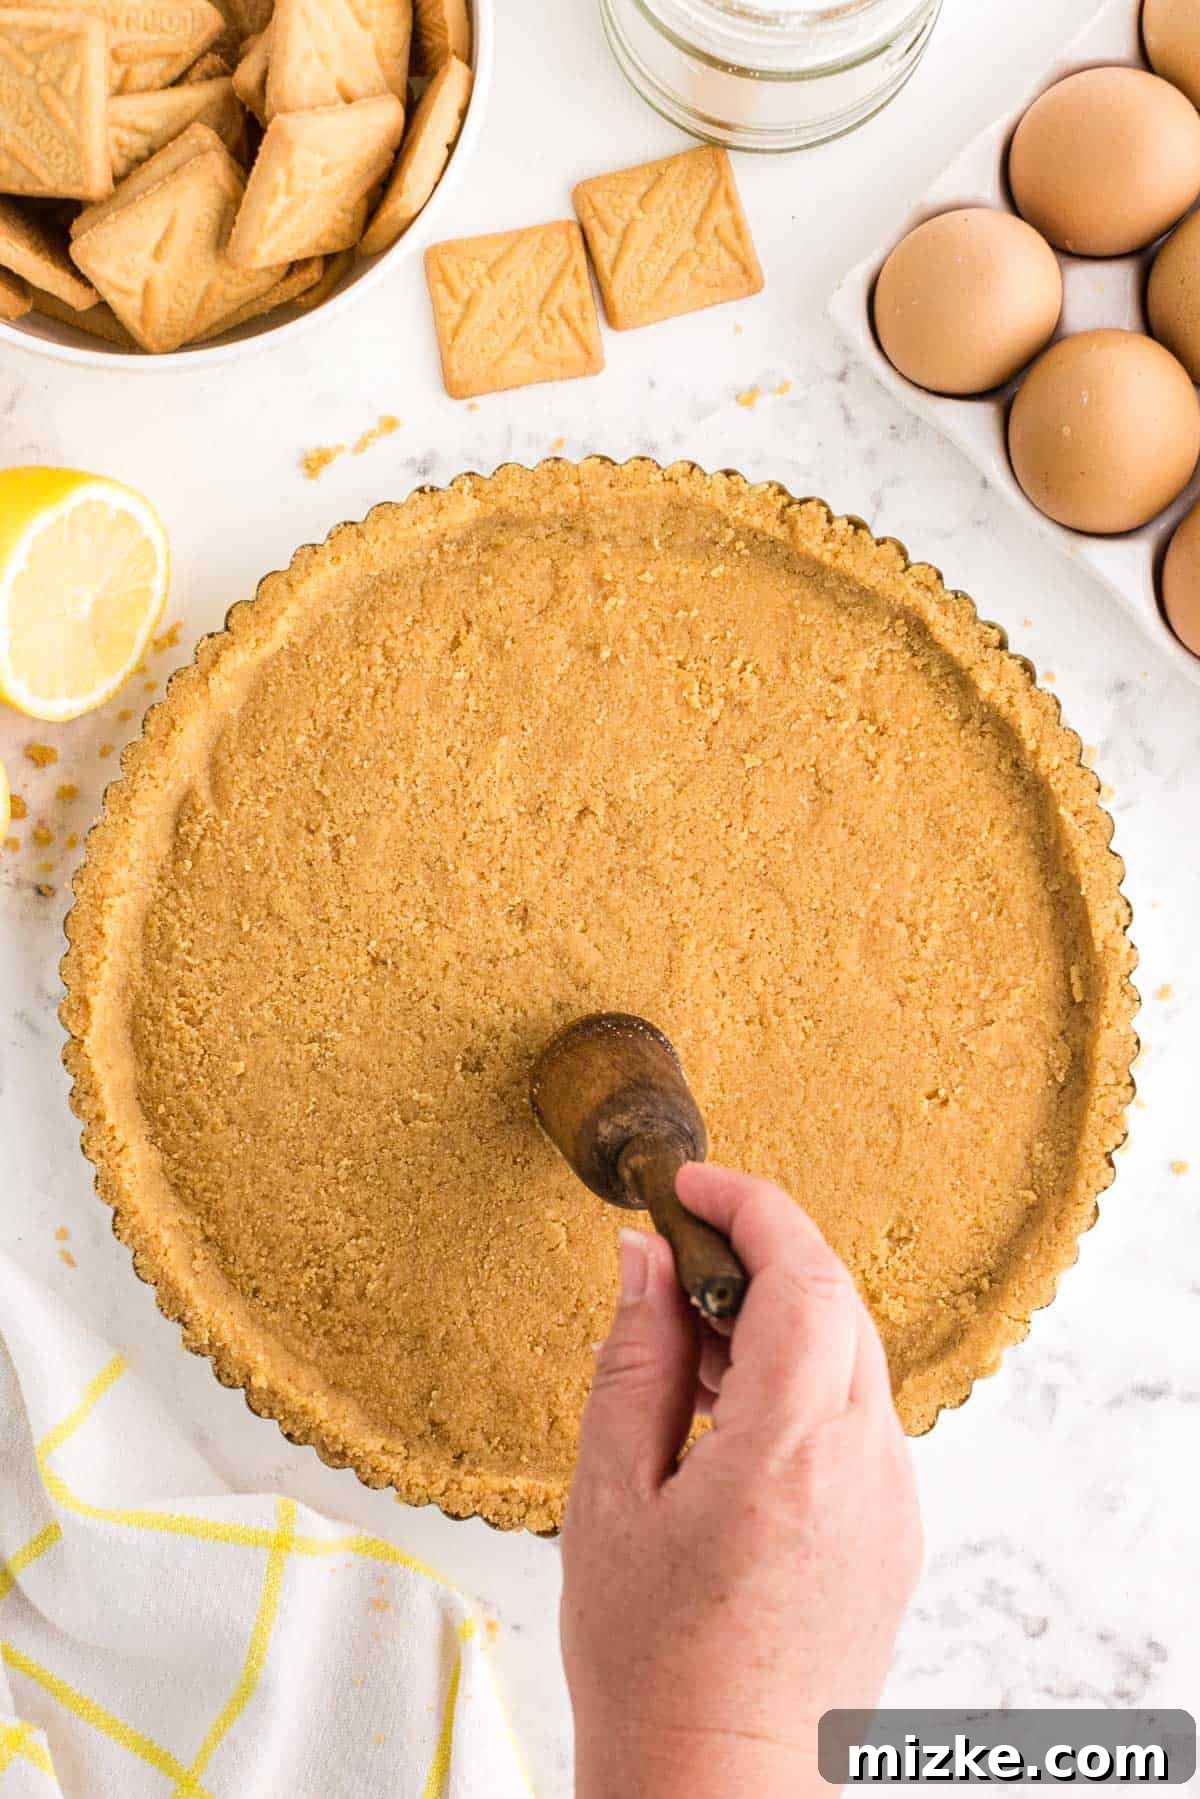
- Step 4: Blind Bake the Crust. Carefully place the tart pan with the pressed crust into the preheated oven. Bake for approximately 8-10 minutes, or until the crust turns a beautiful, light golden brown and smells fragrant. This essential blind baking step helps to set the crust, crisps it up, and prevents it from becoming soggy once the moist lemon filling is added. Once baked, remove from oven and let it cool slightly on a wire rack while you prepare the filling.
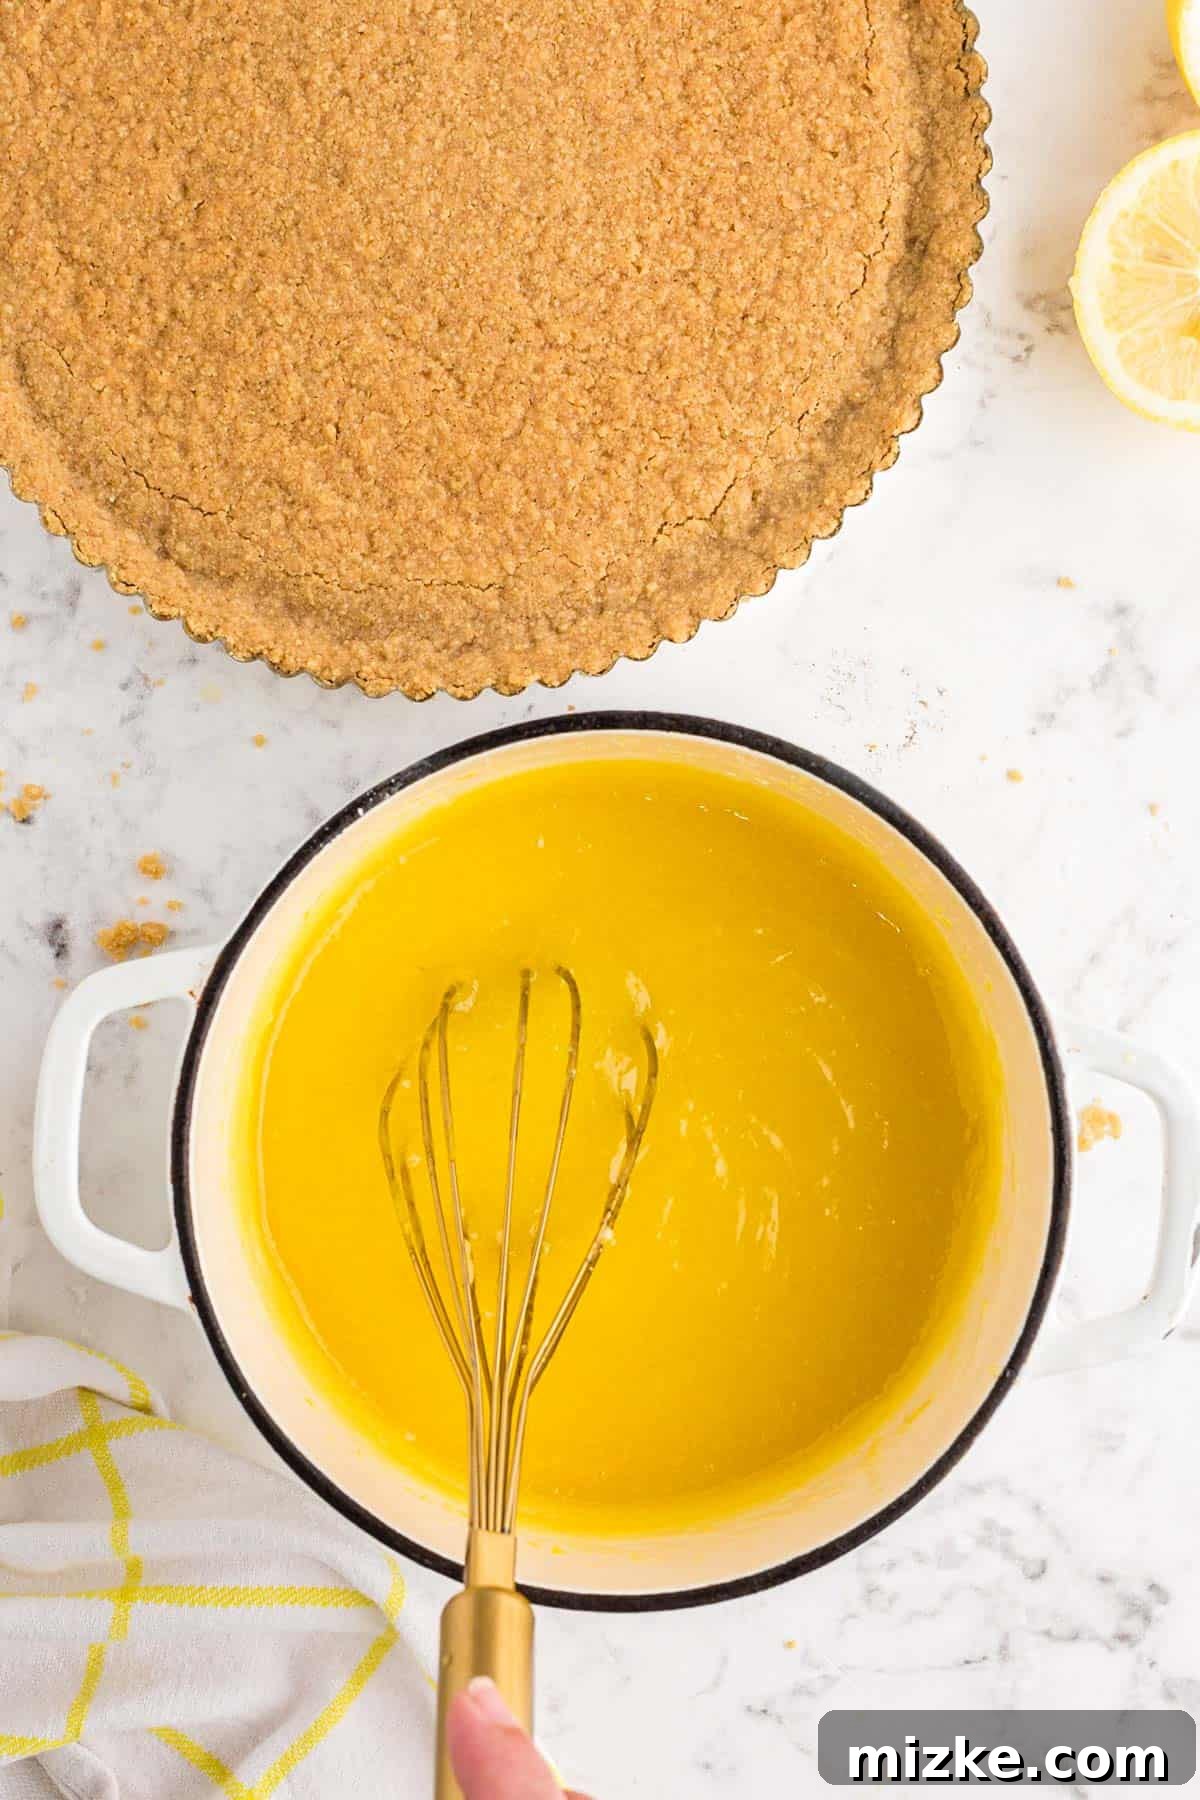
- Step 5: Prepare the Luscious Lemon Curd. In a small, heavy-bottomed saucepan, whisk together the room temperature large eggs and extra egg yolks until they are thoroughly combined and no streaks remain. This creates a smooth, uniform base for your curd. Gradually, whisk in the freshly squeezed lemon juice, the aromatic lemon zest, the granulated sugar, and the cornstarch until the entire mixture is uniform, smooth, and completely free of any lumps.
- Step 6: Cook the Lemon Curd to Perfection. Place the saucepan on the stove over medium-low heat. This step is crucial and demands your undivided attention: you must whisk the mixture continuously and constantly as it heats to prevent the eggs from scrambling and to ensure even thickening throughout. Continue whisking and cooking for approximately 8-10 minutes, or until the mixture visibly thickens to the point where it thickly coats the back of a spoon. If you have an instant-read thermometer, aim for a precise temperature of 170°F (77°C). Once it reaches this desired consistency, remove the saucepan from the heat immediately. Remember that the curd will continue to thicken as it cools.
- Step 7: Finish the Curd for Silky Smoothness. Off the heat, stir in the cubed salted butter, allowing it to melt completely and incorporate seamlessly into the warm curd. This adds incredible richness, depth of flavor, and a beautiful glossy sheen. For an incredibly smooth, restaurant-quality curd, pour the finished lemon curd through a fine-mesh sieve into a clean bowl. This extra step effectively removes any tiny bits of zest, potential stray seeds, or small lumps, ensuring a flawlessly silky and luxurious texture.
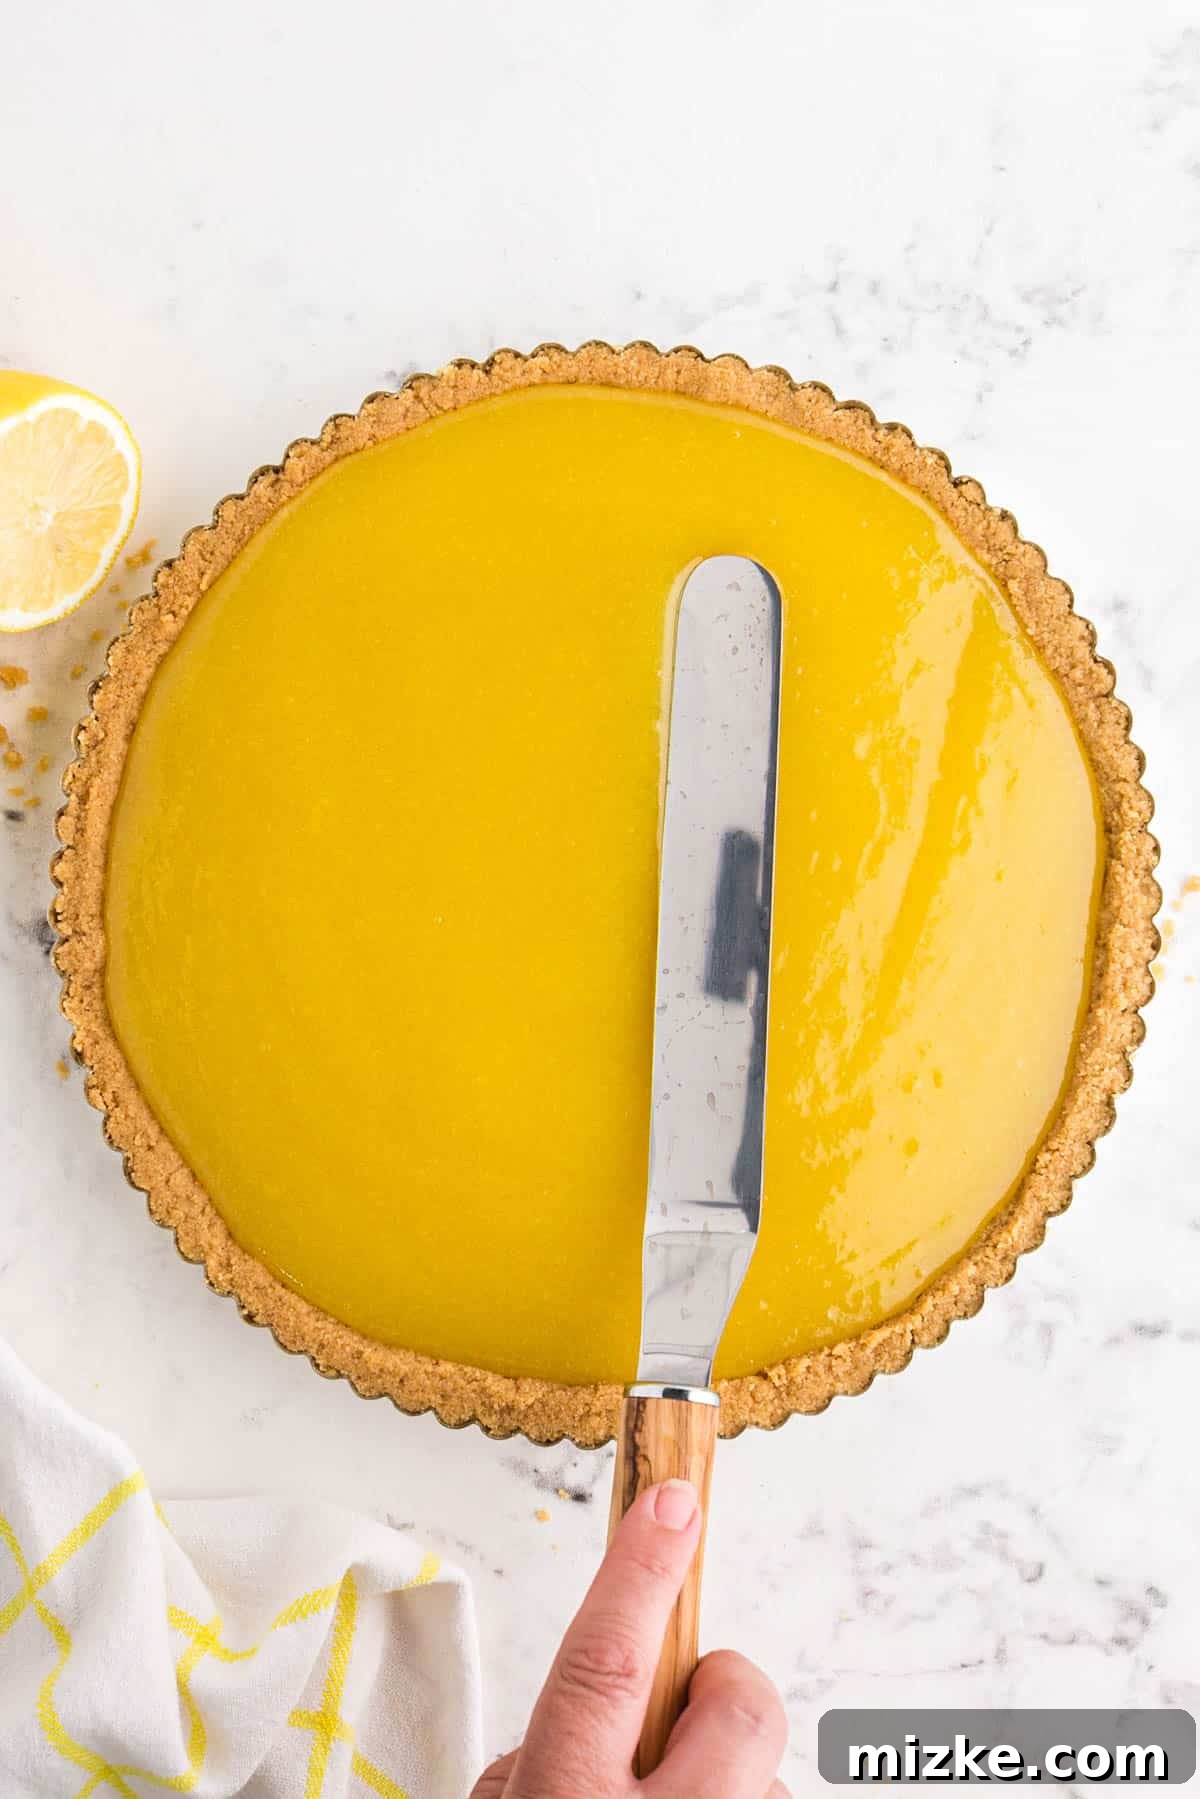
- Step 8: Fill and Gently Bake the Tart. Carefully pour the warm, silky lemon curd filling into the partially baked and slightly cooled shortbread crust. Use an offset spatula or the back of a spoon to gently spread the filling evenly, creating a perfectly smooth and appealing surface. Return the tart to the oven for an additional 5 minutes. This brief second bake helps the filling set further and prevents any cracking as it cools, ensuring a beautiful presentation.
- Step 9: Cool Completely and Thoroughly Chill. Once baked, remove the tart from the oven and allow it to cool completely at room temperature on a wire rack. This is a critical step to prevent condensation from forming when chilling. After it has cooled to room temperature, carefully transfer the tart to the refrigerator and chill for a minimum of 2-3 hours. This extended chilling period is vital for the tart to firm up properly and for all the vibrant flavors to meld beautifully, making it easier and cleaner to slice and serve.
Expert Tips for Lemon Tart Perfection
Achieving a show-stopping, perfectly balanced lemon tart is entirely within your reach! Follow these tried-and-true tips and tricks from experienced bakers to ensure your baking experience is smooth and your final dessert is absolutely flawless, garnering rave reviews every time:
- Invest in a Tart Pan with a Removable Bottom: This is perhaps the most valuable piece of advice for effortless removal and stunning presentation. A tart pan with a removable bottom simplifies the often-tricky process of getting your delicate tart out of the pan in one perfect, intact piece, beautifully showcasing its fluted edges without damage. While my personal tart pan does not always feature this, it’s still possible to remove it successfully with very careful handling and ensuring the tart is thoroughly chilled beforehand.
- Do Not Omit or Reduce the Amount of Butter in the Crust: The melted butter in the shortbread crust isn’t merely for flavor; it is the crucial binding agent that holds the cookie crumbs firmly together. Reducing the amount of butter can result in a dry, fragile, and crumbly crust that falls apart ungracefully when sliced. Stick precisely to the recipe’s measurements for a perfectly sturdy, cohesive, and undeniably delicious base.
- Bring Ingredients to Room Temperature Before Cooking: This golden rule applies particularly to the eggs and egg yolks destined for the lemon curd. Room temperature ingredients combine significantly more smoothly and cook more evenly, leading to a silkier, more consistent, and lump-free curd. Plan ahead and take your eggs out of the refrigerator at least 30 minutes to an hour before you intend to start baking.
- Master the Lemon Curd Consistency: The absolute key to a perfectly set tart is properly cooked lemon curd. Whisk continuously over medium-low heat until the curd visibly thickens to the point where it coats the back of a spoon. Do not rush this step, as patience here is rewarded. If you have a precise thermometer, aiming for a temperature of 170°F (77°C) is ideal. Remember, the curd will continue to thicken considerably as it cools and chills.
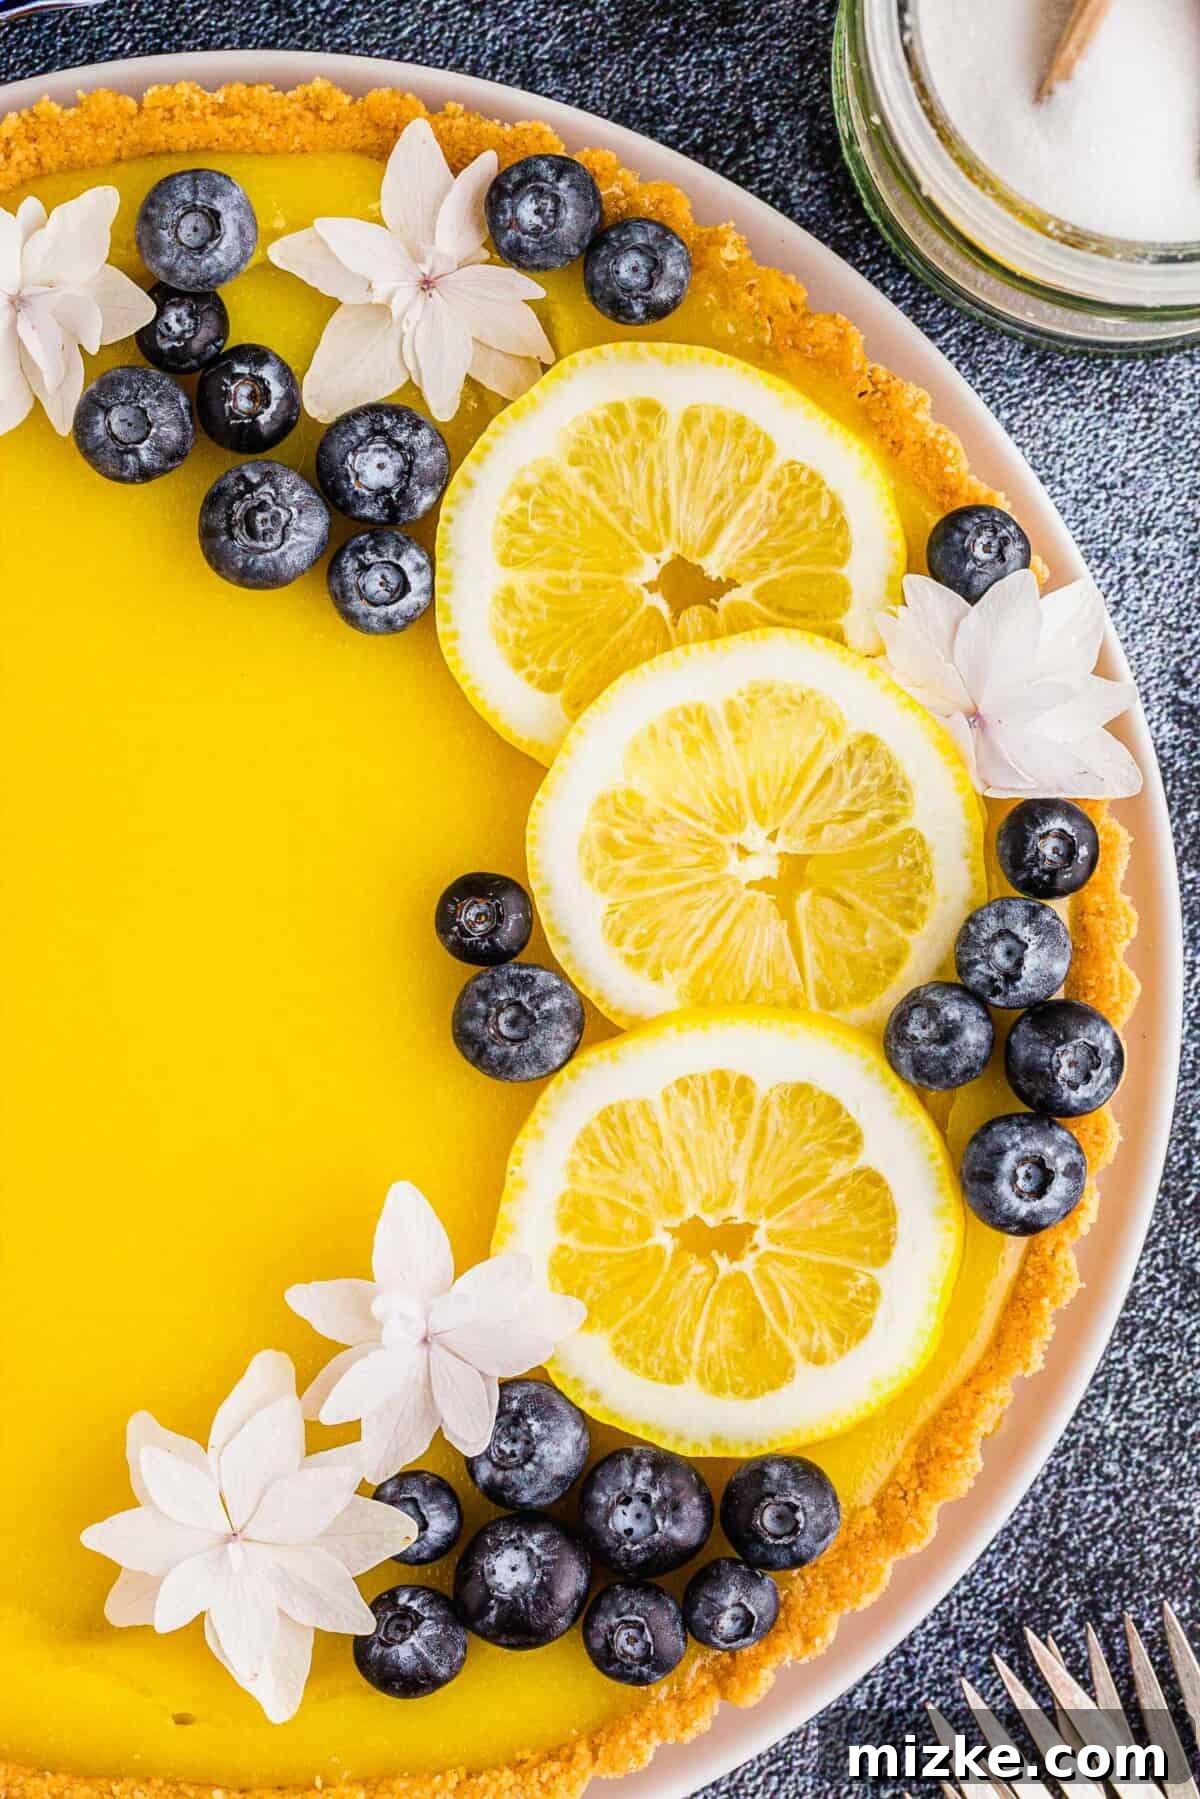
- Decorate Just Before Serving: For the freshest and most appealing appearance, adorn your exquisite lemon tart with any garnishes right before you plan to present and serve it. If using fresh fruit like berries or delicate lemon slices, gently pat them dry with a paper towel to remove any excess moisture that could potentially seep into the tart and alter its texture. If incorporating beautiful edible flower blossoms, ensure they are indeed edible, thoroughly cleaned, and guaranteed to be free from pesticides or any harmful chemicals.
- Prevent a Soggy Crust: Blind baking the crust as meticulously instructed is absolutely essential. For an extra layer of protection against a soggy bottom, you can lightly brush the baked crust with a thin layer of egg white before adding the filling and baking again. This creates a protective barrier, sealing the crust from moisture.
- Chill Thoroughly: Do not underestimate the power of chilling. The tart needs ample time in the refrigerator (2-3 hours minimum, preferably longer) for the curd to fully set and for the flavors to deepen and meld. A well-chilled tart is much easier to slice neatly and offers a more refreshing taste experience.
Frequently Asked Questions About Lemon Tarts
A runny lemon tart is almost always a result of the lemon curd not being cooked long enough to thicken properly. The curd needs to reach a specific consistency where it coats the back of a spoon without running off easily, typically around 170°F (77°C). It’s crucial to whisk constantly over medium-low heat until this stage is reached. Rest assured, the curd will also continue to thicken significantly as it cools and chills thoroughly in the refrigerator.
Absolutely! The specific type of lemon you choose can make a noticeable difference in the final flavor profile of your tart. First and foremost, always prioritize using fresh, real lemons; never opt for bottled lemon juice, which lacks the vibrant aroma and pure taste of fresh fruit. For optimal tartness and a quintessential classic lemon flavor, I personally prefer using Lisbon lemons. Meyer lemons are generally sweeter and possess less acidity; if you choose to use Meyer lemons for your curd, you might consider slightly reducing the amount of granulated sugar in the recipe to maintain balance. Eureka lemons offer a tartness profile quite similar to Lisbon lemons and are also an excellent, reliable choice.
While the fully assembled and baked lemon tart is undeniably best enjoyed within approximately 2 days for optimal freshness and ideal texture when stored correctly in the refrigerator, you can significantly ease your prep time by making the luscious lemon curd in advance. Homemade lemon curd can be prepared up to two weeks ahead of time if kept refrigerated in an airtight container. For even longer storage, it can be kept in the freezer for up to three months. This smart make-ahead strategy allows you to assemble and bake the tart closer to your desired serving date, ensuring peak deliciousness and freshness.
Freezing a fully assembled lemon tart is generally not recommended. The delicate, custard-based filling can undergo an undesirable textural change upon thawing, potentially becoming watery, grainy, or separating. For the best experience, it’s advisable to enjoy the tart fresh or store it refrigerated for up to 2 days. If you wish to freeze components, only freeze the lemon curd on its own.
Blind baking refers to the process of baking a pie or tart crust before any filling is added. For our shortbread crust, this initial baking step is absolutely crucial for several reasons. It ensures the crust becomes beautifully golden brown and sets properly, developing a crisp texture. More importantly, it creates a protective barrier, preventing the crust from becoming soggy once the moist lemon curd filling is poured in and baked, thus guaranteeing a perfectly crisp foundation for your tart.
Storage Instructions for Your Lemon Tart
To maintain its exquisite taste, pristine texture, and vibrant freshness, always store your finished lemon tart in an airtight container. Place it securely in the refrigerator. When properly stored, it will stay wonderfully fresh and delicious for about two days. While it might be tempting to leave this beautiful dessert out, chilling ensures the delicate lemon curd remains perfectly set, refreshing, and safe to eat.
Delightful Serving Suggestions for Your Lemon Tart
This stunning homemade lemon tart is much more than just a dessert; it’s a true celebration of flavor and a testament to elegant baking! Its bright, sunny disposition and sophisticated appearance make it the perfect addition to almost any gathering or special occasion. Imagine the delight of serving it at your next ladies’ brunch, as a special, heartfelt treat for Mother’s Day, or truly any event that could benefit from a touch of vibrant elegance and a burst of refreshing, tangy taste.
To elevate the indulgence and create an unforgettable dessert experience, I particularly adore serving this lemon tart alongside a generous scoop of creamy Strawberry Ice Cream. The harmonious pairing of intensely tangy lemon with the sweet, luscious notes of strawberry creates a truly unforgettable flavor combination that is both refreshing and wonderfully decadent. Of course, a classic scoop of smooth plain vanilla ice cream works beautifully as well, offering a soothing, creamy contrast that expertly helps to balance the bright tartness of the lemon. For a sophisticated and invigorating afternoon pairing, an Iced Mint Latte makes a wonderfully refreshing drink choice to accompany your delightful slice of lemon tart.
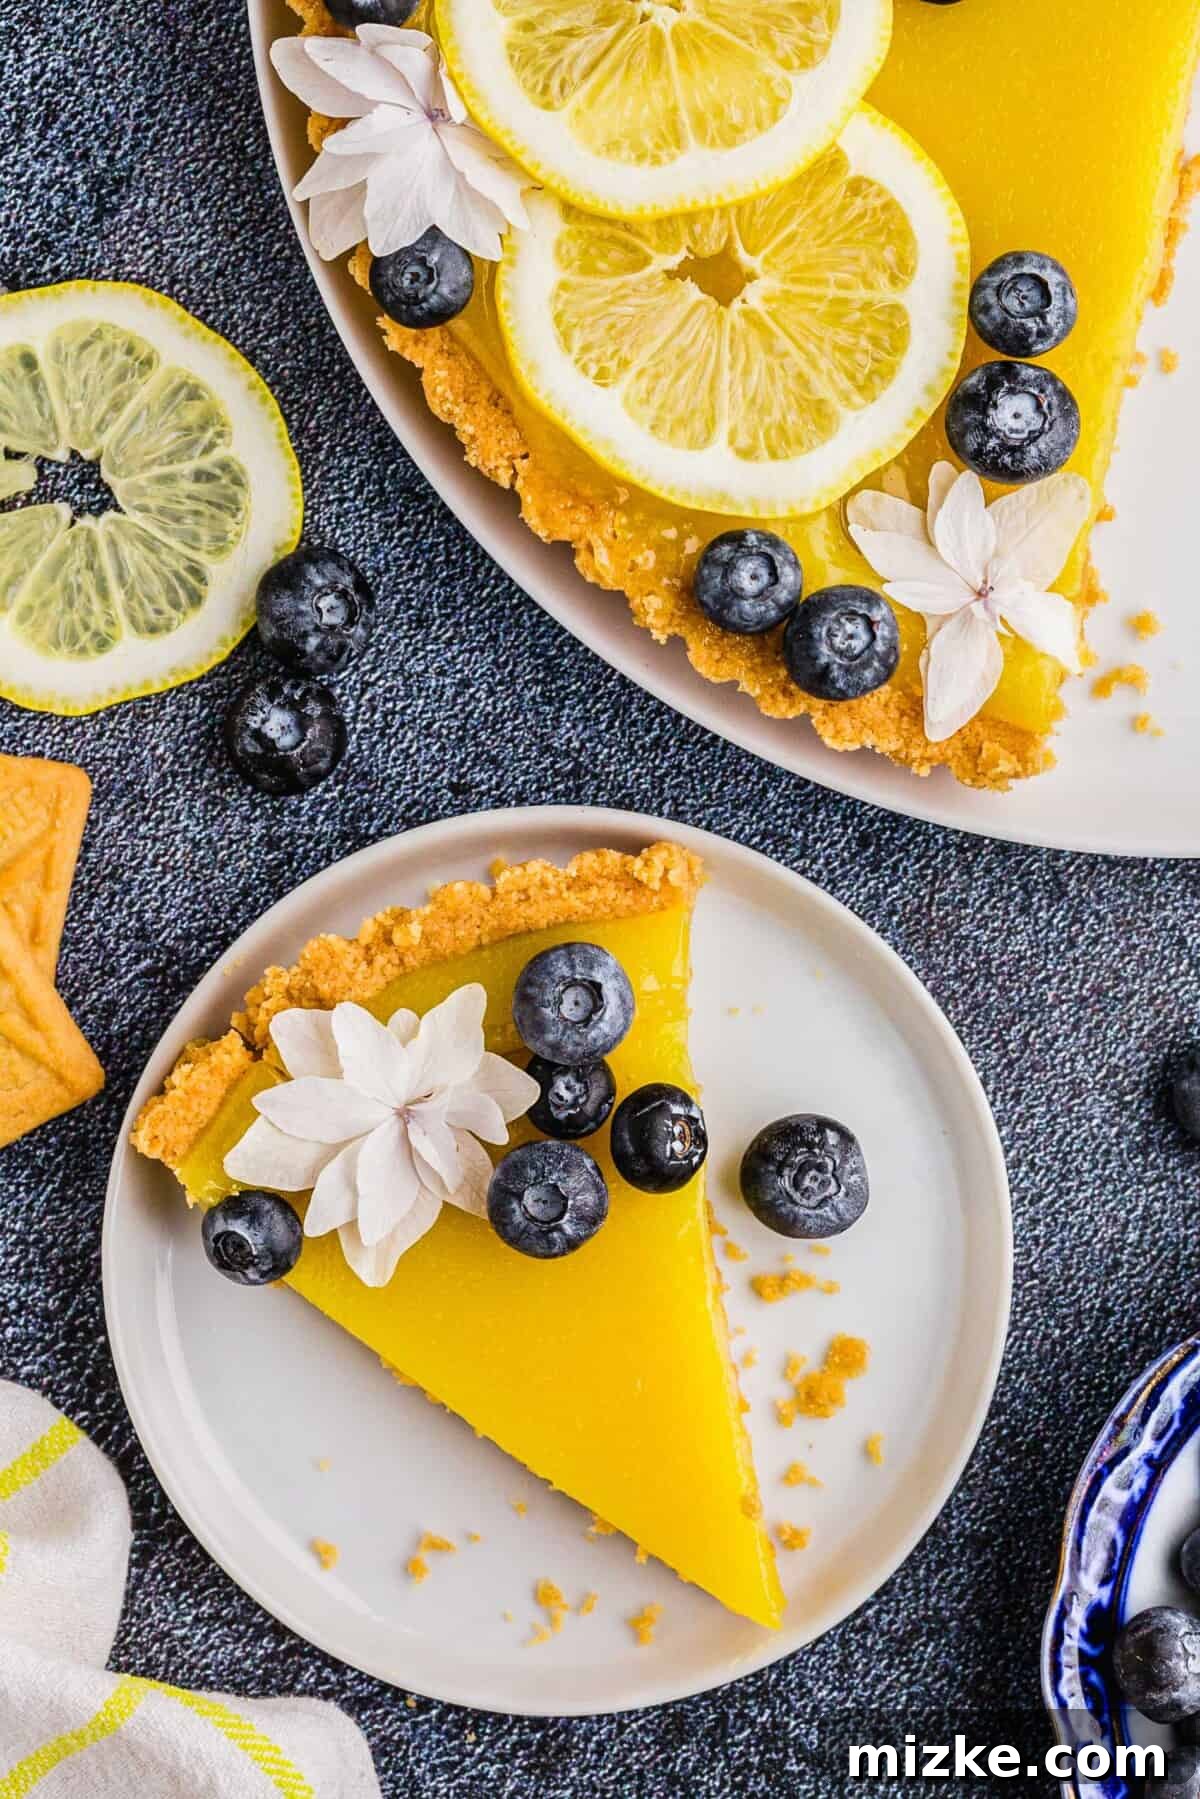
Don’t forget to add a final touch of elegance! Garnish your individual slices with a few fresh berries (such as plump blueberries or crimson raspberries), a delicate thin curl of fresh lemon zest, or a tiny sprig of fragrant mint just before serving. These simple additions enhance both the visual appeal and the fresh flavor, making each slice a truly special treat.
Classic Lemon Tart Recipe Card

Lemon Tart
By: Julie Chiou
An easy shortbread cookie crust provides the perfect foundation for a lush, tangy, and sweet lemon filling, creating a simple yet stunning dessert that captivates with every bite.
Prep Time: 25 minutes
Cook Time: 25 minutes
Chill Time: 2 hours
Total Time: 2 hours 50 minutes
Servings: 8 slices
Equipment
- 10-inch Tart pan (with removable bottom recommended)
- Food processor
- Small, heavy-bottomed saucepan
- Whisk
- Fine-mesh sieve (optional, for an extra smooth curd)
- Offset spatula (optional, for smooth spreading)
- Instant-read thermometer (optional, for precise cooking)
Ingredients
Crust Ingredients:
- 10 ounces (284 g) shortbread cookies (such as Lorna Doone)
- ¾ cup (170 g) unsalted butter, melted
Lemon Curd Ingredients:
- 3 (267 g) large eggs, at room temperature
- 4 egg yolks, at room temperature (save the whites for meringue!)
- ⅔ cup freshly squeezed lemon juice (from about 3-4 medium lemons)
- 2 teaspoons lemon zest (from about 2 medium lemons)
- 1 cup granulated sugar
- 1 teaspoon cornstarch
- ½ cup butter, cut into ½ inch cubes (salted butter recommended for filling)
Instructions
- Preheat oven to 350°F (177°C). Lightly spray a 10-inch tart pan with non-stick baking spray and set aside.
- In the bowl of a food processor, pulse all shortbread cookies until finely crumbled, resembling coarse sand.
- Add the melted unsalted butter to the cookie crumbles and pulse until the mixture begins to clump together and is evenly moistened.
- Press the cookie crumbs firmly and evenly into the bottom and up the sides of the prepared tart pan. Use the bottom of a measuring cup or a tamper to compact it well for a sturdy crust.
- Bake the crust for 8-10 minutes until it turns a light golden brown. Remove from the oven and let it cool slightly on a wire rack while you prepare the filling.
- In a small, heavy-bottomed saucepan, whisk together the room temperature large eggs and egg yolks until well combined and smooth.
- Whisk in the freshly squeezed lemon juice, lemon zest, granulated sugar, and cornstarch until the mixture is uniform and lump-free.
- Place the saucepan on the stove over medium-low heat. Whisk the mixture constantly as it heats to prevent scrambling and ensure even thickening. Continue whisking and cooking until the curd visibly thickens and coats the back of a spoon. If using an instant-read thermometer, aim for approximately 170°F (77°C). This may take up to 10 minutes. Remember that the curd will continue to thicken further when chilled.
- Remove the pan from the heat. Stir in the cubed butter until it is completely melted and incorporated, creating a smooth, glossy curd.
- For an extra silky-smooth curd, carefully pour the lemon filling through a fine-mesh sieve into a clean bowl to remove any zest, stray seeds, or small lumps.
- Pour the warm lemon filling into the pre-baked and slightly cooled shortbread crust. Use an offset spatula (or back of a spoon) to spread it smooth and even.
- Bake for an additional 5 minutes to help the lemon filling set further and prevent cracking.
- Remove the tart from the oven and let it cool completely at room temperature on a wire rack.
- Once completely cool, transfer the tart to the refrigerator and chill for at least 2-3 hours before serving. This chilling time is essential for the tart to firm up and for the flavors to fully develop.
- Carefully pop the chilled tart out of the tart pan (if using a removable bottom) and place it onto a large serving plate.
- Garnish with fresh lemon slices, berries (like blueberries or raspberries), or edible flower petals just before serving for a beautiful and fresh presentation.
Nutrition Information
(Approximate values per slice, based on 8 servings. Nutritional information can vary based on specific ingredients and preparation.)
- Serving: 1 slice
- Calories: 590 kcal
- Carbohydrates: 49g
- Protein: 6g
- Fat: 42g
- Saturated Fat: 22g
- Polyunsaturated Fat: 5g
- Monounsaturated Fat: 11g
- Trans Fat: 1g
- Cholesterol: 235mg
- Sodium: 247mg
- Potassium: 95mg
- Fiber: 1g
- Sugar: 33g
Disclaimers
This website provides approximate nutrition information for convenience and as a courtesy only. Nutrition information can vary for a variety of reasons. For the most precise nutritional data, please use your preferred nutrition calculator based on the actual ingredients you used in the recipe.
The default measuring system for this website is US Customary. Unit conversions are provided for convenience and as a courtesy only. While we strive to provide accurate unit conversions, please be aware that there may be some discrepancies. Always refer to the original units for exact measurements.