
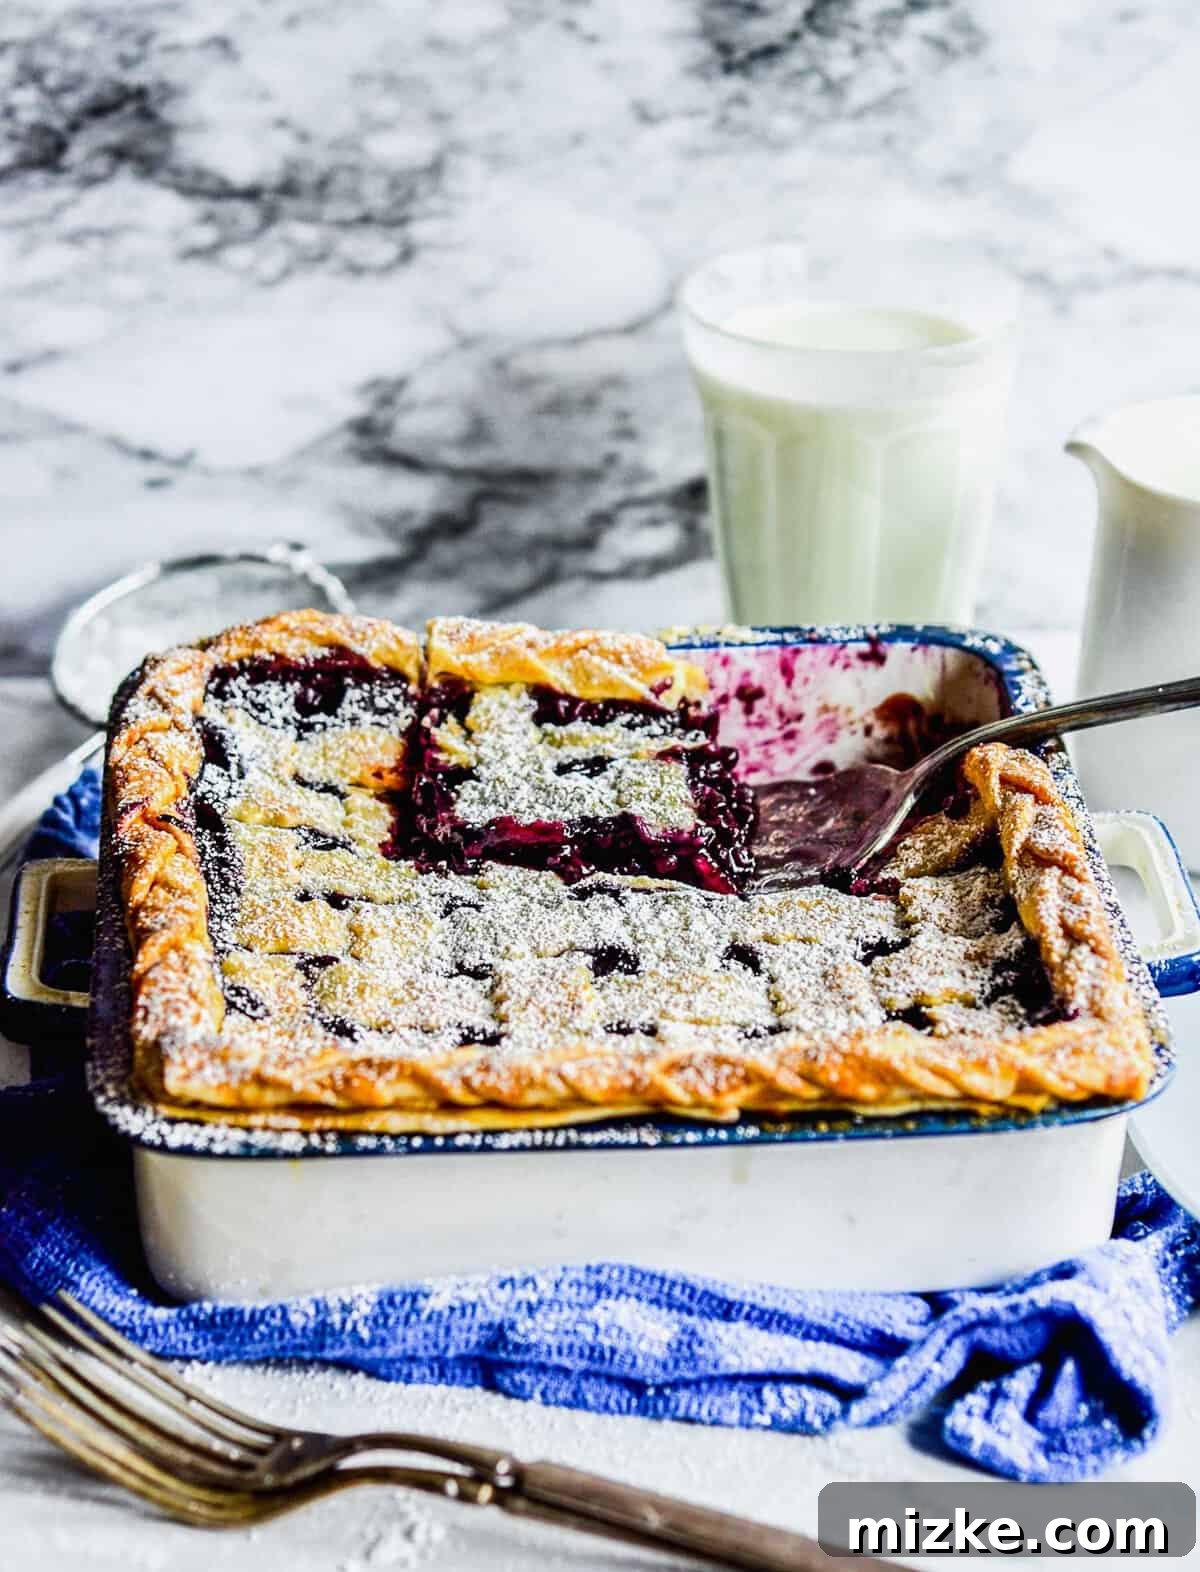
If you’re searching for a dessert that perfectly captures the essence of summer, look no further than this incredibly delicious Deep Dish Wild Blueberry Pie! Featuring a flaky, buttery homemade pie crust and a luscious, sweet wild blueberry filling, every thick slice promises a taste of pure heaven. This isn’t just a pie; it’s a celebration of nature’s bounty and the satisfying joy of baking from scratch.
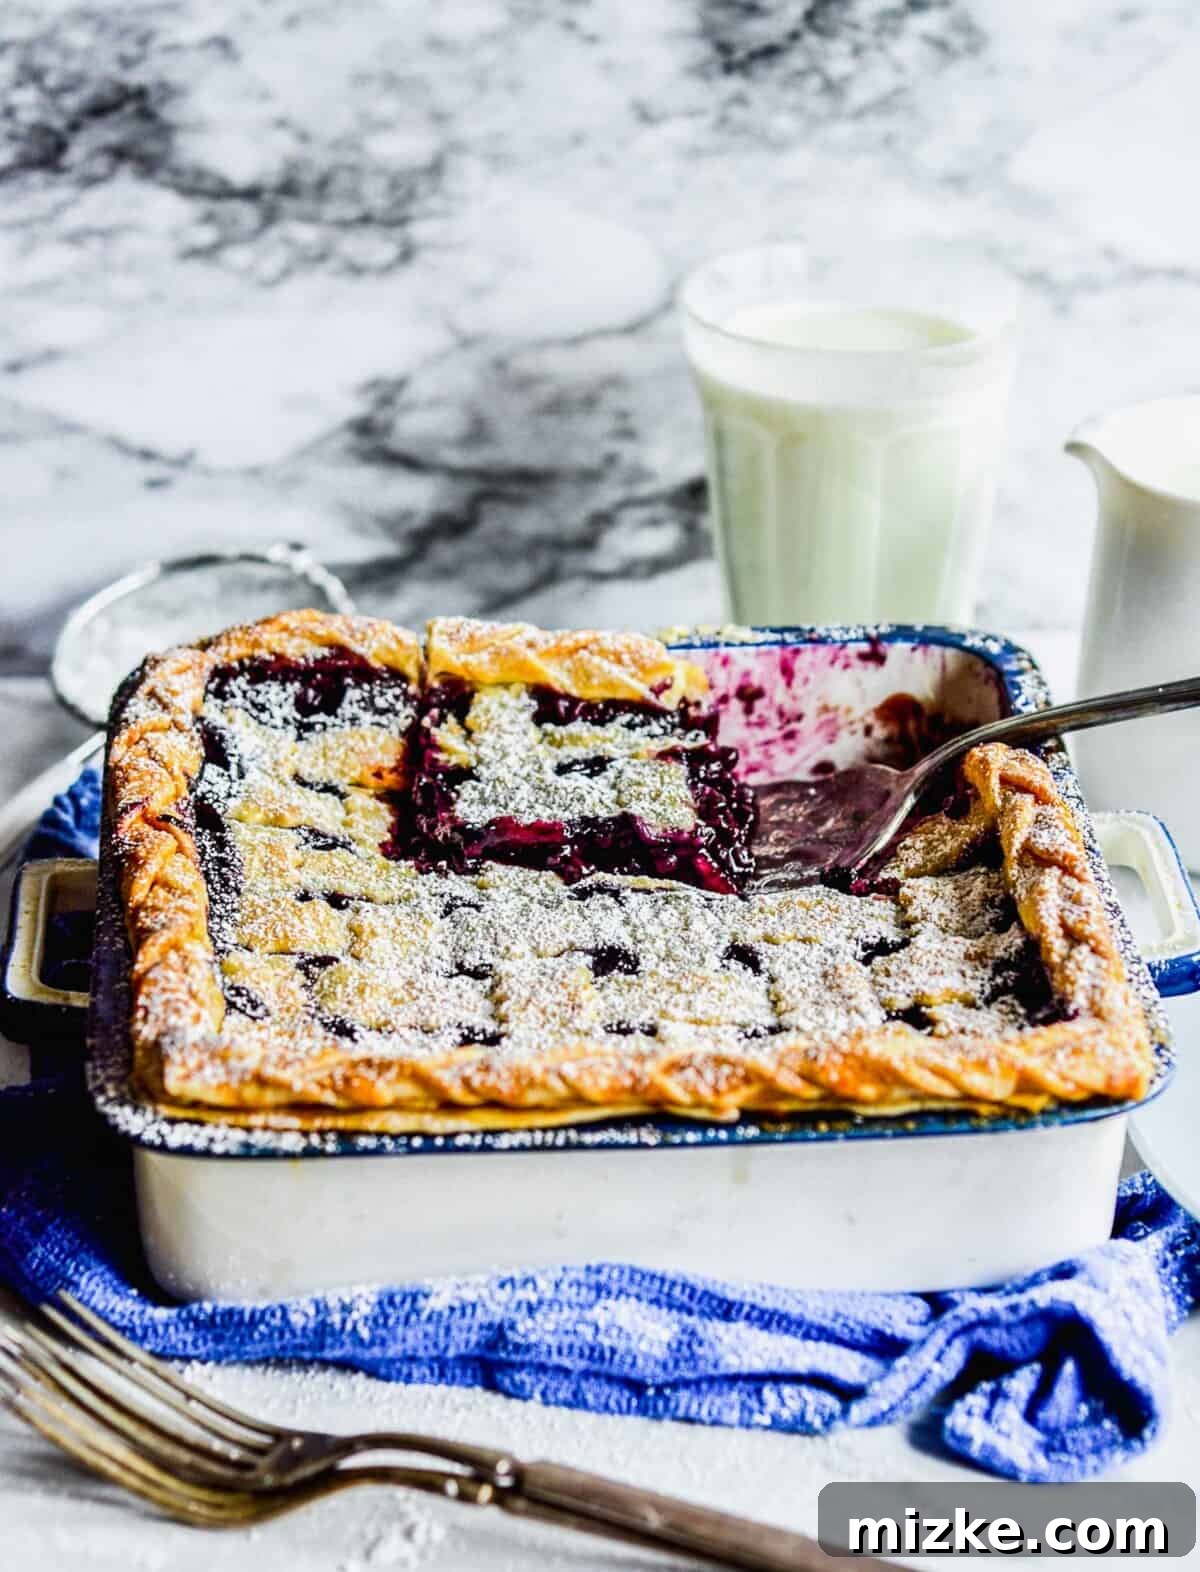
The Ultimate Deep Dish Wild Blueberry Pie: Your New Favorite Summer Treat
You no longer need a picturesque trip to Maine to savor the finest blueberry pie imaginable. This deep dish wild blueberry pie recipe, while elegantly simple, consistently delivers what many enthusiastically declare to be the absolute best blueberry pie they’ve ever experienced. Much like the profound satisfaction derived from a hearty deep dish pizza or a decadent deep dish Oreo pie, there’s an undeniable allure to a pie that is generously filled to the brim. The “deep dish” aspect isn’t merely a descriptor; it signifies an abundance of that glorious, bursting-with-flavor wild blueberry filling in every single bite, perfectly cradled within a robust, impeccably baked golden crust.
Why Wild Blueberries Elevate This Pie to Perfection
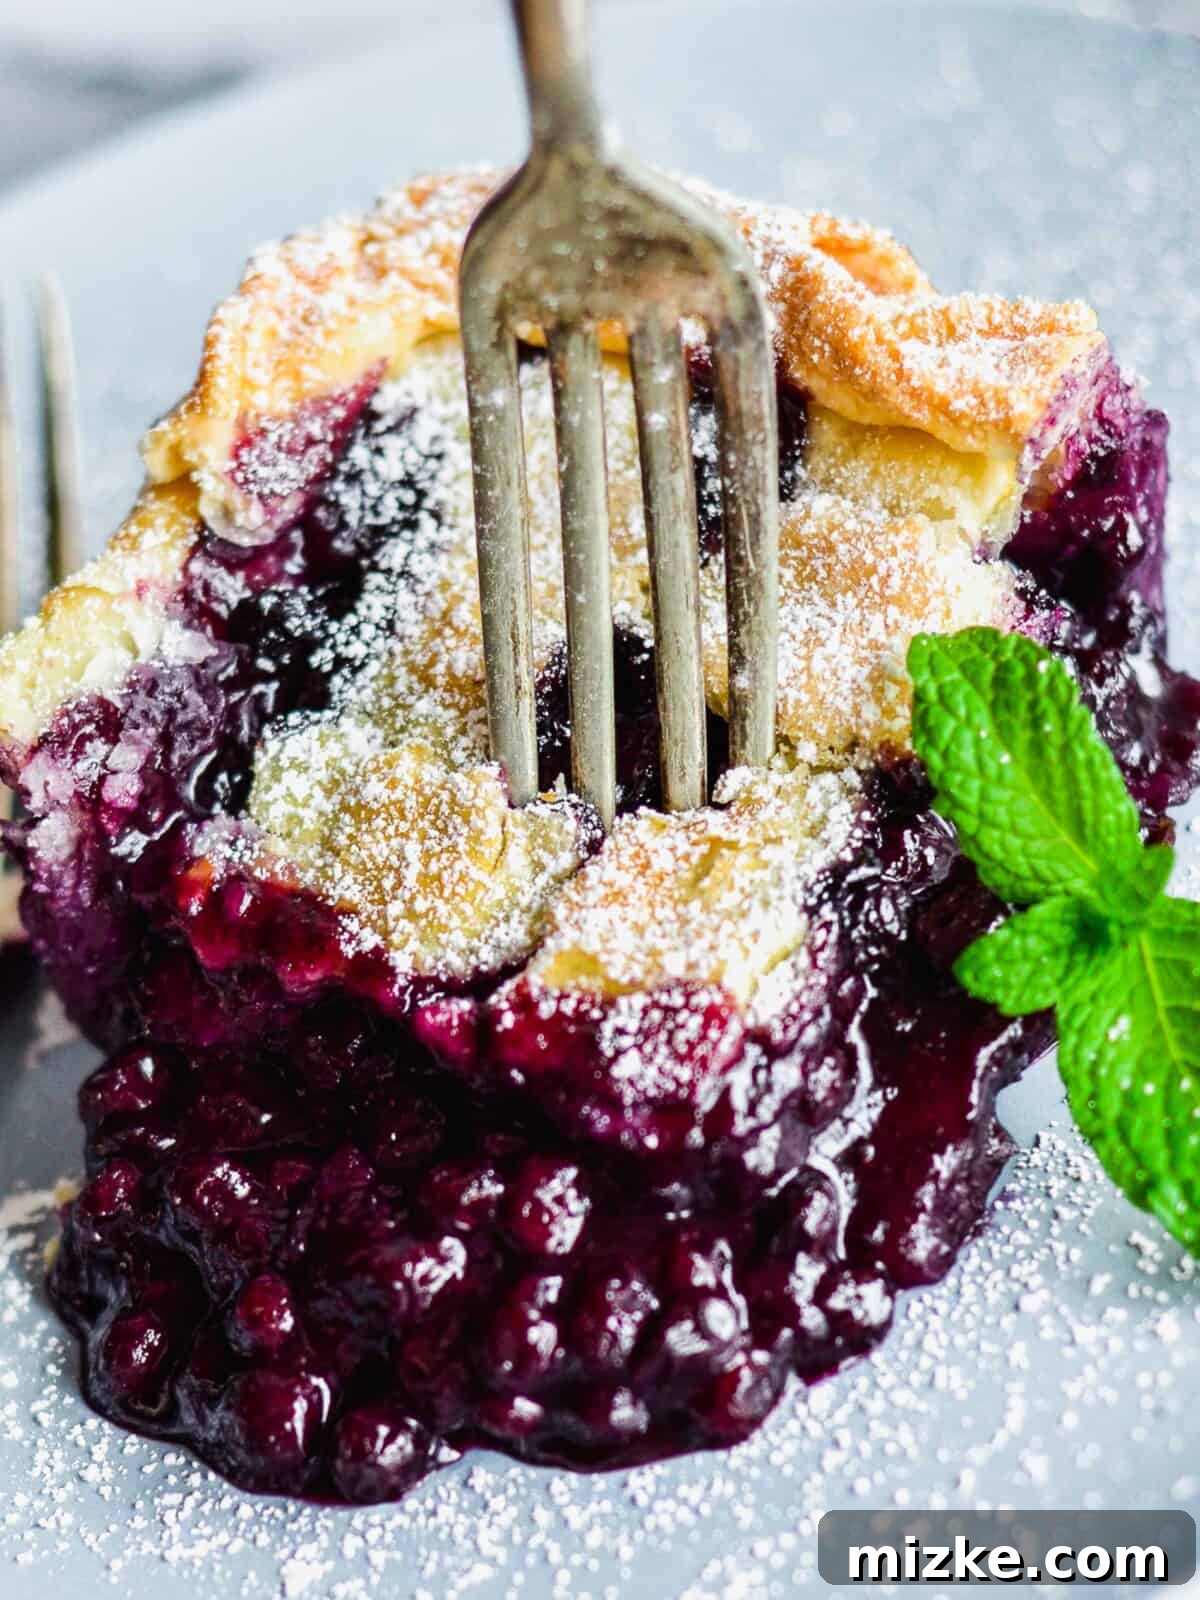
The secret behind this pie’s unparalleled taste and vibrant character lies specifically in its use of wild blueberries. These remarkable berries, naturally smaller and significantly more intensely flavored than their cultivated counterparts, offer a complex tart-sweet profile that is simply unmatched. Unlike many store-bought canned fillings, which often contain artificial flavors, excessive added sugars, and unnecessary preservatives, our homemade wild blueberry filling is all-natural. When you take your first bite, you’ll immediately discern the bright freshness and authentic, nuanced sweetness that only real wild blueberries can provide. In fact, the enchanting aroma alone – a sweet, earthy, and profoundly fruity perfume – is enough to signal that this is far from your average dessert.
While the convenience of pre-made pie crusts and fillings can be tempting, they simply cannot replicate the depth of flavor, exquisite texture, and pure satisfaction that comes from baking everything from scratch. Investing the extra effort into homemade ingredients truly transforms this dessert from good to truly unforgettable. The flaky, buttery crust pairs harmoniously with the jammy, intensely flavored wild blueberry filling, creating a symphony of textures and tastes that is both comforting and exhilarating.
For an even more indulgent experience, consider serving your warm slice of deep dish wild blueberry pie with a generous scoop of creamy vanilla or a complementary blackberry chip ice cream. Alternatively, a cloud of freshly whipped cream provides a delightful contrast, adding a cool, rich element that beautifully complements the warm, fruity interior. These thoughtful accompaniments perfectly elevate the entire dessert, ensuring every mouthful is a luxurious treat.
Expert Baking Tips for Your Perfect Wild Blueberry Pie
Achieving pie perfection is often simpler than one might imagine, especially with these insider tips and tricks. Whether you are a seasoned baker or embarking on your first pie-making adventure, these guidelines will help ensure your deep dish wild blueberry pie turns out beautifully, flaky, and bursting with flavor every single time.
- Optimizing Berry Selection and Baking Time: The state of your blueberries significantly influences the necessary baking time. If you opt for fresh wild blueberries, aim for the shorter end of the baking spectrum, around the 40-minute mark. When using frozen berries, which tend to release more moisture during baking, it’s advisable to extend the baking time towards the 50-minute mark or slightly longer. This ensures the filling properly thickens and sets, and the crust achieves its desired golden hue. A helpful note: there’s no need to thaw frozen blueberries before mixing them into the filling ingredients; they can be incorporated directly into the bowl.
- Mastering the Art of Pie Dough: The absolute key to crafting a tender, flaky pie crust lies in maintaining a cold and firm dough. Work quickly and handle the dough as little as possible to prevent the butter from melting prematurely, which can lead to a tough, dense crust. If, at any point during your preparation, the dough or butter crumbs become too warm, soft, or sticky, do not hesitate to place them back into the refrigerator for 15-20 minutes. This essential chilling process is crucial both for ease of handling and for developing that coveted, exquisite flaky texture.
- Ensuring a Perfectly Set Filling: Cornstarch is our preferred thickening agent for this wild blueberry pie filling, guaranteeing a beautifully set, vibrant, and not at all runny result. However, if cornstarch is unavailable or you prefer an alternative, you can substitute it with all-purpose flour. Use 2 tablespoons of flour for every 1 tablespoon of cornstarch specified in the recipe. While flour might make the filling appear slightly cloudier than cornstarch, it will still provide excellent thickening power.
- Choosing Your Top Crust Design: While a classic lattice topping adds an elegant, rustic charm and allows steam to escape gracefully during baking, it is entirely optional. If you prefer a more straightforward approach, you can simply place the second rolled dough sheet directly over the entire blueberry filling. Remember, if you choose a solid top crust, it is imperative to cut 3-4 slits or decorative vents into the center of the crust before baking. These vents are essential to allow steam to escape, preventing the crust from puffing up unevenly and ensuring your pie cooks through perfectly.
- Protecting Your Crust Edges from Over-Browning: To safeguard the delicate edges of your pie crust – especially if you’ve invested time in creating a beautiful braided or scalloped design – from burning before the rest of the pie is fully cooked, cover them with aluminum foil. You can either gently crimp a ring of foil around the perimeter of the pie once the edges begin to brown, or proactively prepare it before placing the pie in the oven. This simple yet effective trick ensures a uniformly golden-brown crust from edge to center.
- Adapting to Various Pan Sizes: This versatile recipe is wonderfully adaptable to a range of baking dishes. It performs splendidly in an 8×8-inch square pan, or a traditional 8-inch or 9-inch round pie dish. If you anticipate serving a larger crowd, or if you simply believe there can never be too much pie, you can easily double the entire recipe and bake it in a larger 9×13-inch casserole dish for an impressive and universally crowd-pleasing dessert.
- Preventing the Dreaded Soggy Bottom: A critical step for any fruit pie, and especially one with juicy berries, is to blind bake (or par-bake) the bottom crust. This initial baking step creates a firm barrier against the moisture from the fruit filling, ensuring that your pie has a wonderfully crisp and perfectly baked bottom crust, rather than a soft, soggy one. Do not be tempted to skip this essential step!
- Identifying When Your Pie is Perfectly Done: Look for a beautifully golden-brown crust across the entire surface, and observe the filling. It should be visibly bubbling vigorously through any lattice openings or vent slits. This bubbling is a clear indication that the filling has reached the necessary temperature to activate the cornstarch and properly thicken. If you notice the crust browning too rapidly, you can loosely tent the entire pie with aluminum foil to slow down the browning process.
- The Importance of Cooling Patience: Patience truly is a virtue, particularly when it comes to baking pies! It is absolutely crucial to allow your freshly baked pie to cool completely, or at least to a pleasantly warm temperature, before you attempt to slice and serve it. This extended cooling period allows the fruit filling to fully set and firm up, preventing it from spilling out and ensuring you achieve clean, beautiful, and structurally sound slices.
Storage and Reheating Instructions for Leftover Deep Dish Wild Blueberry Pie
While it may seem improbable to have any remnants of this utterly delectable deep dish wild blueberry pie, should you find yourself fortunate enough to possess an extra slice or two, proper storage methods will keep it tasting fresh and delightful for days. Store any leftover pie in an airtight container in the refrigerator for approximately 4-5 days. It’s truly a delightful perk to have a ready-made, homemade treat accessible throughout your week!
When you’re ready to indulge in your delicious leftovers, you have a few convenient reheating options to choose from:
- Microwave Method: For a quick and effortless warm slice, individual portions can be reheated in the microwave until just warmed through. Exercise caution not to overheat, as excessive microwaving can sometimes soften the crust.
- Oven Method (for Crispy Crust): If you desire to restore that wonderfully crispy crust, reheating a slice or even a larger portion of the pie in a preheated oven is ideal. Set your oven to 300°F (150°C) and bake for approximately 10-15 minutes, or until the pie is warmed through and the crust has regained its crisp texture. If the crust begins to brown too much, you can loosely cover it with aluminum foil.
- Freezing for Longer Storage: For extended preservation, you can effectively freeze individual slices or even an entire baked pie. Ensure the pie is completely cooled, then wrap it tightly first in plastic wrap, followed by a layer of aluminum foil. It can be frozen for up to 3 months. When ready to enjoy, thaw the pie in the refrigerator overnight before proceeding with your preferred reheating method.
Print Recipe
Deep Dish Wild Blueberry Pie
Julie Chiou
30 minutes
50 minutes
1 hour
20 minutes
9
Equipment
-
Pastry cutter
-
Rolling pin
-
8×8 inch Square baking pan
Ingredients
For the Homemade Pie Crust:
- 2 cups (250 g) all-purpose flour, spooned and leveled
- ½ teaspoon kosher salt
- ⅔ cup (151 g) cold butter, cut into small cubes
- 6-7 tablespoons ice water
For the Wild Blueberry Filling:
- 6 cups (888 g) wild blueberries
- ⅔ cup (133 g) granulated sugar
- Zest of 1 lemon
- ¼ cup (32 g) cornstarch
Additional (for egg wash & topping):
- 1 large egg, beaten
- Splash of heavy cream or water
- 2 tablespoons granulated sugar, for sprinkling
Instructions
Prepare the Homemade Pie Crust:
-
In a large mixing bowl, thoroughly stir together the all-purpose flour and kosher salt until well combined.(Uses: 2 cups (250 g) all-purpose flour, ½ teaspoon kosher salt)
-
Add the cold butter, which should be cut into small, even pieces, to the flour mixture. Using a pastry blender or a sturdy fork, cut the butter into the flour until the mixture resembles coarse crumbs with some pea-sized pieces of butter still visible. This is a critical step for achieving a flaky crust.(Uses: ⅔ cup (151 g) cold butter)
-
Gradually incorporate the ice water, adding one tablespoon at a time. Mix gently after each addition until the mixture just begins to come together and form a cohesive dough. Be careful not to overmix; stop working the dough as soon as it forms.(Uses: 6-7 tablespoons ice water)
-
Divide the prepared dough into two equal portions. Gently flatten each portion into a disc shape, then wrap them tightly in plastic wrap. Refrigerate the dough discs for a minimum of 30-60 minutes, or up to two days. This chilling period is essential for making the dough easier to roll and enhancing its flakiness.
-
Preheat your oven to 350°F (177°C). Prepare your chosen 8×8-inch square baking pan or a similar round pie dish.
-
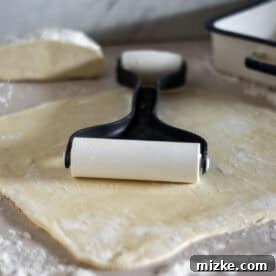
On a lightly floured surface, retrieve one disc of the chilled pie crust dough. Roll it out evenly into a 10-11 inch square (or a round shape if using a round pie dish), aiming for an approximate thickness of ⅛ inch.

-
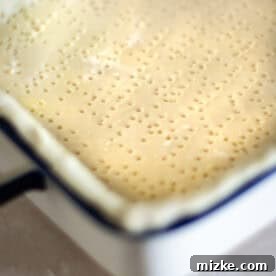
Carefully drape the rolled dough over your 8×8-inch square cake pan or casserole dish. Gently press the dough into the bottom and up the sides of the pan, ensuring it fits snugly into all corners. Use a sharp knife to trim any excess dough hanging over the edges of the pan, leaving a slight overhang if you plan to crimp the edges later.
-
Use a fork to generously prick holes all over the bottom and sides of the dough. This essential step allows trapped air to escape from under the crust as it bakes, preventing it from puffing up unevenly. Line the crust with aluminum foil and fill it with pie weights, uncooked rice, or dried beans. This process is known as blind baking or par-baking. Bake for 10-12 minutes, or until the crust appears lightly set. Carefully remove from the oven and discard the pie weights and foil.
Prepare the Wild Blueberry Filling and Assemble the Pie:
-
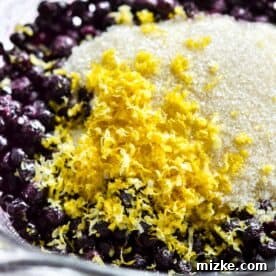
In a large bowl, gently combine the wild blueberries, granulated sugar, fresh lemon zest, and cornstarch. Toss with a spoon or your hands until the berries are evenly coated. The lemon zest adds a wonderful, bright counterpoint that beautifully complements the natural sweetness of the blueberries.(Uses: 6 cups (888 g) wild blueberries, ⅔ cup (133 g) granulated sugar, Zest of 1 lemon, ¼ cup (32 g) cornstarch)
-
Carefully spoon the prepared wild blueberry filling mixture into the par-baked pie crust. Spread the filling evenly to create a consistent layer across the bottom of the crust.
-
Retrieve the second pie crust disc from your refrigerator. On a well-floured surface, roll it out into another square of similar size and thickness as the bottom crust.
-
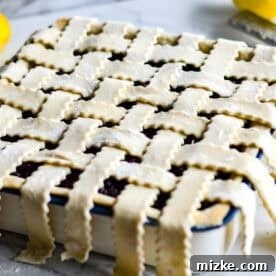
Using a sharp knife or a pastry cutter, carefully slice the rolled dough into long, even strips, each approximately ½ to ¾ inch wide. These strips will form your lattice topping.
-
Artfully arrange the pastry strips over the wild blueberry pie filling to create a beautiful lattice pattern. Once the lattice is formed, use a knife to carefully trim any overhanging dough, ensuring a neat and tidy edge. If desired, you can create a decorative braided or scalloped edge around the perimeter of the pie by pressing the top and bottom crusts together and crimping.
-
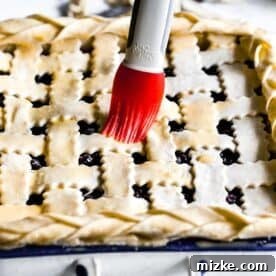
In a small bowl, whisk together the beaten egg with a splash of heavy cream or water to create an egg wash. Gently brush this mixture over the entire top crust of the pie, including all the lattice strips and the crimped edges. This step will contribute to a rich, golden-brown finish. Finally, generously sprinkle the additional granulated sugar over the egg-washed crust for a delightful sparkle and a touch of extra sweetness.(Uses: 1 large egg, Splash of heavy cream or water, 2 tablespoons granulated sugar)
-
Bake the pie in the preheated oven for 40-50 minutes, or until the crust is a beautiful, rich golden brown and the filling is visibly bubbly around the edges and through the lattice openings. If you notice the crust edges beginning to brown too quickly, loosely tent them with aluminum foil. Once baked to perfection, remove the pie from the oven and allow it to cool completely on a wire rack for at least 2-3 hours before attempting to slice. This crucial cooling time ensures the filling fully sets, preventing it from spilling out and allowing for clean, beautiful slices. Slice into squares or wedges and serve warm or at room temperature.
Nutrition Information
Serving: 1 slice
Calories: 366 kcal
Carbohydrates: 56g
Protein: 4g
Fat: 15g
Saturated Fat: 9g
Trans Fat: 1g
Cholesterol: 54mg
Sodium: 259mg
Potassium: 117mg
Fiber: 3g
Sugar: 27g
Disclaimers:
This website provides approximate nutrition information for convenience and as a courtesy only. Nutritional content can vary for a variety of reasons, including specific brands, ripeness of ingredients, and preparation methods. For the most precise nutritional data, we recommend using your preferred nutrition calculator based on the actual ingredients you used in the recipe.
The default measuring system for this website is US Customary. Unit conversions are provided solely for convenience and as a courtesy. While we strive to ensure accurate unit conversions, please be aware that there may be slight discrepancies.