
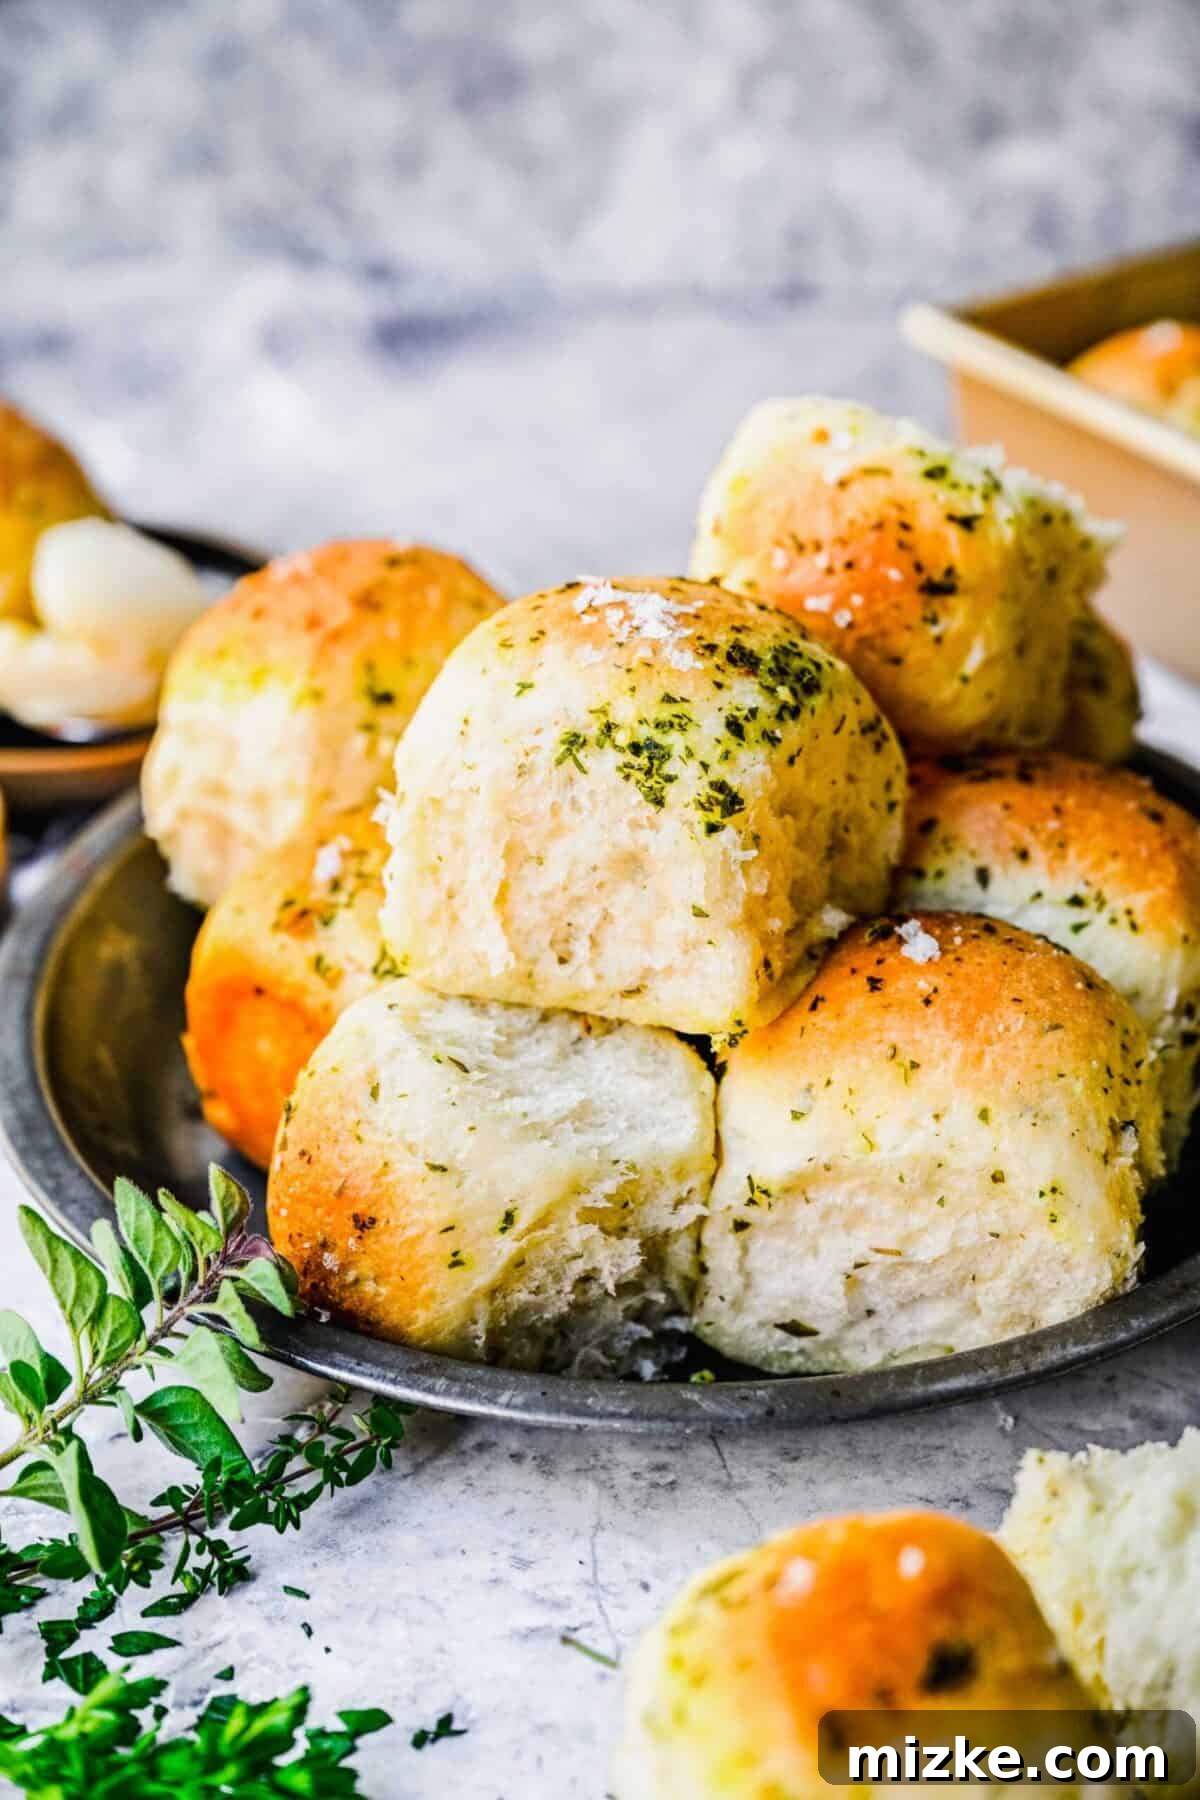
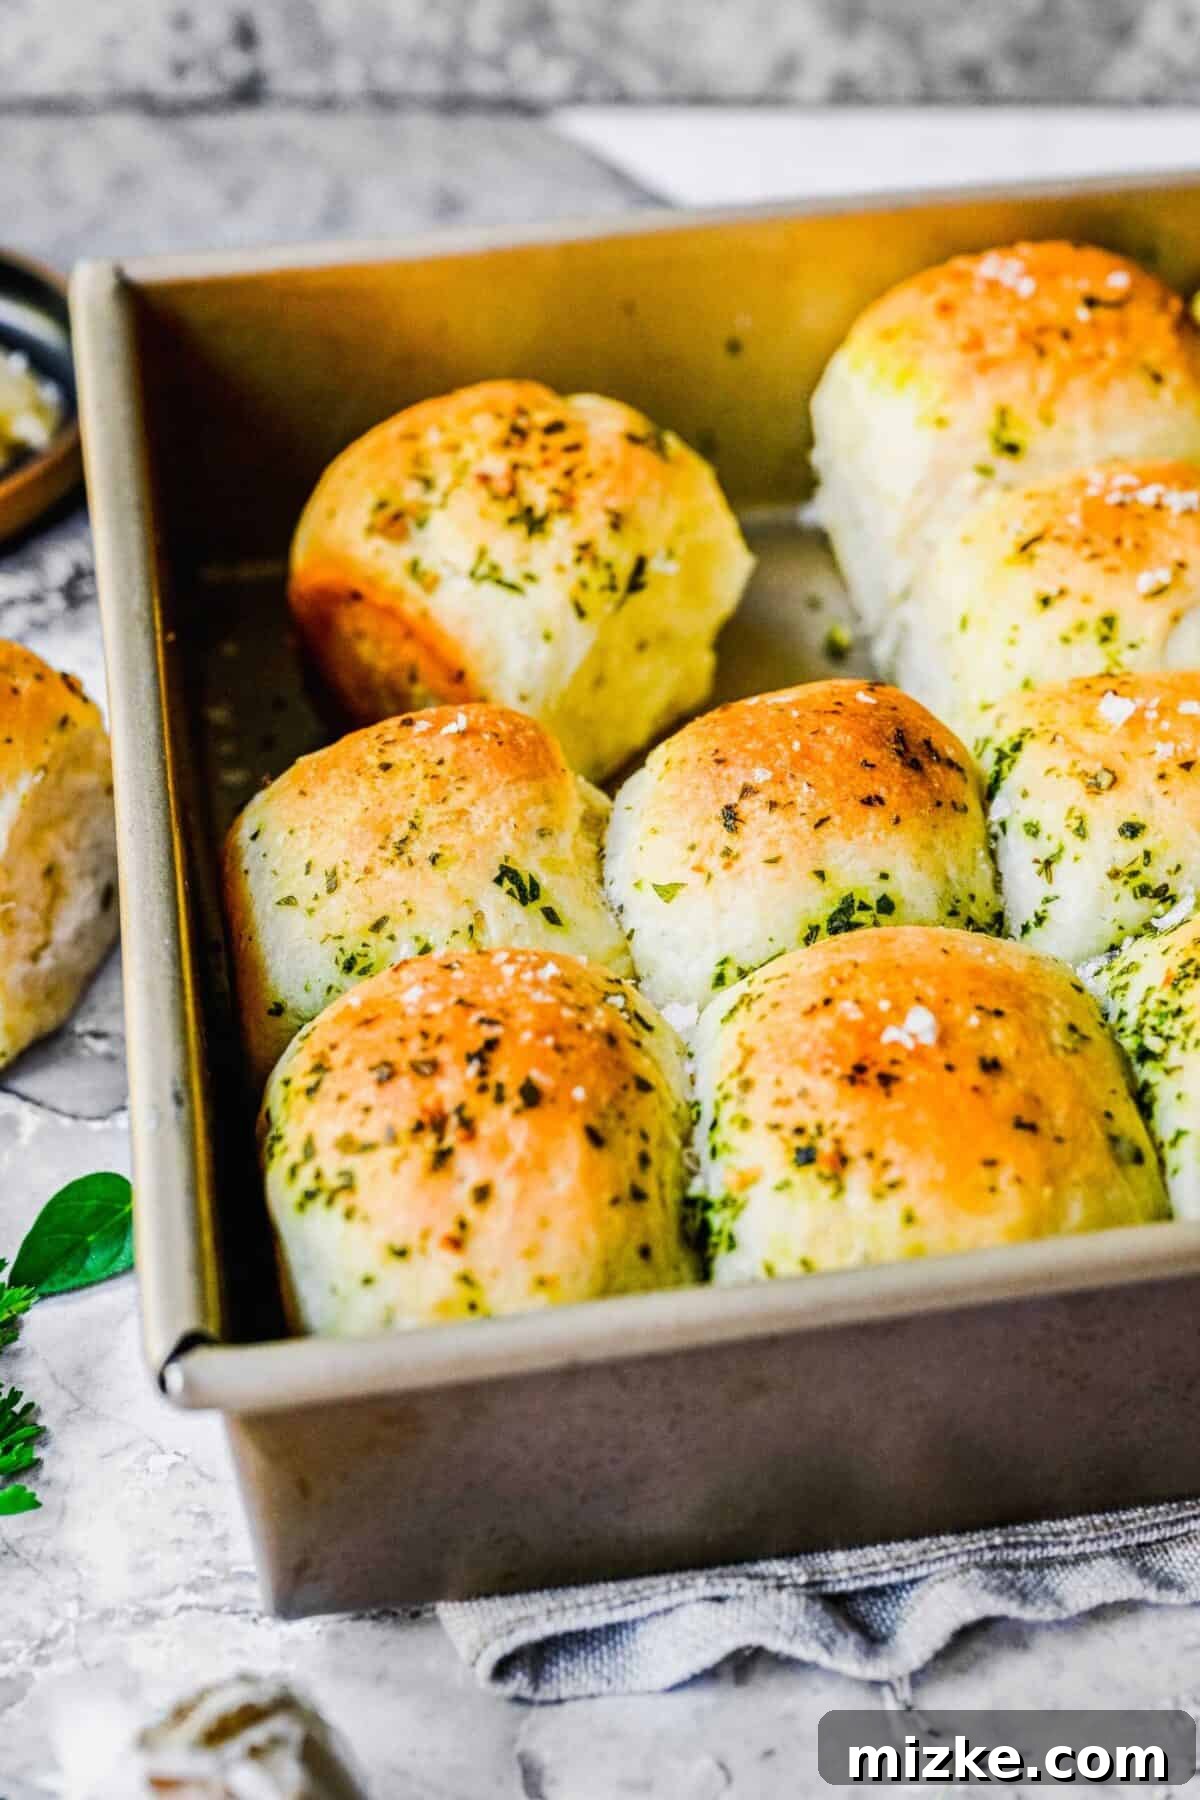
There’s nothing quite like the aroma of freshly baked bread filling your home, especially when it’s these incredibly moist and fluffy **Garlic Herb Parker House Rolls**. Each roll is a testament to simple elegance, offering a rich, buttery texture perfectly balanced with the vibrant flavors of fresh herbs and savory garlic. They are an absolute dream, whether served as a comforting side dish for a weeknight meal or as a show-stopping addition to your holiday spread. Plus, despite their impressive taste and appearance, they are surprisingly easy to make, even for novice bakers!
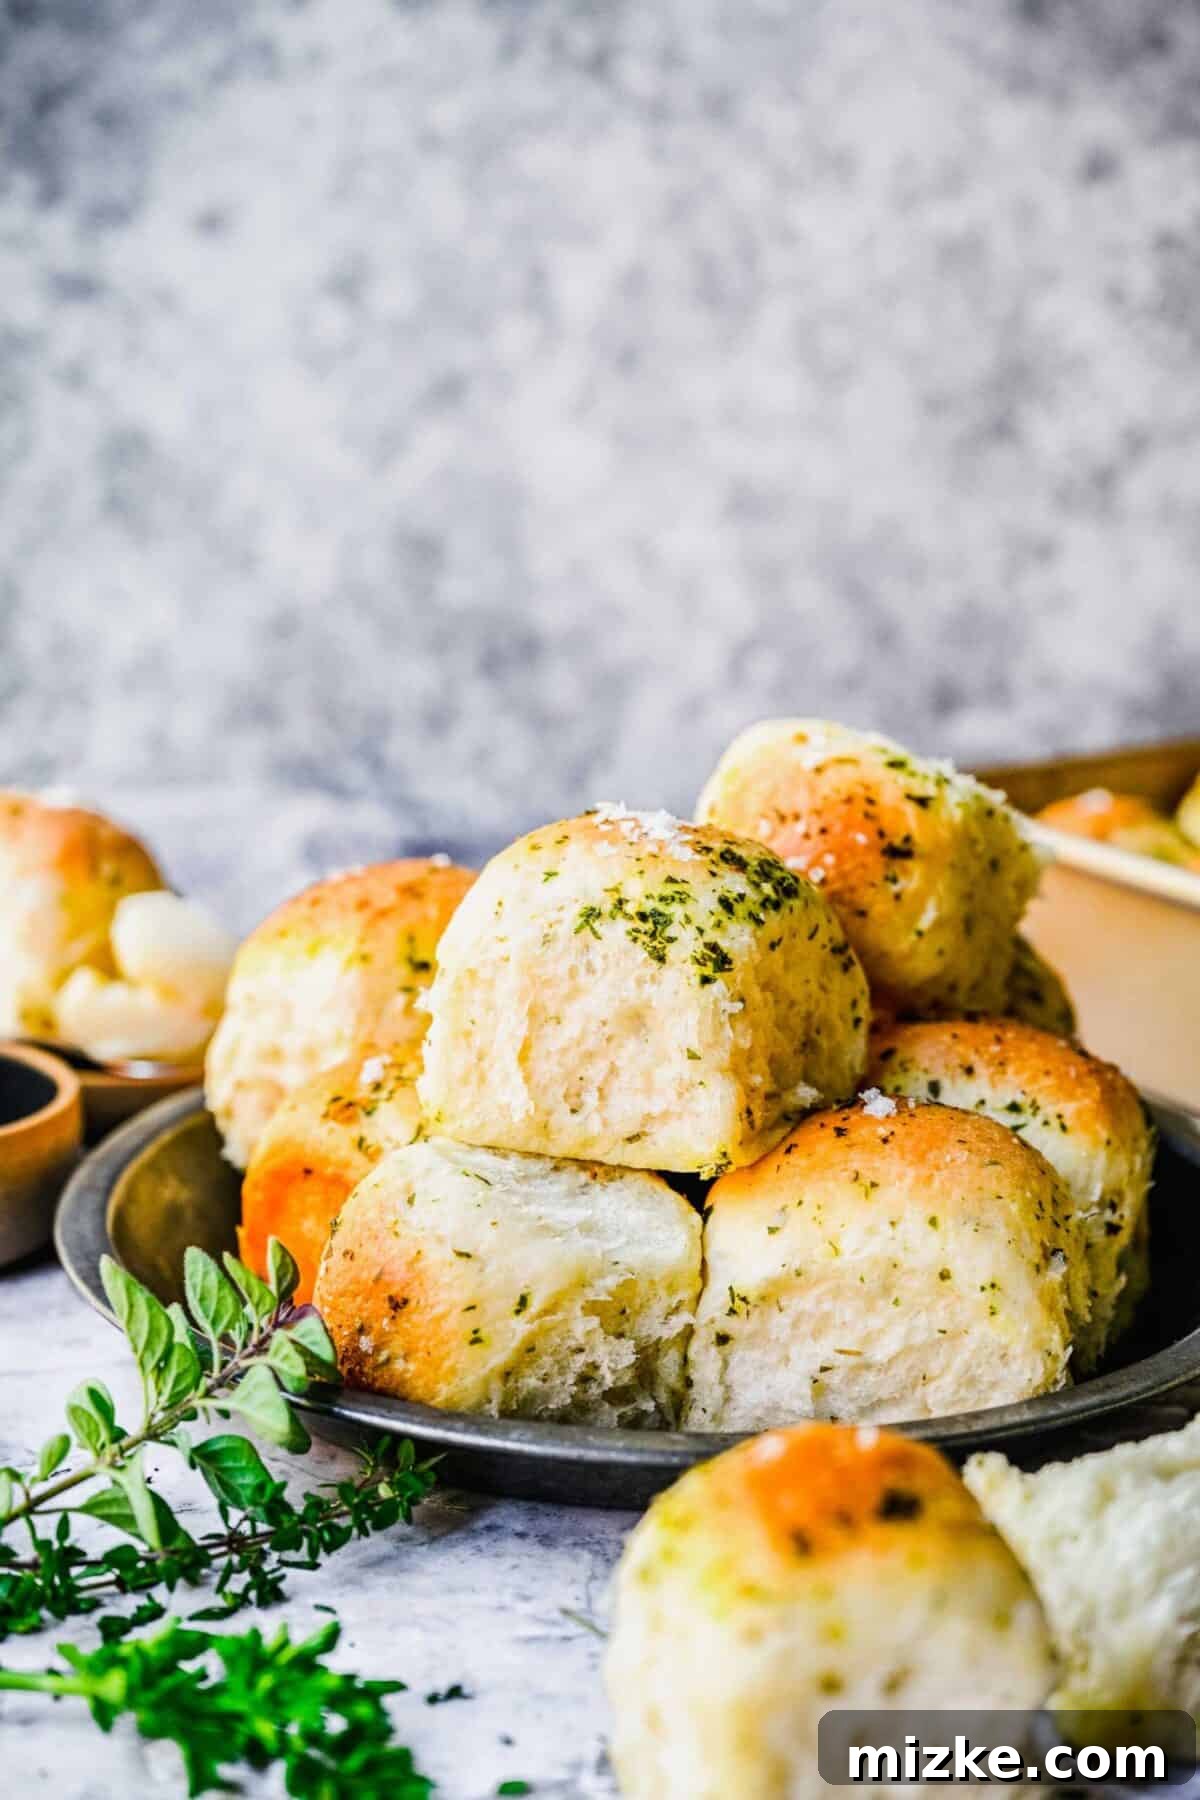
As a huge fan of homemade rolls, I can confidently say these garlic herb parker house rolls stand out as one of my all-time favorite recipes. There’s an unparalleled comfort in a warm, tender roll accompanying your main course. These particular rolls are so exquisitely flavorful, they can easily be enjoyed on their own. However, their true magic shines when they act as the perfect vehicle to soak up every last drop of delicious sauce or gravy from your dinner plate, ensuring no flavor goes to waste.
While I enjoy baking these fluffy rolls throughout the year, they become an absolute staple in my kitchen during the cooler fall and winter months. There’s something inherently cozy about the scent of butter mingling with fresh herbs as they bake, creating an inviting warmth that perfectly complements the chilly weather outside. They are, without a doubt, my go-to side dish for festive gatherings, particularly for Thanksgiving and Christmas dinners, where they never fail to impress.
Why You’ll Adore These Easy Garlic Herb Parker House Rolls
The foremost reason to fall in love with these garlic herb rolls is their extraordinary flavor profile. They are generously packed with rich butter, a healthy dose of aromatic garlic, and an abundance of fragrant fresh herbs. The secret to their intense taste lies in a dual application: butter, garlic, and herbs are meticulously incorporated into the dough itself, and then again brushed lavishly over the top of the rolls just before baking. This double dose infuses every bite with an unparalleled depth of flavor and irresistible aroma that will have everyone reaching for more.
Beyond their incredible taste, this recipe is remarkably easy and straightforward to follow, requiring only a handful of common ingredients. While the rolls do need time to rise – a crucial step for achieving that signature fluffy texture – the active preparation and actual baking time are surprisingly minimal. This makes them an achievable and rewarding project for any home baker, offering maximum flavor with manageable effort.
Essential Recipe Ingredients
Gathering your ingredients is the first step towards creating these delectable garlic herb parker house rolls. Below is a comprehensive list of everything you’ll need. For precise measurements, please refer to the detailed recipe card found at the end of this article.
For the Dough:
- Milk – Whole milk is my preference for its richness, contributing to a more tender crumb. However, a lower-fat milk can be used if desired, though it may result in a slightly less rich texture. Ensure it’s warmed to the correct temperature to activate the yeast.
- Unsalted Butter – Using unsalted butter allows you to control the overall saltiness of your rolls. Good quality butter makes a noticeable difference in flavor and richness.
- Active Dry Yeast – This is the leavening agent that gives the rolls their incredible rise and airy texture. Ensure it’s fresh and active for best results.
- All-Purpose Flour – Standard all-purpose flour works beautifully for these rolls, providing a light yet structured texture.
- Granulated Sugar – A small amount of sugar doesn’t make the rolls sweet, but rather feeds the yeast, aids in browning, and enhances the overall flavor.
- Salt – Essential for balancing flavors and strengthening the gluten structure in the dough.
- Fresh Herbs – This is where the “herb” magic happens! I particularly enjoy a blend of thyme, rosemary, parsley, oregano, and sage. Feel free to customize with your favorite aromatic herbs. Fresh herbs are highly recommended for their vibrant flavor.
- Minced Garlic – Freshly minced garlic provides that irresistible pungent and savory kick.
For the Topping:
- Unsalted Butter – Melted unsalted butter creates a rich, glossy finish and acts as a carrier for the additional garlic and herbs.
- Minced Garlic – A second layer of garlic in the topping intensifies the savory notes and adds a beautiful aroma as the rolls bake.
- Finely Chopped Herbs – More fresh herbs for the topping ensures a bright, herbaceous burst in every bite and adds visual appeal.
- Flaky Sea Salt – This optional but highly recommended ingredient adds a delightful textural crunch and a burst of salty flavor that perfectly complements the rich, savory rolls.
Step-by-Step Guide: Crafting Your Garlic Herb Parker House Rolls
Making these rolls is a truly enjoyable and rewarding baking experience. Follow these simple steps to create your own batch of buttery, herby perfection.
- Warm the Wet Ingredients: In a small saucepan, gently heat the milk and butter over medium heat until the butter is fully melted. Be careful not to boil. Remove the mixture from the heat and allow it to cool to precisely 110°F (43°C). This temperature is critical for activating the yeast without killing it.
- Activate the Yeast: Once the milk and butter mixture reaches the ideal temperature, pour in the active dry yeast. Stir gently until the yeast is fully dissolved. Let this mixture sit undisturbed for 10 minutes. During this time, the yeast will “bloom” – you’ll see a frothy layer form on top, indicating that your yeast is active and ready to work its magic.
- Combine Dry Ingredients: In the bowl of a stand mixer fitted with the dough hook attachment, combine the all-purpose flour, granulated sugar, and salt. Stir on a low speed for about 30 seconds to ensure these dry ingredients are well mixed.
- Integrate Wet and Flavorful Ingredients: Pour the yeast-activated milk and butter mixture into the stand mixer bowl. Add your minced garlic and chopped fresh herbs. Mix on a low speed until the dough begins to come together and form a cohesive mass. Scrape down the sides of the bowl as needed to incorporate all ingredients.
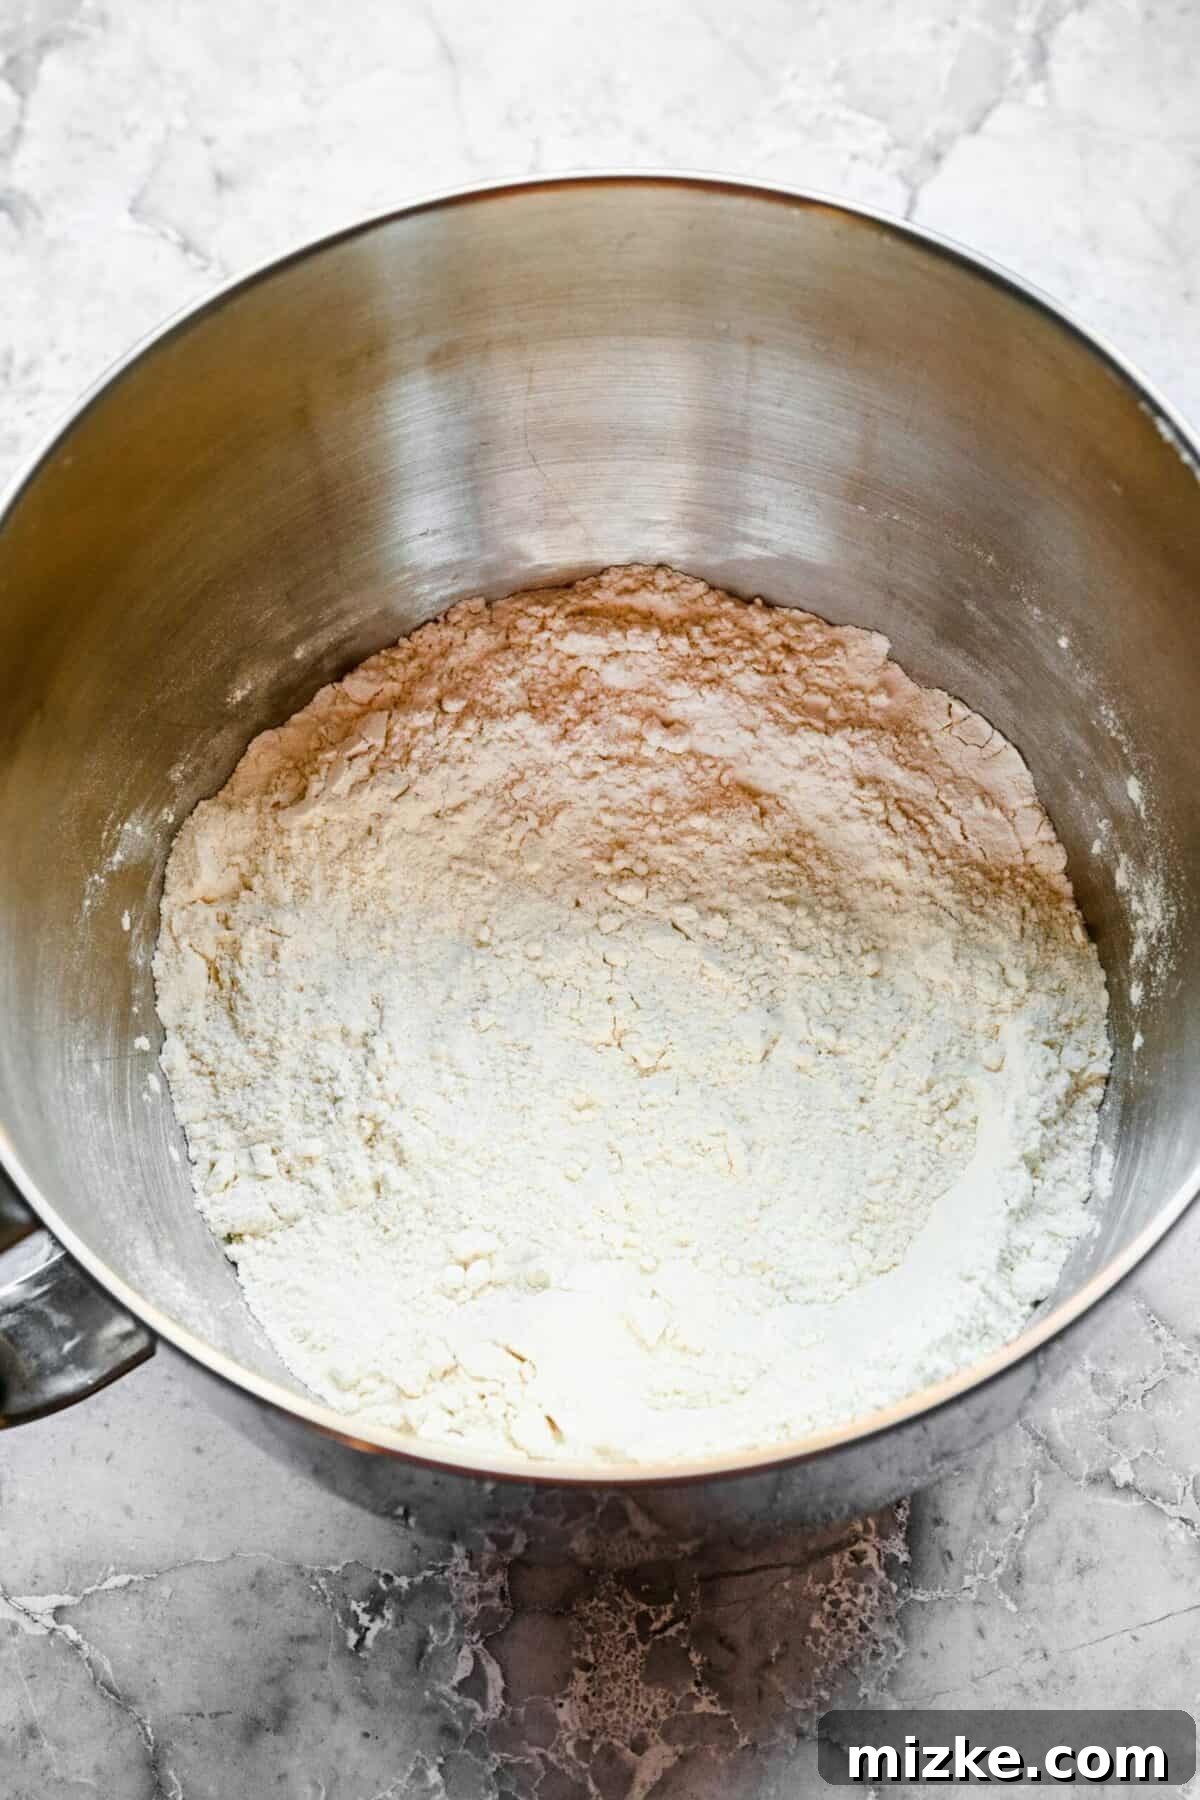
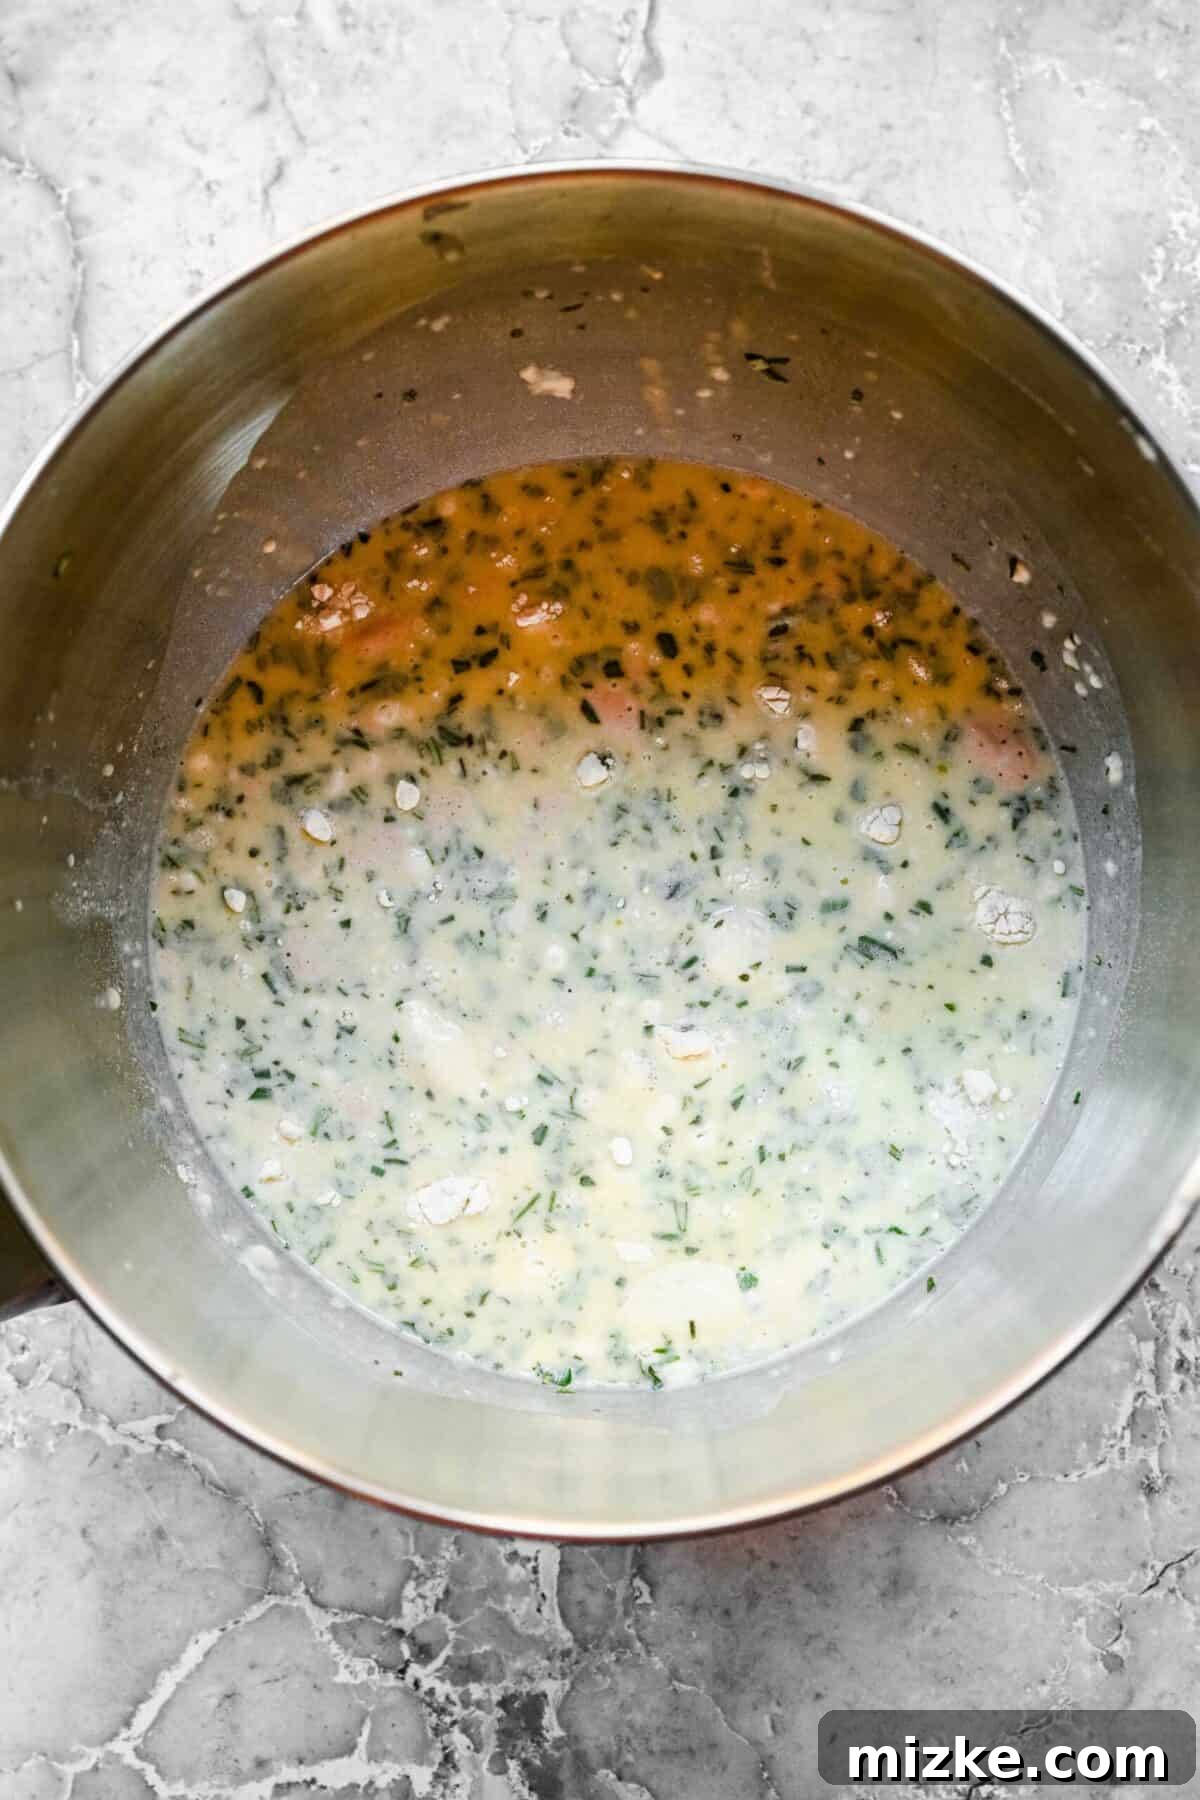
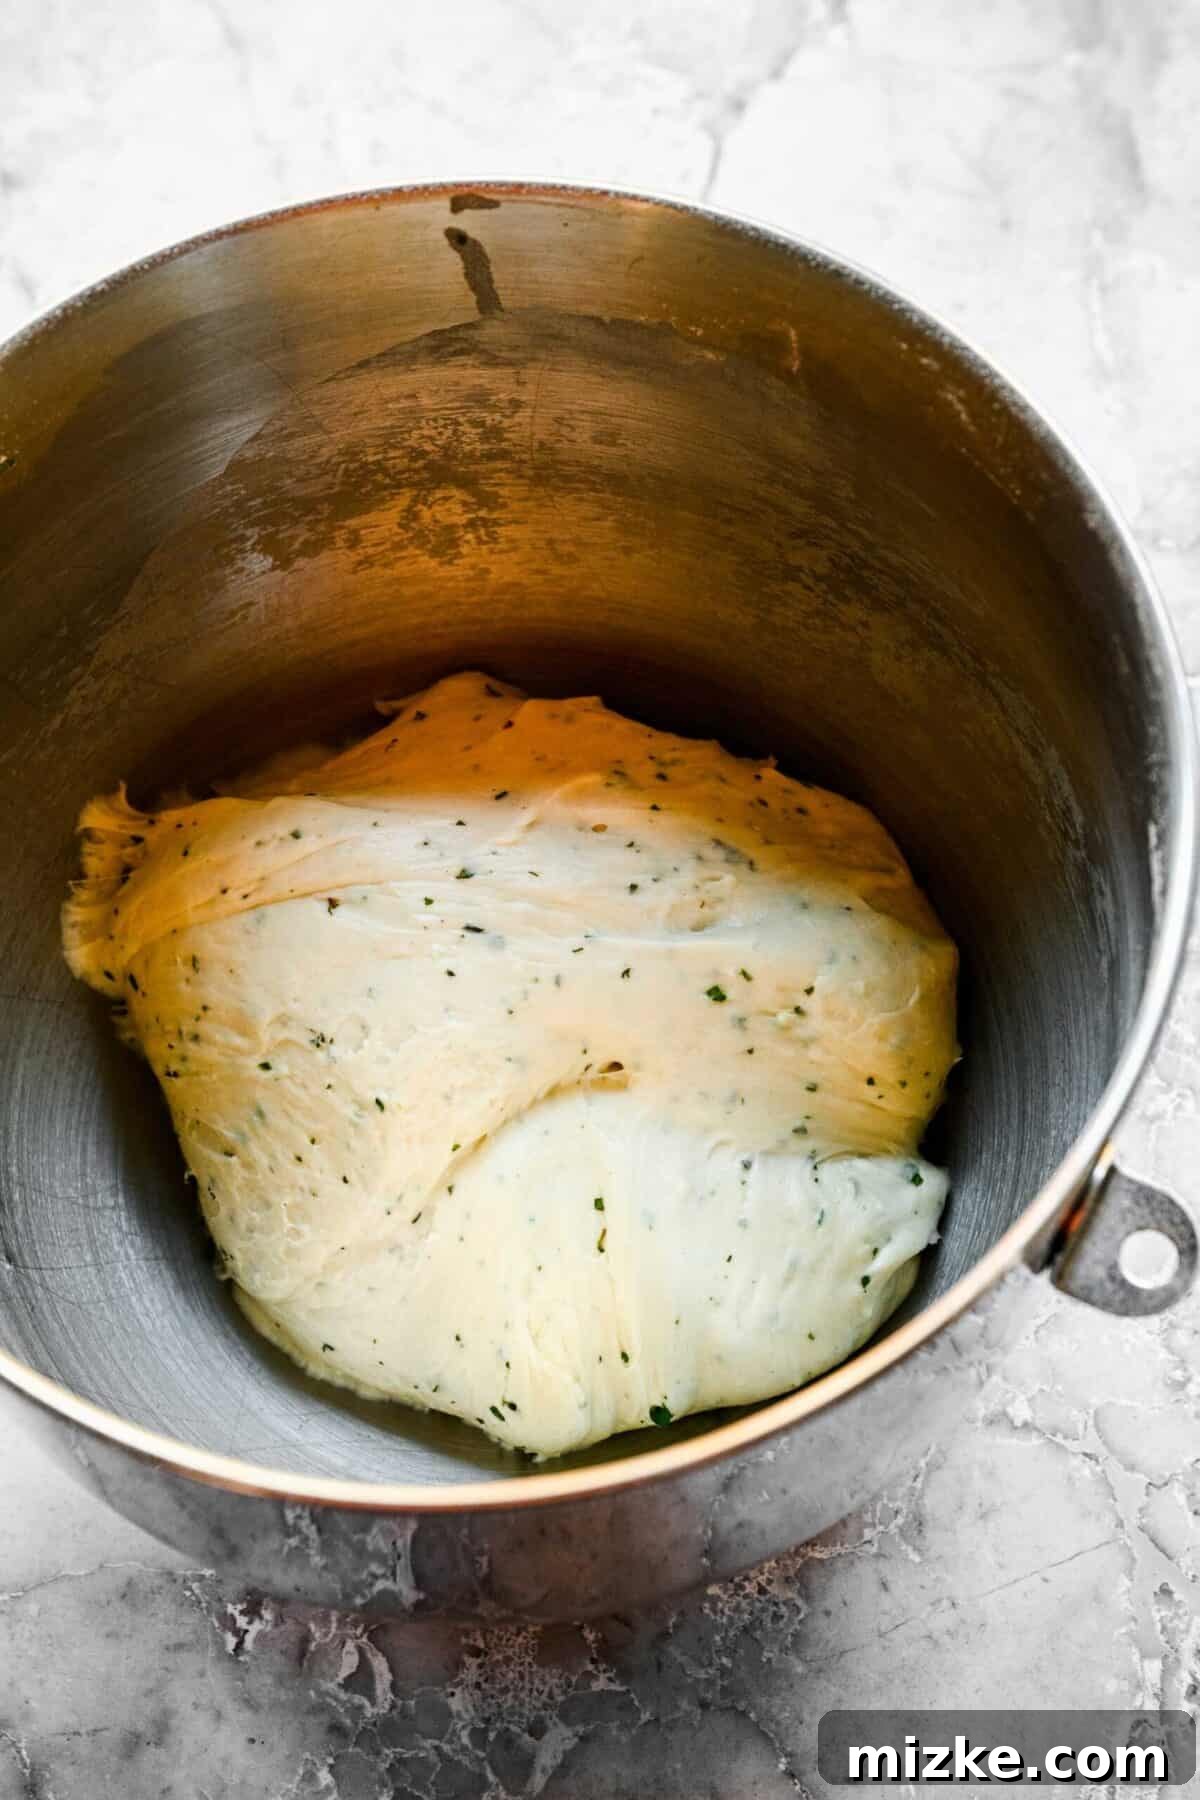
- Knead the Dough to Perfection: Increase the stand mixer speed to medium and continue mixing the dough. Allow it to knead for about 4-5 minutes, or until the dough becomes smooth, elastic, and pulls cleanly away from the sides of the bowl. It should feel supple and slightly tacky but not sticky. This proper kneading develops the gluten, which is essential for fluffy rolls.
- First Rise (Bulk Fermentation): Remove the kneaded dough from the stand mixer and lightly oil the inside of the bowl. Place the dough back into the oiled bowl, turning it once to coat lightly. Cover the bowl tightly with a clean kitchen towel or plastic wrap. Find a warm, draft-free spot for the dough to rise until it has doubled in size, which typically takes about an hour, depending on your room temperature.
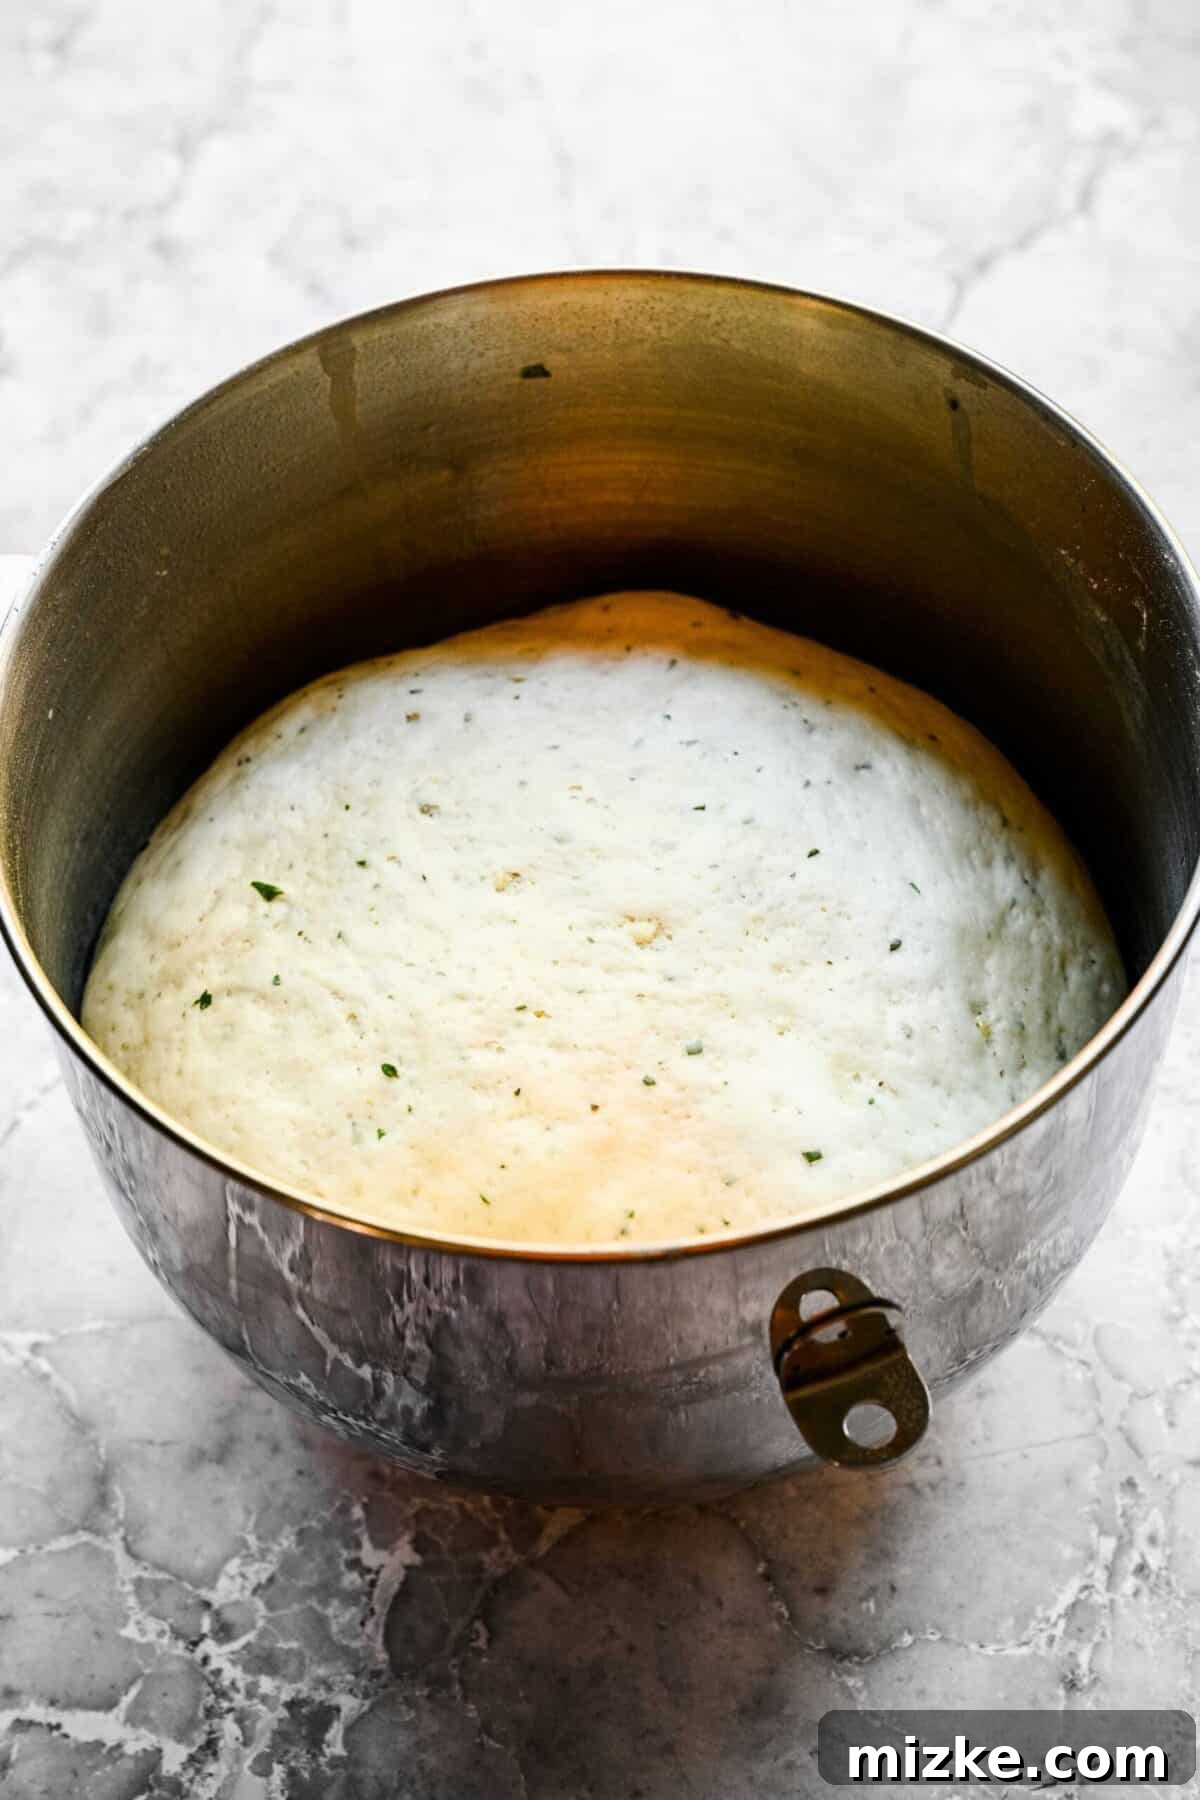
- Prepare Your Baking Pan: While the dough is on its first rise, lightly grease a 9×13-inch baking pan. This ensures the rolls don’t stick and brown beautifully.
- Portion the Dough: Once the dough has doubled, gently punch it down to release the air. Transfer it to a lightly floured surface. Divide the dough into two equal pieces. Working with one piece at a time, roll it into a uniform 12-inch log. Then, using a bench scraper or sharp knife, cut each log into 12 equally sized pieces. Repeat with the second piece of dough, yielding 24 pieces in total.
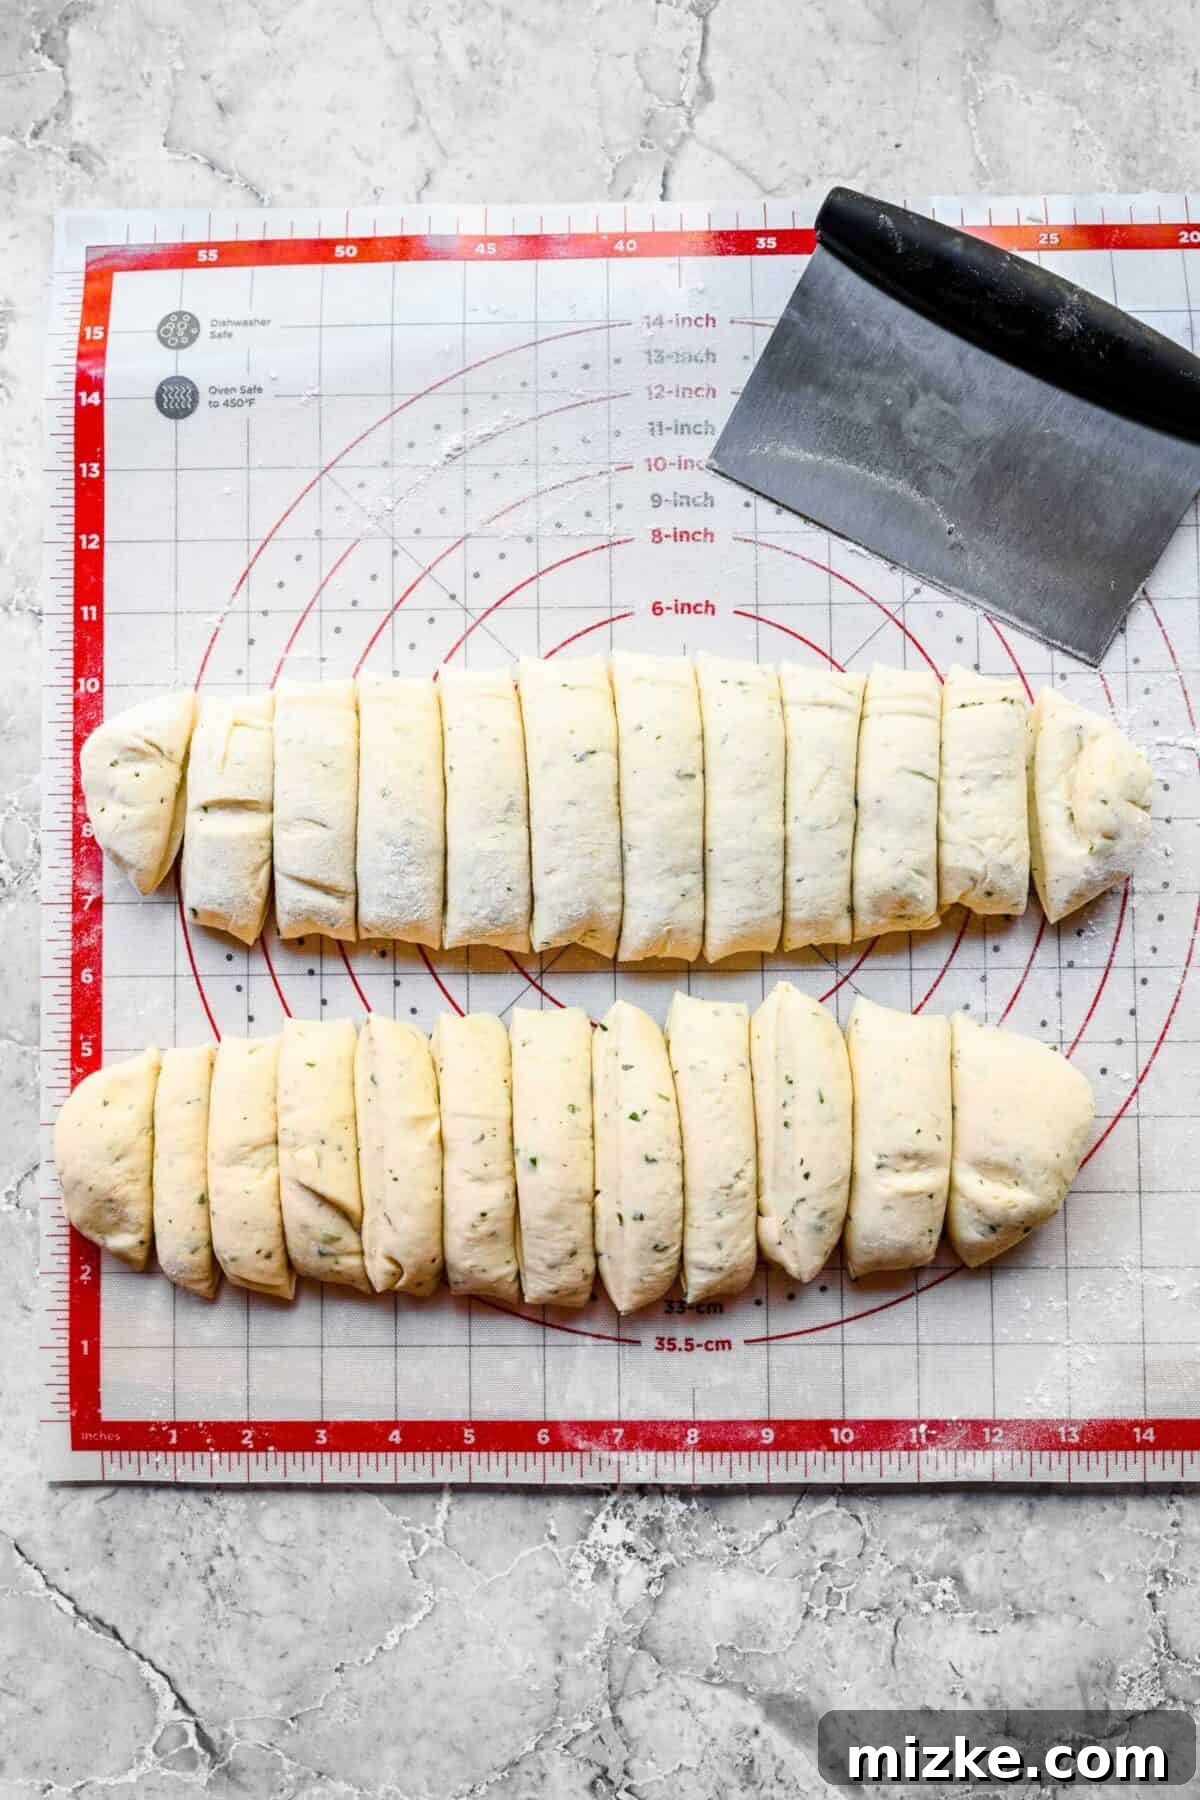
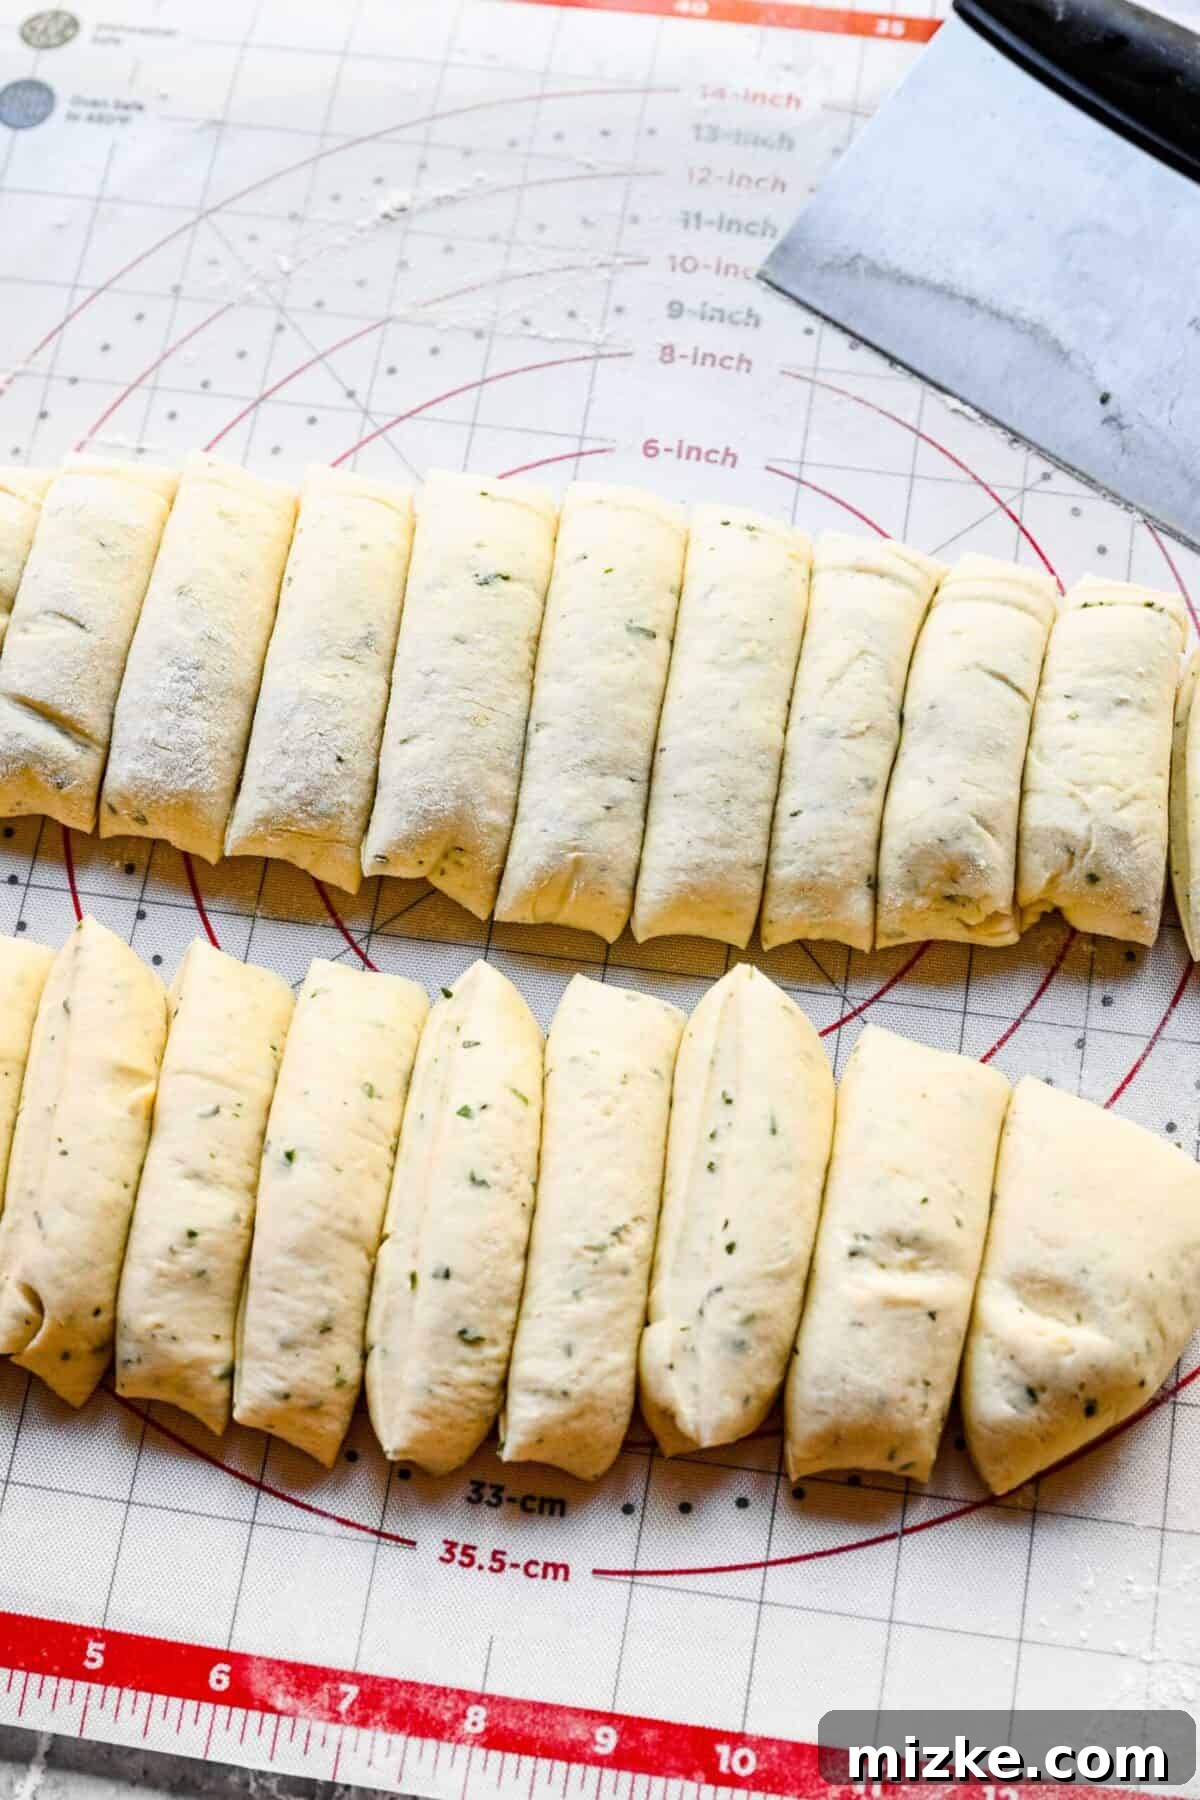
- Shape the Rolls: Take each of the 24 dough pieces and roll it into a tight, smooth ball. The goal is to create even, uniform rolls that will bake consistently.
- Second Rise (Proofing): Arrange the shaped dough balls snugly in your greased baking pan. Cover the pan loosely with a kitchen towel or plastic wrap. Allow the parker house rolls to rise in a warm place for an additional 30 minutes. This second rise, or proofing, ensures the rolls are light and airy.
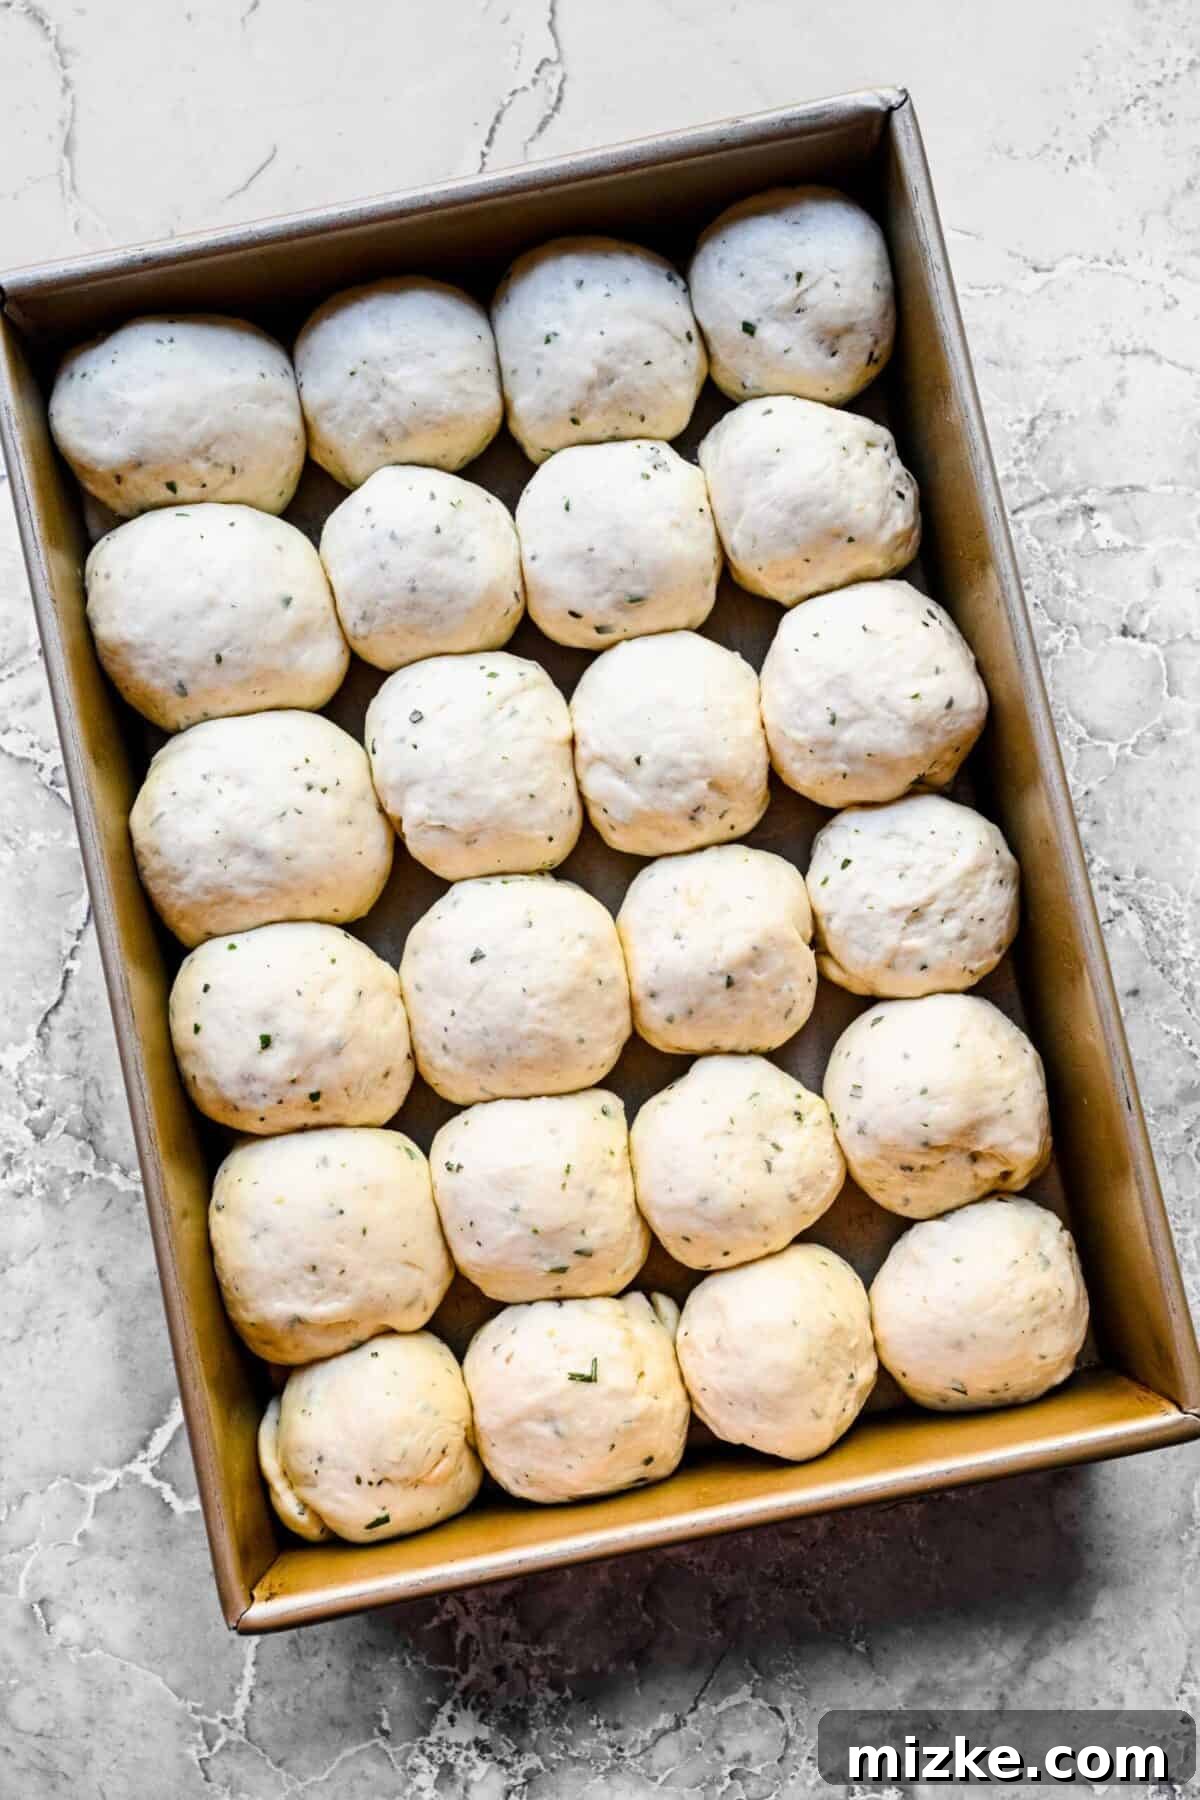
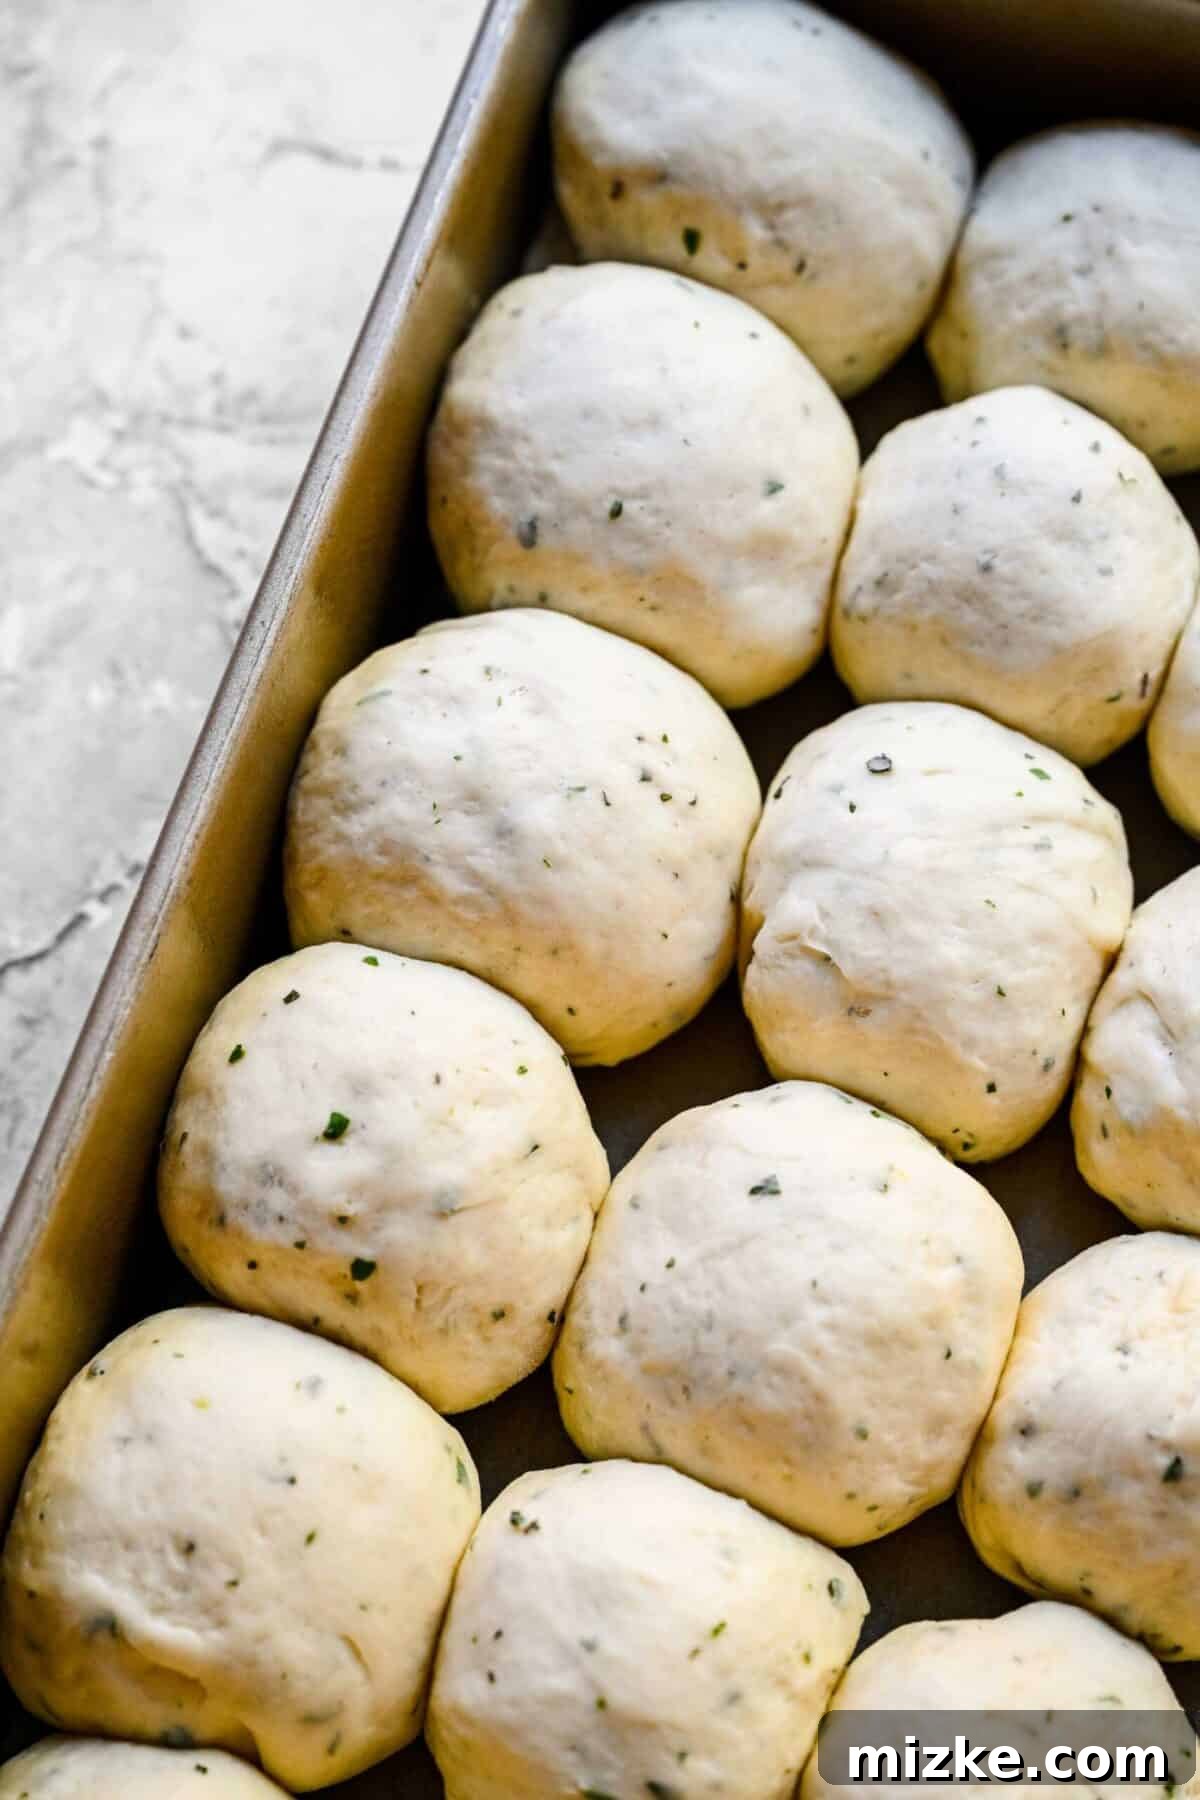
- Preheat Your Oven: While the rolls are completing their second rise, preheat your oven to 375°F (190°C). Ensuring your oven is fully preheated is key for an even bake.
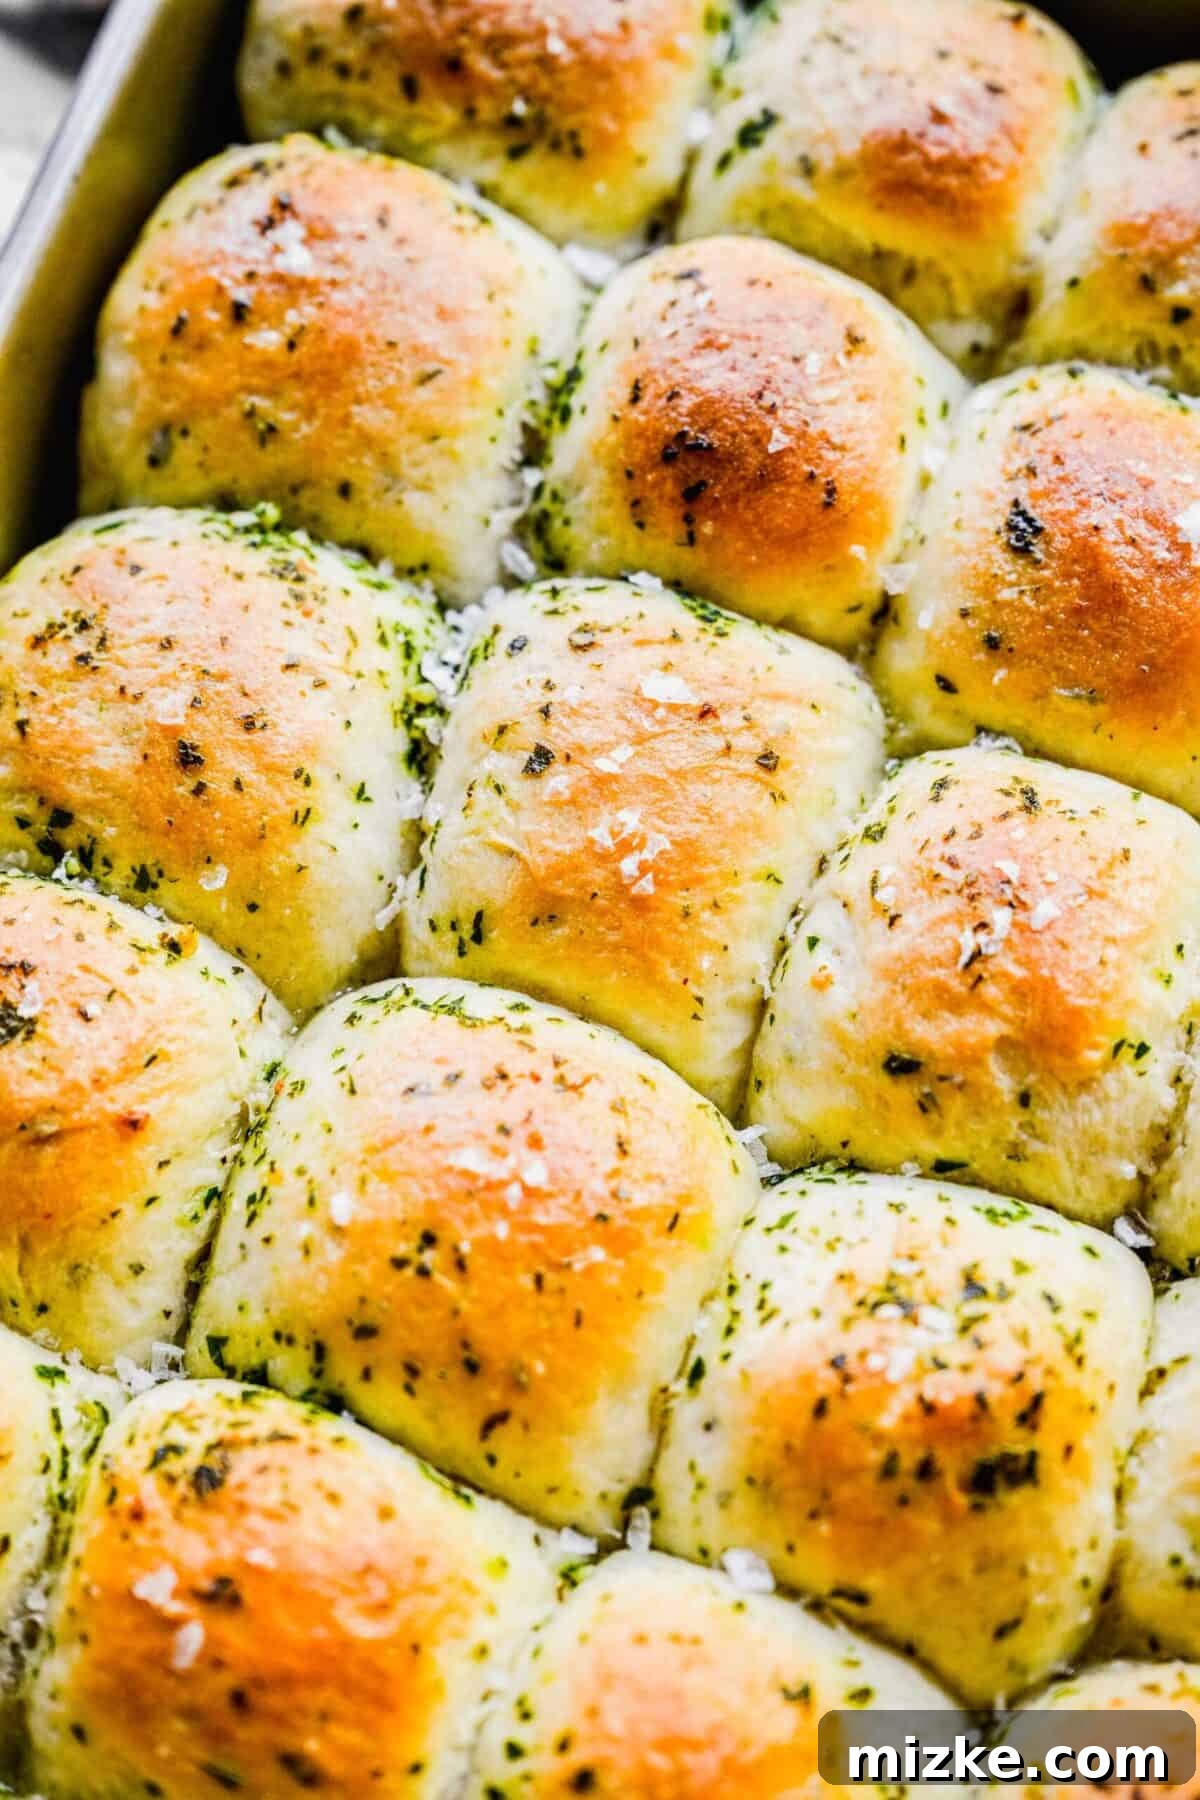
- Apply the Flavorful Topping: In a small bowl, whisk together the melted butter, finely chopped herbs, and minced garlic for the topping. Gently brush this aromatic mixture generously over the tops of the risen rolls. If using, sprinkle flaky sea salt over the top for added texture and flavor.
- Bake to Golden Perfection: Place the baking pan with your garlic herb rolls into the preheated oven. Bake for approximately 20-22 minutes, or until the tops are beautifully golden brown and the rolls are cooked through. Remove them from the oven immediately and serve warm to enjoy their fresh-baked goodness.
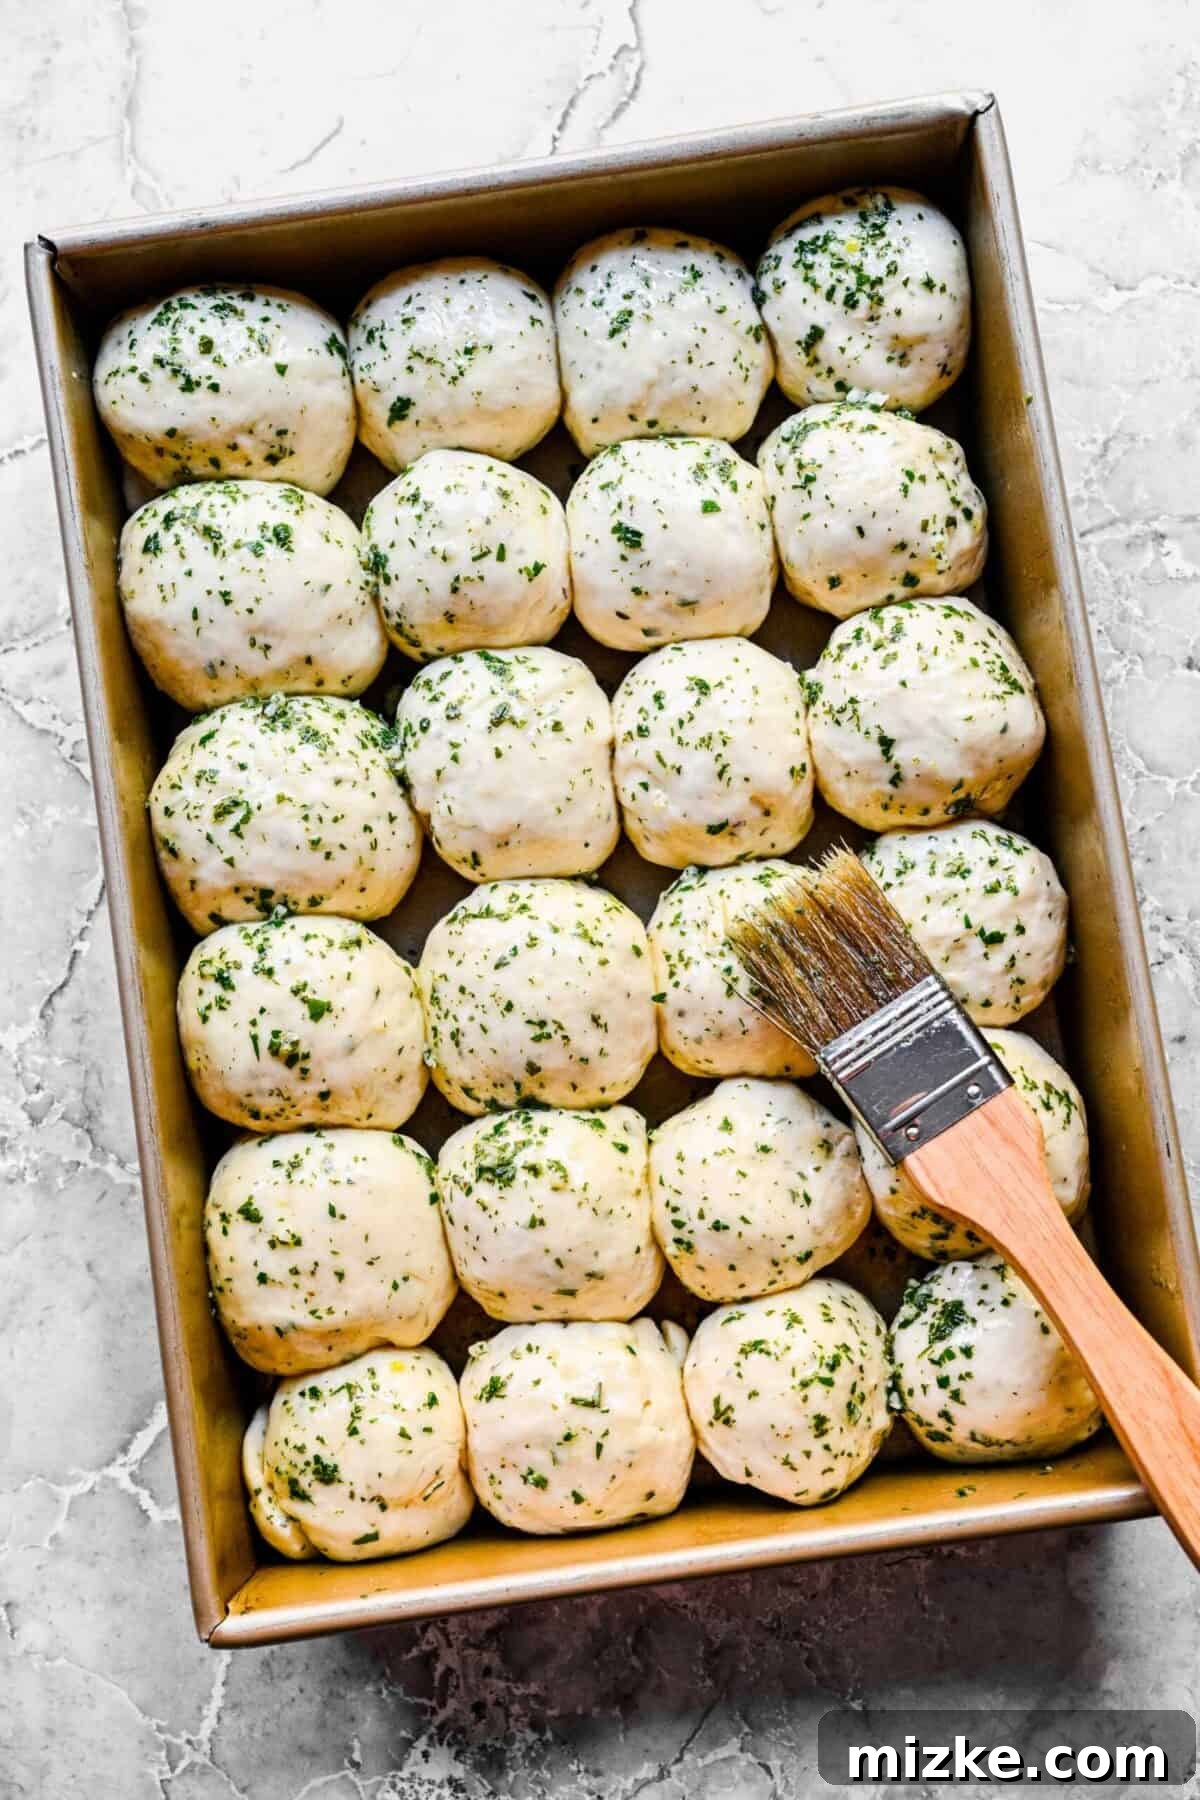
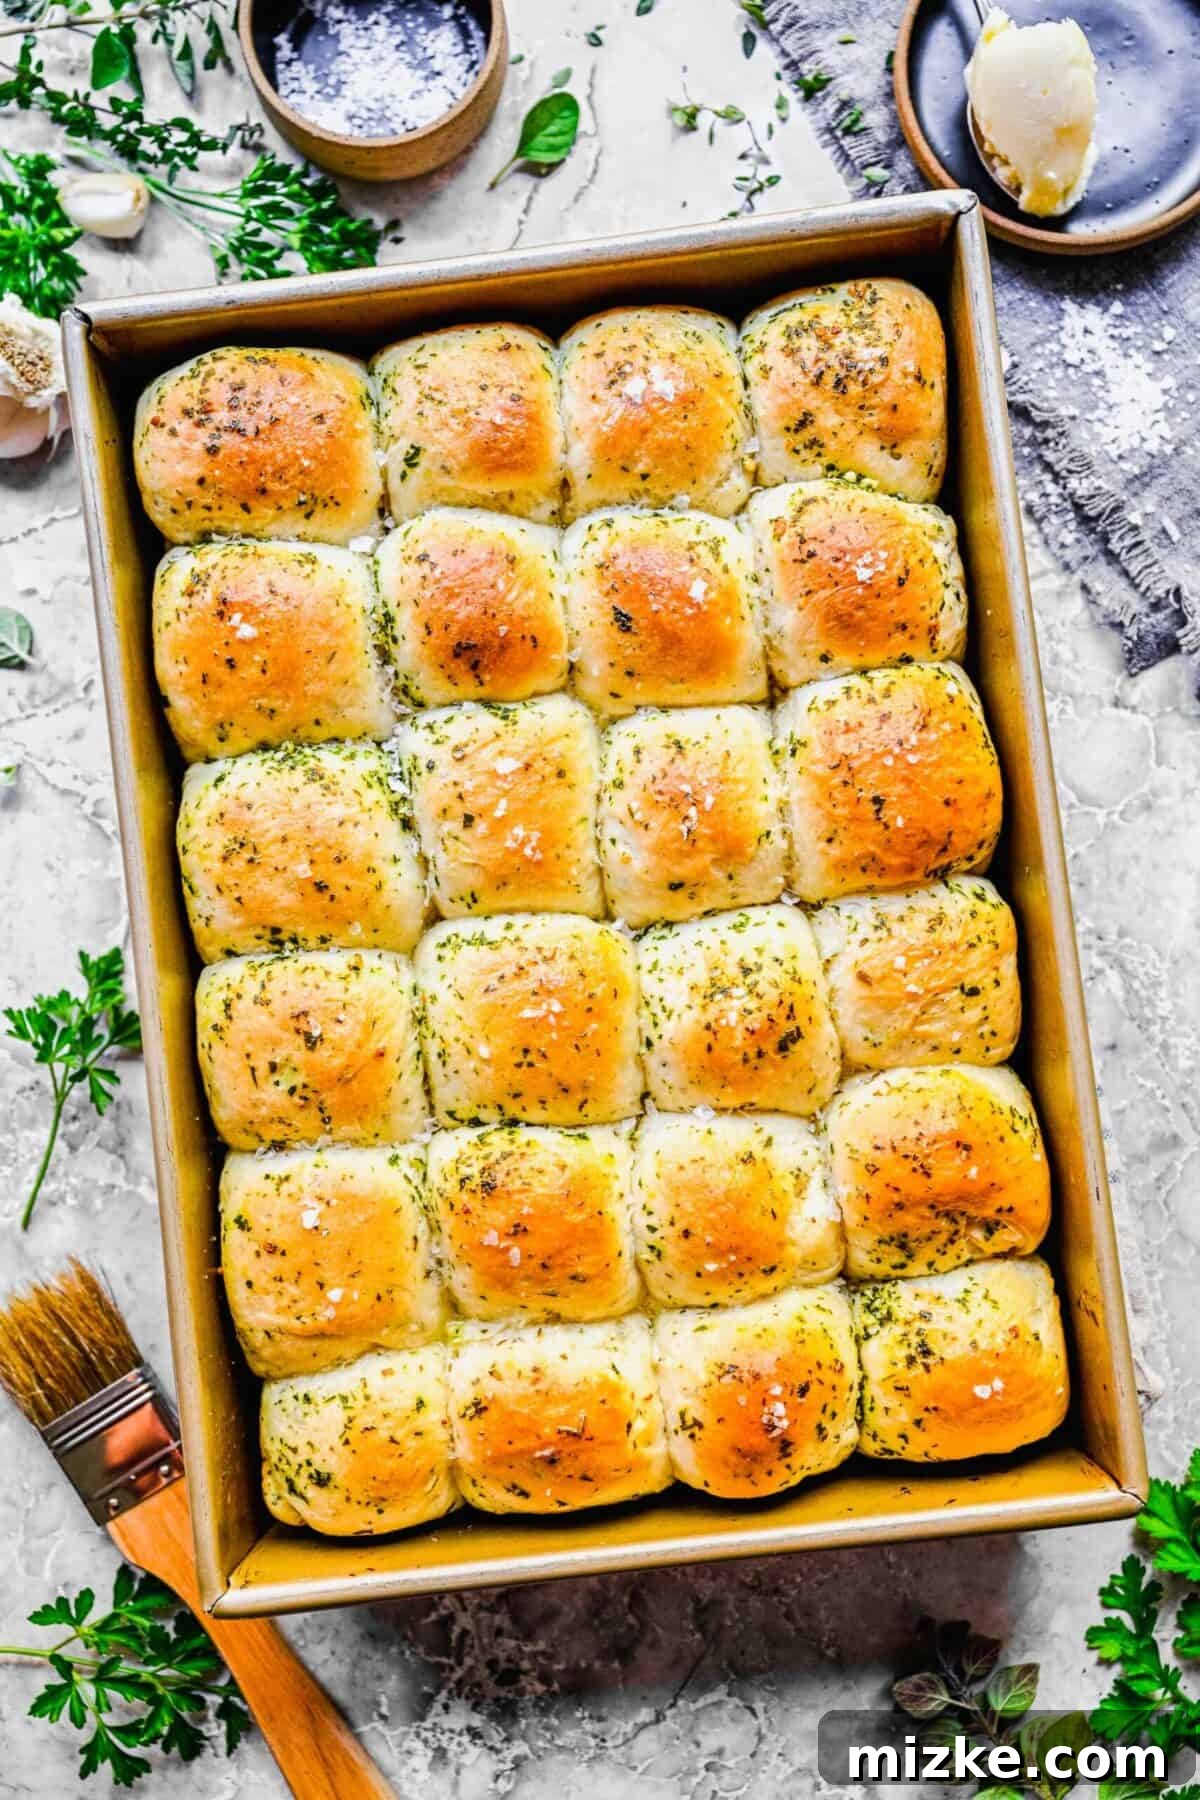
Expert Tips for Perfect Rolls Every Time
Achieving the perfect batch of garlic herb parker house rolls is simple with a few helpful tricks. Here are some essential tips to ensure your rolls are absolutely irresistible:
- Embrace Fresh Herbs: While dried herbs can be used in a pinch, you’ll unlock the most vibrant and nuanced flavors by opting for fresh herbs. Fresh herbs offer a brighter, more aromatic taste that truly elevates these rolls, whereas dried varieties can sometimes be a bit more intense or floral. A good mix like rosemary, thyme, and parsley provides a classic, comforting profile.
- Avoid Over-Kneading: When using your stand mixer, pay close attention to the dough’s texture. Over-kneading can damage the gluten strands, leading to a tough, dense roll rather than the desired light and fluffy texture. Stop kneading once the dough is smooth, elastic, and passes the “windowpane test” (where a small piece can be stretched thin enough to see light through it without tearing).
- Monitor Browning (Tent if Necessary): Your garlic herb rolls should emerge from the oven a beautiful golden brown. However, oven temperatures can vary, so keep a watchful eye on them. If you notice the tops are browning too quickly but the rolls don’t seem fully baked through, simply cover the pan loosely with aluminum foil. This “tents” the rolls, preventing further browning while allowing them to continue baking evenly until done.
- Ensure Correct Yeast Temperature: The temperature of your milk and butter mixture is paramount for yeast activation. Too hot, and it will kill the yeast; too cold, and the yeast won’t activate properly, leading to dense rolls. An instant-read thermometer is your best friend here, aiming for 110°F (43°C).
- Create a Warm Rising Environment: Yeast thrives in warm, draft-free conditions. If your kitchen is cool, you can create a makeshift proofing box by placing the covered dough in a slightly warmed, turned-off oven (preheated for a minute or two, then turned off), or near a sunny window.
Frequently Asked Questions
Here are answers to some of the most common questions about baking and enjoying these delightful garlic herb parker house rolls:
Why are they called Parker House Rolls?
These iconic rolls originated at the historic Parker House Hotel in Boston, Massachusetts. They were first created over 150 years ago, and while recipes may have evolved slightly over time, their signature folded shape and rich, buttery flavor have remained a beloved classic in American baking.
Can you use instant yeast instead of active dry yeast?
Absolutely! Instant yeast can be used as a direct substitute for active dry yeast in this recipe, typically in the same quantity. The key difference is that instant yeast does not require prior activation. You can simply whisk it directly into your dry ingredients along with the flour, sugar, and salt, then add the warm milk and butter mixture as directed, skipping the 10-minute resting period.
How many herbs should you use?
The beauty of this recipe is its adaptability to your personal taste. You can certainly use a generous assortment of herbs if you prefer a highly complex flavor. However, to ensure that each individual herb’s unique character truly shines through without overwhelming the palate, I personally find that selecting just two or three distinct herbs yields the most balanced and delightful aromatic profile.
Can I prepare the dough in advance?
Yes! You can prepare the dough up to the end of the first rise, then punch it down, shape the rolls, and place them in the greased baking pan. Cover them tightly with plastic wrap and refrigerate overnight (up to 12-18 hours). The next day, remove them from the fridge about 1-2 hours before baking to allow them to come to room temperature and complete their second rise before proceeding with the topping and baking steps.
Delicious Serving Suggestions
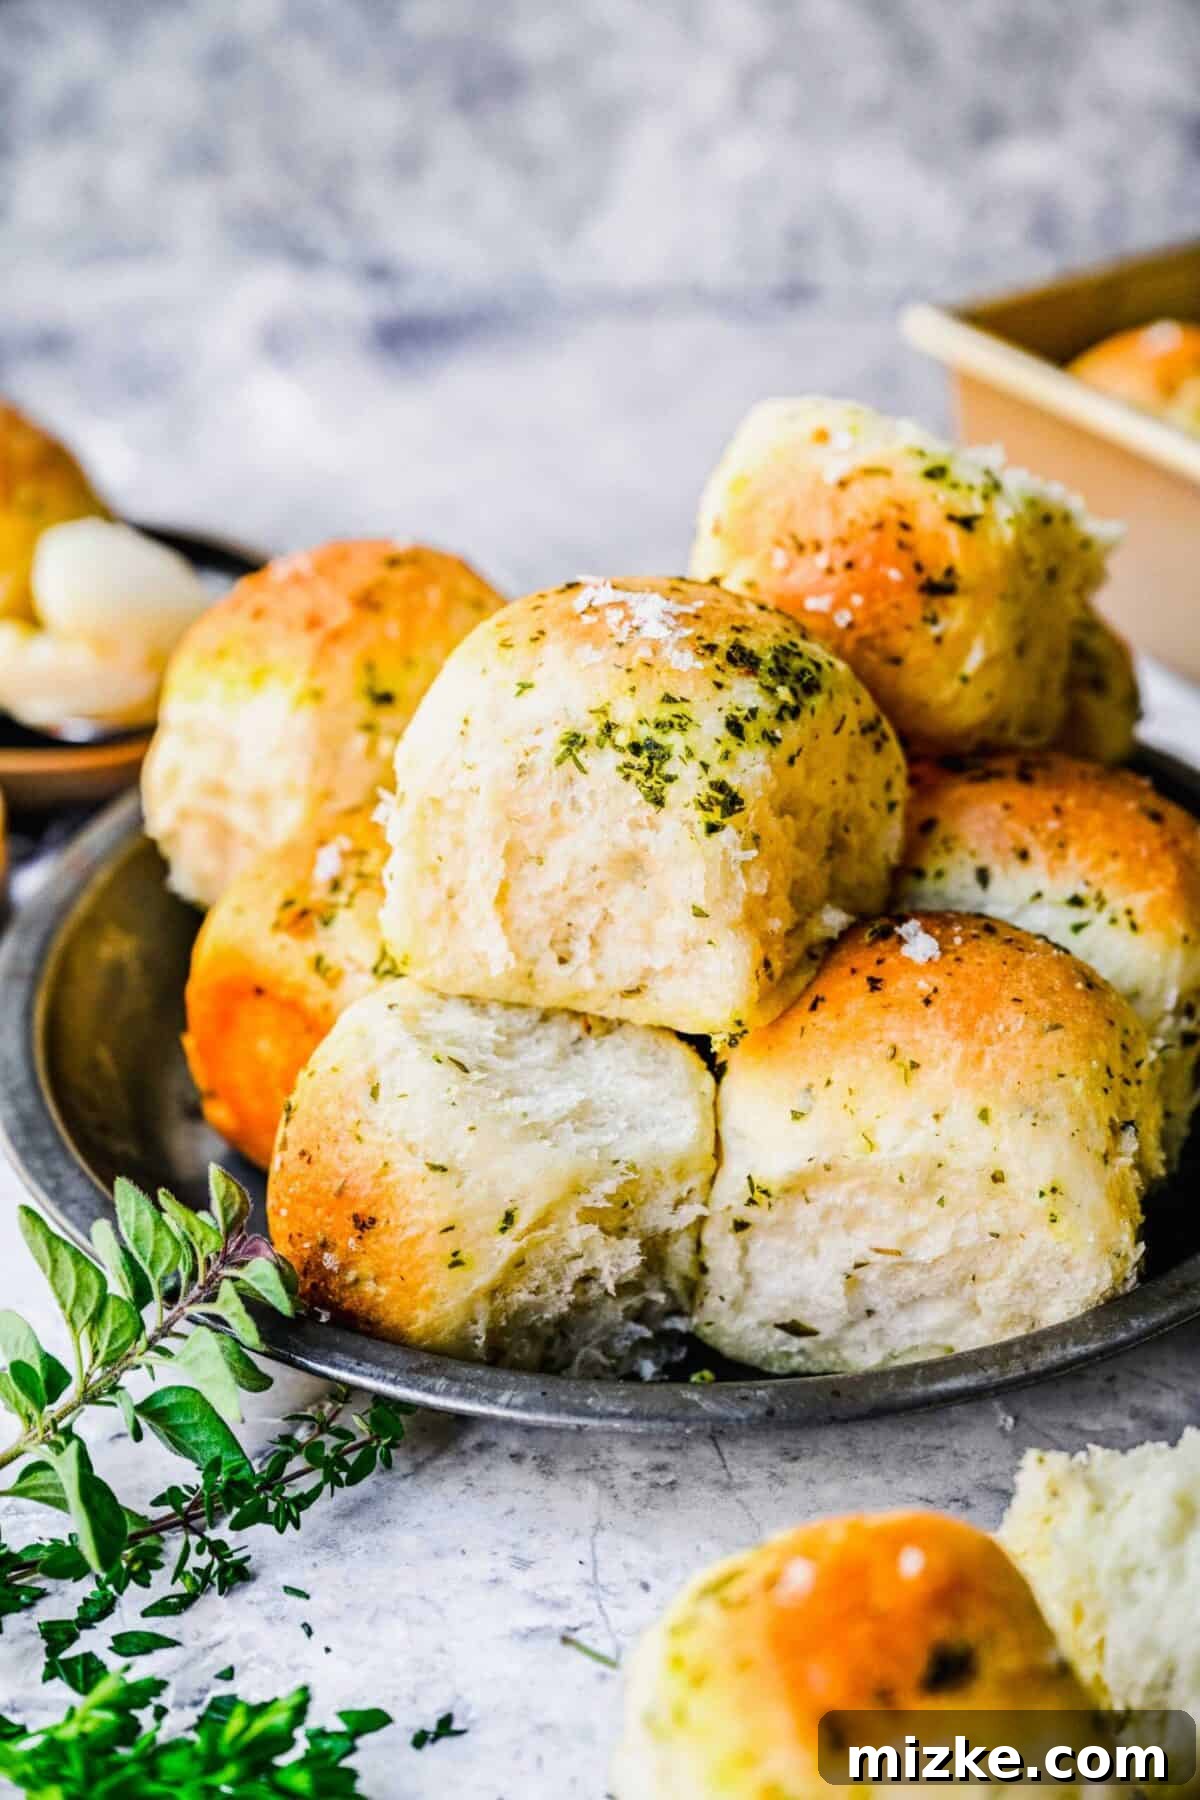
My absolute favorite way to serve these garlic herb parker house rolls is alongside a saucy entree. Their tender, buttery crumb is perfect for soaking up every last bit of rich gravy or flavorful sauce, ensuring a truly satisfying meal. Here are some of my top recommendations for what to pair with this irresistible bread:
- One-Pot Creamy Chicken and Sun-Dried Tomato Pasta: The luscious sauce in this pasta is practically begging for a tender roll to sop it all up.
- Apple Butter Pork Chops: The sweet and savory notes of the pork chops are beautifully complemented by the garlicky, herbaceous rolls.
- One-Pan Sausage and Vegetables: A hearty, flavorful meal that benefits from a soft, absorbent side like these rolls.
- Salisbury Steak Meatballs: The rich, savory gravy from Salisbury steak is a perfect match for these buttery rolls.
- Herbed Maple Dijon Glazed Pork Tenderloin: The sophisticated flavors of this pork dish find a comforting counterpart in the garlic herb rolls.
Storing and Reheating Your Delicious Leftovers
Should you be fortunate enough to have any of these delectable garlic herb parker house rolls leftover, proper storage will help maintain their freshness. You can store them in an airtight container or a sealed plastic bag at room temperature for up to 3 days. To enjoy them warm again, a quick zap in the microwave on high for about 20 seconds works wonders, or you can gently toast them in a toaster oven on medium heat until warmed through and lightly crisp.
For longer storage, these rolls freeze beautifully! Place them in an airtight plastic freezer bag, and they will keep well in the freezer for up to 4 months. To reheat from frozen, simply wrap the rolls in aluminum foil and bake them in a 350°F (175°C) oven for about 10 minutes, or until heated through. Alternatively, you can thaw the rolls completely at room temperature before reheating them in the microwave or toaster oven as described above.
More Irresistible Bread Recipes to Try
I sincerely hope you enjoyed creating and savoring these incredibly moist and flavorful garlic herb parker house rolls. If you loved the experience of baking fresh bread, then I encourage you to explore some of my other favorite bread recipes. Each offers a unique and delicious way to bring the joy of homemade bread to your table!
- Kiss Me If You Dare Extra Garlicky and Cheesy Bread
- Sweet & Soft Honey Butter Rolls
- Savory Ham and Cheese Pull Apart Bread
- Authentic Homemade Bagels
- Fragrant Rosemary Olive Oil Bread
Garlic Herb Parker House Rolls – The Full Recipe
These buttery and moist garlic herb parker house rolls are the ultimate side dish. They’re easy to make, packed with savory flavor, and the perfect accompaniment to soak up any leftover sauce on your plate. A must-try for any occasion!
By: Julie Chiou
Prep Time: 1 hour 40 minutes
Cook Time: 22 minutes
Total Time: 2 hours 2 minutes
Yields: 24 rolls
Equipment
- Stand mixer
- Pastry mat
- 9×13 inch baking pan
Ingredients
For the Rolls:
- 1 ½ cups (355 ml) whole milk
- ½ cup (114 g) unsalted butter
- 4 ½ teaspoons active dry yeast
- 4 cups (500 g) all-purpose flour
- 2 tablespoons granulated sugar
- 1 tablespoon salt
- 2 tablespoons (4 g) chopped fresh herbs of choice (such as thyme, rosemary, parsley, oregano, sage)
- 4 large cloves of minced garlic
For the Topping:
- 2 tablespoons (28 g) unsalted butter, melted
- 2 cloves minced garlic
- 2 teaspoons finely chopped fresh herbs
- Flaky salt, (optional, for garnish and extra texture)
Instructions
- Heat the milk and butter in a small saucepan over medium heat until the butter is completely melted. Remove from heat and allow the mixture to cool to 110°F (43°C). This specific temperature is crucial for proper yeast activation. Add the active dry yeast and stir until it’s fully dissolved. Let the mixture stand for 10 minutes until frothy.
- In the bowl of a stand mixer fitted with the dough hook attachment, combine the all-purpose flour, sugar, and salt. Beat on low speed until just combined. Add the cooled milk/butter/yeast mixture, minced garlic, and chopped herbs. Mix on low speed until the dough begins to come together. Increase the speed to medium and continue mixing until the dough is smooth, elastic, and pulls away from the sides of the bowl, approximately 4 to 5 minutes. If the dough seems too wet, add more flour one tablespoon at a time until the desired consistency is achieved.
- Remove the dough from the bowl, lightly oil the inside of the bowl, and return the dough to it. Turn the dough once to coat. Cover the bowl tightly with plastic wrap or a clean kitchen towel and let it rise in a warm, draft-free place until it has doubled in volume, about 1 hour.
- While the dough is rising, grease a 9×13 inch baking pan thoroughly.
- Once risen, gently punch down the dough to release the air. Transfer it to a lightly floured work surface. Divide the dough into two equal halves. Roll each half into a log approximately 12 inches long. Using a bench scraper or sharp knife, cut each log into 12 equal pieces, yielding 24 pieces in total.
- Take each dough piece and roll it tightly into a smooth ball. Arrange the dough balls in the prepared baking pan, ensuring they are evenly spaced.
- Cover the pan loosely with plastic wrap or a clean towel and let the rolls rise in a warm place for another 30 minutes (the second rise).
- Preheat your oven to 375°F (190°C).
- In a small bowl, stir together the melted butter, the remaining minced garlic, and finely chopped herbs for the topping.
- Brush the tops of the risen rolls generously with the garlic herb butter mixture. If desired, sprinkle with flaky salt.
- Bake in the preheated oven for 20-22 minutes, or until the rolls are beautifully golden brown and cooked through. Serve warm and enjoy!
Notes
Store leftover rolls in an airtight container or bag at room temperature for up to 3 days, or in the freezer for up to 4 months for longer enjoyment.
Nutrition (Approximate per 1 roll serving)
Serving: 1 roll, Calories: 139 kcal, Carbohydrates: 19g, Protein: 4g, Fat: 6g, Saturated Fat: 3g, Polyunsaturated Fat: 0.3g, Monounsaturated Fat: 1g, Trans Fat: 0.2g, Cholesterol: 15mg, Sodium: 299mg, Potassium: 70mg, Fiber: 1g, Sugar: 2g