

Delight Your Corgi: Easy, Healthy & Adorable Homemade Dog Biscuit Treats!
There’s nothing quite like the boundless joy a homemade treat brings to our beloved furry companions. Today, we’re diving into a delightful baking adventure that promises wagging tails and happy barks: crafting the cutest Corgi-shaped dog biscuit treats! And who better to star in this culinary escapade than my own adorable Corgi, Winston? Below, you’ll find a heartwarming, full-length video showcasing Winston’s utterly charming reactions to these special biscuits. I might be a little biased, but it truly is one of the most endearing videos I’ve ever had the pleasure of creating. His sheer cuteness is off the charts!
Why Choose Homemade Dog Treats?
In a world filled with processed pet foods and treats, making your own offers unparalleled benefits. When you bake for your dog, you have complete control over every ingredient. This means you can confidently avoid artificial preservatives, unnecessary sugars, excessive salts, and potentially harmful additives commonly found in commercial products. It’s about providing your pup with wholesome, natural goodness that contributes to their overall health and well-being. Plus, there’s an undeniable joy and a deeper bond formed when you prepare something special just for them.
These delicious homemade dog biscuits are 100% edible for your canine companion. While technically safe for human consumption, they are intentionally formulated without sugar or salt, giving them a dry, bland taste that isn’t exactly appealing to human palates. (Trust me, I speak from… purely theoretical experience!)
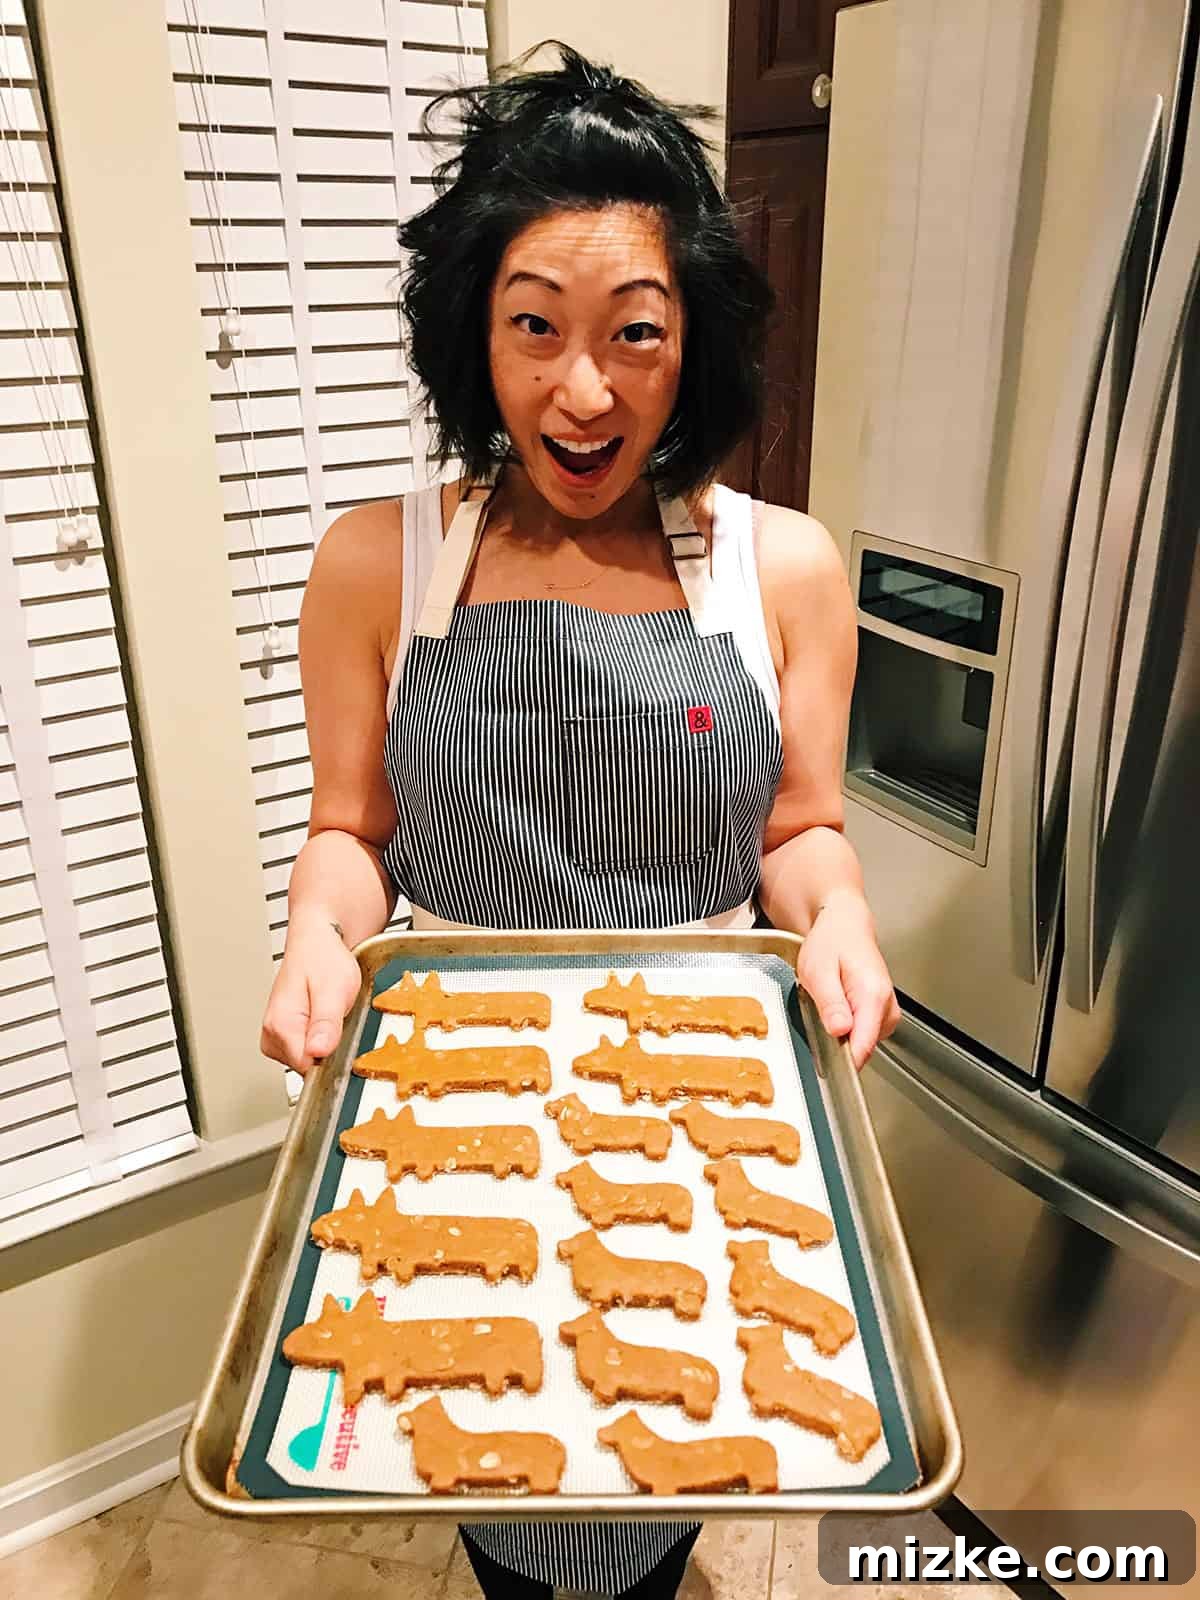
Winston absolutely adored these treats, as you’ll witness in the captivating photos and video footage. With an abundance of these delightful biscuits on hand, we decided to share the love with all his furry friends at doggy daycare. The response was unanimous: they were a huge hit, quickly devoured with enthusiastic gusto by every dog!
The Sweet Inspiration: A Sign from the Cookie Cutters
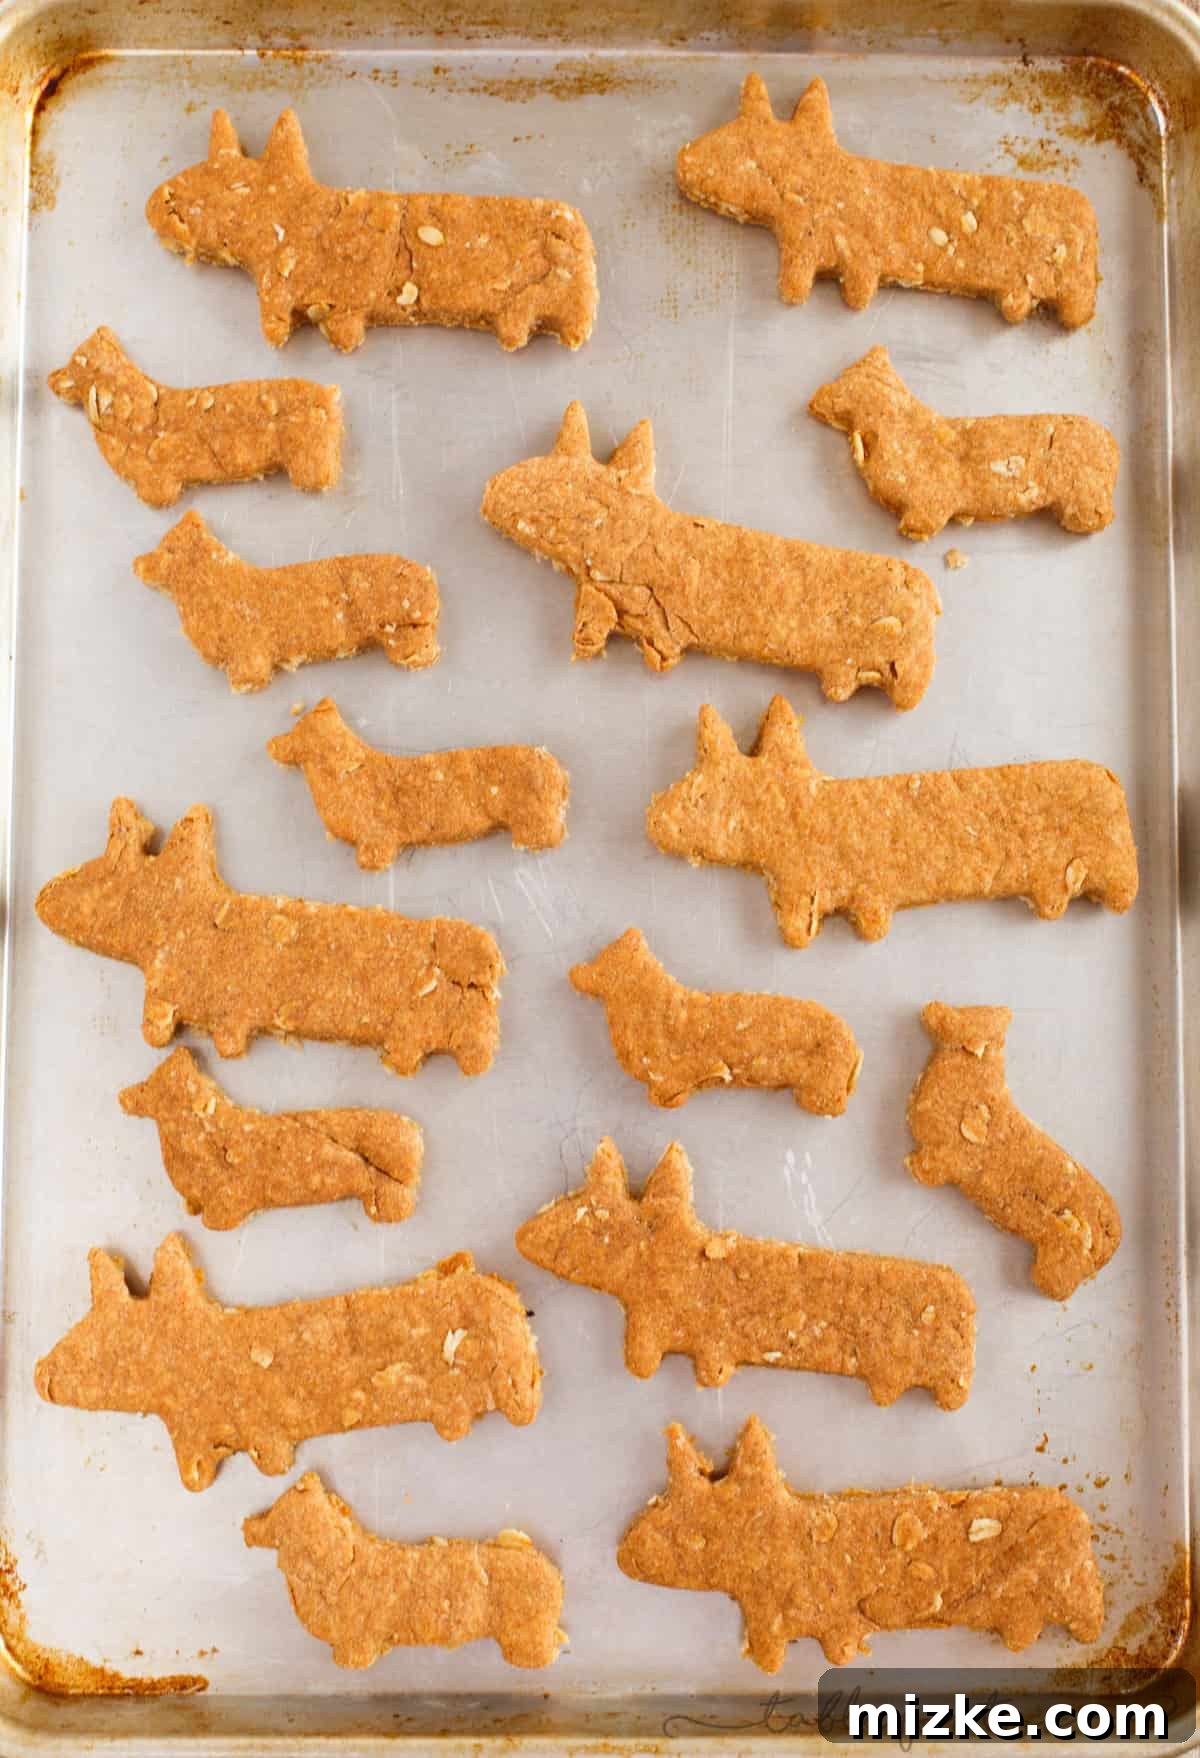
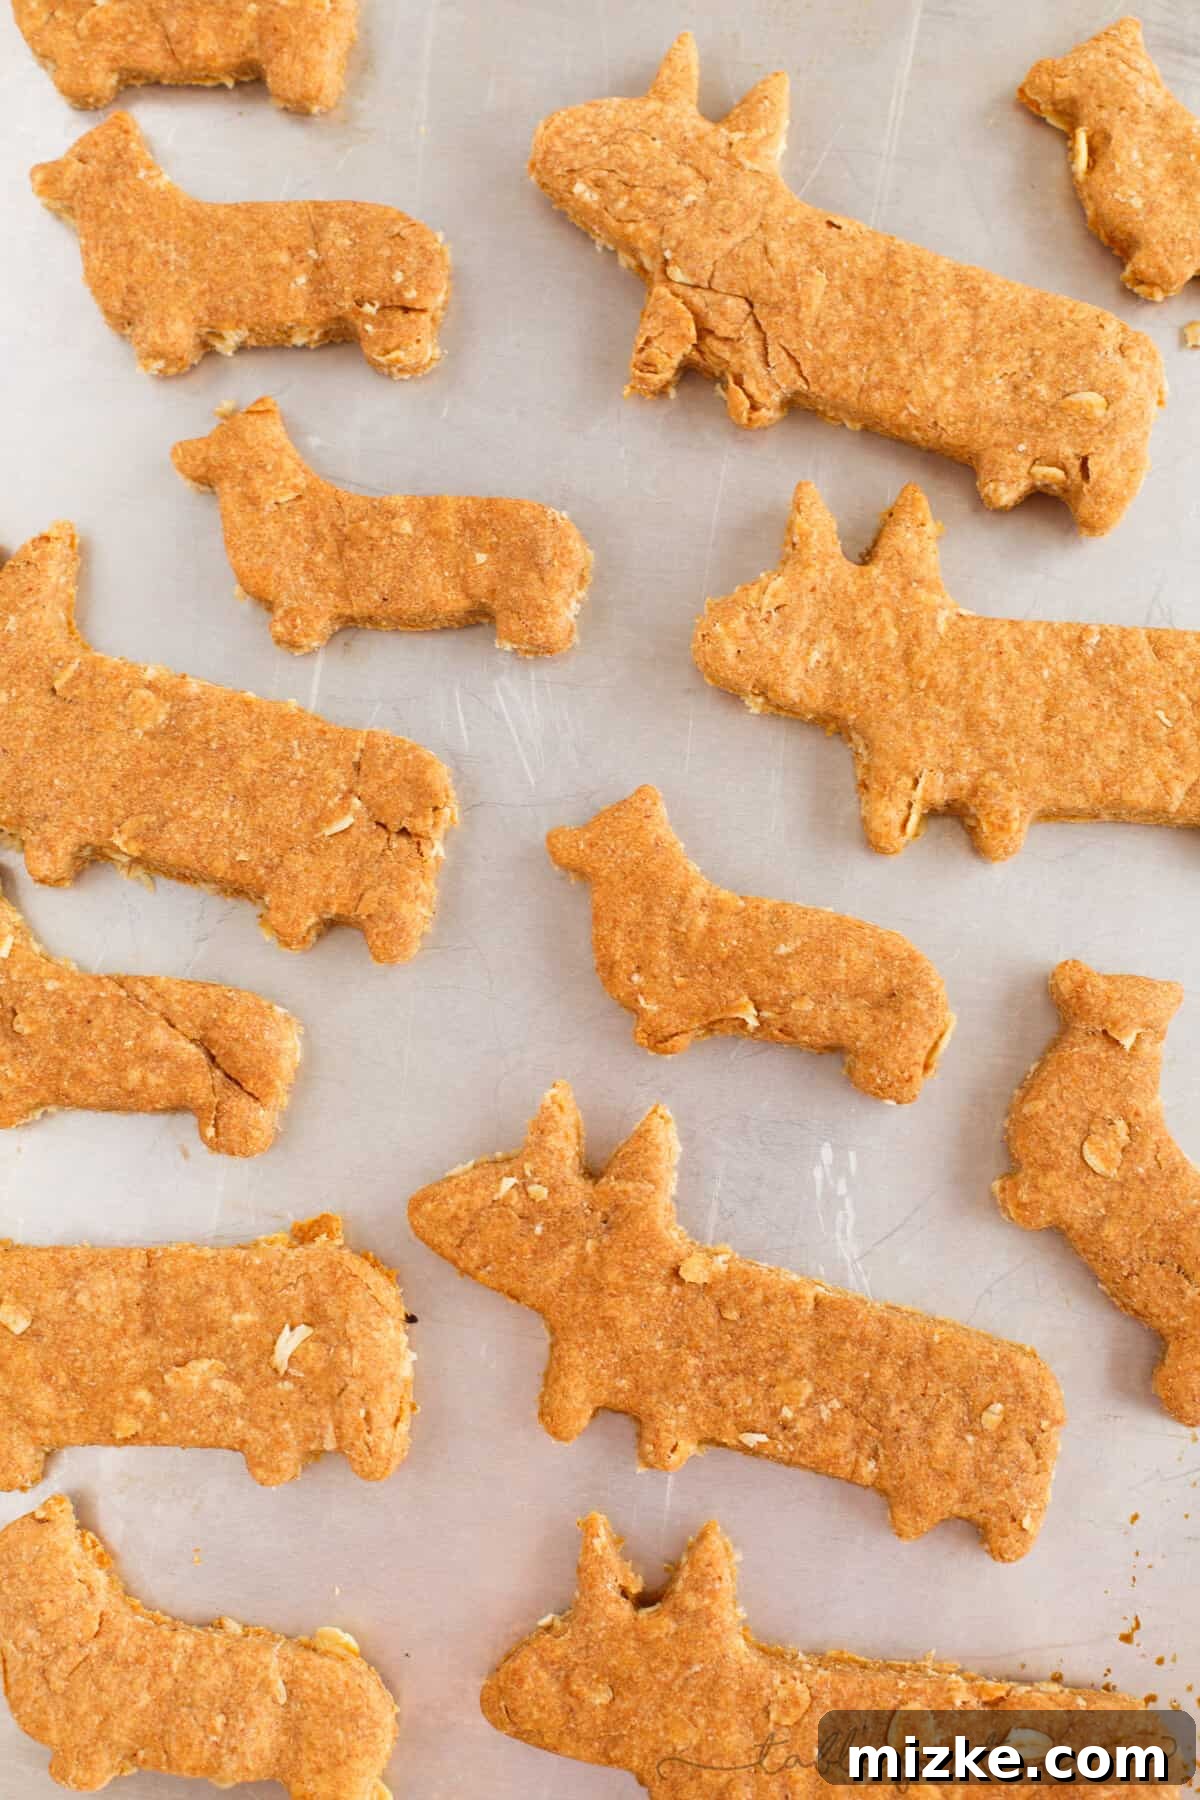
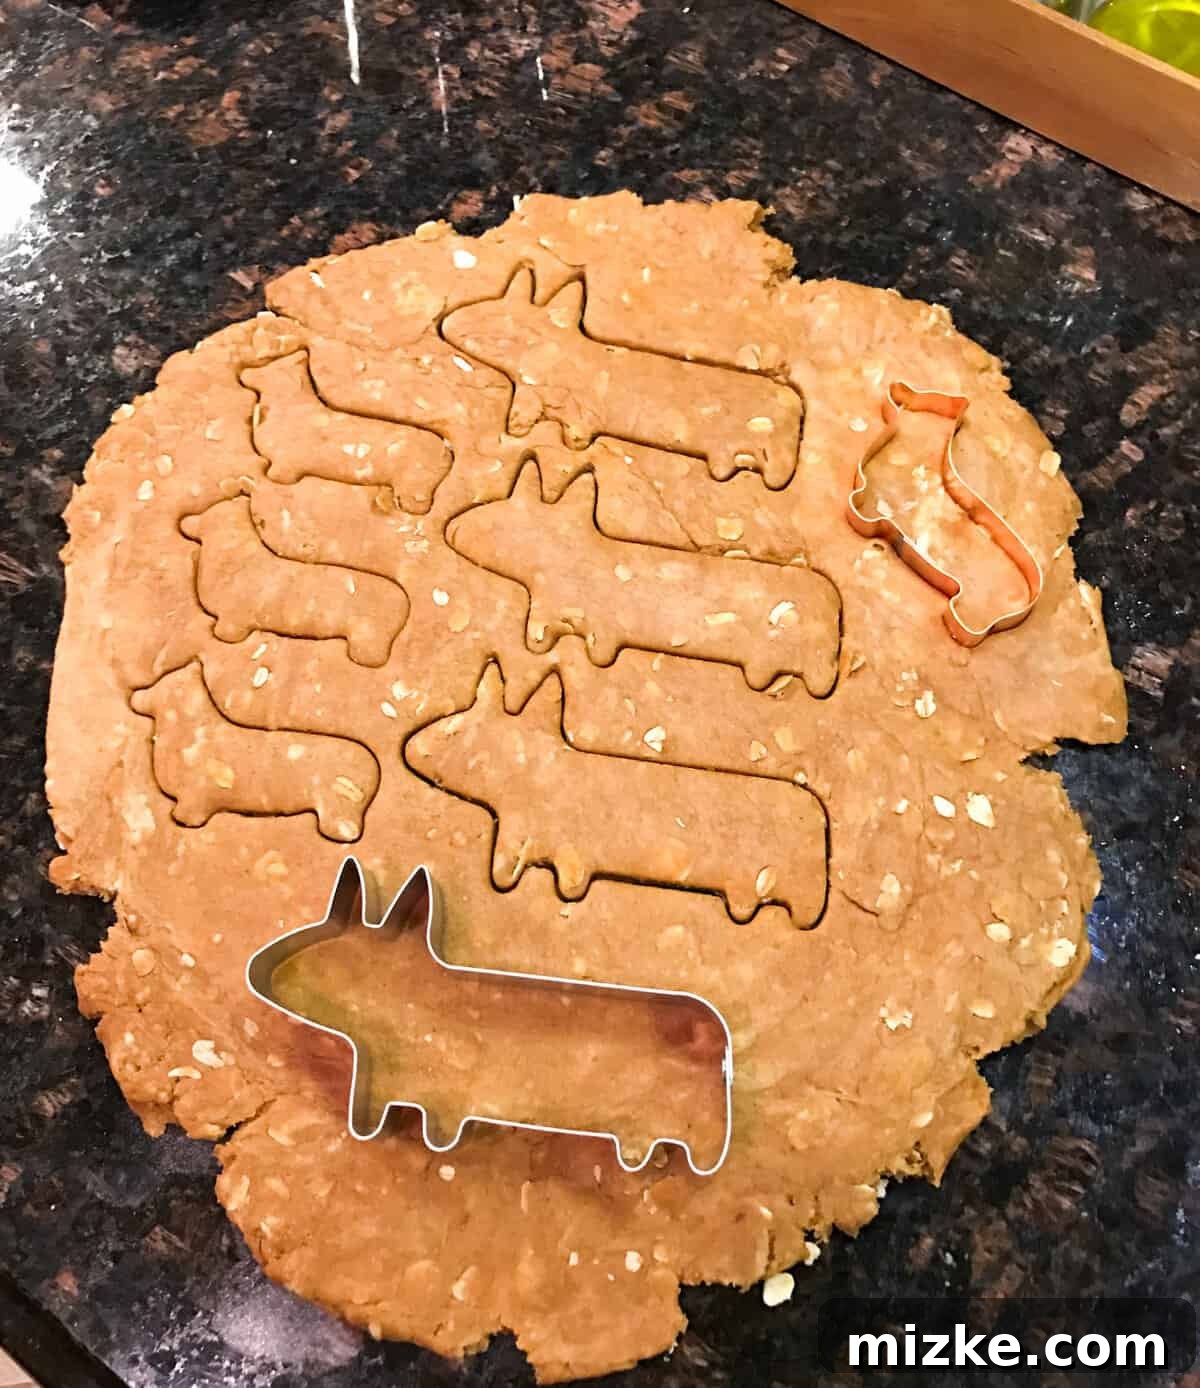
Sometimes, the universe sends you a clear signal. For Christmas, my dear friend Rachel gifted me an adorable Corgi cookie cutter. In a remarkable coincidence, that very same week, another Corgi cookie cutter I had ordered from Etsy (sadly, now sold out!) arrived at my doorstep. Two Corgi cookie cutters in one week? It was an unmistakable sign, a clear call to action from the dog treat gods, urging me to embark on this delightful journey of making homemade dog treats.
These specialized cookie cutters aren’t just for human cookies; they’re perfect for adding a touch of whimsy and personality to your homemade dog biscuits. Imagine your pup happily munching on a treat shaped just like them! It adds an extra layer of fun to the baking process and makes the treats even more special.
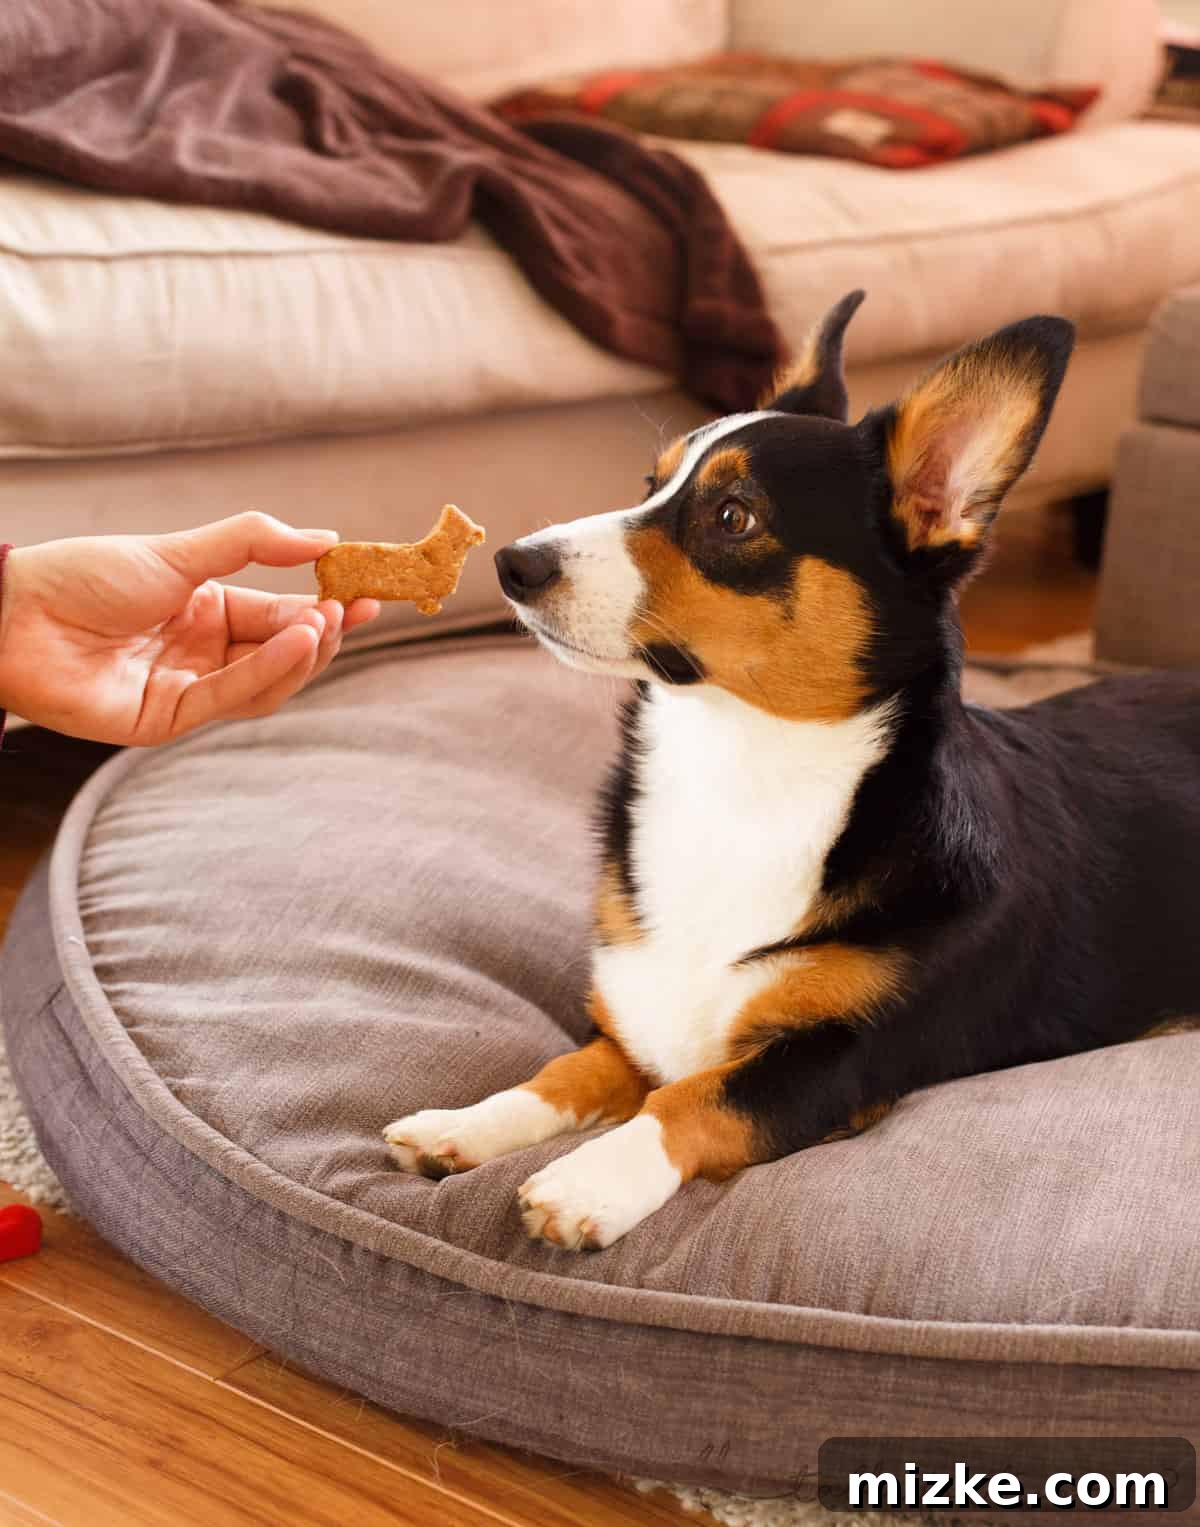
Winston’s expression in this particular photo is absolutely priceless. It’s as if he’s thinking, “You want me to do WHAT?! You want me to eat… me??” The comical confusion on his face is just one of the many reasons why sharing these baking adventures with our pets is so incredibly rewarding.
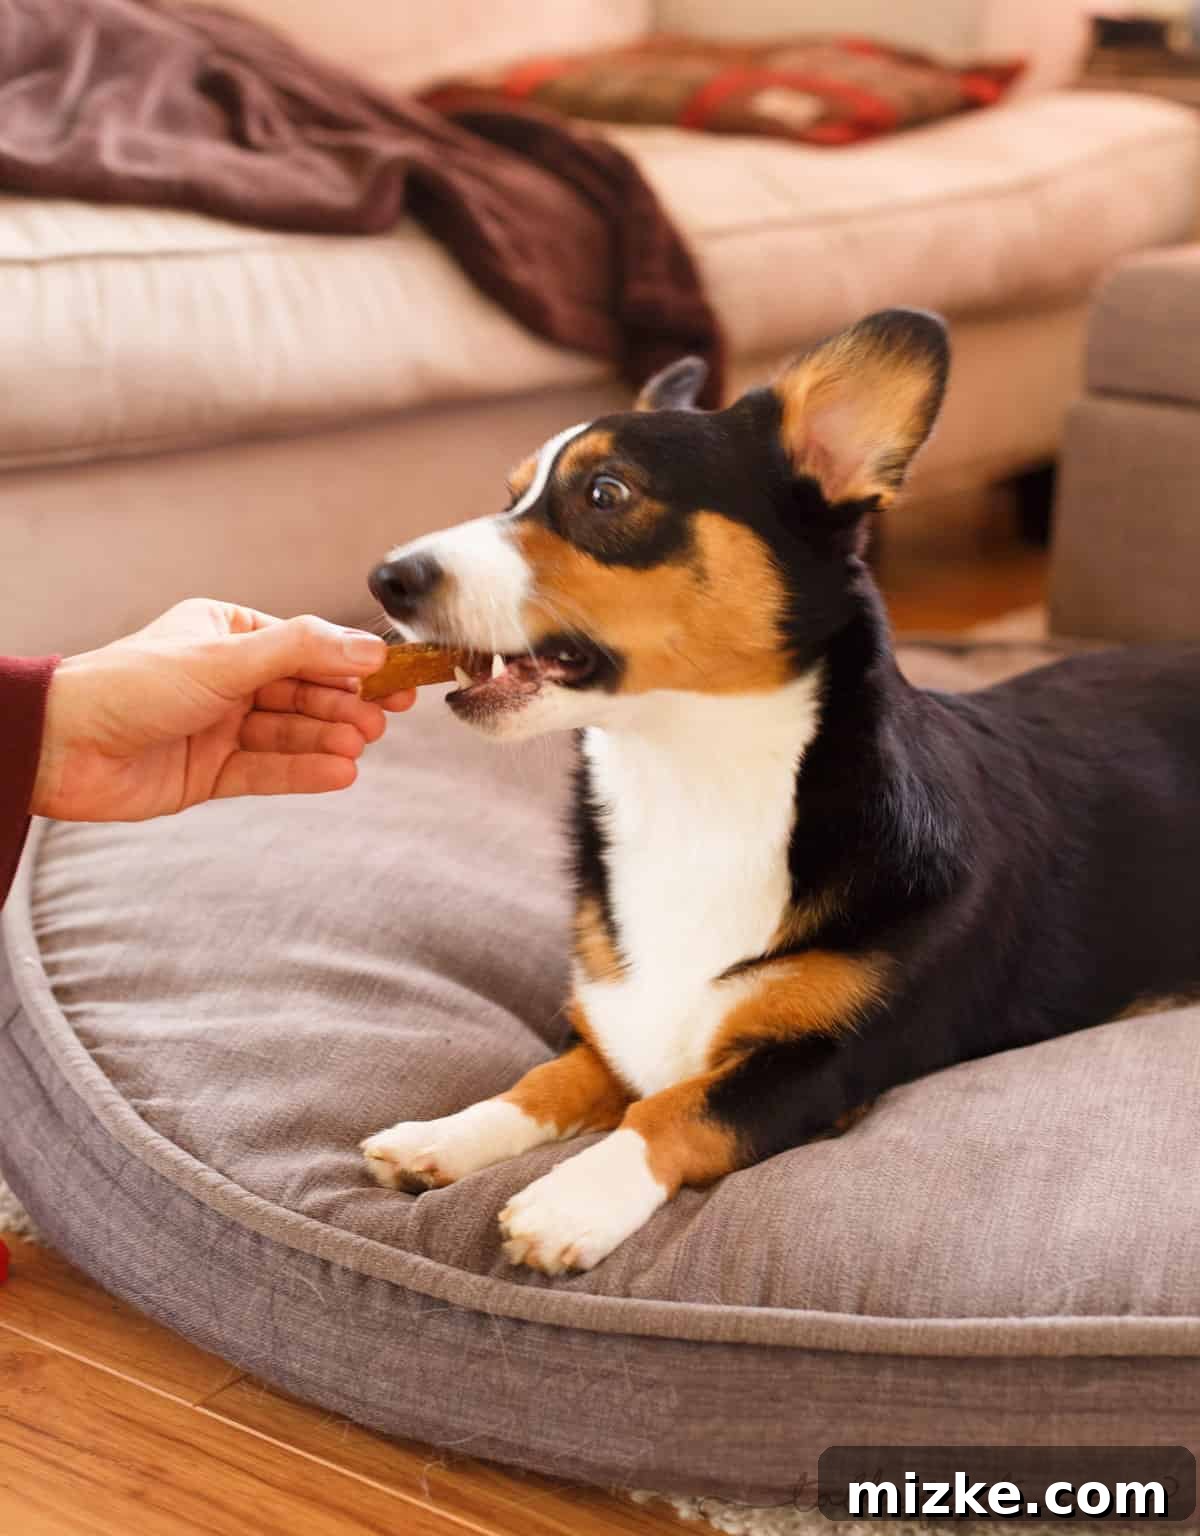
After a moment of profound Corgi contemplation, the irresistible aroma takes over. “Oh okay, fine,” his eyes seem to say, as he accepts his delicious doppelgänger.
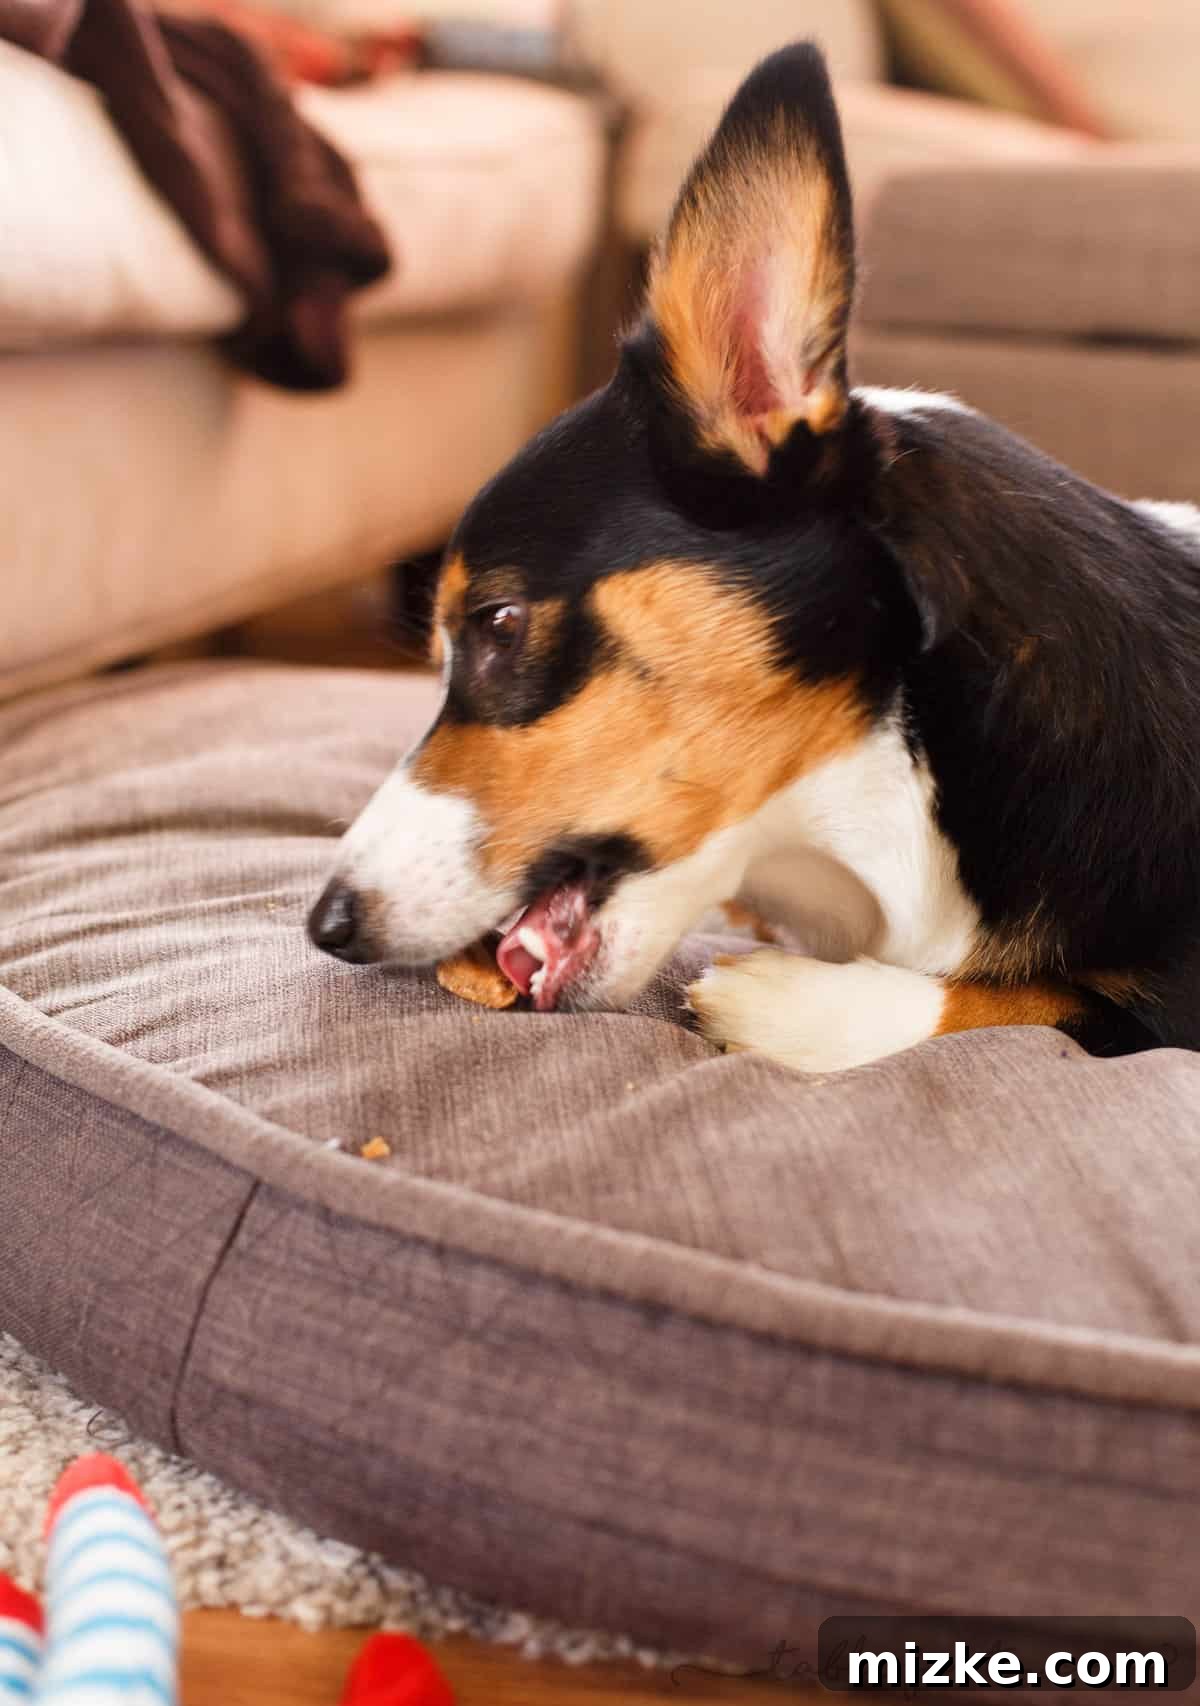
And then, with an enthusiastic “If you insist!!” he dives in, demonstrating his full approval of these delightful snacks.
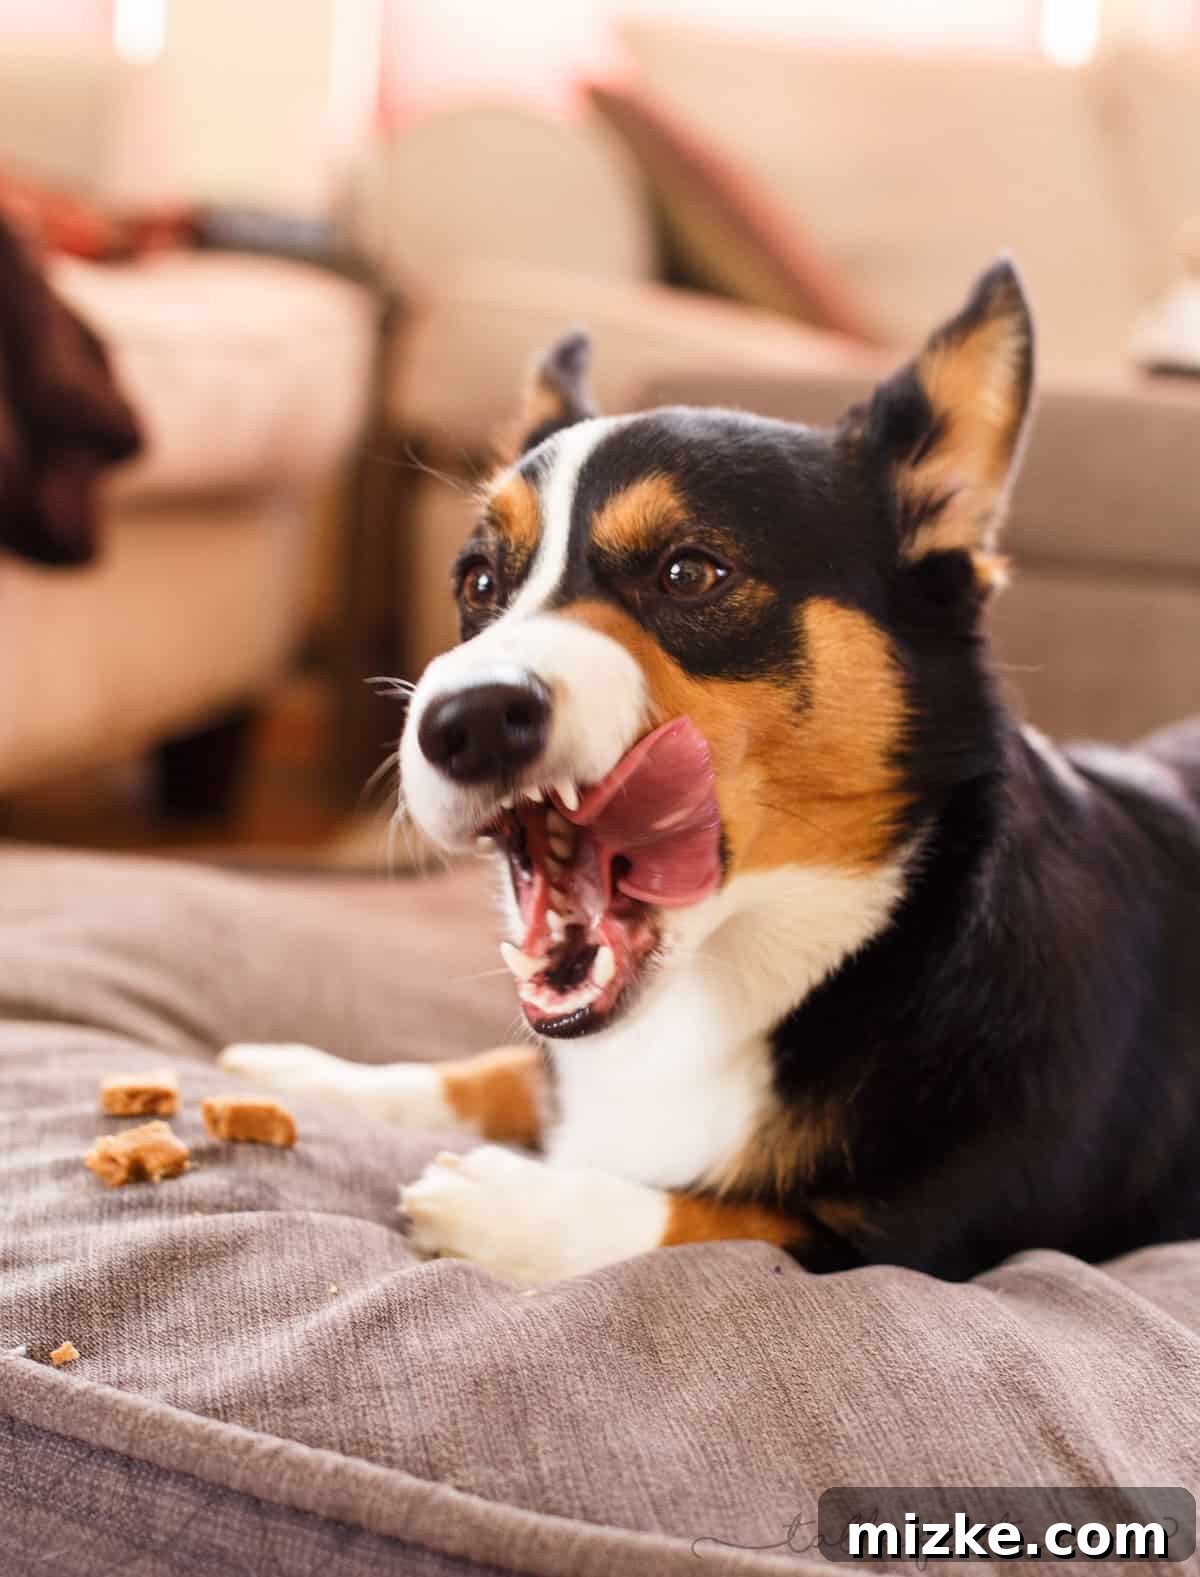
Om nom nom nom nom! That’s the sound of pure satisfaction from a happy Corgi enjoying a truly wholesome and tasty treat. There’s no greater reward for a pet parent than seeing their dog utterly thrilled with something you’ve made with love.
Watch Winston’s Adorable Treat Test!
Don’t just take my word for it! Make these fantastic homemade dog biscuits for your little furry buddy (or check out these equally amazing peanut butter pumpkin dog treats from my friend, Gina!), and then be sure to watch the delightful video below! Winston truly stole the show, showcasing just how much he adores these special snacks. His reactions are guaranteed to bring a smile to your face and inspire you to get baking!
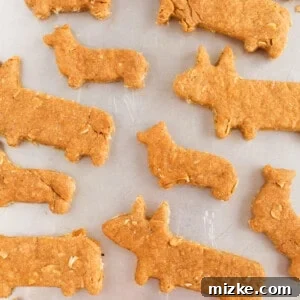
Corgi Dog Biscuit Treats
Julie Chiou
10 minutes
20 minutes
30 minutes
25
biscuits
Equipment
-
Large rimmed baking sheet
-
Rolling pin
-
Corgi Cookie Cutter (or any dog-safe cookie cutter)
Ingredients
-
2
cups
(240 g)
whole wheat flour,
plus more for dusting. Whole wheat flour provides more fiber than white flour, which is beneficial for canine digestion. -
½
cup
(41 g)
old fashioned oats. Oats are a great source of soluble fiber and are gentle on a dog’s digestive system. -
1
tablespoon
baking powder. This helps the biscuits rise slightly and achieve a pleasing texture. -
1
cup
(236 ml)
no sodium or low sodium chicken broth
. Chicken broth adds a savory flavor that dogs adore, without the excess sodium found in regular broths. -
1
cup
(258 g)
creamy all-natural peanut butter. Crucially, use a natural peanut butter where the ingredients are just PEANUTS (and maybe a little oil, which you stir in). Avoid brands like JIF or Skippy that contain added sugars, salts, or, most importantly, xylitol. Xylitol is an artificial sweetener that is highly toxic and dangerous for dogs, even in small amounts. Always double-check the ingredient list!
Instructions
-
Preheat your oven to
375 °F
(191 °C)
. Prepare a large baking sheet by lining it with a silicone baking mat or parchment paper. This prevents sticking and makes for easy cleanup. -
In a spacious mixing bowl, combine all the ingredients: whole wheat flour, old-fashioned oats, baking powder, no-sodium chicken broth, and all-natural peanut butter. Mix thoroughly until everything is well incorporated and the dough forms a cohesive ball. You’ll likely find it easiest to use your hands towards the end to bring all the ingredients together into a uniform dough.
-
Once your dough is formed, transfer it to a lightly floured flat surface. Using a rolling pin (also lightly dusted with flour to prevent sticking), roll out the dough to approximately ½-inch thickness. This thickness is ideal for creating biscuits that are sturdy enough for dogs to chew but still bake through properly. Then, use your chosen cookie cutters – perhaps adorable Corgi shapes! – to cut out the biscuits and gently place them on your prepared baking sheets.
-
Don’t let any dough go to waste! Gather any scraps of dough left over, gently form them into a ball, and re-roll to cut out more biscuits. Repeat this process until you’ve used up all the dough.
-
Bake the biscuits in your preheated oven for 20 minutes. After baking, carefully transfer the hot biscuits to a wire rack to cool completely. Cooling on a wire rack allows air to circulate around the biscuits, ensuring they become crisp and firm.
-
Store your homemade Corgi dog biscuit treats in an airtight container or treat jar at room temperature for up to 1 week. For longer storage, you can refrigerate them for up to 2 weeks or freeze them for several months. Always ensure they are completely cool before storing to prevent condensation and spoilage.
Video Tutorial
Nutrition Information (Approximate)
Serving:
1
biscuit
,
Calories:
102
kcal
,
Carbohydrates:
11
g
,
Protein:
4
g
,
Fat:
6
g
,
Saturated Fat:
1
g
,
Polyunsaturated Fat:
1
g
,
Monounsaturated Fat:
3
g
,
Sodium:
98
mg
,
Potassium:
107
mg
,
Fiber:
2
g
,
Sugar:
1
g
This website provides approximate nutrition information for convenience and as a courtesy only. Nutrition information can vary for a variety of reasons. For the most precise nutritional data use your preferred nutrition calculator based on the actual ingredients you used in the recipe.
The default measuring system for this website is US Customary. Unit conversions are provided for convenience and as a courtesy only. While we strive to provide accurate unit conversions, please be aware that there may be some discrepancies.
Tips for Baking Success & Happy Pups
- Ingredient Quality: Always prioritize high-quality, dog-safe ingredients. The caution about xylitol in peanut butter cannot be overstated. A quick check of the label is a small step that can save your pet from a serious health emergency.
- Dough Consistency: If your dough feels too dry and crumbly, add a tiny bit more chicken broth (a teaspoon at a time) until it comes together. If it’s too sticky, add a little extra whole wheat flour. The ideal consistency is firm but pliable.
- Even Thickness: Rolling the dough to a consistent ½-inch thickness ensures that all your biscuits bake evenly. Thinner biscuits might burn, while thicker ones might remain soft in the middle.
- Cool Completely: Don’t rush the cooling process! Allowing the biscuits to cool entirely on a wire rack is crucial for achieving that satisfying crunch and for optimal storage. Warm biscuits stored in an airtight container can create condensation, leading to soggy treats or even mold.
- Storage Solutions: Beyond an airtight jar, consider freezing a portion of your batch. This extends their shelf life significantly, allowing you to have fresh treats on hand whenever you need them. Simply thaw them at room temperature for a few hours before serving.
- Personalize the Shapes: While Corgi cookie cutters are undoubtedly the cutest, feel free to use any dog-themed cookie cutters you have – bones, paw prints, or even simple circles work perfectly. The shape doesn’t affect the taste, but it definitely adds to the fun!
- Introduce New Treats Slowly: If your dog isn’t used to homemade treats, introduce them slowly in small quantities to ensure their digestive system adjusts well.
- Consult Your Vet: Every dog is unique. If your dog has specific dietary restrictions, allergies, or health conditions, always consult your veterinarian before introducing new foods or treats into their diet.
Share the Love, One Biscuit at a Time!
There’s immense satisfaction in baking for your pet, knowing exactly what goes into their treats. These Corgi dog biscuit treats are not just delicious; they’re a testament to the love and care we have for our four-legged family members. Whether you have a playful Corgi like Winston, a majestic Golden Retriever, or a tiny Chihuahua, these wholesome biscuits are sure to be a beloved addition to their snack rotation.
So, roll up your sleeves, gather your ingredients, and get ready to create some tail-wagging happiness in your kitchen. We’d love to hear about your baking adventures and see photos of your pups enjoying their homemade treats!
There is an affiliate link within this post, which means I may earn a small commission at no extra cost to you if you make a purchase through it. This helps support the creation of more delightful content like this!