
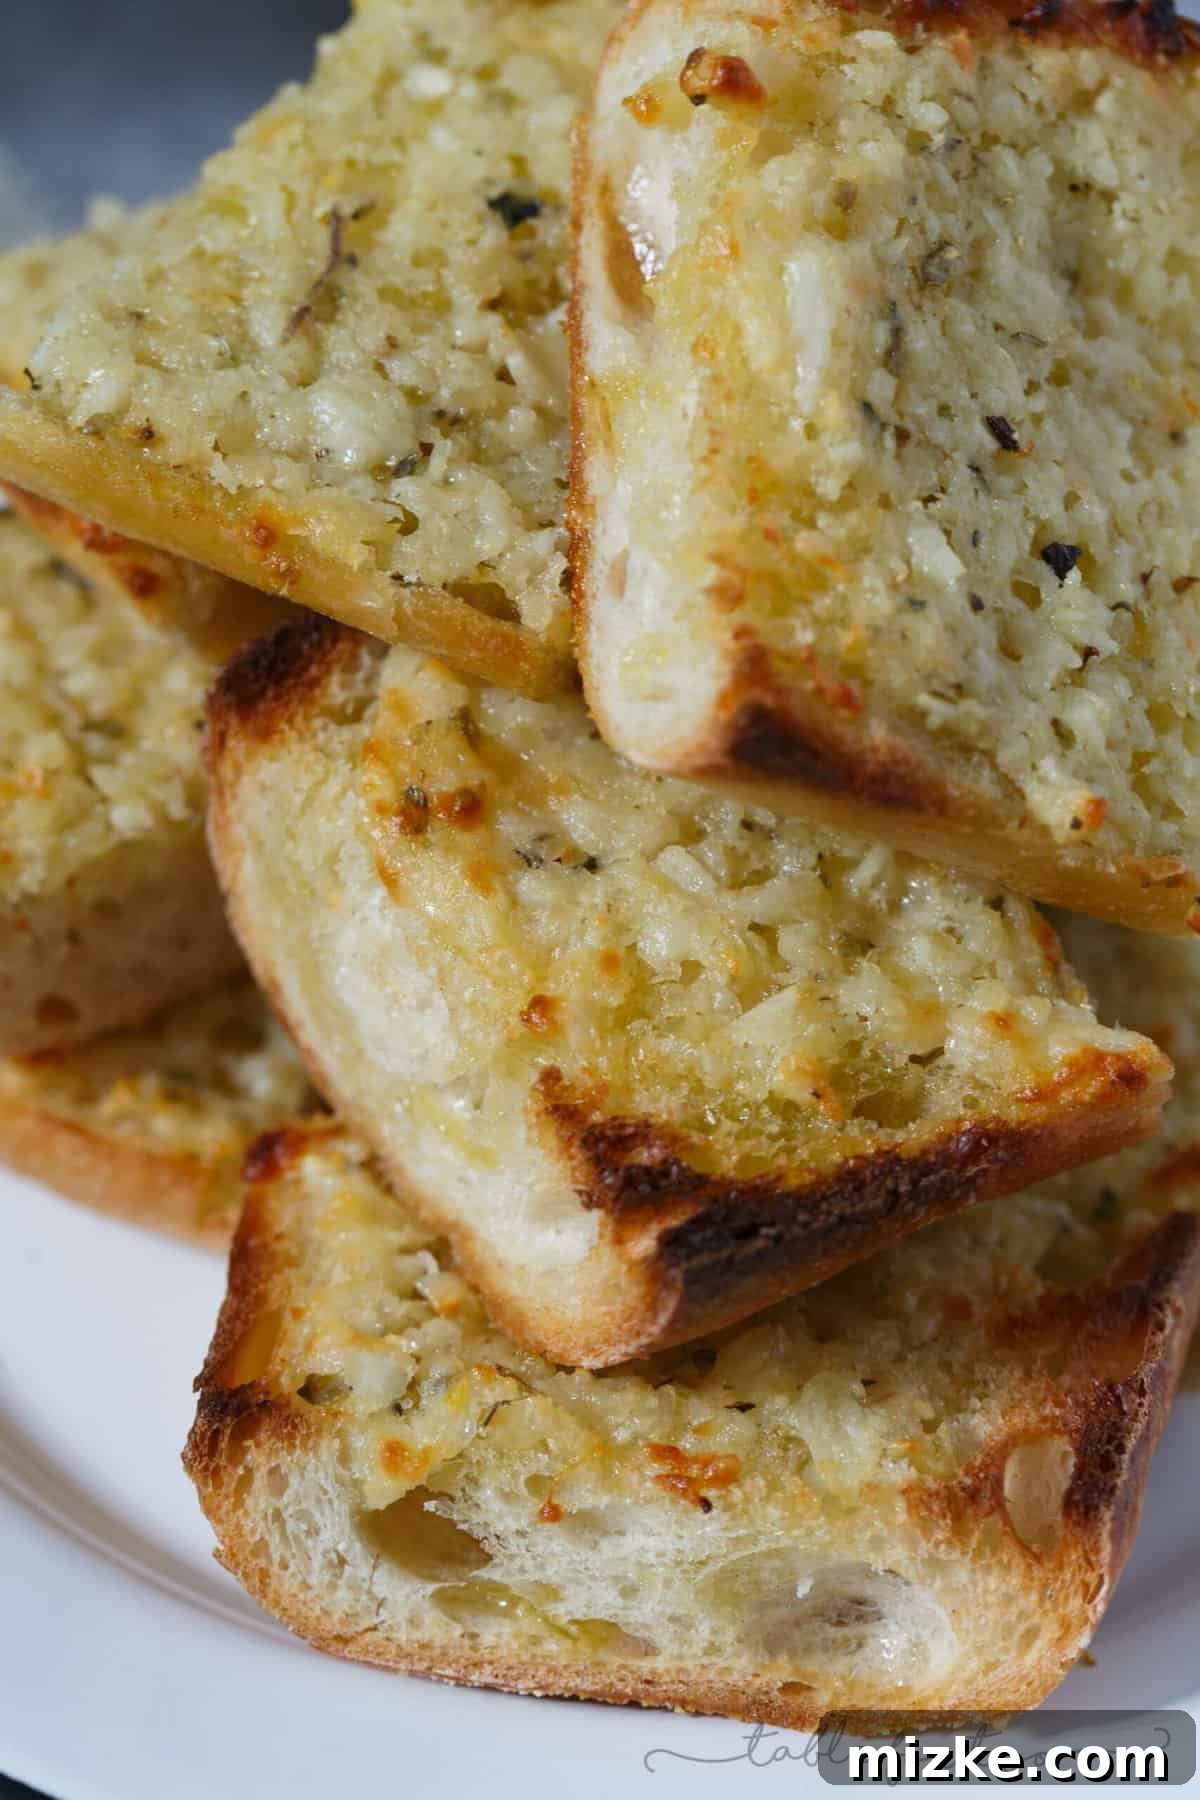
The Ultimate Garlic Bread: Extra Garlicky and Cheesy Perfection
Prepare yourself for an unparalleled culinary journey, because this is quite possibly the ONLY garlic bread recipe you’ll ever need in your life. It’s not just good; it’s EPIC. In fact, it transcends epicness. If you’re a fan of “Stranger Things,” imagine a flavor profile so profound, it’s like stepping into another dimension of deliciousness. This recipe truly redefines what garlic bread can be.
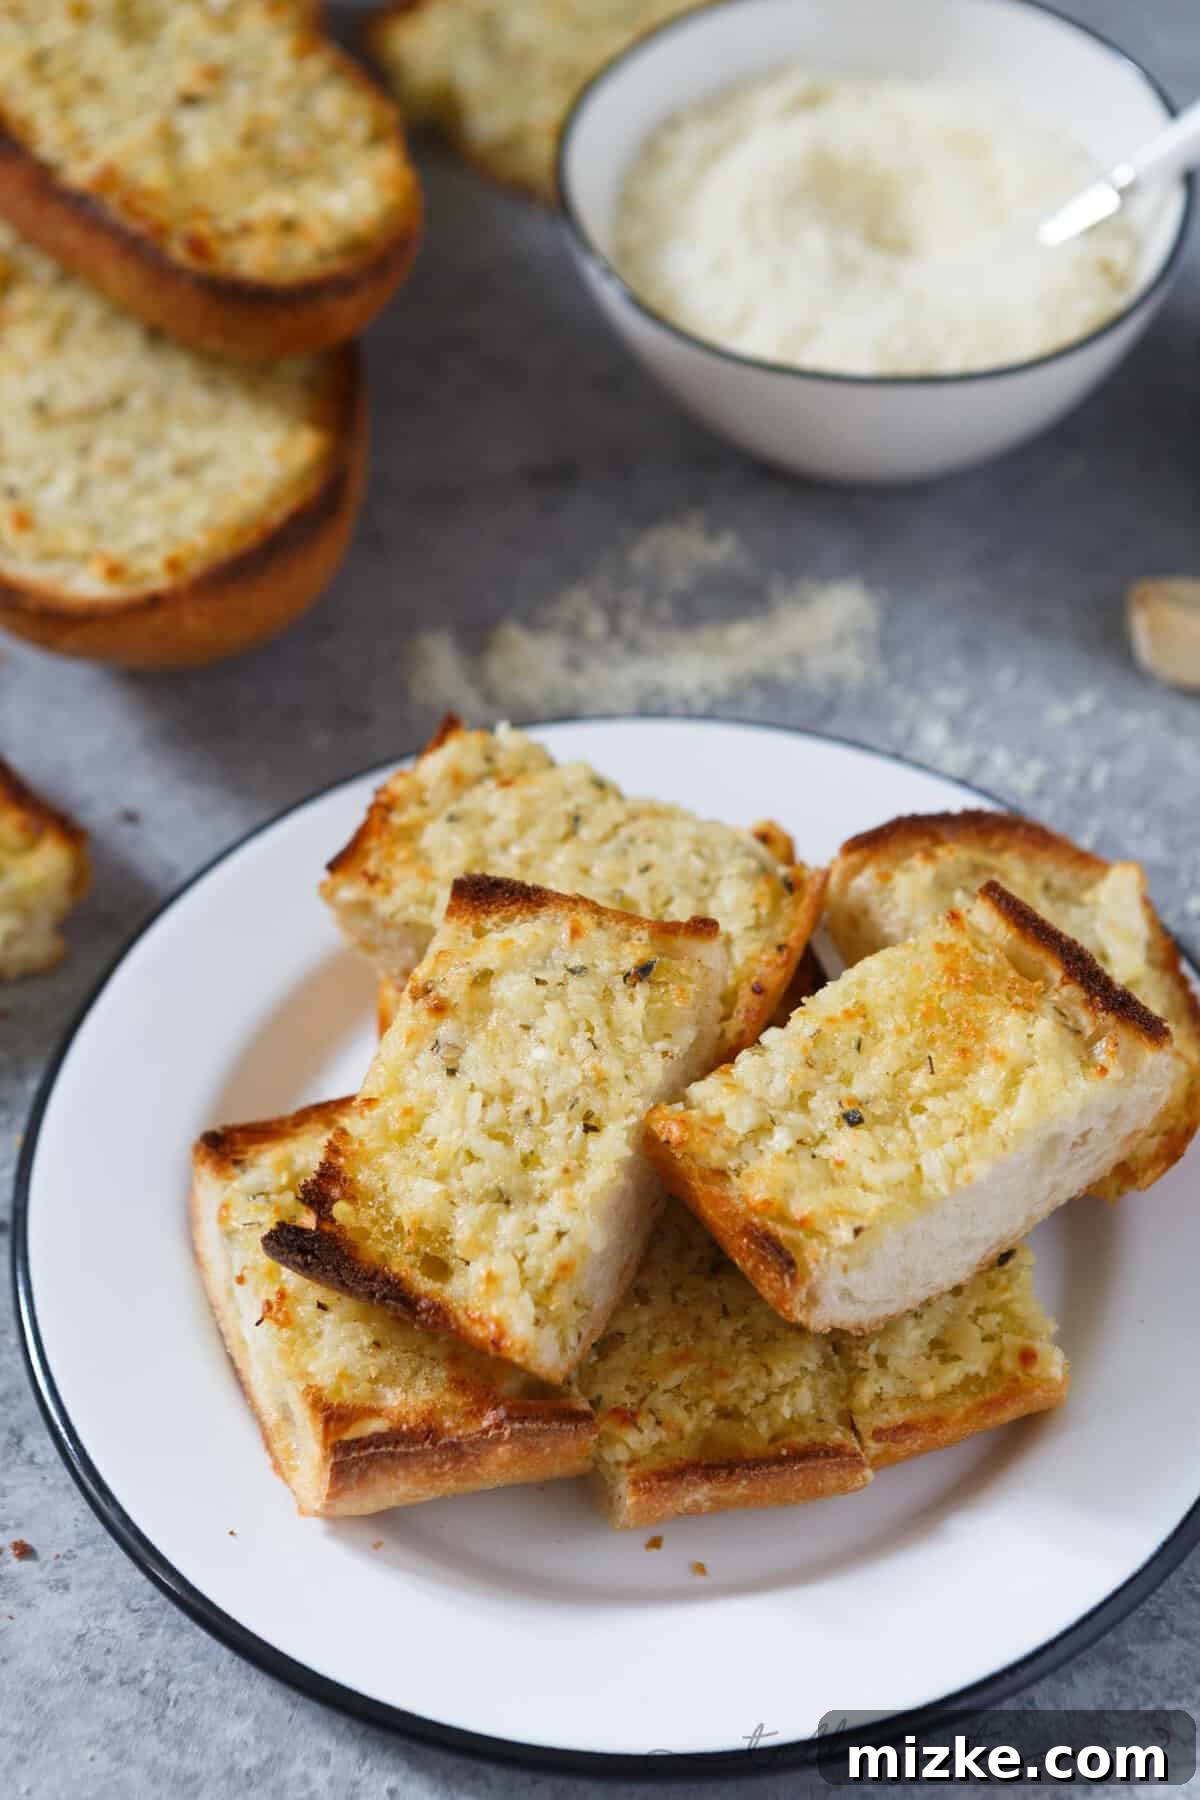
Why This Is The Best Extra Garlicky and Cheesy Bread You’ll Ever Make
For devoted garlic lovers, this recipe is a dream come true – a veritable trip to heaven! Yes, you’ll undoubtedly carry that glorious garlic aroma with you for the rest of the evening until you brush your teeth, but every single bite is 100% worth it. This isn’t your average garlic bread with a hint of flavor; this is a full-bodied, aromatic experience that will leave an unforgettable impression.
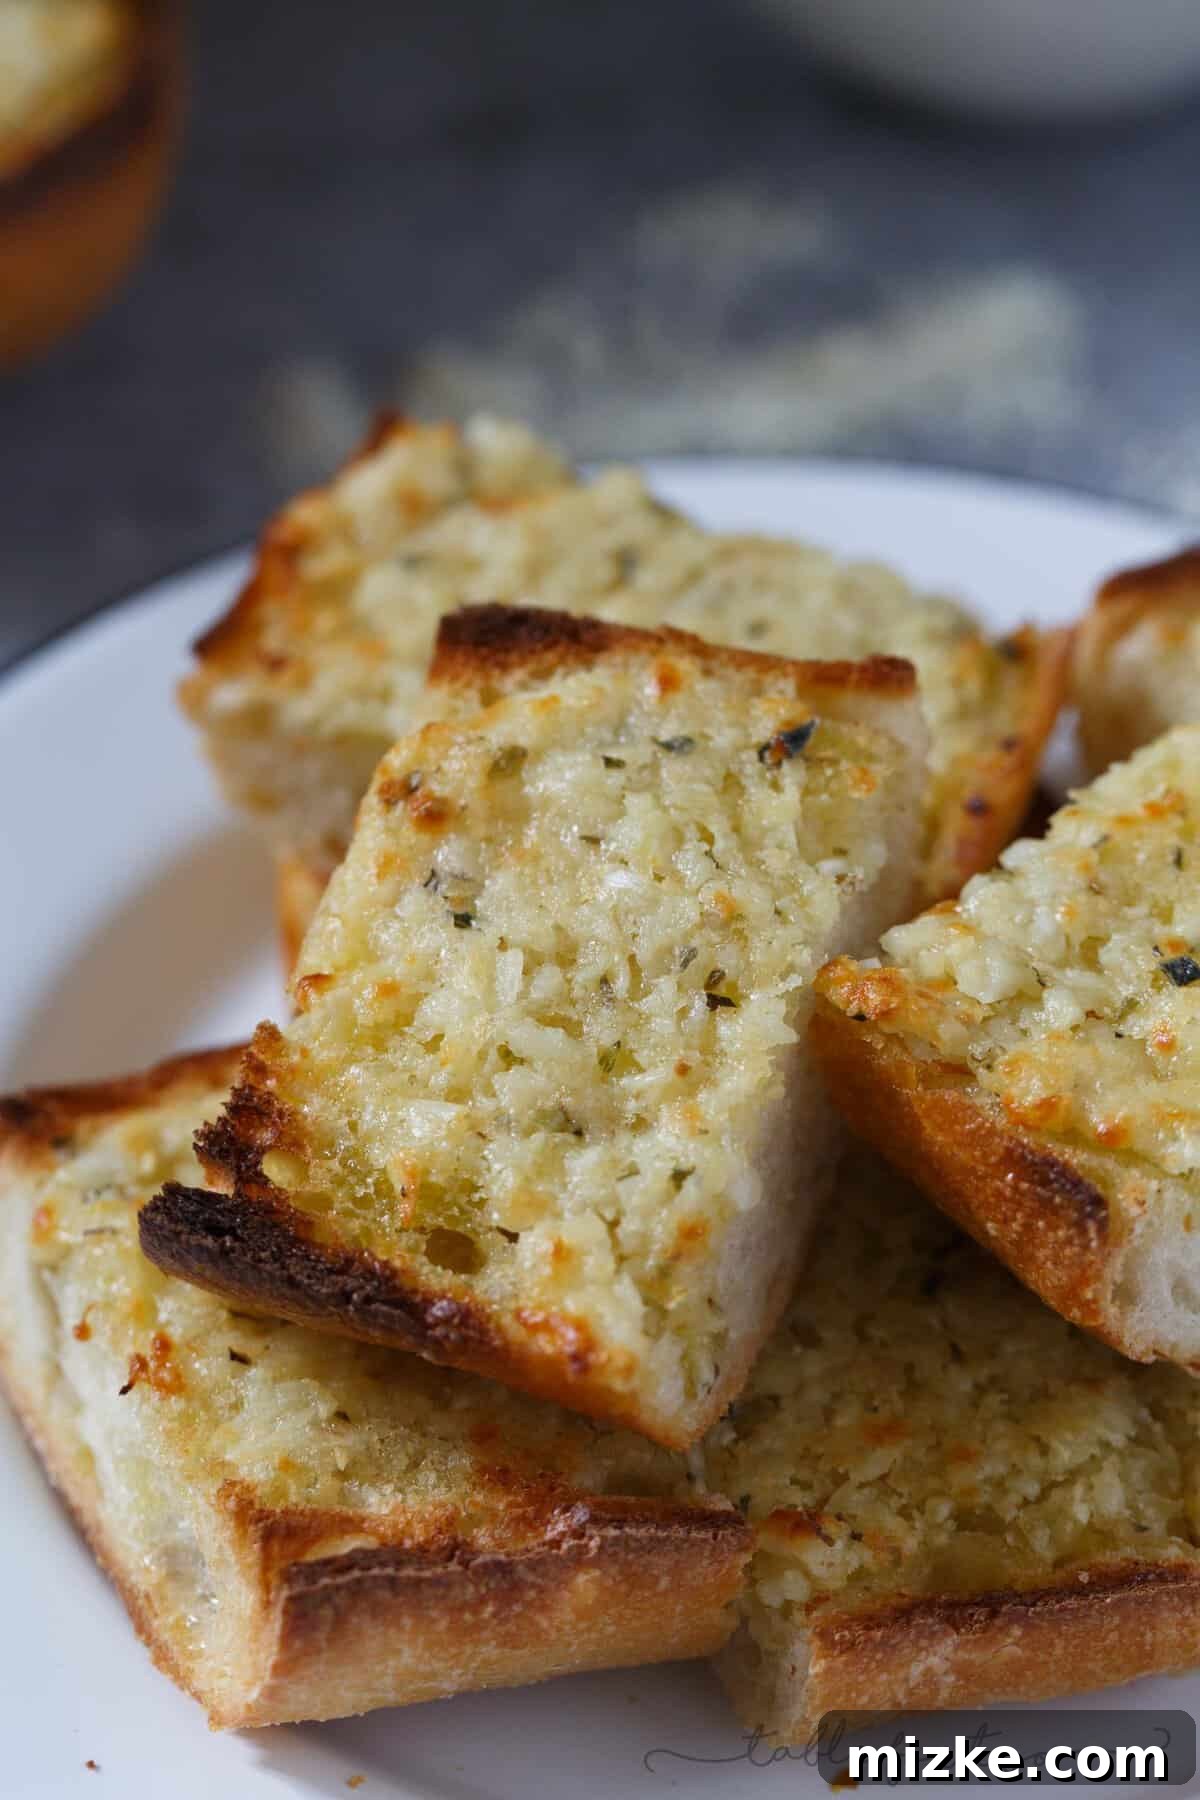
This extra garlicky and cheesy bread has single-handedly eclipsed every other garlic bread I’ve ever tasted. It is, without a doubt, the absolute **best** I’ve had. This might sound like a bold claim, but it’s entirely necessary to convey just how extraordinary this creation is. The secret lies in its generous use of ingredients: an impressive **21 cloves** (yes, twenty-one!) of fresh garlic, an abundance of rich Parmesan cheese, and the subtle complexity of fruity extra virgin olive oil. Each component plays a vital role in crafting a garlic bread that is truly in a league of its own, delivering an intense, satisfying flavor profile that keeps you coming back for more.
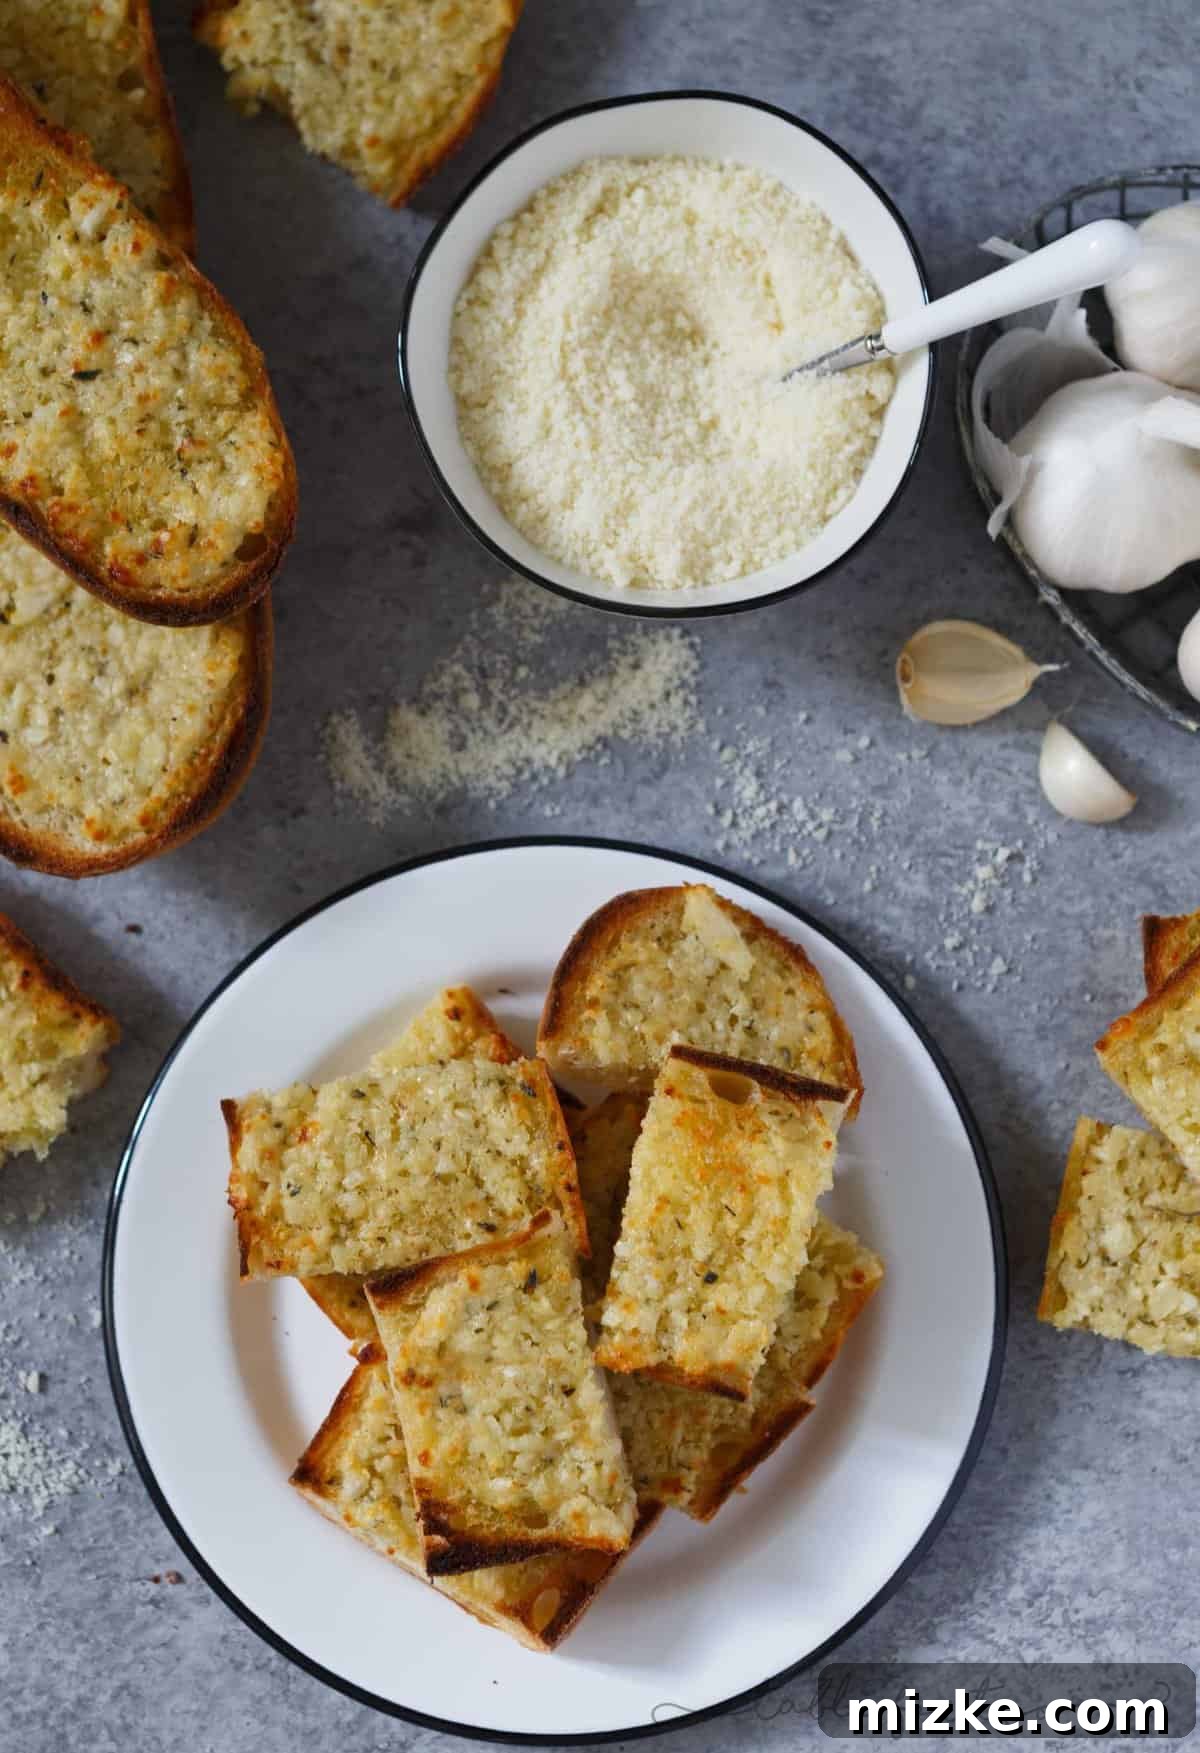
Essential Ingredients for the Ultimate Garlic Bread
Crafting this phenomenal garlic bread requires a few simple yet high-quality ingredients. Each one contributes to the depth and intensity of flavor:
- **French Baguette (or similar):** A good quality baguette, roughly 20 inches in length, is ideal. Its crusty exterior becomes perfectly crisp, while the soft interior absorbs the flavorful garlic-cheese mixture beautifully.
- **21 Cloves of Garlic, Finely Minced:** This is the star of the show! For an “extra garlicky” experience, don’t skimp. Freshly minced garlic is crucial for maximum flavor.
- **¾ Cup (75 g) Grated Parmesan Cheese:** Parmesan provides a sharp, salty, and nutty counterpoint to the garlic, and creates a delicious, bubbly crust when broiled.
- **⅔ Cup (158 ml) Extra Virgin Olive Oil:** Opt for a high-quality, fruity olive oil. It binds the garlic and cheese into a luxurious paste and adds a wonderful richness.
- **1 Teaspoon Dried Oregano:** This classic herb enhances the savory notes of the garlic and cheese, adding an earthy aroma.
- **½ Teaspoon Kosher Salt:** Essential for seasoning and balancing all the robust flavors.
Perfect Pairings: What to Serve with Your Garlicky Bread
While this garlic bread is undeniably satisfying enough to be devoured on its own, it also serves as an outstanding accompaniment to a wide array of dishes. Its robust flavor and satisfying crunch make it a versatile addition to any meal. For a simple yet delectable weeknight dinner, imagine it alongside a flavorful marinated pork tenderloin – the rich savory notes of the pork complement the intense garlic beautifully, creating a harmonious and deeply gratifying meal that will surely have everyone asking for seconds. Beyond that, this garlic bread pairs wonderfully with hearty Italian pasta dishes, soaking up rich tomato or cream sauces. It’s also fantastic with a fresh, crisp salad, adding a warm, savory element. Consider serving it with a comforting bowl of soup or stew, or as a side to grilled chicken or steak. The possibilities are endless when you have a garlic bread this good!
The Clever Way to Mince 21 Cloves of Garlic: A Must-Have Kitchen Gadget
Now, you might be wondering, “How do I possibly mince 21 cloves of garlic without dedicating an hour of my life or ending up with painfully sticky, garlicky fingers?” I assure you, I do have a life, and the secret weapon is this amazing garlic twister. Seriously, every single time I share this gem on Instagram, I’m convinced the company’s stock skyrockets! (Just kidding, mostly.) But it truly is one of my all-time favorite kitchen gadgets, and it seems everyone who tries it feels the same.
You know how culinary icon Alton Brown often advises against “uni-taskers” – kitchen tools designed for only one specific job? Well, this garlic twister is the rare exception that proves his rule wrong. It’s a uni-tasker that will genuinely save you significant time and protect your fingers from that stubborn garlic smell. The process is incredibly simple: first, you use the bottom of the garlic twister to smash your garlic cloves. Then, you toss a few cloves into the chamber (about 2-3 at a time, depending on their size). A few twists later, and you have perfectly minced garlic – a consistency that often surpasses even the most adept knife skills. Once minced, you just use a spoon or spatula to scoop out the garlic, completely avoiding those “garlicky fingers,” and you’re well on your way to assembling your sensational extra garlicky and cheesy bread. This little tool makes preparing a large quantity of garlic an absolute breeze, transforming a potentially tedious task into a quick and enjoyable step.
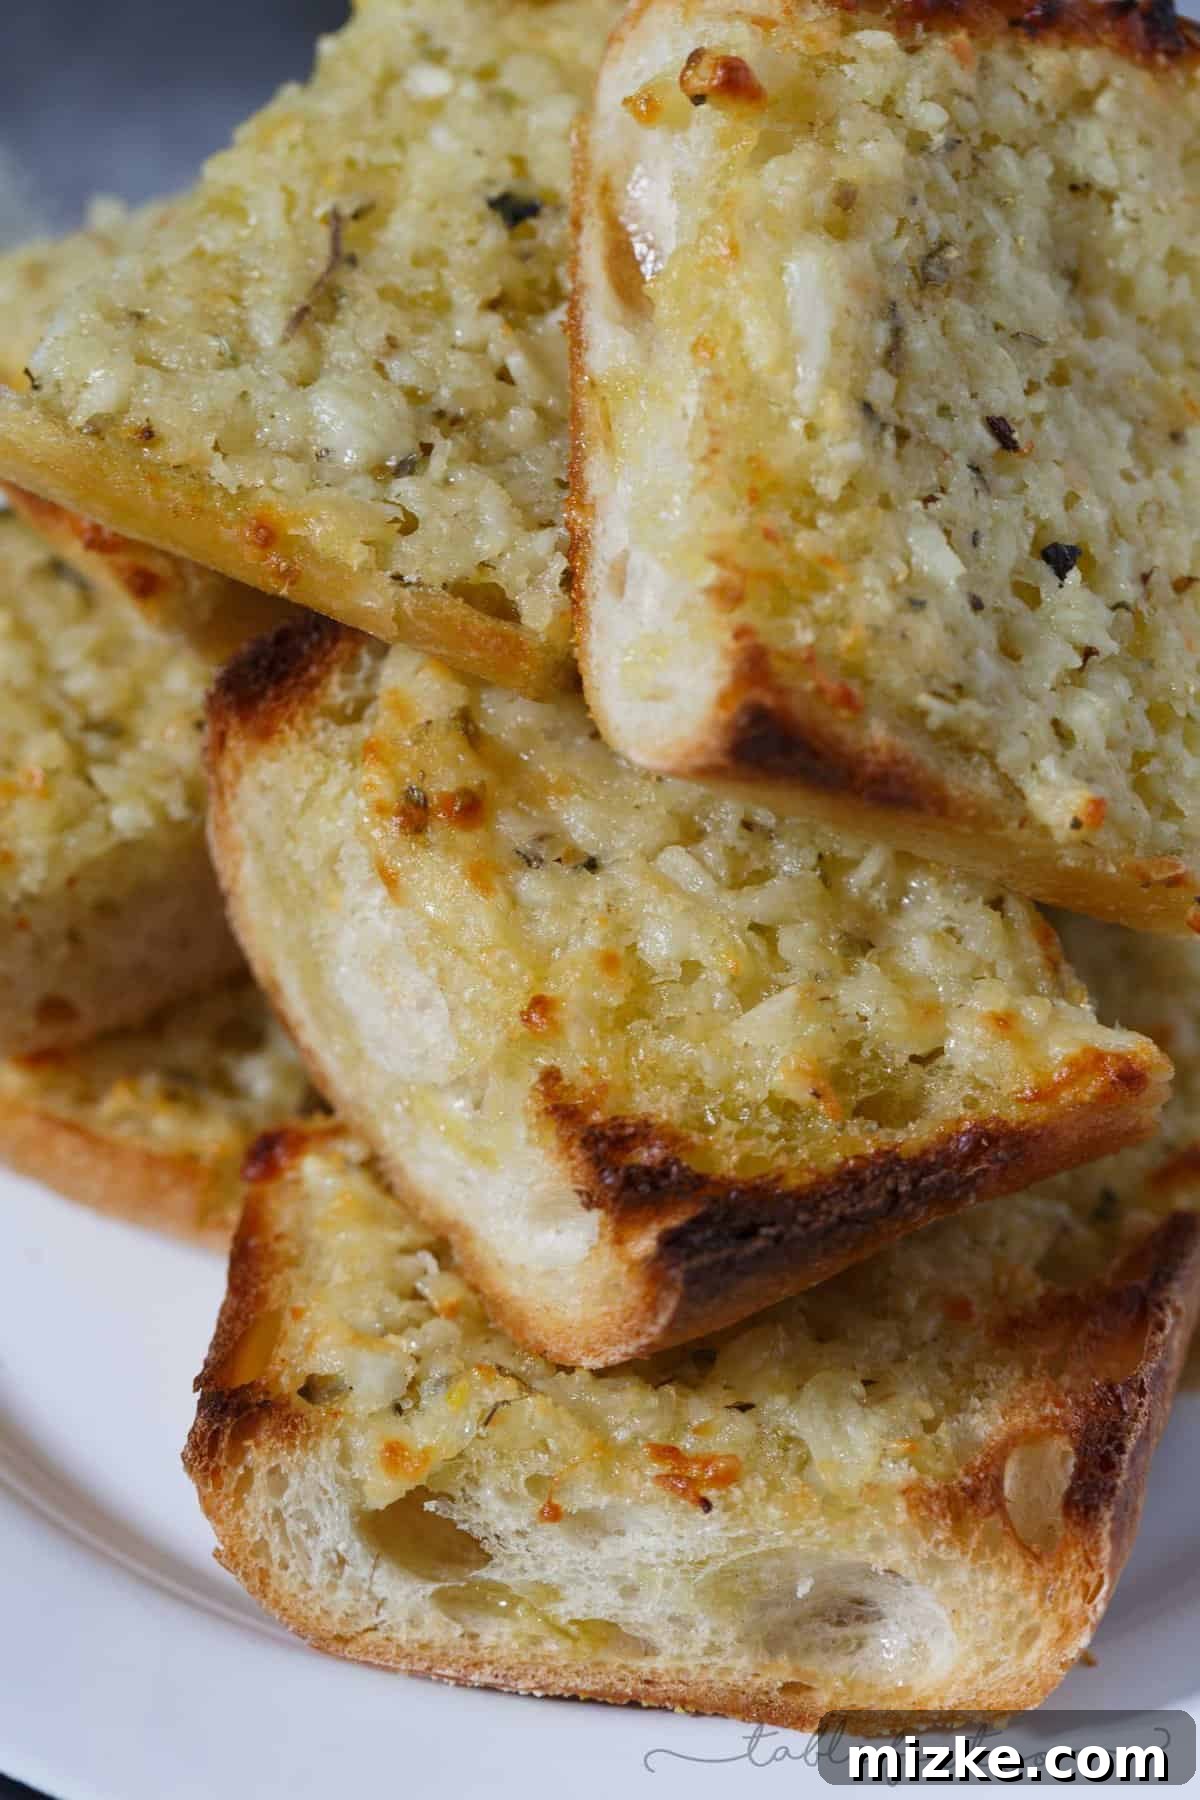
The Ultimate Extra Garlicky and Cheesy Bread Recipe
Extra Garlicky and Cheesy Bread
By: Julie Chiou
A garlic lover’s dream! This extra garlicky and cheesy bread is for those who have been searching for the perfect garlic bread with the ideal amount of garlic and cheese.
Prep Time: 20 minutes
Cook Time: 10 minutes
Total Time: 30 minutes
Yield: Approximately 24 slices
Equipment
- Large rimmed baking sheet
Ingredients
- 1 French baguette, or similar (about 20 inches in length)
- 21 cloves of garlic, finely minced
- ¾ cup (75 g) grated Parmesan cheese
- ⅔ cup (158 ml) extra virgin olive oil
- 1 teaspoon dried oregano
- ½ teaspoon kosher salt
Instructions
- Preheat your oven’s broiler setting.
- Carefully slice the French baguette in half lengthwise. Then, cut each long half in half again across the middle, creating four shorter baguette pieces.
- In a small mixing bowl, combine the finely minced garlic, grated Parmesan cheese, extra virgin olive oil, dried oregano, and kosher salt. Mix thoroughly until all ingredients are well incorporated and form a thick, paste-like consistency.
- Using a spatula or the back of a spoon, evenly divide the garlic-cheese mixture among the four baguette pieces. Spread the paste in an even layer across the cut surfaces of the bread. Don’t be alarmed if it seems like a very generous amount; this is precisely what gives this garlic bread its “extra garlicky” appeal.
- *Chef’s Tip:* If you have a slightly shorter baguette or prefer a less intense garlic flavor, you might have some leftover garlic paste. You can cover this and refrigerate it. It makes an excellent addition to breadcrumbs for a savory topping on casseroles or roasted vegetables.
- Arrange the prepared baguette pieces, topping side up, on a large rimmed baking sheet.
- Place the baking sheet under the preheated broiler. Bake for 5 to 10 minutes, or until the edges of the bread are golden brown and the garlic-cheese topping is bubbly and slightly caramelized. **It is crucial to watch the bread very carefully** during this step, as broilers can brown very quickly, and burning can happen in a matter of seconds.
- Once baked to perfection, remove the garlic bread from the oven and allow it to cool for a few minutes until it’s safe and comfortable to handle.
- Slice the garlic bread into individual serving pieces, arrange them attractively, and serve immediately to enjoy the best extra garlicky and cheesy bread you’ve ever tasted!
Notes
- The exact number of slices obtained from this recipe will largely depend on the size of your baguette and how thinly or thickly you choose to slice your pieces.
- Should you find yourself with a smaller baguette and a surplus of garlic paste, simply cover it tightly and store it in the refrigerator. It remains fresh and ready for use in other dishes for several days.
- While we enthusiastically recommend 21 cloves for an intensely garlicky flavor, personal preference varies. Feel free to reduce the amount of garlic to suit your taste. Even with fewer cloves, it will still be incredibly delicious!
Nutrition Information (Approximate)
Serving: 0.25 of loaf, Calories: 601kcal, Carbohydrates: 46g, Protein: 14g, Fat: 43g, Fiber: 2g, Sugar: 2g
This website provides approximate nutrition information for convenience and as a courtesy only. Nutritional values can vary due to various factors, including ingredient brands and preparation methods. For the most precise data, we recommend using a trusted nutrition calculator based on the specific ingredients you use in your recipe.
The default measuring system for this website is US Customary. While unit conversions are provided for convenience, please be aware that minor discrepancies may occur.
Tips for Achieving Garlic Bread Perfection
To ensure your extra garlicky and cheesy bread turns out perfectly every time, keep these simple tips in mind:
- **Quality Bread is Key:** Start with a fresh, good quality baguette. The crust should be firm enough to toast beautifully, and the interior airy enough to absorb the rich topping without becoming soggy. Stale bread will not yield the same amazing results.
- **Uniform Garlic Mince:** While the garlic twister makes this easy, if mincing by hand, aim for a very fine and consistent mince. Large chunks of raw garlic can be overpowering.
- **Even Spreading of the Paste:** Distribute the garlic-cheese mixture as evenly as possible across the baguette halves. This ensures every bite is flavorful and that no section is under-seasoned or overly dense.
- **Broiler Vigilance:** The broiler is your friend for quick crisping and browning, but it’s also prone to burning. Never walk away from the oven when broiling. Keep a close eye on your bread, rotating the pan if necessary for even browning. The goal is golden, bubbly perfection, not char.
- **Don’t Overcrowd:** Give your baguette pieces space on the baking sheet. Overcrowding can lead to steaming instead of crisping, resulting in less-than-ideal texture. Use multiple sheets if making a large batch.
- **Serve Hot and Fresh:** Garlic bread is at its absolute best right out of the oven, when the bread is still warm and crispy, and the cheese is delightfully melted and gooey.
Customizing Your Extra Garlicky Experience
While this recipe is a masterpiece on its own, don’t hesitate to personalize it with a few additions to match your taste:
- **Fresh Herb Infusion:** Elevate the aroma and flavor by sprinkling fresh chopped parsley, chives, or even a touch of fresh basil onto the garlic paste before baking, or as a garnish right before serving.
- **Add a Spicy Kick:** For those who enjoy a bit of heat, a pinch of red pepper flakes mixed into the garlic paste will provide a wonderful subtle warmth that complements the garlic beautifully.
- **Cheese Exploration:** While Parmesan is traditional, feel free to experiment with other cheeses. A blend of Parmesan and a little shredded mozzarella or provolone will add an extra gooey, stretchy texture that cheese lovers adore.
- **Buttery Richness:** If you prefer a richer, more classic garlic butter flavor, you can replace half of the extra virgin olive oil with softened unsalted butter in the garlic paste mixture.
Storage and Reheating Tips
Should you somehow manage to have any leftovers of this incredible garlic bread (a rare feat!), here’s how to store and reheat it to maintain its deliciousness:
- **Storing Baked Garlic Bread:** Once the garlic bread has completely cooled to room temperature, place any leftover slices in an airtight container or a resealable plastic bag. It can be stored at room temperature for up to two days. For extended freshness, you can refrigerate it for up to five days, though it might lose a little of its initial crispness.
- **Reheating for Best Results:** To revive your leftover garlic bread, the best method is to reheat it in the oven. Place the slices directly on a baking sheet and bake in a preheated oven at 350°F (175°C) for about 5-10 minutes, or until the bread is warmed through and has re-crisped to your liking. A toaster oven works exceptionally well for a few slices. Avoid the microwave, as it tends to make the bread soft and chewy rather than crispy.
- **Freezing for Future Cravings:** This garlic bread can also be prepared ahead of time and frozen before baking. Simply spread the garlic mixture onto the baguette halves as instructed. Place the unbaked, topped baguette pieces on a baking sheet and freeze until they are solid. Once frozen, wrap each piece tightly in plastic wrap, then again in aluminum foil, and store in the freezer for up to one month. When you’re ready to enjoy, bake directly from frozen, adding an extra 5-10 minutes to the original cooking time, or until golden brown and bubbly.
This garlic bread isn’t just a side dish; it’s a culinary statement. It’s bold, it’s bursting with flavor, and it’s undeniably addictive. So go ahead, embrace the garlic, and prepare to be utterly amazed by this ultimate extra garlicky and cheesy bread!
There is an affiliate link within this post.