
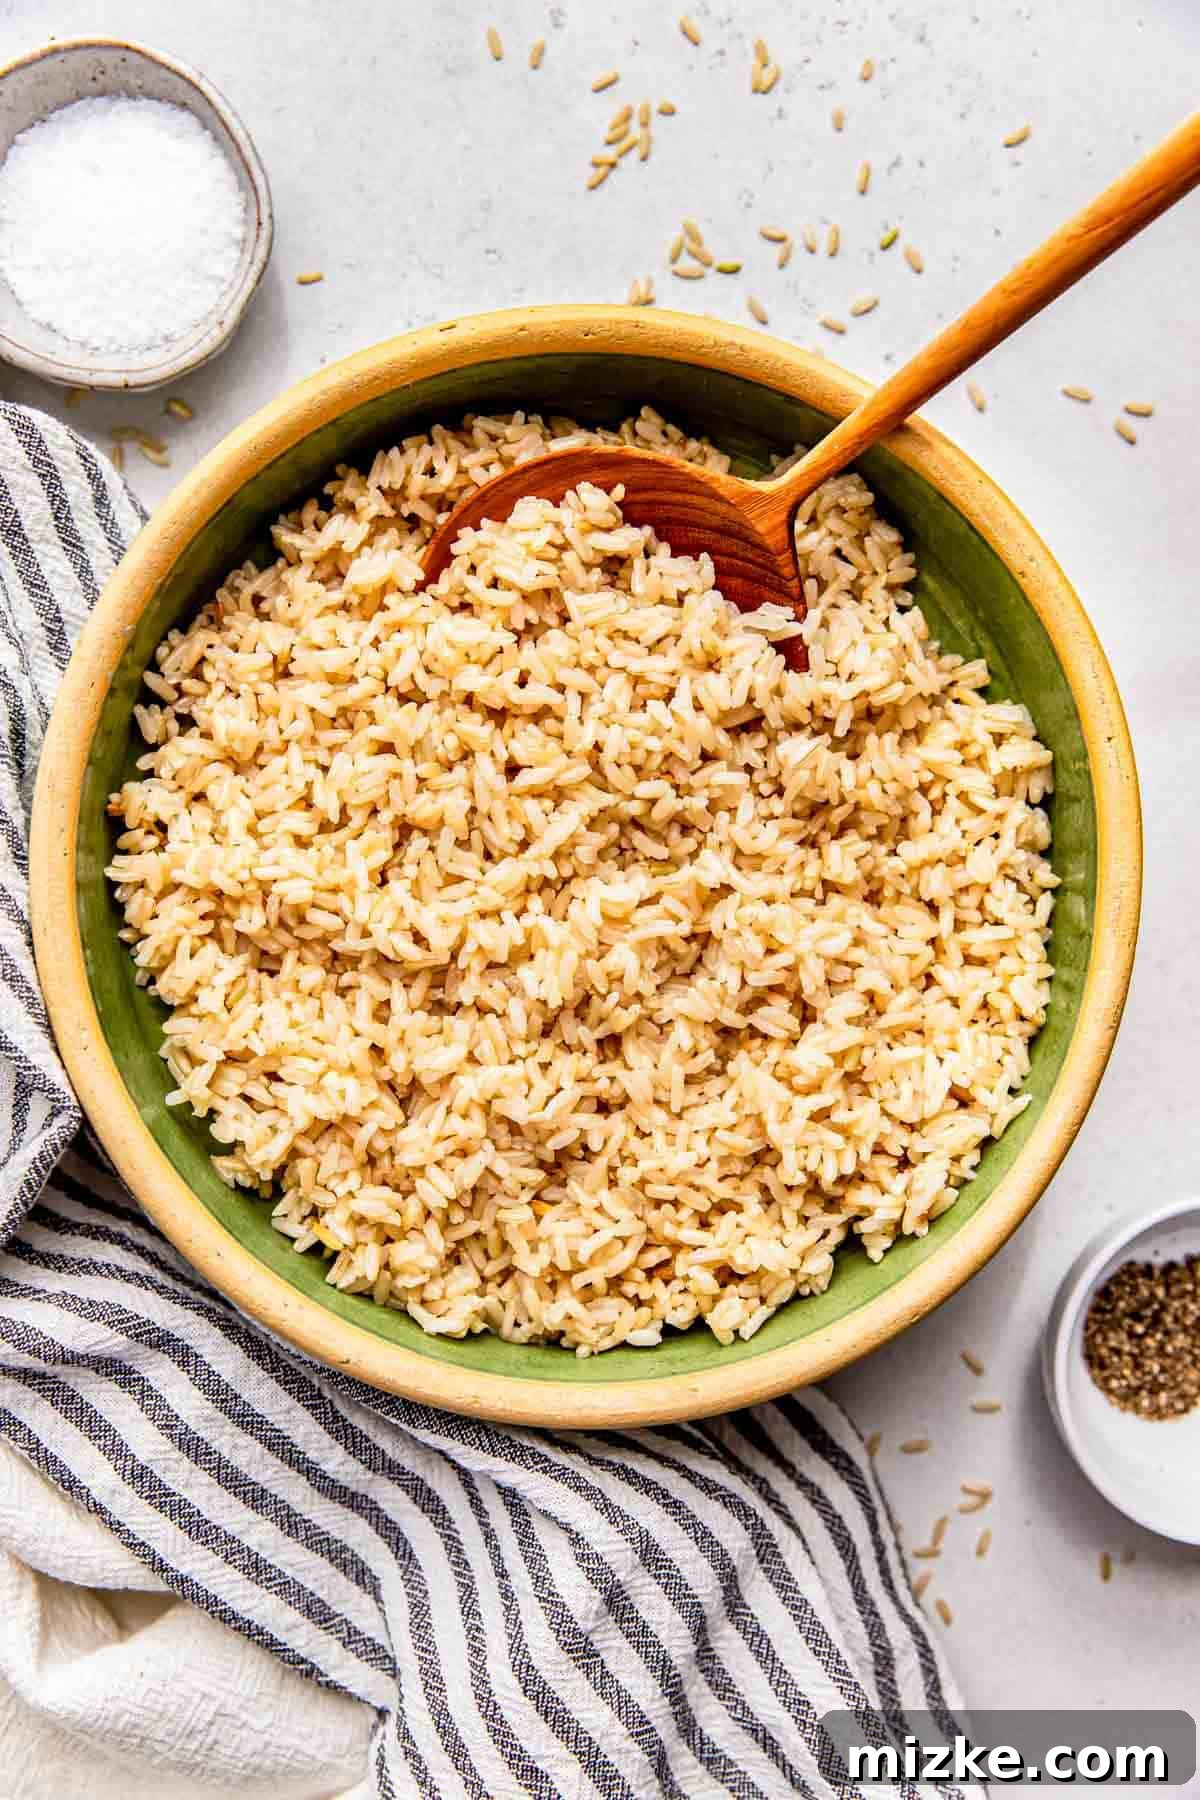
Are you ready to master the art of cooking brown rice? This comprehensive guide will walk you through everything you need to know, from selecting the right grains to achieving perfectly fluffy results every time. Brown rice, a nutritional powerhouse, is often overlooked or poorly prepared, leading to a less-than-ideal culinary experience. But with the right techniques, it can be a delicious and healthy staple in your diet. While cooking white rice shares some similarities, brown rice requires a bit more patience and a few specific considerations due to its unique structure. If you’re looking for instructions on white rice, you can head over to our how to cook white rice guide.
For brown rice enthusiasts, or those looking to incorporate more whole grains into their meals, this guide covers multiple cooking methods and troubleshooting tips to ensure success. We’ll demystify common challenges and empower you to cook brown rice like a pro. Here are all the essential topics we will cover:
Table of Contents
- How to Cook Brown Rice Perfectly
- What is Brown Rice?
- Types of Brown Rice to Use
- Why Does Brown Rice Take Longer to Cook?
- How to Cook Brown Rice in a Rice Cooker (Preferred Method)
- How to Cook Brown Rice on a Stovetop (Boil and Drain Method)
- How to Cook Brown Rice in an Instant Pot
- Should You Rinse Brown Rice?
- Troubleshooting Common Brown Rice Issues
- Expert Tips for Cooking Brown Rice
- Storage and Freezing Instructions for Brown Rice
- How to Reheat Brown Rice Effectively
- Delicious Dishes to Make with Brown Rice
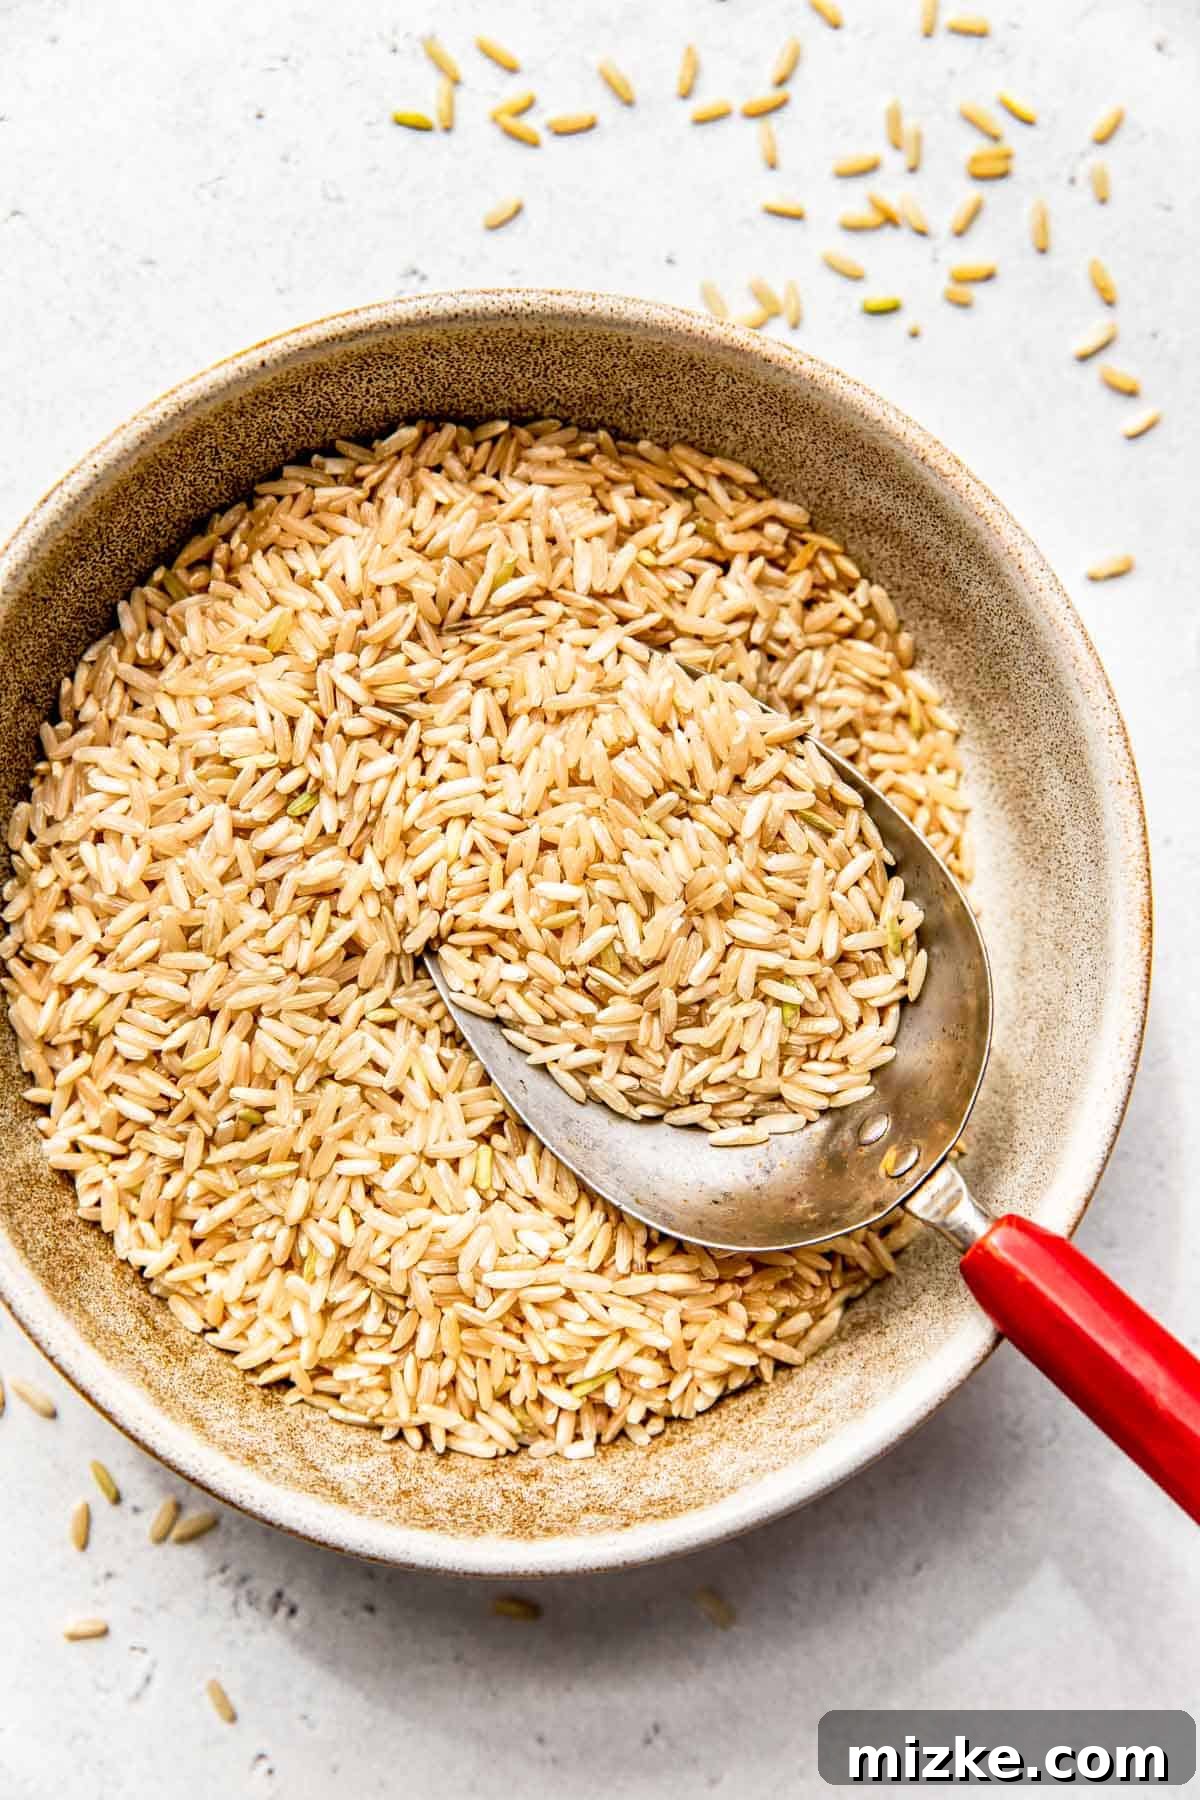
If you’ve ever struggled with mushy, undercooked, or burnt brown rice, you’re in the right place. This guide is designed to empower you with the knowledge to consistently cook perfect brown rice. Forget the often-inaccurate package instructions – we’ll teach you proven techniques that yield delicious results every time. We will explore three reliable methods for cooking brown rice: the rice cooker, stovetop, and Instant Pot. You won’t find microwave instructions here, and for good reason. Microwaving brown rice rarely yields satisfactory results, often leading to unevenly cooked grains with poor texture. Given the low success rate and numerous variables involved, it’s simply not a method we recommend or will cover.
How to Cook Brown Rice Perfectly
Achieving perfectly cooked brown rice is simpler than you might think, especially when you understand the nuances of each cooking method. Here are the three most effective and recommended ways to cook brown rice, each offering unique advantages:
- Rice Cooker: This is often considered the best, most consistent, and forgiving method. It’s largely hands-off, allowing you to set it and forget it while the machine does all the work. It excels at maintaining a steady temperature and precise cooking cycles, resulting in evenly cooked grains without constant monitoring.
- Stovetop (Boil and Drain Method): While requiring a bit more attention, the stovetop method can produce excellent results. For brown rice, there are typically two approaches: the simmer method and the boil and drain method. Through extensive testing, we’ve found that the boil and drain method is superior for brown rice, ensuring thorough cooking and a pleasant texture without stickiness. This method is what we will detail today.
- Instant Pot/Pressure Cooker: If speed is your priority, the Instant Pot or any pressure cooker is your go-to. It significantly reduces cooking time while still offering a hands-off approach. This method leverages high pressure to cook the rice quickly and efficiently, making it ideal for busy weeknights. We’ll be using a 6-quart Instant Pot for our instructions.
What is Brown Rice?
Before diving into cooking methods, it’s helpful to understand what brown rice actually is and why it differs from its white counterpart. Brown rice is a whole grain, meaning it contains all parts of the kernel: the bran, germ, and endosperm. The bran is the hard outer layer rich in fiber and antioxidants. The germ is the nutrient-packed core, containing B vitamins, minerals, and healthy fats. The endosperm is the largest part, providing carbohydrates and protein. White rice, in contrast, has had the bran and germ removed during processing, which strips away much of its nutritional value and also reduces its cooking time.
The presence of the fibrous bran layer in brown rice is the primary reason it takes longer to cook and has a chewier texture. This outer layer acts as a protective barrier, requiring more time and liquid for the water to penetrate and soften the grain. However, this also means brown rice offers superior nutritional benefits, including higher fiber content, which aids digestion and promotes satiety, as well as a greater abundance of vitamins and minerals. Understanding this fundamental difference helps appreciate why brown rice cooking requires specific techniques.
Types of Brown Rice to Use
This comprehensive guide focuses specifically on cooking general brown rice, encompassing both common medium and long-grain varieties. These types are versatile and widely available, making them perfect for mastering your brown rice cooking skills. While the principles are similar for other rice types, their specific water ratios and cooking times can vary significantly. Therefore, it’s crucial to avoid using these instructions for other rice varieties:
- White Rice: This grain has had its bran and germ removed, requiring less water and a shorter cooking time. Refer to our dedicated guide for cooking white rice.
- Jasmine Rice: A fragrant, long-grain white rice that needs less water than traditional rice ratios to achieve its signature soft, slightly sticky texture.
- Sushi Rice: This short-grain white rice is specifically labeled “sushi rice” due to its unique stickiness and texture essential for making sushi rolls and nigiri.
- Sticky Rice (Glutinous Rice): Also known as glutinous rice (though it’s gluten-free), this short-grain variety is cooked in a completely different way, often by soaking and steaming, to achieve its characteristic stickiness.
- Wild Rice: Despite its name, wild rice is actually the seed of an aquatic grass, not a true rice. It’s usually long-grain, often dark brown or black/purple, and has a distinct nutty flavor and longer cooking time.
- Arborio/Risotto Rice: A medium-grain white rice used primarily for risottos. It’s cooked low and slow with gradual additions of liquid, constantly stirred to create a creamy texture.
- Paella Rice: Similar to Arborio rice, these medium-grain varieties (like Bomba or Calasparra) are used in paella, designed to absorb a large amount of liquid while remaining firm.
Why Does Brown Rice Take Longer to Cook?
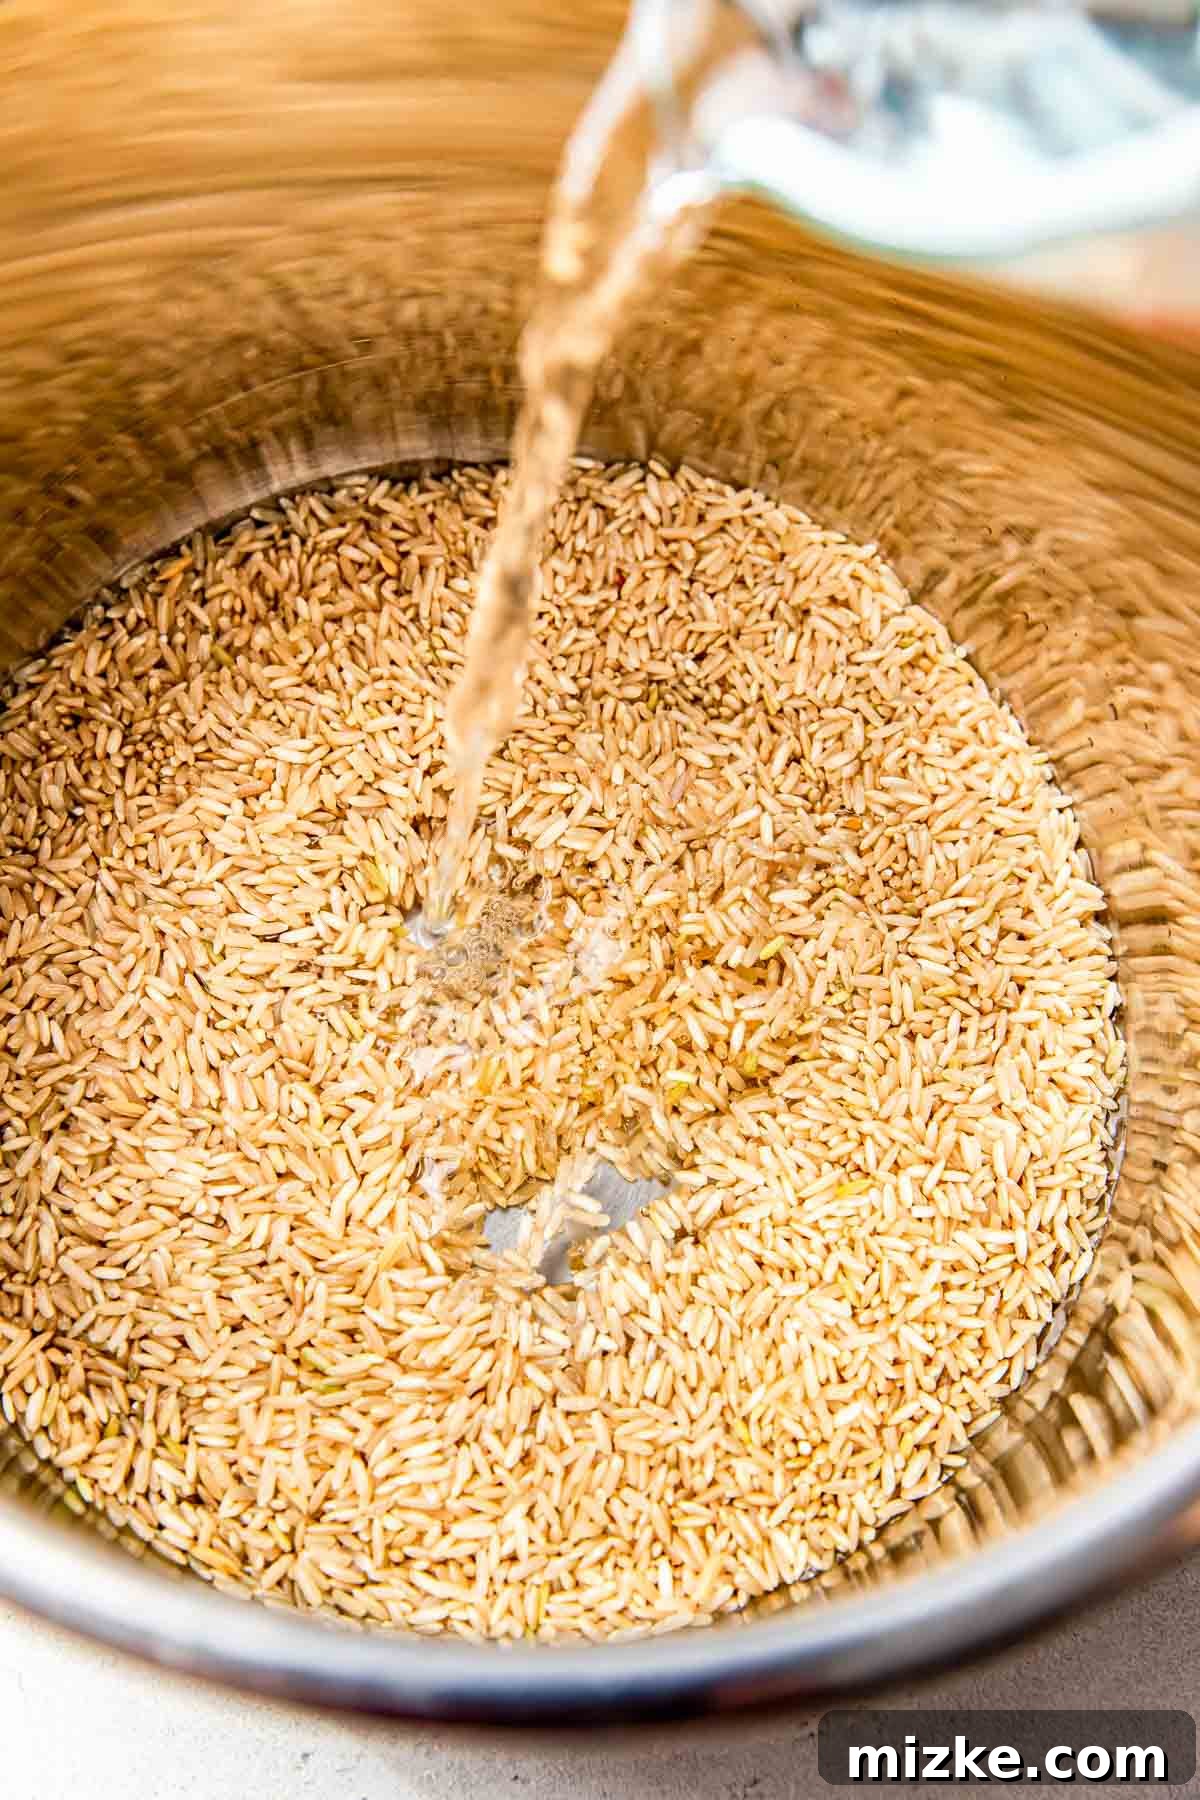
The primary reason brown rice requires a longer cooking time compared to white rice lies in its anatomy. Unlike white rice, which is essentially just the starchy endosperm, brown rice retains its outer layers: the fibrous bran and the nutrient-rich germ. This tough, protective bran layer acts as a barrier, making it more challenging for water to penetrate the grain. Imagine trying to soak through a hard shell versus a soft interior – the shell will always take longer.
For water to reach and soften the starchy endosperm inside, it must first work its way through this hard hull. This process naturally extends the cooking duration. While it may require a bit more patience, the wait is absolutely worth it for those who appreciate brown rice’s distinctive nutty flavor, satisfying chewy texture, and superior nutritional profile. The bran and germ layers contribute significantly to its fiber content, B vitamins, magnesium, iron, and antioxidants, making it a much healthier choice. So, the longer cooking time is a small trade-off for a wealth of benefits and a more wholesome grain.
How to Cook Brown Rice in a Rice Cooker (Preferred Method)
The rice cooker is my absolute favorite method for preparing brown rice. It offers unparalleled consistency, requires minimal effort, and is incredibly forgiving, making it perfect for beginners and seasoned cooks alike. Once you learn the proper water ratio and settings, you can achieve perfect, fluffy brown rice with virtually no hands-on time.
- Combine Rice and Water: Add 1 cup of unrinsed brown rice into the insert of your rice cooker. Then, add 3 cups of water to the rice. This 1:3 ratio ensures the rice has ample liquid to fully hydrate and cook through the tough bran layer.
- Adjust for Rinsed Rice (if applicable): If you choose to rinse your brown rice (a topic we’ll discuss later), reduce the water by 2 tablespoons. Rinsed rice will have already absorbed some moisture, and this adjustment prevents it from becoming mushy.
- Select Rice Cooker Setting: Close the rice cooker lid and select the appropriate setting. Many modern rice cookers feature a dedicated “BROWN RICE” setting, which is ideal as it’s designed to cook at a higher temperature for a longer duration. If your rice cooker is a basic model with just a “COOK/WARM” switch, simply toggle it to “COOK.”
- Customize Texture (Optional): For a chewier brown rice, you can reduce the water to 2 cups per cup of rice. Experiment with what works best for your preference.
- Expect Venting: Due to its starchier nature, brown rice tends to release more steam and sometimes “spit” a bit out of the vent during cooking. This is completely normal, though it can be a minor annoyance. Ensure you do NOT cover the venting spout, as this can affect pressure and cooking.
- Rest and Steam: Once the rice cooker signals that cooking is complete, do NOT open the lid immediately. Allow the rice to rest and steam for an additional 10-15 minutes. This crucial step allows the residual steam to fully absorb, ensuring the rice is tender and evenly cooked throughout, preventing hard or crunchy spots.
- Fluff and Serve: Carefully open the lid. Using a rice paddle or a fork, gently fluff the rice. This separates the grains and releases any remaining steam, resulting in a light and airy texture.
- Special Note for Basmati Brown Rice: If you are cooking basmati brown rice, avoid fluffing with a fork, as its long, delicate grains can break easily. Always use a rice paddle for basmati varieties.
How to Cook Brown Rice on a Stovetop (Boil and Drain Method)
The stovetop boil and drain method is a reliable way to achieve perfectly cooked brown rice, especially if you don’t own a rice cooker or Instant Pot. This technique ensures each grain is thoroughly cooked without becoming sticky or clumpy, and it offers great control over the final texture. It’s akin to cooking pasta and works exceptionally well for the more stubborn brown rice grain.
- Combine Rice and Water in a Pot: Add 1 cup of unrinsed brown rice and a generous 6 cups of water to a medium to large pot on your stovetop. Using a large enough pot is crucial to prevent overflow during boiling. Place the pot over medium-high heat. Keep the lid off during this initial stage to allow the water to come to a rolling boil.
- Boil Actively: Once the water comes to a vigorous boil, maintain the heat and allow the rice to boil uncovered for 30 minutes. This sustained boiling ensures the tough outer bran layer of the brown rice begins to soften effectively.
- Strain the Rice: After 30 minutes, the rice should be tender. Place a fine-mesh metal strainer over a large heat-safe bowl or in your sink. Carefully pour the contents of the pot into the strainer to drain all the excess water. Gently shake the strainer to ensure as much water as possible is removed. It’s important to drain thoroughly to prevent mushy rice.
- Rest for Perfection: Transfer the drained rice back into the empty pot. Immediately put the lid on tightly. Turn off the heat and allow the rice to rest undisturbed for 10 minutes. This crucial resting period allows the rice to steam in its own residual heat, absorbing any remaining moisture and finishing the cooking process, resulting in a tender and fluffy texture.
- Fluff and Serve: Once the 10 minutes have passed, remove the lid. Using a rice paddle or a fork, gently fluff the rice to separate the grains. This releases trapped steam and ensures a light, airy consistency.
- Special Note for Basmati Brown Rice: As with other methods, avoid using a fork to fluff basmati brown rice, as its long, delicate grains are prone to breaking. A rice paddle is the preferred tool.
How to Cook Brown Rice in an Instant Pot
The Instant Pot or any pressure cooker is a fantastic tool for cooking brown rice quickly and efficiently. It significantly cuts down on cooking time compared to stovetop methods, making it an excellent choice for busy individuals. This hands-off approach ensures consistent results with minimal fuss, transforming tough brown rice grains into tender perfection in a fraction of the time.
- Prepare Ingredients: Add 1 cup of unrinsed brown rice and 1 ½ cups of water to the inner pot of your Instant Pot or pressure cooker. This precise 1:1.5 ratio is specifically calibrated for pressure cooking, where less liquid is lost to evaporation.
- Set Up for Pressure Cooking: Place the lid securely on your Instant Pot. Ensure that the venting knob is set to the “SEAL” position. This is critical for building pressure inside the pot.
- Program the Cooker: Press the “MANUAL” button (or “Pressure Cook” on newer models), select “HIGH” pressure, and set the cooking time to 22 minutes. This duration is optimal for fully cooking brown rice under pressure.
- Natural Release (Crucial Step): Once the cooking cycle is complete and the Instant Pot beeps, do NOT immediately release the pressure. Allow the pressure to naturally release for 20 minutes. This “Natural Release” (NR) phase is vital for brown rice, as it allows the grains to slowly absorb the remaining liquid and steam, finishing the cooking process and resulting in a more evenly textured, fluffy rice.
- Manual Release and Fluff: After the 20-minute natural release period, carefully turn the venting knob to “VENTING” (or press the quick release button) to manually release any remaining pressure. Once the pin drops and it’s safe to open, remove the lid. Use a rice paddle or a fork to gently fluff the cooked brown rice, separating the grains and releasing steam.
- Special Note for Basmati Brown Rice: If you’re cooking basmati brown rice, use a rice paddle instead of a fork to fluff, as forks can easily break its delicate long grains.
Should You Rinse Brown Rice?
The debate over rinsing rice is a long-standing culinary controversy, often sparking strong opinions among home cooks and chefs alike. For many, like myself, it’s a practice ingrained from childhood. My mother always insisted on rinsing rice multiple times until the water ran clear, primarily to wash away excess surface starch and to pick out any imperfect grains or debris that might be present.
Indeed, you will notice the water becoming progressively clearer with each rinse, indicating the removal of loose starch. However, the notion that rinsing directly impacts the fluffiness of cooked rice is largely a myth. While it does remove surface starch that can contribute to stickiness in some white rice varieties, its effect on the texture of brown rice is often negligible, especially with the boil and drain method.
There is truly no universally right or wrong answer when it comes to rinsing brown rice; it ultimately comes down to personal preference and the source of your rice. If you purchase your brown rice from non-retail sources like a local rice farm or farmers market, where grains might not be as thoroughly processed, rinsing is highly recommended to remove any dust, small stones, or other impurities. For commercially packaged rice, rinsing is less critical but still an option if you prefer.
The most important consideration if you choose to rinse your brown rice is to adjust your water ratio. Rinsed rice absorbs a small amount of water during the process. Therefore, for rice cooker and Instant Pot methods, you must either drain the rice extremely well in a fine-mesh strainer or, more reliably, reduce the total amount of cooking water by approximately 2 tablespoons per cup of rice. Failing to do so will result in mushy, over-hydrated rice. This adjustment does not apply to the stovetop boil and drain method, as excess water is drained away anyway. Weigh the pros and cons for yourself: cleanliness vs. potential nutrient loss and an extra step.
Troubleshooting Common Brown Rice Issues
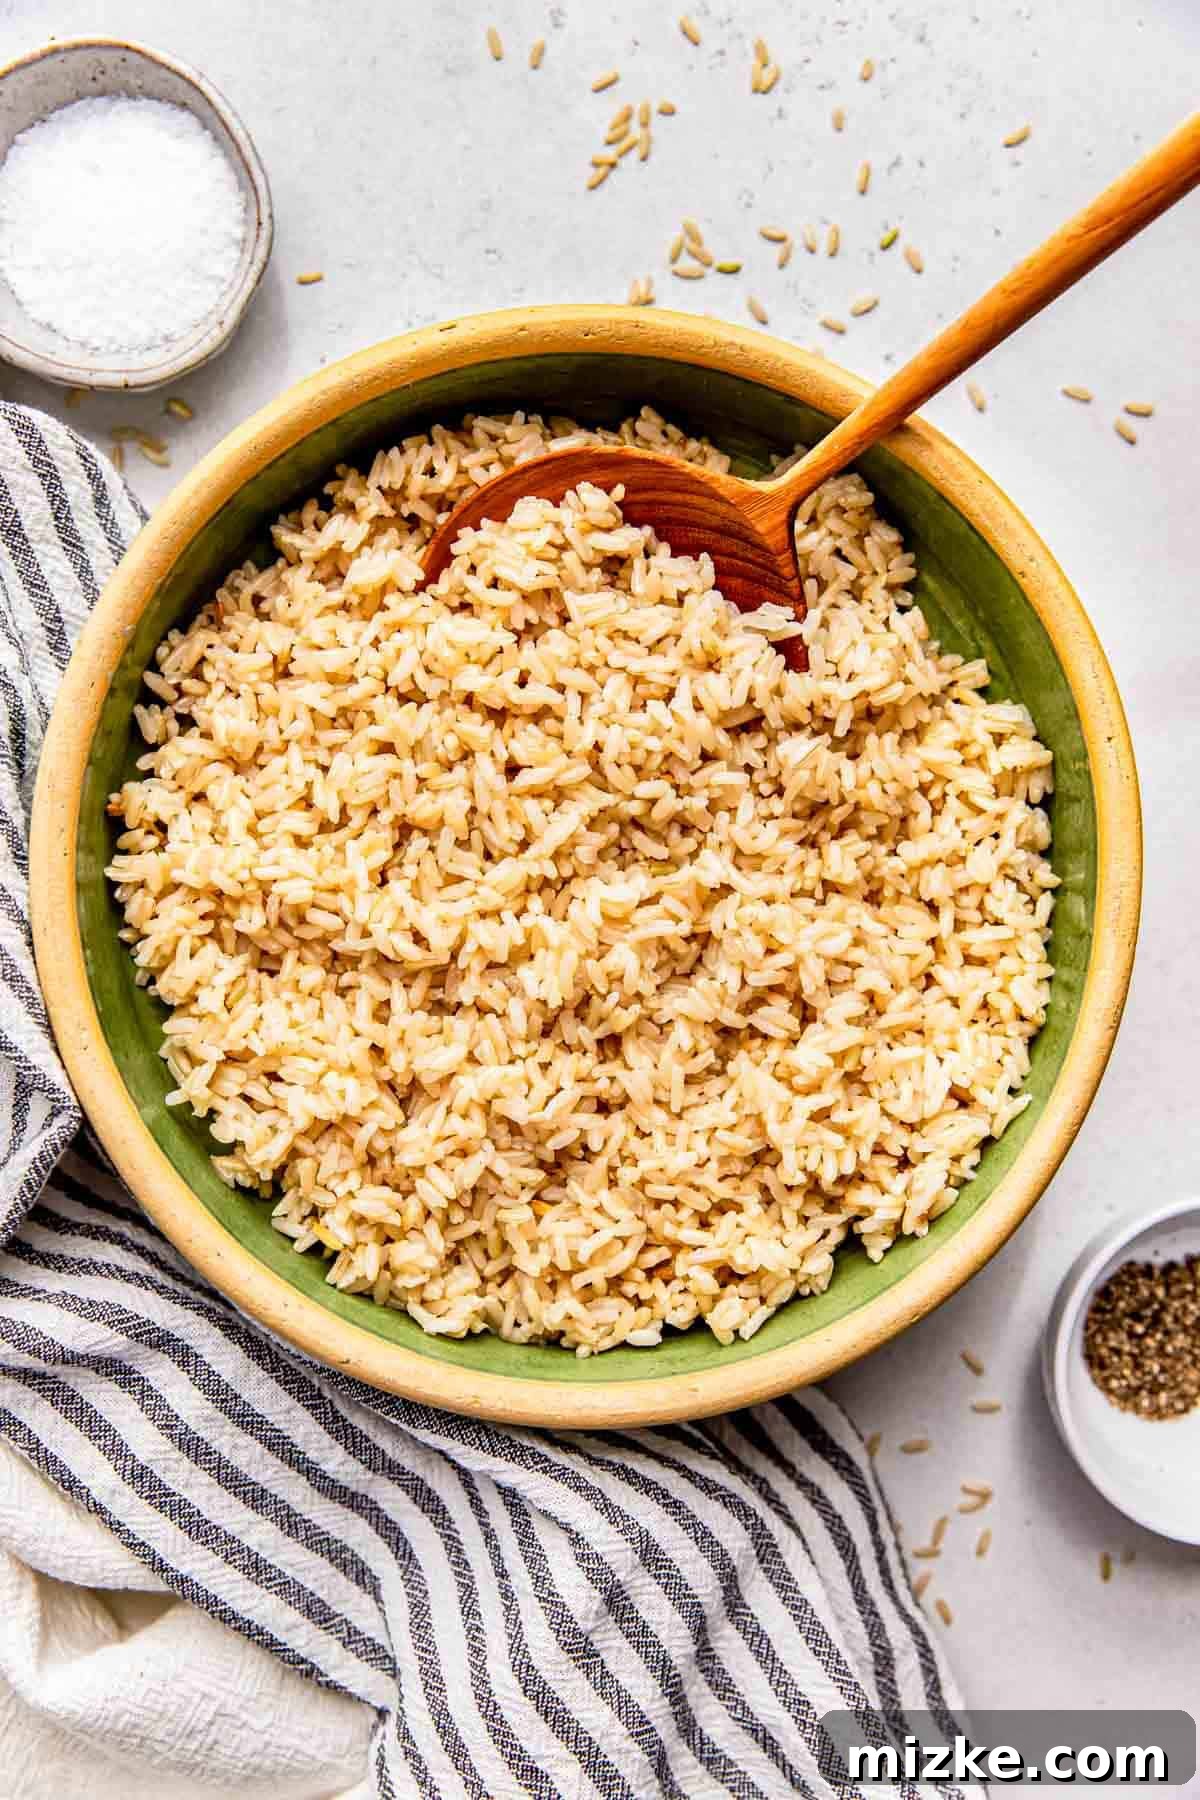
Even with the best intentions, cooking brown rice can sometimes present challenges. Don’t worry, most common issues are easily identifiable and rectifiable. Here’s how to troubleshoot and prevent them:
- The bottom of your rice is burned or scorched.
- Cause: This almost always indicates that the heat was too high, especially after the initial boil, or the pot ran out of water too quickly.
- Solution: For stovetop methods, ensure you reduce the heat to a very low simmer once the water reaches a boil. For rice cookers, this can sometimes happen if the “keep warm” setting is too strong or if there isn’t enough water to begin with. Always double-check your water measurements and ensure the heat is appropriate for the method.
- Water still remains after letting the rice sit, resulting in soggy rice.
- Cause: You’ve added too much water for the amount of rice, or you didn’t account for rinsing.
- Solution: Did you measure your water and rice correctly according to the ratios provided for each method? If you rinsed your rice, did you remember to reduce the water by 2 tablespoons (for rice cooker/Instant Pot)? For future cooks, try reducing the water by a small amount (1-2 tablespoons per cup of rice) until you find your ideal texture.
- The rice is unevenly cooked – some grains are soft, others are hard.
- Cause: This is commonly due to steam escaping or not allowing the rice to rest sufficiently.
- Solution:
- Did you keep opening the lid? Just like slow cooking or baking, constantly peeking under the lid allows precious steam to escape. This disrupts the internal temperature and pressure, forcing the cooking process to restart or rebuild, leading to inconsistent cooking. Resist the urge to peek!
- Did you let it rest? This is one of the most critical steps for all brown rice cooking methods. Allowing the rice to rest with the lid on after cooking enables it to fully absorb any remaining liquid and allows the internal steam to evenly cook the grains all the way through. Skipping this step often results in hard centers.
- The rice is still hard, crunchy, or chewy in the center.
- Cause: The rice either didn’t cook long enough, or it didn’t have enough liquid to cook completely through.
- Solution: If you’ve followed the timing, ensure your heat source was consistent. If using a rice cooker, ensure it’s functioning correctly. If you consistently get hard rice, try adding 1-2 tablespoons more water per cup of rice in future batches, or extend the cooking time by 5-10 minutes, followed by the crucial resting period.
- The water overflowed from the pot during cooking.
- Cause: You used a pot that was too small for the amount of water and rice, especially with the stovetop boil and drain method.
- Solution: Always ensure you use a pot that is at least 3 times larger than the combined volume of rice and water you are using. For example, if you’re using 1 cup of rice and 6 cups of water (total 7 cups liquid/rice), ensure your pot can comfortably hold at least 21 cups of liquid or more to allow for boiling and foaming without overflowing.
Expert Tips for Cooking Brown Rice
Beyond the specific cooking instructions, a few general tips can elevate your brown rice from good to truly exceptional. These small adjustments can make a big difference in flavor, texture, and overall cooking success:
- Measure Correctly! Precision is Key:
- While measuring cups are highly recommended for consistency, the most important aspect is maintaining the correct ratio. You don’t necessarily need official measuring cups if you stick to the ratio. For example, if you use a drinking glass to measure your rice, use that exact same drinking glass to measure the corresponding amount of water. Consistency in your measuring tool ensures the water-to-rice ratio remains accurate, which is fundamental to perfectly cooked grains.
- Choose the Right Pot Size: Using an appropriately sized pot is more important than you might think. If you’re making just 1 cup of rice, using a massive 8-quart stockpot will cause the water to evaporate much faster than intended, potentially leaving you with burnt or undercooked rice at the bottom. Conversely, a pot that’s too small risks messy overflows. Aim for a pot that is approximately 3 times larger than the total volume of water and rice you are cooking. This provides ample space for boiling and steaming without issues.
- Don’t Stir (Most Methods): Unlike risotto, brown rice in a rice cooker, Instant Pot, or during the absorption phase on the stovetop should generally not be stirred. Stirring releases starch, which can lead to a gummy texture, and also allows heat and steam to escape, disrupting the cooking process.
- Consider Soaking (Optional, for tougher grains): For older brown rice or if you consistently find your rice too chewy, consider soaking it for 30 minutes to an hour before cooking. Soaking helps to pre-hydrate the grains, which can slightly reduce cooking time and lead to a softer texture. Remember to adjust your water ratio down slightly if you pre-soak, as the rice will have already absorbed some liquid.
- Add Salt for Flavor: A pinch of salt added to the cooking water goes a long way in enhancing the natural nutty flavor of brown rice. Don’t skip this simple step!
- Experiment with Broth: For an extra layer of flavor, consider replacing some or all of the cooking water with vegetable or chicken broth. This can transform your brown rice into a more savory and aromatic side dish.
Storage and Freezing Instructions for Brown Rice
Proper storage of cooked and uncooked brown rice is essential for maintaining its quality, flavor, and most importantly, food safety. Brown rice, like all cooked grains, needs to be handled correctly to prevent bacterial growth.
Storage for Cooked Brown Rice:
Once your brown rice is cooked, allow it to cool quickly before storing. Divide it into smaller portions if needed to speed up the cooling process. I typically keep leftover cooked brown rice in an airtight glass storage container with a lid in the refrigerator.
- Refrigeration: While I have personally kept cooked rice in the refrigerator for up to 7 days without issues, there is some controversy surrounding this duration. Food safety guidelines often recommend consuming cooked rice within 3-4 days to err on the side of caution. My personal experience has been fine, but you should always use your best judgment. Always trust your nose and discard any rice that smells off or shows signs of spoilage.
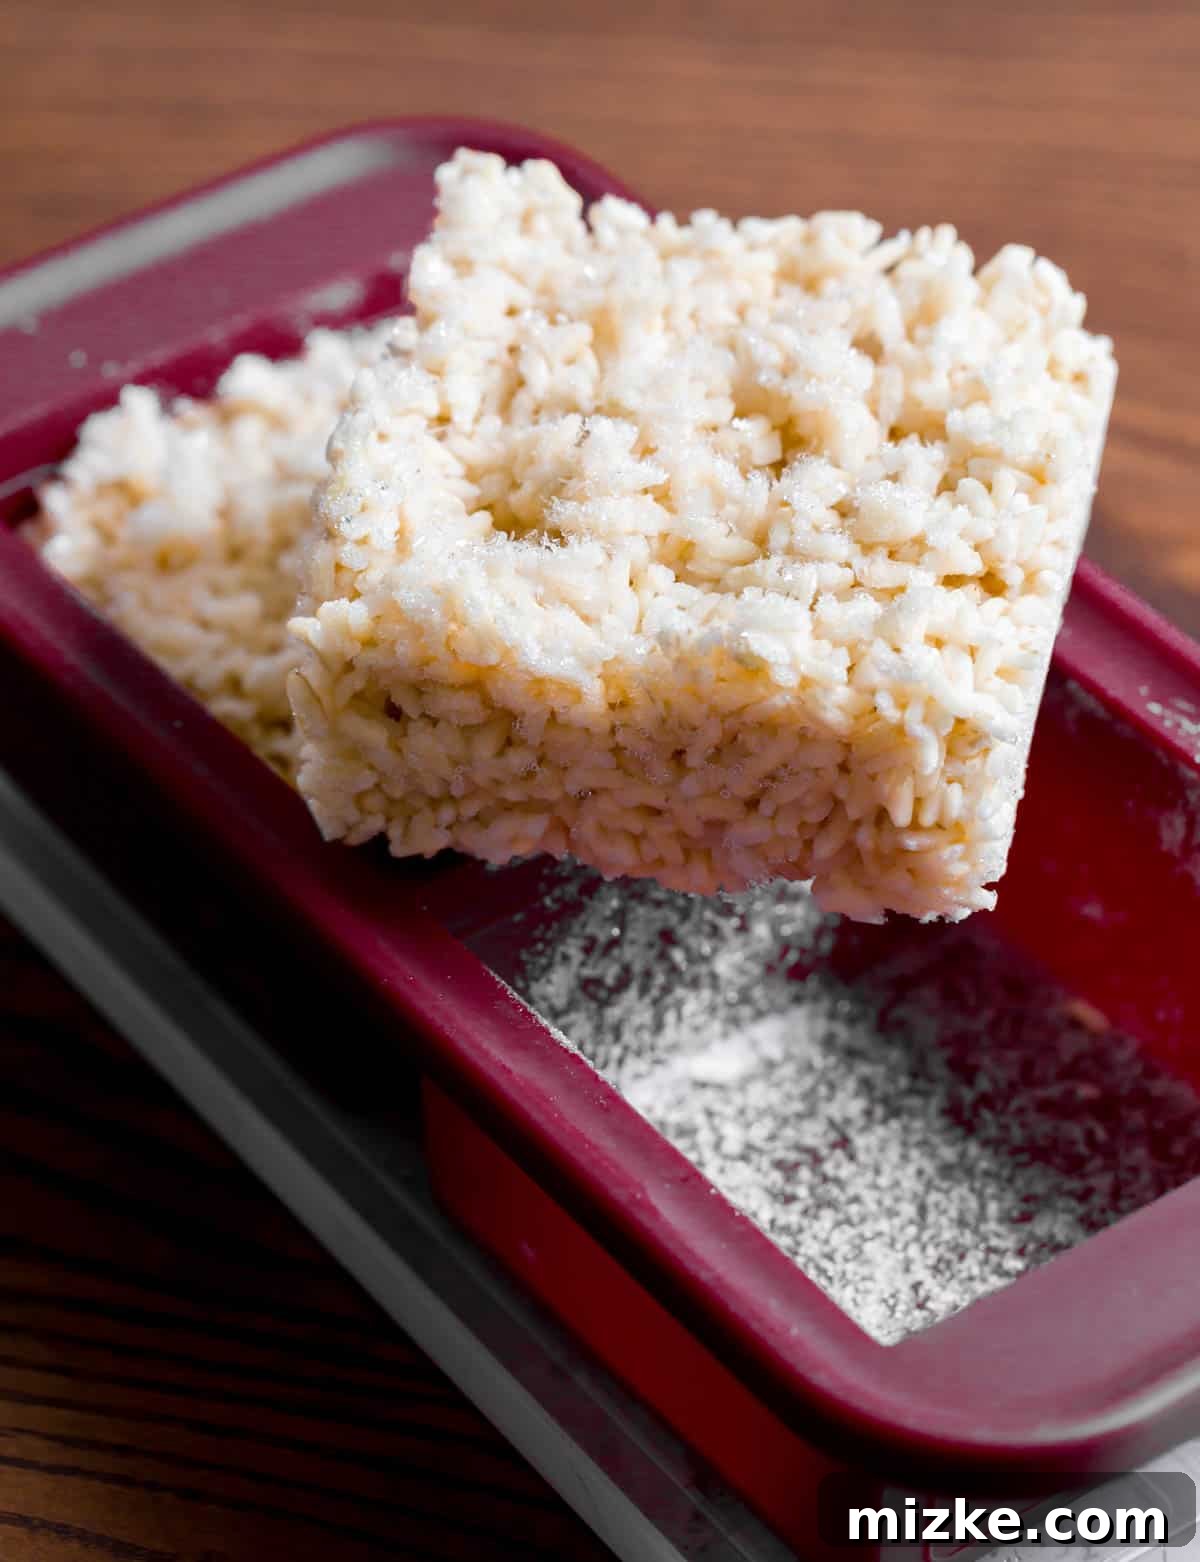
- Freezing: Cooked brown rice freezes incredibly well, making it perfect for meal prepping. My favorite method for freezing is to use dedicated Souper Cube trays. These allow you to freeze precise 1 or 2-cup portions into convenient cubes that can easily be popped out when needed. This prevents large blocks of rice and allows for quick thawing. Frozen cooked brown rice can maintain its quality for up to 4 months. Simply transfer the frozen cubes to a freezer-safe bag once solid to save space.
Storage for Uncooked Brown Rice:
For uncooked brown rice, proper storage helps preserve its freshness and prevents pests. I recommend transferring the rice from its original packaging into a medium-sized, airtight Cambro container with a lid. This provides a much better seal than an open bag and protects the grains from moisture, air, and pantry moths. Store the container in a cool, dry, dark place like your pantry or a cupboard. Uncooked brown rice has a longer shelf life than white rice due to its oil-rich germ, but it can still go rancid over time. Properly stored, it can last for several months to a year.
How to Reheat Brown Rice Effectively
Reheating brown rice without it becoming dry, hard, or clumpy is an art form. The key is to reintroduce moisture and create a steamy environment, mimicking the original cooking process. Here are the best ways to reheat your pre-cooked brown rice, whether from the refrigerator or the freezer:
- Reheating from the Refrigerator (Microwave Method):
- If you’re reheating brown rice stored in a glass container from the refrigerator, simply open the lid.
- Dampen a paper towel and place it directly on top of the rice.
- Close the lid (or cover loosely if no lid) and heat on high in the microwave for approximately 2 minutes. The damp paper towel acts as a mini steamer, creating a moist environment that revitalizes the rice grains, making them as good as freshly cooked. Stir gently before serving.
- Reheating from Frozen (Microwave Method):
- For frozen brown rice (especially convenient if you’ve used Souper Cubes), pop the desired portion of rice from the tray into a microwave-safe container.
- Cover the rice with a damp paper towel.
- Heat on high in the microwave for about 3 minutes. The longer time accounts for thawing. Check for hot spots and stir to ensure even heating. Adjust cooking time as needed depending on your microwave’s power and the amount of rice.
- Reheating on the Stovetop:
- You can also reheat brown rice on the stovetop. Place the rice in a pot with a tablespoon or two of water (per cup of rice). Cover tightly and heat over low to medium-low heat, stirring occasionally, until heated through and fluffy. This method is great for larger quantities or if you prefer to avoid the microwave.
Delicious Dishes to Make with Brown Rice
Brown rice is incredibly versatile and can be a fantastic, healthier substitute for white rice in almost any recipe. Its nutty flavor and chewier texture can even add an extra dimension to your meals. When incorporating brown rice into your cooking, keep in mind its distinct characteristics:
- As a Side Dish: Brown rice makes an excellent side for a wide array of main courses. Pair it with flavorful curries, hearty stews, grilled fish, roasted chicken, or succulent stir-fries. Its robust flavor stands up well to strong sauces and spices.
- Grain Bowls: Build wholesome and satisfying grain bowls using brown rice as the base. Top it with your favorite roasted vegetables, lean protein (chicken, tofu, tempeh), a healthy sauce, and some fresh herbs for a nutritious and customizable meal.
- Salads: Cooked and cooled brown rice adds body, texture, and nutritional value to salads. Mix it with chopped vegetables, chickpeas, a light vinaigrette, and feta cheese for a delicious and filling lunch.
- Stir-Fries: While often made with white rice, brown rice works wonderfully in stir-fries. Its slightly firmer texture ensures it doesn’t become mushy when tossed with vegetables and sauces.
- Pilafs and Casseroles: Incorporate brown rice into various pilaf recipes or oven-baked casseroles. Its ability to absorb flavors makes it an excellent canvas for aromatic spices, vegetables, and broths.
- Stuffed Vegetables: Use cooked brown rice as a key ingredient in stuffings for bell peppers, tomatoes, zucchini, or even cabbage rolls.
Important Consideration for Recipes: If a recipe instructs you to cook brown rice from an uncooked state directly within a dish (e.g., a baked casserole or a one-pot meal), you will most likely need to adjust both the amount of liquid and the cooking time. As you’ve learned from this guide, brown rice takes longer to cook and often requires more liquid than white rice due to its bran layer. Always account for this difference to prevent undercooked grains in your finished dish.
Photographs by Meg McKeehan Photography