
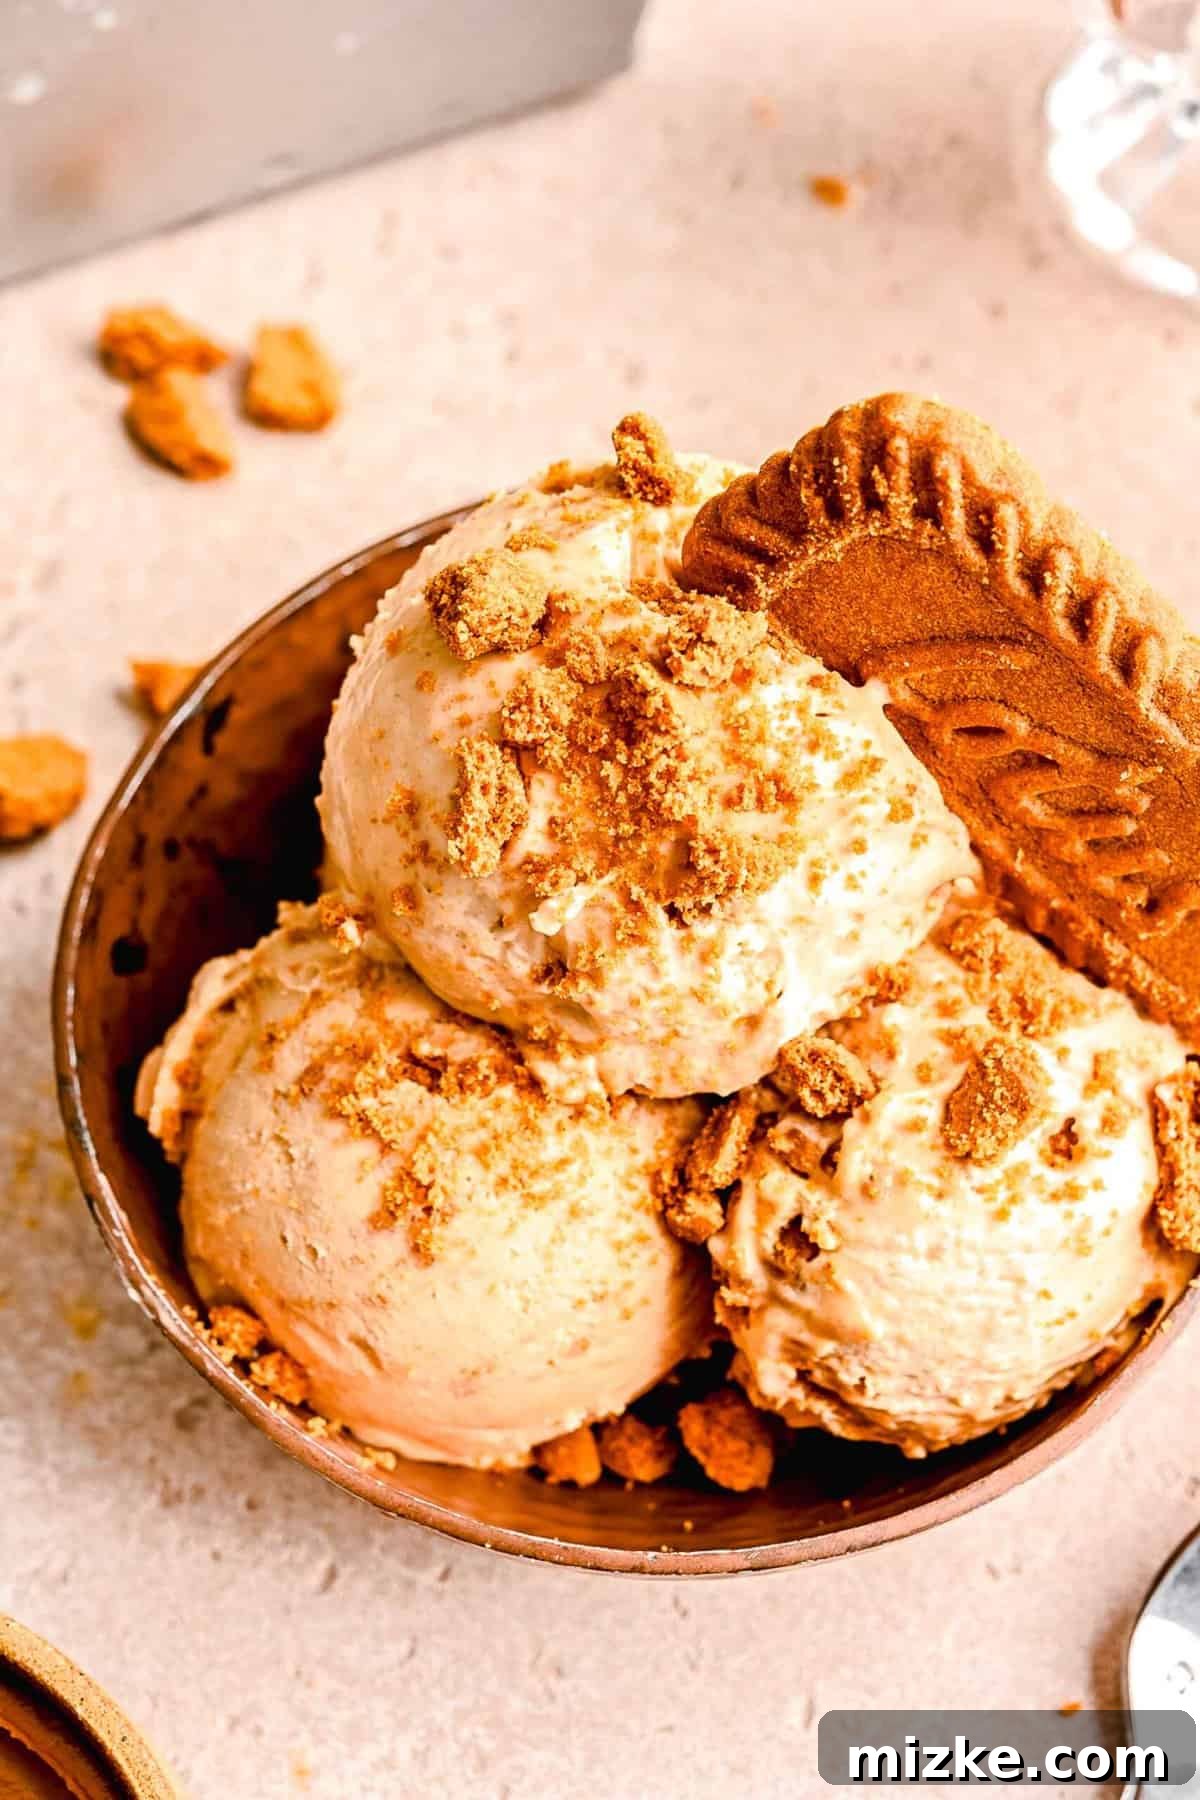
Indulge in the irresistible flavor of this easy no-churn Biscoff ice cream! Crafted from delicate, fluffy whipped cream and generously folded with delightful crunchy Biscoff cookie crumbs, all enveloped in a rich, velvety base of Biscoff cookie spread, luscious sweetened condensed milk, and a hint of vanilla. This homemade treat promises a wonderfully smooth and creamy texture, all without the need for a complicated ice cream maker. Get ready to experience pure bliss!
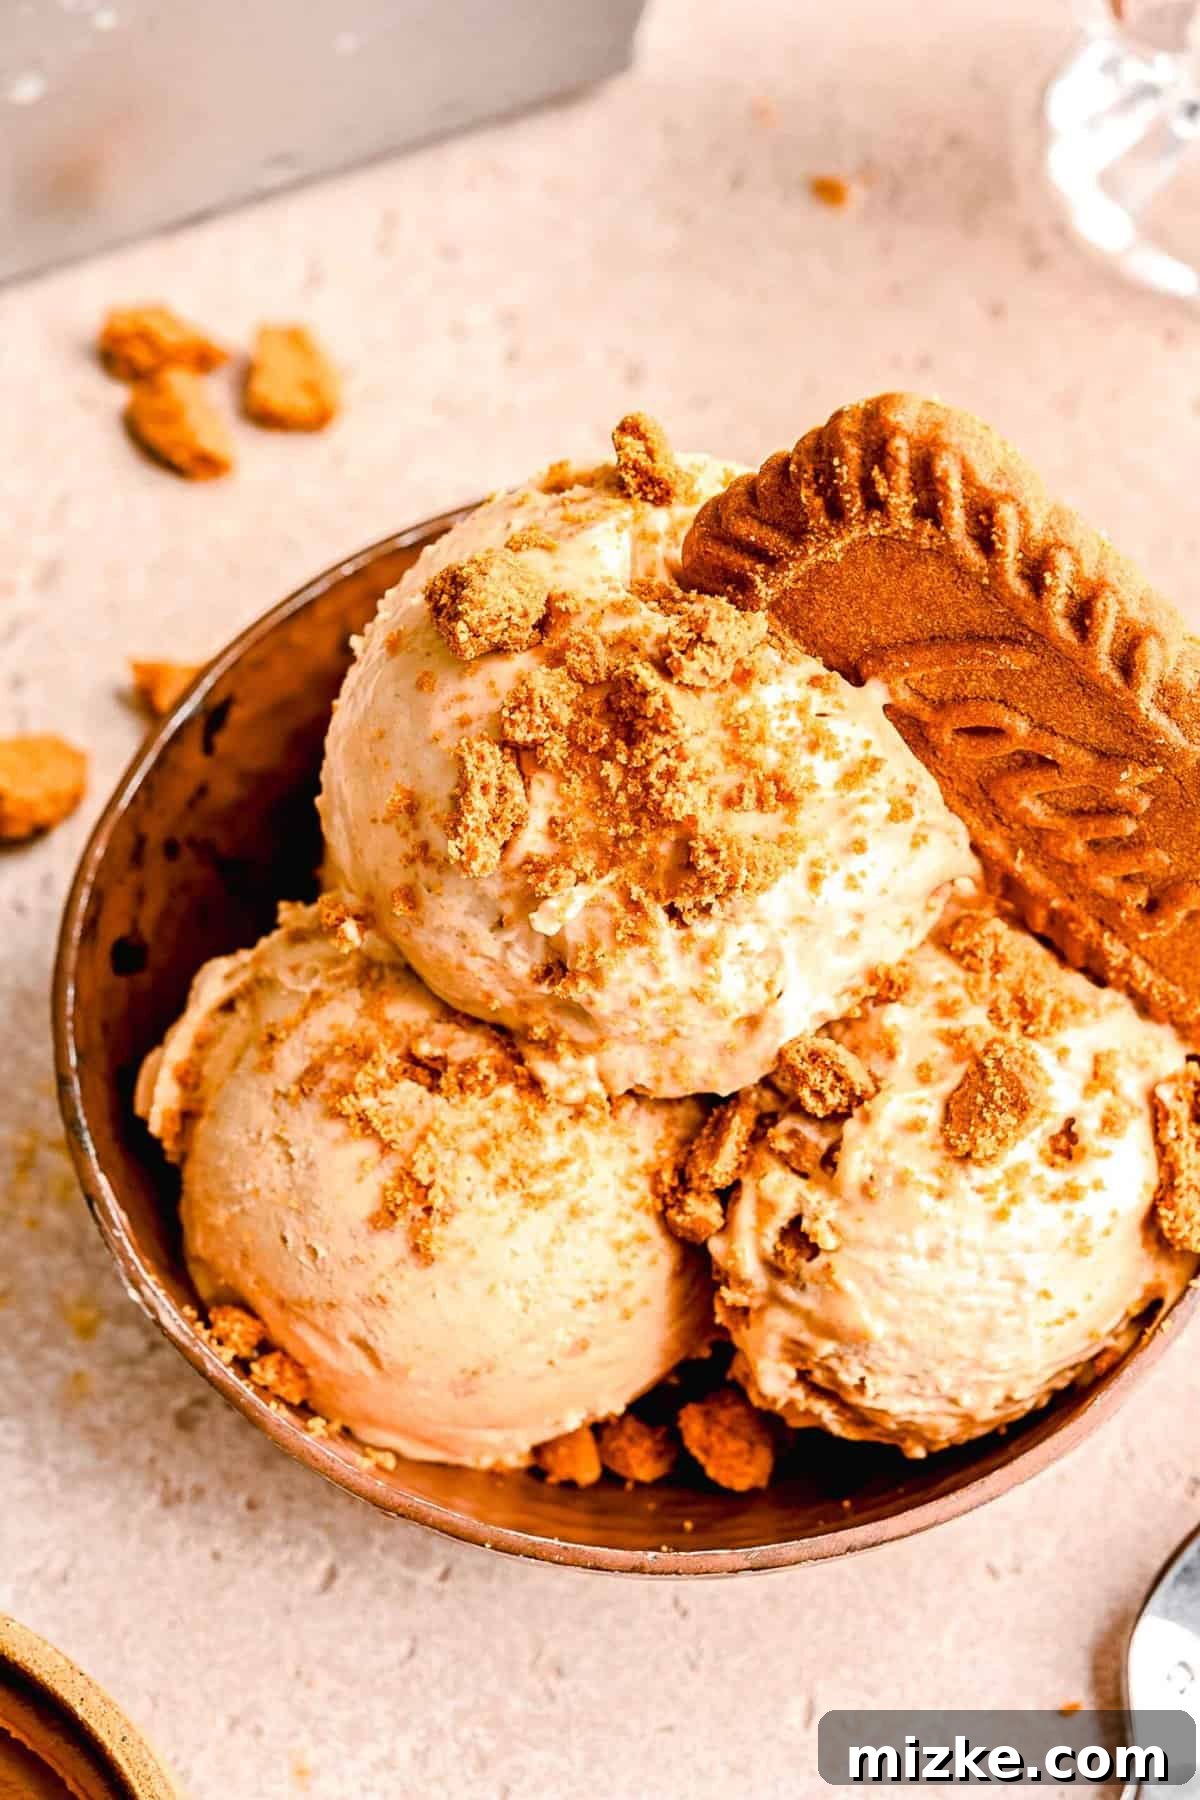
If you’ve yet to experience the unique delight of Biscoff cookies, consider this your friendly nudge to pause, procure a pack, and prepare for a revelation. Their distinctive caramelized flavor profile is so captivating, it compelled me to transform them into this extraordinary frozen dessert. This exquisite Biscoff ice cream, requiring only a handful of readily available ingredients, is a testament to culinary simplicity and profound taste. Each spoonful delivers a symphony of warm spices—cinnamon, nutmeg, cloves, and ginger—that dance gracefully through a light, airy, and utterly dreamy no-churn ice cream base. The addition of crumbled Biscoff cookies provides an essential textural contrast, a satisfying crunch that elevates the entire experience. This isn’t just ice cream; it’s a truly spectacular treat waiting to be discovered.
So, gather your simple ingredients, roll up your sleeves, and prepare to embark on a delightful culinary journey. The best part? This isn’t an arduous task. In just about 15 minutes of active preparation time, you can create a luxurious homemade ice cream without any specialized equipment. Forget the hassle of an ice cream machine – just quick mixing, a little chill time, and you’re set. What are you waiting for? Your taste buds will thank you!
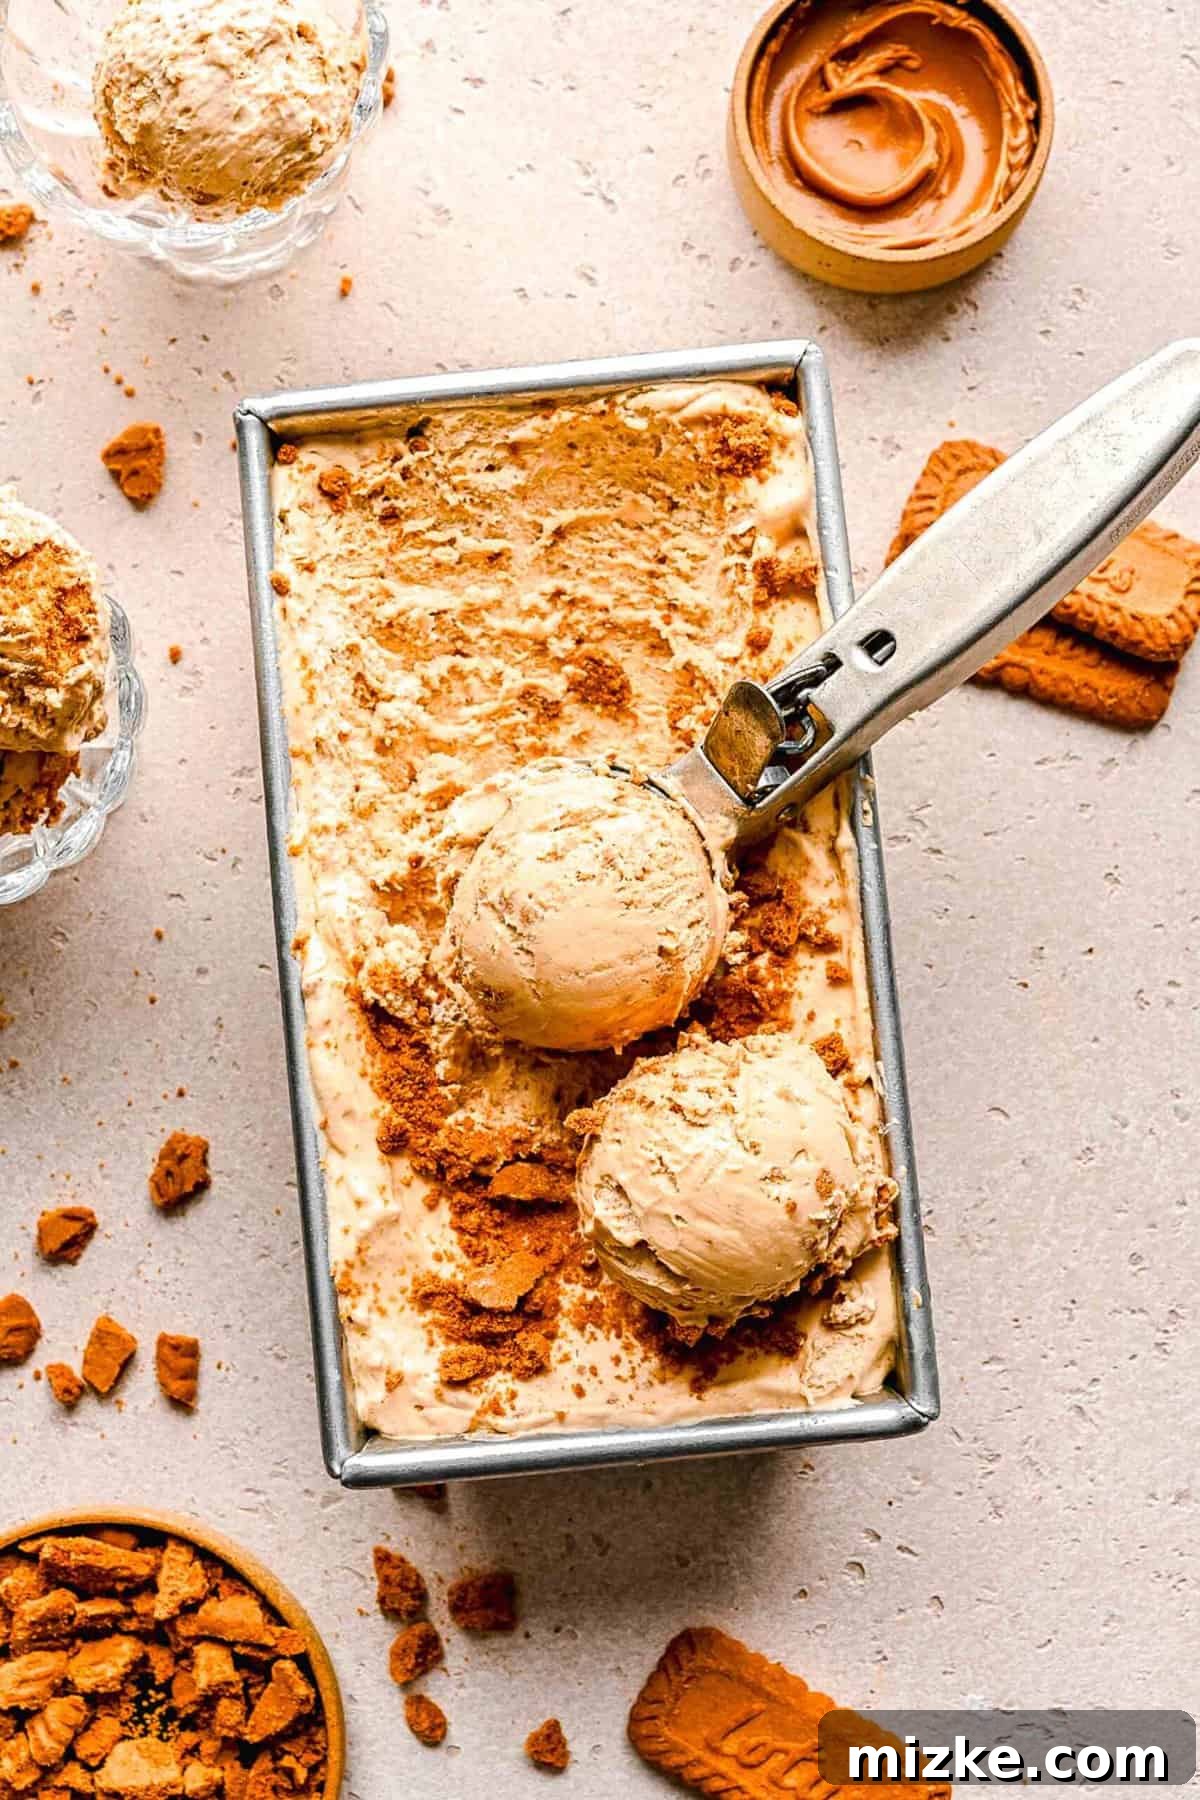
Why You’ll Adore This Easy No-Churn Biscoff Ice Cream
My enthusiasm for this no-churn ice cream isn’t just about its deliciousness; it’s about the sheer simplicity and accessibility it offers to every home cook. If you’re seeking an effortless, stress-free ice cream recipe that doesn’t compromise on flavor or texture, you’ve found your match. Here’s an in-depth look at what makes this recipe truly exceptional:
- Unbelievably Simple & Accessible: Unlike many traditional ice cream recipes that demand an expensive and often bulky ice cream maker, this brilliant method requires no such specialized equipment. All you need are basic kitchen tools, most notably an electric mixer, and a mere five key ingredients. This makes homemade ice cream a reality for everyone, regardless of kitchen gadgetry.
- Effortlessly Quick Preparation: Your active involvement in preparing this decadent dessert is astonishingly brief – a mere 15 minutes! Once the quick mixing is done, the freezer takes over the hard work. This leaves you ample time to relax, knowing a gourmet-quality treat is chilling to perfection, ready to be enjoyed later.
- Explosive Biscoff Flavor: The magic of Biscoff cookies is truly unparalleled. This recipe harnesses that distinct charm by incorporating Biscoff cookie spread, ensuring every bite is saturated with its signature caramelized sweetness and a comforting blend of spices. The warmth of cinnamon, cloves, and nutmeg shines brilliantly, creating a rich, almost butterscotch-like depth that makes this ice cream utterly addictive. It’s a flavor journey that captivates from the first lick.
- Perfectly Creamy Texture, Every Time: The no-churn method, relying on whipped heavy cream, results in an incredibly smooth, light, and airy texture that rivals traditionally churned ice cream. There’s no crystallization or icy disappointment here – just pure, melt-in-your-mouth creaminess.
- Versatile for Any Occasion: Whether you’re craving a simple weeknight dessert, entertaining guests, or celebrating a special occasion, this Biscoff ice cream fits the bill. It’s sophisticated enough for a dinner party but easy enough for an impromptu sweet craving.
Unlocking the Unique Flavor of Biscoff Cookies
Biscoff cookies, globally recognized and adored, are also known by their traditional name, Speculoos cookies. These delectable treats boast a uniquely captivating taste often described as a delightful fusion between classic graham crackers and festive gingerbread cookies. What truly defines the Biscoff experience is its signature warm, comforting, and remarkably complex spice blend. This aromatic profile is prominently characterized by the inviting notes of cinnamon, complemented by hints of cloves, nutmeg, and ginger. Beyond the spices, Biscoff offers a rich, deep sweetness with distinctive caramelized undertones, reminiscent of brown sugar or treacle. This combination creates a truly irresistible, almost buttery flavor that makes them a real and unforgettable treat, perfect for coffee pairings or, as we’ve discovered, transforming into an exceptional ice cream.
Essential Ingredients for Your Biscoff Ice Cream
This delightfully straightforward recipe champions simplicity, requiring just five core ingredients to achieve a truly luxurious result. Precision is key in baking and desserts, so while I’ll detail them here, always refer to the full recipe card below for exact measurements to ensure perfect consistency and flavor.
- Heavy Cream (Heavy Whipping Cream) – This is the foundational ingredient for our no-churn magic. When whipped, cold heavy cream incorporates air, creating the light, airy volume that defines the fluffy texture of this ice cream. It’s absolutely crucial that your heavy whipping cream is thoroughly chilled. If it’s not cold enough, it won’t whip properly, resulting in a runny, disappointing ice cream base. Keep it in the refrigerator until the very moment you’re ready to use it!
- Sweetened Condensed Milk – This thick, sweet dairy product provides both sweetness and a creamy, rich body to our ice cream. It prevents ice crystal formation, contributing to the signature smooth, scoopable texture of no-churn recipes.
- Biscoff Cookie Spread (Cookie Butter) – The star of the show! This creamy spread, made from crushed Biscoff cookies, infuses the ice cream with its distinctive caramelized, spiced flavor. It’s what gives our ice cream its unmistakable Biscoff essence and adds an incredible richness.
- Vanilla Extract – A touch of pure vanilla extract enhances all the other flavors, adding a layer of warmth and complexity that perfectly complements the Biscoff spices. Don’t skip this small but impactful addition!
- Biscoff Cookies – Crushed Biscoff cookies are folded into the mixture, providing a delightful textural contrast. Their crisp, spiced crunch is essential for that authentic Biscoff experience and makes every spoonful a joy.
Crafting Your No-Churn Biscoff Ice Cream: A Step-by-Step Guide
Preparing this incredibly easy no-churn ice cream is a breeze, requiring minimal effort for maximum deliciousness. Here’s a concise overview of the steps to guide you. For comprehensive, detailed instructions and precise measurements, please consult the full recipe card conveniently located at the end of this article.
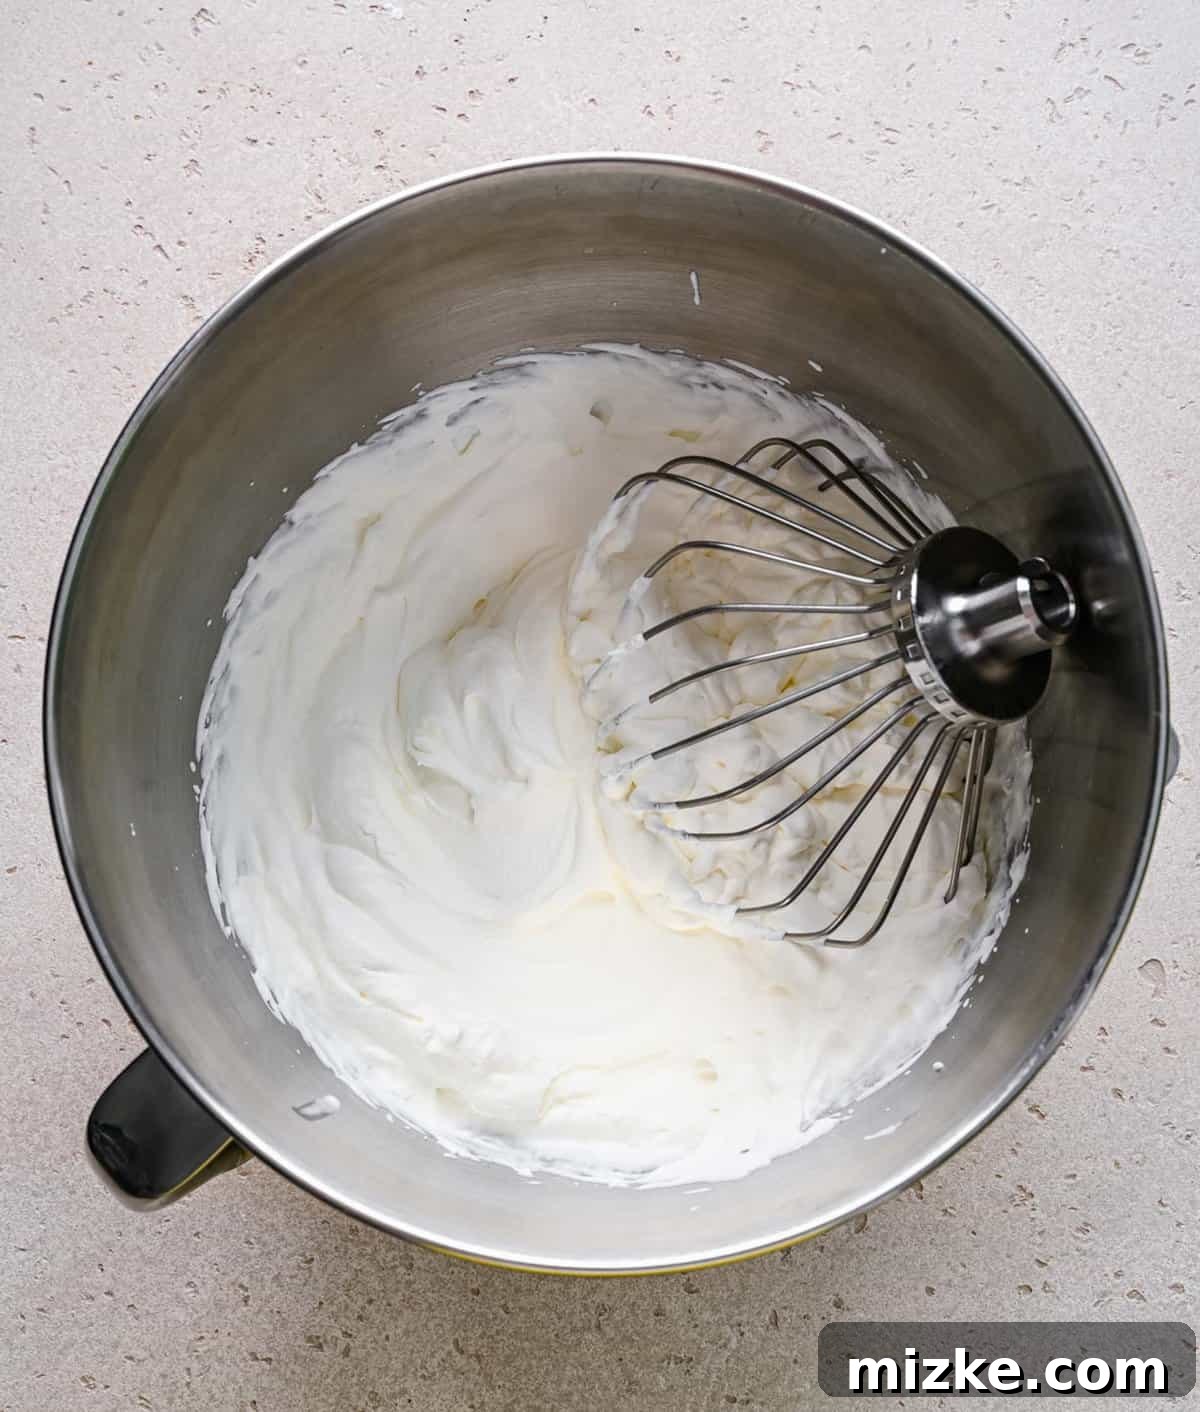
- Step 1: Create the Whipped Cream Base. Begin by pouring your chilled heavy cream into a large mixing bowl. Using an electric mixer (either a hand mixer or a stand mixer with a whisk attachment), beat the cream at high speed. Continue beating until beautiful, firm stiff peaks form, indicating that the cream is perfectly aerated and stable. This typically takes about 4-5 minutes, but keep a close eye on it to avoid over-whipping.
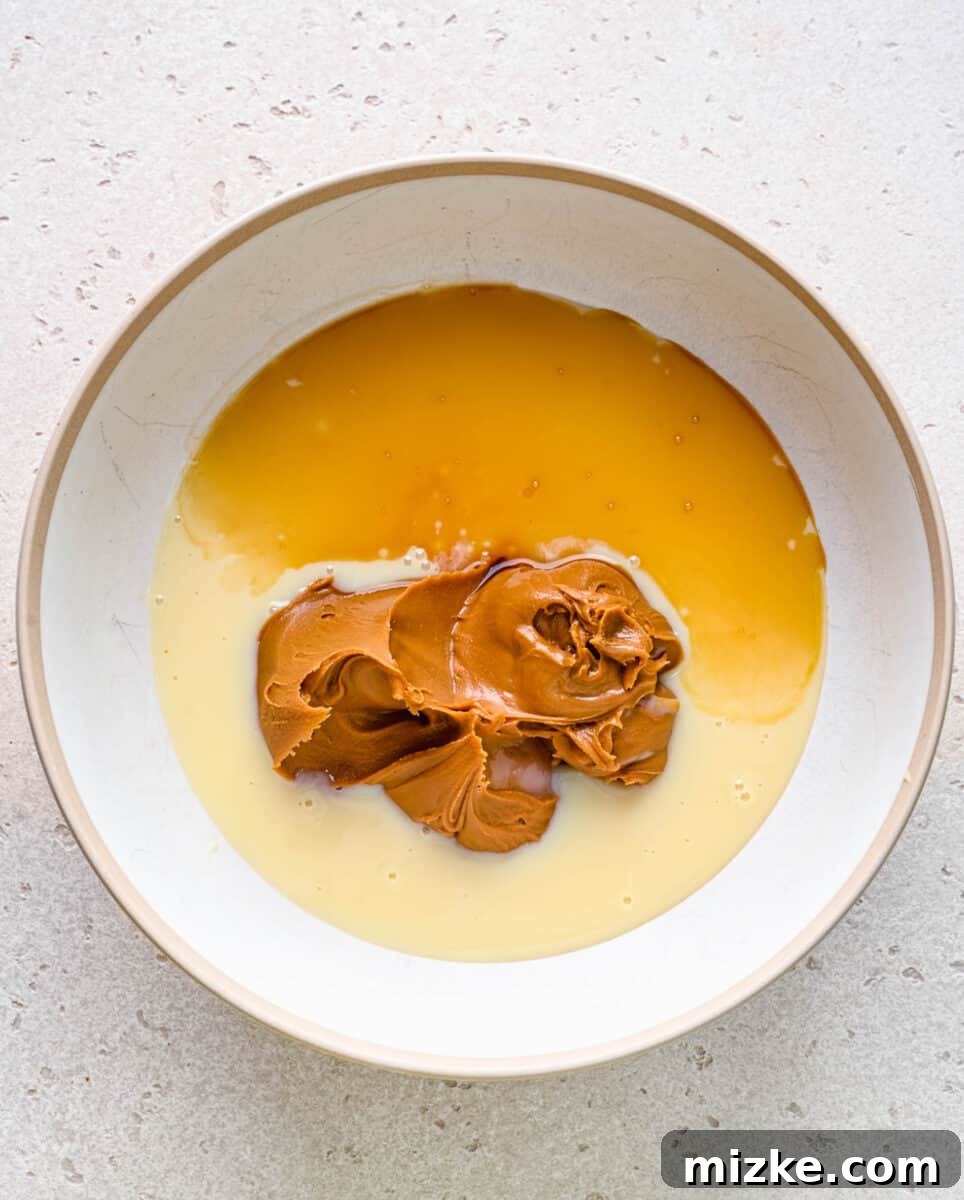
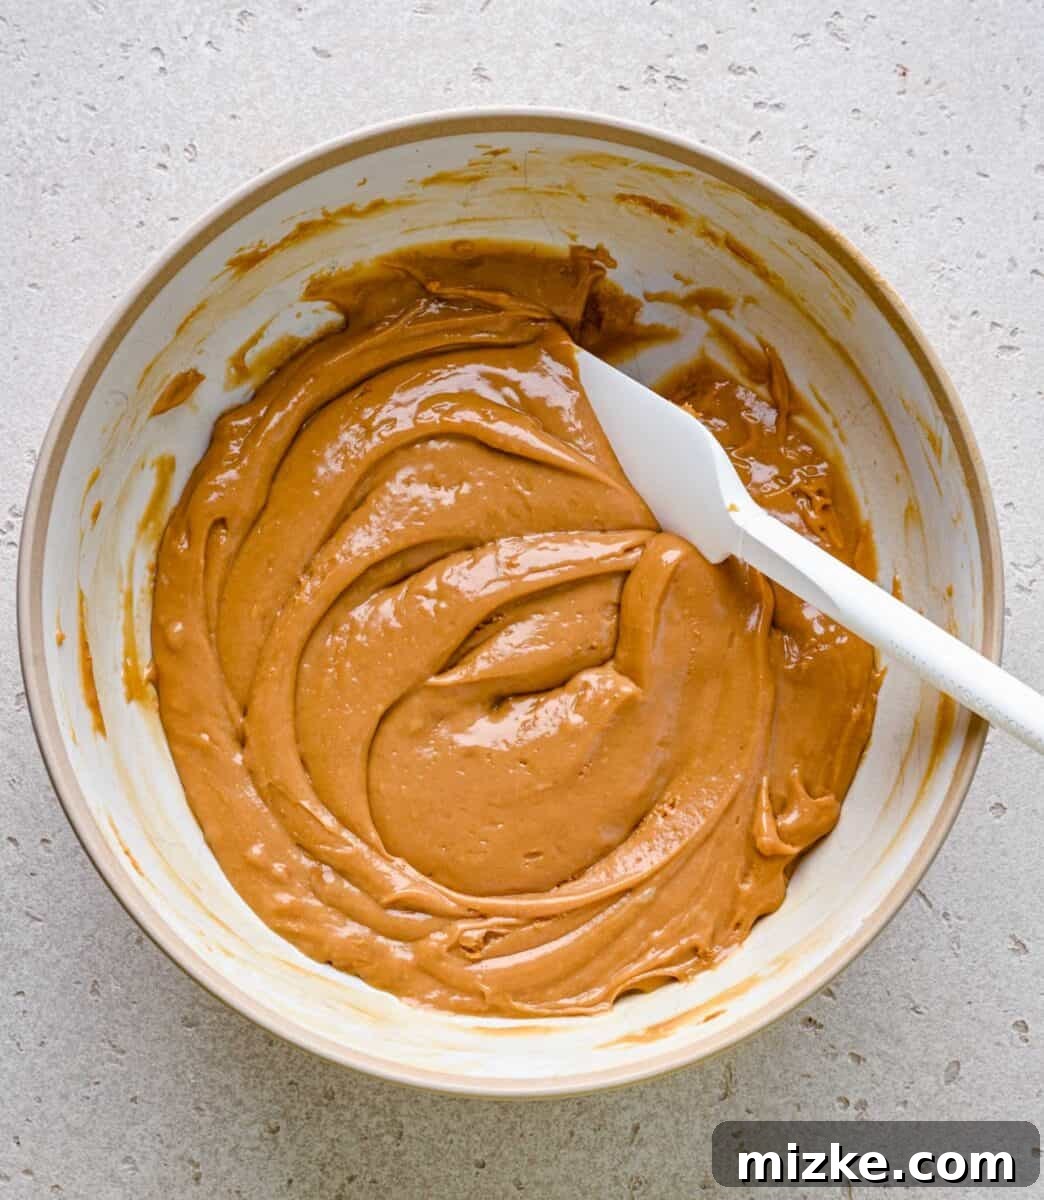
- Step 2: Prepare the Flavorful Ice Cream Base. In a separate, clean mixing bowl, combine the sweetened condensed milk, the rich Biscoff cookie spread, and the vanilla extract. Stir these ingredients together thoroughly until they are completely smooth and well-incorporated, forming a luscious, uniform mixture.
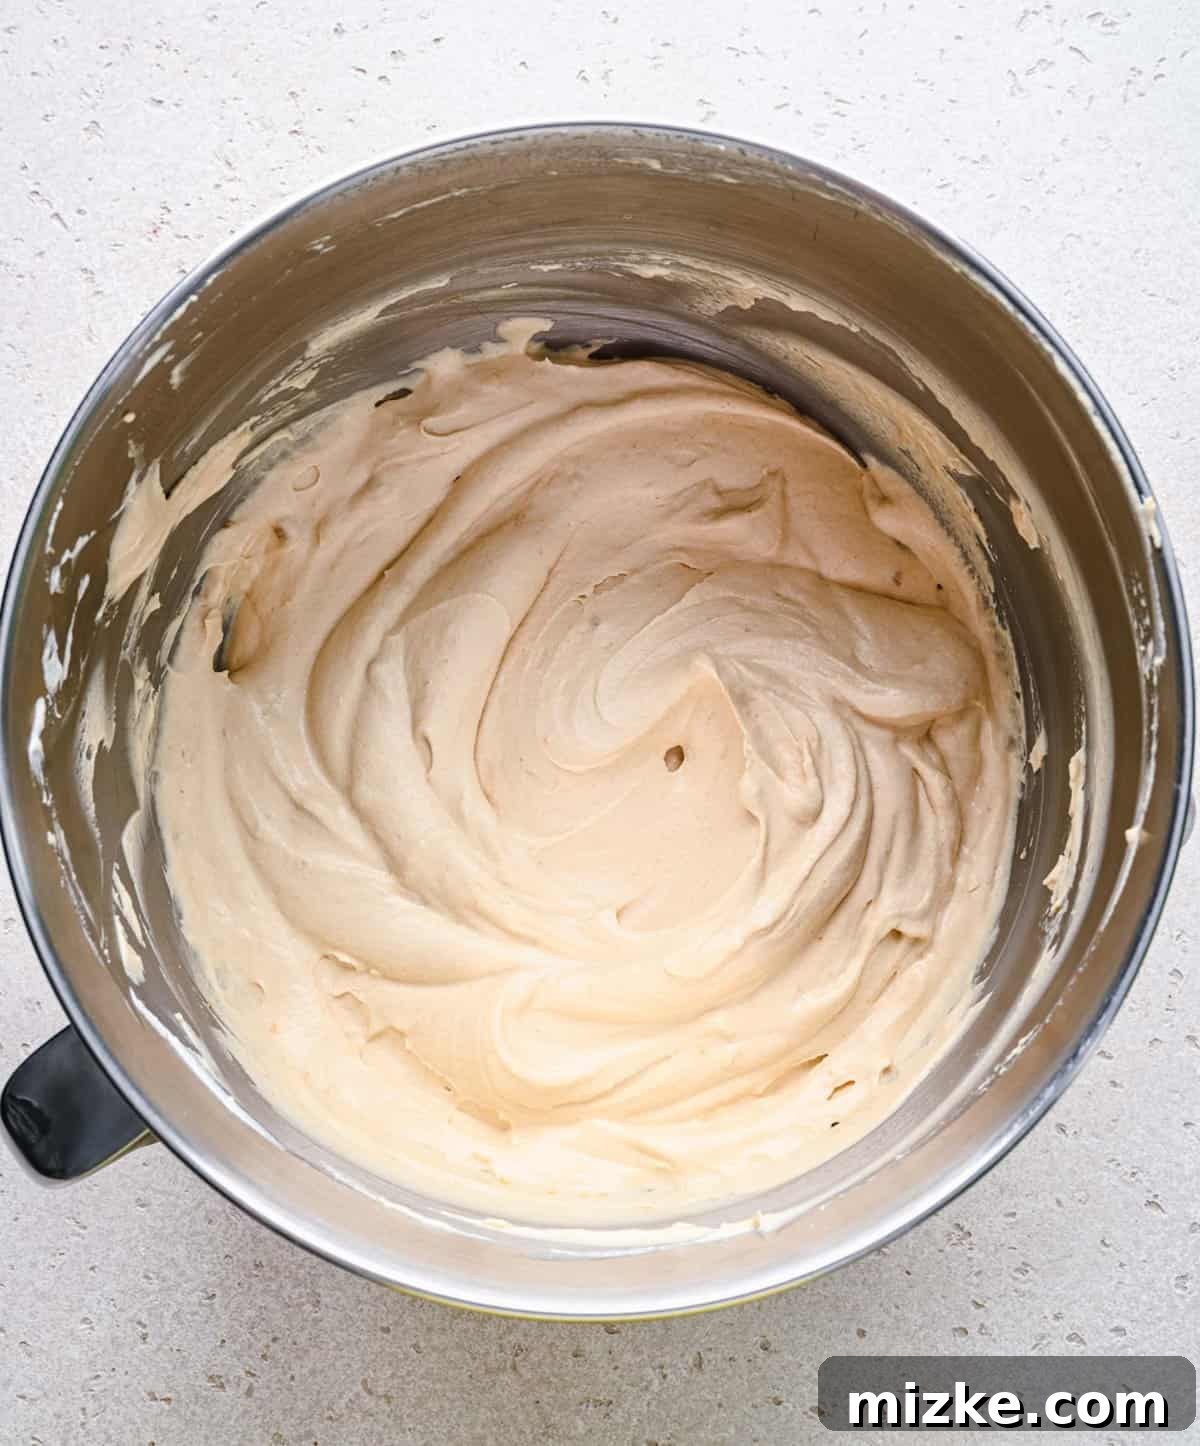
- Step 3: Gently Combine for Perfection. With utmost care and a light hand, gently fold the whipped cream into the Biscoff mixture. The goal here is to maintain as much of the air and volume in the whipped cream as possible, which contributes to the ice cream’s light and fluffy texture. Use a spatula and a gentle, cutting-and-folding motion until just combined.
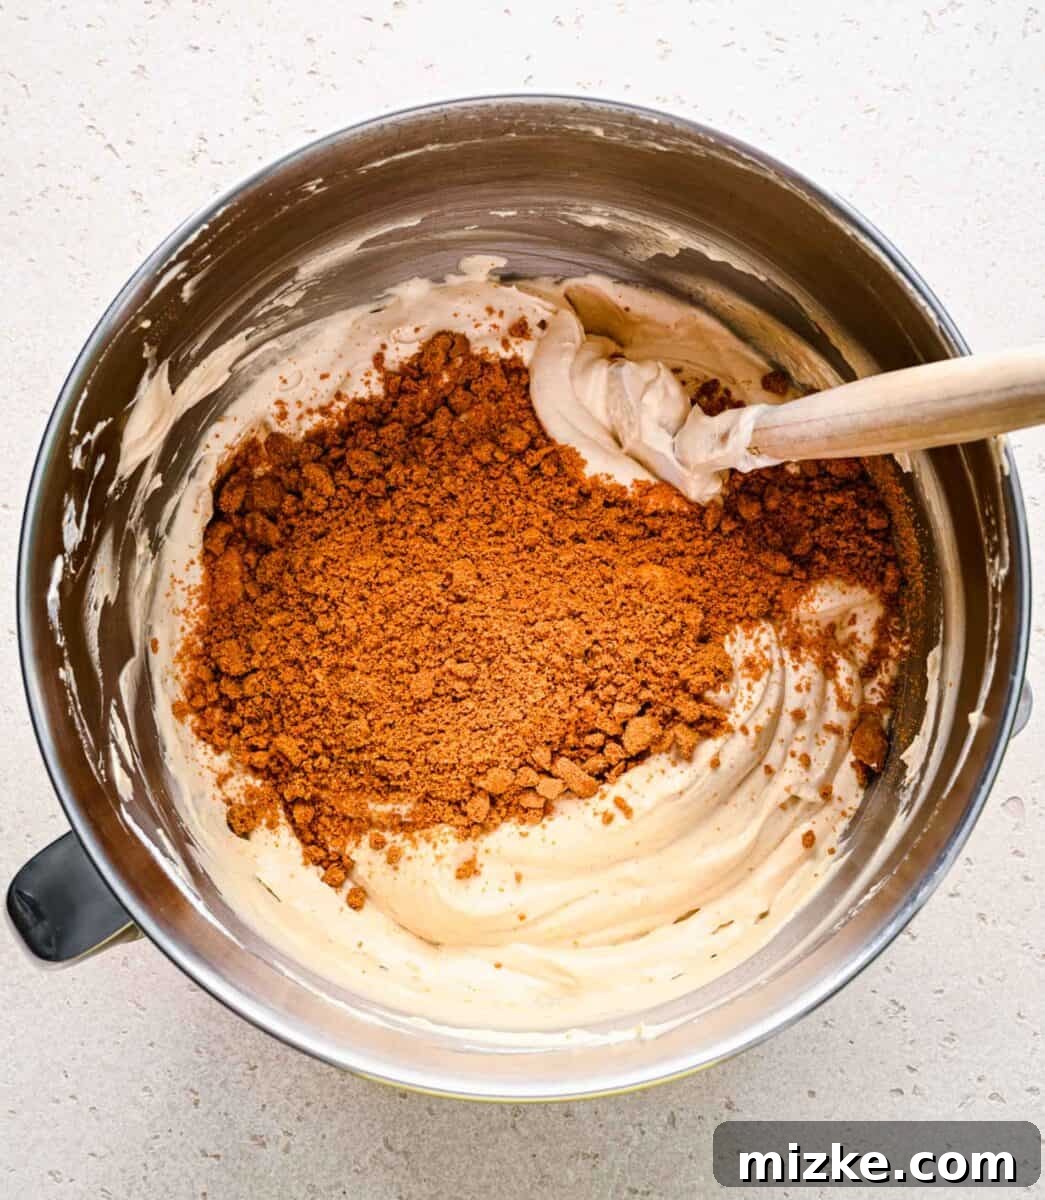
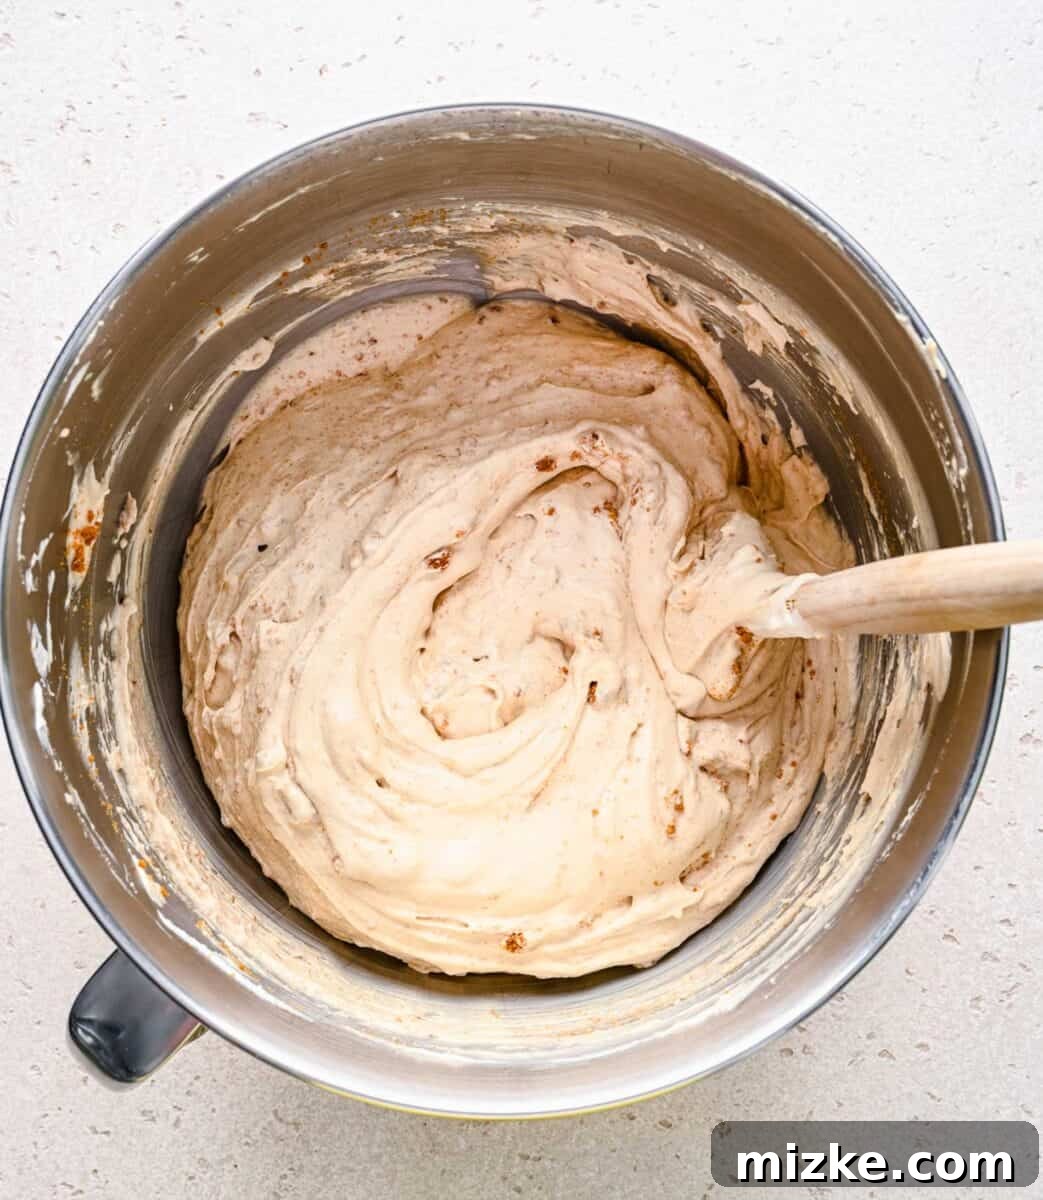
- Step 4: Incorporate the Signature Crunch. Now, it’s time to add that delightful textural element. Gently fold a generous portion (about 1 cup) of the crushed Biscoff cookies into the ice cream mixture. Distribute them evenly throughout for a satisfying crunch in every bite.
- Step 5: Freeze to Perfection. Carefully transfer your glorious Biscoff ice cream mixture into a freezer-safe container. A 9×5-inch loaf pan works wonderfully for this. Top the surface with the remaining crushed cookie crumbs for an extra visual appeal and crunch. Cover the container tightly (using plastic wrap pressed directly onto the surface to prevent ice crystals is highly recommended), and transfer it to the freezer. Allow it to freeze for a minimum of 6 hours, or ideally, overnight, until it reaches a firm, scoopable consistency.
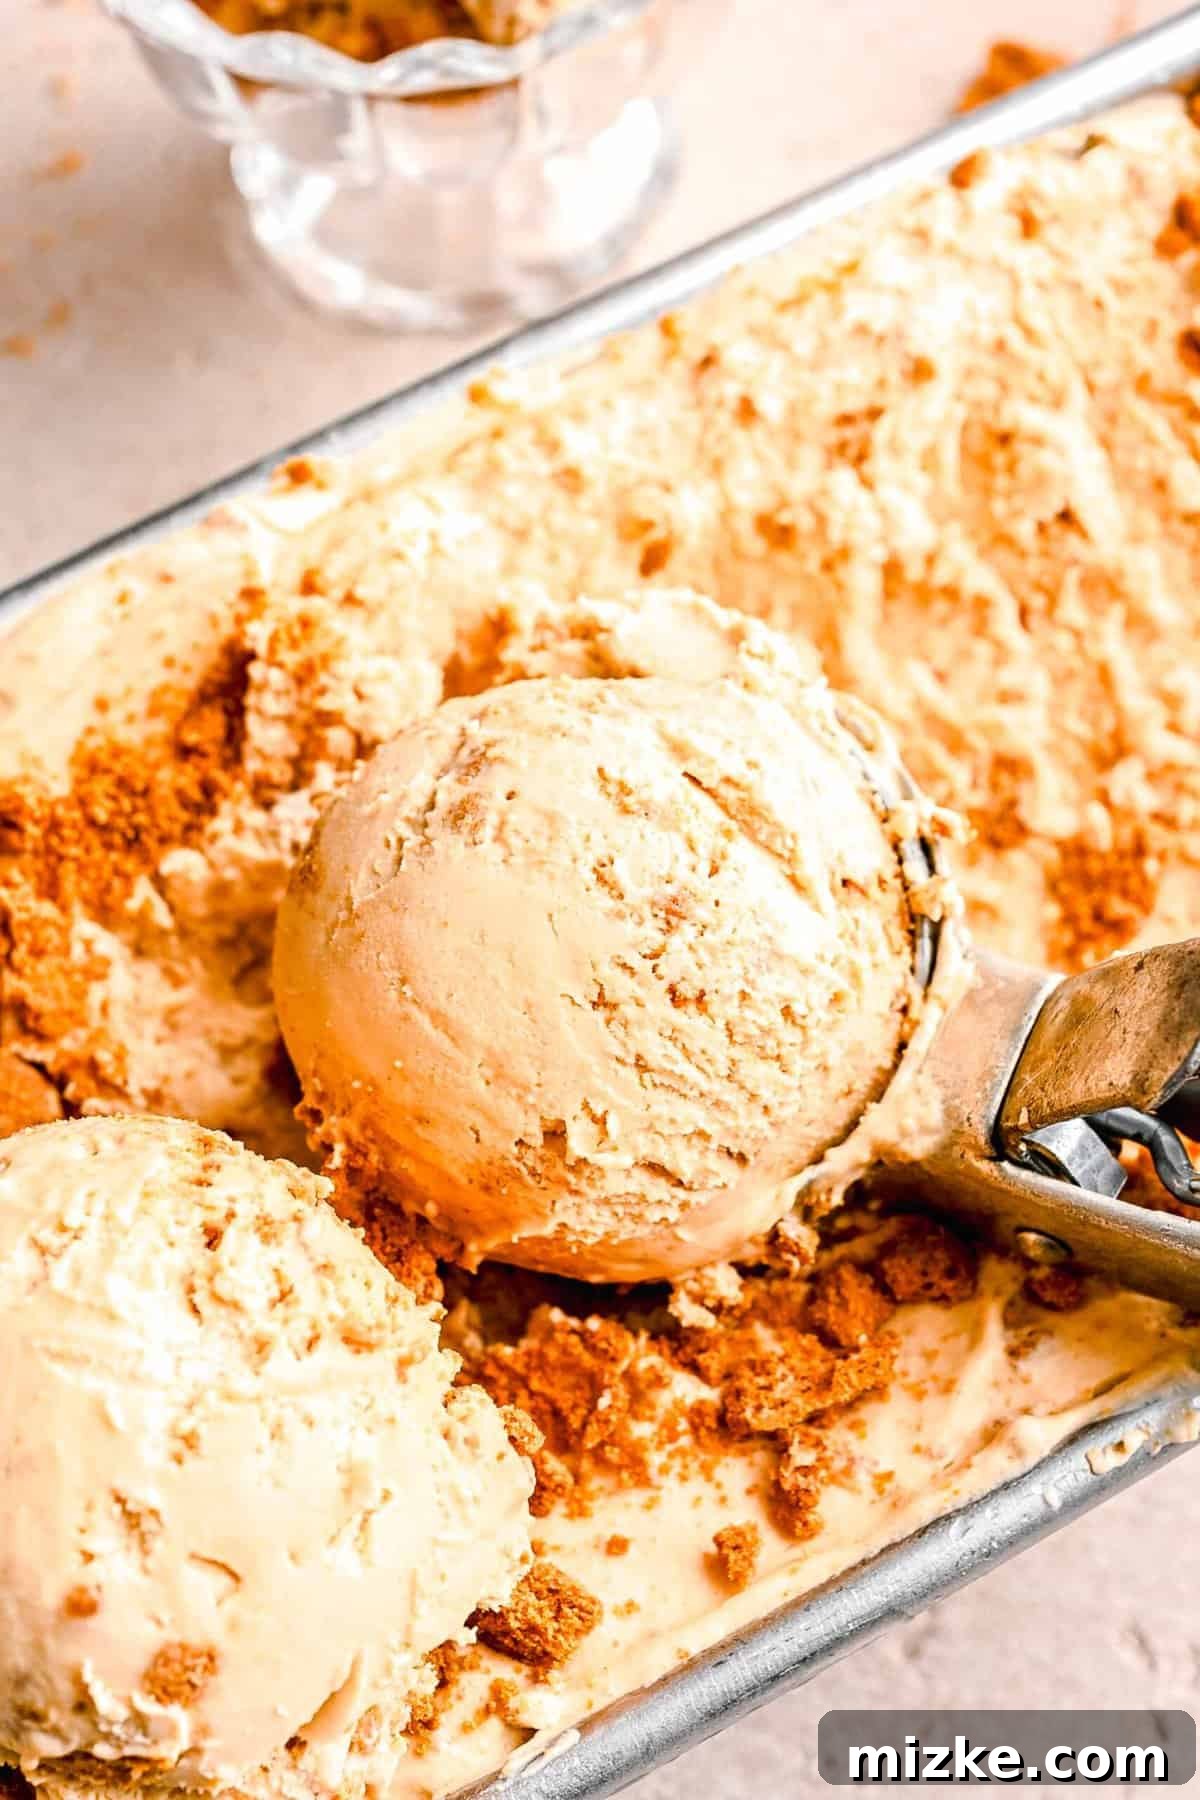
Expert Tips for Crafting Flawless No-Churn Biscoff Ice Cream
While making no-churn ice cream is inherently simple, a few expert tips can elevate your homemade dessert from great to absolutely extraordinary. Follow these guidelines to ensure your Biscoff ice cream achieves that perfect, creamy, and delightful consistency every single time.
- Always Start with Ice-Cold Heavy Whipping Cream: This is arguably the most critical tip for any whipped cream-based dessert. Ensure your heavy whipping cream is thoroughly chilled, ideally straight from the coldest part of your refrigerator. Cold cream whips up faster, incorporates more air, and holds its volume much better. If your cream is even slightly warm, it will struggle to form stiff peaks, resulting in a dense, less airy ice cream. For an extra boost, you can even chill your mixing bowl and whisk attachment for 10-15 minutes before whipping.
- Whip to Stiff Peaks – But Be Careful Not to Over-Whip: The goal for your whipped cream is “stiff peaks.” This means when you lift the beater, the peaks stand up straight and hold their shape firmly. However, be cautious not to over-whip! If you continue beating past this point, the cream will separate, become grainy, and eventually turn into butter. Watch closely and stop your mixer as soon as those stiff peaks are achieved.
- Master the Art of Gentle Folding: When combining the whipped cream with the Biscoff and condensed milk mixture, the technique of “folding” is paramount. Instead of vigorously stirring, use a spatula to gently cut down through the center of the mixture, sweep across the bottom of the bowl, and bring the lighter whipped cream up and over the heavier base. Rotate the bowl as you go. This gentle motion helps to retain the air you’ve meticulously incorporated into the whipped cream, which is vital for the light and airy texture of your no-churn ice cream. Avoid deflating your beautiful whipped cream!
- Embrace Patience for Optimal Freezing: We know the anticipation is high, but resist the urge to peek or scoop too early! This ice cream needs a solid minimum of 6 hours in the freezer to properly set and achieve its perfect, scoopable consistency. Anything less, and you risk a runny, less satisfying result. For the best texture, an overnight freeze is often ideal. Set a timer, walk away, and look forward to a perfectly set, deliciously creamy treat. Your patience will truly be rewarded.
- Prevent Ice Crystals: To keep your ice cream perfectly smooth and free of icy bits, press a layer of plastic wrap directly onto the surface of the ice cream before covering the container. This creates a barrier against air and moisture, the culprits behind ice crystal formation.
- Choose the Right Container: A shallow, wide container (like a loaf pan) allows for faster and more even freezing compared to a deep, narrow one. Ensure it’s freezer-safe and has a tight-fitting lid or can be securely wrapped.
Delightful Serving Suggestions for Your Biscoff Ice Cream
While a scoop of Biscoff ice cream is undeniably a phenomenal treat on its own, its rich, spiced flavor profile makes it an incredibly versatile base for an array of delightful pairings. Elevate your dessert experience by serving it alongside other complementary goodies. Here are some inspired ideas to truly make this ice cream shine:
- Warm, Freshly Baked Cookies: The contrast between warm, soft cookies and cold, creamy ice cream is pure magic. This Biscoff ice cream pairs exceptionally well with a variety of cookies. Consider serving it with my Cheesecake Stuffed Chocolate Chip Cookies for a truly decadent experience, or perhaps these comforting Cinnamon Brown Sugar Cookies to echo the spice notes. For something truly unique, try my Caramel Pretzel Linzer Cookies, offering a salty-sweet crunch.
- Rich, Fudgy Brownies: Biscoff ice cream has a remarkable affinity for chocolate. A warm, fudgy brownie creates an incredible canvas for its spiced sweetness. Explore my Cake Mix Brownies for simplicity, or delve into the gooey goodness of these Caramel Filled Brownies. For an adventurous twist, my Fudgy Dirty Chai Dark Chocolate Brownies would provide an intriguing aromatic counterpoint.
- Decadent Drizzles and Sauces: A simple drizzle can transform your ice cream into an even more luxurious dessert. A classic chocolate sauce, whether dark or milk, perfectly complements the Biscoff. Alternatively, a luscious caramel sauce will amplify the inherent caramelized notes in the cookie butter, creating an even more harmonious flavor profile.
- Extra Whipped Cream: Who can say no to more whipped cream? A dollop of freshly whipped cream, made with heavy cream, a touch of vanilla, and a hint of powdered sugar, adds another layer of lightness and indulgence. For a gourmet touch, you could even try the honey cream from this delightful Boozy Peaches and Honey Cream Shortcakes recipe.
- Fresh Fruit: For a lighter contrast, serve your Biscoff ice cream with sliced bananas, berries, or even caramelized apples. The natural sweetness and slight tartness of the fruit can provide a refreshing balance to the rich ice cream.
- Biscoff Overload: For the ultimate Biscoff fan, crush a few extra cookies right before serving and sprinkle them generously over each scoop. Drizzle with a little extra melted Biscoff spread for an intense flavor explosion.
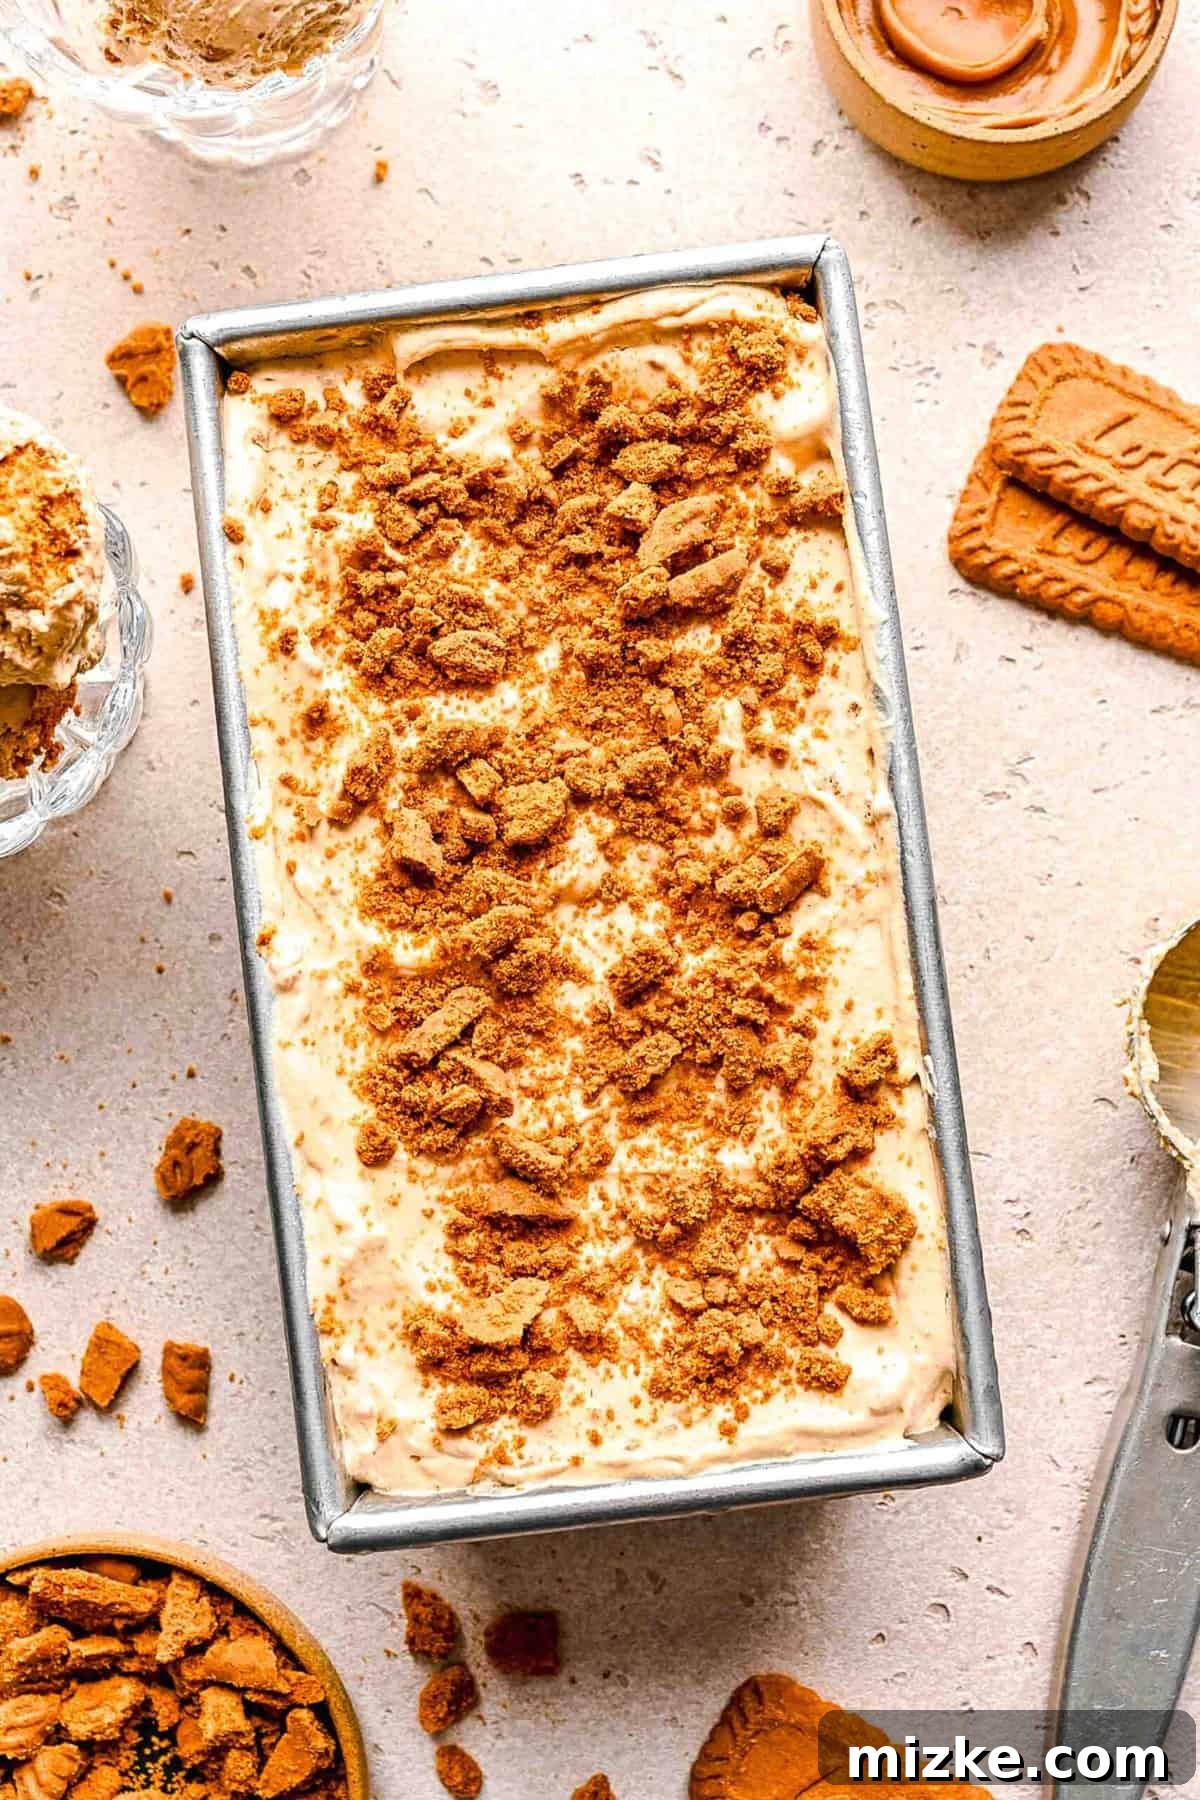
Storing Your Homemade Biscoff Ice Cream for Lasting Freshness
Proper storage is essential to maintain the creamy texture and delightful flavor of your homemade Biscoff ice cream. To ensure it stays delicious for as long as possible, follow these simple steps:
First, select an airtight, freezer-safe container. A 9×5-inch loaf pan is excellent for its shape and size, but any container with a secure lid will work. For an added layer of protection against freezer burn and ice crystals, line the container with parchment paper, leaving an overhang on the sides. Once you’ve transferred the ice cream mixture into the container, gently press a sheet of plastic wrap or another piece of parchment paper directly onto the surface of the ice cream. This creates a barrier, preventing air from reaching the ice cream and significantly reducing the formation of unwelcome ice crystals. Finally, seal the container tightly with its lid, or if using a loaf pan, wrap it securely in several layers of plastic wrap to create an airtight seal. Store your homemade Biscoff ice cream in the deepest part of your freezer for optimal freshness. When stored correctly, it will remain wonderfully scoopable and delicious for up to two weeks. While it can last longer, the quality of homemade ice cream generally starts to decline after this period. Enjoy your efforts!
Explore More Effortless No-Churn Ice Cream Creations
My culinary world truly transformed the moment I discovered the sheer joy and simplicity of no-churn ice cream. This method eliminates all the fuss and specialized equipment traditionally associated with making ice cream, making it wonderfully accessible to every home cook, regardless of their experience level. The ability to whip up rich, creamy, and flavorful ice cream with just a few ingredients and a mixer is nothing short of a kitchen miracle. If you’ve fallen in love with this Biscoff version, you’re in for a treat with these other fantastic no-churn variations that are equally easy and incredibly delicious:
- No-Churn Oreo Fudge Ice Cream: A dream for chocolate and cookie lovers, this recipe combines the classic crunch of Oreos with swirls of rich fudge, all in a creamy no-churn base. It’s an instant crowd-pleaser and incredibly satisfying.
- Black Sesame Ice Cream (No-Churn): For those seeking a unique and sophisticated flavor, this black sesame ice cream offers a nutty, slightly earthy, and subtly sweet profile. It’s an elegant departure from traditional flavors and surprisingly easy to make.
- Future Flavors to Try: Once you master the basic no-churn technique, the possibilities are endless! Experiment with flavors like mint chocolate chip, strawberry cheesecake, coffee, or even unique fruit combinations. The no-churn method is your gateway to endless homemade ice cream adventures.
No-Churn Biscoff Ice Cream
Julie Chiou
15 minutes
6 hours
6 hours 15 minutes
12
Equipment
-
Electric Mixer (Handheld or Stand)
-
Large Mixing Bowls
-
Spatula
-
Freezer-Safe Container (e.g., 9×5 loaf pan)
Ingredients
- 2 ½ cups (592 ml) heavy cream, chilled
- 14 ounce (397 g) can of sweetened condensed milk
- 1 cup (237 g) Biscoff cookie spread
- 1 teaspoon vanilla extract
- 1 ¼ cup (296 g) crushed Biscoff cookies, divided
Instructions
-
Using an electric mixer, beat the chilled heavy cream at high speed until it forms stiff peaks, typically about 4-5 minutes.
-
In a separate mixing bowl, stir together the sweetened condensed milk, Biscoff cookie spread, and vanilla extract until well combined and smooth.
-
Gently fold the condensed milk mixture into the whipped cream until just combined. Be careful not to deflate the whipped cream. Then, gently fold in 1 cup of the crushed Biscoff cookies.
-
Transfer the ice cream mixture to a freezer-safe container (such as a 9×5 loaf pan). Top with the remaining crushed cookies, cover tightly (pressing plastic wrap directly onto the surface is recommended), and freeze for at least 6 hours, or until fully set.
Nutrition
Calories: 346 kcal,
Carbohydrates: 21 g,
Protein: 4 g,
Fat: 28 g,
Saturated Fat: 14 g,
Polyunsaturated Fat: 1 g,
Monounsaturated Fat: 5 g,
Cholesterol: 56 mg,
Sodium: 58 mg,
Potassium: 48 mg,
Sugar: 12 g
This website provides approximate nutrition information for convenience and as a courtesy only. Nutrition information can vary for a variety of reasons. For the most precise nutritional data use your preferred nutrition calculator based on the actual ingredients you used in the recipe.
The default measuring system for this website is US Customary. Unit conversions are provided for convenience and as a courtesy only. While we strive to provide accurate unit conversions, please be aware that there may be some discrepancies.