
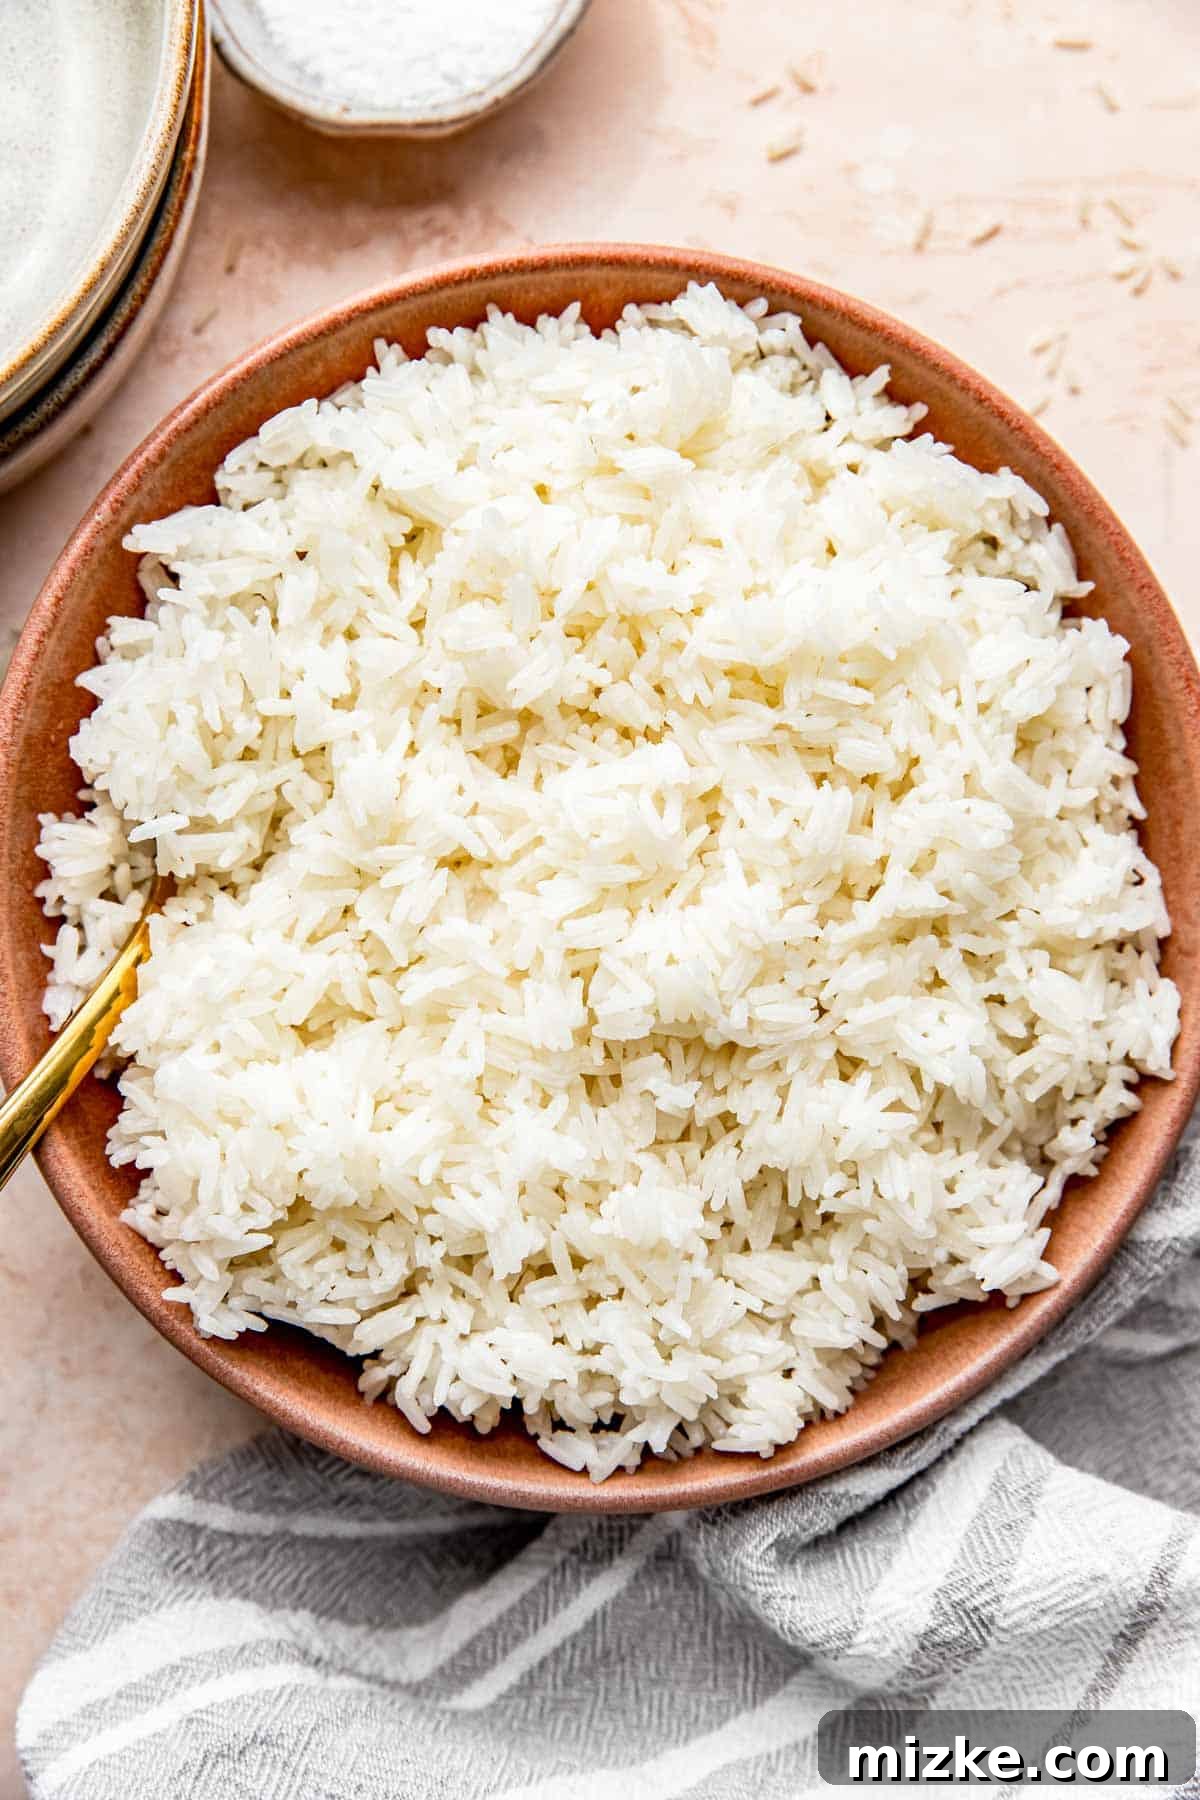
Mastering the art of cooking rice is a fundamental skill in countless kitchens worldwide. While general white rice and brown rice have their own specific cooking guidelines, jasmine rice, with its distinctive aroma and delicate texture, requires a slightly different approach. This comprehensive guide will walk you through everything you need to know about cooking perfect jasmine rice, covering both its white and brown varieties across various popular cooking methods. If you’re looking for guidance on other rice types, be sure to check out our dedicated guides on how to cook brown rice and general white rice. Pay close attention to the headings, as instructions for white jasmine rice and brown jasmine rice differ significantly!
Table of Contents
- Understanding Jasmine Rice: What Type to Use
- How to Cook White Jasmine Rice in a Rice Cooker (Our Top Method)
- How to Cook Brown Jasmine Rice in a Rice Cooker (Our Top Method)
- How to Cook White Jasmine Rice on a Stovetop
- How to Cook Brown Jasmine Rice on a Stovetop (Boil and Drain Method)
- How to Cook White Jasmine Rice in an Instant Pot
- How to Cook Brown Jasmine Rice in an Instant Pot
- To Rinse or Not to Rinse: The Great Rice Debate
- Common Issues and Troubleshooting Tips
- Essential Tips for Perfect Jasmine Rice
- Storing and Freezing Cooked Jasmine Rice
- How to Reheat Jasmine Rice Effectively
- Delicious Pairings: What to Serve with Jasmine Rice
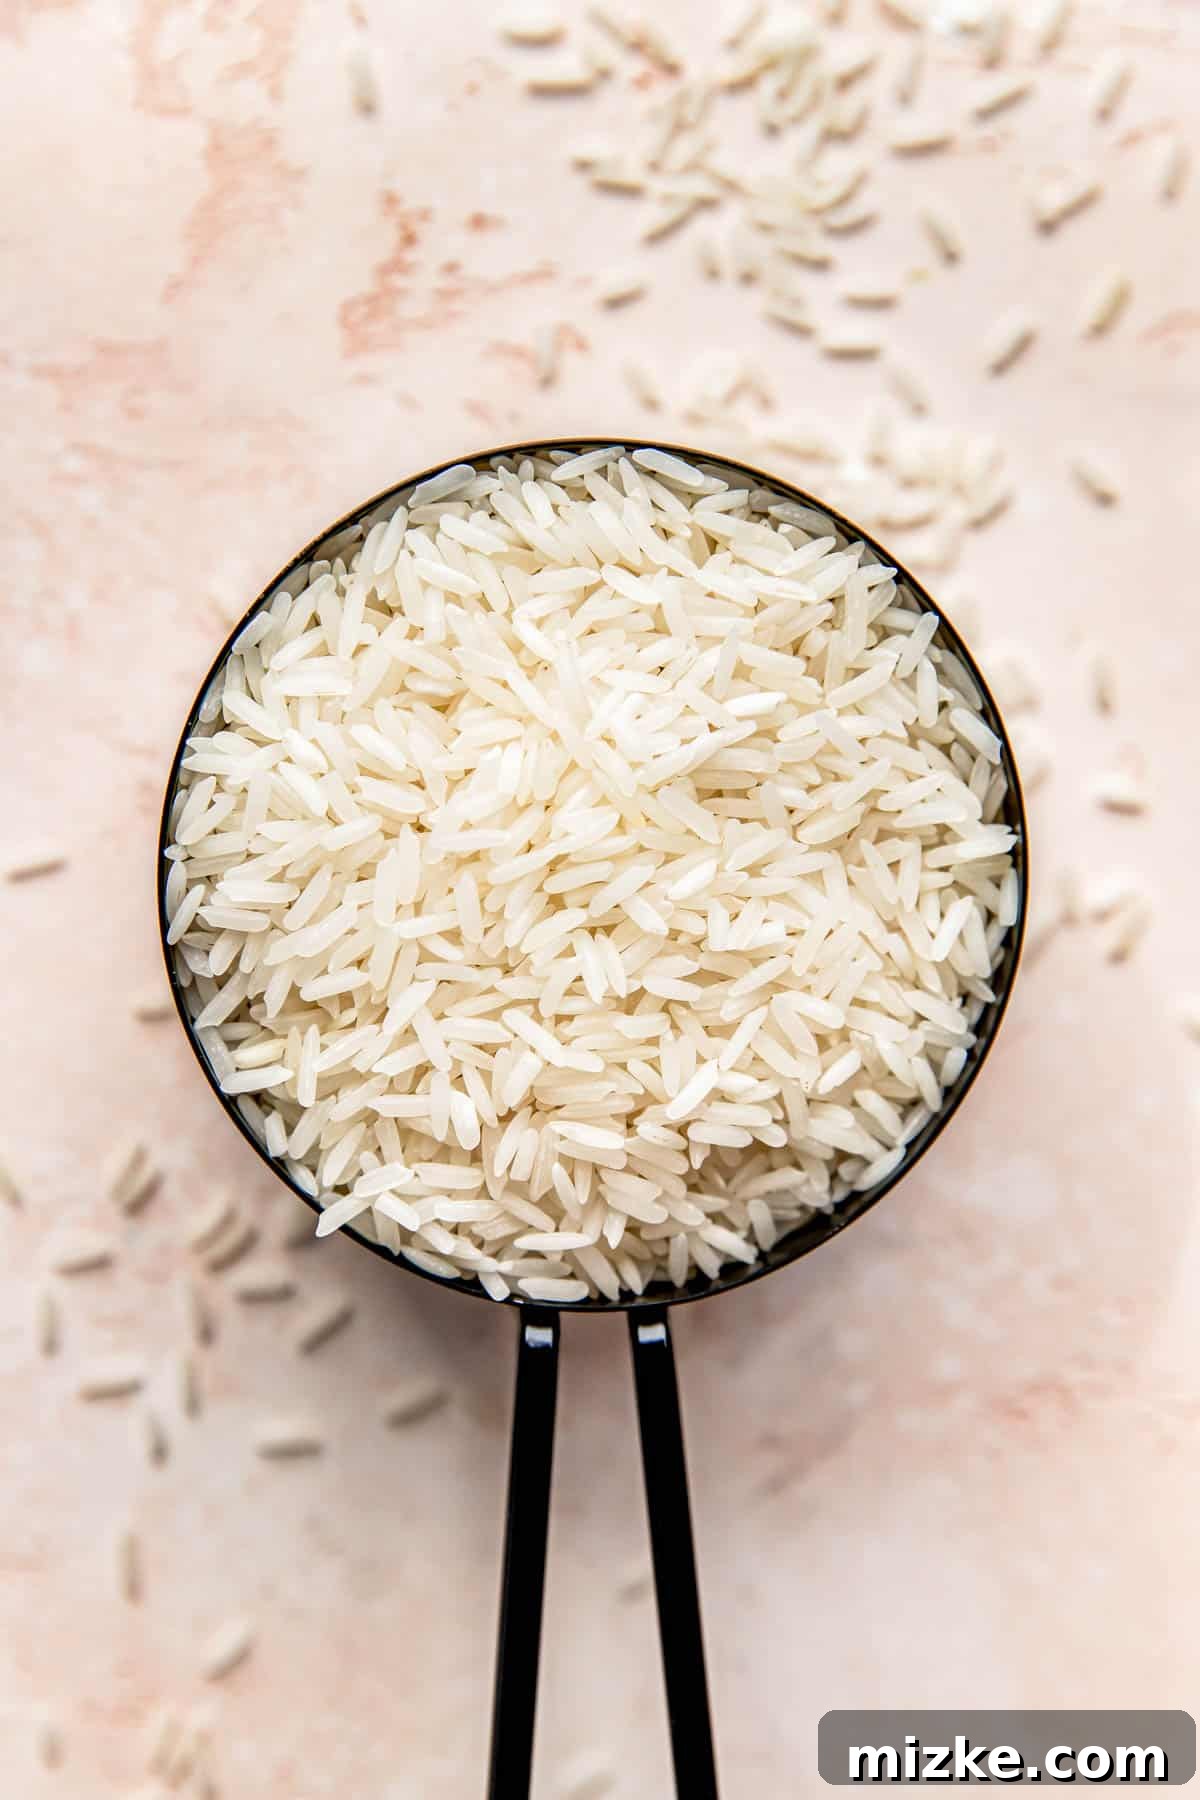
Often, people assume “jasmine rice” is just another term for white rice. While it is indeed a variety of white rice, specifically a long-grain aromatic rice primarily cultivated in Thailand, its unique characteristics necessitate a slightly different cooking approach. Jasmine rice is renowned for its delicate, floral aroma and soft, slightly sticky texture when cooked. This distinct tenderness means it requires less water than typical long-grain white rice, usually calling for a ratio of 1 cup rice to 1 ¼ cups water, as opposed to the more common 1 cup rice to 1 ½ cups water. This subtle adjustment is crucial for achieving that perfectly fluffy, separate grain texture without it becoming mushy.
To further add to the nuances, there’s also a brown jasmine rice variety. Being a whole grain, brown jasmine rice retains its bran and germ layers, which impart a nuttier flavor and chewier texture. These layers also mean it requires a different water ratio and a longer cooking time compared to its white counterpart. Understanding these differences is key to successful preparation.
Whether you’re preparing white or brown jasmine rice, you have excellent options for cooking. We’ll delve into detailed instructions for three popular and effective methods: the **rice cooker**, the traditional **stovetop**, and the speedy **Instant Pot (6-quart model)**. Each method offers its own advantages, allowing you to choose the best fit for your kitchen and schedule.
Understanding Jasmine Rice: What Type to Use
This guide is specifically crafted for cooking jasmine rice, available in both white and brown varieties. Originating from Thailand, this aromatic, long-grain rice is celebrated for its fragrant scent and soft texture. Its distinct qualities mean it behaves differently during cooking than other rice types.
Please note: These instructions are NOT suitable for the following rice varieties:
- Standard White Rice: Typically a long-grain variety that is less aromatic and often requires a higher water-to-rice ratio. For specific instructions, refer to our white rice cooking guide.
- Standard Brown Rice: This whole-grain rice has a firmer texture and significantly longer cooking time than white rice. Find its dedicated cooking method in our brown rice guide.
- Sushi Rice: A short-grain white rice specifically labeled for sushi preparation. Its sticky nature and specific preparation method are crucial for holding sushi rolls together.
- Sticky Rice (Glutinous Rice): Also a short-grain variety, glutinous rice (despite the name, it’s gluten-free) needs to be soaked and steamed, a completely different cooking process to achieve its characteristic stickiness.
- Wild Rice: Not technically a rice but the grain of an aquatic grass, wild rice is a long-grain black or purple variety with a chewy texture and unique flavor, requiring different cooking times and water ratios.
- Arborio/Risotto Rice: A medium-grain rice with a high starch content, ideal for creamy risottos. It’s cooked slowly with gradual additions of liquid to achieve its signature consistency.
- Paella Rice: Similar to Arborio, this medium-grain rice (like Bomba or Calasparra) is used in paella, designed to absorb a lot of liquid while maintaining a firm texture, creating the desired “socarrat” crust.
Using the correct type of rice for these instructions is paramount to achieving the desired results. Stick to jasmine rice for this guide, and you’ll be on your way to perfectly cooked, fragrant grains.
How to Cook White Jasmine Rice in a Rice Cooker (Our Top Method)
The rice cooker is arguably the easiest and most consistent method for cooking jasmine rice, producing perfect results with minimal effort. It’s our preferred go-to for its convenience and reliability.
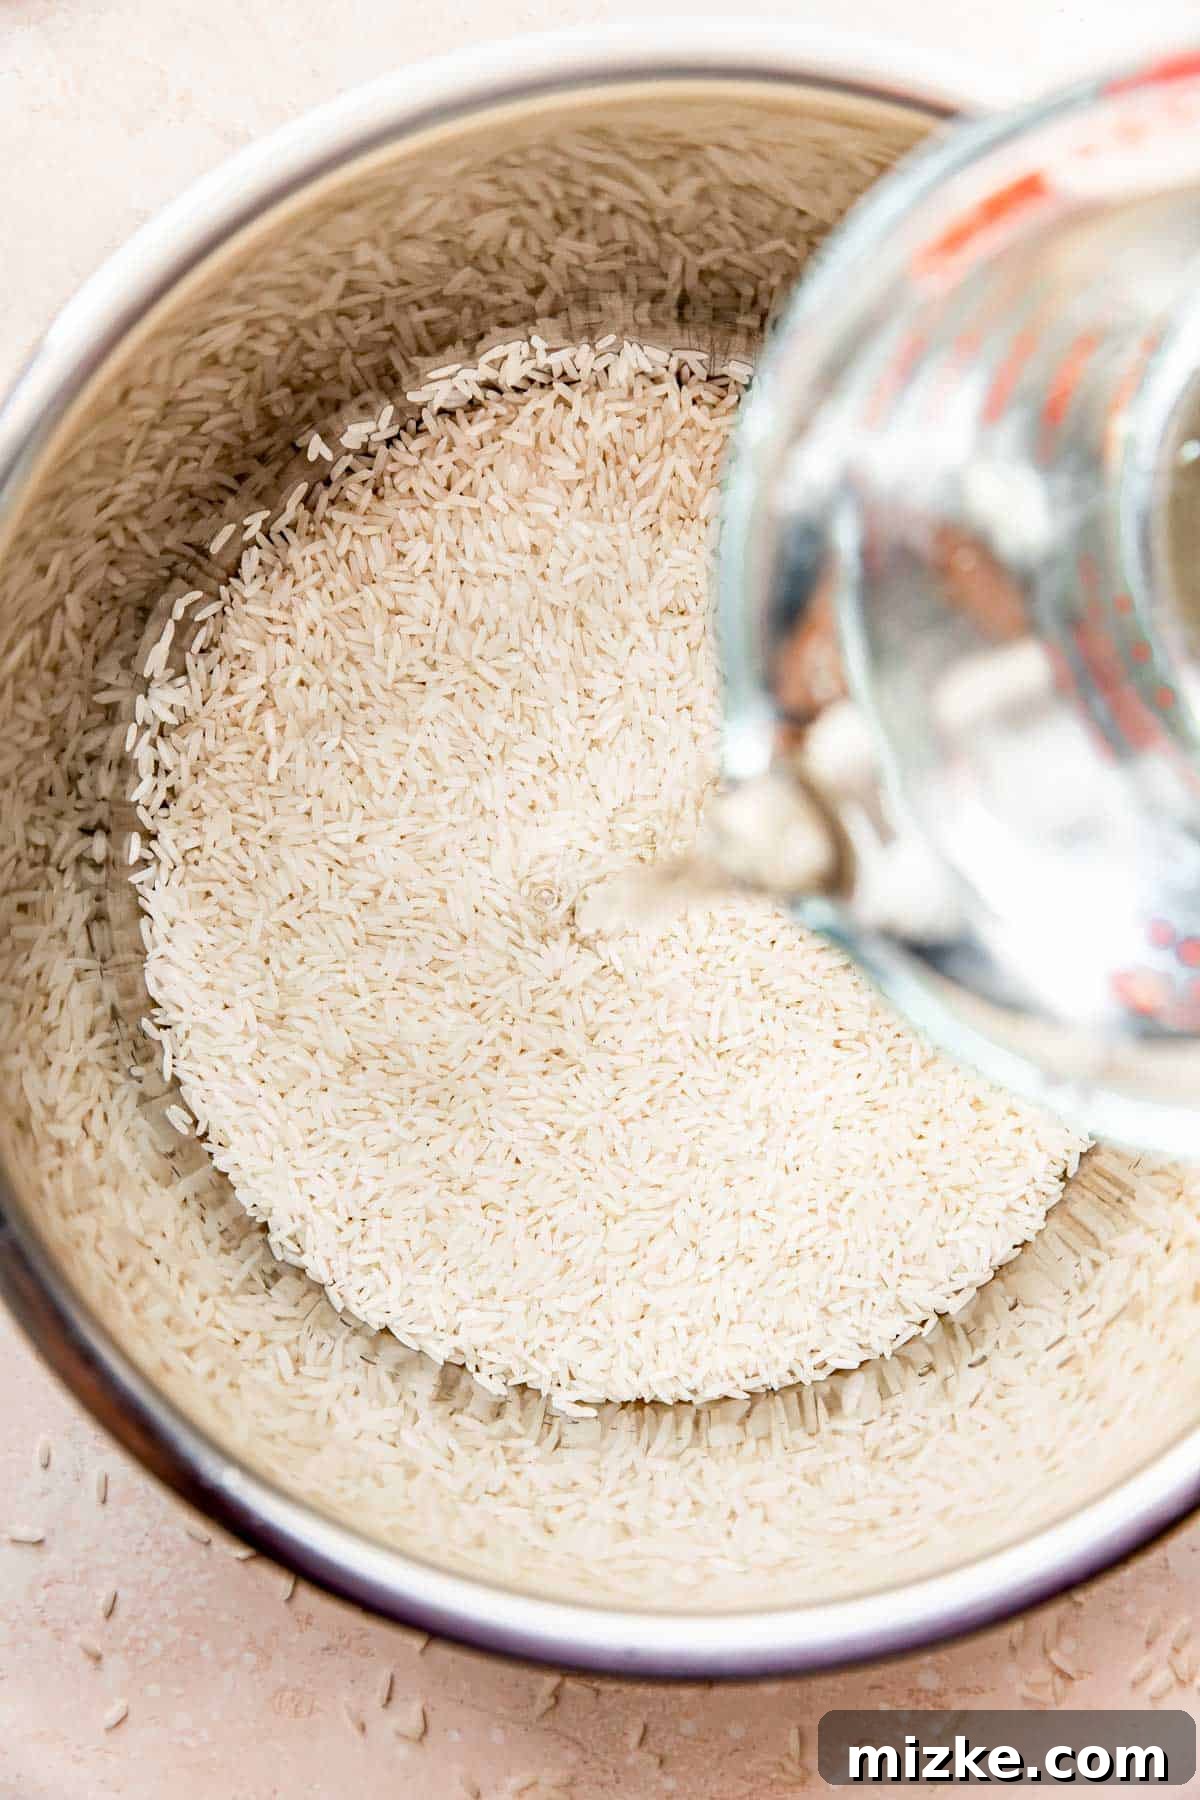
- Prepare the Rice and Water: Add 1 cup of white jasmine rice to the inner pot of your rice cooker. Carefully pour in 1 ¼ cups of water. This specific ratio is key for white jasmine rice’s softer texture. If you choose to rinse your rice beforehand (see our section on rinsing), reduce the water by 2 tablespoons to compensate for the absorbed moisture.
- Initiate Cooking: Securely close the rice cooker lid. Most modern rice cookers have a “WHITE RICE” setting; select this if available. For basic models with just a “Cook” or “Keep Warm” switch, simply press “Cook.” Cooking time typically ranges from 13-20 minutes, depending on the cooker. Our basic model took around 13 minutes for perfect white jasmine rice.
- Rest for Perfection: Once the cooking cycle is complete (the cooker usually switches to “Keep Warm”), resist the urge to open the lid immediately. Allow the rice to rest, undisturbed, for an additional 10-15 minutes. This crucial resting period allows the steam to fully penetrate the grains, ensuring even cooking and a fluffy texture.
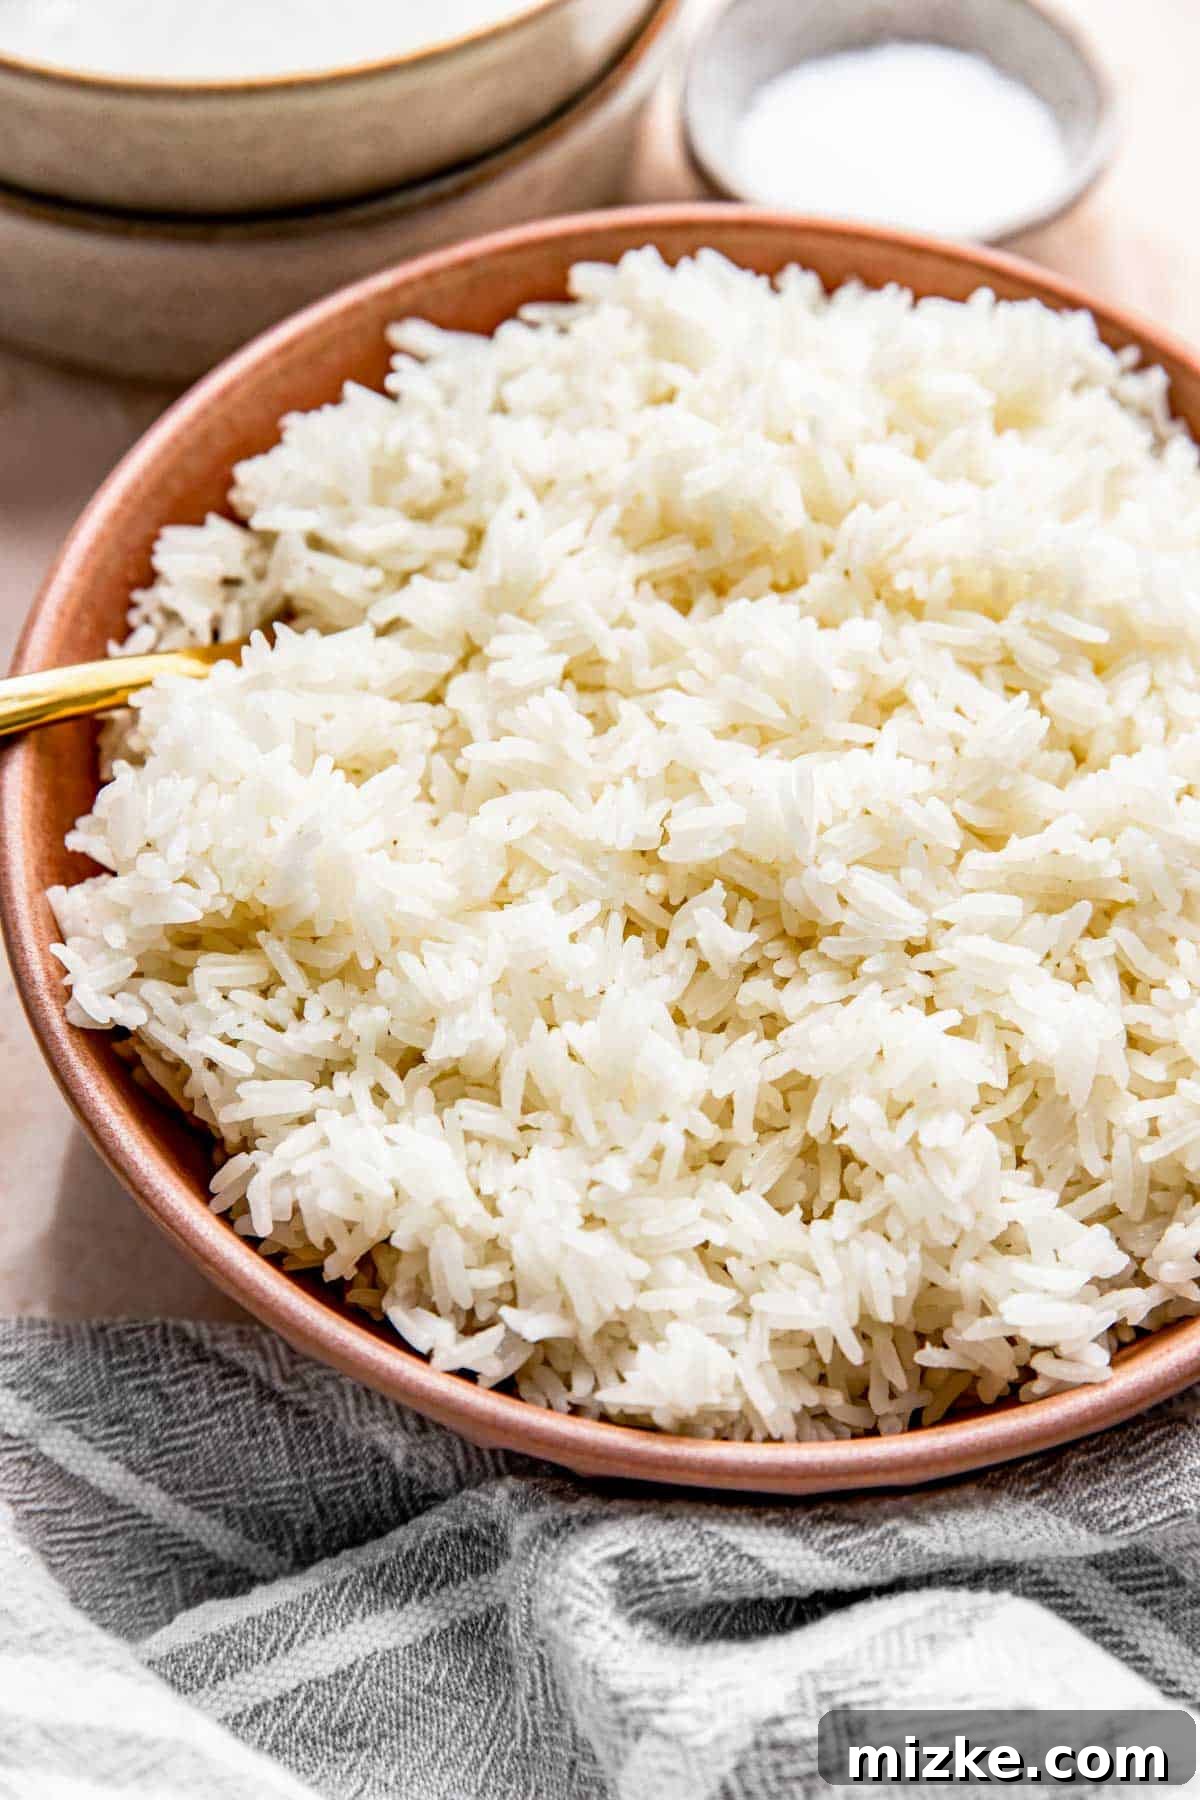
- Fluff and Serve: Carefully open the lid. Using a rice paddle or a fork, gently fluff the cooked rice. This separates the grains and releases any remaining steam. Your fragrant white jasmine rice is now ready to serve!
Pro Tip for Rice Cookers:
Always refer to your rice cooker’s manual, as settings and specific instructions can vary between brands and models. Overfilling the rice cooker can lead to overflow, so ensure you leave enough space for expansion.
How to Cook Brown Jasmine Rice in a Rice Cooker (Our Top Method)
Cooking brown jasmine rice in a rice cooker also offers incredible ease and consistency. Due to its whole grain nature, it requires more water and a longer cooking time than white jasmine rice.
- Rice and Water Ratio: Place 1 cup of brown jasmine rice into the rice cooker’s insert. Add 2 ¾ cups of water. This higher water ratio is necessary for the bran layer of brown rice to soften adequately. As with white rice, if you rinsed your brown jasmine rice, reduce the water by 2 tablespoons.
- Cook Cycle: Close the rice cooker lid firmly. If your rice cooker has a “BROWN RICE” setting, select it. If not, simply press the “Cook” button on basic models. Brown rice generally takes longer to cook; expect a cycle of 30-45 minutes or more, depending on your appliance.
- Essential Resting Time: Once the cooking is finished, and the cooker switches to “Keep Warm,” let the rice rest with the lid on for an additional 10-15 minutes. This step is vital for the grains to fully absorb moisture and become tender.
- Fluff and Enjoy: Remove the lid and gently fluff the cooked brown jasmine rice with a rice paddle or fork. Be careful when fluffing brown rice, especially if it’s a more delicate variety like basmati brown rice, as aggressive fluffing can break the grains. A rice paddle is generally gentler than a fork for most rice types.
Expert Advice for Brown Jasmine Rice:
Brown rice can sometimes be a bit more temperamental. If your brown jasmine rice is still a bit too firm after resting, you can add a splash more hot water, recover, and let it steam for another 5 minutes on “Keep Warm” before fluffing.
How to Cook White Jasmine Rice on a Stovetop
Cooking jasmine rice on the stovetop is a classic method that yields excellent results when done correctly. The key is managing the heat and resisting the urge to peek!
- Combine and Boil: In a small saucepan with a tight-fitting lid, combine 1 cup of white jasmine rice and 1 ¼ cups of water. For those who rinse their rice, reduce the water by 2 tablespoons. Place the pot over medium-high heat and bring the water to a vigorous boil, leaving the lid off initially.
- Simmer and Steam: Once the water is boiling rapidly and you see small bubbles, immediately reduce the heat to its lowest setting. Cover the pot tightly with the lid. Let the rice simmer undisturbed for precisely 13 minutes. Do not lift the lid during this time!
- Rest Off Heat: After 13 minutes, turn off the heat completely. Keep the lid on and move the pot off the hot burner. Allow the rice to rest, still covered, for an additional 10 minutes. This resting phase is critical for the rice to absorb any remaining moisture and finish steaming evenly.
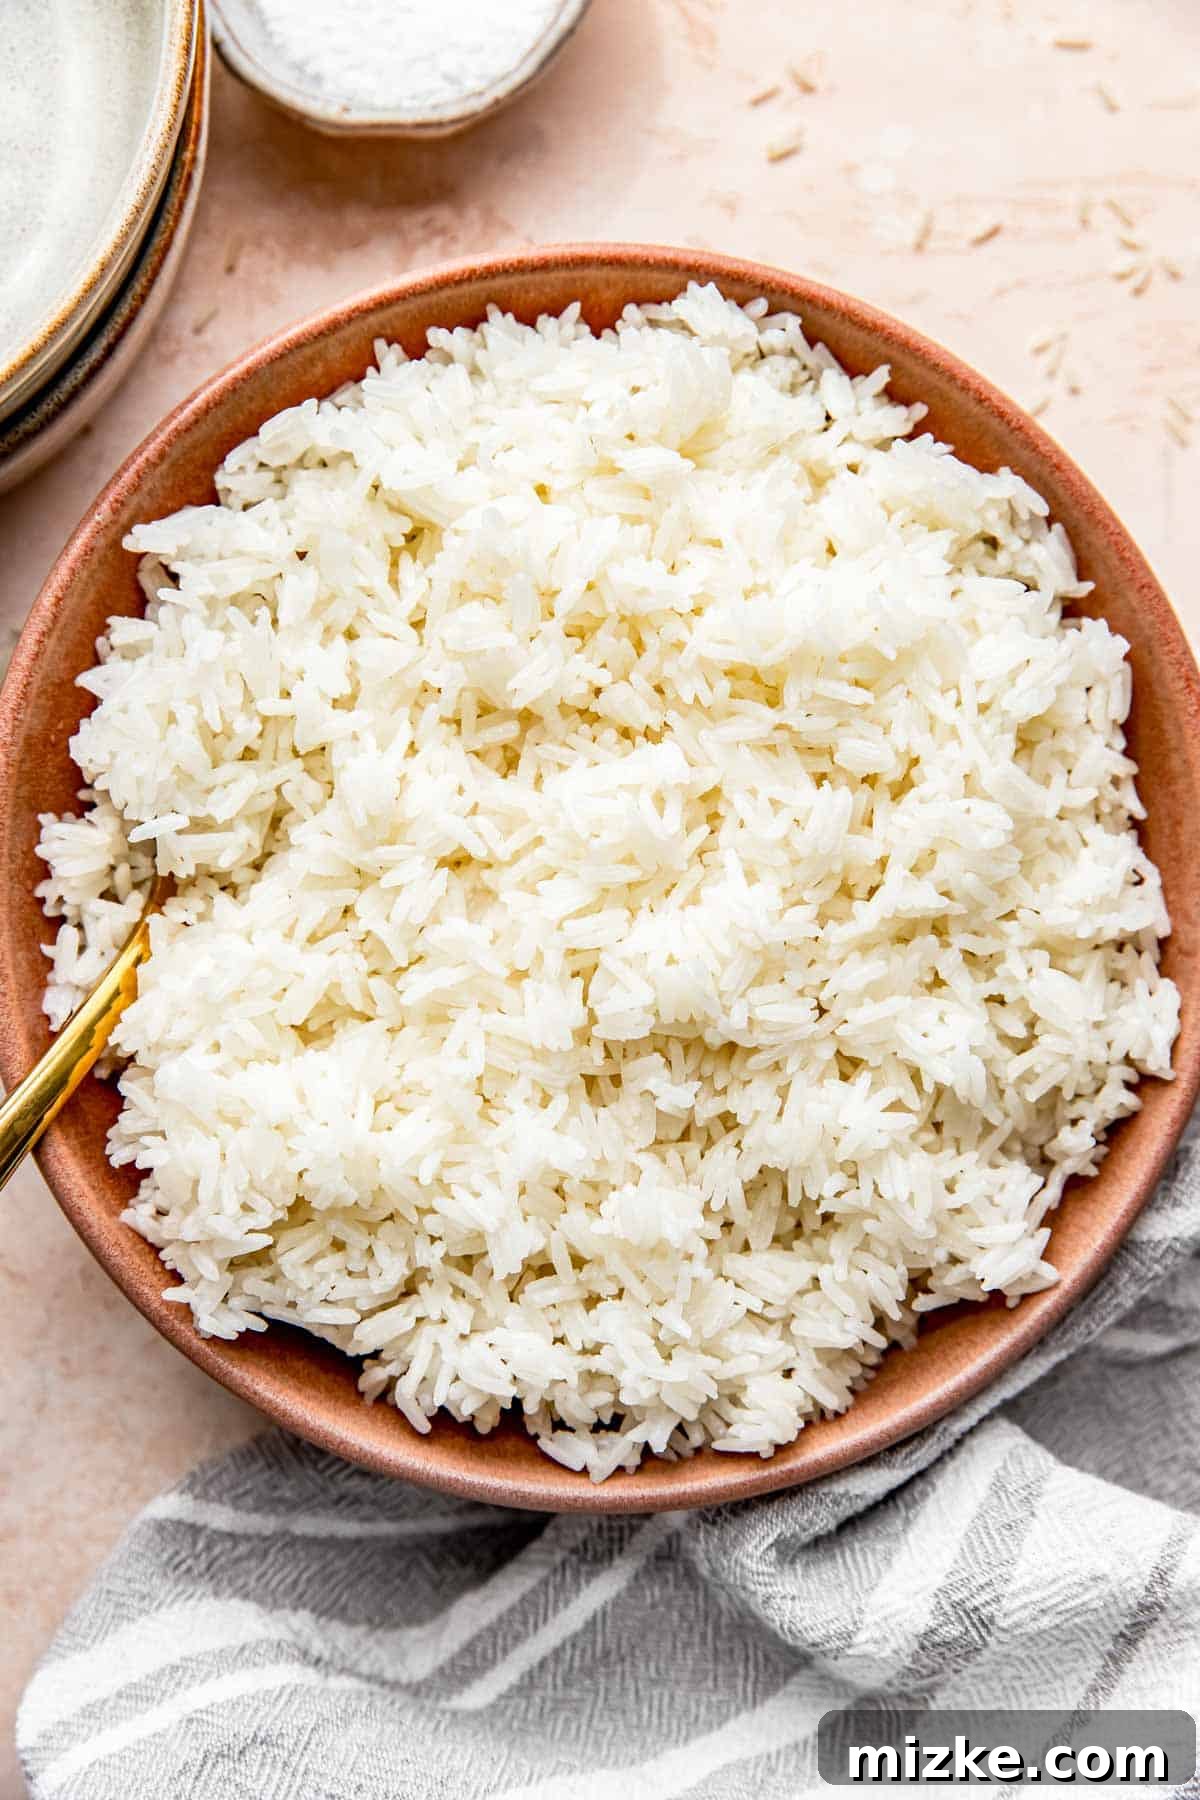
- Fluff and Serve: Once the 10-minute resting period is over, remove the lid. Gently fluff the rice with a rice paddle or fork to separate the grains. Serve immediately, enjoying the soft and aromatic perfection.
Stovetop Success Tip:
Using a heavy-bottomed pot helps distribute heat more evenly, preventing burning at the bottom. A glass lid can also be helpful to observe the simmering without lifting the lid and releasing steam.
How to Cook Brown Jasmine Rice on a Stovetop (Boil and Drain Method)
For brown jasmine rice on the stovetop, the “boil and drain” method is often preferred, especially if you want to ensure tender grains without the risk of sticking or burning.
- Boil Water and Rice: In a large pot (at least 3-quart capacity), combine 1 cup of brown jasmine rice with a generous 6 cups of water. Place the pot over medium-high heat and bring the water to a rolling boil, keeping the lid off.
- Active Boil: Allow the rice to boil vigorously for 12-14 minutes. During this time, the rice will soften significantly. You can taste a few grains around the 12-minute mark to check for your desired tenderness.
- Strain Excess Water: Carefully place a metal colander or fine-mesh strainer over a large heat-proof bowl. Drain the rice thoroughly, ensuring all excess water is removed. A good shake of the strainer helps.
- Steam and Rest: Immediately transfer the drained rice back into the same pot (or a clean one). Cover the pot with a tight-fitting lid and let the rice rest off the heat for 10 minutes. This allows the remaining steam to finish cooking the grains and achieve a fluffy texture.
- Fluff and Serve: After 10 minutes, remove the lid and fluff the brown jasmine rice with a rice paddle or fork. It should be tender and perfectly separated.
Why Boil and Drain?
This method prevents guesswork with water absorption and is less prone to burning, making it a reliable choice for less-experienced cooks or those seeking a very light, non-sticky brown rice.
How to Cook White Jasmine Rice in an Instant Pot
The Instant Pot offers a speedy and hands-off way to cook perfect white jasmine rice, leveraging pressure cooking for efficiency.
- Combine Ingredients: Add 1 cup of white jasmine rice and 1 ¼ cups of water to the inner pot of your Instant Pot or pressure cooker. No rinsing means no water adjustment needed for this method.
- Pressure Cook: Secure the lid on the Instant Pot and ensure the venting knob is set to “SEAL.” Press the “MANUAL” (or “Pressure Cook”) button, select “HIGH” pressure, and set the cooking time to a mere 2 minutes.
- Natural Pressure Release: Once the 2-minute cooking cycle is complete, do NOT immediately release the pressure. Allow for a natural pressure release (NPR) for 20 minutes. This extended resting time under pressure is vital for the rice to fully cook and become tender.
- Manual Pressure Release and Fluff: After 20 minutes of natural release, carefully switch the venting knob to “VENT” to manually release any remaining pressure. Once the pin drops, open the lid. Fluff the perfectly cooked white jasmine rice with a rice paddle or fork and serve.
Instant Pot Precision:
The 20-minute natural pressure release is non-negotiable for tender, non-mushy rice in the Instant Pot. Don’t rush this step!
How to Cook Brown Jasmine Rice in an Instant Pot
For brown jasmine rice, the Instant Pot significantly cuts down cooking time compared to the stovetop, while still delivering wonderfully chewy and flavorful grains.
- Measure and Load: Add 1 cup of brown jasmine rice and 1 ¼ cups of water to your Instant Pot or pressure cooker’s inner pot. While brown rice usually requires more water on the stovetop, the Instant Pot’s sealed environment prevents evaporation, allowing for a 1:1.25 ratio similar to white jasmine rice, which ensures a firmer, more distinct grain.
- Set for Pressure: Close the Instant Pot lid and make sure the venting knob is in the “SEAL” position. Press “MANUAL” (or “Pressure Cook”), choose “HIGH” pressure, and set the cooking time to 22 minutes.
- Natural Release is Key: After the 22-minute cooking cycle, allow the Instant Pot to naturally release pressure for 20 minutes. This long natural release is essential for brown rice, ensuring it becomes tender and fully cooked without drying out or becoming overly chewy.
- Release and Fluff: After the 20-minute natural release, carefully quick-release any remaining pressure by turning the venting knob to “VENT.” Once the float valve drops, open the lid. Gently fluff the brown jasmine rice with a rice paddle or fork and serve.
To Rinse or Not to Rinse: The Great Rice Debate
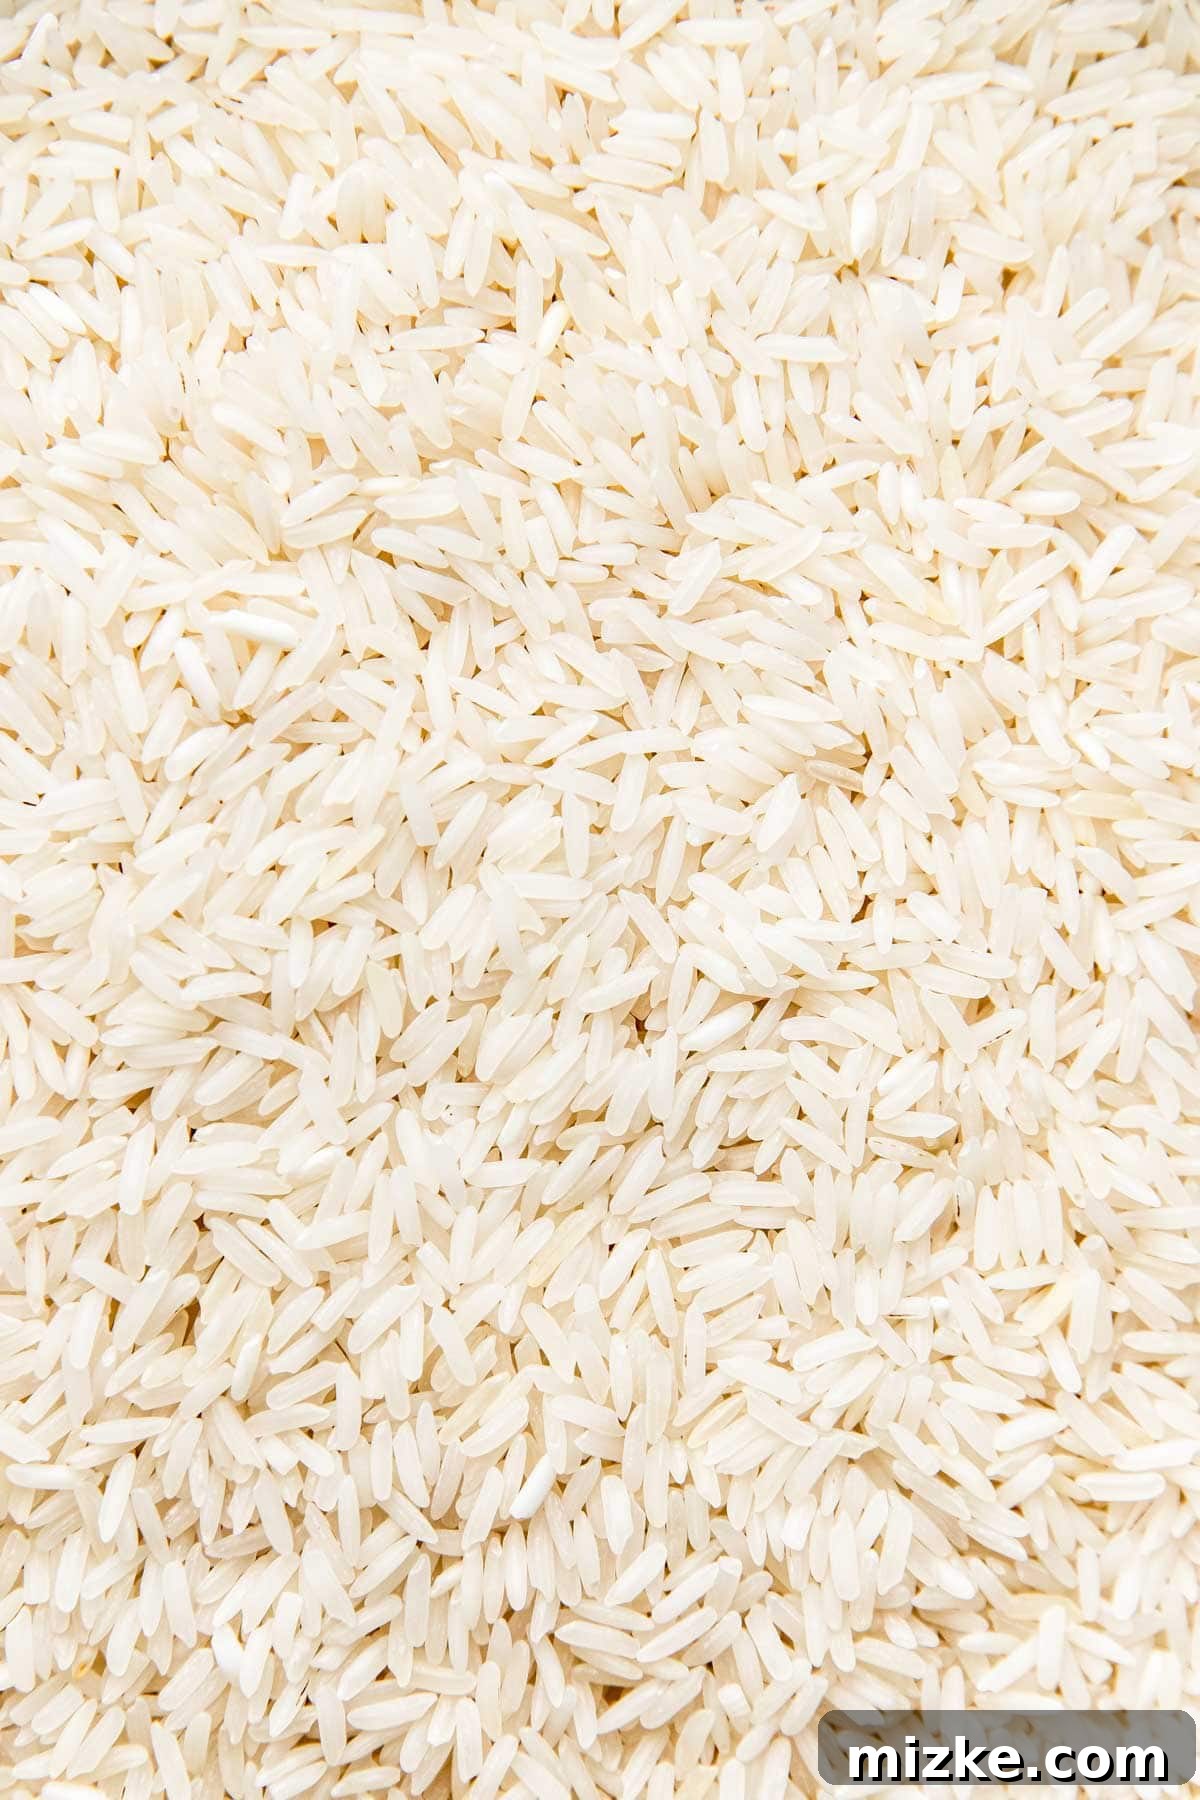
The practice of rinsing rice is a culinary topic often surrounded by spirited discussion. For generations, many home cooks, like my mother, have meticulously rinsed rice multiple times until the water runs clear. The primary goal is to wash away excess surface starch, which can contribute to stickiness and cloudiness in the final product. Indeed, you’ll observe the water changing from cloudy to progressively clearer with each rinse, indicating the removal of loose starch.
Beyond starch removal, rinsing also serves as an opportunity to inspect the grains, picking out any imperfections, small stones, or debris, especially if your rice comes from less commercially processed sources like a farmers market or rice farm. For store-bought, pre-packaged rice, this concern is usually minimal.
However, the notion that rinsing dramatically impacts the overall fluffiness of rice is often overstated. While it can reduce surface stickiness, the primary determinants of fluffiness are the correct water-to-rice ratio, consistent heat, and adequate resting time. Many chefs and home cooks successfully achieve fluffy rice without rinsing at all.
There is truly no absolute right or wrong answer; the choice largely comes down to personal preference and cultural practice. If you purchase rice directly from a farm or in bulk, rinsing is highly recommended for hygiene and quality control. If you choose to rinse your rice, remember this crucial adjustment: you must either drain it exceptionally well using a fine-mesh strainer or reduce the cooking water by approximately 2 tablespoons per cup of rice. Failing to make this adjustment will result in overly moist, potentially mushy rice, as the grains have already absorbed some water during the rinsing process. This water reduction rule, of course, does not apply to the “boil and drain” method, where excess water is discarded anyway.
Common Issues and Troubleshooting Tips
Even experienced cooks can encounter hiccups when preparing rice. Here are common problems and how to solve them, ensuring your next batch of jasmine rice is perfect:
- The bottom of your rice is burned or scorched.
- Cause: This almost always indicates that the heat was too high, especially on a stovetop, causing the base of the pot to scorch the rice.
- Solution: Ensure you reduce the heat to the lowest setting immediately after the water comes to a boil. For rice cookers, this isn’t usually an issue unless the unit is malfunctioning or the “keep warm” setting is too hot.
- Water still remains in the pot after the rice has rested.
- Cause: You’ve likely added too much water. This could be due to incorrect measurement or forgetting to adjust the water amount if you rinsed your rice.
- Solution: Double-check your measurements carefully. If you rinsed your rice, ensure you removed 2 tablespoons of water per cup of rice. If caught early, you can sometimes gently drain the excess water, then put the lid back on and let it rest for a few more minutes off the heat.
- The rice is unevenly cooked (some parts hard, some soft).
- Cause 1: Frequent lid-lifting. Peeking at your rice during cooking is a common mistake. Each time you lift the lid, precious steam escapes, disrupting the even cooking process. Think of it like baking or slow cooking – consistency is key.
- Solution 1: Resist the urge to peek! Keep the lid firmly on until the cooking and resting times are fully completed.
- Cause 2: Insufficient resting time. The resting period is not just for cooling; it’s a critical phase where the rice continues to absorb steam and residual heat, ensuring every grain cooks through evenly.
- Solution 2: Always allow the recommended resting time (typically 10-15 minutes, or 20 minutes for Instant Pot methods) after the heat is turned off or the cooking cycle ends. This is one of the most important steps for achieving perfectly cooked, fluffy rice.
- The rice is still hard and crunchy in the center.
- Cause: This means the rice didn’t cook long enough, or there wasn’t enough liquid for it to absorb throughout the cooking process.
- Solution: If you catch this immediately after fluffing, you can try adding 1-2 tablespoons of hot water, covering the pot tightly, and letting it steam on very low heat (or just off the heat) for another 5-10 minutes. Ensure your water-to-rice ratio was correct initially.
- The water overflowed from the pot during cooking.
- Cause: Your pot was too small for the amount of rice and water you were cooking.
- Solution: Always use a pot that is at least 3 times larger than the total volume of rice and water. For example, if you’re cooking 1 cup of rice with 1 ¼ cups of water (totaling 2 ¼ cups liquid), use a pot with a capacity of at least 6-8 cups to allow for expansion and bubbling.
Essential Tips for Perfect Jasmine Rice
Achieving consistently perfect jasmine rice is easier than you think with a few simple rules:
- No Peeking!
- Just like with slow cooking or baking, resisting the urge to lift the lid is paramount. Each time you peek, steam escapes, lowering the temperature and extending the cooking time, which can lead to unevenly cooked or crunchy rice. Trust the process and the timing.
- Measure Correctly and Consistently!
- Precision in measurement is the foundation of good rice. While dedicated measuring cups are recommended for accuracy, consistency is key. If you don’t have standard measuring cups, use any vessel (like a drinking glass or a mug) as your unit of measurement. The crucial part is to use that exact same vessel for both the rice AND the water. If you fill one glass with rice, then fill that same glass to the appropriate mark with water. This ensures your ratio remains correct, regardless of the absolute volume.
- Use the Right Pot Size.
- Matching your pot size to the quantity of rice you’re cooking is more important than you might think. If you’re only making 1 cup of rice, using an oversized 8-quart stockpot will cause the water to evaporate too quickly, likely resulting in burnt rice before it’s fully cooked. Conversely, a pot that’s too small can lead to messy overflows. A good rule of thumb is to use a pot that is approximately three times the volume of the water you are using, allowing ample space for boiling and steaming without spillage.
- Consider Adding a Pinch of Salt.
- A small pinch of salt (about ¼ teaspoon per cup of rice) added to the cooking water can enhance the flavor of your jasmine rice without making it taste salty. This subtle seasoning elevates the natural fragrance and taste of the grains.
- Let it Rest – Don’t Skip This Step!
- We’ve mentioned it multiple times, but it bears repeating: the resting period after cooking is non-negotiable for perfectly cooked, fluffy rice. It allows the grains to fully absorb residual moisture and steam, preventing stickiness and ensuring an even texture from top to bottom.
Storing and Freezing Cooked Jasmine Rice
Proper storage of cooked rice is crucial for both convenience and food safety. Whether you have leftovers or are meal prepping, knowing how to store jasmine rice correctly will keep it fresh and delicious.
Refrigerator Storage:
Cooked jasmine rice can be safely stored in the refrigerator in an airtight container for up to 4 days. While some individuals, including myself, may extend this to 7 days without issue, food safety guidelines generally recommend consuming cooked rice within 3-4 days to minimize the risk of bacterial growth, particularly Bacillus cereus. Always use your best judgment – if the rice smells off, has a slimy texture, or shows any signs of spoilage, it’s best to discard it. Rapid cooling of cooked rice is also important; aim to refrigerate it within one hour of cooking.
Freezing for Longer Preservation:
Cooked rice, especially jasmine rice, freezes remarkably well, making it perfect for meal prep. Freezing can extend its shelf life significantly, up to 4 months, without compromising its quality. My favorite method for freezing rice is using Souper Cube trays. These trays allow you to freeze precise portions (like 1 or 2 cups) into easily stackable cubes. Once frozen solid, simply pop the rice cubes out and transfer them to a freezer-safe bag or container. This makes it incredibly convenient to grab just the amount you need for a quick meal.
Storing Uncooked Jasmine Rice:
For uncooked jasmine rice, proper pantry storage is essential to maintain freshness and prevent pests. I recommend transferring the rice from its original bag into a medium-sized, airtight container, such as a Cambro container with a lid. This provides a much better seal than an open bag, protecting the rice from moisture, air, and insects. Store in a cool, dark place like your pantry. Uncooked jasmine rice can last for years when stored correctly.
How to Reheat Jasmine Rice Effectively
Reheating cooked jasmine rice properly ensures it regains its soft, fluffy texture, preventing it from becoming dry or hard. The key is to reintroduce moisture and steam.
From the Refrigerator:
If reheating refrigerated rice in a microwave-safe glass container, open the lid slightly. Place a damp paper towel directly over the rice, then close the container lid, leaving a small vent. Heat on high for approximately 2 minutes. The damp paper towel creates a steamy environment within the container, mimicking the original cooking process and restoring the rice to a “good as new” condition. Fluff with a fork before serving.
From the Freezer:
For frozen rice, remove the desired portion (e.g., a Souper Cube) and place it in a microwave-safe container. Cover it with a damp paper towel. Reheat on high for about 3 minutes, or until thoroughly hot and steaming. The longer reheating time accounts for the rice being frozen solid. Again, the damp paper towel is essential for creating steam and rehydrating the grains. Fluff before serving.
Stovetop Reheating (Alternative Method):
You can also reheat rice on the stovetop. Place the rice in a non-stick pan with a tablespoon or two of water (per cup of rice). Cover the pan and heat over low to medium-low heat, stirring occasionally, until the rice is heated through and fluffy. The added water will create steam to rehydrate the grains.
Delicious Pairings: What to Serve with Jasmine Rice
Jasmine rice, with its subtle perfumed scent and delicate, slightly sticky texture, is a culinary star, particularly cherished in the vibrant cuisines of Southeast Asia. Its ability to absorb flavors while offering its own unique aromatic contribution makes it incredibly versatile.
It is the quintessential accompaniment for a wide array of Thai and Vietnamese dishes, where its gentle fragrance complements bold and complex flavors without overpowering them. However, its versatility extends far beyond; you can confidently use jasmine rice in almost any recipe that calls for regular white rice, adding an extra layer of aroma to your meal.
Here are just a few ideas for what to pair with your perfectly cooked jasmine rice:
- Thai Cuisine: Jasmine rice is a non-negotiable staple for many Thai dishes. It perfectly balances the rich, spicy, sweet, and sour notes found in curries, stir-fries, and fragrant soups.
- Serve alongside a fiery Thai Basil Fried Rice, allowing its fresh flavors to shine.
- The sweetness of Pineapple Fried Rice is beautifully complemented by the subtle aroma of jasmine rice.
- It’s also essential for soaking up the delicious sauces of Green Curry, Panang Curry, or a classic Pad Kra Pao (Thai Basil Chicken).
- Vietnamese Cuisine: In Vietnamese cooking, jasmine rice is often served plain, acting as a clean canvas to highlight the intricate flavors of the main dishes.
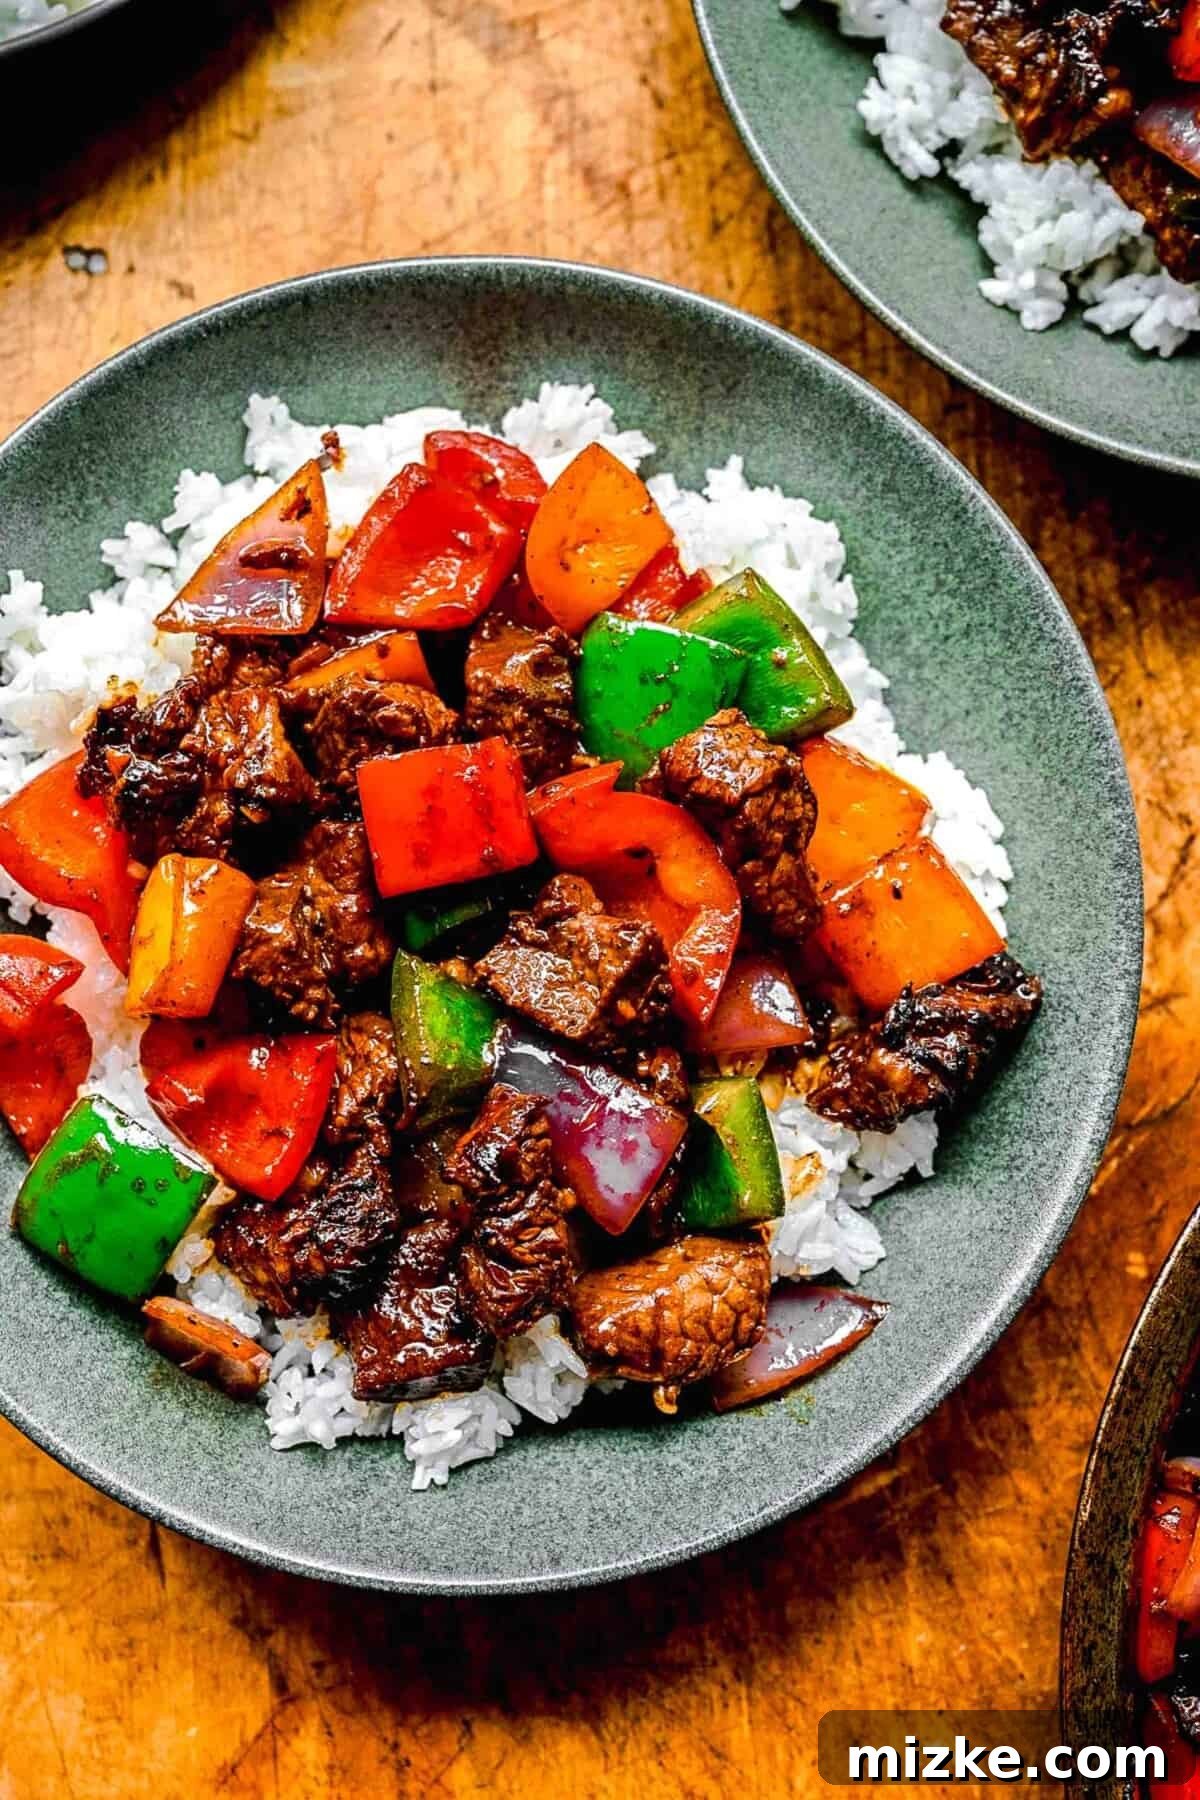
- Experience the perfect bite with Bo Luc Lac (Vietnamese Shaking Beef), where the rice absorbs the savory sauce.
- It’s the comforting base for savory rice porridges like Chao Ga (Chicken Rice Porridge).
- Enjoy it with simple grilled meats like Lemongrass Pork or a flavorful Caramelized Fish (Ca Kho To).
- General Asian Dishes: Beyond Thai and Vietnamese, jasmine rice pairs wonderfully with various other Asian-inspired meals, from Chinese stir-fries to Malaysian curries.
- Everyday Meals: Don’t limit jasmine rice to Asian cuisine! Its subtle flavor makes it an excellent side dish for grilled chicken, baked fish, stews, or even as a base for hearty grain bowls.
Photographs by Meg McKeehan Photography