
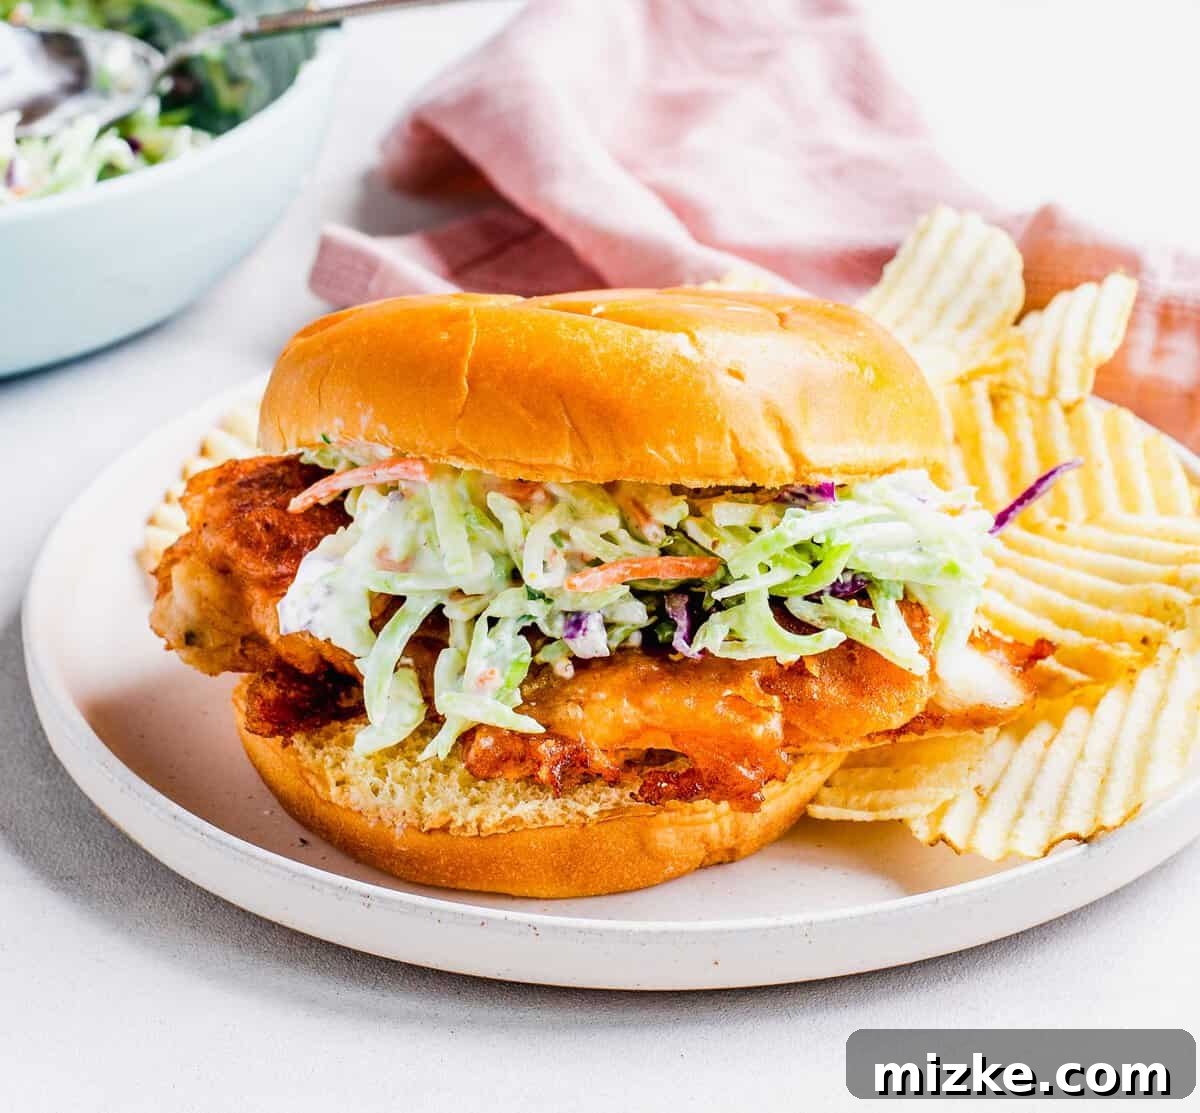
Biting into a Fried Chicken Sandwich is truly one of life’s most savory and satisfying experiences! Imagine tender white meat chicken, expertly fried to golden perfection in a light, flavorful beer batter. This culinary masterpiece is then nestled into your bun of choice, generously topped with a vibrant, crispy, and fresh homemade coleslaw. It’s a symphony of textures and flavors that will elevate your comfort food game to an entirely new level.
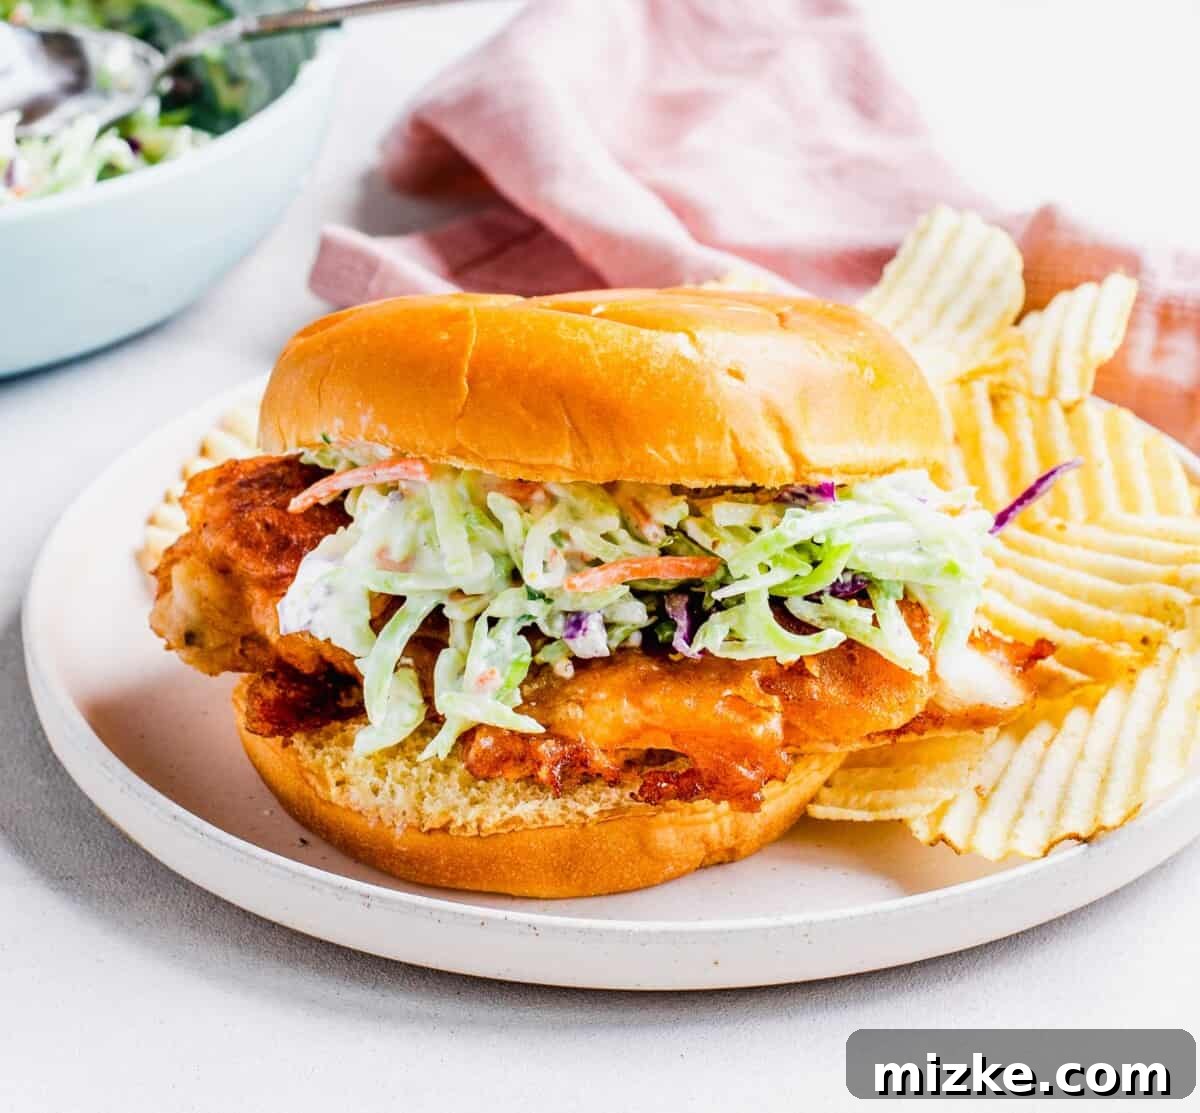
Unleash the Flavor: Your Guide to the Best Homemade Fried Chicken Sandwich
There’s nothing quite like kicking back and truly relaxing with a plate piled high with golden fried chicken sandwiches, a side of salty potato chips, and a refreshing cold beer. For many, this combination isn’t just a meal; it’s the epitome of a perfect weekend indulgence – a delicious reward for making it through the week!
The quest for that perfect crunch in a fried chicken sandwich often leads us to restaurant drive-thrus. However, this recipe proves that achieving an out-of-this-world crispy texture is absolutely attainable in your own kitchen! Deep frying might seem intimidating at first glance, but with the right guidance, it becomes a straightforward process. Whether you’re whipping up these incredible beer-battered fried chicken sandwiches for a cozy family dinner, a casual get-together with a friend, or to impress guests at a party, they are guaranteed to be a massive hit. I once had a friend declare, “Wow, these are WAY better than the Popeye’s chicken sandwich.” High praise indeed, and I wholeheartedly agree!
What makes this particular fried chicken sandwich stand out? It’s the unique combination of the beer-battered chicken and the refreshing, tangy homemade coleslaw. The beer in the batter not only adds a subtle depth of flavor but also contributes to an incredibly light and airy crust that shatters with every bite. Paired with a creamy, zesty slaw, the richness of the fried chicken is perfectly balanced, creating a harmonious and utterly addictive sandwich. Get ready to ditch the takeout menus and discover the joy of crafting this epic fried chicken sandwich from scratch.
Essential Ingredients for Your Crispy Fried Chicken Sandwiches
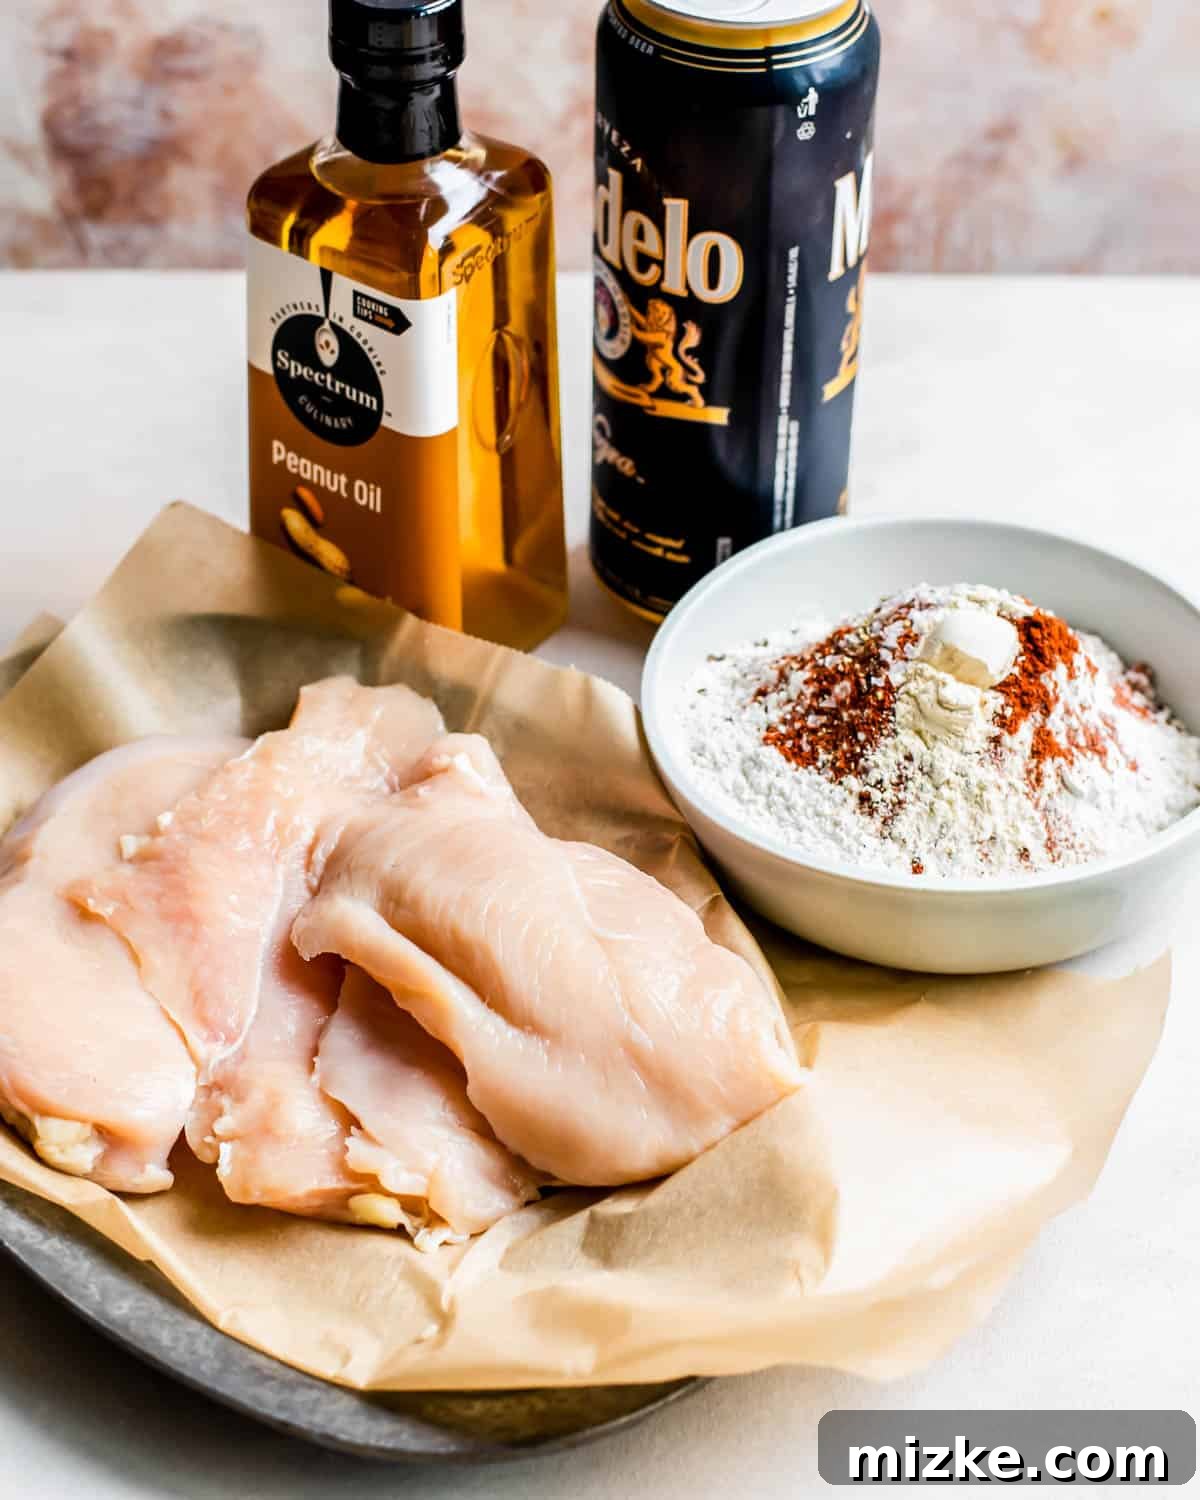
Crafting the perfect fried chicken sandwich begins with selecting quality ingredients. Here’s what you’ll need to create our signature beer-battered chicken and the irresistible homemade slaw:
For the Irresistible Beer-Battered Chicken:
- Chicken: For convenience and consistent cooking, we recommend using thin chicken cutlets or boneless, skinless chicken breasts. If using thicker breasts, slicing them horizontally and pounding them to an even thickness ensures quick and uniform frying.
- All-Purpose Flour: The foundation of our crispy batter. Plain white all-purpose flour provides the best texture and structure for a light, crunchy coating.
- Cayenne Pepper: A pinch of cayenne pepper adds a subtle warmth and a hint of spice without overpowering the rich beer flavor. Feel free to adjust the amount to your preference if you enjoy a spicier kick.
- Garlic Powder: This aromatic powder is a game-changer, infusing the batter with an incredible depth of savory flavor that beautifully complements the beer.
- Salt: Essential for seasoning the batter and enhancing all the other flavors. Add a dash to taste, ensuring a perfectly seasoned crust.
- Freshly Ground Black Pepper: Using freshly ground pepper makes a noticeable difference, contributing a bright, pungent flavor that pre-ground pepper simply can’t match.
- Beer: This is where the magic happens! The type of beer you choose will subtly influence the batter’s flavor. For a more pronounced, robust beer taste, opt for a darker beer like a Modelo Negro (as often pictured). If you prefer a lighter, crisper finish, a yellow lager such as Landshark works wonderfully. Any beer you enjoy drinking will likely make a delicious batter.
- Oil for Frying: Peanut oil or canola oil are excellent choices for deep frying. They have high smoke points, ensuring that your chicken fries beautifully without imparting off-flavors.
For the Zesty Homemade Slaw:
- Plain Greek Yogurt: This provides the creamy base for our slaw, offering a healthier and tangier alternative to mayonnaise. Ensure it’s plain and unflavored to let the other ingredients shine.
- Dijon Mustard: Absolutely crucial for that distinctive, sharp, and slightly spicy tang that elevates the coleslaw. Do NOT substitute this for yellow mustard; the flavor profile is entirely different.
- White Vinegar: White vinegar is key to achieving the perfect balance of tanginess in your slaw, cutting through the richness of the fried chicken without being overly acidic.
- Lime Zest: You’ll need the bright, aromatic zest from one lime, not the juice. The zest provides a wonderful citrusy aroma and a subtle hint of flavor that freshens up the entire slaw.
- Salt and Pepper: A simple sprinkle of salt and freshly ground black pepper, adjusted to your taste, is all you need to perfectly season the slaw.
- Coleslaw Mix: For ultimate convenience, a 14-ounce bag of pre-shredded coleslaw mix from your grocery store is ideal. It typically contains a mix of green cabbage, red cabbage, and carrots, providing great color and texture.
Choosing the Perfect Bun for Your Beer-Battered Fried Chicken Sandwich
The bun is more than just a holder for your sandwich; it’s an integral part of the overall experience, providing a soft counterpoint to the crispy chicken and tangy slaw. Personally, I find that potato buns or brioche buns are the absolute best choice. Their inherent softness, combined with a subtle sweetness and buttery richness, perfectly complements the savory, crispy beer-battered chicken.
However, your preference is paramount! If you’re looking for different textures or flavor profiles, a classic sesame hamburger bun offers a familiar, slightly nutty taste. For an adventurous twist, a pretzel bun brings a unique chewiness and a distinctive savory flavor that pairs surprisingly well with fried chicken. Don’t hesitate to experiment and choose whatever your heart desires to complete your ultimate fried chicken sandwich!
How to Master Homemade Fried Chicken Sandwiches
Creating these restaurant-quality fried chicken sandwiches at home is a rewarding process. Follow these detailed steps to ensure every bite is packed with flavor and satisfying crunch:
- Prepare the Flavorful Beer Batter: In a large mixing bowl, combine the all-purpose flour, cayenne pepper, garlic powder, salt, pepper, and your chosen beer. Whisk these ingredients together until the mixture is thick enough to coat a spoon, yet still pourable. The consistency should be similar to pancake batter. Once mixed, allow the batter to rest at room temperature for at least 20 minutes. This resting period is crucial; it allows the gluten in the flour to relax, resulting in a lighter, crispier batter when fried. It also gives the flavors a chance to meld together, enhancing the overall taste.
- Prepare the Chicken Breasts for Frying: If you are using thick boneless chicken breasts, carefully slice each breast in half horizontally to create thinner cutlets. This step ensures that the chicken cooks more quickly and evenly. Once halved, place the chicken between two sheets of parchment paper or plastic wrap and pound it to an even thickness of about ½ to ¾ inch. Uniform thickness is essential for even cooking and guarantees that every piece of chicken is perfectly tender and fully cooked.
- Heat the Frying Oil to Perfection: Pour about ¾ inch of peanut or canola oil into a heavy-bottomed skillet or a Dutch oven. Place the skillet over medium-high heat. The key to truly crispy fried chicken is maintaining a consistent oil temperature. Use a candy or deep-frying thermometer clipped to the side of your skillet to monitor the temperature accurately. Heat the oil until it reaches 325°F (163°C). Do not rush this step, as oil that is too cool will result in greasy chicken, and oil that is too hot will burn the batter before the chicken is cooked through.
- Batter and Fry the Chicken to Golden Crispy Perfection: Carefully dip each chicken cutlet into the prepared beer batter, ensuring it is fully coated on all sides. Lift the chicken, allowing any excess batter to drip off back into the bowl. Gently place the battered chicken pieces into the hot oil. It’s crucial not to overcrowd the pan; frying too many pieces at once will significantly lower the oil’s temperature, leading to soggy rather than crispy chicken. Fry in batches if necessary, giving each piece ample space. Fry for 12-15 minutes, turning the chicken once halfway through, until it is a deep golden brown and cooked through. To confirm doneness, the internal temperature of the thickest part of the chicken should reach 165°F (74°C).
- Drain the Fried Chicken: As each batch of chicken finishes frying, transfer the pieces to a cooling rack set over a baking sheet. This setup allows excess oil to drip off, preventing the bottom of the chicken from becoming soggy and helping to maintain its crispiness. Resist the urge to stack the chicken, as this can trap steam and soften the crust.
- Whip Up the Zesty Homemade Slaw: While the chicken is frying or resting, prepare your refreshing slaw. In a medium bowl, whisk together the plain Greek yogurt, Dijon mustard, white wine vinegar, lime zest, salt, and pepper until well combined and creamy. Once the dressing is smooth, gently stir in the bag of coleslaw mix, ensuring all the shredded vegetables are thoroughly coated. This slaw provides a vibrant, tangy contrast to the rich fried chicken.
- Assemble Your Ultimate Fried Chicken Sandwiches: Lightly toast your favorite buns if desired (a few minutes in a dry skillet or under the broiler adds an extra layer of texture and warmth). Place a perfectly crispy, golden-brown fried chicken cutlet onto the bottom half of each bun. Generously top the chicken with a heaping scoop of your zesty homemade coleslaw. Cover with the top bun and serve immediately. Enjoy the incredible crunch, savory chicken, and fresh tang in every bite!

Pro Tips for Achieving Fried Chicken Sandwich Perfection
Making a truly exceptional fried chicken sandwich involves a few key techniques and considerations. Follow these expert tips to ensure your homemade creation is nothing short of perfect:
- Maintain Optimal Oil Temperature: This is arguably the most critical factor for crispy, non-greasy fried chicken. Investing in a candy or deep-frying thermometer and clipping it to the side of your skillet is highly recommended. Consistently monitoring and adjusting the oil temperature (aiming for 325°F or 163°C) ensures the batter crisps up beautifully without absorbing too much oil or burning before the chicken is cooked. If the temperature drops too low, the chicken will be greasy; if it’s too high, the outside will burn while the inside remains raw.
- Avoid Overcrowding the Skillet: Frying chicken in batches is essential, even if it adds a few extra minutes to your cooking time. Overcrowding the pan dramatically lowers the oil’s temperature, which prevents the batter from crisping up properly. This can lead to a dreaded soggy fried chicken sandwich. Give each piece enough space to fry evenly and achieve that desirable golden-brown, crunchy exterior.
- Ensure Uniform Chicken Thickness: Whether you’re slicing thick chicken breasts or pounding them, strive for as much uniformity in size and shape as possible. Chicken pieces that are similar in thickness will cook at the same rate, preventing some pieces from being undercooked or overcooked. This attention to detail results in tender, juicy chicken throughout your sandwich.
- Season Generously and Thoughtfully: Don’t underestimate the power of seasoning! Beyond the batter, consider lightly seasoning the chicken cutlets themselves with salt and pepper before dipping. This layers the flavor, ensuring the chicken is delicious even beneath its crispy coating.
- Consider a Quick Brine (Optional but Recommended): For an even juicier and more flavorful chicken, consider a quick brine. A simple saltwater brine (about ¼ cup salt per 4 cups water for 30 minutes to an hour) can make a significant difference in moisture and tenderness, especially for leaner white meat. Rinse and pat dry thoroughly before battering.
- Rest Your Fried Chicken: Once the chicken is fried, allow it to rest on a wire rack over a baking sheet for a few minutes before assembling the sandwiches. This allows residual heat to finish cooking the chicken (carryover cooking) and helps the exterior stay crispy.
- Freshness is Key for Slaw: For the most vibrant and crispy coleslaw, prepare it just before serving. While the dressing can be made ahead, mixing it with the coleslaw mix too far in advance can cause the cabbage to soften and lose its crunch.

Storage Instructions
These beer-battered fried chicken sandwiches are undeniably at their absolute best when eaten immediately after frying. The crispiness of the batter and the freshness of the slaw are paramount to their appeal. Therefore, we strongly recommend against storing assembled sandwiches, as the batter will inevitably lose its crunch and the bun can become soggy. If you have leftover fried chicken, you can store it in an airtight container in the refrigerator for up to 2-3 days. Reheating it in an oven or air fryer can help revive some of its crispiness, but it won’t be quite the same as fresh out of the fryer.
Delicious Serving Suggestions for Your Fried Chicken Sandwich
A phenomenal fried chicken sandwich deserves equally fantastic accompaniments. Here are some ideas to complete your meal:
- Fries of All Kinds: Classic garlic fries are always a winner, especially when paired with a copycat sauce from your favorite chicken restaurant. For lighter alternatives, consider homemade air fryer potato chips, crispy zucchini chips, or adventurous taro chips.
- The Essential Pickle Spear: Don’t forget that perfectly briny pickle spear! Its tangy, acidic crunch is the ideal foil for the rich fried chicken.
- Additional Toppings: Feel free to add extra toppings to your sandwich. Sliced tomatoes, crisp lettuce, or even a slice of your favorite cheese can enhance the experience.
- Beverage Pairings: Beyond beer, consider serving with a sweet iced tea, a sparkling lemonade, or even a dry hard cider for a different kind of refreshment.
Fried Chicken Sandwiches
Rating: 5 out of 5 stars (from 1 vote)
Julie Chiou
35 minutes
15 minutes
50 minutes
6 sandwiches
Equipment
- Dutch oven
- Cast iron skillet
Ingredients
For the Beer Battered Chicken:
- 1 ¾ cups (219 g) all-purpose flour
- 1 teaspoon cayenne pepper
- ½ teaspoon garlic powder
- 1 teaspoon salt
- ½ teaspoon pepper
- 12 ounces (340 ml) beer
- 2 pounds (907 g) thin chicken cutlets or boneless chicken breasts
- Canola or peanut oil for frying
For the Slaw:
- 5 ounce (142 g) container plain Greek yogurt (about ½ cup)
- 2 tablespoons Dijon mustard
- ½ cup (118 ml) white wine vinegar
- Zest from one lime
- Salt and pepper, to taste
- 14 ounce (397 g) bag coleslaw mix
Instructions
- In a large bowl, whisk together flour, cayenne, garlic powder, salt, pepper, and beer. The mixture should be thick but pourable. Allow mixture to rest for 20 minutes.
- If using whole chicken breasts, carefully slice each breast in half horizontally. If necessary, pound to an even thickness. The more uniform the chicken cutlets, the more evenly they will fry. The thinner the chicken cutlets, the quicker they will fry.
- Heat about ¾ inch of oil in a heavy-bottomed skillet to 325 °F (163 °C).
- Dip chicken in beer batter mixture to fully coat and allow excess to drip off. Carefully place each battered piece into the skillet. Do not overcrowd the pan. Fry in batches if necessary.

- Fry for 12-15 minutes, turning once until chicken is cooked through. Transfer to a baking sheet lined with a cooling rack to allow excess oil to drip off.
- To prepare the slaw, whisk together Greek yogurt, mustard, white wine vinegar, lime zest, salt, and pepper. Stir in coleslaw mix.
- Serve on your favorite bun topped with a scoop of coleslaw.



Nutrition
Calories: 369 kcal,
Carbohydrates: 35 g,
Protein: 40 g,
Fat: 5 g,
Saturated Fat: 1 g,
Trans Fat: 1 g,
Cholesterol: 98 mg,
Sodium: 645 mg,
Potassium: 786 mg,
Fiber: 3 g,
Sugar: 3 g
Disclaimers
This website provides approximate nutrition information for convenience and as a courtesy only. Nutrition information can vary for a variety of reasons. For the most precise nutritional data, use your preferred nutrition calculator based on the actual ingredients you used in the recipe.
The default measuring system for this website is US Customary. Unit conversions are provided for convenience and as a courtesy only. While we strive to provide accurate unit conversions, please be aware that there may be some discrepancies.