
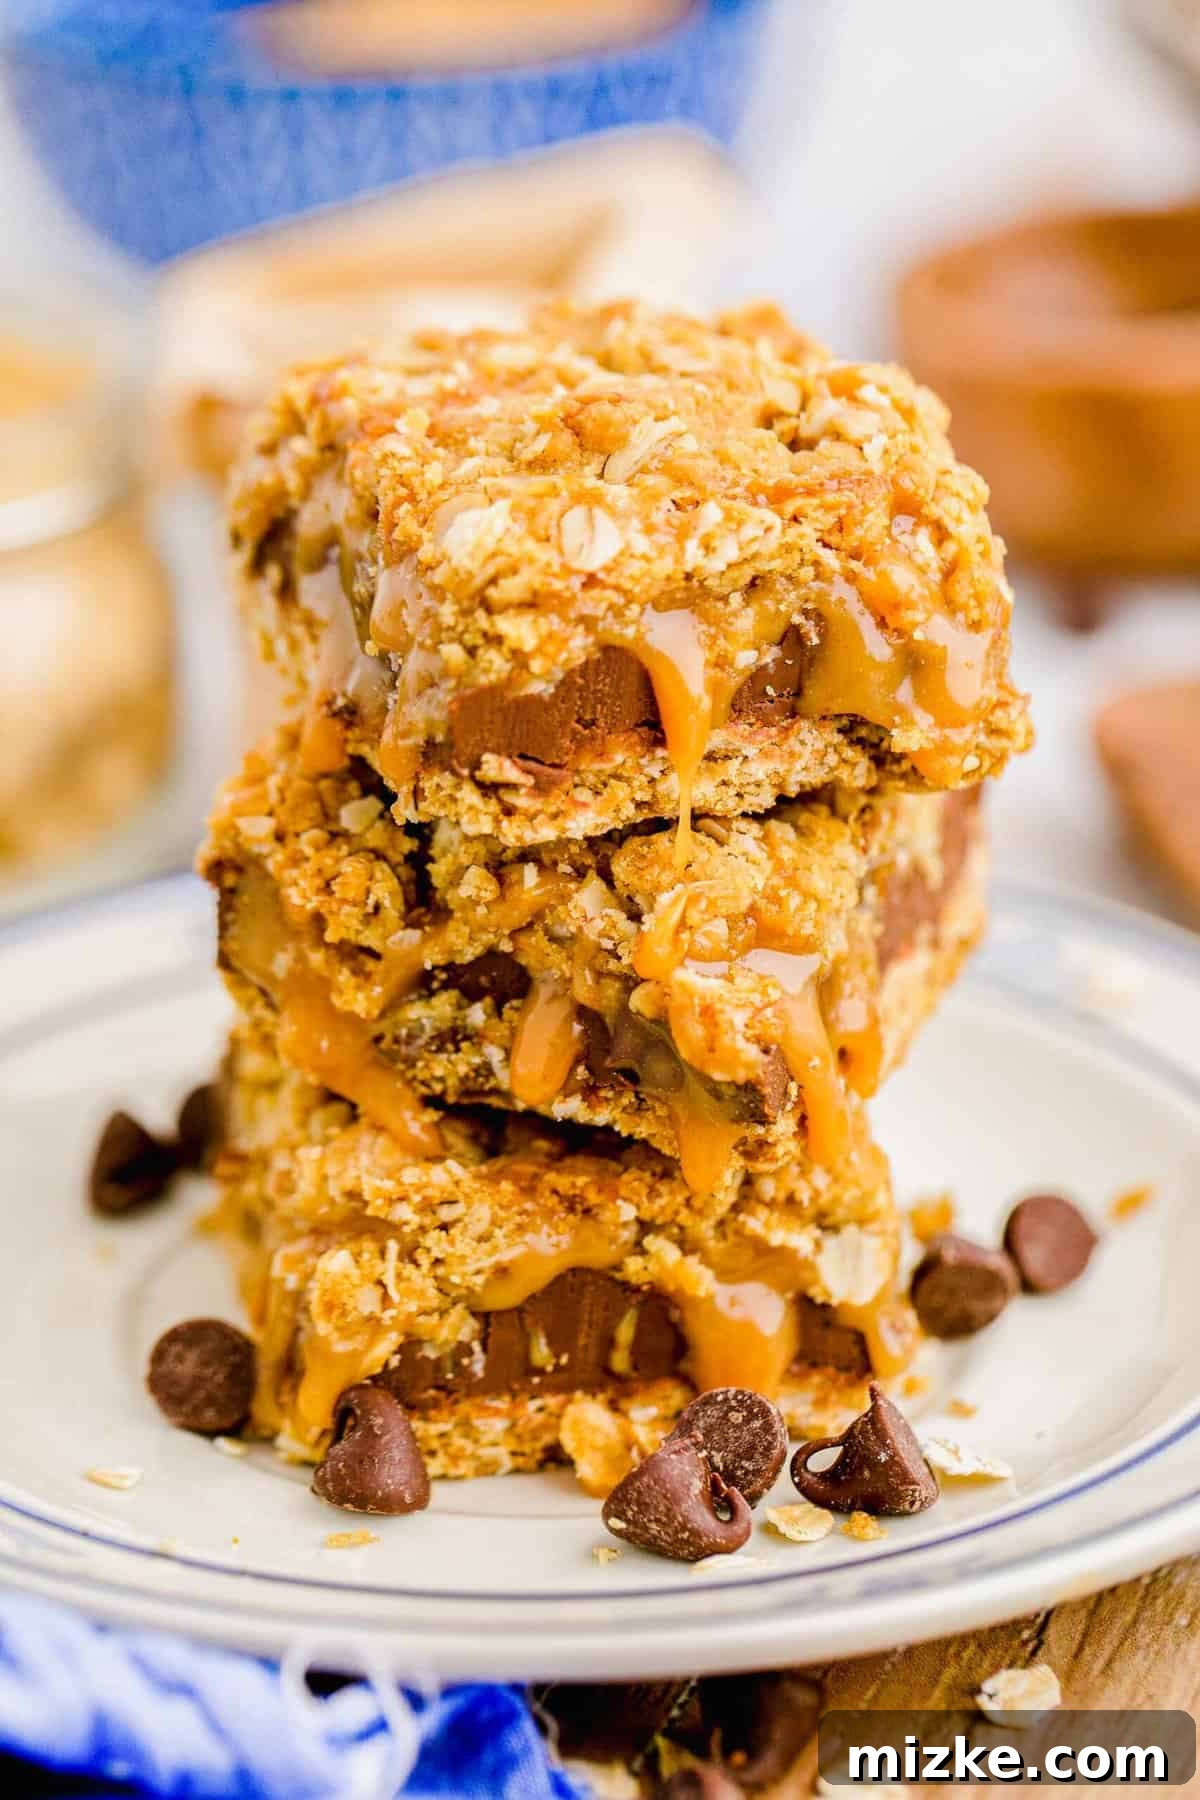
Irresistible Carmelitas: The Ultimate Chewy Caramel, Chocolate & Oat Bars
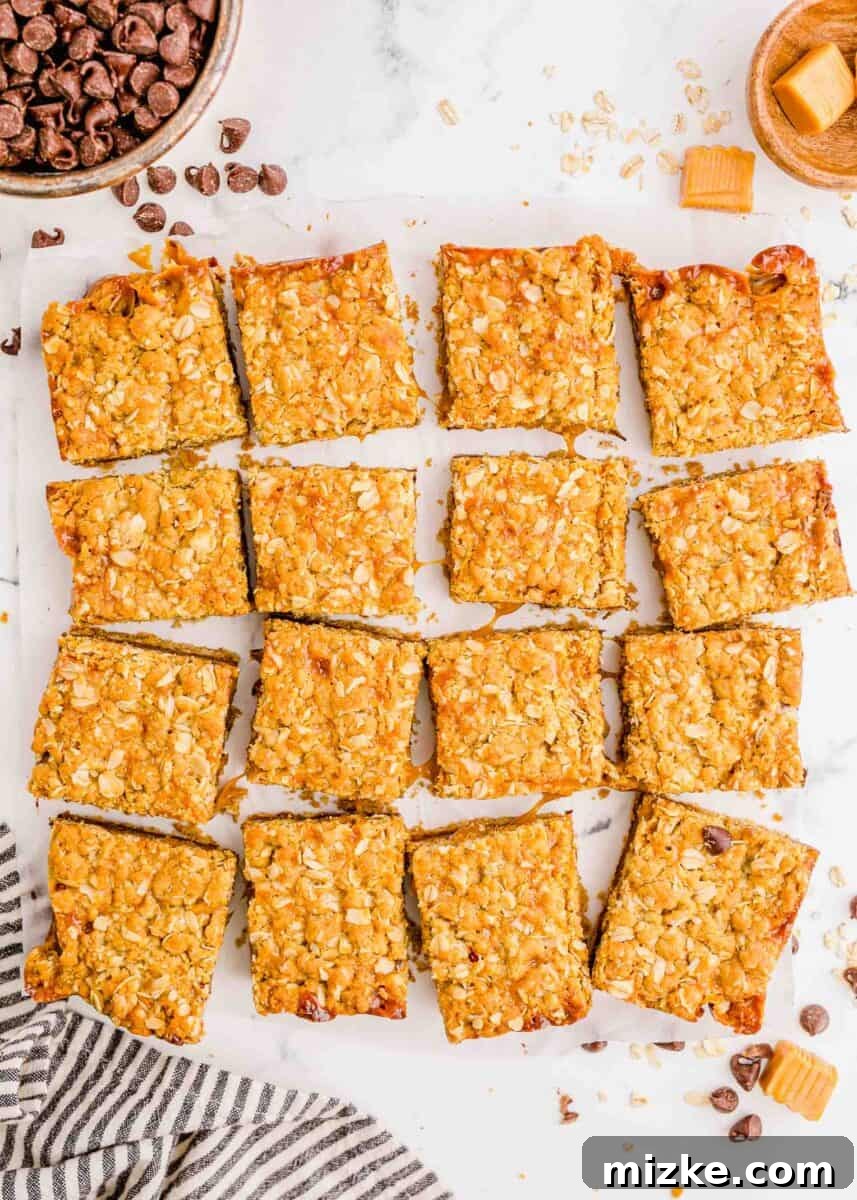
Prepare to fall in love with these truly **irresistible Carmelitas**! These delightful dessert bars are a symphony of textures and flavors, combining a golden, buttery oatmeal crust with generous layers of luscious, homemade caramel and an abundance of rich chocolate chips. Each bite offers a harmonious blend of chewy oats, gooey caramel, and melting chocolate, making them an unforgettable sweet treat.
Carmelitas are renowned for their delightful indulgence and their straightforward preparation. Whether you’re a seasoned baker or just starting, this recipe will guide you to create perfect, crowd-pleasing bars. They’re ideal for family gatherings, potlucks, holiday celebrations, or simply to satisfy that intense craving for something sweet and utterly delicious. Be warned, though – their addictive nature means you might find it impossible to stop at just one!
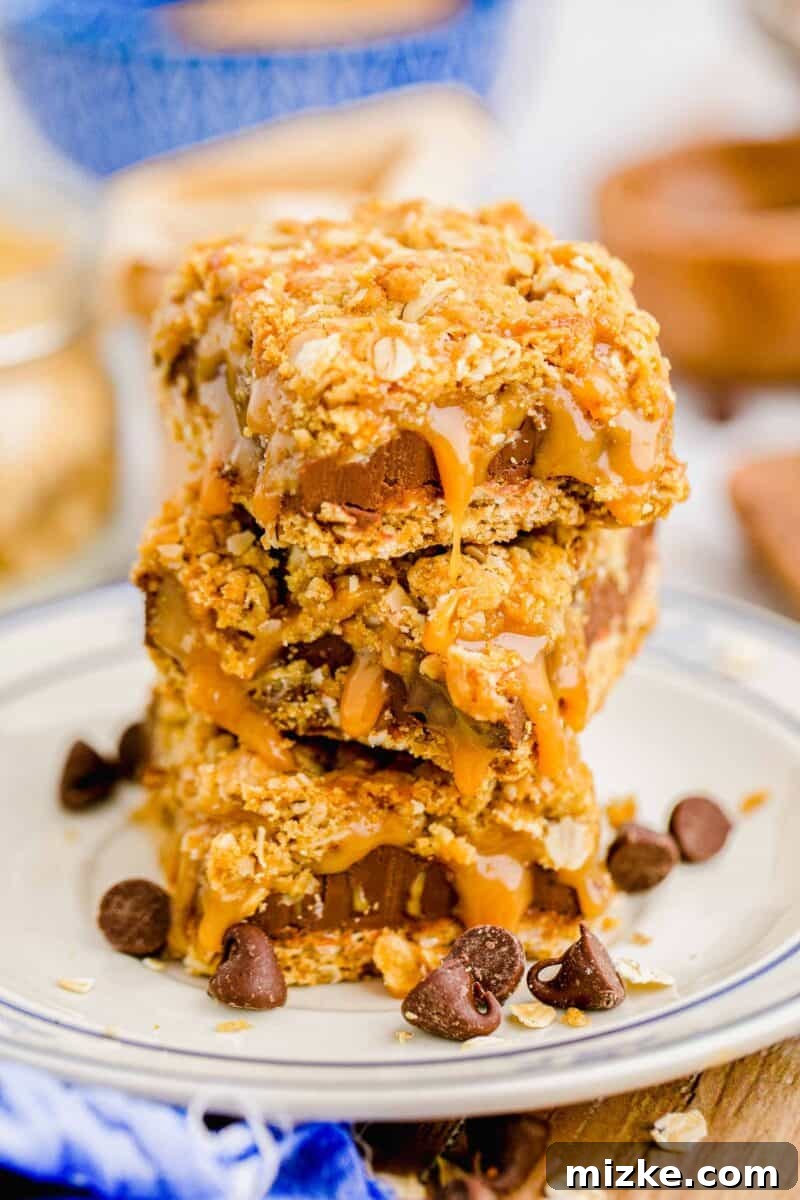
The magic of Carmelitas lies in their glorious messiness. These bars are brimming with so much soft, sticky caramel that your fingers might get a little gooey – and that, my friends, is the ultimate sign of a truly scrumptious dessert! This iconic treat masterfully balances the chewiness of oats with the indulgence of rich chocolate and the unparalleled sweetness of caramel, creating a flavor profile that hits all the right notes for any sweet tooth.
We’ve perfected the ratio of ingredients to ensure every bite delivers the ideal combination. The velvety, smooth caramel melts beautifully into the chocolate, while the crumbly, textured oat crust provides a delightful contrast, preventing the bars from being overly sweet or one-note. It’s a dessert that not only tastes incredible but also offers a wonderful tactile experience, making it a joy to eat from start to finish.
Why You’ll Absolutely Love This Carmelitas Recipe
There are countless reasons why Carmelitas have become a beloved classic. This particular recipe elevates the experience, ensuring every batch is nothing short of spectacular. Here’s why these chewy caramel chocolate oat bars will quickly become a staple in your baking repertoire:
- Abundance of Luxurious Caramel! As their name proudly suggests, Carmelitas are all about that glorious caramel. This recipe features a generous, soft, and unbelievably smooth homemade caramel sauce that flows through the layers, creating pockets of pure bliss. It’s rich, buttery, and utterly drool-worthy, making these bars a true caramel lover’s dream come true.
- Perfect Harmony of Textures. Beyond the irresistible gooey caramel, these bars boast a captivating interplay of textures. The base and topping are made from a rich, buttery oat crust that bakes up wonderfully chewy with just the right amount of crumble. Coupled with the melt-in-your-mouth chocolate chips, every mouthful is an exciting adventure of soft, chewy, and slightly crisp elements. It’s genuinely difficult to pick a favorite part, though the caramel often wins!
- Budget-Friendly Ingredients. You don’t need exotic or expensive ingredients to create this decadent dessert. Carmelitas are crafted from a surprisingly short and sweet list of inexpensive kitchen staples that you likely already have in your pantry. This makes them a fantastic option for a last-minute treat or when you want to impress without breaking the bank.
- Remarkably Easy to Assemble. Despite their impressive appearance and complex flavor, Carmelitas are incredibly simple to make. The layering process is straightforward, and the baking steps are minimal, making this recipe accessible for bakers of all skill levels. You’ll be amazed at how quickly you can put together such a show-stopping dessert.
- Guaranteed Crowd-Pleaser. Planning a party, a potluck, or a family gathering? These Carmelitas are an absolute winner. Their universal appeal, combining beloved flavors like caramel, chocolate, and oats, ensures they’ll be the first dessert to disappear from any table. They’re perfect for sharing and always receive rave reviews!
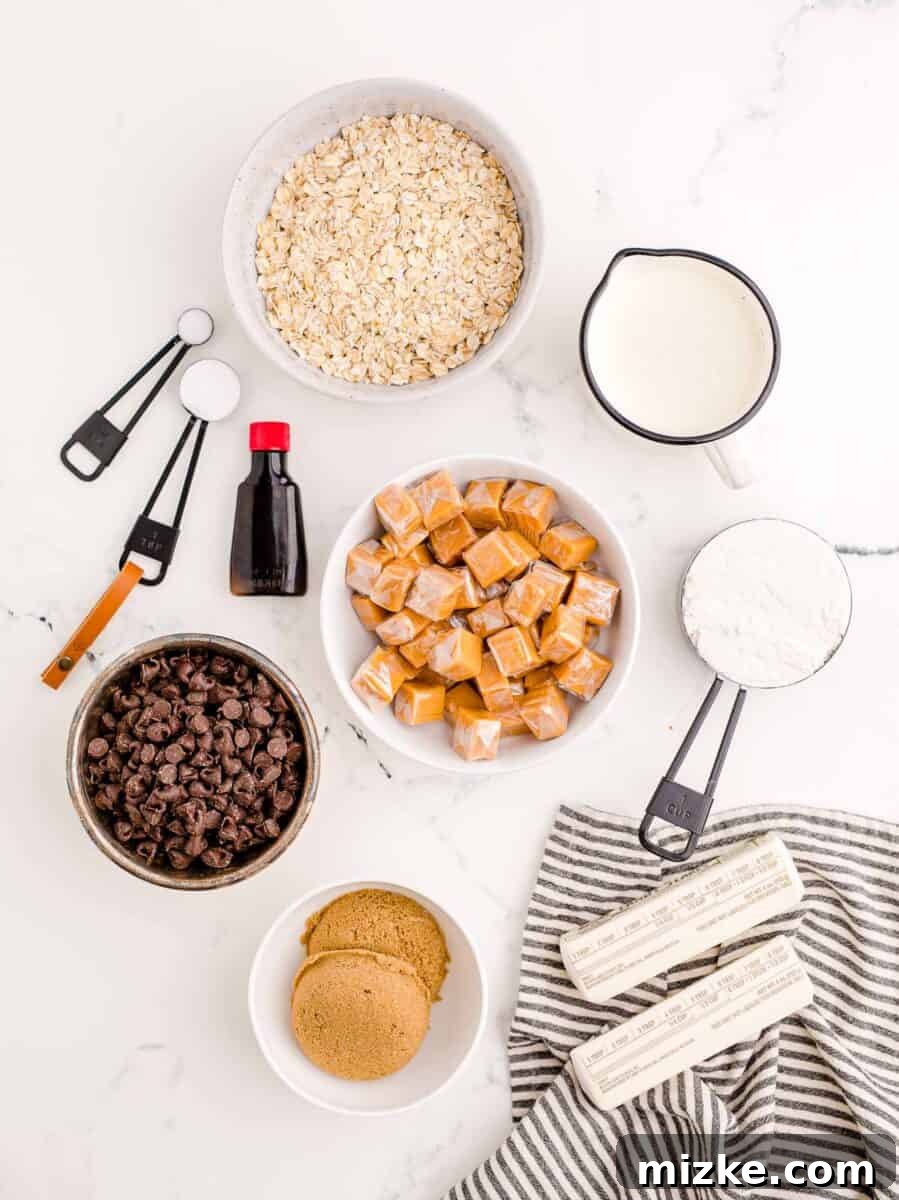
Essential Ingredients for Your Homemade Carmelitas
Crafting these delectable Carmelitas requires only a few pantry staples, ensuring a fuss-free baking experience. Each ingredient plays a crucial role in achieving the perfect flavor and texture balance:
- Salted Butter: Provides richness and helps balance the sweetness with a touch of saltiness. If using unsalted butter, simply increase the added salt slightly.
- Brown Sugar: Contributes to the moist, chewy texture of the oat crust and adds a deep, molasses-like flavor that complements the caramel beautifully.
- Vanilla Extract: A crucial flavor enhancer that brings warmth and depth to both the crust and the overall dessert. Always opt for pure vanilla extract for the best results.
- All-Purpose Flour: Forms the structural base of our chewy oat crust.
- Rolled Oats (Old Fashioned): The star of the crust, providing that signature chewy texture and wholesome flavor. Quick oats can be used in a pinch, but rolled oats offer superior texture.
- Baking Soda: A leavening agent that helps the oat crust achieve a tender, slightly crisp consistency.
- Salt: Essential for enhancing all the flavors, particularly balancing the sweetness of the caramel and chocolate. Divided into two parts for the crust and the caramel.
- Caramel Squares: The foundation of our gooey caramel layer. Using pre-packaged caramel squares makes the process incredibly easy. Look for unwrapped baking caramels if possible to save time.
- Heavy Cream: Thins the melted caramel squares into a pourable, smooth sauce, adding richness and creaminess.
- Semi-Sweet Chocolate Chips: Offers a delightful chocolatey contrast to the sweet caramel. Semi-sweet chips provide a perfect balance, preventing the bars from being overly saccharine.
Step-by-Step Guide: How to Make Carmelitas
Making these easy Carmelitas is a rewarding experience. Follow these simple steps for perfect results every time:
1. Prepare Your Baking Pan:
Preheat your oven to 350°F (175°C). Line an 8×8 inch (20×20 cm) baking pan with parchment paper, leaving an overhang on the sides. This parchment paper is crucial for easy removal of the sticky bars and makes cleanup a breeze. Lightly grease the parchment paper for extra insurance against sticking.
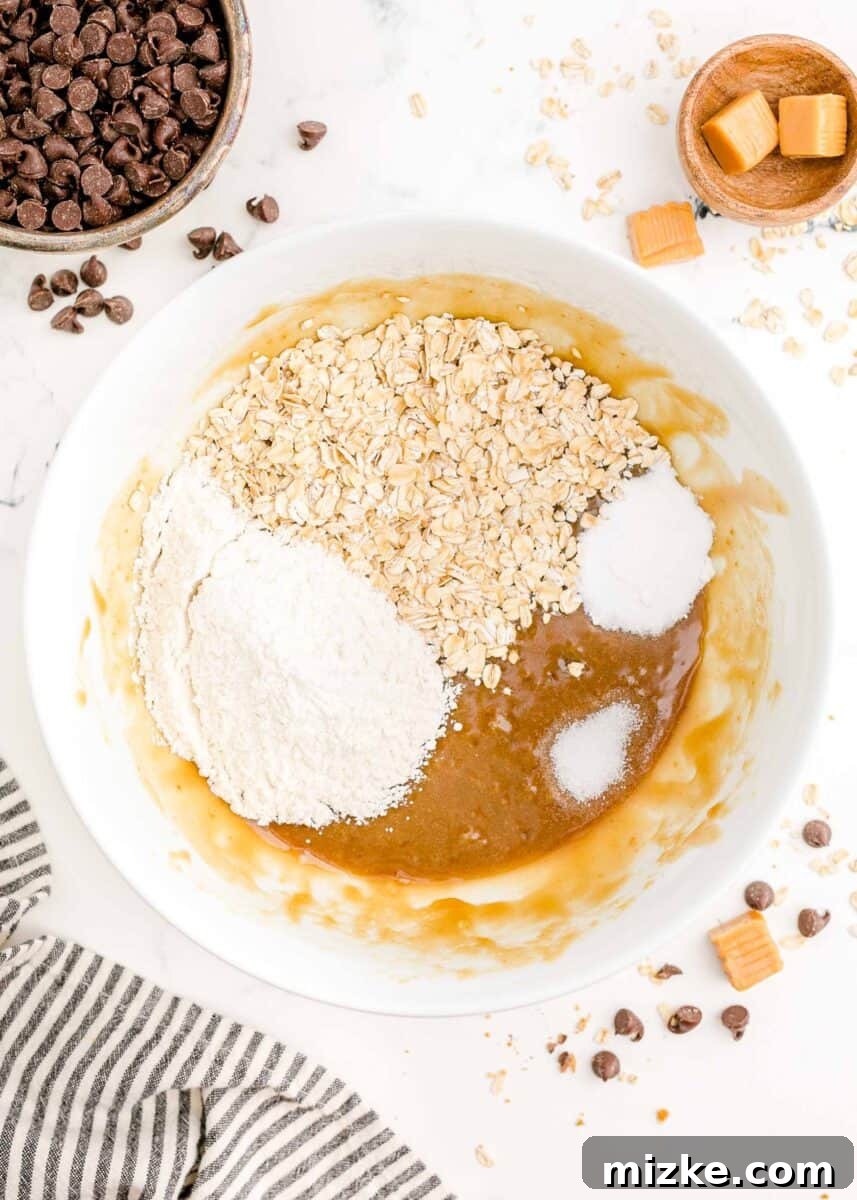
2. Create the Buttery Oat Mixture:
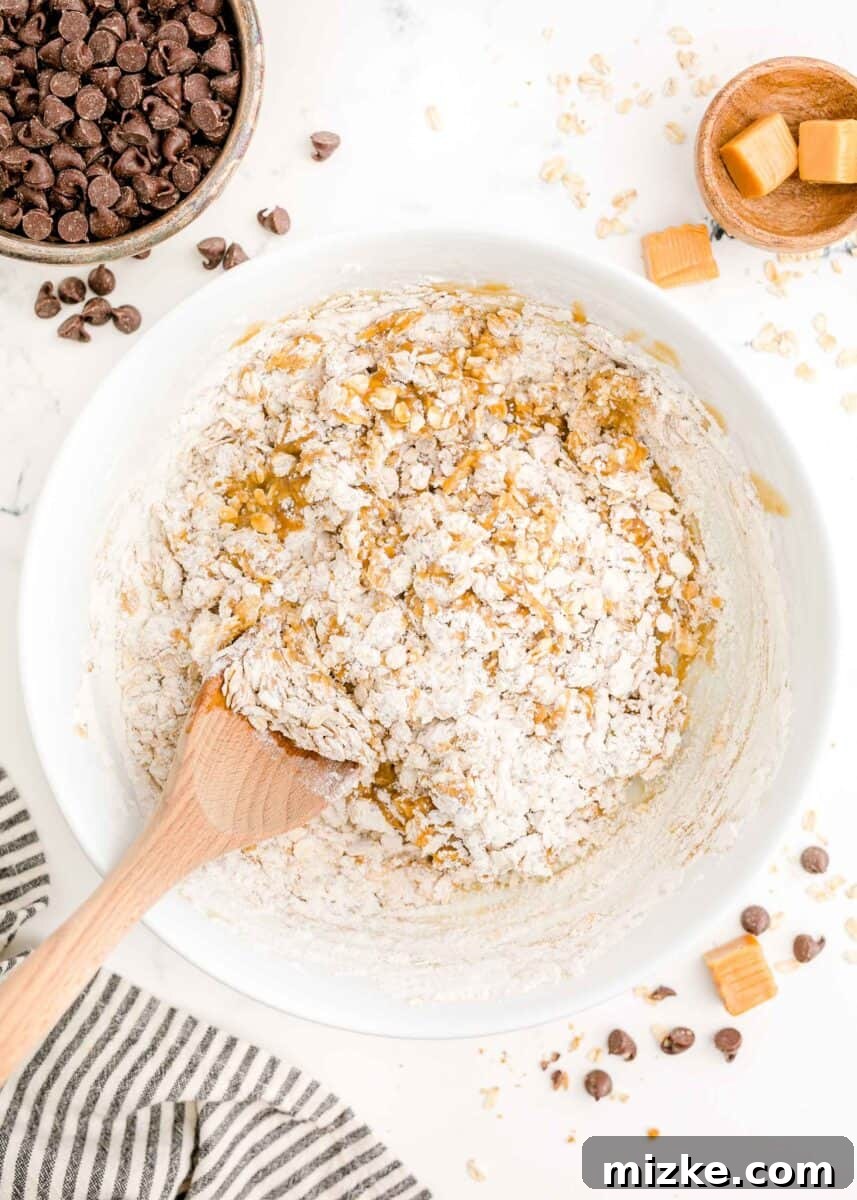
In a large microwave-safe bowl, melt the salted butter. Once melted, whisk in the brown sugar and vanilla extract until well combined and smooth. Next, add the flour, rolled oats, baking soda, and ¼ teaspoon of salt. Use a pastry cutter or a fork to thoroughly crumble the mixture together until it resembles coarse crumbs. Ensure all ingredients are evenly distributed.
3. Bake the First Crust Layer:
Press exactly half of the prepared oat mixture evenly into the bottom of your lined baking pan. Use the back of a spoon or your fingers to create a firm, compact layer. Transfer the pan to your preheated oven and bake for 10 minutes, or until the edges are lightly golden.
4. Prepare the Gooey Caramel Sauce:
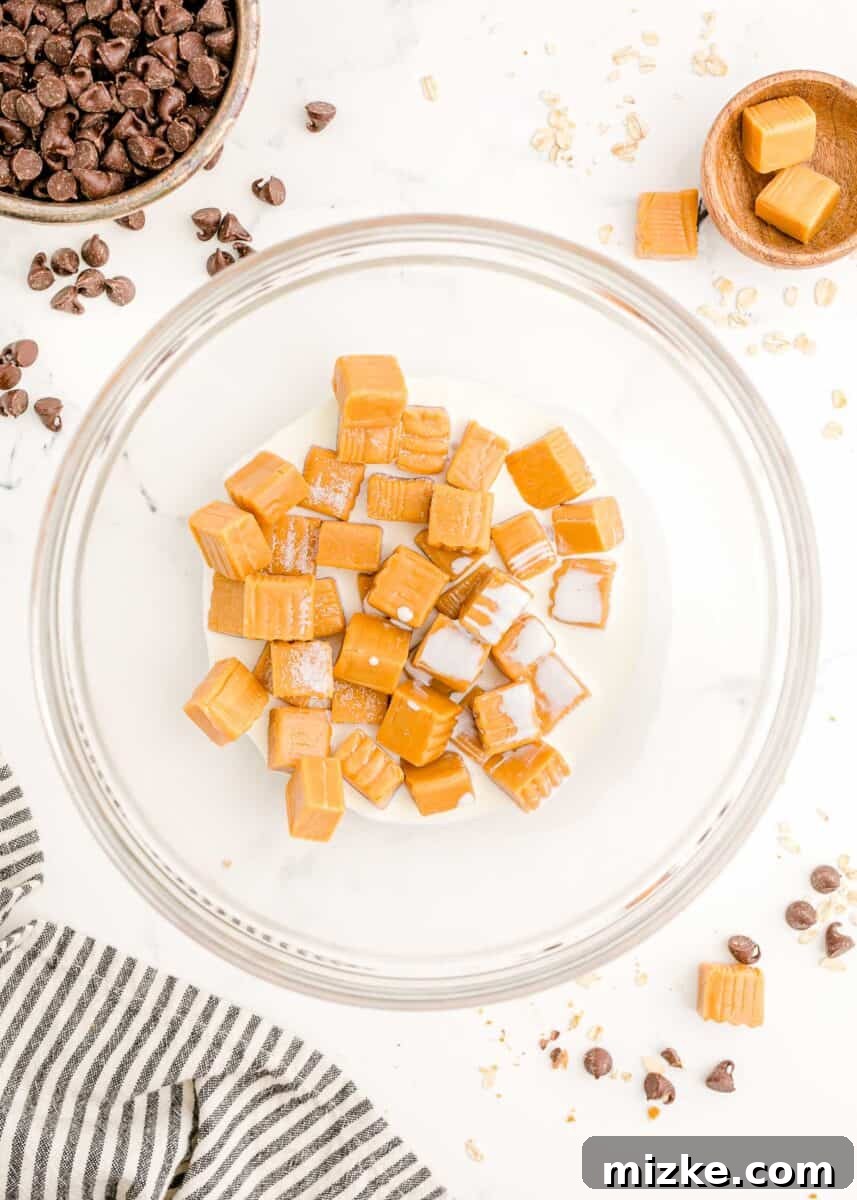
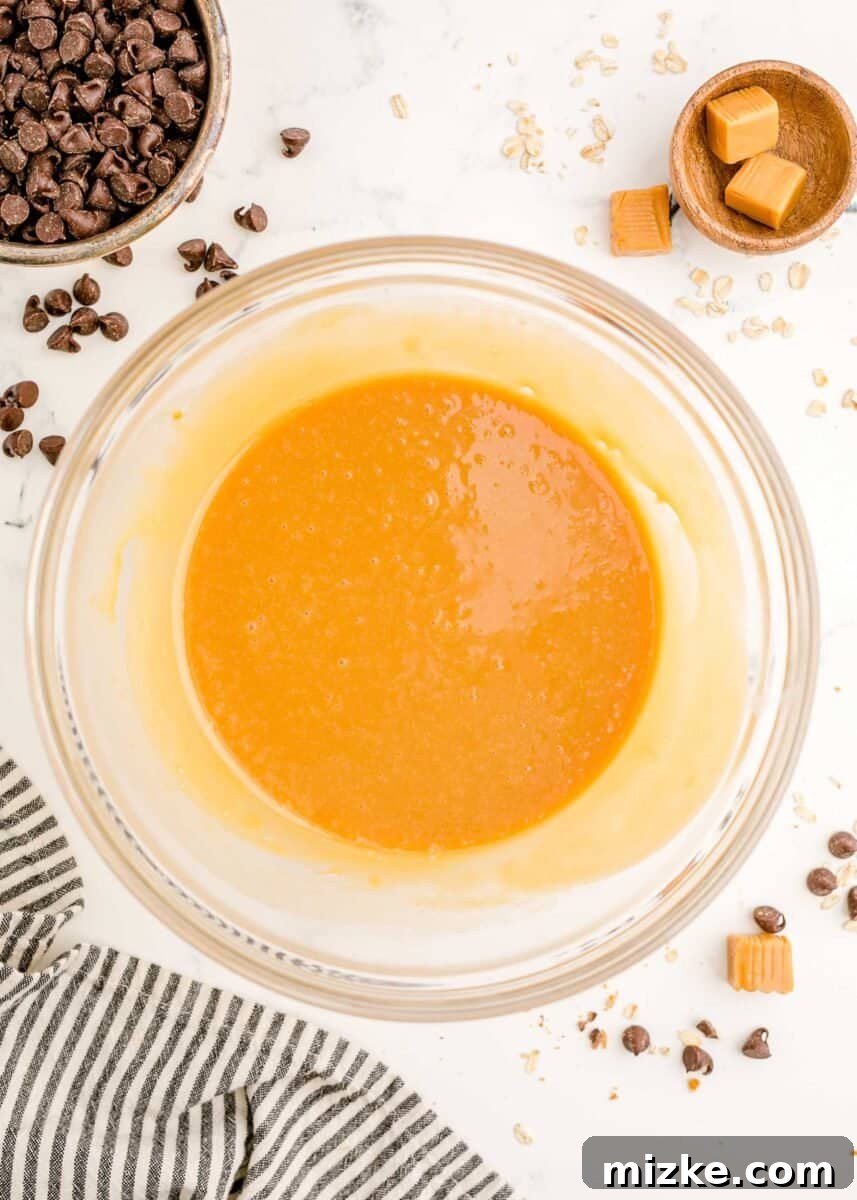
While the first crust layer is baking, begin making the caramel sauce. In another large microwave-safe bowl, combine the caramel squares, heavy cream, and the remaining ¼ teaspoon of salt. Stir these ingredients together gently. Microwave on high power for 1 minute, then remove and stir thoroughly until the caramel begins to melt and combine with the cream. Return to the microwave for another 1 minute and stir again until the caramel is completely smooth and homogeneous. Be careful not to overheat, as this can cause the caramel to seize. Heat only as needed, in short bursts, until smooth.
5. Assemble the Delightful Layers:
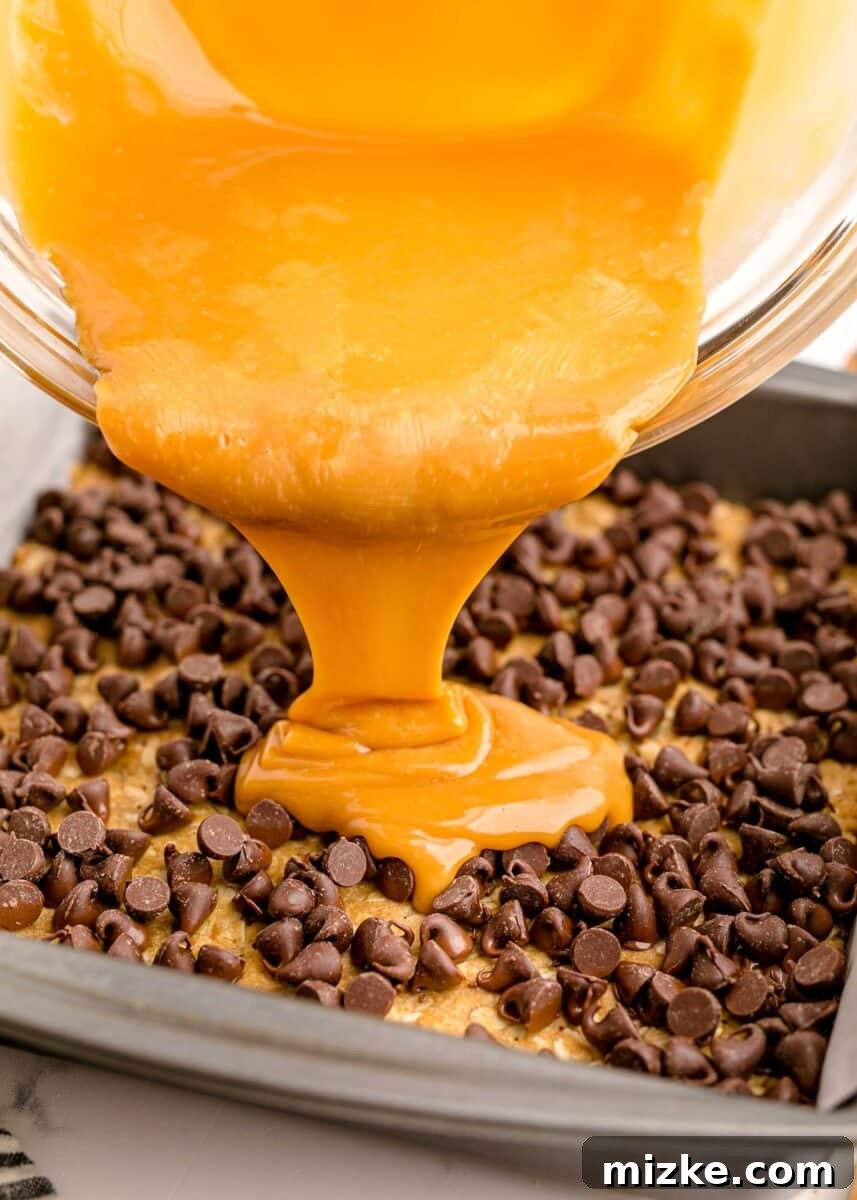
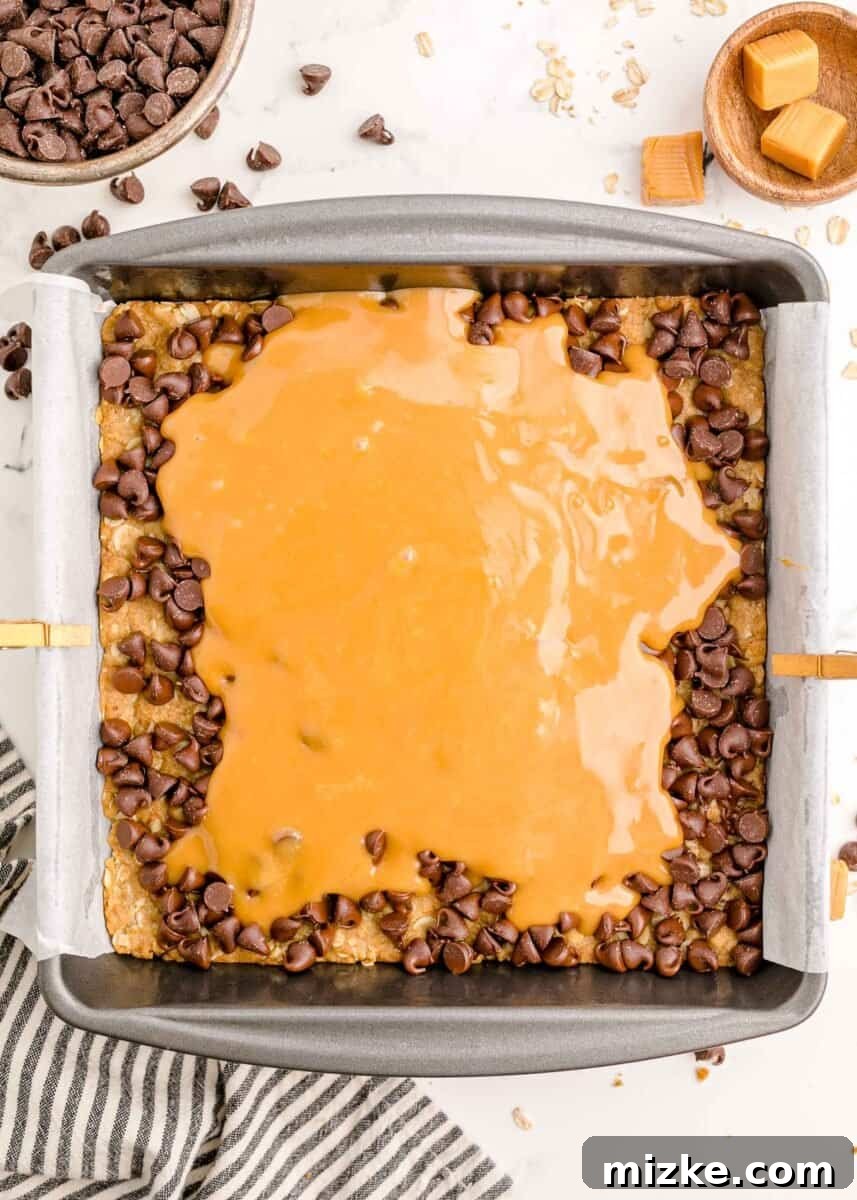
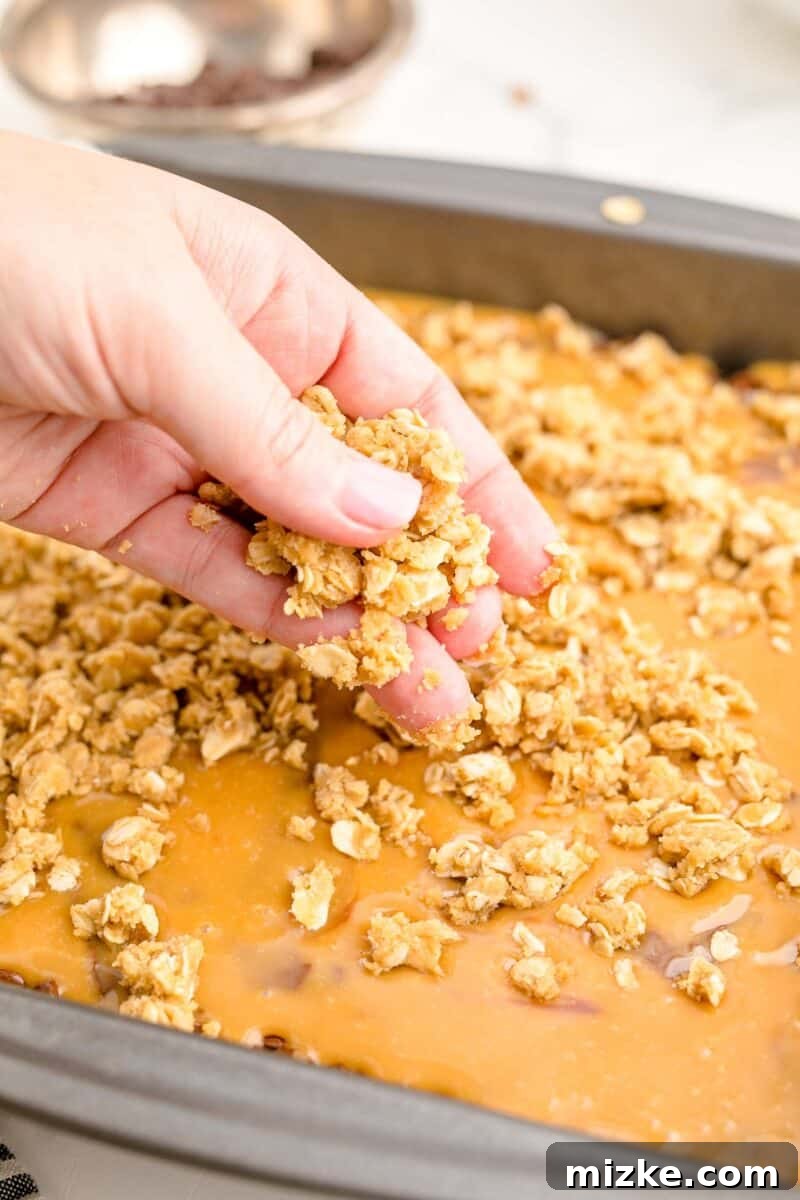
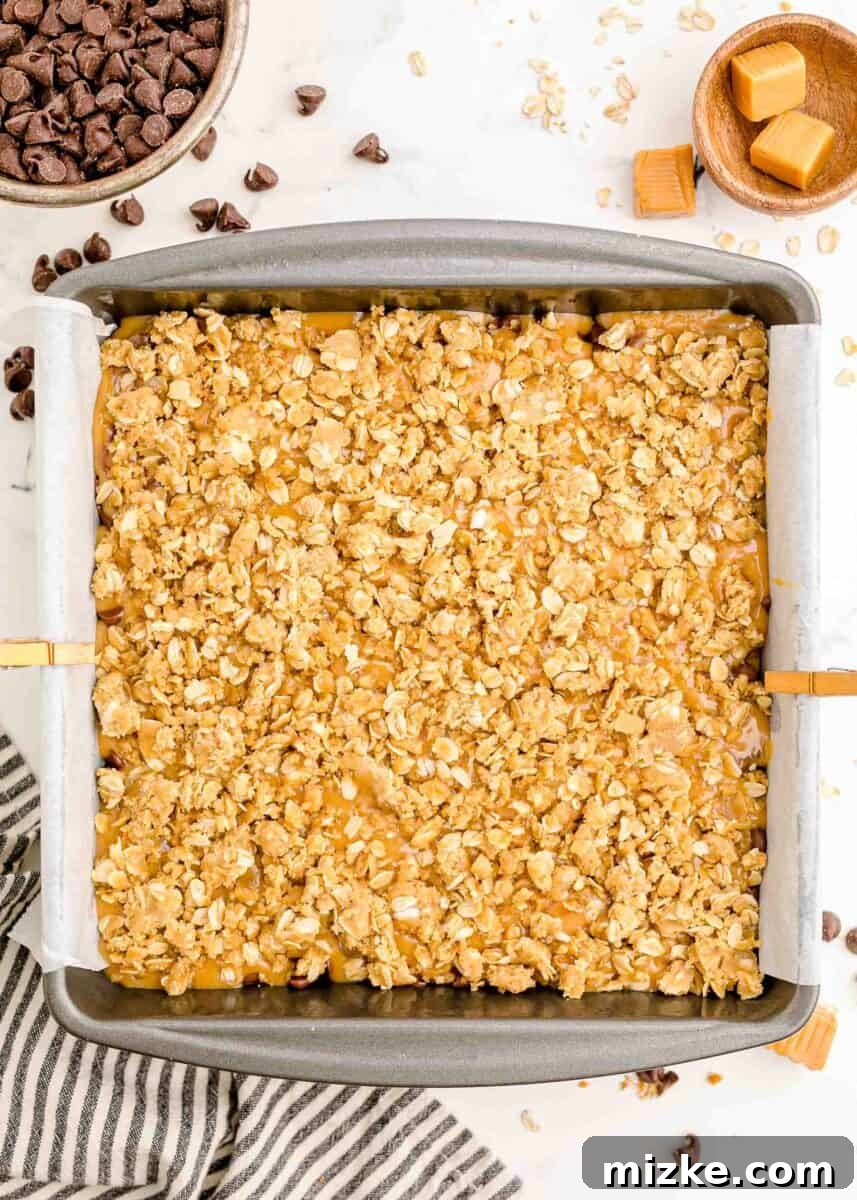
Once the first crust layer is out of the oven, immediately and evenly sprinkle all of the semi-sweet chocolate chips over the warm crust. The residual heat will help them melt slightly. Then, carefully pour the smooth, warm caramel sauce over the chocolate chips, ensuring an even coating. Finally, crumble the remaining half of the oat mixture over the caramel layer. You can use your hands to gently press it down lightly, but avoid compacting it too much.
6. The Final Bake:
Return the baking pan to the oven and bake for an additional 15 minutes, or until the top oat layer is lightly golden brown and the edges are bubbling gently. Keep a close eye on it to prevent over-browning.
7. Cool and Slice with Patience:
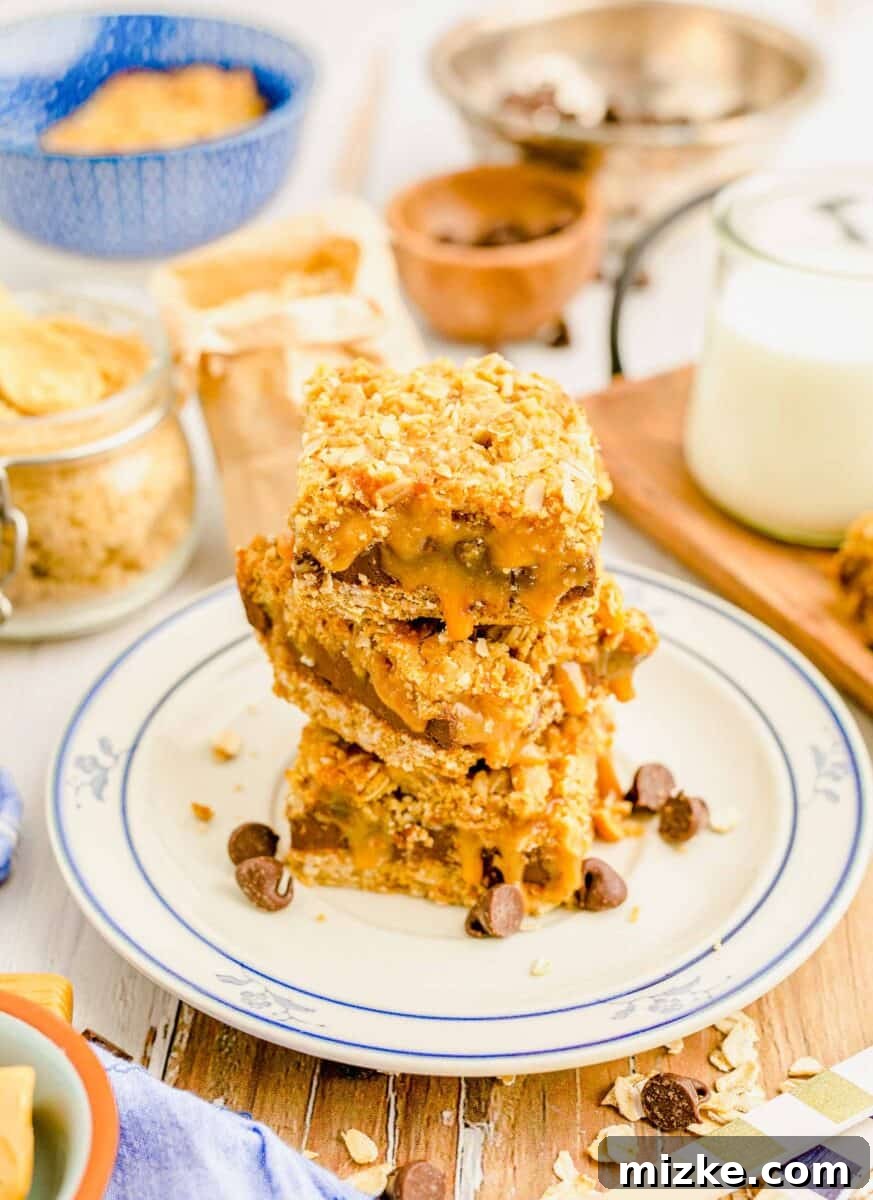
This step is critical for perfectly set Carmelitas! Remove the pan from the oven and place it on a wire rack to cool completely to room temperature. Trying to slice the bars while warm will result in a messy, runny caramel disaster. For best results and clean cuts, allow them to cool for several hours or, ideally, overnight at room temperature. If you’re short on time, you can place the baking pan in the refrigerator for at least 3 hours to expedite the setting process. Once fully cooled and firm, lift the bars out of the pan using the parchment paper overhang and slice them into squares or rectangles using a sharp, warm knife.
Expert Tips, Smart Substitutions, and Exciting Variations
While this Carmelitas recipe is fantastic as is, here are some ways to customize it, ensure success, and prevent common baking mishaps:
- Experiment with Chocolate Chips: We love semi-sweet chocolate chips for their perfect balance of rich cocoa flavor and sweetness that harmonizes with the caramel. However, feel free to switch things up! Use milk chocolate chips for a sweeter, creamier profile, or dark chocolate chips for a more intense, less sweet contrast. You could even try white chocolate chips for a different aesthetic and flavor.
- Elevate with a Touch of Salt: If you’re a devoted fan of salted caramel, a light sprinkle of flaky sea salt (like Maldon) over the caramel layer immediately after pouring it onto the chocolate chips, or after the bars have cooled, will transform these into an even more sophisticated treat. The delightful combination of sweet caramel and crunchy salt is absolutely mouth-watering.
- Double the Batch for a Crowd: Serving these delicious caramel bars to a larger group? It’s incredibly easy to double the recipe! Simply double all of the ingredients accordingly. You can either use two 8×8 inch pans or one larger 9×13 inch (23×33 cm) baking pan. Remember that baking times might vary slightly for a larger pan, so keep an eye on the oven.
- The Parchment Paper is Your Best Friend: We cannot stress this enough – these bars are wonderfully sticky! Lining your baking pan with parchment paper is essential for a stress-free experience. It not only ensures easy cleanup but, more importantly, allows you to effortlessly lift the entire slab of cooled Carmelitas from the pan before slicing, preventing any frustrating sticking.
- Patience is Key for Cooling: Resist the temptation to slice these bars while they’re still warm. Hot caramel sauce will inevitably run out, making for a sticky, shapeless mess. For perfectly formed, neat squares, allow the Carmelitas to cool completely to room temperature. This can take several hours, or you can expedite the process by chilling the pan in the refrigerator for at least 3 hours (or even overnight). A cold bar yields clean cuts.
- Smart Caramel Choice: Save yourself the tedious task of unwrapping dozens of individual caramel candies! Many grocery stores now carry baking caramels that are already unwrapped and ready to melt, often found in the baking aisle. This small tip can significantly reduce your prep time.
- Add a Nutty Crunch: For an extra layer of flavor and texture, consider sprinkling a layer of finely chopped pecans or walnuts over the chocolate chips before adding the caramel. The toasted nuts provide a delightful crunch and earthy flavor that pairs wonderfully with the sweet elements.
- Spice It Up: A pinch of cinnamon or nutmeg added to the oat crust mixture can introduce a subtle warmth, especially appealing during fall or winter months.
Storage and Freezing Instructions
Proper storage ensures your Carmelitas remain fresh and delicious for days, and even weeks:
- Room Temperature: Carmelitas are best stored in an airtight container at room temperature. They will stay fresh and delightfully chewy for about 4 to 5 days. There’s no need to refrigerate them, as refrigeration can sometimes make the caramel harden too much.
- Freezing Instructions: If you want to prepare them ahead or have leftovers, Carmelitas freeze beautifully! Once the bars are completely cooled and sliced, place them in a single layer on a baking sheet and freeze until solid (about 1-2 hours). Once frozen, transfer the solid bars to a freezer-safe airtight container or a heavy-duty freezer bag, separating layers with parchment paper to prevent sticking. They can be frozen for up to 2-3 months.
- Thawing: To enjoy frozen Carmelitas, simply remove the desired number of bars from the freezer and let them thaw at room temperature for about 30-60 minutes, or until soft and chewy again.
Discover More Easy Dessert Bar Recipes!
If you’ve loved the simplicity and deliciousness of these Carmelitas, you’re in for a treat! Explore some of our other favorite easy dessert bar recipes that are sure to satisfy your sweet cravings and impress your friends and family:
- Golden Graham S’mores Bars: All the classic s’mores flavors without the campfire!
- Sweet & Tangy Strawberry Blondies: A fruity twist on the classic blondie, bursting with strawberry flavor.
- Indulgent Triple Berry Cheesecake Bars: Creamy cheesecake combined with a medley of fresh berries.
- Classic Oatmeal and Chocolate Chip Cookie Bars: A delightful fusion of oatmeal cookies and chocolate chip goodness in an easy bar format.
Carmelitas Recipe Card
By: Julie Chiou
Carmelitas are easy to make bars that feature chocolate, chewy oats, and plenty of homemade caramel!
Preparation Times:
- Prep Time: 15 minutes
- Cook Time: 25 minutes
- Cooling Time: 3 hours
- Total Time: 3 hours 40 minutes
- Servings: 16 squares
Equipment
- Square baking pan (8×8 inch)
- Large microwave-safe bowls
- Whisk
- Pastry cutter or fork
- Parchment paper
- Wire rack
Ingredients
- ¾ cup salted butter, melted
- ⅔ cup brown sugar, packed
- 1 Tablespoon vanilla extract
- 1 ¼ cup all-purpose flour
- 1 ¼ cup rolled oats or old fashioned oats
- 1 teaspoon baking soda
- ½ teaspoon salt, divided (¼ tsp for crust, ¼ tsp for caramel)
- 40 caramel squares (approx. 14 oz / 400g)
- ⅓ cup heavy cream
- 1 ½ cup semi-sweet chocolate chips
Instructions
- Preheat your oven to 350°F (177°C). Line an 8×8 inch baking pan with parchment paper, allowing some overhang on the sides for easy lifting. Lightly grease the parchment paper.
- In a large microwave-safe bowl, melt the salted butter. Whisk in the brown sugar and vanilla extract until smooth.
- Stir in the flour, oats, baking soda, and ¼ teaspoon of salt. Use a pastry cutter or a fork to crumble the mixture together until well combined and crumbly.
- Press about half of this oat mixture firmly into the bottom of the prepared baking pan. Bake for 10 minutes.
- While the crust is baking, prepare the caramel filling. Place the caramel squares, heavy cream, and the remaining ¼ teaspoon of salt into a large microwave-safe bowl. Stir gently. Heat on high power for 1 minute, then stir thoroughly. Heat again for another 1 minute and stir until the mixture is completely smooth. Do not overheat.
- When the crust is finished baking, remove the pan from the oven. Evenly sprinkle all of the semi-sweet chocolate chips over the warm crust.
- Pour the smooth caramel sauce evenly over the chocolate chip layer.
- Crumble the remaining oat mixture over the caramel layer. Gently pat it down lightly with your hand.
- Place the baking pan back into the oven and bake for another 15 minutes, or until the topping is lightly golden brown.
- Remove the pan from the oven and place it on a wire rack to cool completely to room temperature. This is essential for the caramel to set properly. For the cleanest slices, refrigerate the pan for at least 3 hours, or preferably overnight, before lifting the bars out and slicing into squares.
Nutrition Information
Please note that nutritional values are approximate and can vary based on ingredients and preparation methods.
- Serving: 1 square
- Calories: 383 kcal
- Carbohydrates: 49g
- Protein: 4g
- Fat: 19g
- Saturated Fat: 11g
- Polyunsaturated Fat: 2g
- Monounsaturated Fat: 5g
- Trans Fat: 0.4g
- Cholesterol: 31mg
- Sodium: 277mg
- Potassium: 203mg
- Fiber: 2g
- Sugar: 32g
This website provides approximate nutrition information for convenience and as a courtesy only. Nutrition information can vary for a variety of reasons. For the most precise nutritional data, use your preferred nutrition calculator based on the actual ingredients you used in the recipe.
The default measuring system for this website is US Customary. Unit conversions are provided for convenience and as a courtesy only. While we strive to provide accurate unit conversions, please be aware that there may be some discrepancies.