
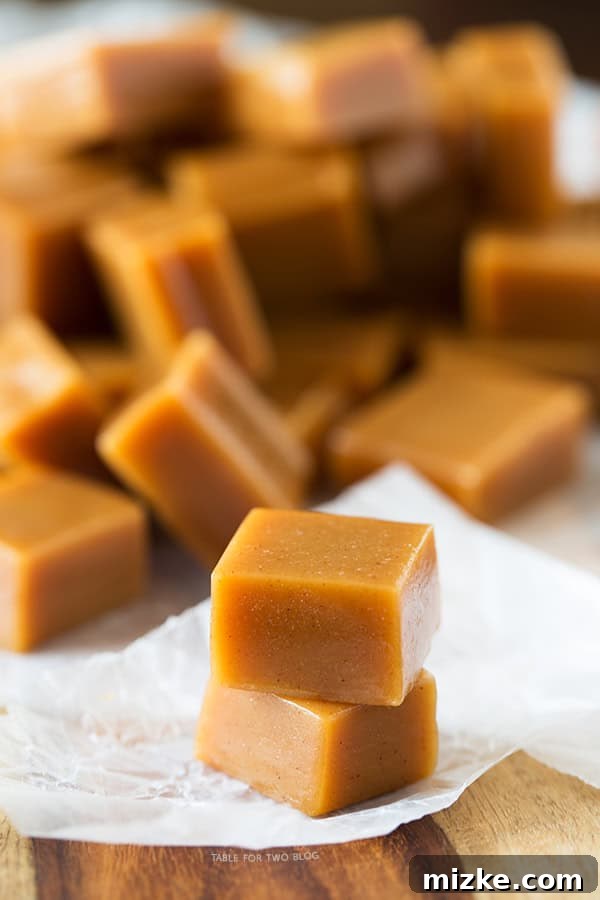
Irresistible Homemade Apple Cider Caramels: Your Essential Autumn Delight
There’s a special kind of magic in biting into a perfectly chewy caramel. For me, it conjures sweet memories from childhood, a time when the stickiness was part of the fun, a playful challenge to unstick it from the roof of my mouth. While those store-bought delights, like the famous Werther’s soft caramels, hold a special place in my heart, nothing truly compares to the rich, nuanced flavor and incredible satisfaction of homemade caramels. It’s a journey from fond memories to creating new ones, especially when those caramels are infused with the cozy essence of apple cider.
Embracing the Autumn Spirit with Apple Cider Caramels
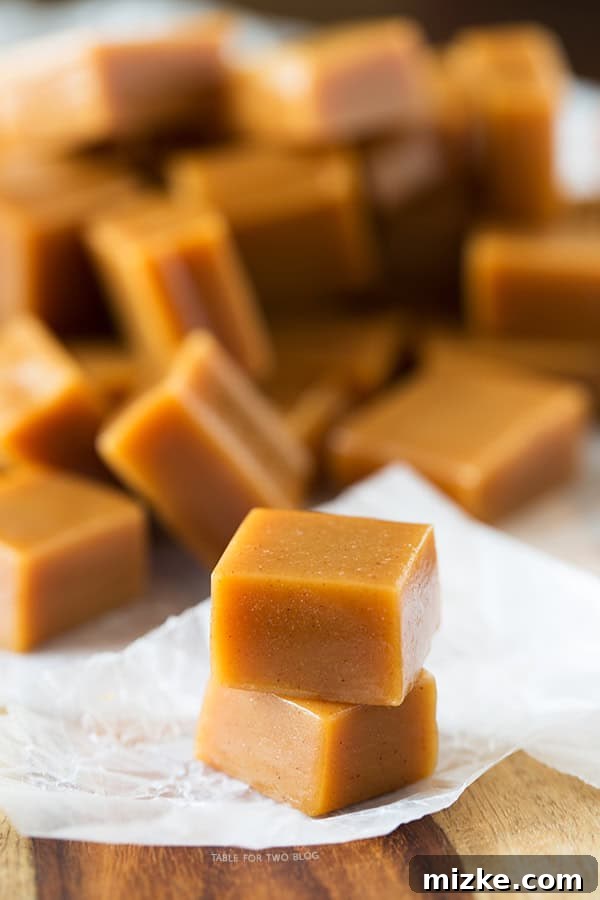
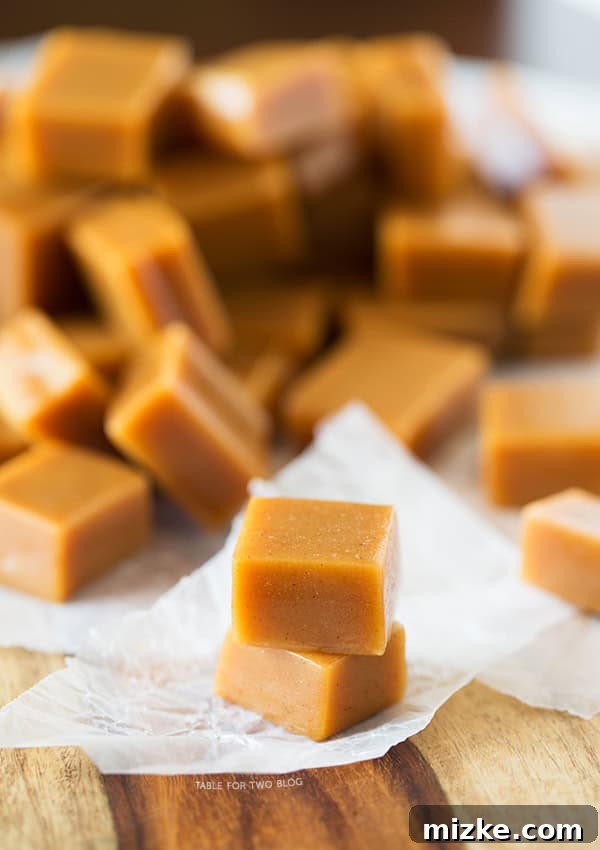
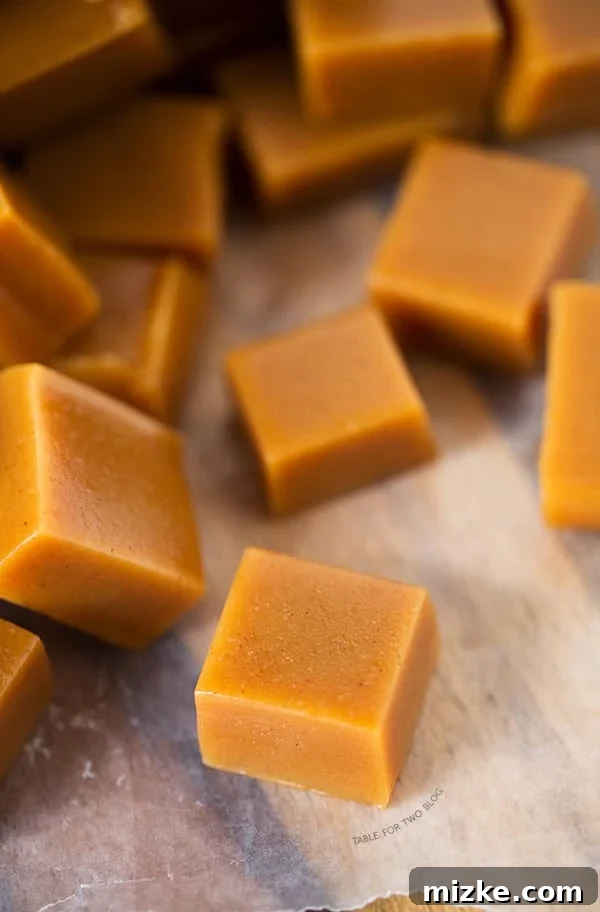
These homemade apple cider caramels are more than just a treat; they are a celebration of autumn. Imagine crisp, cool air, the vibrant hues of orange and red leaves painting the landscape, and the comforting aroma of apples and spices wafting from the kitchen. That’s the feeling these caramels evoke. They’re incredibly soft, delightfully chewy, and infused with a rich, tangy sweetness that perfectly captures the essence of a fall apple orchard. Once you taste one, it’s truly impossible to stop at just one.
Mastering the Art of Caramel Making: From Fear to Flavor
For a long time, making candy, especially anything involving boiling sugar, seemed like an intimidating culinary challenge. I harbored a genuine “sugar fear,” picturing molten sugar splattering and causing horrendous burns. It felt dramatic at the time, but the apprehension was real, holding me back from attempting many delightful confections. However, making apple cider caramels was on my kitchen bucket list, a challenge I was determined to conquer.
The journey began with a leap of faith into the world of candy making, and to my surprise, it wasn’t nearly as daunting as I had imagined. Boiling sugar, when approached with care and the right tools, is actually quite straightforward and low-maintenance. The key is patience, attention, and a reliable candy thermometer, which removes all the guesswork and fear. This experience taught me that many culinary fears are simply barriers we build in our minds, easily overcome with a bit of courage and proper technique.
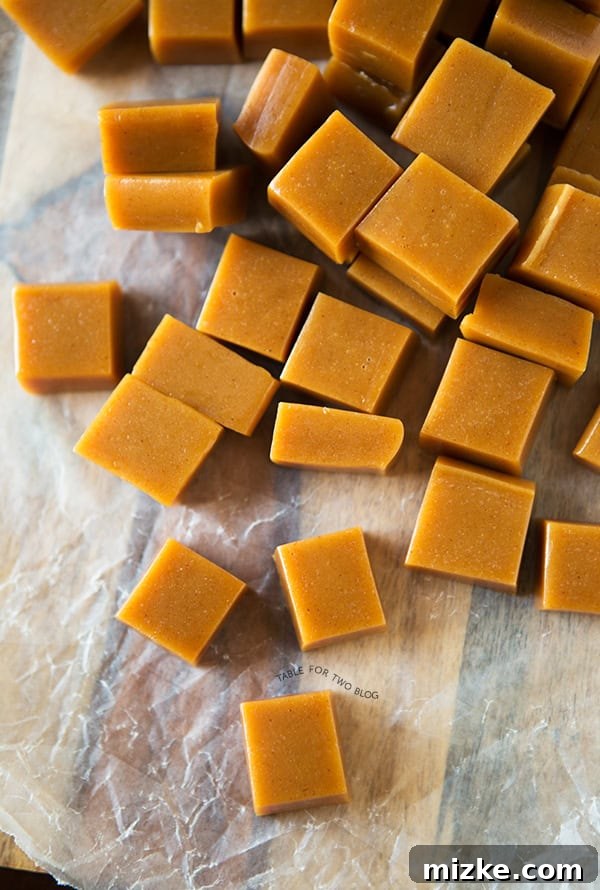
While the actual cooking process proved to be manageable, I discovered a new challenge: cutting the caramels the next morning. After the caramels had set for 12-18 hours, they transformed into a firm, yet still pliable, block of deliciousness. Google searches yielded tips about using guitar strings for precise cuts, but without those readily available, I opted for the trusty sharp, warm knife approach. It worked wonderfully, but let me tell you, cutting around 64 caramels into perfect squares provided an unexpected, yet intense, arm and hand workout! The effort, however, was entirely worth it for the beautiful, uniform pieces that emerged.
The Sweet Science of Perfect Caramels
Achieving the ideal caramel consistency, that perfect balance of soft and chewy, relies heavily on precise temperature control. A candy thermometer is your best friend in this process, ensuring the sugar mixture reaches exactly 248°F (120°C). This temperature is crucial for the caramel to set correctly – too low, and your caramels will be too soft and sticky; too high, and they’ll become hard and brittle. Don’t rush the boiling process; let the mixture gently bubble and thicken, transforming from a pale liquid to a rich, amber hue. The transformation is mesmerizing and signals the magic happening in your pot.
Another tip for success is to prepare your pan in advance. Lightly greasing and lining your baking pan with parchment paper, ensuring an overhang on opposite sides, will make the removal and cutting process significantly easier. This small step prevents sticking and allows you to lift the entire block of caramel out effortlessly. Once poured, the waiting period is essential. Allowing the caramels to cool and set at room temperature for 12-18 hours ensures they develop their characteristic texture and firm up enough for clean cuts.
Why Homemade Caramels Are the Best Fall Treat
Beyond the personal satisfaction of creating something delicious from scratch, homemade apple cider caramels offer several advantages. You control the quality of ingredients, opting for the freshest heavy cream, rich butter, and pure apple cider. This control translates into a superior flavor that simply cannot be replicated by mass-produced candies. The subtle tang of boiled cider, combined with the warmth of apple pie spice, elevates these caramels from ordinary to extraordinary. They’re a gourmet experience in every bite, perfect for savoring during a quiet moment or sharing with loved ones.
Gifting Homemade Apple Cider Caramels
Homemade apple cider caramels make exquisite gifts, especially during the holiday season or for any autumn gathering. Their rustic charm and unique flavor profile are sure to impress. To package them beautifully, simply wrap each cooled caramel square in a piece of wax paper, twisting the ends like traditional candies. Arrange them in a decorative box, tie with a festive ribbon, and perhaps add a small tag with a handwritten note. These thoughtful, edible gifts convey warmth and care, making them much more personal and memorable than anything bought from a store. They’re perfect for teachers, neighbors, hosts, or simply as a special treat for friends and family.
Apple Cider Caramels Recipe
Rated 5 out of 5 stars by 2 voters
Apple Cider Caramels
Equipment
-
Square baking pan
Ingredients
- 2 cups (473 ml) heavy cream
- 1 cup (341 g) light corn syrup
- 2 cups (400 g) sugar
- 6 tablespoon (84 g) unsalted butter
- ½ cup (118 ml) boiled cider
- ½ teaspoon salt
- 1 teaspoon apple pie spice
Instructions
-
Lightly grease an 8×8″ baking pan and line with parchment paper with overhangs on opposite sides. Set aside.
-
In a large, nonstick pot, combine cream, corn syrup, sugar, butter, and boiled cider. Bring the mixture to a boil over high heat, stirring to dissolve the sugar. Reduce to medium-high heat and cook without stirring until the candy thermometer reaches 248 °F (120 °C). It will take about 20-30 minutes depending on your stove and pot.
-
Remove the pot from the heat and stir in the salt and apple pie spice.
-
Carefully pour the mixture into the prepared pan and let it stand for 12-18 hours at room temperature before cutting into 1″ squares.
-
When cutting the caramels, run a very sharp knife under hot water until it’s warm to the touch then spray both sides with cooking spray and cut caramels in a sawing motion.
-
Wrap caramels in wax paper.
Notes
Nutrition
Calories: 122 kcal,
Carbohydrates: 21g,
Fat: 5g,
Sugar: 21g
This website provides approximate nutrition information for convenience and as a courtesy only. Nutrition information can vary for a variety of reasons. For the most precise nutritional data use your preferred nutrition calculator based on the actual ingredients you used in the recipe.
The default measuring system for this website is US Customary. Unit conversions are provided for convenience and as a courtesy only. While we strive to provide accurate unit conversions, please be aware that there may be some discrepancies.
There is an affiliate link in this post.
Tips for Caramel Perfection: Avoiding Common Pitfalls
Making caramel, while simpler than it seems, does require a few key practices to ensure a flawless outcome. First and foremost, resist the urge to stir the caramel mixture excessively once it begins to boil. Constant stirring can introduce air bubbles and encourage sugar crystals to form on the sides of the pot, leading to a grainy texture. Instead, after initially stirring to dissolve the sugar, let it boil undisturbed until it reaches the target temperature. If you notice crystals forming on the sides, gently brush them down with a wet pastry brush.
Another crucial aspect is using a heavy-bottomed pot. This helps distribute heat more evenly, preventing scorching at the bottom and ensuring a consistent cook. A light-colored pot can also be helpful, as it allows you to easily monitor the color changes of the caramel, guiding you towards that perfect golden-amber hue. Remember that caramel continues to cook and darken slightly even after being removed from the heat, so a quick transfer to the prepared pan is essential.
Beyond the Basic: Exciting Caramel Variations
While these apple cider caramels are a stand-alone masterpiece, don’t hesitate to experiment with variations to suit your taste. A sprinkle of flaky sea salt over the poured caramel before it sets creates a delightful salted caramel experience, balancing the sweetness with a touch of savory. You could also infuse the cream with other spices like cinnamon sticks, star anise, or even a hint of cardamom for different aromatic profiles. For an added textural element, finely chopped toasted pecans or walnuts can be folded into the caramel just before pouring into the pan. These simple additions can transform your homemade caramels into an even more personalized and impressive treat.
Storage and Shelf Life of Homemade Caramels
Once your delectable apple cider caramels are cut and individually wrapped in wax paper, proper storage is key to maintaining their freshness and chewy texture. Store them in an airtight container at room temperature, away from direct sunlight or heat. When stored correctly, homemade caramels can last for up to 2-3 weeks. For longer storage, you can even freeze them for up to 3 months. Just be sure to thaw them gradually at room temperature before enjoying, ensuring they return to their perfect soft consistency. They make an excellent treat to keep on hand for unexpected guests or simply to satisfy a sweet craving.
Conclusion: The Enduring Joy of Homemade Caramels
There’s an unparalleled joy in creating something truly special in your kitchen, and these apple cider caramels embody that feeling perfectly. From overcoming a culinary fear to crafting a seasonal delicacy that tastes like autumn itself, the process is rewarding at every step. Whether you’re making them to indulge your own sweet tooth, to share as thoughtful gifts, or simply to fill your home with the inviting aromas of fall, these homemade caramels are a must-try. So, gather your ingredients, embrace the warmth of your kitchen, and prepare to fall in love with the sticky, sweet magic of homemade apple cider caramels.