
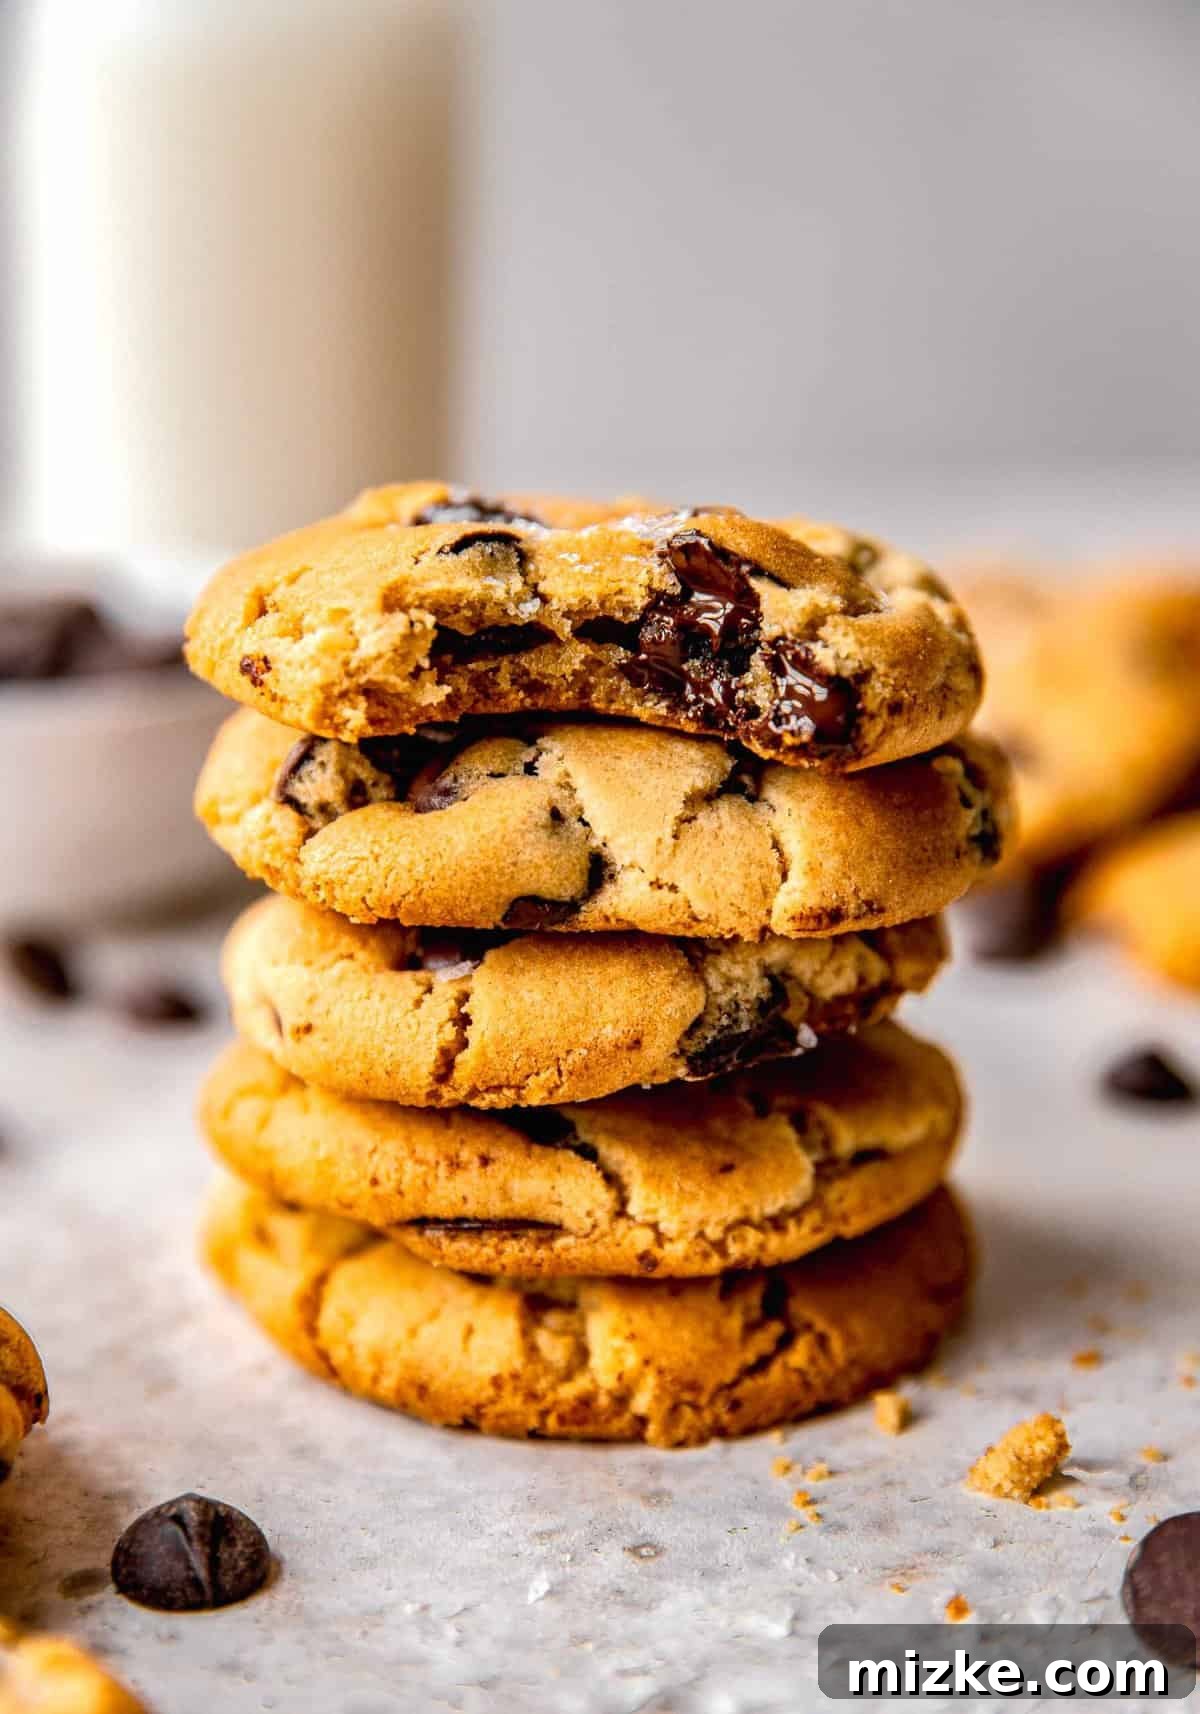
Your fervent search for the **best chocolate chip cookies** culminates right here. Prepare to indulge in cookies generously laden with exquisitely melty chocolate chips, boasting an unrivaled texture that is simultaneously soft, delightfully chewy, and perfectly dense. These aren’t just cookies; they are the very definition of perfection in every single bite.
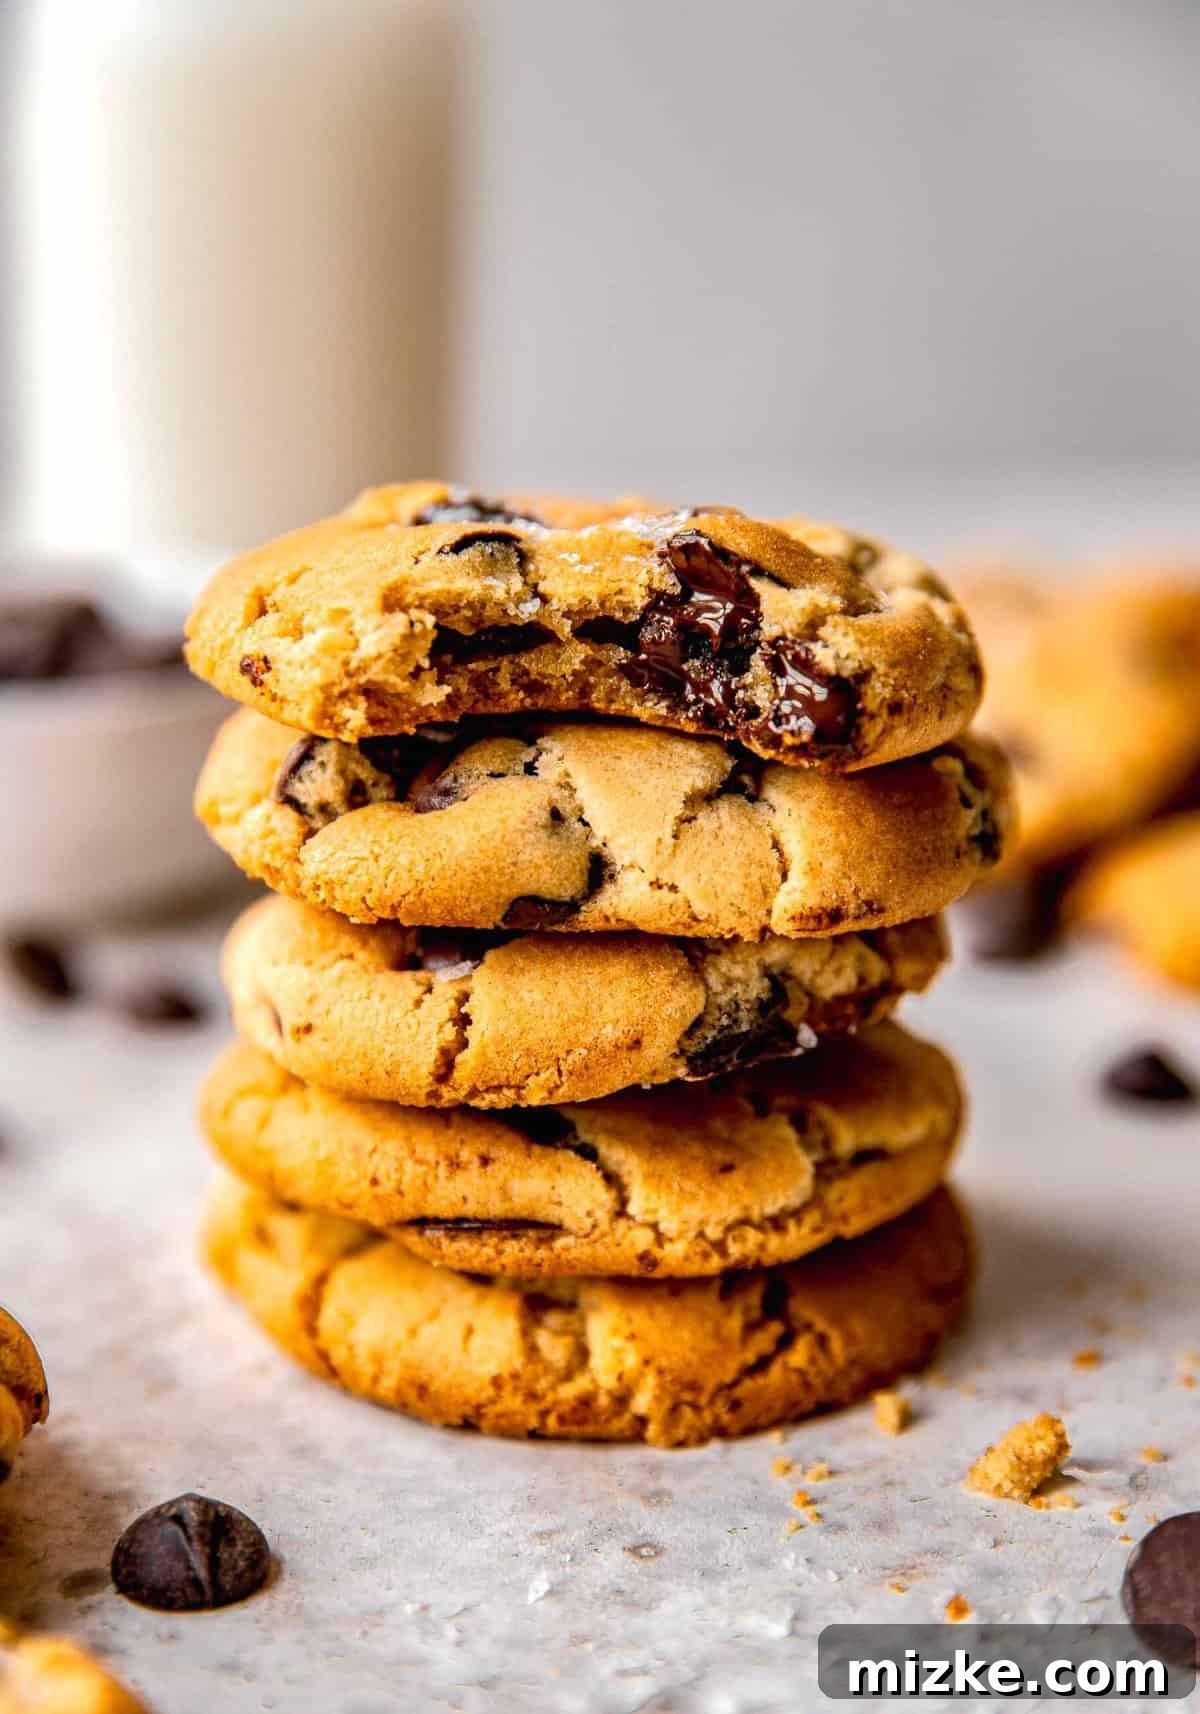
For years, I embarked on a relentless quest, a culinary odyssey, to unearth the elusive recipe for the truly perfect chocolate chip cookie. It was a journey filled with countless experiments, triumphs, and a few (edible) failures, but I finally cracked the code, discovering the magical combination that consistently delivers unparalleled results. This ultimate chocolate chip cookie recipe has it all. Each cookie is meticulously crafted to be perfectly soft and irresistibly chewy, offering a satisfying density that makes every mouthful an absolute dream. And the chocolate chips? Not only are there an abundance of them, ensuring chocolate in every corner, but they miraculously retain their wonderfully melty, almost liquidy state for days, providing an incredible gooey sensation long after they’ve cooled. Don’t just take my word for it; bake a batch and experience this blissful creation yourself. I wholeheartedly promise you, this is one culinary adventure you absolutely will not regret.
Unveiling the Secrets: What Makes These the Best Chocolate Chip Cookies?
There’s a reason these aren’t just “good” chocolate chip cookies, but truly the best chocolate chip cookies you’ll ever bake. Several key elements converge to elevate this recipe far beyond the ordinary, transforming simple ingredients into an extraordinary treat. Let’s delve into the distinctive qualities that set these apart:
- Exemplary Texture That Endures: The foundation of any truly great cookie lies in its texture, and these cookies excel phenomenally in this regard. The secret? A meticulously balanced combination of both cake flour and bread flour, working in harmony to create a unique crumb structure. This, coupled with an essential and extended chilling period—a minimum of 24 hours, ideally longer—allows the flours to fully hydrate and the flavors to meld profoundly. The result is a cookie that is wonderfully dense, yet never heavy or dry. It maintains an incredible moistness and an irresistible chewiness for days, resisting the common fate of becoming dry or crumbly.
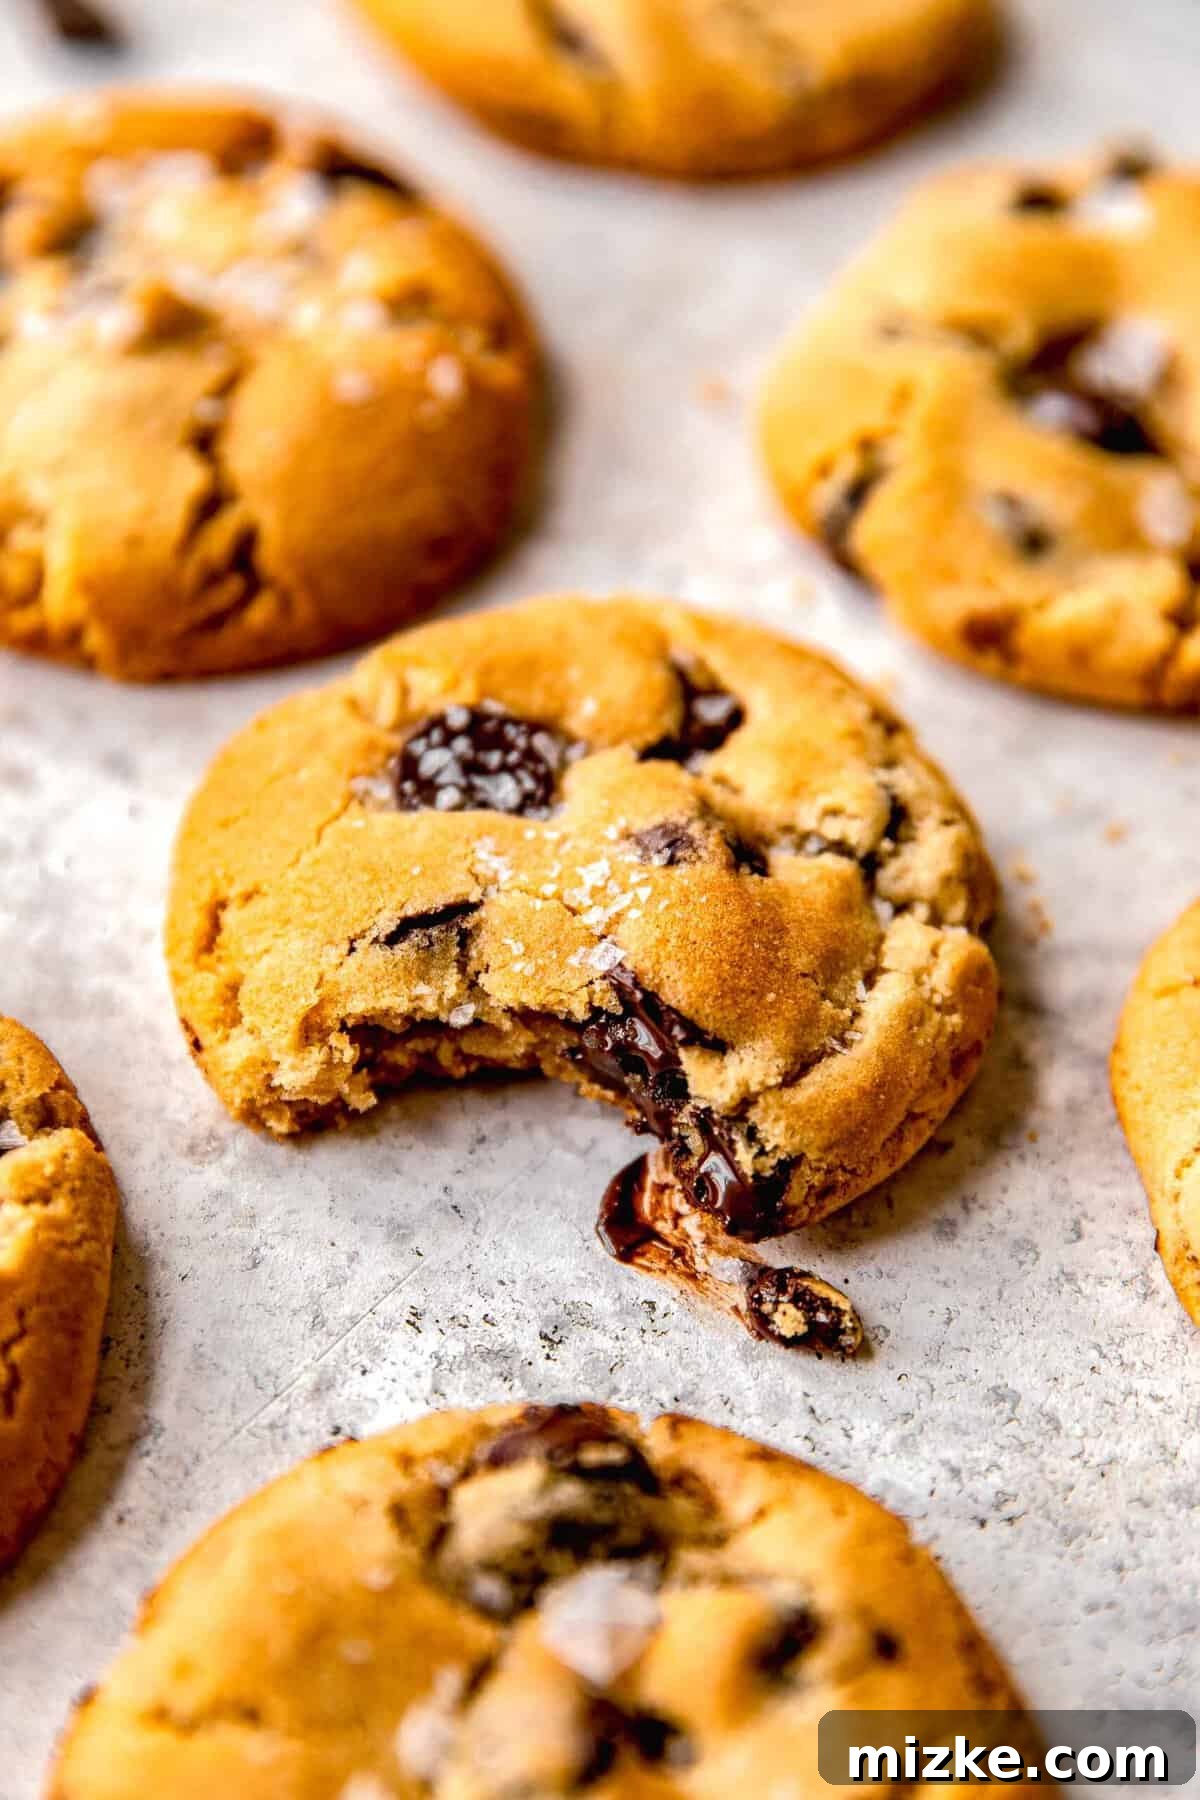
- Melty Chocolate Chip Magic: No one enjoys rock-hard chocolate chips in a cookie. In this recipe, the chocolate chips transcend the usual, maintaining a beautifully soft, subtly melty, and utterly gooey consistency that lasts for a remarkable couple of days. This means every bite is a delightful surprise, a perfect marriage of moist, chewy cookie dough and pockets of almost liquid, rich chocolate goodness. It’s a sensory experience that defines true chocolate chip cookie bliss. We recommend using high-quality dark chocolate chips for the best flavor, but semi-sweet or milk chocolate chunks also work beautifully if that’s your preference.
- A Harmonious Salty Aftertaste: To perfectly counterbalance the inherent sweetness of a classic chocolate chip cookie, a strategic touch of coarse sea salt flakes is added as the cookies cool. This isn’t just a garnish; it’s a critical flavor component. The subtle yet distinct salty finish provides an incredible depth, enhancing the chocolate and sugar notes and preventing the cookie from being overly sweet. It elevates the entire flavor profile, creating a more sophisticated and deeply satisfying experience that will have you reaching for another, and another.
Gather Your Ingredients: What You’ll Need for Cookie Perfection
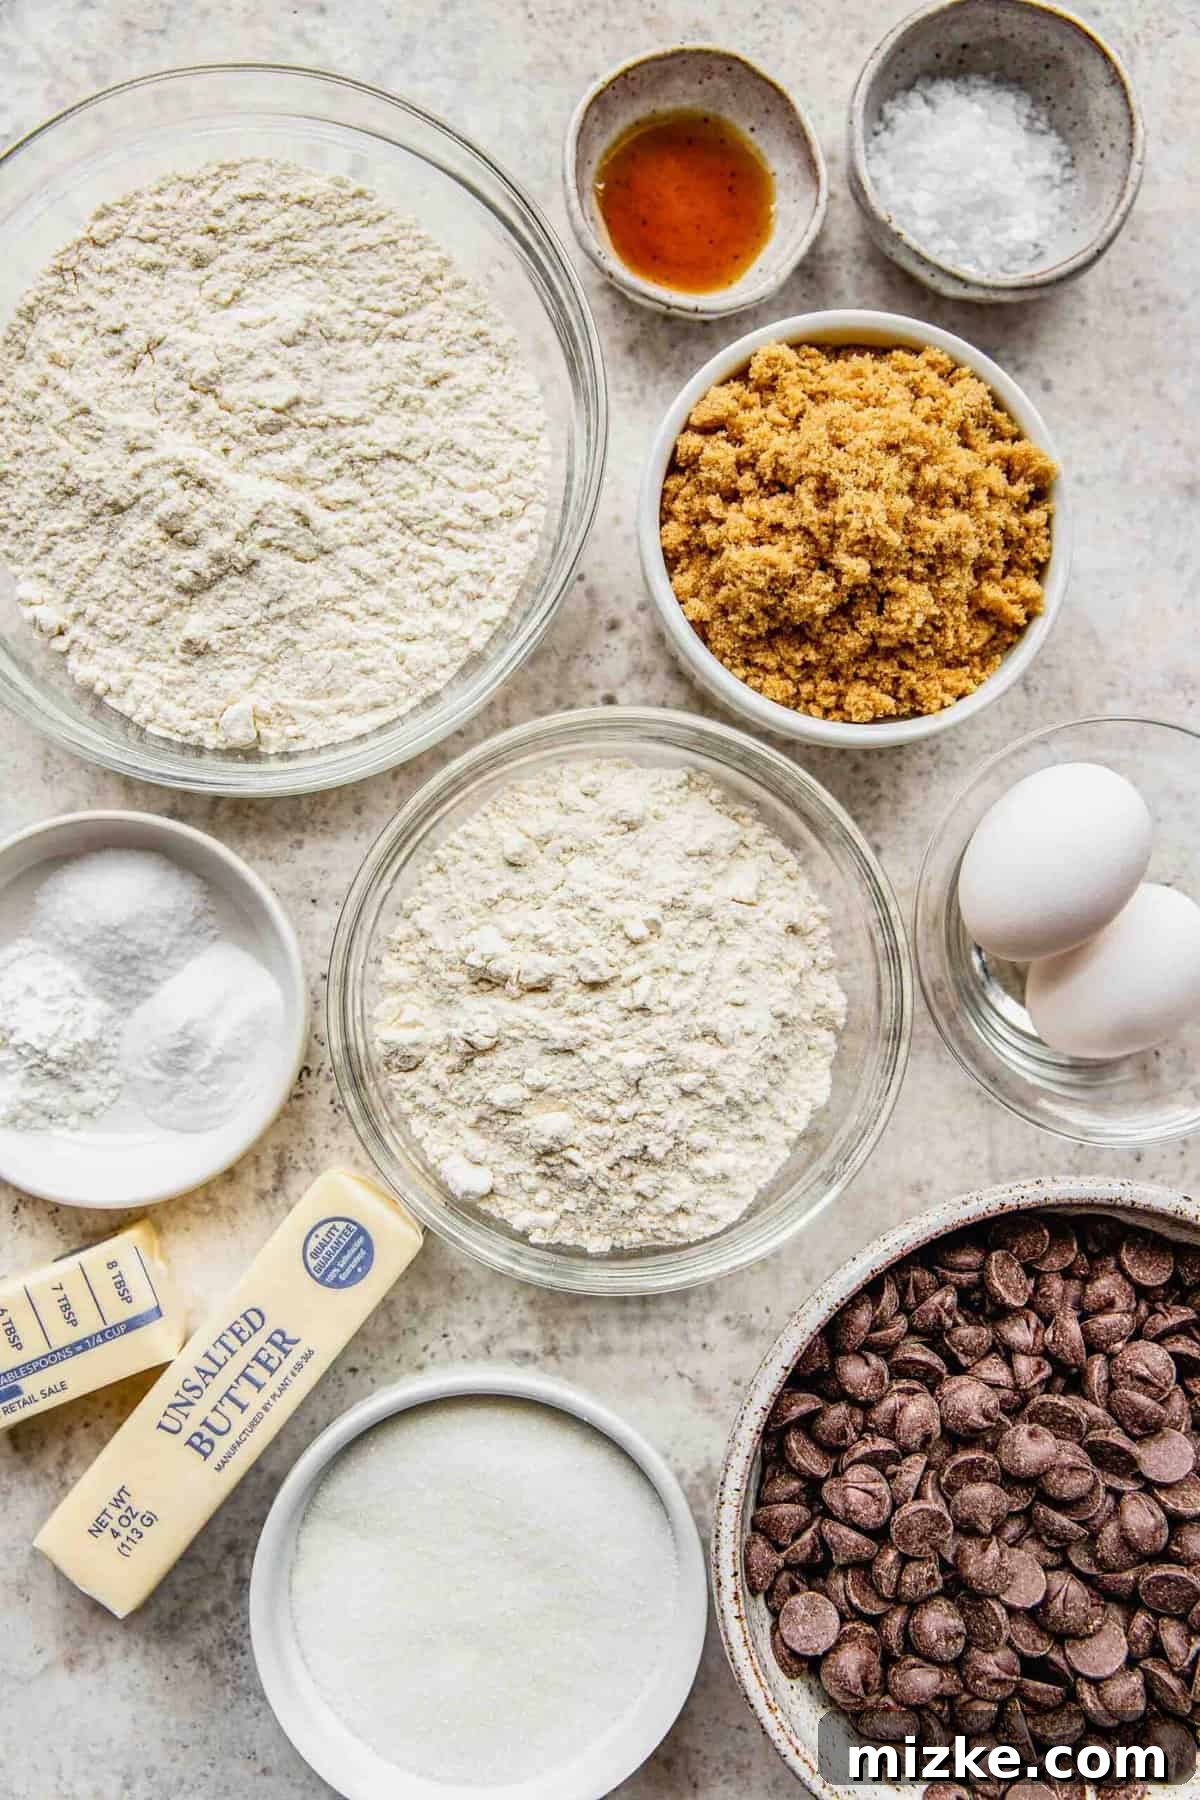
The secret to baking the best chewy chocolate chip cookies lies not just in the technique, but also in the quality and specific types of ingredients used. Each component plays a vital role in achieving that perfect texture and flavor. Below is a comprehensive list of what you’ll need to embark on this delicious journey. Remember to scroll down to the full recipe card for precise measurements and quantities.
- Cake Flour and Bread Flour: This dynamic duo is the cornerstone of our cookies’ superior texture. Cake flour, with its lower protein content, contributes to the cookie’s tenderness and softness, ensuring it doesn’t become tough. Bread flour, conversely, boasts a higher protein content, which develops gluten and provides that essential chewiness and structure, preventing the cookies from spreading too thinly. This precise blend creates a cookie that is both tender and wonderfully chewy – a game-changer!
- Baking Soda and Baking Powder: These leavening agents are crucial for giving the cookies their lift and aiding in their delightful texture. Baking soda reacts with acidic ingredients (like brown sugar), promoting spread and contributing to that classic crinkled appearance. Baking powder offers additional lift and tenderness.
- Kosher Salt: Beyond just seasoning, salt is a flavor enhancer. It balances the sweetness of the sugars and chocolate, making the overall flavor more complex and pronounced.
- Unsalted Butter (Room Temperature): Always start with unsalted butter, allowing you to control the salt content precisely. Critically, ensure your butter is at true room temperature – soft enough to indent easily with a finger, but not melted or greasy. If it’s too cold, it won’t cream properly with the sugars, leading to a dense cookie. If it’s too warm or melted, the cookie dough will be too oily, causing excessive spreading during baking.
- Light Brown Sugar: This isn’t just for sweetness; light brown sugar is packed with molasses, which contributes significantly to the cookies’ moisture content, chewiness, and a deeper, more nuanced caramel-like flavor profile. It’s essential for that signature soft and chewy characteristic.
- Granulated Sugar: Providing sweetness and aiding in crisping the edges, granulated sugar works alongside brown sugar to create the ideal texture and flavor balance.
- Large Eggs: Eggs act as binders, holding the ingredients together, and contribute to the richness and structure of the cookies. They also add moisture and help with leavening, especially when combined with the creaming process. Ensure your eggs are also at room temperature for optimal emulsification.
- Pure Vanilla Extract: A staple in almost all baked goods, high-quality pure vanilla extract adds warmth, depth, and a delightful aromatic complexity that enhances all the other flavors in the cookie.
- Dark Chocolate Chips: While you have the flexibility to use milk chocolate, semi-sweet chocolate chips, or even chopped chocolate chunks, dark chocolate chips truly shine here. Their slightly bitter notes provide a beautiful contrast to the sweet dough, creating a more sophisticated and less cloyingly sweet cookie. For ultimate melty goodness, consider using a mix of chips and chopped chocolate.
- Coarse Sea Salt Flakes: This finishing touch is non-negotiable for these exceptional cookies. Sprinkled on top as the cookies cool, the coarse sea salt flakes provide that perfect textural contrast and a burst of salty flavor that expertly balances the sweetness, elevating these treats from delicious to utterly irresistible.
Mastering the Art: How to Bake the Best Chocolate Chip Cookies
Ready to unlock the secrets to crafting the best homemade chocolate chip cookies you’ve ever tasted? This recipe is designed to guide you through each step, ensuring a successful and incredibly delicious outcome. While this section provides a concise overview, please refer to the comprehensive recipe card at the bottom of this post for detailed instructions and precise measurements.
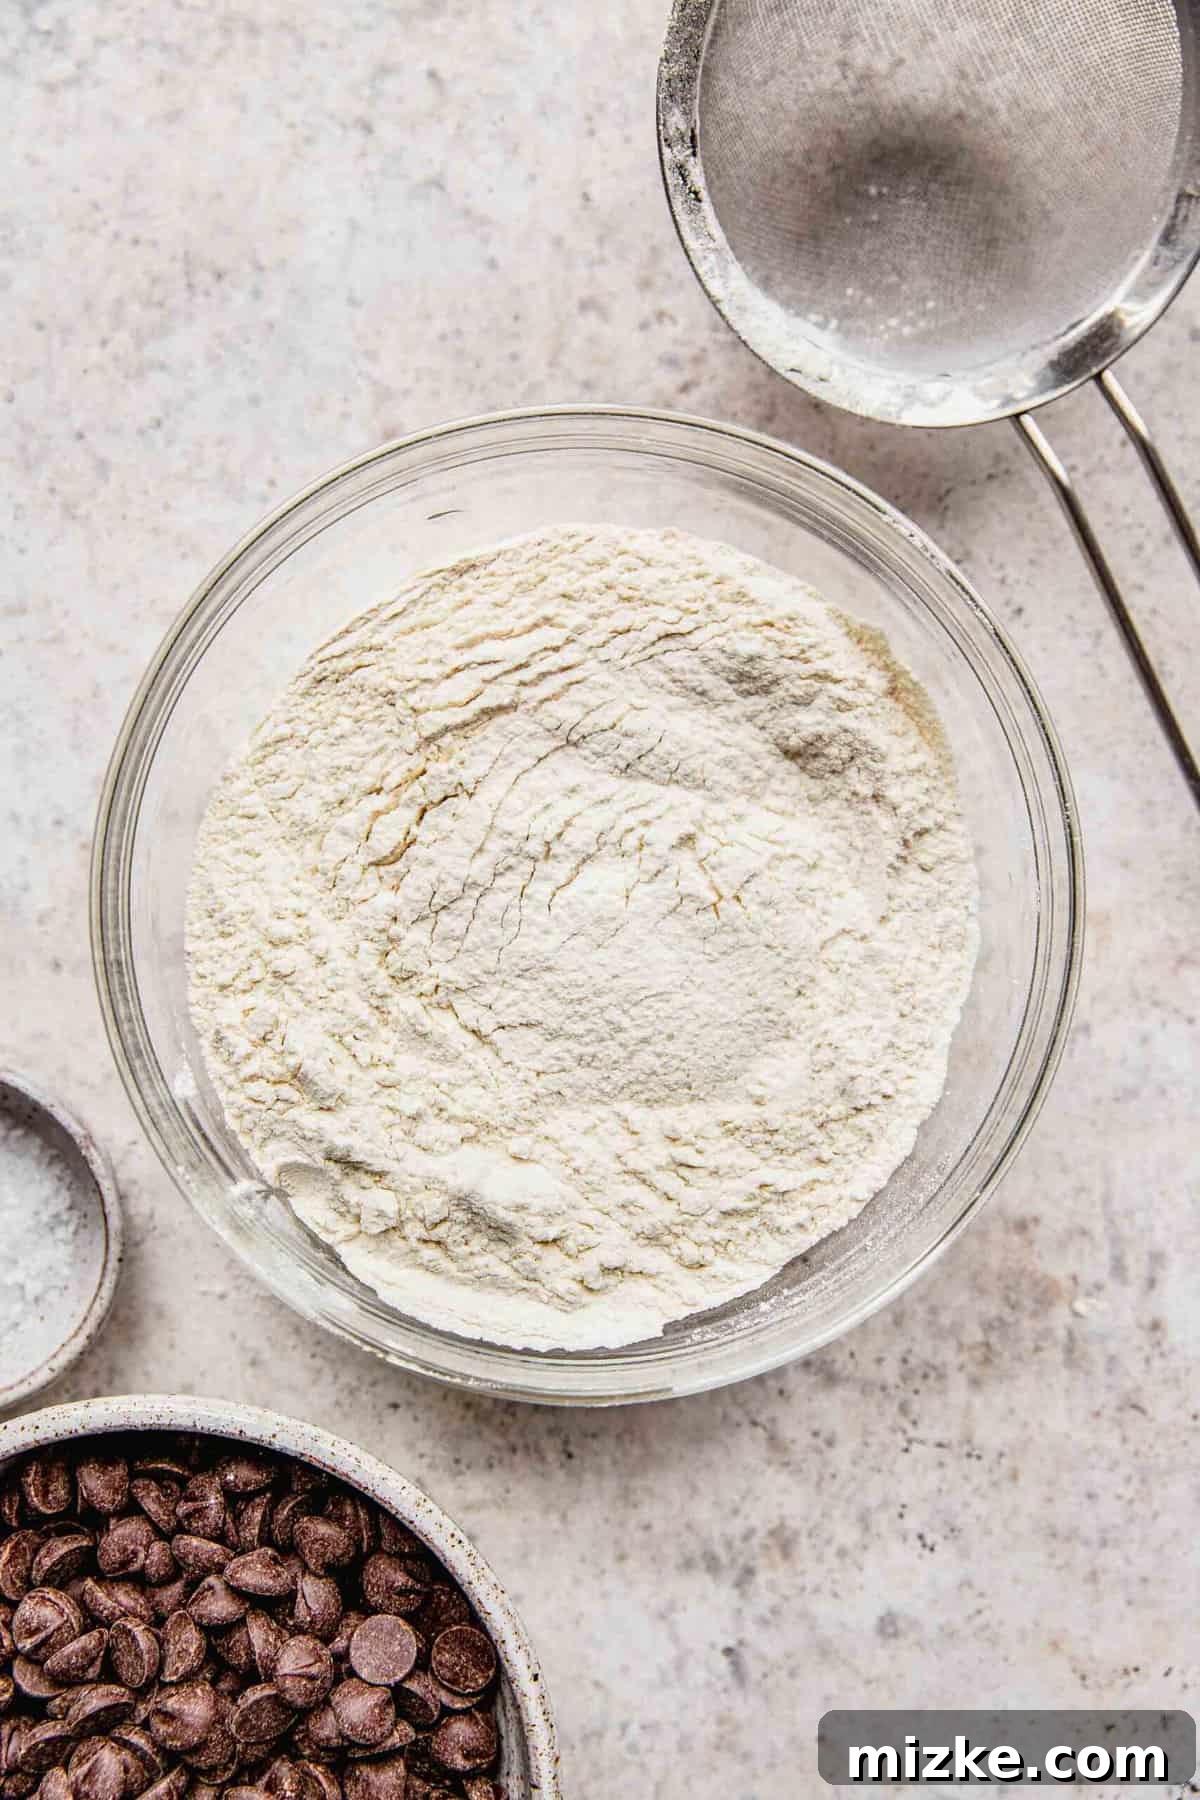
- Combine the Dry Ingredients: In a spacious mixing bowl, begin by sifting together your cake flour, bread flour, baking soda, baking powder, and kosher salt. Sifting is a small but important step that ensures all the dry ingredients are uniformly distributed, preventing pockets of leavening agents or salt and contributing to a consistently tender crumb. Once combined, set this mixture aside.
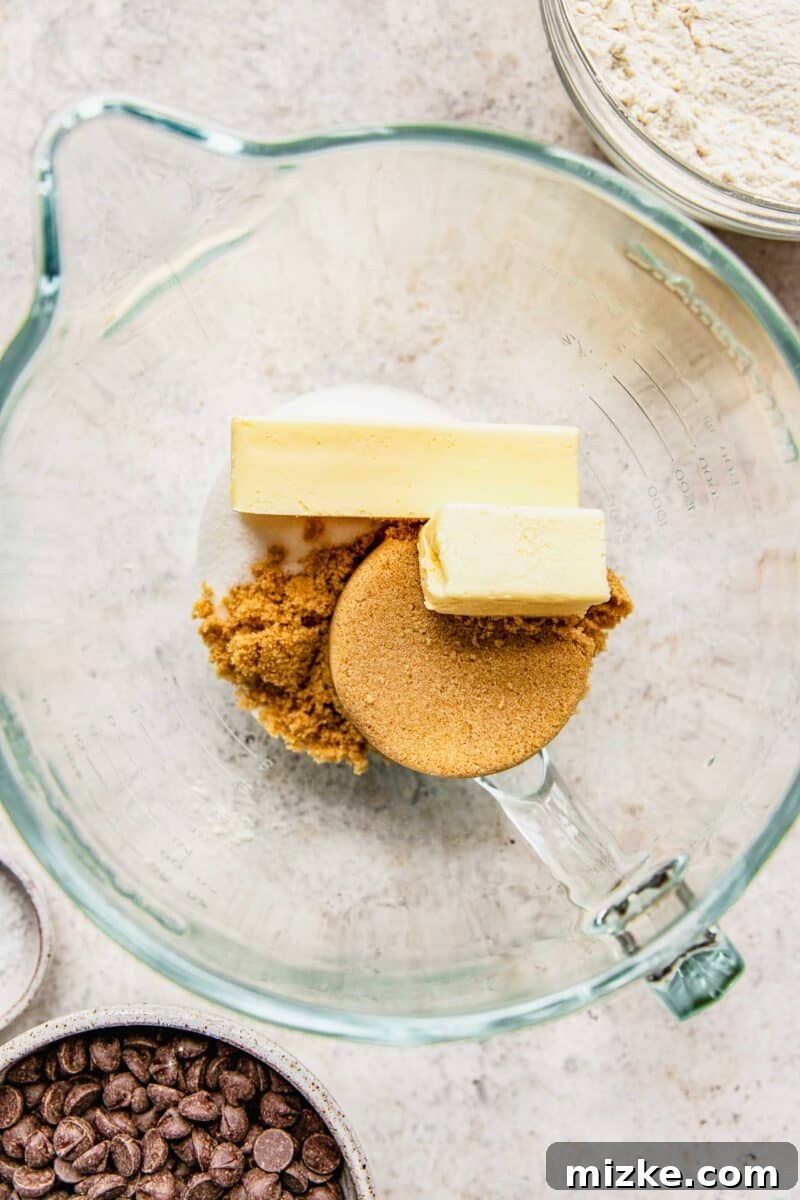
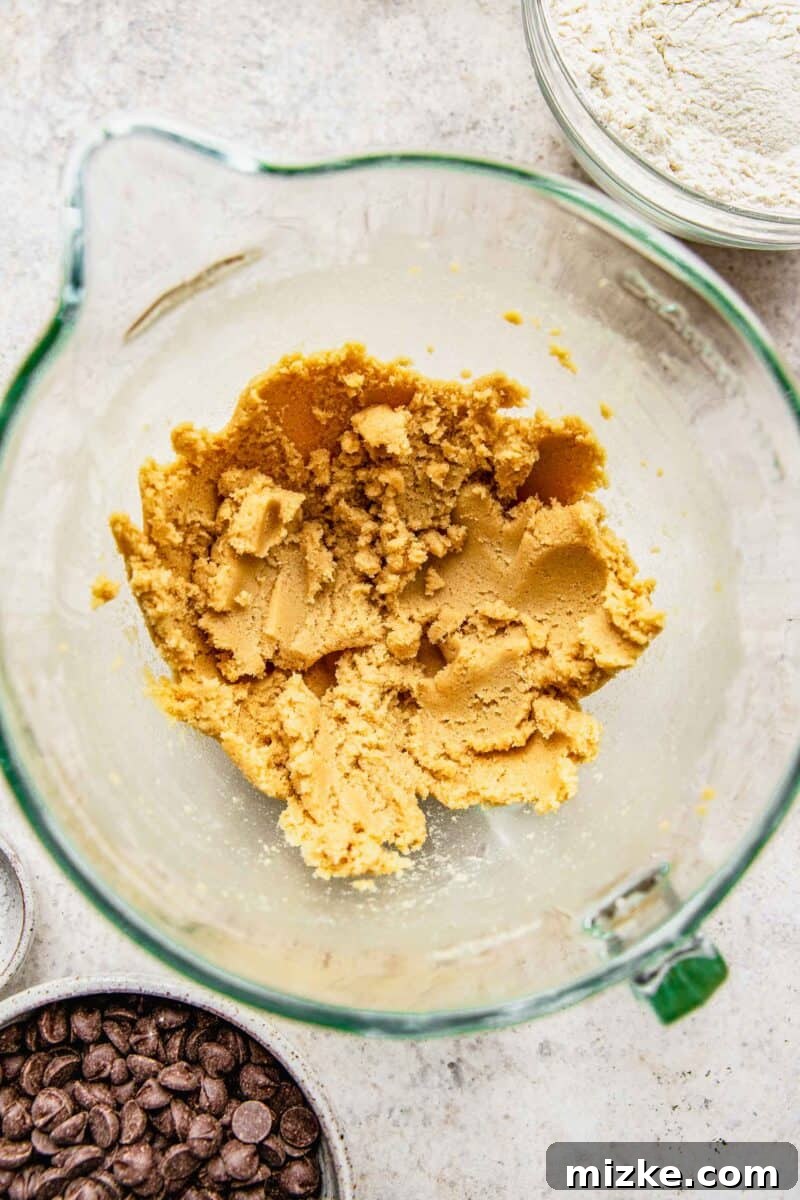
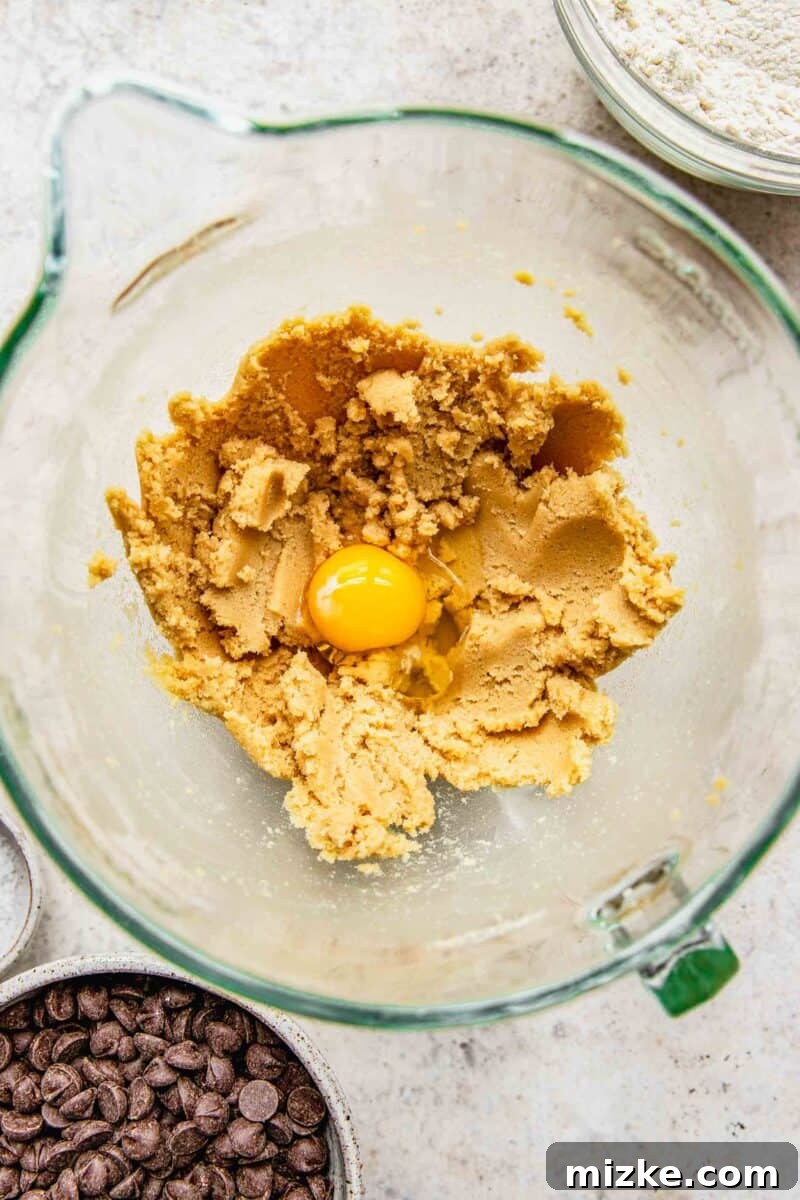
- Cream the Wet Ingredients: Using a stand mixer fitted with the paddle attachment (or a hand mixer), cream together the room-temperature unsalted butter with both the light brown sugar and granulated sugar. This process is crucial; beat them together for a full 5 minutes until the mixture becomes significantly lighter in color and develops a fluffy, aerated texture. This step incorporates air, which is vital for a lighter, less dense cookie. Next, add the large eggs, one at a time, ensuring each egg is fully incorporated before adding the next. This helps create a stable emulsion. Finish by mixing in the pure vanilla extract until just combined.
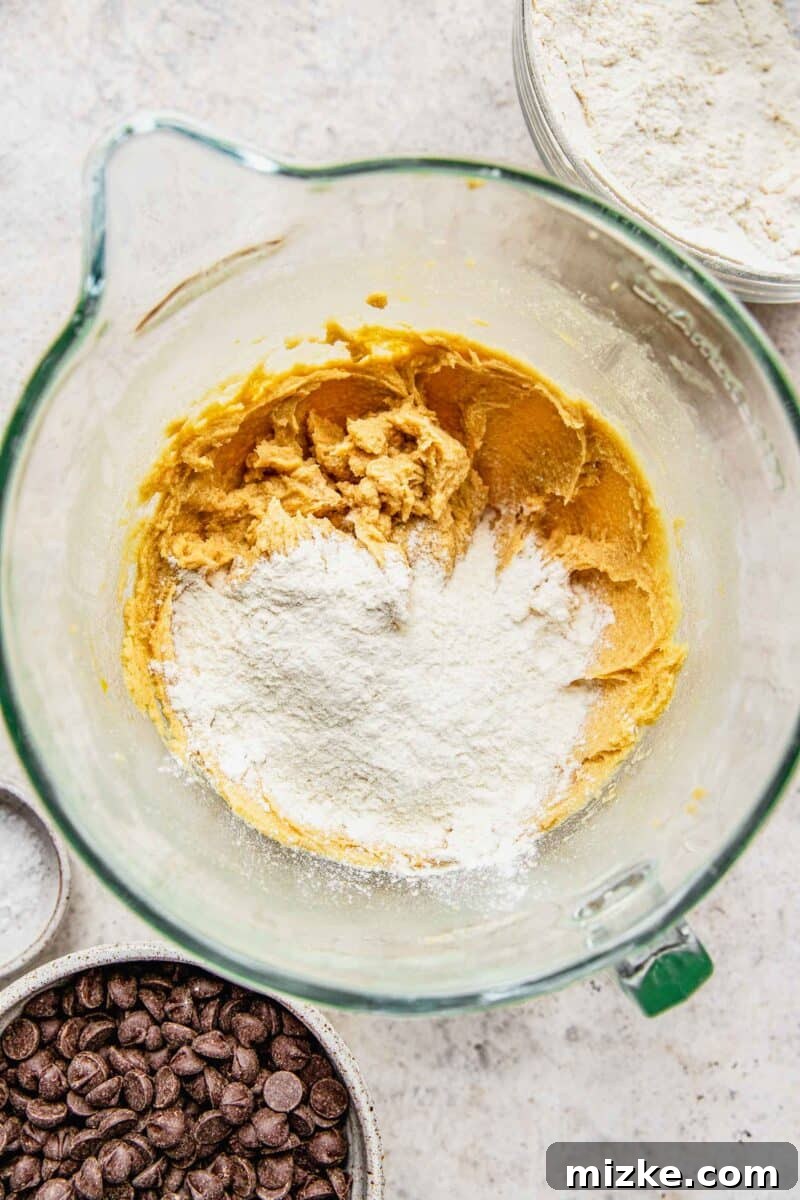
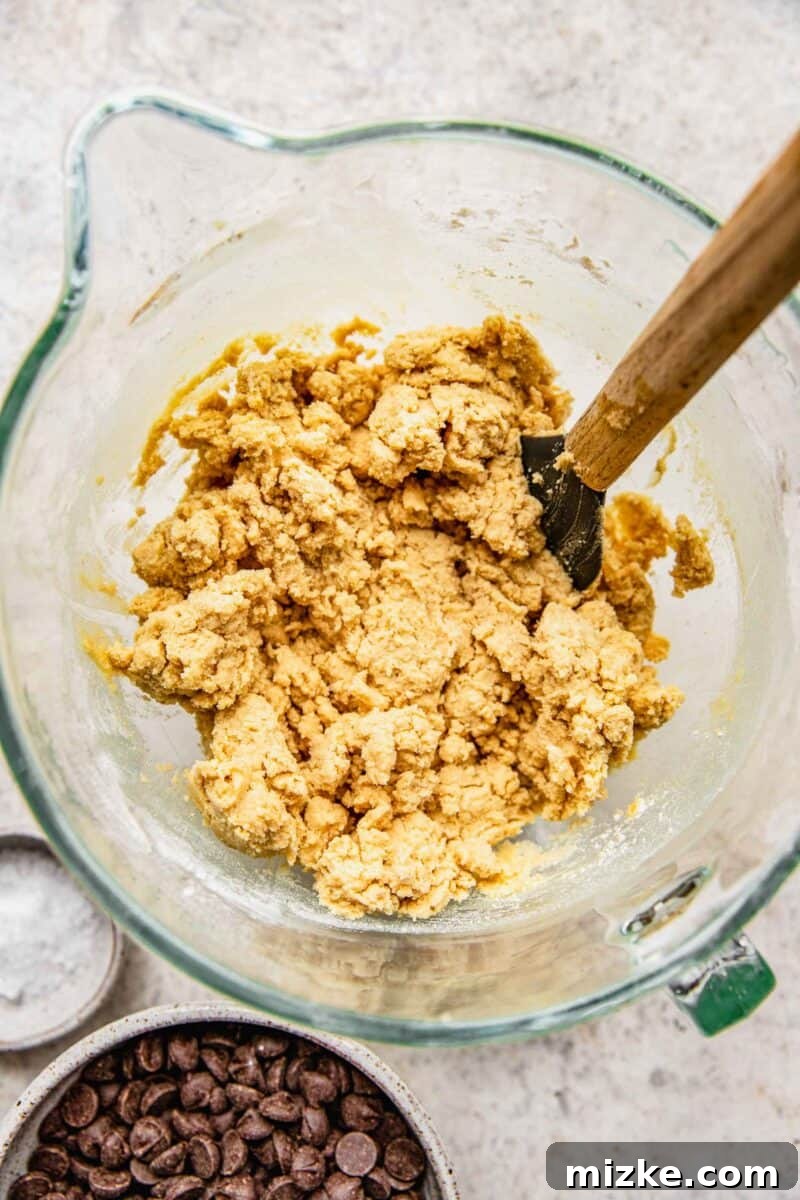
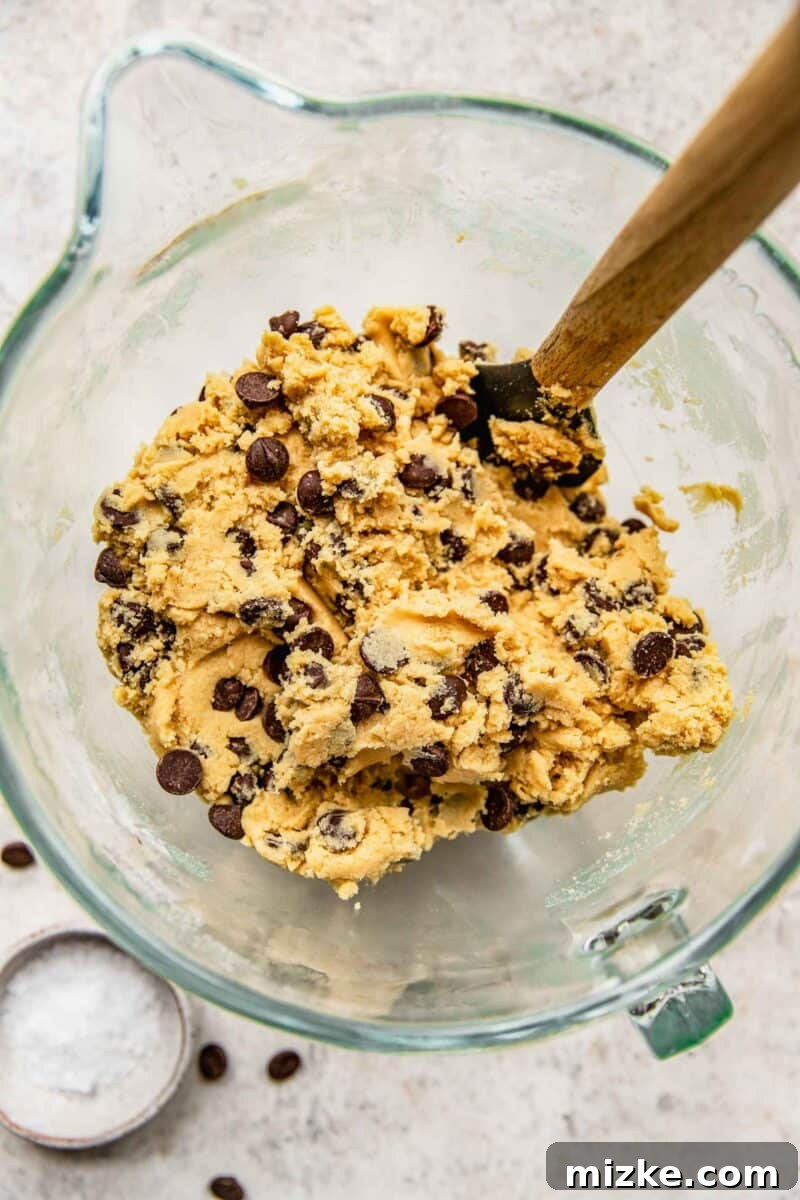
- Bring It All Together: Reduce the mixer speed to low. Gradually add the dry ingredient mixture to the wet ingredients, mixing just until everything is barely combined. It’s crucial not to over-mix at this stage, as it can over-develop the gluten, resulting in tough cookies. Once the flour streaks are almost gone, remove the bowl from the mixer and, using a sturdy spatula, gently fold in the dark chocolate chips until they are evenly distributed throughout the dough. Avoid breaking the chocolate chips during this process.
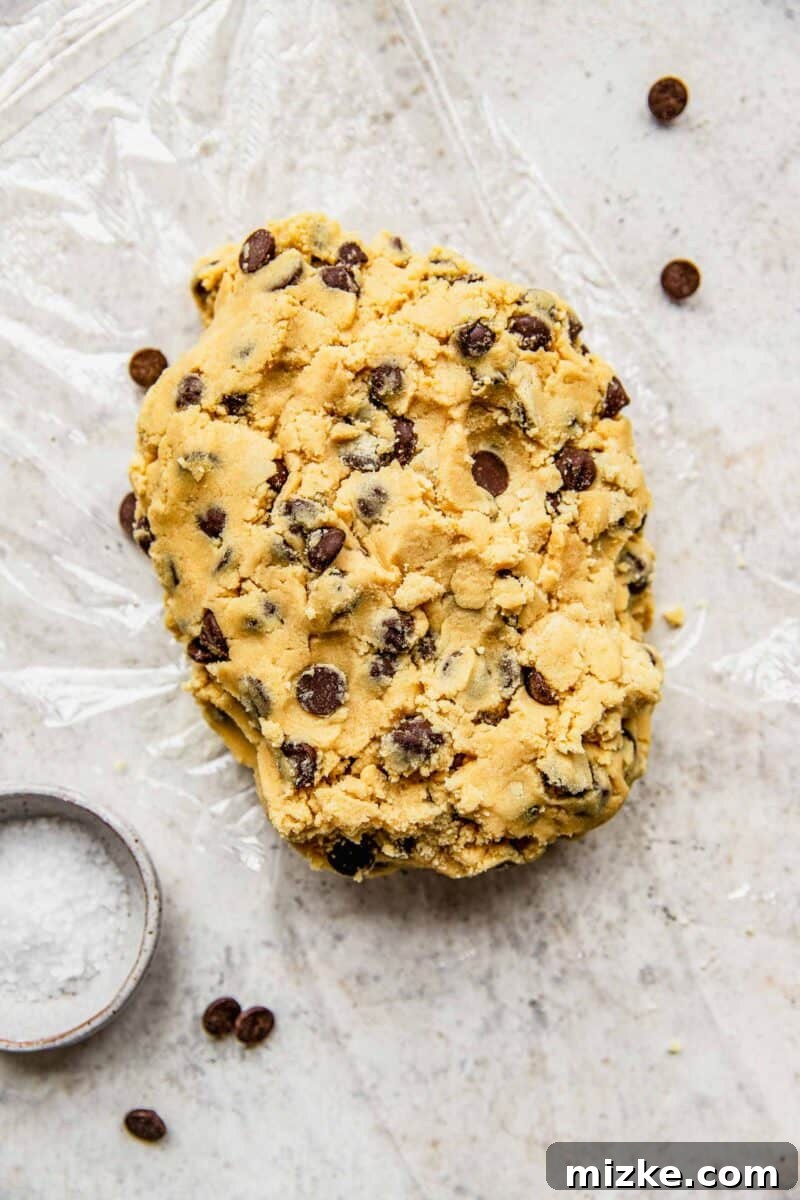
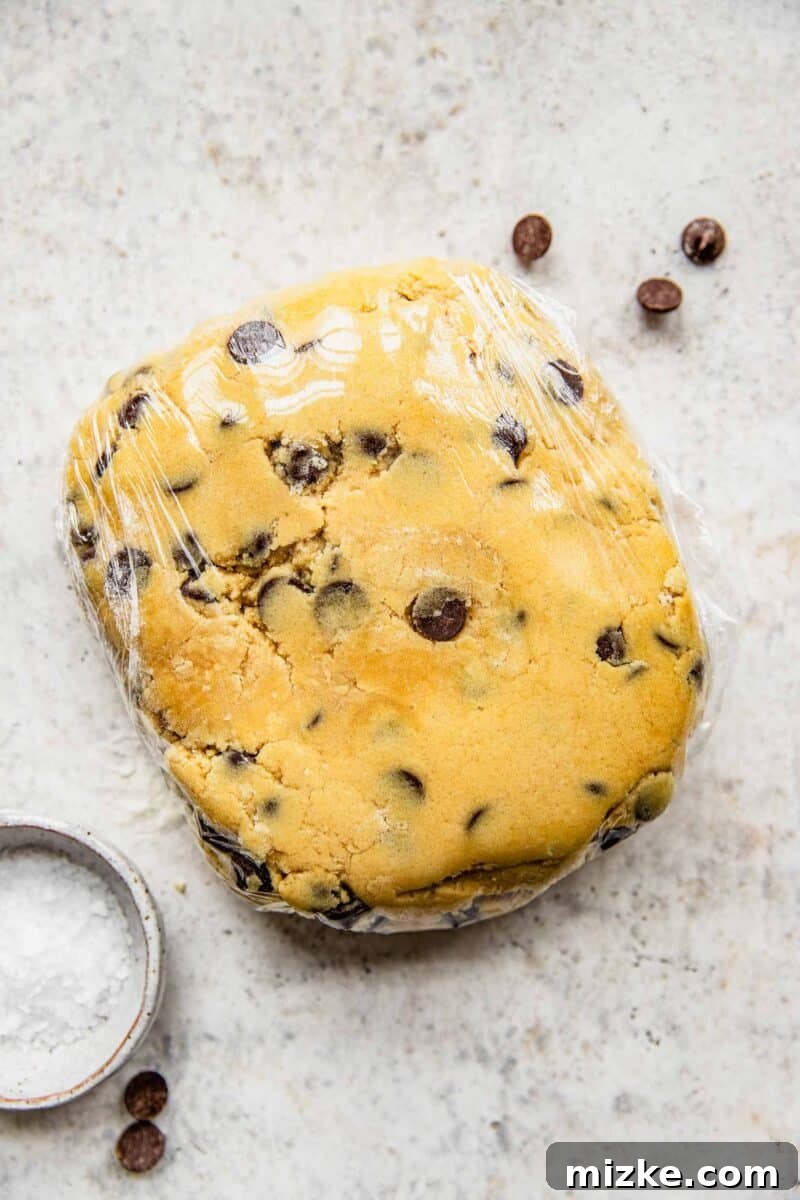
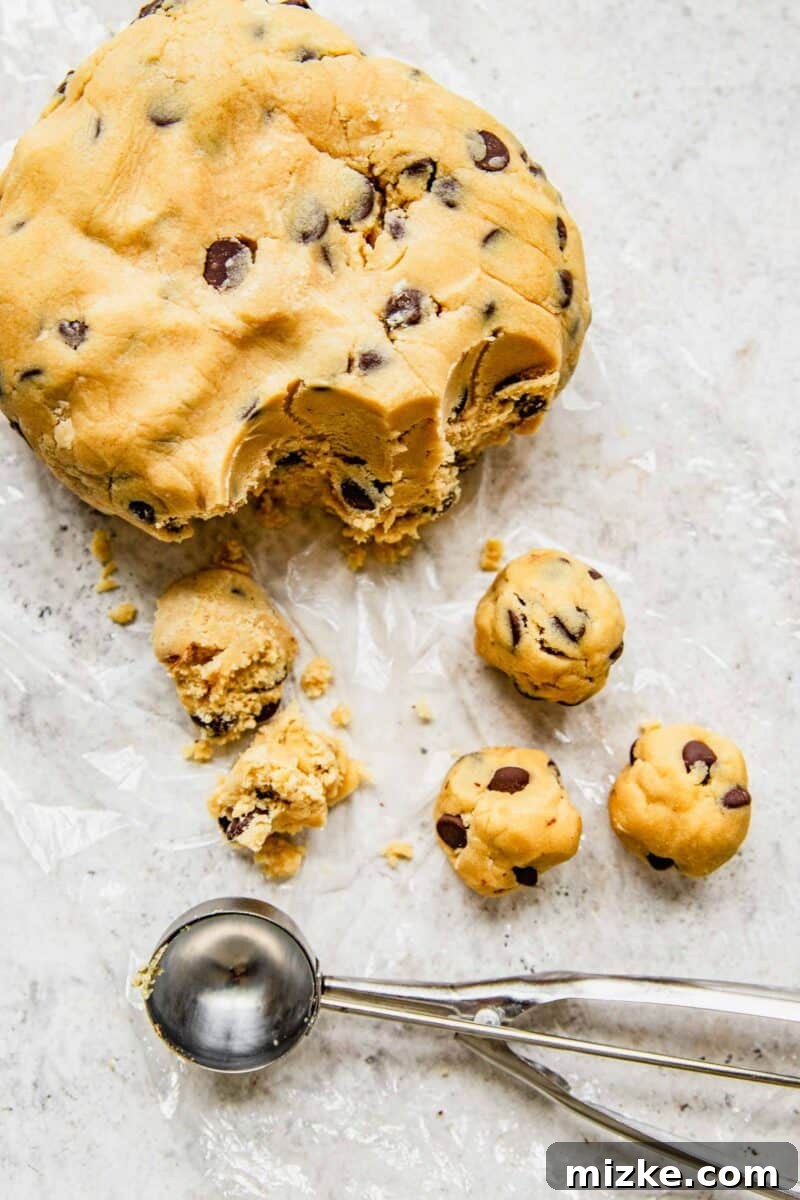
- The Essential Chill: This step is non-negotiable for truly exceptional cookies. Transfer the cookie dough onto a large piece of plastic wrap, then wrap it tightly, ensuring no air can get in. Refrigerate the dough for a minimum of 24 hours, but ideally between 36 to 48 hours. This prolonged chill time allows the flavors to deepen and the flour to fully absorb the liquids, resulting in a more complex flavor, improved texture, and significantly less spreading during baking.
- Prepare for Baking: When you’re ready to bake, preheat your oven to 350°F (175°C). Line several baking sheets with parchment paper or silicone baking mats; this prevents sticking and promotes even baking. While the oven preheats, remove your chilled cookie dough from the refrigerator and let it sit at room temperature for about 20-30 minutes to soften slightly, making it easier to scoop.
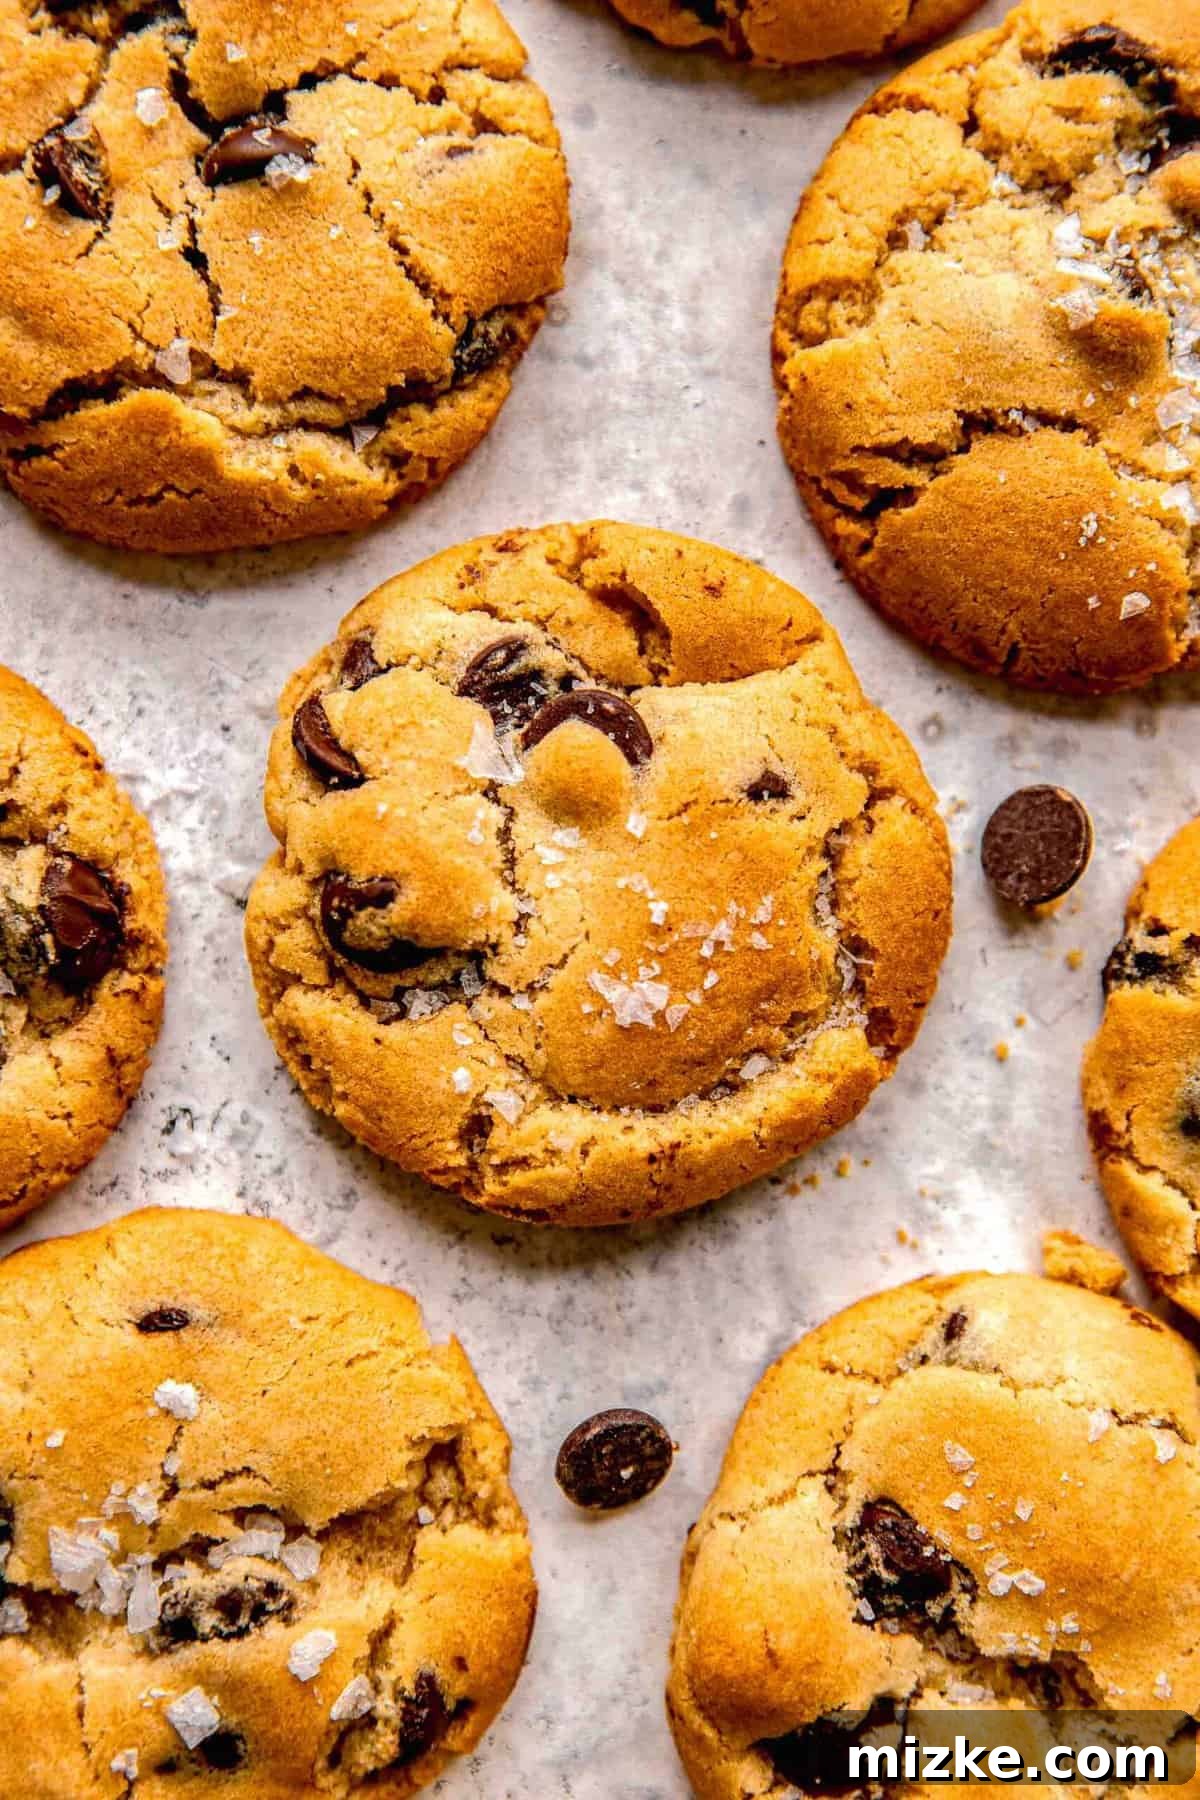
- Form and Bake: Using a 2-tablespoon cookie scoop or your hands, form the dough into uniform balls. If the dough is very firm, you might need to break off pieces and roll them. Arrange the cookie dough balls on the prepared baking sheets, leaving at least 2 inches of space between each to allow for proper spreading. Bake for 18-20 minutes, or until the edges are golden brown and set, but the centers still look slightly soft and underbaked. This ensures a wonderfully chewy interior.
- Cool and Finish: Once baked, remove the cookies from the oven. Allow them to cool on the hot baking sheets for approximately 5 minutes; this helps them set and prevents them from breaking when transferred. While still warm, transfer the cookies to a wire rack to cool completely. Immediately after transferring, sprinkle them generously with coarse sea salt flakes. This final touch enhances their flavor and adds a beautiful textural element. Allow them to cool completely before enjoying, though resisting a warm one might be impossible!
Expert Tips for Consistently Perfect Chewy Chocolate Chip Cookies
You’ve discovered the recipe for the best chewy chocolate chip cookies, but understanding the nuances of baking can elevate your results from great to truly extraordinary every single time. Here are some indispensable tips and tricks to ensure you achieve cookie perfection:
- Embrace the Flour Combination: Do not underestimate the power of the cake flour and bread flour blend. This is not a mere suggestion; it’s a fundamental secret to the unparalleled texture of these cookies. Cake flour contributes tenderness, while bread flour provides the essential chew. Deviating from this combination will alter the final texture, so stick to the recipe for that optimal balance of soft and chewy.
- The Goldilocks of Butter (Room Temperature): The temperature of your butter is paramount. It should be “room temperature” – pliable enough to leave an impression when gently pressed, but still cool to the touch and holding its shape. Butter that is too cold won’t cream properly, leading to a lumpy mixture and dense cookies. Butter that is too soft or melted will cause your dough to be oily and your cookies to spread excessively thin. Plan ahead and take your butter out 1-2 hours before baking.
- Don’t Skimp on Creaming Time: The creaming of butter and sugars is more than just mixing; it’s about aeration. This step should take a full 4-5 minutes. You’ll know it’s done when the mixture becomes noticeably lighter in color, significantly fluffier, and increased in volume. This process incorporates vital air into the dough, which acts as a leavening agent, contributing to the cookies’ softness and preventing them from becoming overly dense or cakey.
- The Art of Gentle Mixing: Once you begin incorporating the dry ingredients into the wet mixture, switch to the lowest speed on your mixer or mix by hand with a spatula. Mix only until the dry ingredients are just combined and no visible streaks of flour remain, typically about 10-15 seconds. Over-mixing at this stage vigorously develops the gluten in the flour, which can lead to tough, hard, and overly dense cookies rather than the desired soft and chewy texture.
- The Magic of the Chill: This is arguably the most critical step and one that many eager bakers are tempted to skip, but please resist! Allowing the dough to chill in the refrigerator for at least 24 hours (and up to 48-72 hours for even better results) is absolutely vital to the success of this recipe. During this time, several magical transformations occur:
- Flavor Development: The dry ingredients fully absorb the moisture from the wet ingredients, and the sugars break down, deepening and concentrating the overall flavor.
- Texture Improvement: The butter solidifies, resulting in less spreading during baking and a thicker, chewier cookie.
- Hydration: The flour hydrates more completely, leading to a more tender and uniform crumb.
Cookies baked from chilled dough will taste significantly better, have an infinitely superior texture, and hold their shape beautifully.
- Don’t Overbake: For that ultimate soft and chewy texture, it’s better to slightly underbake your cookies than to overbake them. Remove the cookies from the oven when their edges are golden brown and set, but the centers still look soft, slightly puffy, and maybe even a little glossy. They will continue to cook and set on the hot baking sheet for a few minutes after removal, ensuring they finish perfectly without becoming dry or brittle.
- Embrace the Sea Salt Finish: Don’t forget the coarse sea salt flakes! A generous sprinkle immediately after they come out of the oven, while they’re still warm, enhances the flavor profile dramatically. The salt crystals provide a delightful textural crunch and a perfect counterpoint to the sweetness, truly elevating the cookie experience.
Optimal Storage for Long-Lasting Freshness
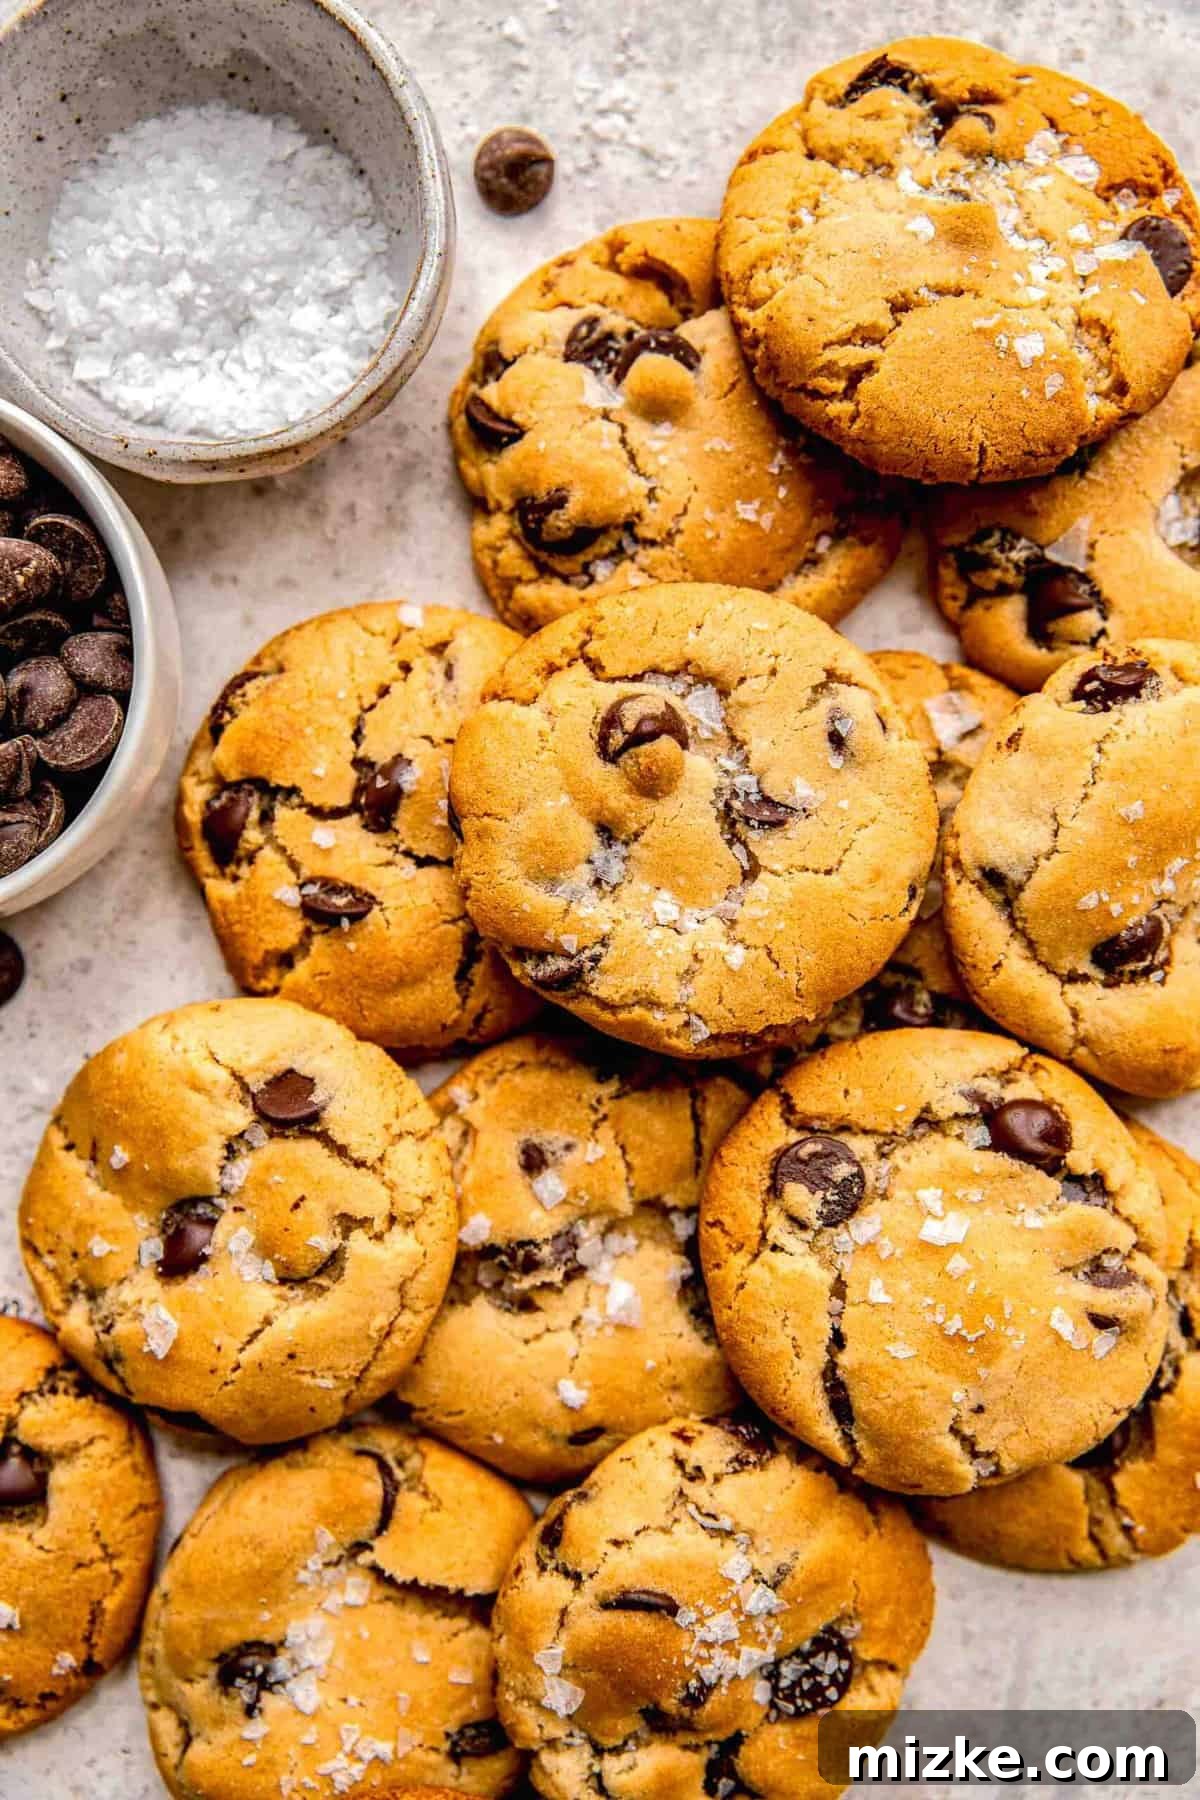
Once you’ve invested the time and effort into baking these magnificent soft and chewy chocolate chip cookies, you’ll want to ensure they stay fresh for as long as possible. Proper storage is key to preserving their incredible texture and flavor. After the cookies have cooled completely to room temperature – this is crucial, as trapping warmth will create condensation and make them soggy – transfer them to an airtight container. You can keep them at room temperature, stored away from direct sunlight and heat, for up to 1 week. For longer enjoyment, these cookies freeze exceptionally well. Arrange them in a single layer on a baking sheet to flash freeze, then transfer them to a freezer-safe bag or container, separating layers with parchment paper. They will maintain their quality in the freezer for up to 3 months. When ready to enjoy, simply thaw them at room temperature or warm them gently in the oven for that freshly baked experience. I strongly advise against refrigerating these cookies; the cold, dry air of the refrigerator tends to zap baked goods of their moisture, making them dry and hard much faster.
Creative Cookie Variations & Flavor Enhancements
While the classic chocolate chip cookie is a timeless masterpiece, part of the joy of baking is experimenting and personalizing your creations. Once you’ve mastered the base recipe for these ultimate chocolate chip cookies, feel free to get creative with these delicious variations and add-ins:
- Different Chocolates: Don’t limit yourself to dark chocolate chips! Experiment with milk chocolate chips, white chocolate chunks, or a combination of all three for a multi-faceted chocolate experience. High-quality chopped baking chocolate (from a bar) often melts into exquisite pools within the cookie.
- Nutty Additions: Toasted chopped walnuts or pecans add a wonderful crunch and earthy flavor that pairs beautifully with chocolate. Fold in about 1 cup of toasted nuts along with the chocolate chips.
- Candy Mix-Ins: For a fun and colorful twist, try folding in M&M’s, chopped toffee bits, or even mini peanut butter cups. These are especially popular for celebratory occasions or when baking with kids.
- Spice It Up: A pinch of ground cinnamon or a touch of espresso powder can deepen the chocolate flavor and add a subtle warmth. Start with ½ teaspoon and adjust to your preference.
- Zesty Twist: For a bright, aromatic note, add 1-2 teaspoons of orange or lemon zest to the wet ingredients. Citrus zest can wonderfully cut through the richness of the chocolate and butter.
- Caramel Swirl: For an extra decadent treat, gently fold in soft caramel bits or a swirl of salted caramel sauce (be careful not to overmix) along with the chocolate chips.
- Pretzel Perfection: Crushed pretzels can add a fantastic salty crunch, creating a delightful sweet-and-salty combination that’s incredibly addictive.
Frequently Asked Questions About Baking Chocolate Chip Cookies
Baking, especially something as beloved as homemade chocolate chip cookies, often comes with questions. Here are answers to some of the most common queries to help you achieve perfect results every time:
- Why do my cookies spread too much?
- Warm Butter: Butter that is too soft or melted will cause excessive spreading. Ensure your butter is at room temperature as specified.
- Not Chilling the Dough: Skipping the crucial chilling step is a major culprit. Chilled dough prevents excessive spreading and ensures a thicker cookie.
- Oven Temperature: An oven that isn’t hot enough can cause cookies to spread before they set. Use an oven thermometer to verify accuracy.
- Too Much Liquid: Incorrect measurements, especially too much butter or eggs, can lead to thin cookies.
- Can I skip the dough chilling step?
While technically you *can* skip it, I strongly advise against it for this particular recipe. The extended chill time (24-48 hours) is fundamental to achieving the unique depth of flavor, superior chewy texture, and minimal spreading that defines these as the best chocolate chip cookies. Without it, your cookies will still be good, but they won’t reach their full potential in terms of flavor complexity and ideal texture.
- What kind of chocolate chips are best?
The “best” is subjective, but for a rich, balanced flavor in these cookies, high-quality dark chocolate chips (around 60-70% cacao) are highly recommended. They provide a beautiful contrast to the sweet dough. However, feel free to use semi-sweet, milk chocolate, or even a mix of chopped chocolate bars for pools of melty goodness. Quality matters, so choose a brand you enjoy eating on its own.
- Why are my cookies dry and tough?
- Overmixing the Dough: Once you add the dry ingredients, mixing for too long develops excess gluten, making cookies tough. Mix only until just combined.
- Too Much Flour: Incorrectly measuring flour (packing it too tightly) can lead to a dry dough. Always spoon flour into your measuring cup and level it off.
- Overbaking: Leaving cookies in the oven for too long will dry them out. Remove them when the edges are set but the centers are still soft.
- Can I freeze cookie dough?
Absolutely! This dough freezes beautifully. Scoop the dough into balls, arrange them on a parchment-lined baking sheet, and flash freeze for about 30 minutes until firm. Then, transfer the frozen dough balls to a freezer-safe bag or container for up to 2-3 months. When ready to bake, you can bake them directly from frozen, adding a few extra minutes to the baking time (typically 20-25 minutes).
Explore More Delectable Cookie Recipes
While these classic chocolate chip cookies will undoubtedly hold a special place in your heart, having a diverse repertoire of cookie recipes is always a delightful culinary asset. Should you wish to venture beyond the realm of chocolate chip perfection, here are some of my other top-rated cookie creations that are sure to satisfy any sweet craving:
- Zesty Lemon Cookies
- Funfetti Sprinkle Cookies
- Homemade Twix-Inspired Cookies
- Decadent Cheesecake Stuffed Chocolate Cookies
- Festive Peppermint White Chocolate Cookies
- Comforting Cinnamon Brown Sugar Cookies
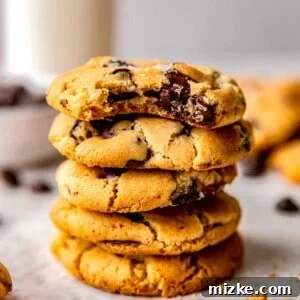
The Ultimate Chocolate Chip Cookies
These are truly the **Best Chocolate Chip Cookies EVER!** The time and effort it takes to make these chewy, soft-baked chocolate chip cookies will be WELL worth it, delivering an unparalleled taste and texture experience that will impress everyone.
Print Recipe
Equipment
- Stand mixer
- Hand mixer
- Cookie scoop
- Large rimmed baking sheet
Ingredients
- 2 cups (250 g) minus 2 tablespoons cake flour
- 1 ⅔ cup (208 g) bread flour
- 1 ¼ teaspoon baking soda
- 1 ½ teaspoon baking powder
- 1 ½ teaspoon kosher salt
- 1 ¼ cups (284 g) unsalted butter, room temperature
- 1 ¼ cups (275 g) light brown sugar
- 1 cup (200 g) plus 2 tablespoons granulated sugar
- 2 large eggs
- 2 teaspoon pure vanilla extract
- 3 cups (525 g) dark chocolate chips
- Coarse sea salt flakes, for finishing
Instructions
- In a large bowl, sift together flours, baking soda, baking powder, and salt. Set aside.
- Using a stand mixer fitted with the paddle attachment, cream together the butter and sugars until very light and fluffy, about 5 minutes. Add the eggs, one at a time, mixing well after each addition until fully incorporated. Mix in the vanilla extract until just combined. Reduce the speed to low and slowly add the dry ingredients, mixing until just combined, about 10-15 seconds. Drop in the chocolate chips and incorporate them gently without breaking them. You might need to take the bowl off the stand and fold them in by hand with a spatula.
- Take a large piece of plastic wrap and lay it on the countertop. Place the cookie dough on top and wrap the dough tightly in the plastic wrap, pressing out any air.
- Refrigerate the dough for 24 to 36 hours. This long chill time is essential for flavor and texture.
- When ready to bake, preheat oven to 350°F (177°C). Line baking sheets with parchment paper or silicone baking mats. Set aside. While the oven is pre-heating, take your chilled dough out to warm up slightly for about 20-30 minutes, making it easier to scoop.
- Using your hands or a cookie scoop, break off the dough (it will be firm) into two tablespoon-sized pieces and roll them into balls. Place them two inches apart on the prepared baking sheet.
- Bake the cookies for 18-20 minutes or until the edges are golden brown but the centers still look soft. Allow the cookies to rest on the baking sheets for 5 minutes before transferring them to a wire rack to cool completely. Immediately sprinkle coarse sea salt flakes generously on top while they are still warm.
- Repeat with remaining dough, or reserve the remaining dough by freezing it for future use.
Notes
-
Source: The New York Times Chocolate Chip Cookie Recipe
Nutrition
Serving: 1 cookie (46 grams), Calories: 357kcal, Carbohydrates: 46g, Protein: 5g, Fat: 17g, Saturated Fat: 13g, Polyunsaturated Fat: 1g, Monounsaturated Fat: 3g, Trans Fat: 0.4g, Cholesterol: 39mg, Sodium: 263mg, Potassium: 185mg, Fiber: 1g, Sugar: 27g
This website provides approximate nutrition information for convenience and as a courtesy only. Nutrition information can vary for a variety of reasons. For the most precise nutritional data use your preferred nutrition calculator based on the actual ingredients you used in the recipe.
The default measuring system for this website is US Customary. Unit conversions are provided for convenience and as a courtesy only. While we strive to provide accurate unit conversions, please be aware that there may be some discrepancies.
Photographs by Meg McKeehan Photography