

Crispy Oven-Baked Chicken Tenders: The Ultimate Healthy & Kid-Friendly Meal
When it comes to universal crowd-pleasers, few dishes rival the beloved chicken tender. Often found on kids’ menus but secretly adored by adults, these golden strips of chicken offer comforting familiarity and satisfying flavor. While deep-fried versions are undeniably delicious, they’re not always the healthiest or most practical option for regular home cooking. This recipe introduces you to the magic of oven-baked chicken tenders – a game-changer that delivers all the incredible crispiness and juicy tenderness you crave, but with a fraction of the fat and fuss. Get ready to transform your weeknight dinners with this simple, wholesome, and incredibly satisfying dish!
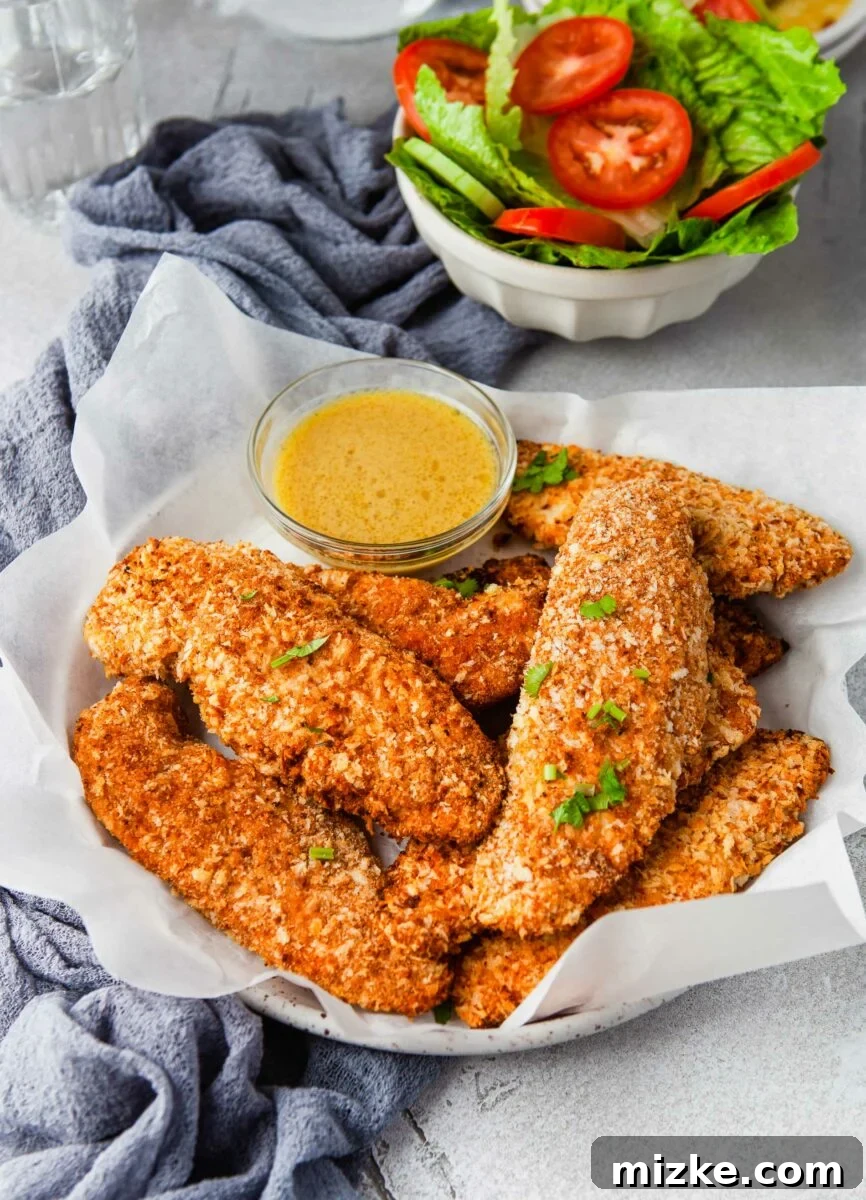
For as long as I can remember, chicken tenders, or chicken fingers as they’re also known, have been my ultimate go-to order at any restaurant. I’d say 95% of the time, I find myself scanning the menu specifically for the chicken tender platter. It’s become a fun personal game to compare each establishment’s take on this classic – from the unique batter compositions to the frying techniques that yield that coveted perfect crunch.
My quest for the ultimate chicken tender led me to an unforgettable experience at Blue Ridge Grill in Leesburg, VA. Their tenders were a revelation, featuring a distinct breading method and a flash-fry technique that resulted in the most unbelievably crunchy crust I’ve ever encountered. The memory of that perfect texture and flavor has lingered with me, inspiring a desire to recreate that same satisfying crunch at home.
However, while deep-frying offers undeniable crispiness, it’s not always the most convenient or health-conscious approach for everyday meals. That’s why I embarked on a mission to replicate that exquisite crust, but with a healthier twist. The result? These incredible oven-baked chicken tenders! They capture the essence of crispy, flavorful chicken without the need for excessive oil, making them a fantastic and guilt-free alternative for any occasion.
Why Oven-Baked Chicken Tenders Are a Game Changer
Switching from deep-fried to oven-baked chicken tenders offers a multitude of benefits that extend beyond just health. It’s a culinary decision that brings convenience, better nutrition, and incredible flavor right to your kitchen table. Here’s why you’ll love making these oven-baked delights a regular part of your meal rotation:
- A Healthier Alternative: By baking instead of frying, you significantly reduce the amount of oil absorbed by the chicken. This means fewer calories and less saturated fat, allowing you to enjoy your favorite comfort food without the guilt. It’s a smart choice for maintaining a balanced diet for yourself and your family.
- Effortless Preparation & Cleanup: Deep-frying can be messy, often leaving behind splattered oil and a lingering smell. Oven baking, on the other hand, is a much cleaner process. Simply arrange your breaded tenders on a parchment-lined baking sheet, pop them in the oven, and let the heat do the work. Cleanup is a breeze, saving you precious time and effort.
- Consistently Juicy & Flavorful: Baking chicken tenders at a high temperature ensures they cook through evenly while sealing in their natural juices. The panko breadcrumb coating becomes wonderfully golden and crisp, creating a delightful contrast to the tender, moist interior. The neutral seasoning blend allows the natural chicken flavor to shine through, providing a perfect canvas for your favorite dipping sauces.
- Kid-Friendly & Family Approved: Chicken tenders are a perennial favorite among children, and this healthier baked version is no exception. They’re easy for little hands to manage, delicious to dip, and a fantastic way to ensure your kids are eating lean protein. Adults will appreciate the taste and simplicity, making it a stress-free meal that pleases everyone.
- Customizable to Your Taste: The simplicity of this recipe makes it incredibly versatile. You can easily adjust the seasonings to suit your preferences, adding a spicy kick, an herb blend, or even a touch of smoky paprika. This adaptability ensures that these chicken tenders can be tailored to any meal or mood.
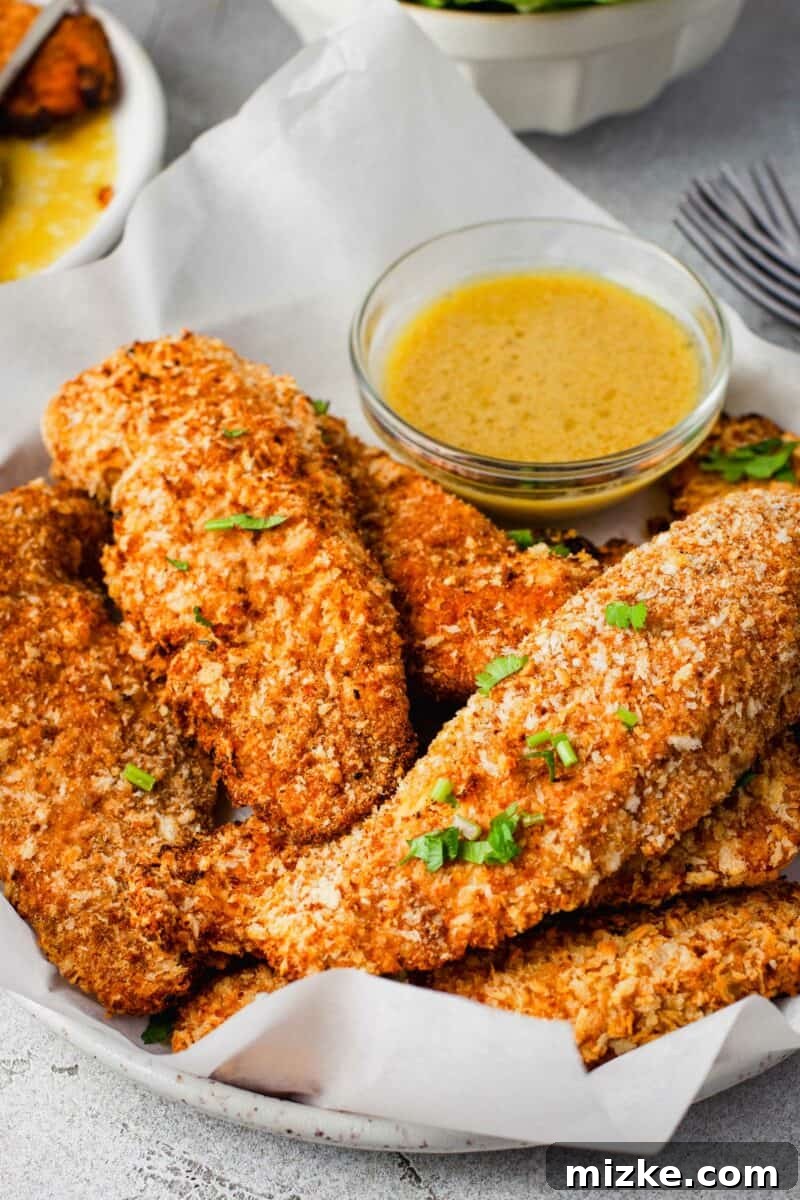
Essential Ingredients for Crispy Perfection
The beauty of these oven-baked chicken tenders lies in their straightforward ingredient list. You likely have most of these pantry staples on hand already, making this recipe incredibly accessible. With just a handful of quality components, you’re well on your way to creating a homemade meal that rivals any restaurant offering.
- Chicken: The star of the show! Boneless, skinless chicken tenderloins are the ideal choice for this recipe. They are naturally shaped into perfect strips, requiring minimal prep. If you only have boneless, skinless chicken breasts, simply slice them lengthwise into approximately 1-inch wide strips to mimic the tenderloin shape. Aim for uniform thickness to ensure even cooking and consistent crispiness.
- Panko Breadcrumbs: This is arguably the most crucial ingredient for achieving that signature crunch without deep-frying. Panko breadcrumbs are Japanese-style breadcrumbs, known for their larger, flakier, and lighter texture compared to traditional breadcrumbs. This unique structure allows them to crisp up beautifully in the oven, creating a lighter and airier coating. While you can use plain breadcrumbs, Panko guarantees that superior crisp factor.
- Seasonings: Our carefully balanced blend ensures maximum flavor without overpowering the natural taste of the chicken. We recommend a simple yet incredibly effective combination:
- Garlic Powder: Adds a savory depth that complements chicken perfectly.
- Onion Powder: Provides a subtle sweetness and aromatic quality.
- Salt: Essential for enhancing all other flavors and seasoning the chicken from within.
- Cracked Black Pepper: Offers a mild heat and aromatic finish.
This blend is delicious on its own but also neutral enough to pair harmoniously with any dipping sauce you choose. Feel free to customize by adding a pinch of smoked paprika for a smoky undertone, a dash of cayenne pepper for a little kick, or Italian herbs for an aromatic twist.
- Eggs: Acting as the vital binder, eggs create a sticky surface that allows the panko breadcrumbs to adhere beautifully to the chicken. We prefer using free-range organic eggs for their quality and rich yolk, but any large eggs will work perfectly.
- Optional (for extra crisp): Light Oil Spray: A quick spritz of cooking spray or a light brush of olive oil over the breaded tenders before baking can help achieve an even deeper golden-brown color and enhanced crispiness.
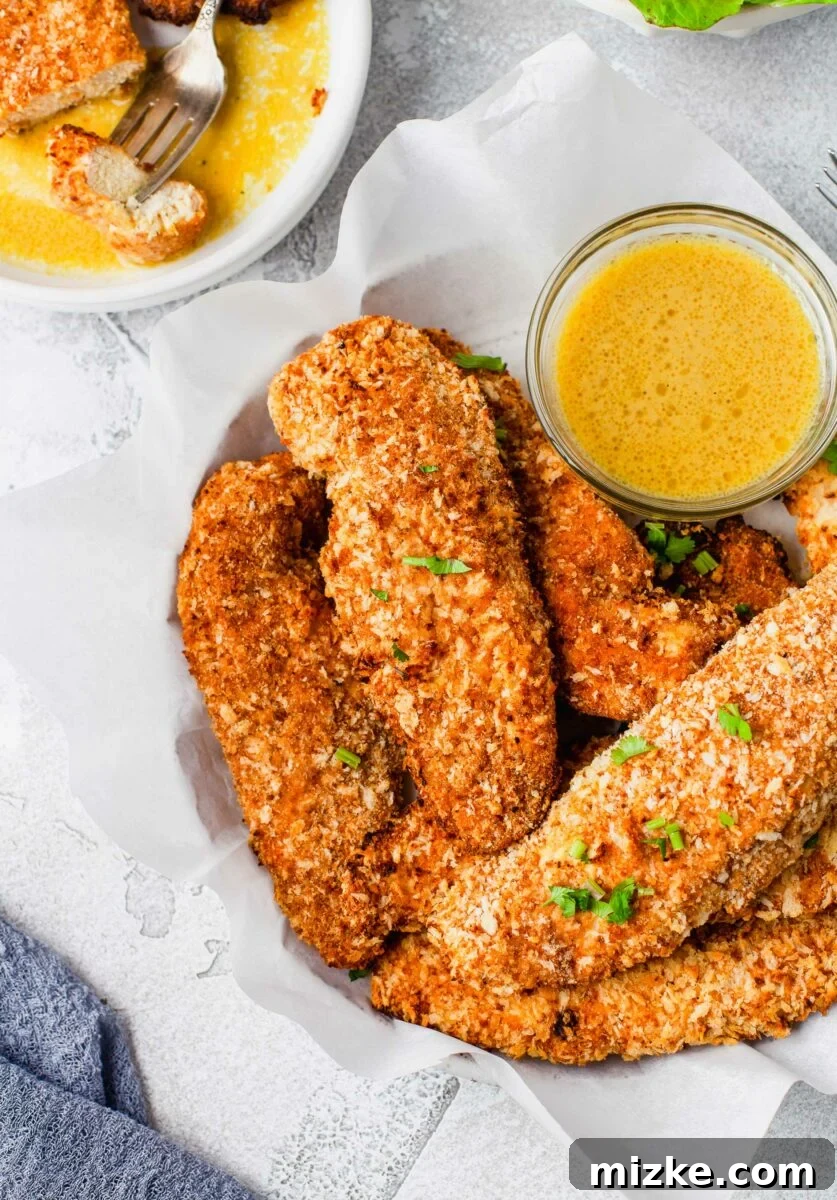
Mastering the Method: Step-by-Step Oven-Baked Tenders
Creating perfectly crispy and juicy oven-baked chicken tenders is surprisingly simple. The key is in the preparation of your breading station and understanding the baking process. Follow these detailed steps to achieve restaurant-quality results in your own kitchen:
- Prepare Your Workspace and Preheat Oven: Begin by preheating your oven to 450°F (232°C). This high temperature is crucial for ensuring the chicken cooks quickly and the breading crisps up effectively. Line two large rimmed baking sheets with silicone baking mats or parchment paper. This prevents sticking and makes cleanup a breeze. Set these prepared sheets aside.
- Create Your Seasoned Panko Blend: In a shallow dish (a pie plate or a wide, shallow bowl works best), combine the panko breadcrumbs, garlic powder, onion powder, salt, and pepper. Use a fork or whisk to mix these ingredients thoroughly. You want to ensure the seasonings are evenly distributed throughout the panko for consistent flavor in every bite.
- Prepare the Egg Wash: In a separate shallow dish, crack and beat the three eggs together until they are well scrambled and uniform in color. This egg wash will serve as the “glue” for your breading.
- Breading the Chicken: Take one chicken strip at a time. First, dip it into the beaten egg mixture, ensuring it’s fully coated. Let any excess egg drip off. Immediately transfer the egg-coated chicken to the shallow dish with the seasoned panko breadcrumbs. Press the panko firmly onto all sides of the chicken strip, gently turning it to ensure it’s completely covered. The more generously and evenly coated the chicken is, the crispier your tenders will be. Repeat this process for all chicken strips.
- Arrange on Baking Sheets: As each chicken strip is breaded, lay it in a single layer on your prepared baking sheets. Make sure there’s a little space between each tender; overcrowding the pan can lead to steaming instead of crisping. Use two baking sheets if necessary to give them enough room.
- Bake to Golden Perfection: Place the baking sheets in the preheated oven and bake for 20 minutes. At this point, the chicken should be mostly cooked through and the breading lightly golden. To achieve that extra crispy, perfectly browned exterior, turn on your oven’s broiler. Broil the tenders for another 3-5 minutes, keeping a very close eye on them, as broilers can brown food very quickly. You’re looking for a beautiful golden-brown color and an intensified crunch.
- Check for Doneness and Serve: Ensure the chicken is fully cooked by checking the internal temperature with a meat thermometer; it should reach 165°F (74°C). Once cooked, remove from the oven and serve immediately. The crispiness is best enjoyed fresh out of the oven!
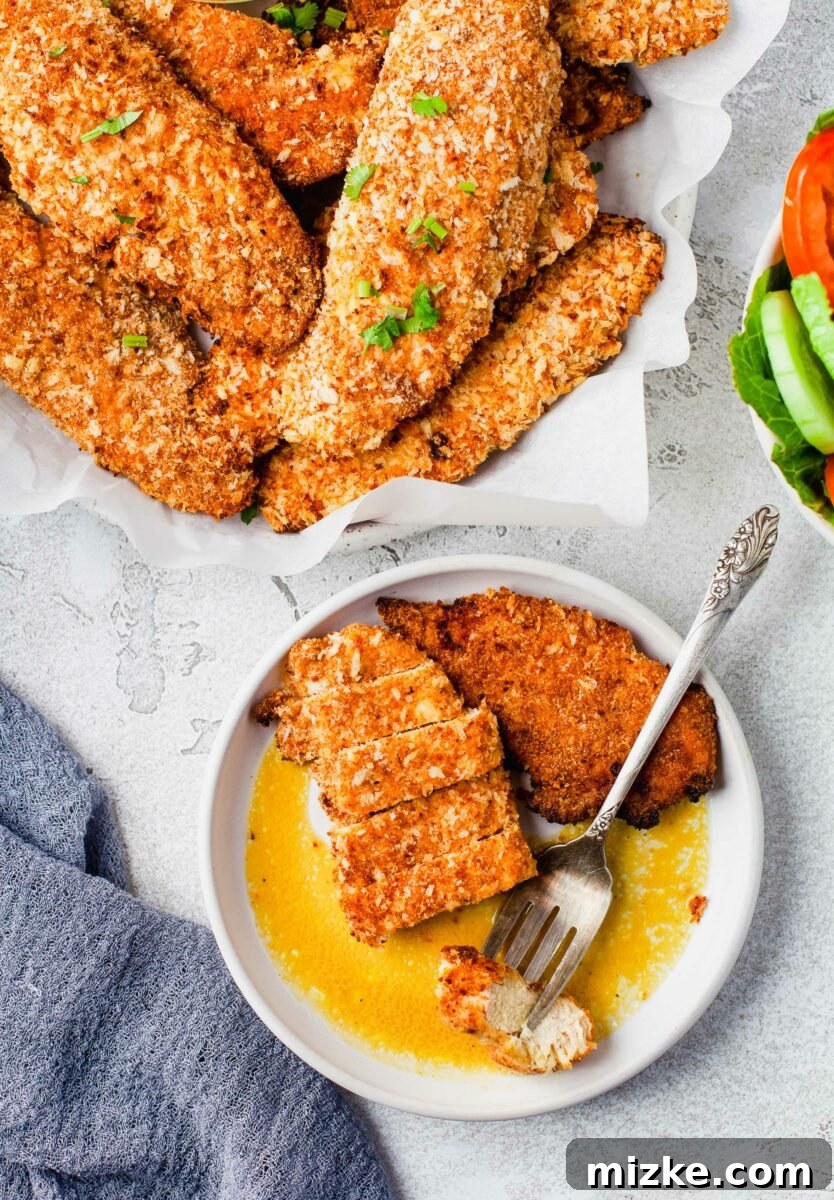
Pro Tips for Unbeatable Crispy Baked Chicken Tenders
Achieving truly crispy oven-baked chicken tenders isn’t just about the ingredients; it’s also about technique. Here are some expert tips to ensure your tenders come out perfectly golden, crunchy, and juicy every time:
- Don’t Overcrowd the Pan: This is perhaps the most critical tip for crispiness. If chicken tenders are too close together on the baking sheet, they will steam rather than bake and crisp. Ensure there’s ample space between each piece for air to circulate freely. Use two baking sheets if needed.
- The Broiler is Your Secret Weapon: While baking gets the chicken cooked, a quick stint under the broiler in the last few minutes is what takes your tenders from good to *great*. The intense top-down heat provides that final burst of crispiness and a beautiful golden-brown finish. Watch them carefully, as broilers can burn food very quickly!
- Pat Your Chicken Dry: Before coating, gently pat the chicken tenderloins dry with paper towels. Excess moisture on the chicken can prevent the egg wash and breadcrumbs from adhering properly, leading to a less crispy coating.
- Press the Panko Firmly: When dredging the chicken in panko, don’t be shy! Gently but firmly press the breadcrumbs onto the chicken to create a thick, even coating. This ensures maximum crunch and prevents the breading from falling off during baking.
- Uniform Sizing for Even Cooking: If you’re slicing chicken breasts into strips, try to make them as uniform in size and thickness as possible. This ensures that all tenders cook at the same rate, preventing some from drying out while others are still undercooked.
- Optional: Lightly Spray with Oil: For an extra layer of golden crispiness, lightly spray the breaded chicken tenders with cooking oil (like olive oil or avocado oil spray) just before baking. This helps simulate the fat of frying and promotes browning.
- Pre-Toast Panko (Advanced Tip): For an even deeper flavor and crunch, you can lightly toast your panko breadcrumbs in a dry skillet over medium heat for a few minutes until golden, before mixing with seasonings. Let them cool completely before breading.
- Resting Time: Once out of the oven, let the tenders rest for a minute or two. This allows the juices to redistribute, ensuring they remain incredibly moist.
Your Top Questions Answered: Baked Chicken Tender FAQs
Got questions about making the perfect oven-baked chicken tenders? We’ve got answers to help you achieve crispy, delicious results every time!
What kind of chicken is best for tenders?
Boneless, skinless chicken tenderloins are ideal as they are naturally tender and perfectly shaped. However, you can absolutely use boneless, skinless chicken breasts. Simply slice them lengthwise into approximately 1-inch thick strips to create your own “tenders.” Just ensure they are uniform in size for even cooking.
Can I use regular breadcrumbs instead of panko?
While you can, we highly recommend panko breadcrumbs for their superior crispiness. Regular breadcrumbs will still provide a coating, but they tend to be finer and produce a softer texture. If using regular breadcrumbs, make sure to season them well to impart flavor, as they can be quite bland on their own.
Can I make my own breadcrumbs?
Absolutely! If you’re feeling ambitious and have stale bread, making your own breadcrumbs is a fantastic way to utilize it. Simply process torn pieces of bread in a food processor until fine crumbs form. For a “panko-like” texture, use day-old crusty bread and pulse until you get coarser crumbs. You might want to toast them lightly for extra crunch and flavor before using.
What other seasonings can I use?
The beauty of chicken tenders is their versatility! Beyond garlic and onion powder, salt, and pepper, consider adding:
- Smoked Paprika: For a lovely smoky flavor and vibrant color.
- Cayenne Pepper: If you enjoy a bit of heat.
- Italian Seasoning: A blend of dried herbs like oregano, basil, and thyme.
- Chili Powder: For a warm, earthy spice.
- Dill or Parsley: For a fresh, herbaceous note.
Experiment to find your favorite flavor profile!
What dipping sauce do you recommend?
The possibilities are endless! Our top recommendation is classic honey mustard – its sweet and tangy notes perfectly complement the crispy chicken. Other fantastic options include:
- Creamy Ranch Dressing
- Tangy BBQ Sauce
- Classic Ketchup
- Spicy Sriracha Mayo
- Garlic Aioli
- Or even a homemade Chick-Fil-A sauce replica for a truly special treat!
Can I freeze oven-baked chicken tenders?
Yes, you can!
- To freeze raw: After breading, arrange tenders in a single layer on a baking sheet and freeze until solid. Once frozen, transfer them to a freezer-safe bag or container for up to 3 months. Bake from frozen, adding about 10-15 minutes to the cooking time.
- To freeze cooked: Allow fully baked tenders to cool completely. Freeze in a single layer, then transfer to a freezer-safe bag or container. Reheat in the oven at 375°F (190°C) until heated through and crispy again.
How do I reheat leftover chicken tenders to keep them crispy?
The best way to reheat leftover oven-baked chicken tenders and maintain their crispiness is in the oven or an air fryer. Avoid the microwave, as it will make them soggy.
- Oven: Preheat oven to 350°F (175°C). Place tenders on a baking sheet and heat for 10-15 minutes, or until warmed through and re-crisped.
- Air Fryer: Reheat at 350°F (175°C) for 5-8 minutes, shaking the basket halfway through.
Perfect Pairings: Serving Suggestions
These crispy oven-baked chicken tenders are incredibly versatile and pair beautifully with a variety of sides and sauces. Here are some ideas to complete your meal:
Dipping Sauce Delights:
- Honey Mustard: A timeless classic that offers a perfect balance of sweet and tangy.
- BBQ Sauce: Smoky and sweet, a perennial favorite.
- Ranch Dressing: Creamy, herby, and universally loved.
- Ketchup: The simple, essential condiment for many.
- Sriracha Mayo: For those who enjoy a little spicy kick.
- Garlic Aioli: A rich, savory, and sophisticated option.
- Chipotle Mayo: Smoky with a hint of heat.
Fantastic Side Dishes:
- Crispy French Fries or Sweet Potato Fries: The ultimate comfort food pairing.
- Coleslaw: A cool, creamy, and crunchy contrast.
- Macaroni and Cheese: A warm, cheesy indulgence, especially popular with kids.
- Roasted Vegetables: Broccoli, asparagus, or carrots for a healthy and flavorful addition.
- Simple Green Salad: A light and refreshing side to balance the meal.
- Baked Beans: A hearty and flavorful choice.
- Corn on the Cob: Sweet and summery.
Whether you’re hosting a casual gathering, feeding a picky eater, or simply craving a satisfying weeknight meal, these oven-baked chicken tenders offer endless possibilities for a delicious and well-rounded dining experience.
Discover More Easy Chicken Recipes
If you’ve fallen in love with these crispy chicken tenders, you’ll definitely want to explore more of our easy and delicious chicken-focused recipes:
- Homemade Chick-Fil-A Nuggets and Sauce
- Easiest Three-Ingredient Chicken Nuggets
- Flavorful Grilled Peri Peri Chicken Drumsticks
- Holy Yum Chicken (A Family Favorite)

Baked Chicken Tender Fingers
By: Julie Chiou
Baked chicken fingers or baked chicken tenders have all the crunch of the fried version but a fraction of the fat!
Prep Time: 20 minutes
Cook Time: 25 minutes
Total Time: 45 minutes
Servings: 4
Equipment
- Large rimmed baking sheet (you may need two)
Ingredients
- 2 cups (120 g) panko breadcrumbs
- 1 teaspoon garlic powder
- 1 teaspoon onion powder
- 1 teaspoon salt
- 1 teaspoon pepper
- 3 large eggs
- 10 boneless skinless chicken tenderloins, sliced into strips (approx. 1.5 lbs)
Instructions
- Preheat oven to 450°F (232°C). Line two large baking sheets with silicone baking mats or parchment paper. Set aside.
- In a shallow dish, combine panko, garlic powder, onion powder, salt, and pepper. Mix well to ensure all ingredients are incorporated.
- In another shallow dish, beat the 3 eggs together until well scrambled.
- Take the chicken strips and dip them one by one into the egg mixture, allowing any excess egg to drip off. Then, transfer to the panko mixture, covering the chicken strips completely. Gently press the panko mixture onto the chicken to ensure it’s well coated and adheres firmly.
- Lay the breaded chicken strips in a single layer on the prepared baking sheets, ensuring there is space between each piece to allow for even crisping. Repeat until all chicken strips have been coated and arranged.
- Bake for 20 minutes. After 20 minutes, turn on the broiler and broil the tenders for an additional 3-5 minutes. Watch carefully to achieve an even crispier and light brown color without burning.
- Serve immediately with your favorite dipping sauce, such as honey mustard, BBQ sauce, or ketchup!
Nutrition
Serving: 2 chicken tenders
Calories: 326kcal
Carbohydrates: 34g
Protein: 37g
Fat: 5g
Sugar: 3g
Disclaimer: This website provides approximate nutrition information for convenience and as a courtesy only. Nutrition information can vary for a variety of reasons. For the most precise nutritional data, use your preferred nutrition calculator based on the actual ingredients you used in the recipe.
The default measuring system for this website is US Customary. Unit conversions are provided for convenience and as a courtesy only. While we strive to provide accurate unit conversions, please be aware that there may be some discrepancies.