
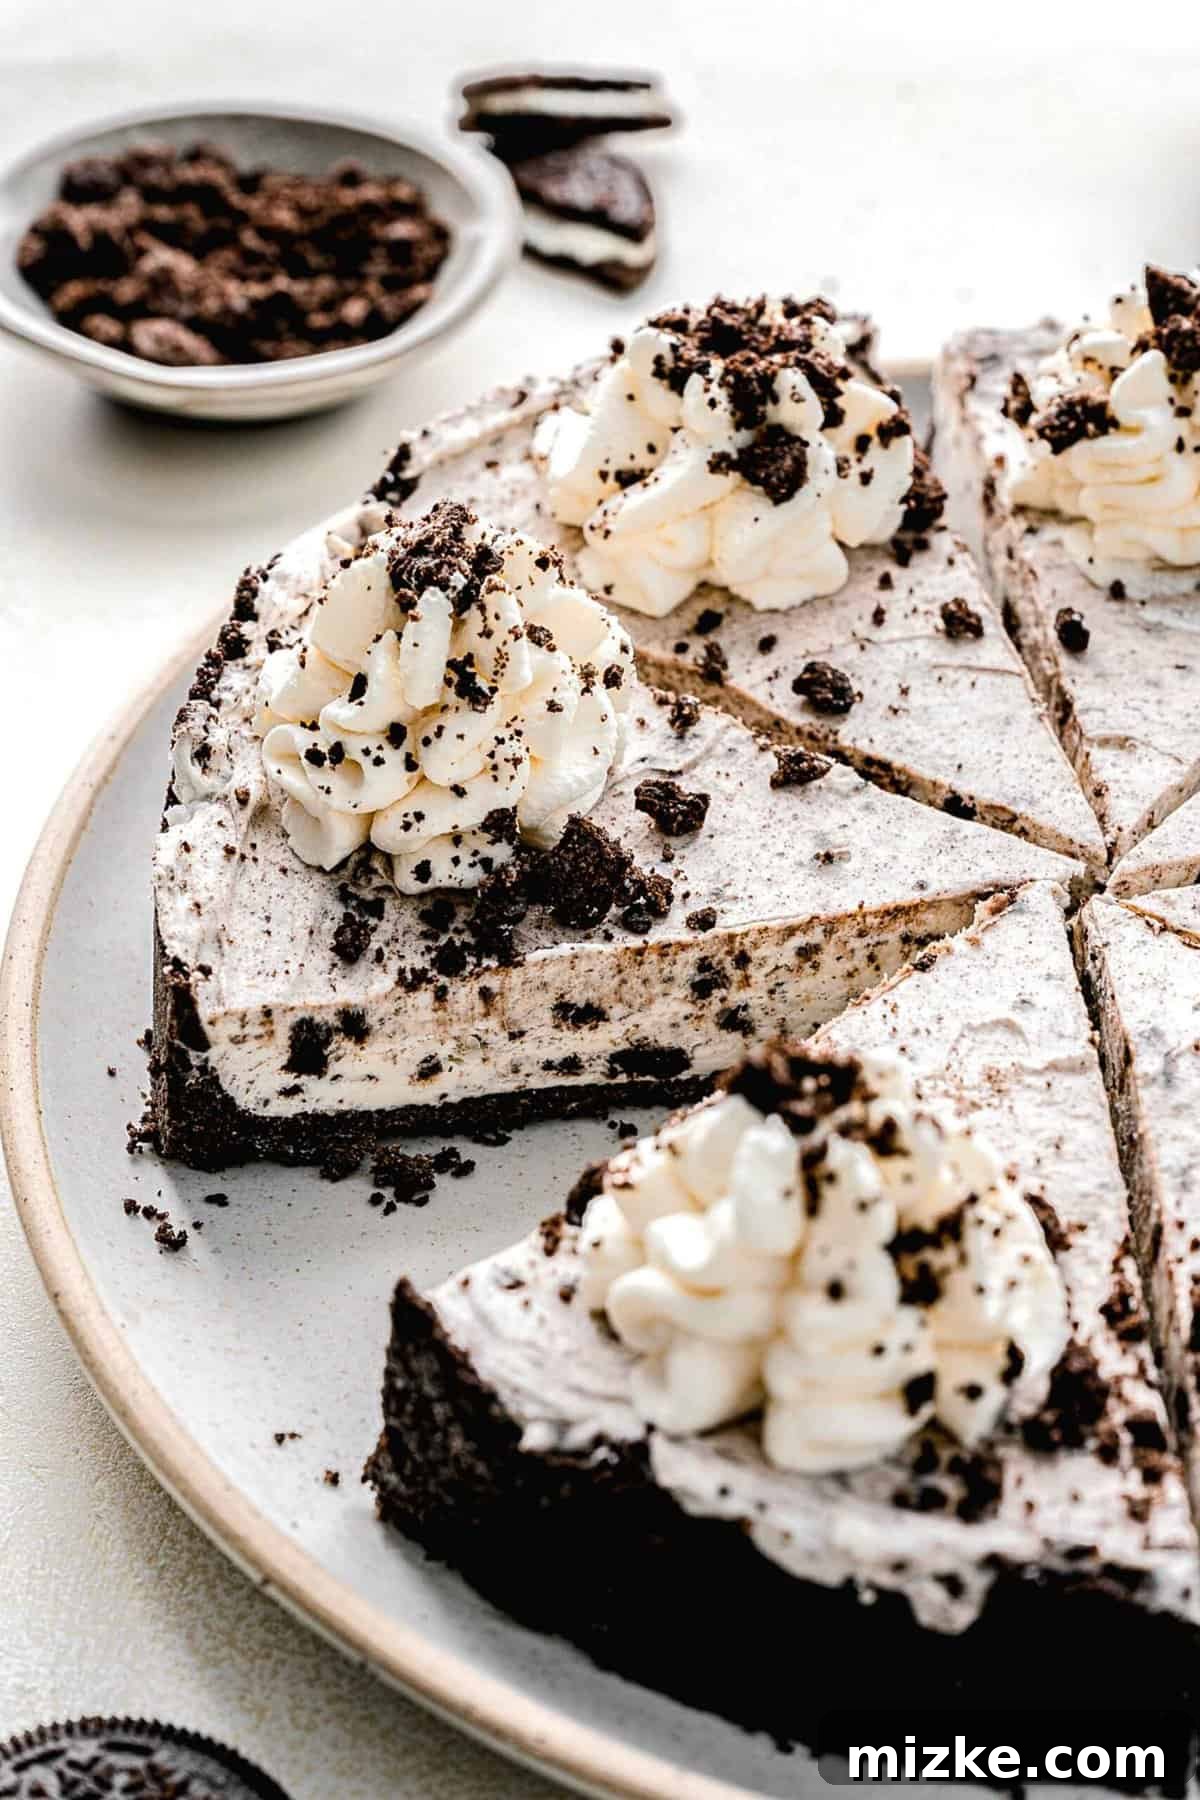
Indulge in the ultimate dessert experience with this unbelievably easy, no-bake Oreo pie. Featuring a perfectly crunchy Oreo crust, a velvety smooth, Oreo-infused cream cheese filling, and crowned with a cloud of homemade whipped cream and generous sprinkles of crushed Oreos, this pie is a true delight for any sweet tooth. Prepare for a dessert that will earn you rave reviews and requests for the recipe!
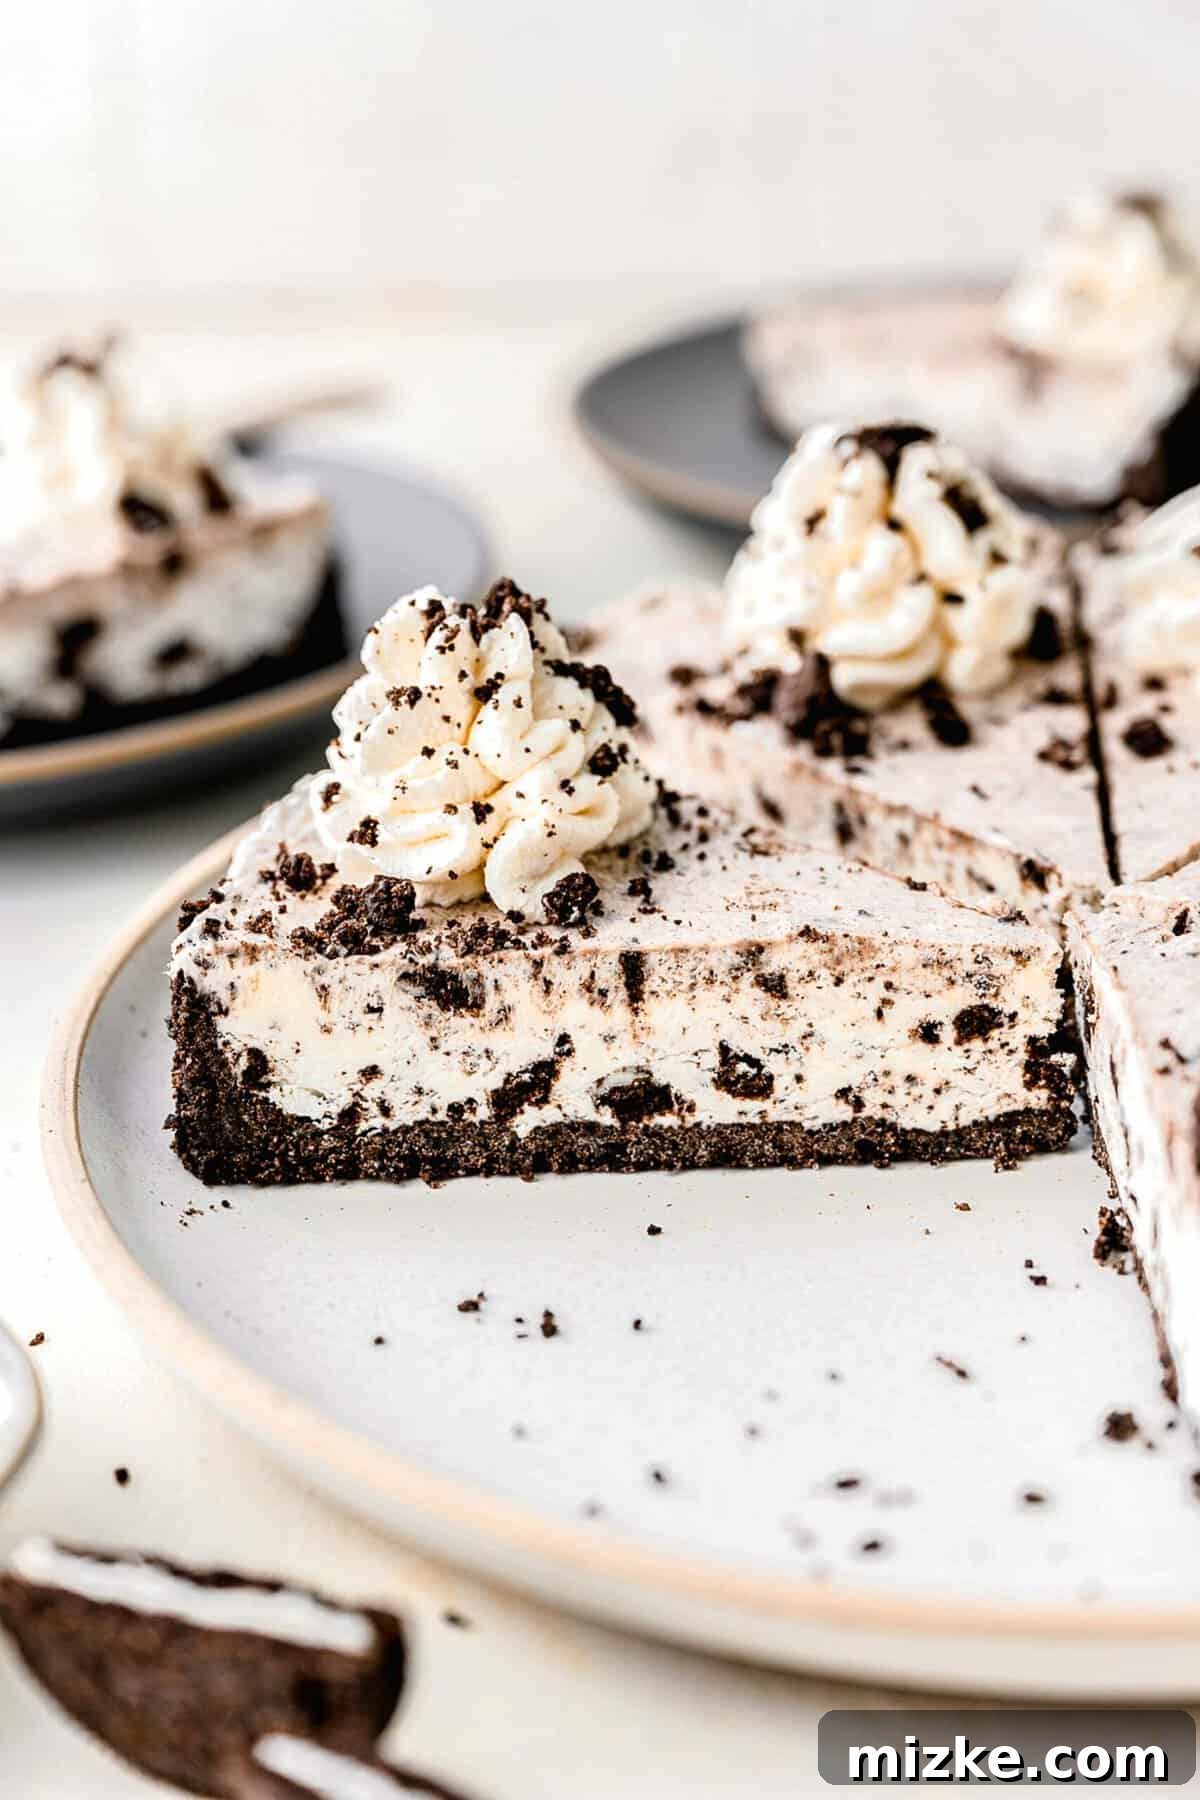
There’s something truly magical about Oreo cookies. More than just a simple snack, they serve as the perfect foundation for countless desserts, and this no-bake Oreo pie is no exception. It’s a testament to the fact that you don’t need to be a seasoned baker to create something spectacularly delicious. With just 20 minutes of active preparation time, you can assemble a show-stopping dessert that tastes like it came from a gourmet bakery, impressing everyone with minimal effort.
Imagine a dessert so rich and satisfying, yet so straightforward to make, that it effortlessly rises to the top of your all-time favorites. This Oreo pie is exactly that. From the very first bite, your taste buds will embark on a journey of intense Oreo flavor and sublime texture. Picture a spoonful gliding through light, fluffy homemade whipped cream, followed by the irresistible layers of a smooth, subtly tangy cream cheese and generous amounts of crushed Oreo filling. And beneath it all? A buttery, just-crumbly-enough Oreo cookie crust that provides the perfect textural contrast, making every mouthful an absolute dream. This pie isn’t just a dessert; it’s an experience, a celebration of America’s favorite cookie.
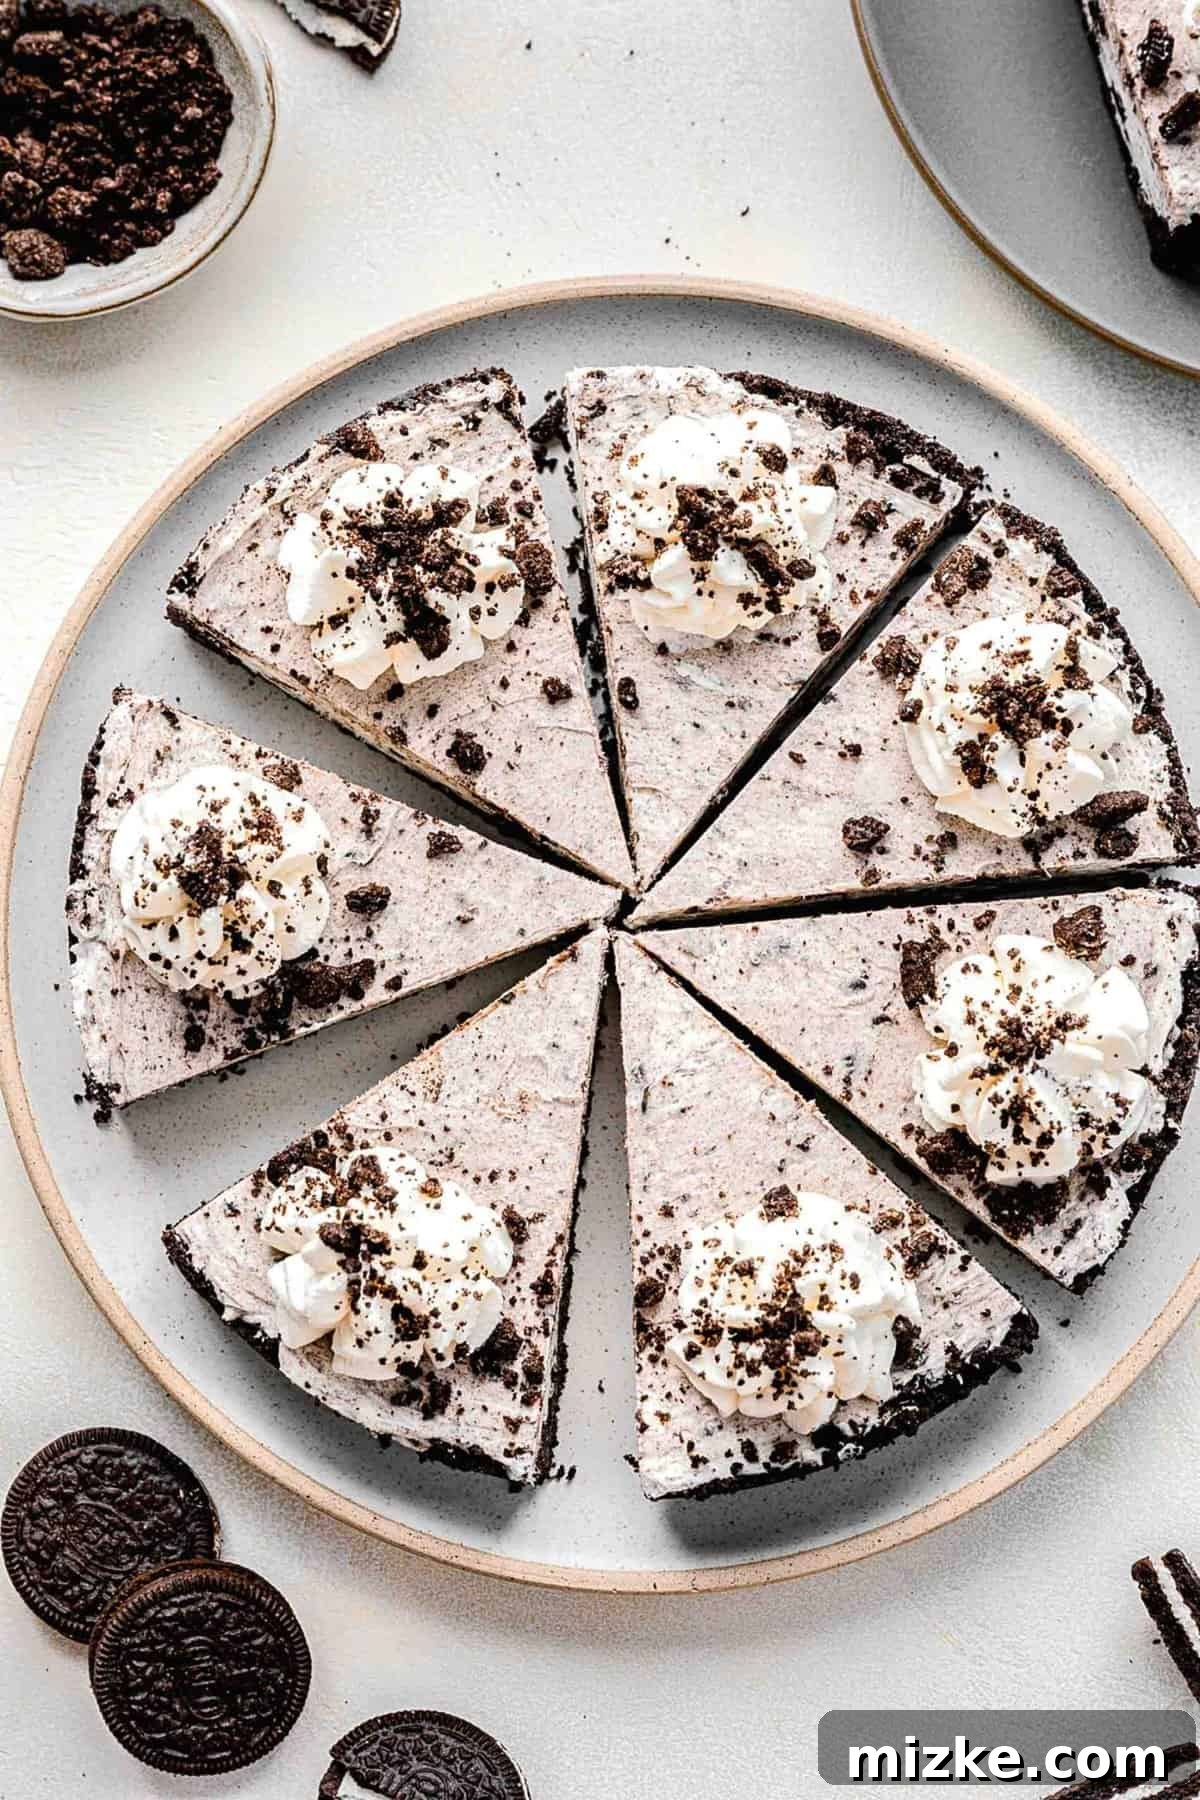
Why This No-Bake Oreo Pie is a Must-Make
This creamy, Oreo-packed pie holds a special place in my heart, and I’m confident it will quickly become one of your go-to recipes. Here are just a few compelling reasons why you’ll fall in love with this cookies and cream masterpiece, proving that some of the best desserts are the easiest to create:
- Effortless Elegance: No Baking Required! Forget about heating up your kitchen or stressing over oven temperatures. This decadent cookies and cream pie requires absolutely no baking. Simply assemble your delicious layers, allow it to chill in the freezer for about an hour (or a bit longer in the fridge), then slice and serve. It’s the perfect fuss-free dessert for any occasion, especially when you want a showstopper without the bake-time commitment. This makes it an ideal choice for summer gatherings or when your oven is already occupied.
- An Oreo Lover’s Dream: Bursting with Flavor. If you consider yourself an Oreo aficionado, this pie is designed specifically for you. Every single element, from the sturdy, chocolatey crust to the luscious, creamy filling, and even the final decorative crumble on top, is infused with that unmistakable, beloved Oreo flavor. It’s an immersive experience in cookies and cream goodness, ensuring no bite goes without a delightful hint of your favorite sandwich cookie. We’re talking maximum Oreo impact, making it irresistible for anyone who adores these classic cookies.
- A Symphony of Textures: Pure Dessert Heaven. Beyond its incredible flavor, this pie offers an unbeatable textural experience. The filling itself is a marvel – impossibly smooth, wonderfully creamy, and simultaneously light and fluffy. It truly melts in your mouth, feeling like an Oreo-infused cloud. This delightful creaminess is perfectly complemented by the slight crunch of the buttery Oreo cookie crust, creating a harmonious contrast that elevates each bite to pure dessert heaven. The balance between soft, firm, and crumbly is simply exquisite.
- Quick & Easy Preparation: Minimal Active Time. Despite its impressive appearance and decadent taste, this pie demands very little of your time in the kitchen. With only about 20 minutes of active prep, you can quickly put together the components, leaving the rest to your freezer or refrigerator. It’s ideal for busy schedules, impromptu gatherings, or when a sudden craving for something truly special strikes, without requiring hours of labor.
- Perfect for Any Occasion: A Crowd-Pleasing Delight. Whether you’re hosting a dinner party, planning a family gathering, celebrating a birthday, or simply treating yourself, this no-bake Oreo pie is always a hit. Its universal appeal, combined with its ease of preparation, makes it a reliable choice for delighting guests of all ages, from children to adults. It’s a guaranteed conversation starter and a dessert everyone will ask you to make again.
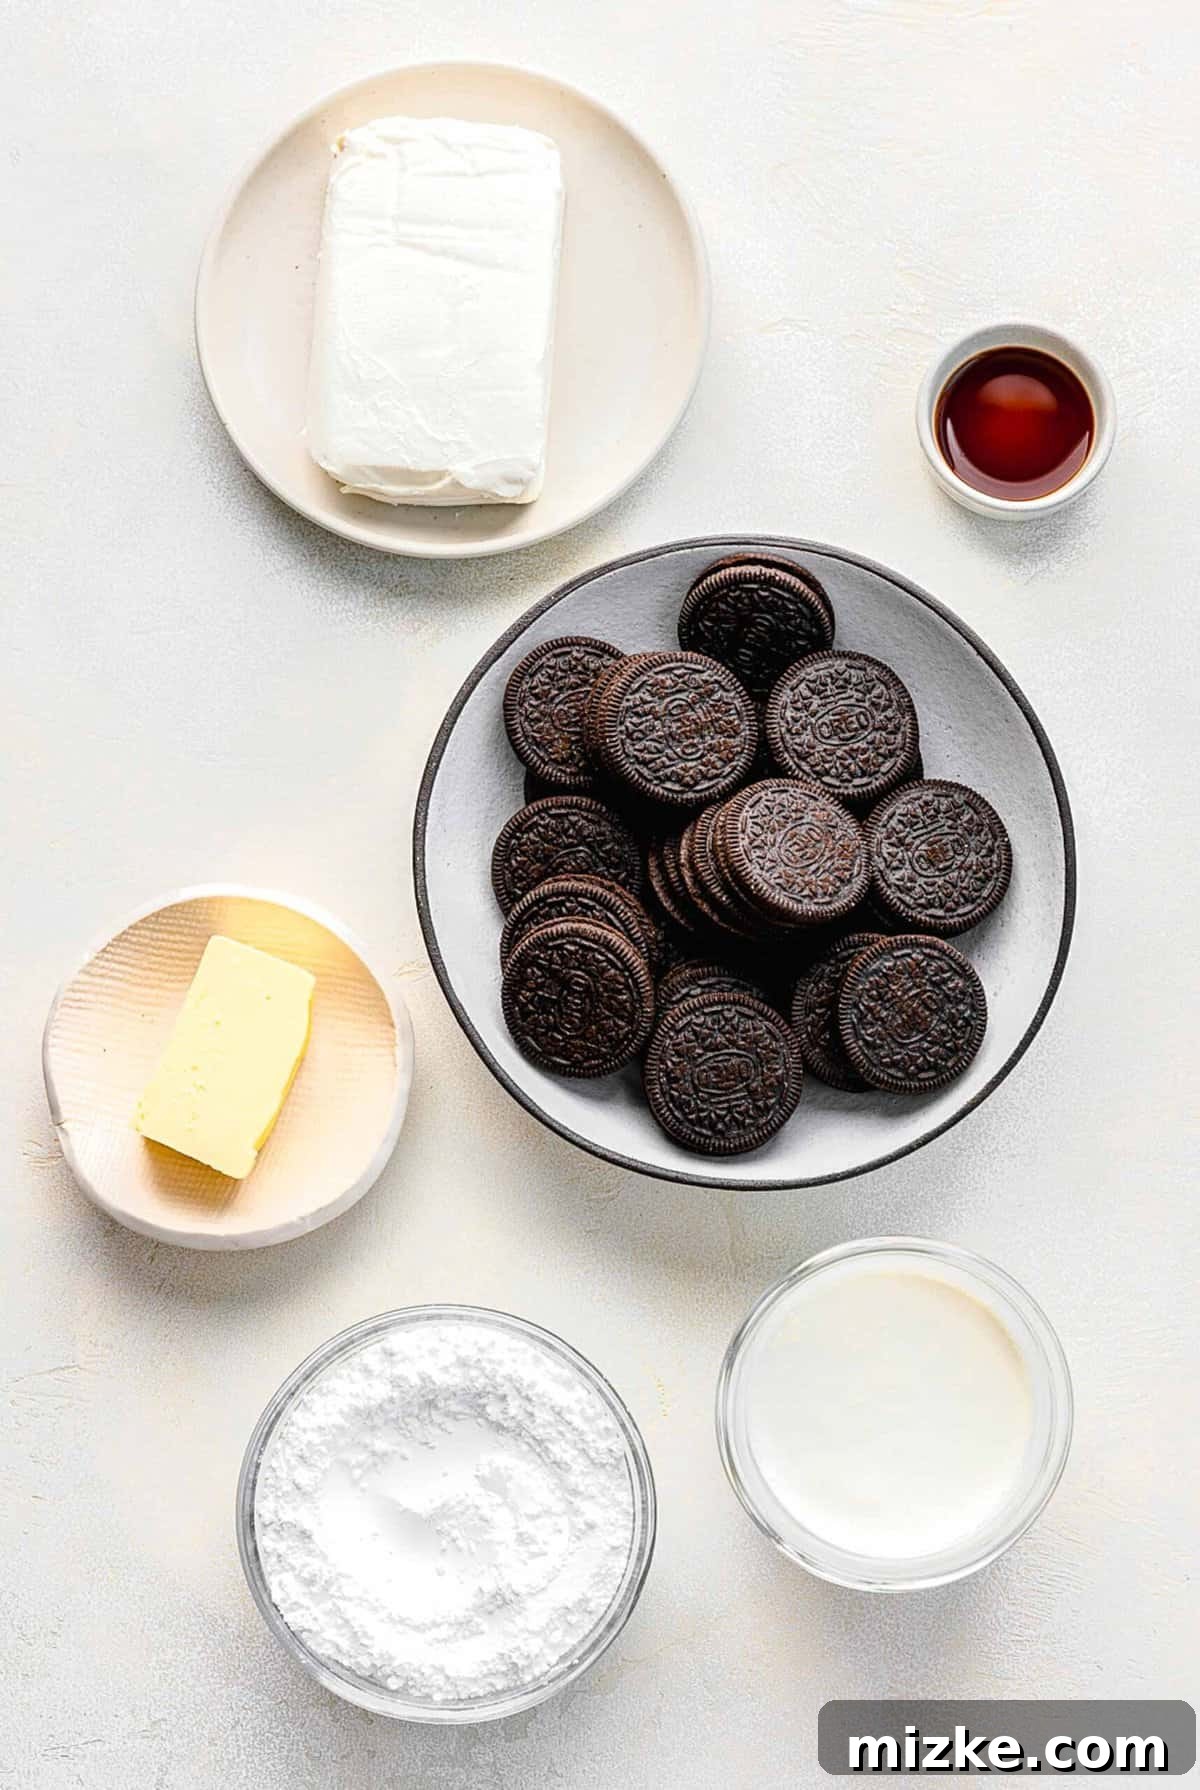
Essential Ingredients for Your Oreo Pie
Crafting this glorious cookies and cream pie requires just a handful of simple, readily available ingredients. You’ll find the exact measurements and quantities detailed in the static recipe section below, but here’s a breakdown of what you’ll need for each component, along with some helpful notes to ensure your pie turns out perfectly:
For the Irresistible Oreo Crust:
- Oreos: The undeniable star of our crust! While I’m a firm believer in the classic original Oreos for their iconic flavor and perfect chocolate-to-cream ratio, don’t hesitate to experiment. Double-stuffed Oreos will give you a richer, sweeter crust, while vanilla or even mint Oreos could add a unique twist if you’re feeling adventurous. For this recipe, approximately 24 cookies (which yields about 2 cups of fine crumbs) will be ideal.
- Unsalted Butter: This is crucial for binding our finely crushed Oreo crumbs into a cohesive, firm, yet pliable crust. Ensure it’s fully melted before combining with the cookie crumbs. Using unsalted butter allows you to control the overall saltiness of the dessert, ensuring it’s perfectly balanced.
For the Creamy, Dreamy Filling:
- Heavy Whipping Cream: This forms the base of our light and airy filling, providing that essential luxurious texture. Make absolutely sure it’s well-chilled before you begin whipping it, as cold cream whips up much more effectively and to a greater volume.
- Cream Cheese: For that signature rich and subtly tangy note that beautifully balances the sweetness of the Oreos. It is absolutely essential that your cream cheese is softened to room temperature. This isn’t just a suggestion; it’s a critical step to ensure a smooth, lump-free filling that incorporates beautifully with the other ingredients. Cold cream cheese will result in a clumpy, uneven texture and may lead to over-mixing.
- Powdered Sugar (Confectioners’ Sugar): Used for sweetness and to contribute to the filling’s silky-smooth texture. Unlike granulated sugar, powdered sugar dissolves instantly, ensuring no gritty texture and contributing to the pie’s luxurious consistency.
- Vanilla Extract: A touch of pure vanilla extract enhances all the other flavors, adding depth, warmth, and a comforting aroma to the filling. Using a high-quality vanilla extract can make a noticeable difference in the overall flavor profile.
- Crushed Oreos: Yes, more Oreos! These are folded directly into the filling to ensure every bite is loaded with that classic cookies and cream taste and delightful, chunky texture. Feel free to use the same variety as your crust or mix it up for added complexity.
For the Perfect Whipped Cream Topping:
- Heavy Whipping Cream: Again, well-chilled heavy cream is necessary for creating our light, ethereal homemade topping. Freshly whipped cream truly elevates this pie above any store-bought alternatives, offering a superior taste and texture.
- Powdered Sugar: To sweeten the whipped cream and help stabilize it slightly, ensuring it holds its peaks and beautiful piped shape.
- Vanilla Extract: A dash in the topping echoes the flavors in the filling and adds another layer of delightful aroma and subtle sweetness.
- Crushed Oreos: A final flourish! These are sprinkled generously over the top of the piped whipped cream for an inviting visual appeal, an extra burst of chocolatey flavor, and a satisfying textural contrast.
Step-by-Step: Crafting Your No-Bake Oreo Pie
Creating this irresistible, Oreo-packed dessert is surprisingly simple and requires only about 20 minutes of active kitchen time. Follow these detailed steps to achieve perfect results and construct your decadent pie with ease. For precise measurements, please refer to the comprehensive recipe card provided further down this page.
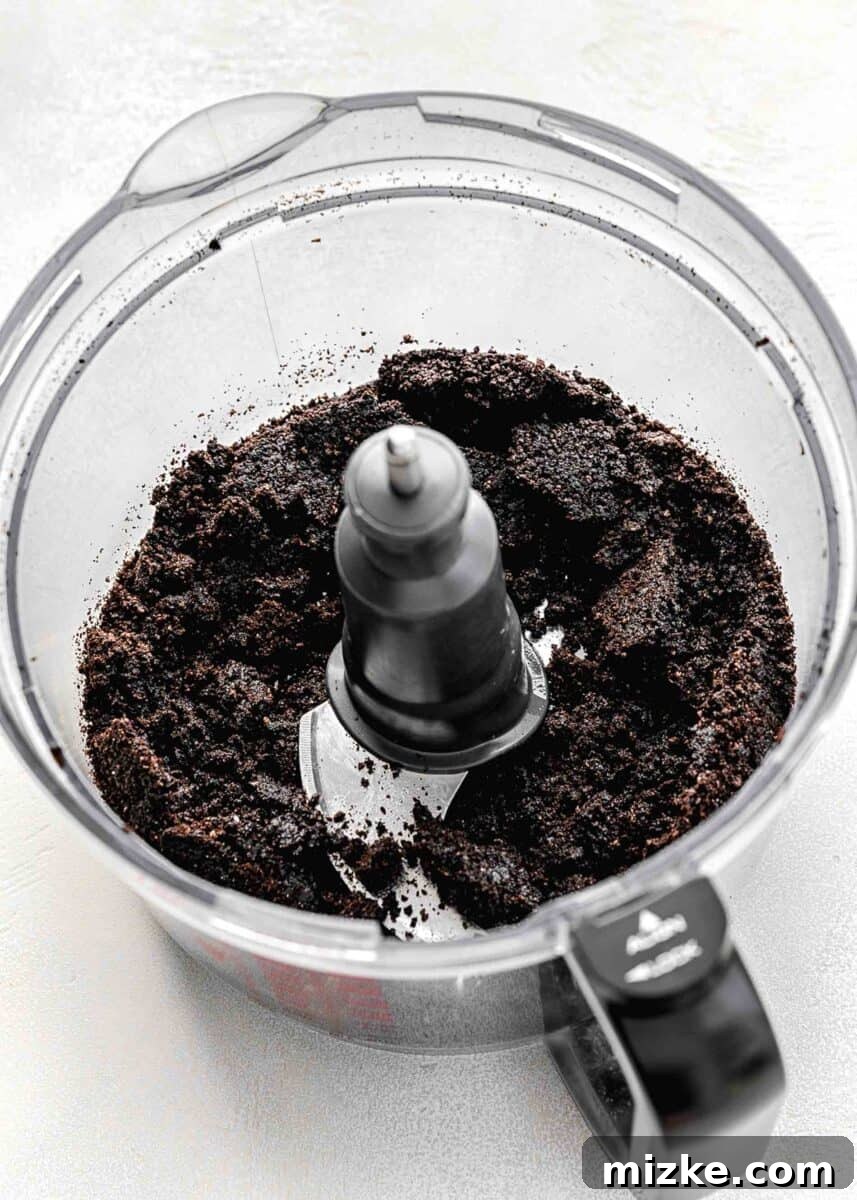
- Prepare the Oreo Crust: Begin by adding the whole Oreos (about 24 cookies) and the melted unsalted butter to a food processor. Pulse the mixture several times until it transforms into fine, even crumbs. It’s important to ensure there are no large chunks remaining, as this will create a uniform and stable crust.
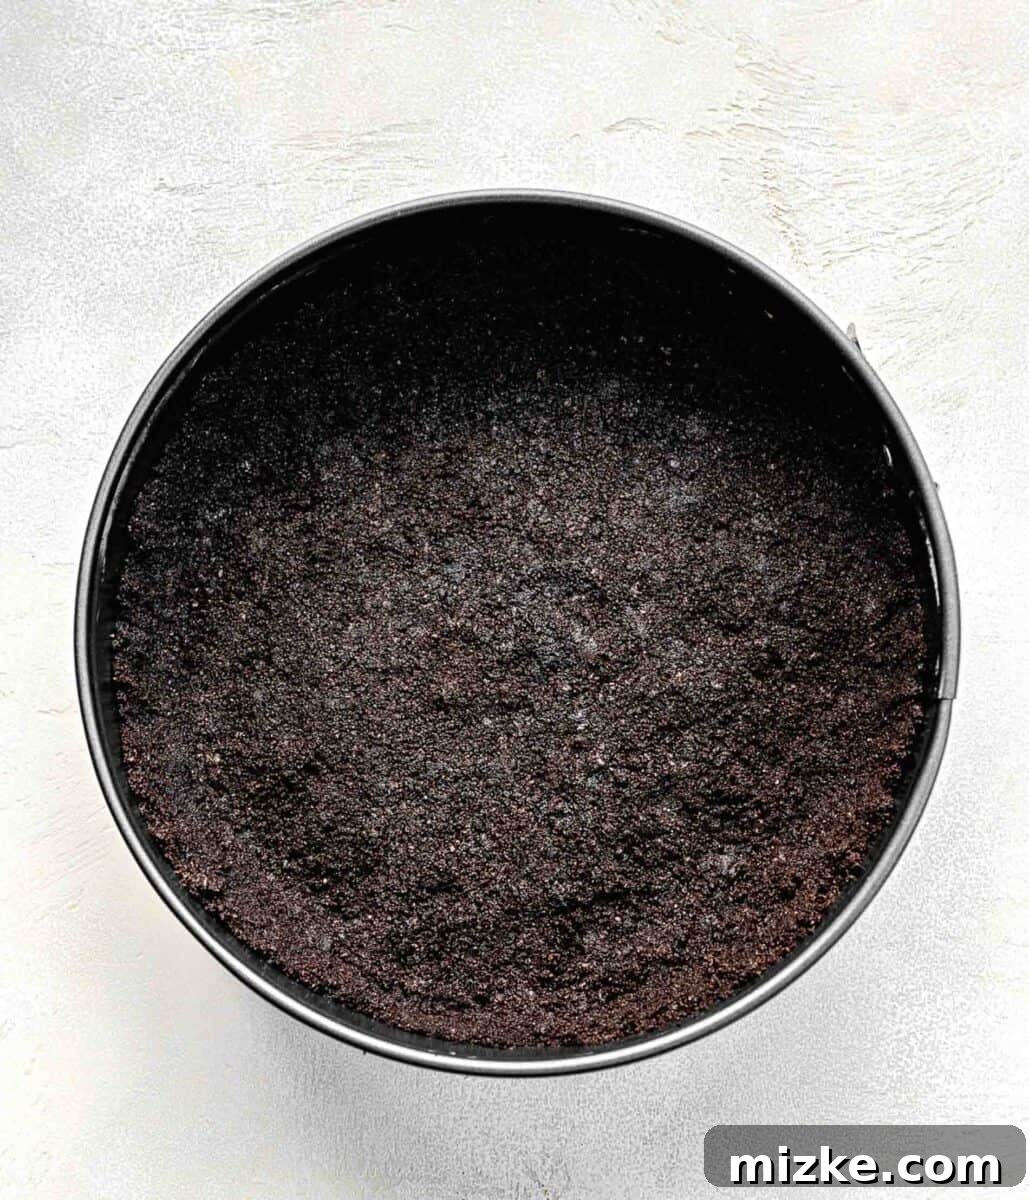
- Form the Crust: Transfer the buttery Oreo crumb mixture into a 9-inch springform pan. Using the back of a spoon, a flat-bottomed glass, or your clean hands, firmly press the mixture evenly across the bottom and slightly up the sides of the pan. The key is to pack it tightly to prevent it from crumbling when sliced and to create a solid base.
- Chill the Crust: Once the crust is firmly pressed into place, put the prepared springform pan into the freezer. Allow it to chill for at least 15-20 minutes while you proceed with making the filling. This chilling step helps the butter solidify, setting the crust and making it wonderfully firm and resistant to sogginess.
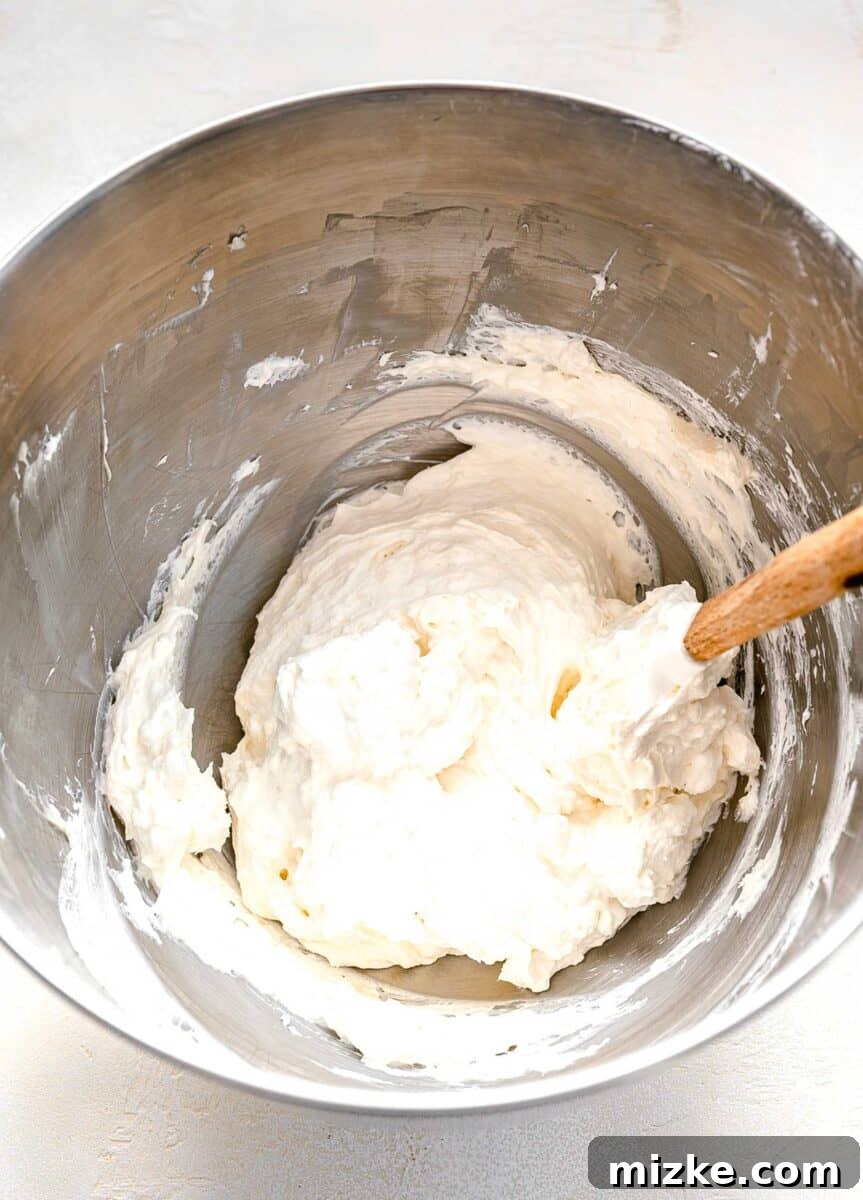
- Whip the Cream: In a large, clean mixing bowl (preferably from a stand mixer fitted with a whisk attachment), add 1 cup of well-chilled heavy cream. Beat on medium speed for 3-4 minutes, or until stiff peaks form. The cream should be thick, hold its shape when the whisk is lifted, and not be watery. Transfer this whipped cream to a separate bowl and set aside.
- Create the Cream Cheese Base: In the same mixing bowl (no need to wash if using a stand mixer, just switch to a paddle attachment), add the softened cream cheese, ¾ cup of powdered sugar, and 1 teaspoon of vanilla extract. Beat on medium speed until the mixture is completely smooth, lump-free, and creamy. This usually takes about 1 minute. Ensure there are no visible cream cheese lumps.
- Combine Filling Components: Using a rubber spatula, gently fold the reserved whipped cream into the cream cheese mixture until it is just combined. The key here is to be careful not to deflate the air you’ve incorporated into the whipped cream; fold with a light hand, moving from the bottom to the top of the bowl.
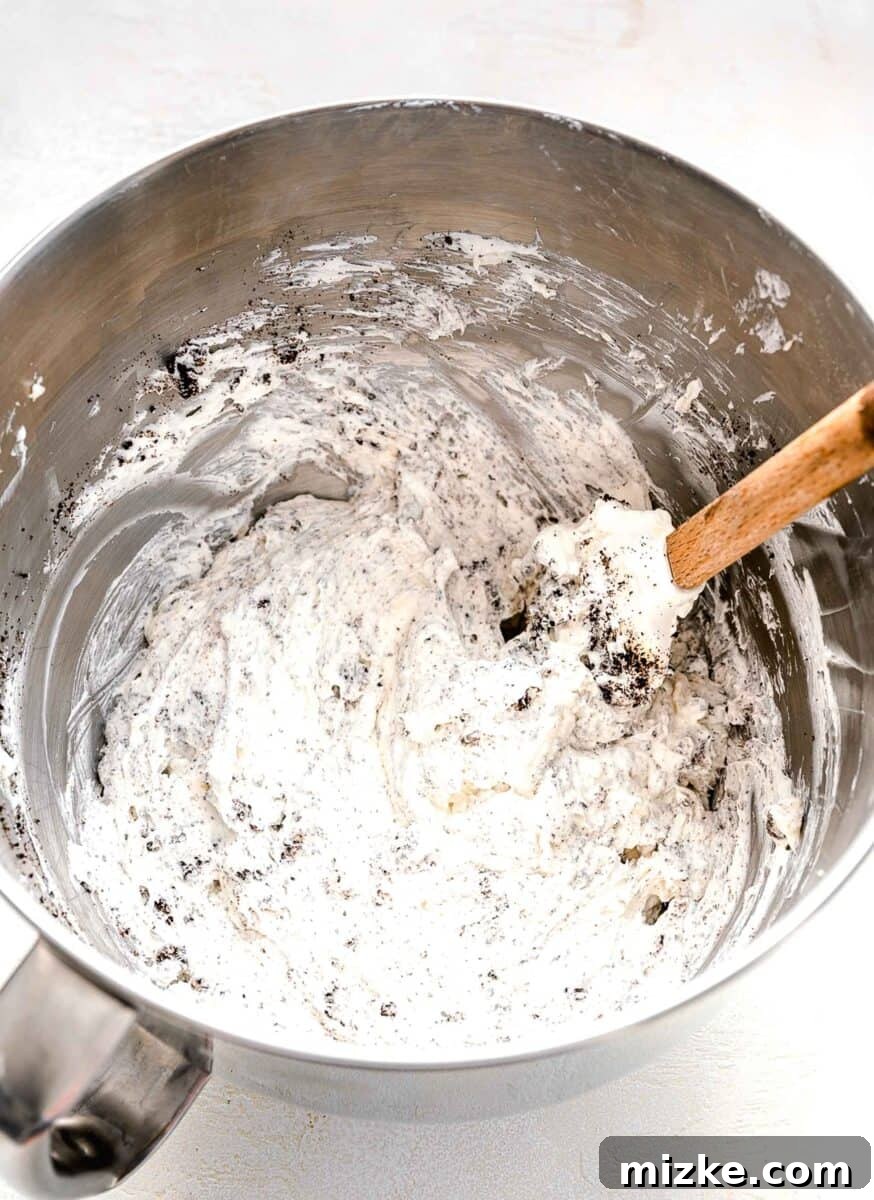
- Fold in Crushed Oreos: Next, gently fold in 1 cup of crushed Oreos. Mix just enough until they are evenly distributed throughout the creamy filling. Avoid over-mixing to keep the filling light and airy.
- Fill the Crust and Chill: Carefully scoop and spread the delicious Oreo filling evenly over the chilled crust in the springform pan. Use the back of your spatula to smooth the top. Once filled, return the pie to the freezer for at least 1 hour, or refrigerate for 2-4 hours, until it is fully set and firm enough to slice cleanly.
- Prepare the Whipped Cream Topping: While the pie chills, prepare the final topping. In a clean mixing bowl, beat the remaining ½ cup of heavy cream on medium speed until soft peaks begin to form. Then, add in 2 tablespoons of powdered sugar and ½ teaspoon of vanilla extract, continuing to mix until stiff peaks are achieved. The whipped cream should be firm enough to pipe.
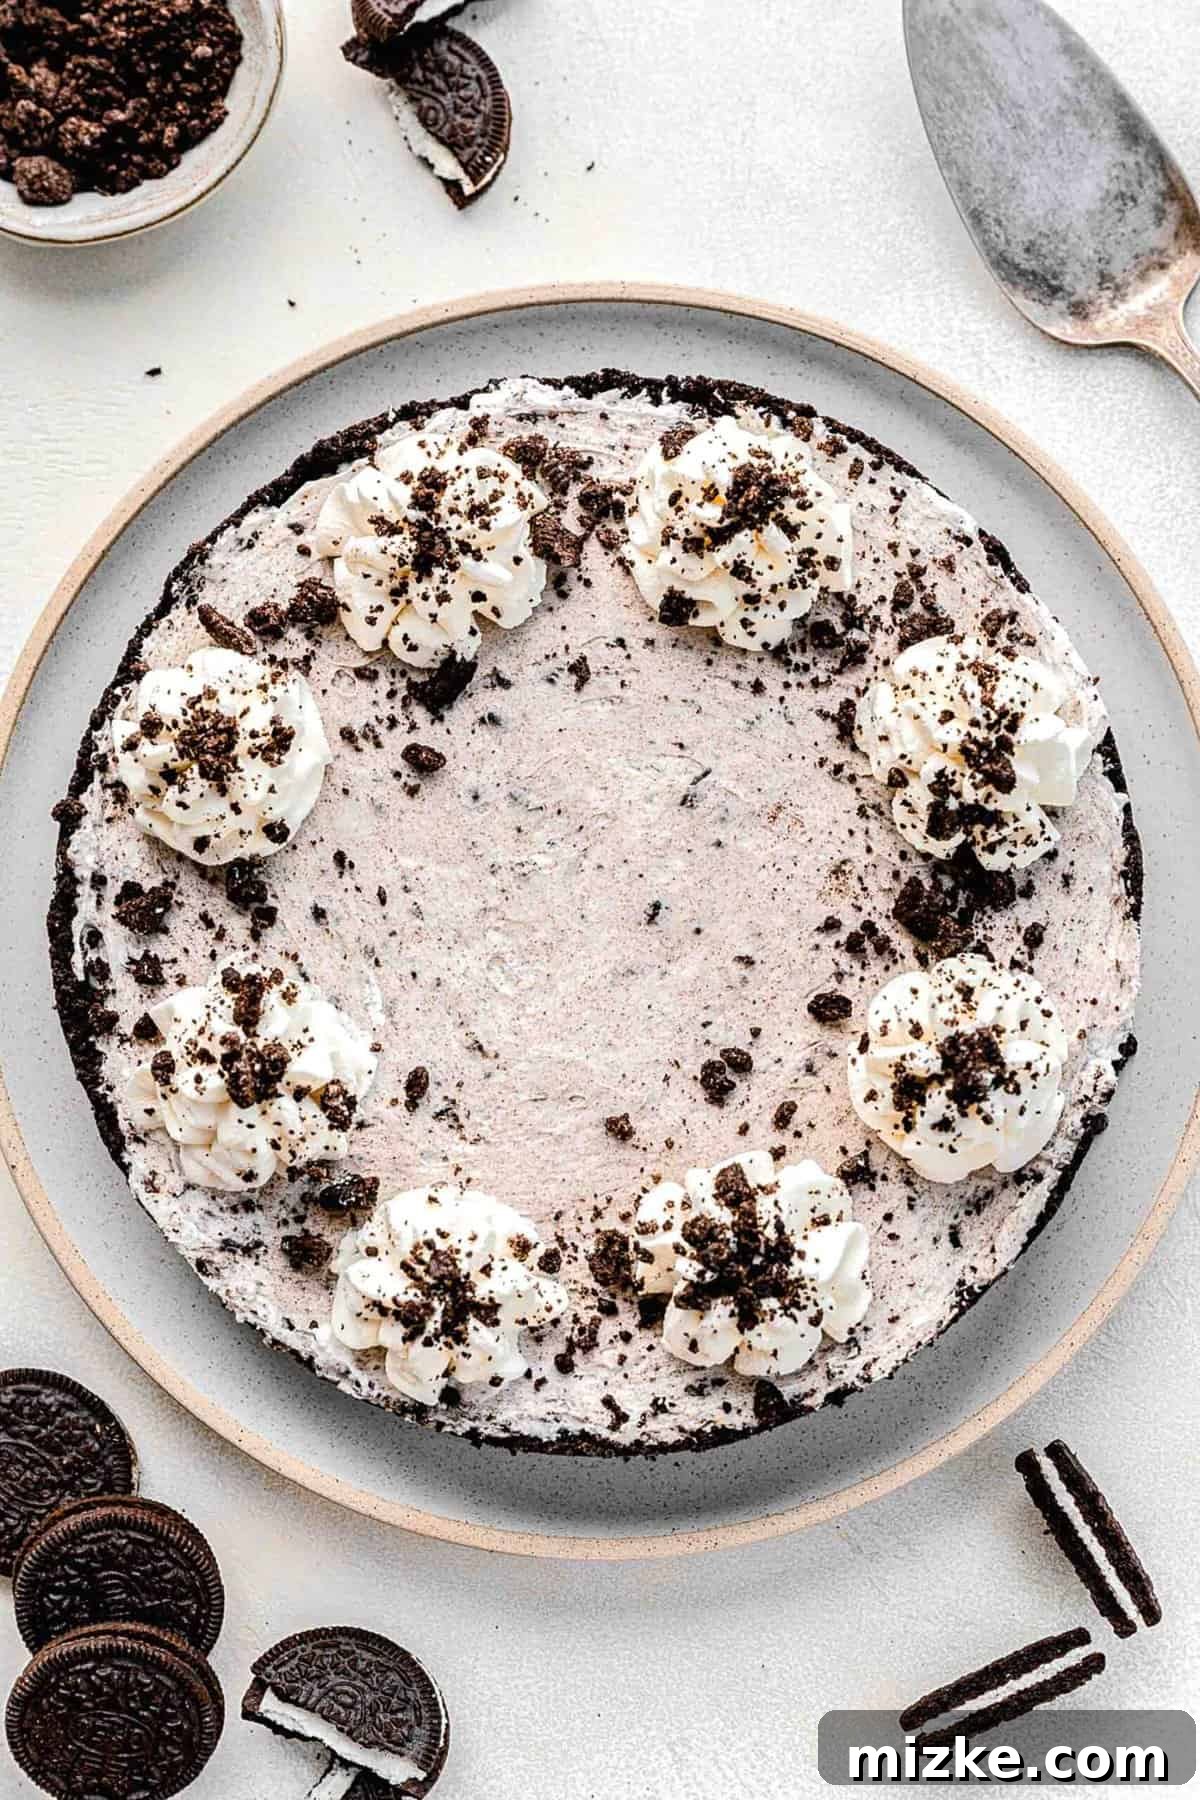
- Decorate and Serve: Once the pie is perfectly set, carefully remove it from the springform pan. Transfer it to a serving plate. Pipe or spread the freshly made whipped cream on top of the pie in elegant swirls or a smooth layer. Finally, generously garnish with the additional 4-5 crushed Oreos. Serve chilled for the best texture and flavor experience, and watch it disappear!
Expert Tips for a Flawless Oreo Pie
To ensure your no-bake Oreo pie turns out absolutely perfect every time, keep these invaluable tips and tricks in mind before you begin. They are designed to help you achieve the best possible results, from consistency to flavor, making you feel like a seasoned dessert pro.
- Room Temperature Cream Cheese is Non-Negotiable: This is perhaps the most critical tip for a smooth and cohesive filling. If your cream cheese is too cold, it will not blend properly with the other ingredients, leading to stubborn lumps. These lumps are incredibly difficult to smooth out and can ruin the luxurious texture of your pie. Plan ahead and allow your cream cheese to sit on the counter for at least an hour (or up to two hours) before you start mixing. It should be soft enough to easily indent with your finger.
- Avoid Over-Mixing the Filling: Once you’ve whipped your heavy cream to beautiful stiff peaks, the goal is to gently fold it into the cream cheese mixture. Over-mixing at this stage will deflate the precious air you’ve incorporated, resulting in a dense, heavy pie rather than the desired light, airy, and creamy texture. Use a rubber spatula and fold with a light hand, making sure to scrape the bottom and sides of the bowl, stopping as soon as the ingredients are just combined and no streaks remain.
- Invest in a Springform Pan: If you don’t already own one, a 9-inch springform pan is a worthwhile investment for this recipe and many other no-bake desserts or cheesecakes. Its unique design with removable sides allows you to effortlessly release the pie once it’s set, presenting a beautifully intact dessert without any messy mishaps that often occur when trying to extract a pie from a standard baking dish. It makes for a stunning presentation.
- Patience is a Virtue – Allow Ample Chill Time: Resist the urge to cut into your pie too early! A premature slice can result in a soft, “sloshy” mess where the filling doesn’t hold its shape. For a perfectly firm and sliceable pie, allow it to chill in the freezer for a minimum of 1 hour, or in the refrigerator for 2-4 hours. The longer chilling time in the fridge often yields a slightly creamier, less frozen texture that many prefer, allowing the flavors to meld beautifully.
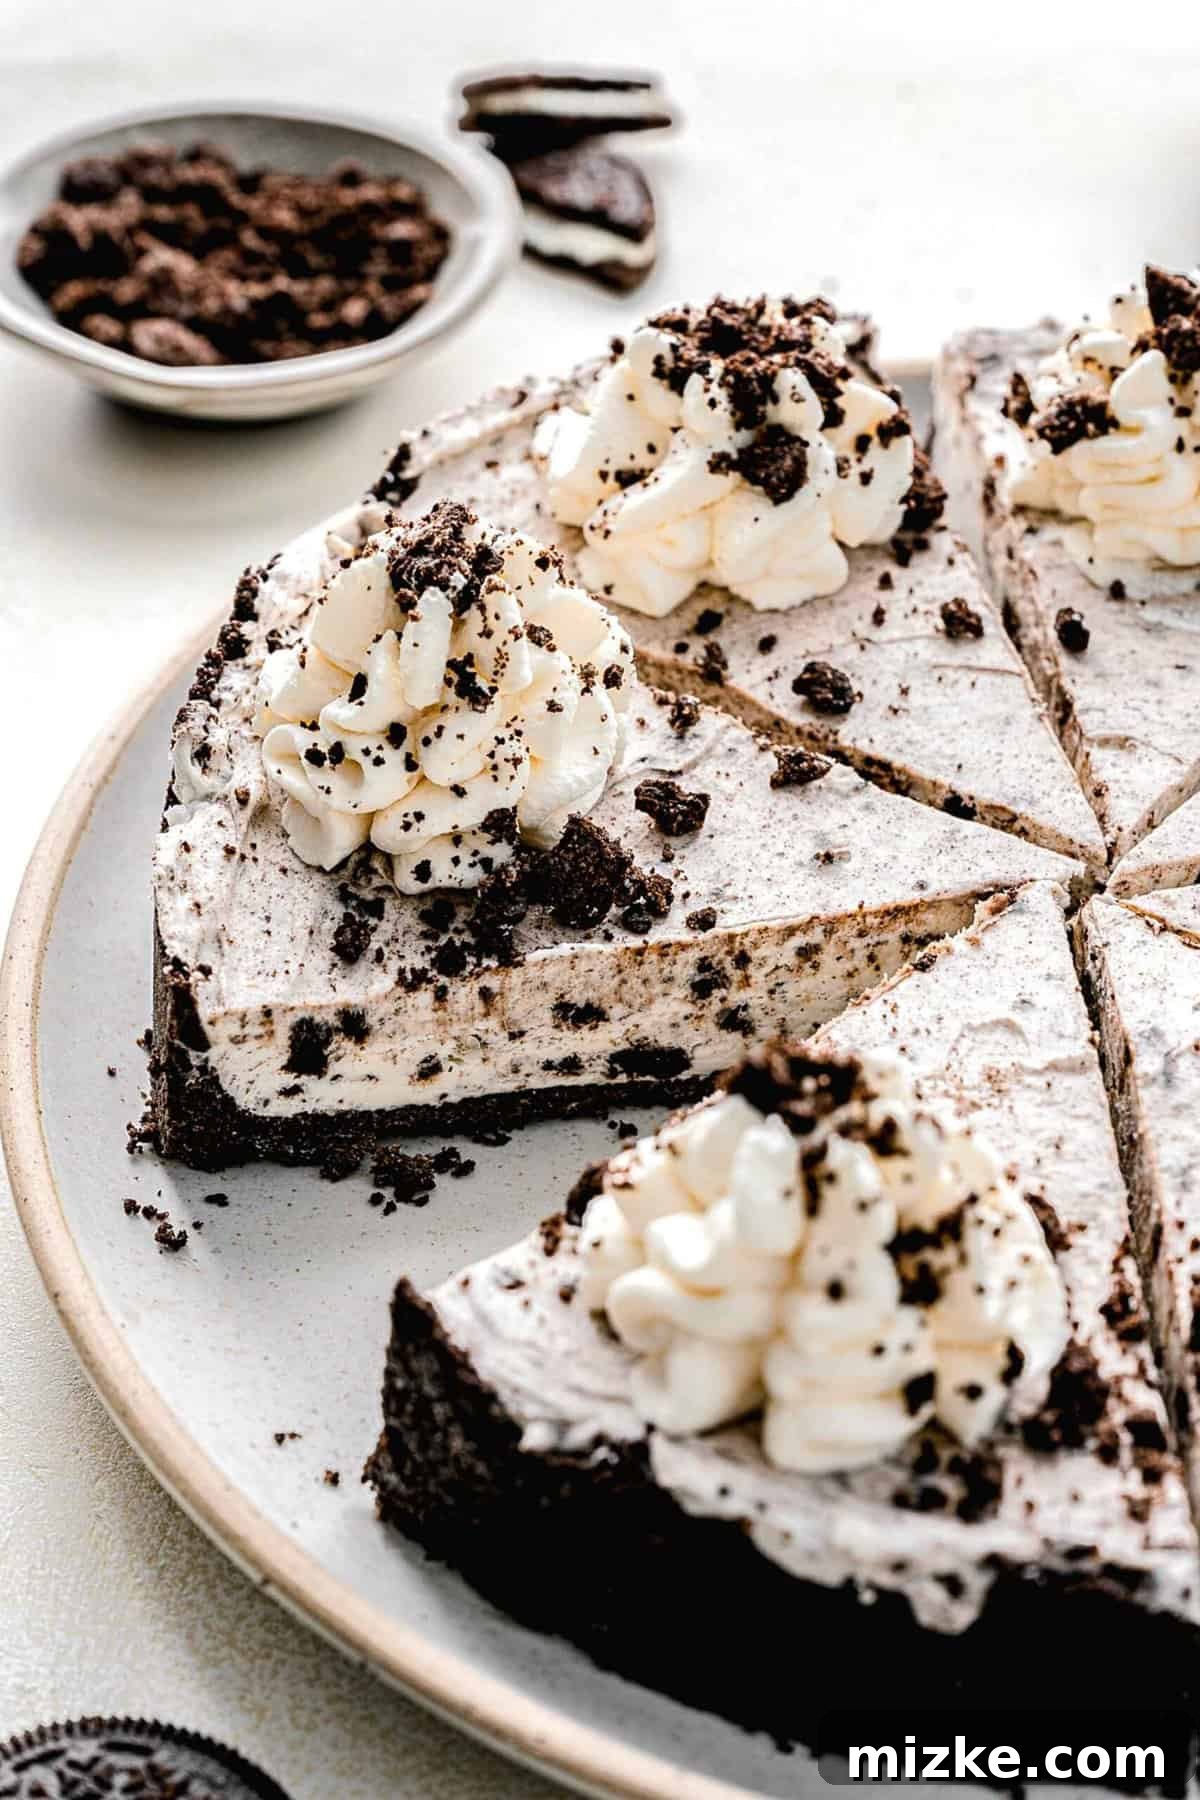
- Achieve Picture-Perfect Slices: For clean, professional-looking slices that hold their shape, employ a simple trick: use a large, sharp knife and keep a tall glass or bowl of hot water nearby. Before your first slice, and critically, before every subsequent slice, dip the knife into the hot water for a few seconds. Immediately wipe the blade completely dry with a clean dish towel. The warm, dry blade will glide through the pie effortlessly, creating neat, clean edges every time, preventing the filling from sticking and tearing.
- Quality of Ingredients Matters: While the recipe uses common ingredients, their quality can significantly impact the final taste. Opt for good quality Oreos (or your preferred sandwich cookie), fresh heavy cream, and full-fat cream cheese for the best flavor profile and creamiest texture. High-quality vanilla extract also makes a noticeable difference.
Can You Prepare This Cookies and Cream Pie in Advance?
Absolutely! This no-bake Oreo pie is an excellent make-ahead dessert, making it perfect for entertaining, simplifying your holiday meal prep, or simply having a delicious treat ready for unexpected guests. You can prepare both the crust and the filling several days before you plan to serve it, allowing you to focus on other tasks closer to your event.
To do so, prepare the Oreo crust and press it firmly into your springform pan as directed in the recipe. Once formed, cover the entire pan tightly with plastic wrap to prevent it from drying out or absorbing refrigerator odors. For the filling, transfer the prepared mixture to a separate airtight container. Both components can be safely stored in the refrigerator for up to 3 days. When you’re ready to serve, simply retrieve the chilled crust and filling. Spread the pre-made filling evenly over the crust, whip up a fresh batch of the homemade whipped cream topping (as fresh whipped cream is always best), and decorate the pie with beautiful swirls and a generous sprinkling of crushed Oreos. A brief chill before serving will ensure optimal firmness and flavor, delivering a fresh-tasting dessert with minimal last-minute effort.
Delightful Serving Suggestions for Your Oreo Pie
While this no-bake Oreo pie is undeniably perfect on its own, its rich, creamy, and chocolatey profile makes it an excellent base for various delightful additions. These pairings can elevate it to an even more indulgent experience and cater to different tastes. Here are some of my favorite ways to enjoy this decadent dessert:
- A Scoop of Ice Cream: Pairing a slice of your Oreo pie with a generous scoop of your favorite ice cream creates an unforgettable hot-and-cold (or cold-and-colder!) dessert experience. Classic vanilla bean is always a winner, or you could double down on the cookies and cream theme with No-Churn Oreo Fudge Ice Cream or traditional Cookies and Cream Ice Cream. For something a little different, consider a complementary flavor like Espresso Chocolate Chip Ice Cream or even a refreshing Coffee Coconut Milk Ice Cream. The contrast of cold, melting ice cream with the rich pie is simply heavenly.
- Decadent Sauces: A drizzle of warm sauce can transform your pie into an even more sophisticated treat. Consider making a luscious homemade chocolate ganache, perhaps from a Cheesecake Bar recipe, and pouring it generously over each slice. Alternatively, a homemade caramel sauce, either salted for that sweet and savory kick or a traditional buttery version, adds a beautiful amber sheen and another layer of sweetness that perfectly complements the Oreo flavor.
- A Classic Glass of Milk: Sometimes, the simplest pairings are the best. A tall, frosty glass of cold milk is the quintessential accompaniment to this rich, chocolatey, and creamy dessert. It’s a nostalgic combination that enhances the classic Oreo flavor and makes for a comforting, satisfying treat.
- Fresh Berries: For a delightful touch of freshness and a slight tart contrast, serve your pie with a handful of vibrant fresh raspberries, sliced strawberries, or blueberries. Their bright, juicy flavor cuts through the richness of the pie beautifully, offering a palate cleanser with each bite and adding a pop of color to your presentation.
Storing Your Leftover Oreo Pie
If by some miracle you have any leftovers of this incredibly delicious pie, storing them properly is key to maintaining their freshness, creamy texture, and overall deliciousness. Here’s how to keep your pie in prime condition:
For best results, wrap the entire pie (preferably still in its springform pan if space allows, or transferred to a cake dome) in a double layer of plastic wrap. To prevent the plastic wrap from smooshing down the beautiful whipped cream topping, you can strategically place a few toothpicks into the top of the pie before wrapping, creating a small “tent” for the plastic. This keeps the topping pristine. Alternatively, if the pie has already been sliced, you can arrange the individual slices in a single layer within an airtight container. Placing small squares of parchment paper between slices can prevent them from sticking together. In either case, store the pie in the refrigerator for up to 4 days. This keeps the filling firm, the whipped cream fresh, and the crust from getting too soft.
Can You Freeze No-Bake Oreo Pie?
Yes, absolutely! This no-bake Oreo pie freezes beautifully, making it an ideal candidate for meal prepping desserts, preparing for future events, or simply saving for a spontaneous craving. Freezing allows you to enjoy this delightful treat long after it’s been made, with minimal impact on its quality.
To freeze a whole pie, first allow it to firm up completely in the freezer for a couple of hours without any wrapping. Once it’s firm, wrap the entire pie tightly in a double layer of plastic wrap, followed by a layer of heavy-duty aluminum foil. This dual layer provides excellent protection against freezer burn and preserves its flavor and texture. If you’ve already sliced the pie, arrange the individual slices in a single layer in an airtight, freezer-safe container. For added convenience, place a small piece of parchment paper between each slice to prevent sticking, making it easy to grab just one when a craving strikes.
Whether whole or sliced, your Oreo pie can be safely stored in the freezer for up to 3 months. When you’re ready to enjoy it, simply transfer the pie (or individual slices) to the refrigerator and allow it to thaw gradually for several hours (or overnight for a whole pie) before serving. This gentle thawing process helps maintain its creamy texture and prevents any ice crystals from forming, ensuring a delicious experience every time.
Irresistible Oreo Desserts You Must Try
If your love for Oreos knows no bounds, you’re in good company! This no-bake Oreo pie is a fantastic starting point, but the world of Oreo desserts is vast and wonderfully creative. Don’t stop here; dive into these other incredible Oreo-infused treats that I’ve crafted, guaranteed to satisfy your cookies and cream cravings and expand your dessert repertoire:
- Fried Oreos: Experience the magic of a classic fairground treat, made surprisingly easy right in your own kitchen! These warm, crispy delights are pure indulgence.
- Oreo Cheesecake Bars: All the decadence and creamy tang of a rich cheesecake, perfectly paired with crunchy Oreo goodness in every convenient, portable bite.
- Oreo Cheesecake Cookies: A delightful fusion of soft, chewy cookies and creamy cheesecake filling, studded with Oreo chunks for an irresistible texture.
- Cookies and Cream Milkshake: The ultimate thick, frosty, and creamy beverage for any true Oreo lover, perfect for a refreshing treat.
- No Churn Oreo Fudge Ice Cream: Homemade ice cream that’s unbelievably easy to make (no ice cream maker required!) and bursting with both rich Oreo and luscious fudge flavors.
- Cookies and Cream Ice Cream: A timeless classic favorite, this recipe delivers a wonderfully rich and creamy ice cream base generously studded with plenty of delightful Oreo pieces.
Oreo Pie
By: Julie Chiou
This no-bake Oreo pie is made up of a just-crunchy-enough Oreo crust filled with a wonderfully creamy, Oreo-laden filling. It’s topped off with homemade whipped cream and a smattering of crushed Oreos. Delicious!
Prep Time: 20 minutes
Chill Time: 1 hour
Total Time: 1 hour 20 minutes
Servings: 10 servings
Rating: 4.50 from 2 votes
Equipment
- Food processor
- Stand mixer
- 9-inch Springform pan
Ingredients
Crust:
- 24 Oreos (about 2 cups crushed)
- 5 tablespoons (70 g) unsalted butter, melted
Filling:
- 1 cup (237 ml) heavy whipping cream
- 8 ounces (227 g) cream cheese, softened to room temperature
- ¾ cup (90 g) powdered sugar
- 1 teaspoon vanilla extract
- 1 cup (160 g) crushed Oreos
Topping:
- ½ cup (118 ml) heavy whipping cream
- 2 tablespoons powdered sugar
- ½ teaspoon vanilla extract
- 4-5 Oreos, crushed for sprinkling on top
Instructions
- Add Oreos and melted butter to a food processor. Pulse until a fine crumb forms.
- Press the crust mixture into the bottom and sides of a 9-inch springform pan.
- Place in freezer while you make the filling.
- Add heavy cream to a stand mixer fitted with the whisk attachment. Beat on medium speed for 3-4 minutes, or until stiff peaks form. Remove from the bowl and set aside.
- Add cream cheese, powdered sugar, and vanilla extract to the bowl of a stand mixer fitted with the paddle attachment. Beat on medium speed until smooth and creamy, about 1 minute. Using a spatula, gently fold in the whipped cream until well incorporated.
- Gently fold in the crushed Oreos. Spread filling evenly over the chilled crust. Return to freezer for 1 hour or refrigerate for 2-4 hours, until set.
- Add remaining heavy cream to a stand mixer fitted with the whisk attachment. Beat on medium speed for 2-3 minutes, or until soft peaks form. Add in the powdered sugar and vanilla extract and continue mixing until stiff peaks form.
- Pipe whipped cream on top of the pie. Garnish with crushed Oreos. Serve chilled.
Nutrition Facts (Approximate)
Serving: 1 slice
Calories: 517 kcal
Carbohydrates: 47 g
Protein: 5 g
Fat: 36 g
Saturated Fat: 19 g
Polyunsaturated Fat: 3 g
Monounsaturated Fat: 11 g
Trans Fat: 0.3 g
Cholesterol: 78 mg
Sodium: 268 mg
Potassium: 179 mg
Fiber: 1 g
Sugar: 32 g
Disclaimers
This website provides approximate nutrition information for convenience and as a courtesy only. Nutrition information can vary for a variety of reasons. For the most precise nutritional data use your preferred nutrition calculator based on the actual ingredients you used in the recipe.
The default measuring system for this website is US Customary. Unit conversions are provided for convenience and as a courtesy only. While we strive to provide accurate unit conversions, please be aware that there may be some discrepancies.