

Homemade Flour Tortillas: Your Secret to Unmatched Freshness and Flavor
If you’ve never had the pleasure of sinking your teeth into a freshly made **homemade flour tortilla**, you are truly missing out on a culinary revelation! Prepare to discover the softest, most tender, and incredibly flavorful tortillas you’ve ever experienced. Once you try crafting these from scratch, the thought of returning to stiff, dry store-bought alternatives will become a distant memory. This comprehensive guide will empower you to create perfect flour tortillas that will elevate all your favorite Mexican and Tex-Mex dishes to an authentic new level.
Table of Contents
- The Unbeatable Difference: Why Homemade Flour Tortillas Are Best
- Essential Ingredients for Perfect Homemade Flour Tortillas
- Step-by-Step Guide: How to Make Fluffy Flour Tortillas
- Homemade Flour Tortillas Recipe Card
- Homemade Flour Tortilla FAQs
- Tips for Storing and Reheating Your Fresh Tortillas
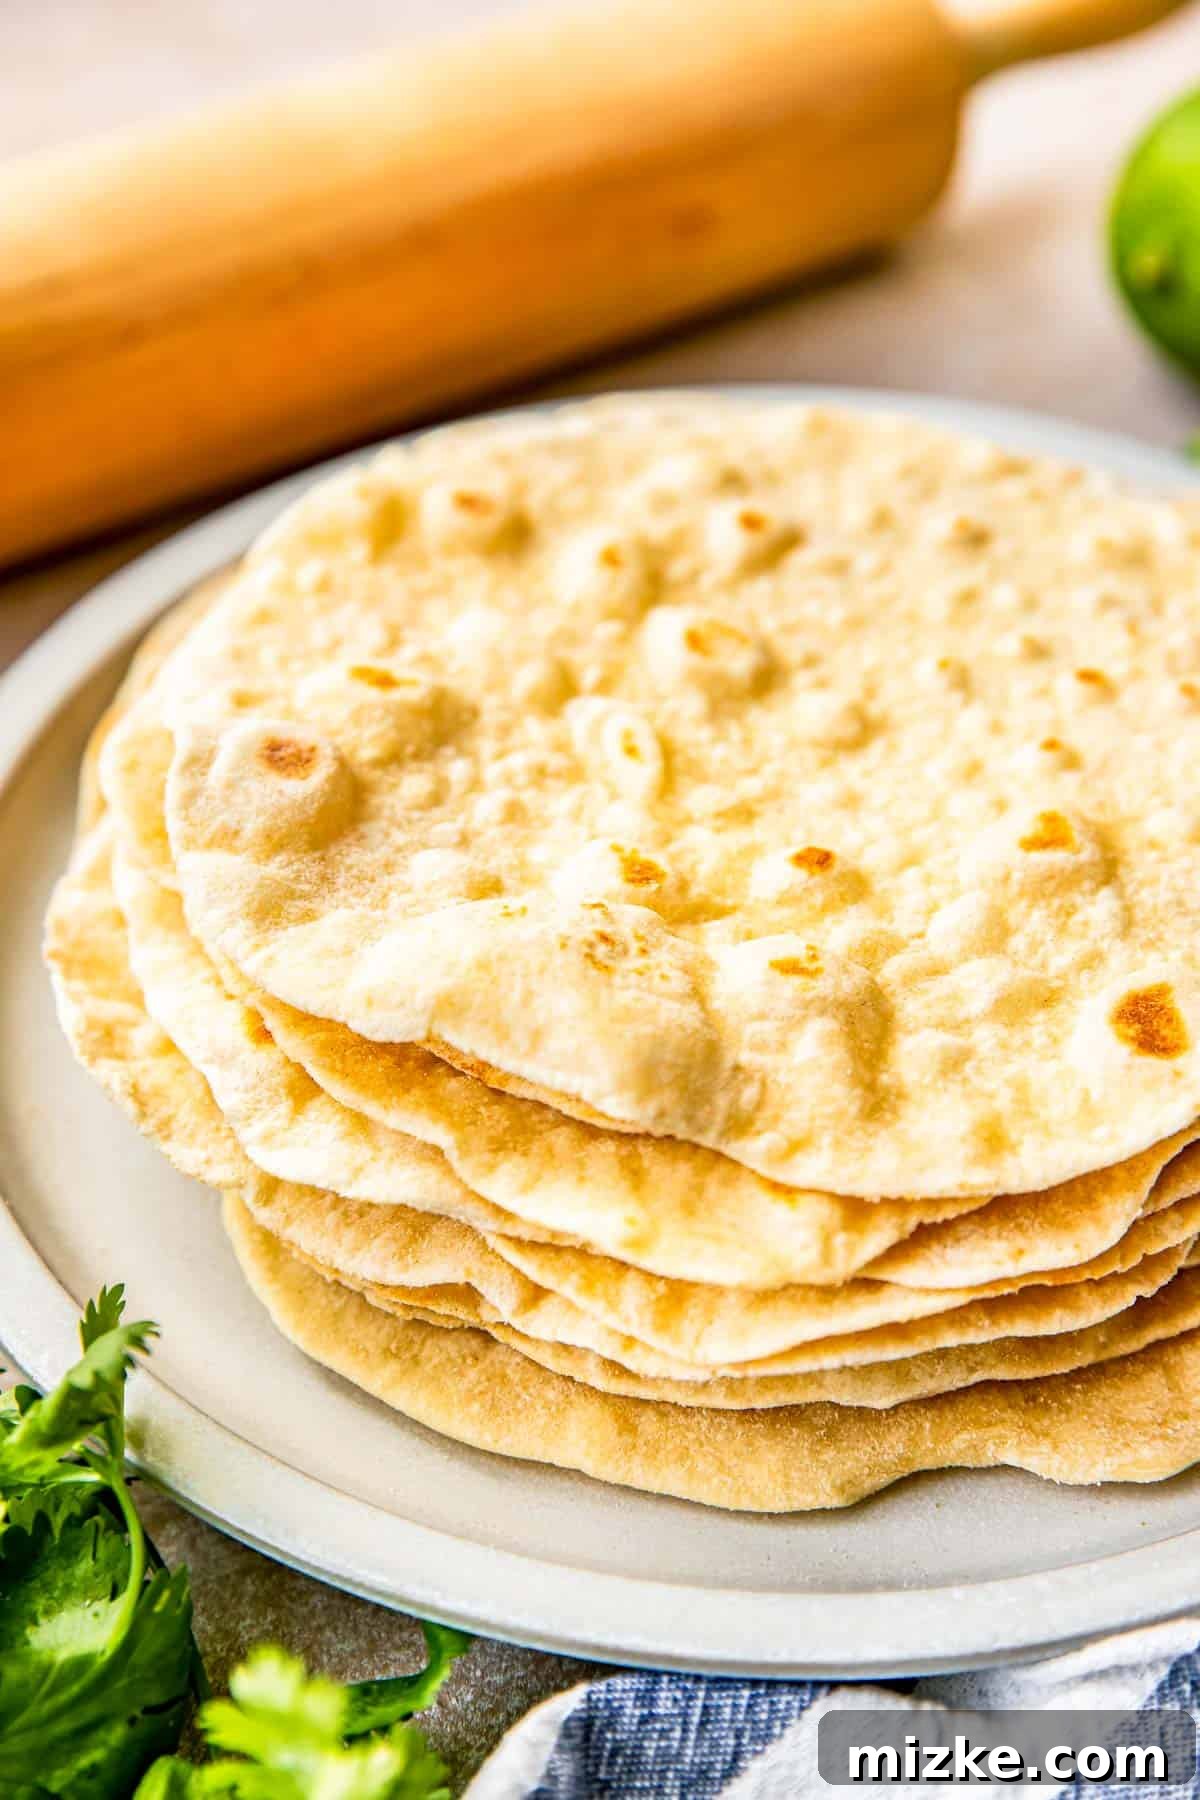
The Unbeatable Difference: Why Homemade Flour Tortillas Are Best
Have you ever had the opportunity to witness tortillas being made by hand at a truly authentic Mexican or Tex-Mex eatery? It’s a captivating experience, and the resulting product is incomparable. I distinctly recall my time in California, where every breakfast burrito establishment boasted fresh, in-house made tortillas. The impact on taste and texture was profound. These tortillas endowed burritos and tacos with an exquisite tenderness and that ideal chewy consistency that only fresh can deliver.
Admittedly, for a long time, the idea of making flour tortillas at home never truly crossed my mind. It always seemed so much simpler to grab a pack from the store, especially when pressed for time. Of course, that’s where quality often takes a back seat to convenience. However, if you find yourself with a bit of extra time on your hands, I wholeheartedly urge you to try this recipe for homemade flour tortillas. The effort is minimal compared to the incredible payoff.
Embrace the Art of Fresh Baking
Crafting homemade flour tortillas is a journey into the heart of traditional cooking. It’s akin to the rewarding experience of baking sourdough bread; a fundamental skill that transforms simple ingredients into something extraordinary. There’s an undeniable satisfaction in creating something so foundational from scratch. The fresh aroma that fills your kitchen and the unparalleled taste and texture of a warm tortilla are sensations that store-bought versions simply cannot replicate. These aren’t just wrappers for your fillings; they are an integral part of the dish, elevating every bite.
Consider dedicating a portion of your next meal prep day to making a generous batch of these homemade flour tortillas. They are wonderfully freezer-friendly, allowing you to enjoy the convenience of “fresh” tortillas even on your busiest days. Imagine the joy of pulling out a homemade tortilla from the freezer, warming it up, and instantly transforming your quick meal into a gourmet experience.
The versatility of these flour tortillas is immense. They are the ideal vehicle for a plethora of delicious meals. Here are some beloved household favorites that truly shine with homemade tortillas:
- Hearty Homemade Chicken Enchiladas: Wrap your savory chicken and cheese fillings in these tender tortillas for an unbeatable baked dish.
- Creative Homemade Crunchwrap Supremes: Achieve the perfect balance of soft tortilla, crunchy shell, and delicious fillings.
- Flavorful Chipotle Shrimp Tacos: The soft texture of these tortillas beautifully complements the zesty, spiced shrimp.
Beyond these classics, they are perfect for breakfast tacos, quesadillas, fajitas, burritos, and even just warmed with a smear of butter for a simple, comforting snack. Once you discover the profound difference, you’ll find countless excuses to incorporate them into your culinary repertoire.
Essential Ingredients for Perfect Homemade Flour Tortillas
The beauty of homemade flour tortillas lies in their simplicity. You only need a handful of common ingredients, each playing a vital role in achieving that sought-after soft, pliable texture and delightful flavor. Understanding these components will help you master the art of tortilla making.
- All-Purpose Flour: This forms the structural base of our tortillas. All-purpose flour provides just the right amount of gluten for a flexible yet tender result. While specialty tortilla flours exist, standard all-purpose flour is readily available and yields consistently excellent, classic tortillas.
- Kosher Salt: More than just a seasoning, salt enhances the overall flavor profile of the tortillas, balancing the richness of the fat and the subtle sweetness of the flour. Don’t underestimate its importance!
- Baking Powder: This is a key leavening agent that differentiates a truly tender flour tortilla. It creates tiny air pockets within the dough during cooking, contributing to that characteristic fluffy, soft, and slightly chewy texture that we all love.
- Vegetable Oil (or Lard): Fat is crucial for creating tender tortillas. Vegetable oil is a neutral and widely available choice that works wonderfully. For a more traditional flavor and even richer tenderness, many prefer to use lard. Feel free to experiment with either to discover your personal preference.
- Warm Water: The temperature of your water is important. Warm water helps the flour absorb moisture more effectively, encourages gluten development, and makes the dough more pliable and easier to work with. It contributes to a smoother dough that rolls out beautifully.
These simple ingredients, when combined correctly, create a magic that store-bought tortillas can only dream of.
Step-by-Step Guide: How to Make Fluffy Flour Tortillas
Crafting your own flour tortillas is a deeply rewarding process. With a stand mixer, it’s surprisingly simple, but even by hand, the steps are straightforward. Follow this detailed guide to ensure your tortillas are perfectly soft, tender, and delicious every time.
-
Prepare and Mix Your Dough
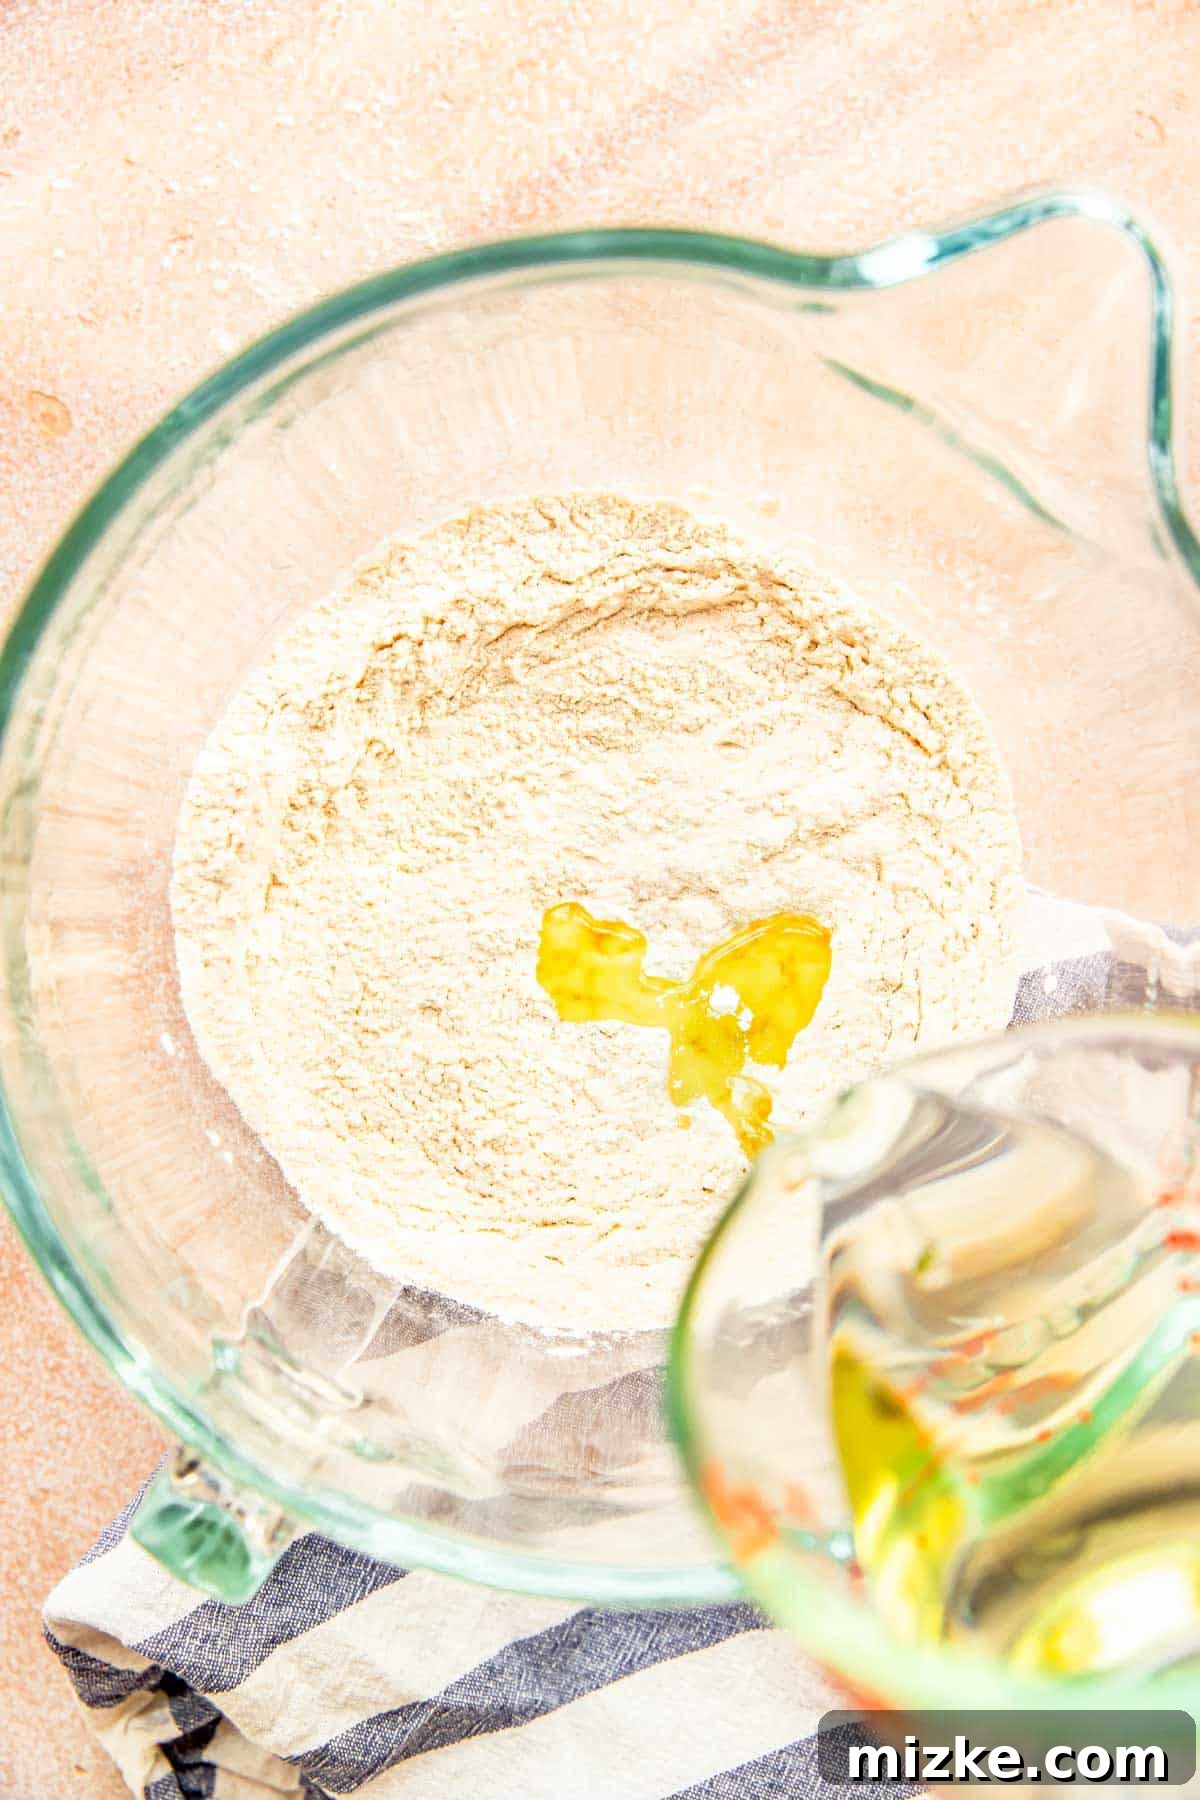
Begin by adding the dry ingredients – 3 cups of all-purpose flour, 1 teaspoon of kosher salt, and 1 teaspoon of baking powder – to the bowl of a stand mixer fitted with the dough hook attachment. Mix on low speed for approximately 30 seconds. This initial step ensures that your dry ingredients are thoroughly combined, preventing any pockets of unmixed salt or baking powder that could affect the final texture and taste of your tortillas.
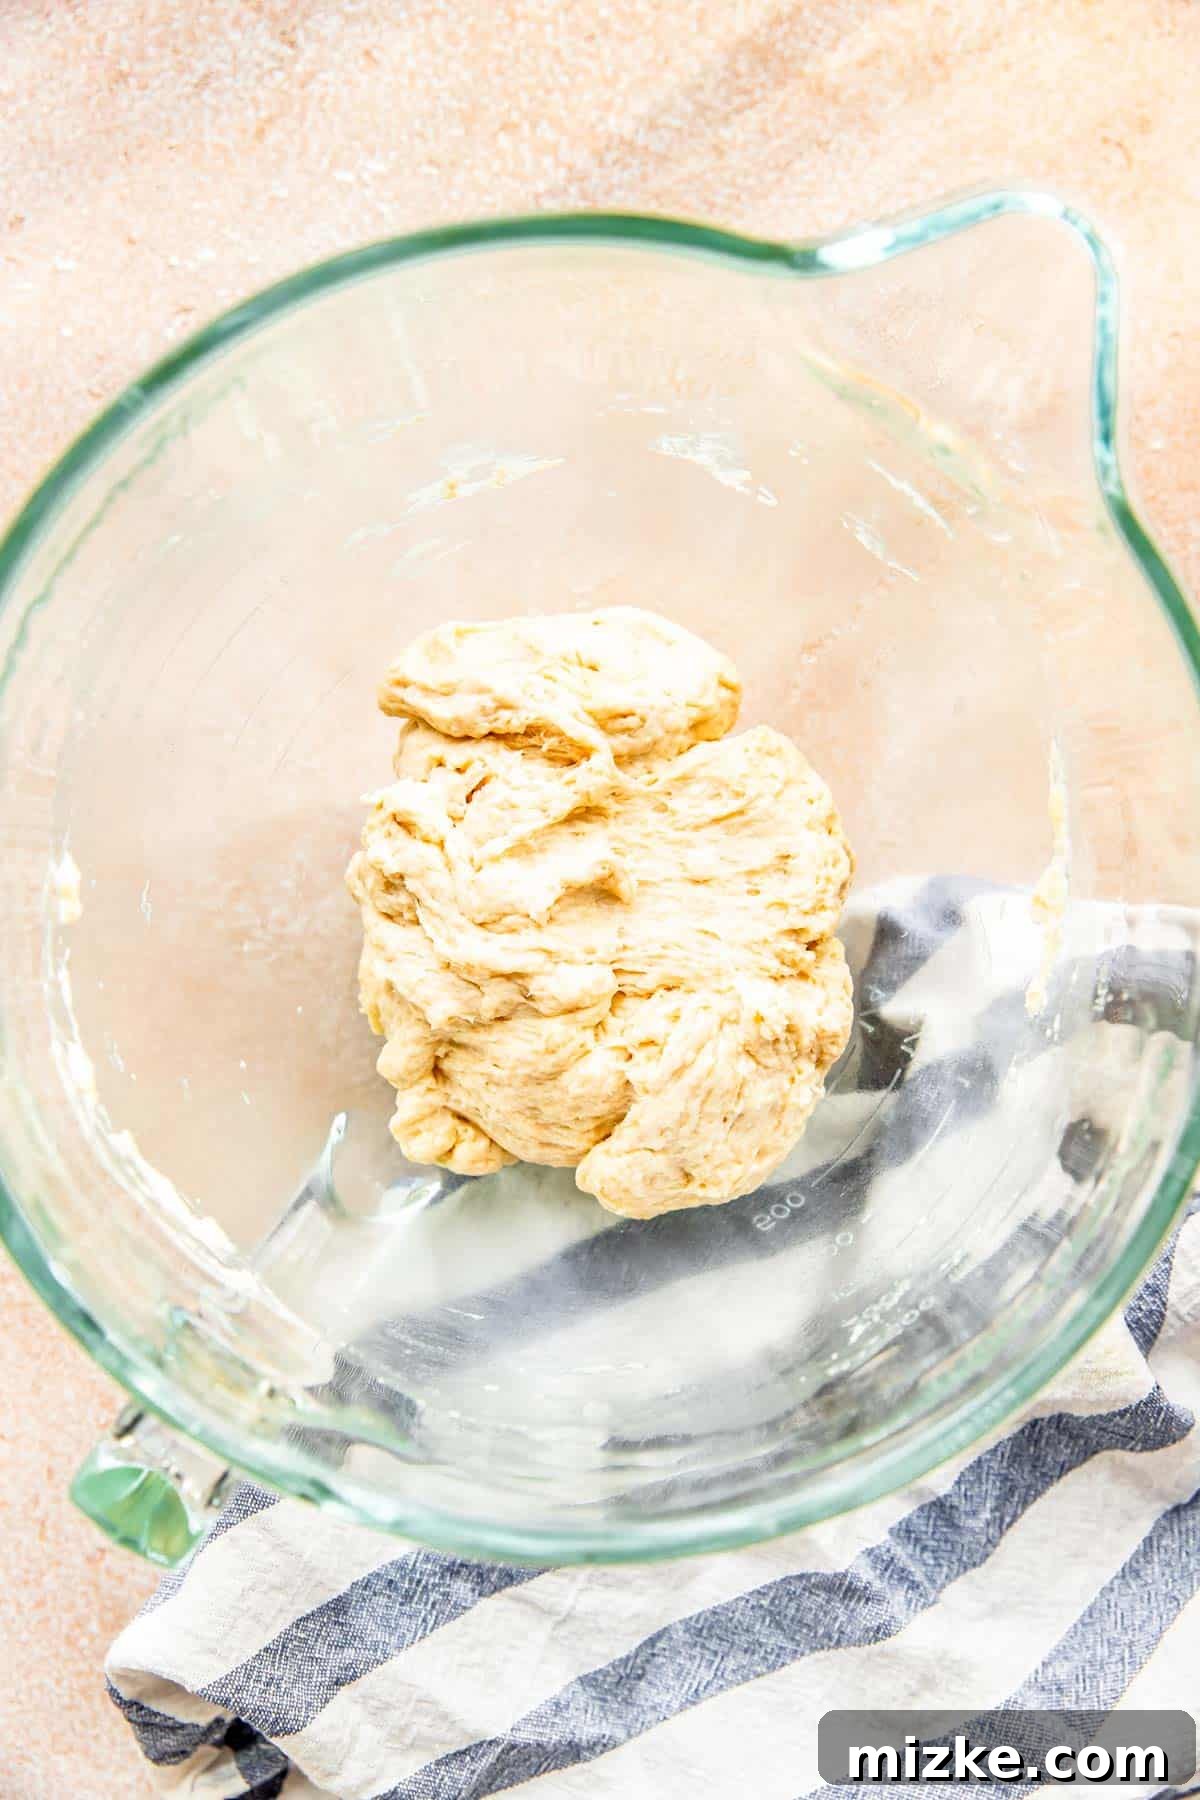
With the mixer still running on a medium-low speed, slowly pour in the ⅓ cup of vegetable oil (or melted lard) followed by 1 cup of warm water. Continue mixing until the ingredients come together, and the dough starts to pull away from the sides of the bowl, forming a smooth, cohesive ball. The dough should feel soft and slightly elastic. Be careful not to overmix, as excessive kneading can lead to tough tortillas. Once it forms a ball, mix for another 1-2 minutes to ensure proper gluten development without overworking.
-
Portion, Flatten, and Rest the Dough

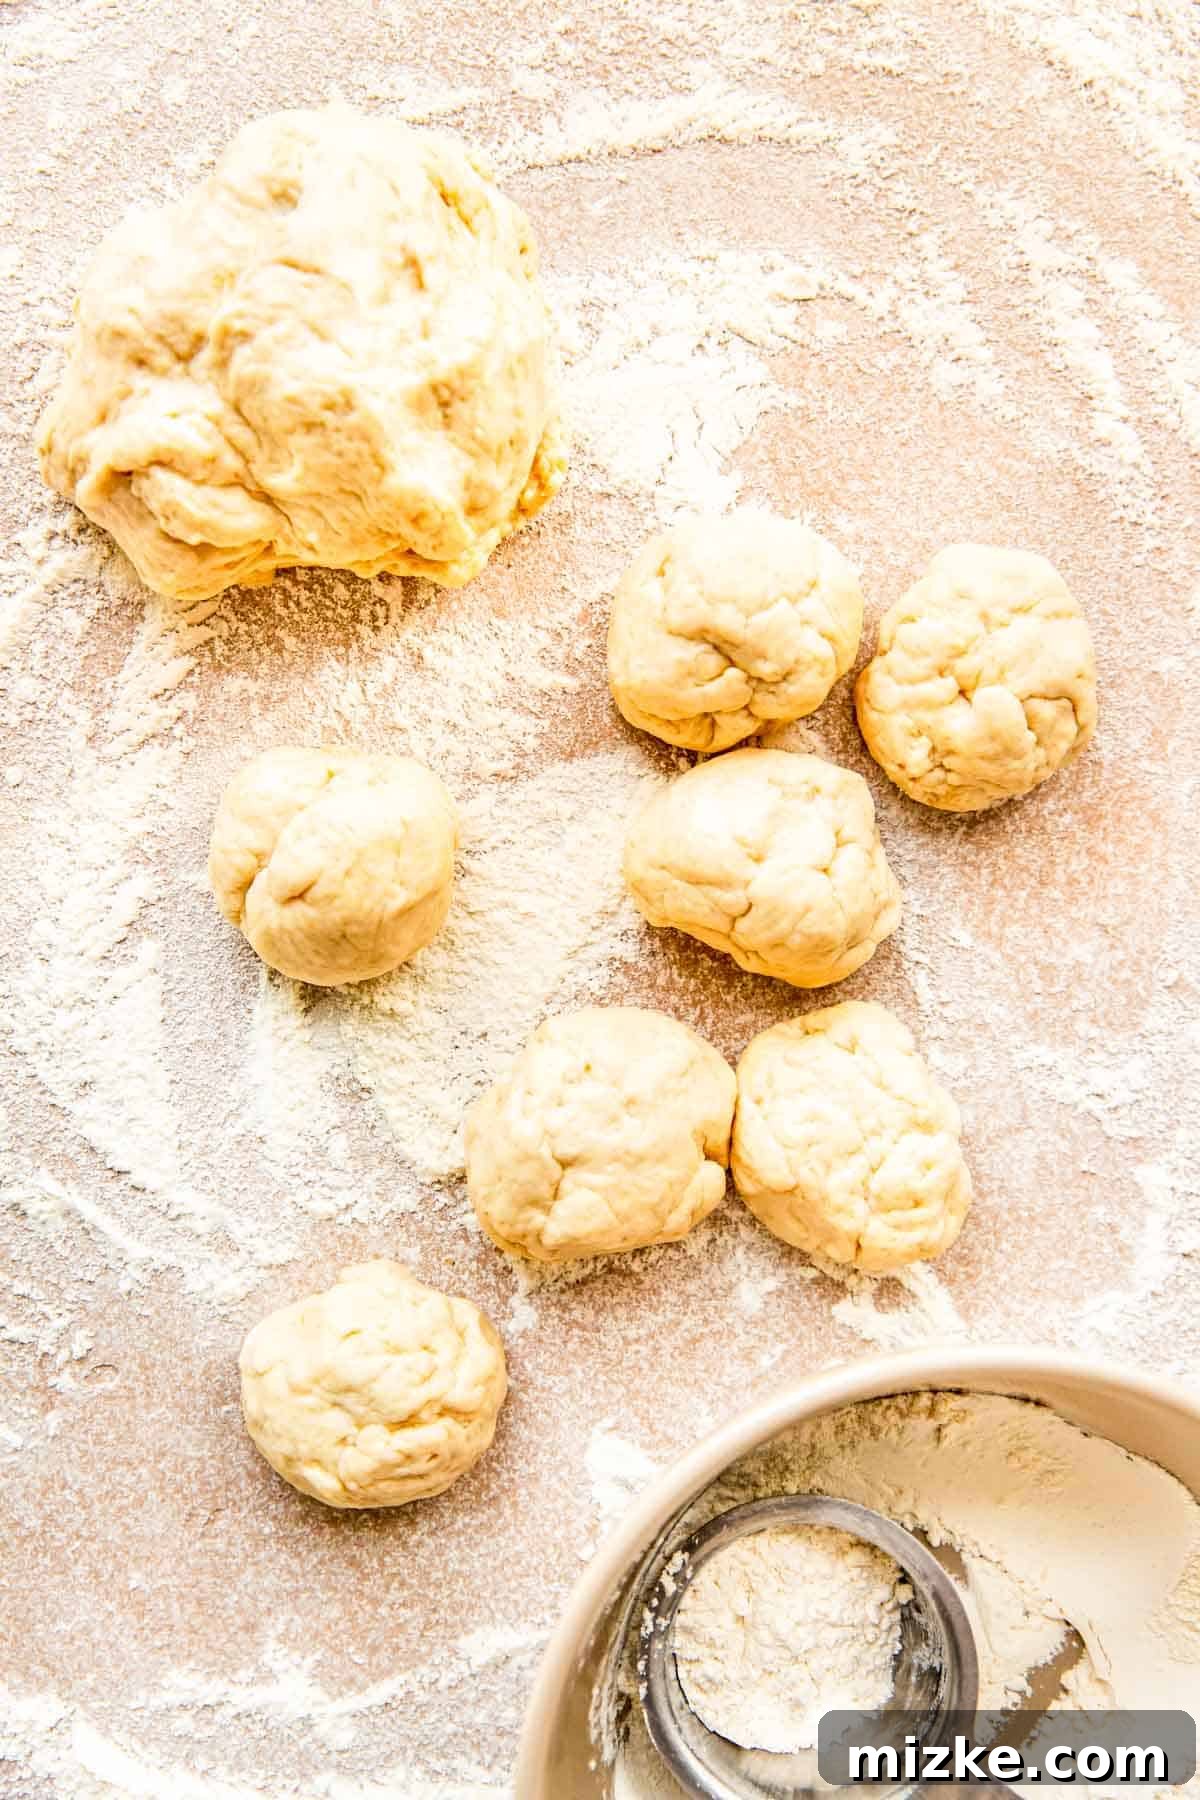
Divide the dough into equal portions and gently flatten. Roll each dough ball into a thin, uniform circle. Once your dough has reached the desired consistency, transfer it from the mixer bowl to a lightly floured work surface. Divide the dough into approximately 16 equal portions. For consistent sizing, a kitchen scale can be helpful, aiming for about 43-45 grams per piece. Roll each portion into a smooth ball, then gently flatten it into a small disc using the palm of your hand. This pre-shaping step helps relax the gluten fibers.
Cover the flattened dough discs with a clean kitchen towel and let them rest for a minimum of 15 minutes. This resting period is absolutely critical. It allows the gluten to fully relax, making the dough incredibly pliable and easy to roll out thinly without it stubbornly springing back. If you skip this step, you’ll find the dough much harder to work with, resulting in thicker, less tender tortillas.
-
Roll Out Your Tortillas
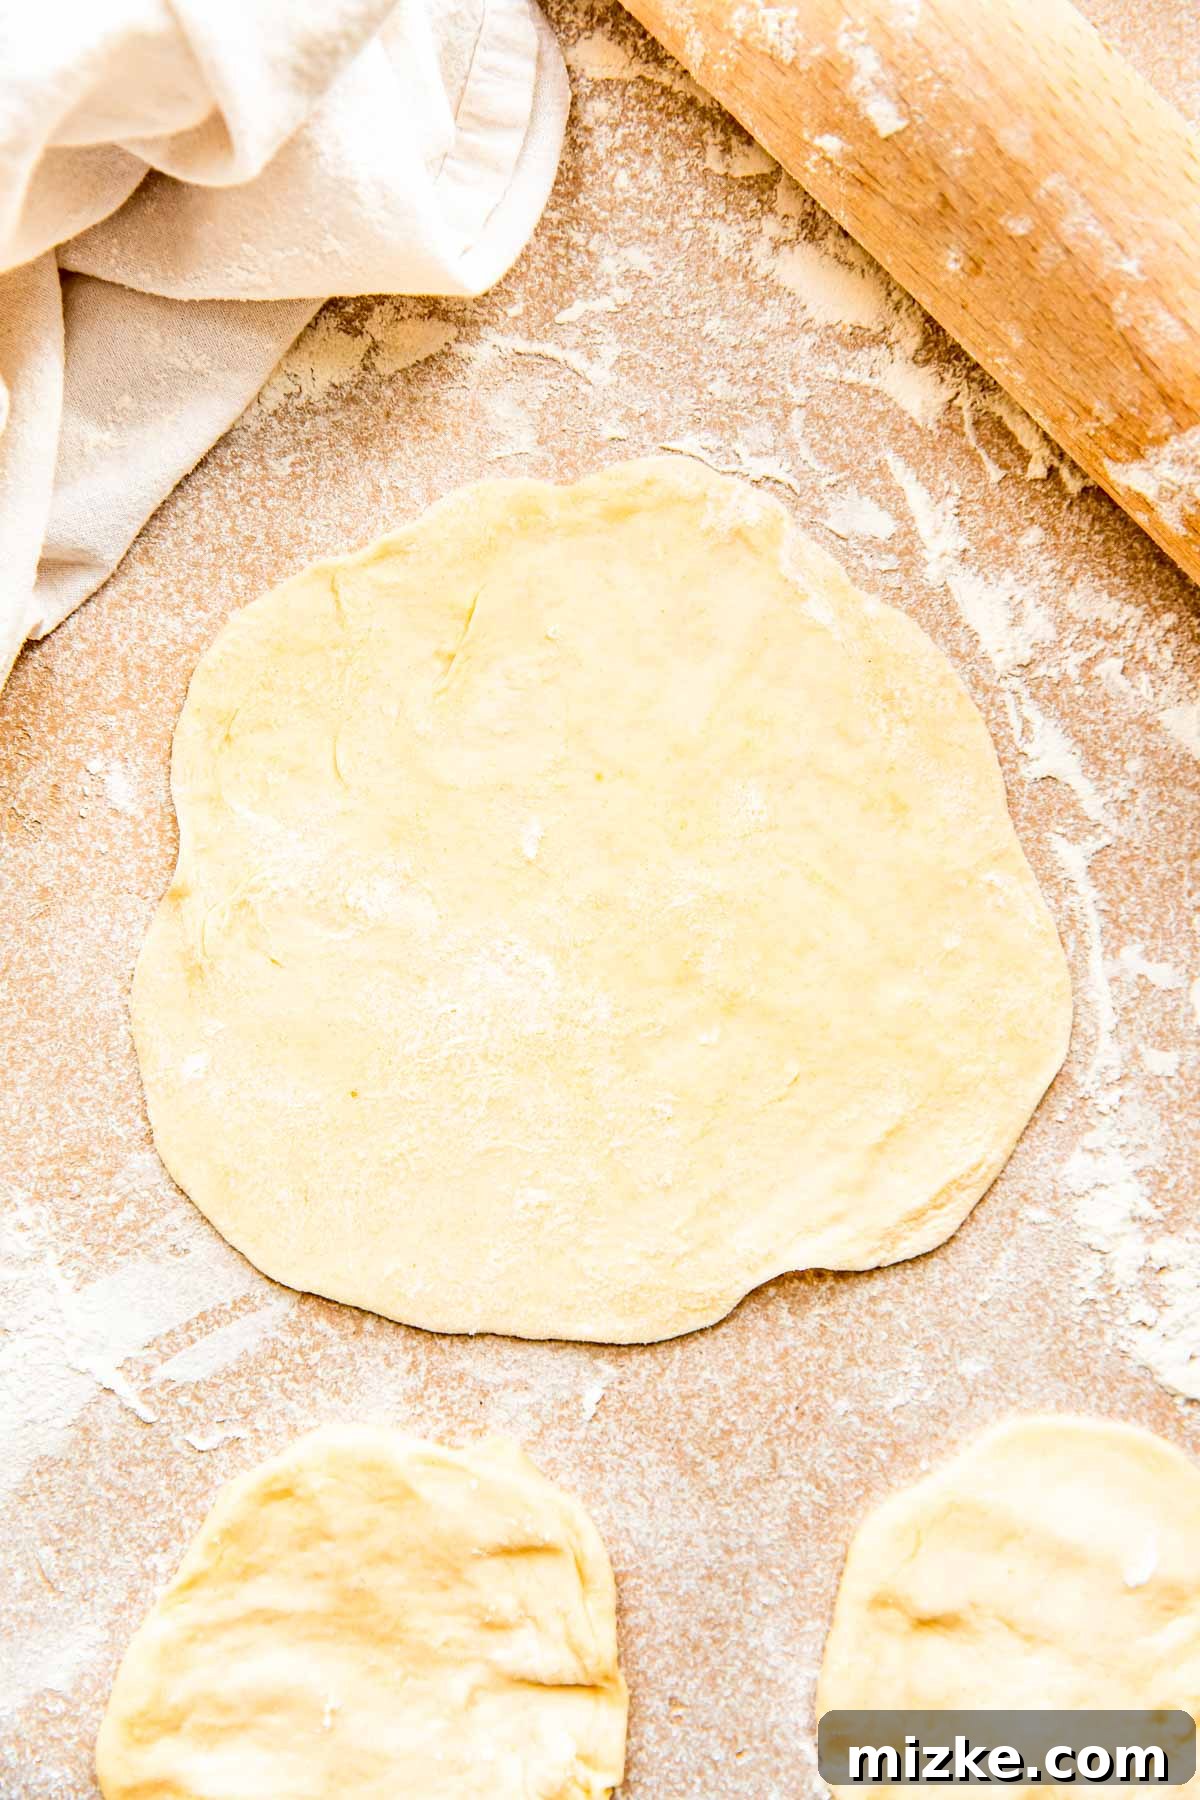
After the resting period, lightly flour your work surface once more, as well as your rolling pin. Take one dough ball at a time and roll it out into a thin, approximately 6-inch diameter circle. The goal is an even thickness across the entire tortilla – aim for translucency but without tearing. Don’t stress too much about achieving perfect circles; the rustic, irregular shapes are part of the charm of homemade!
As you roll out your tortillas, ensure you do not stack the uncooked ones directly on top of each other, as they tend to stick. You can lay them out individually on a floured surface or separate them with small squares of parchment paper if you need to stack them before cooking.
-
Cook the Tortillas to Perfection
Cook until bubbles form and the bottom lightly browns. Flip and cook for a shorter time until spotted brown. Heat a non-stick skillet or a traditional comal over medium-high heat. The pan is ready when a drop of water quickly evaporates or sizzles on the surface. Once adequately heated, carefully place one rolled dough circle into the center of the hot pan.
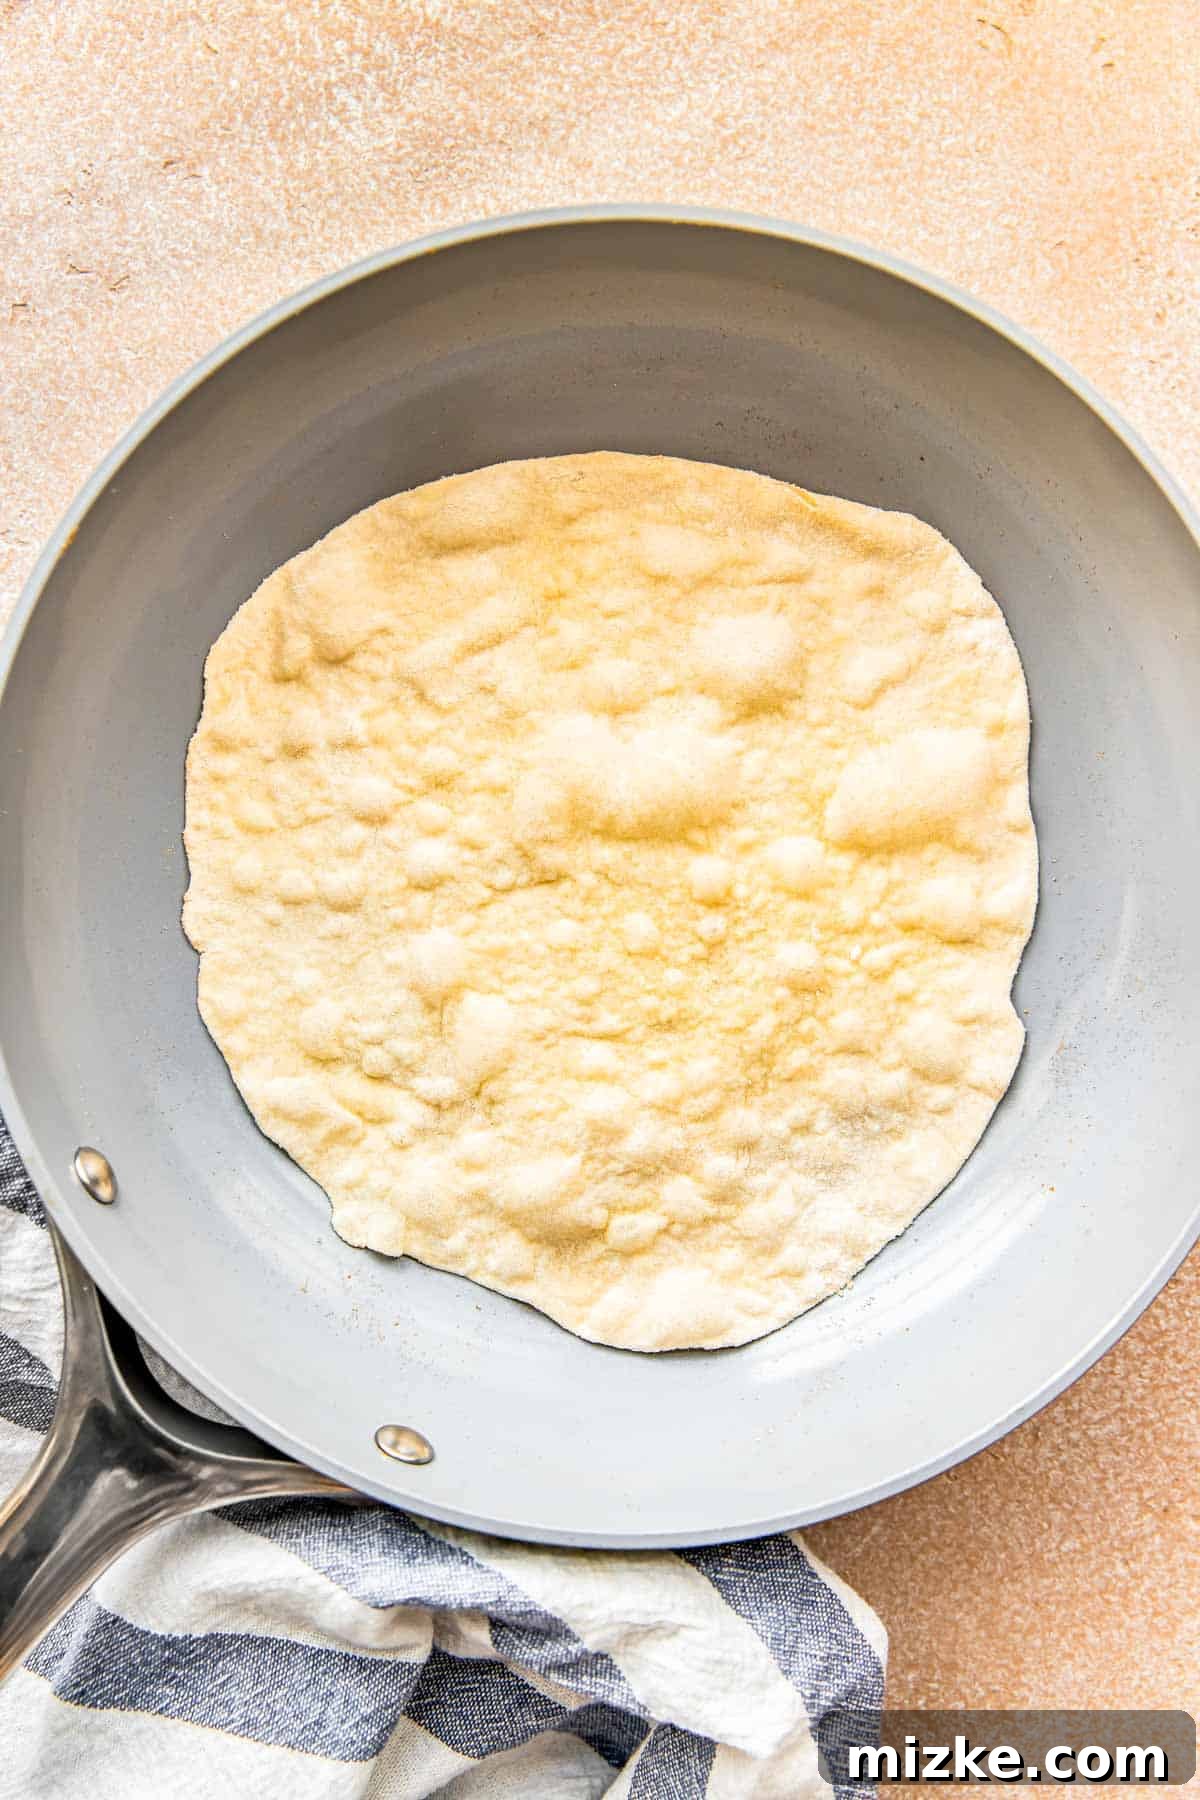
Cook the first side for approximately 1 minute, or until you notice the surface of the dough starting to bubble up significantly and light golden-brown spots appearing on the bottom. These bubbles are a good indicator that the tortilla is cooking through and developing its characteristic softness.
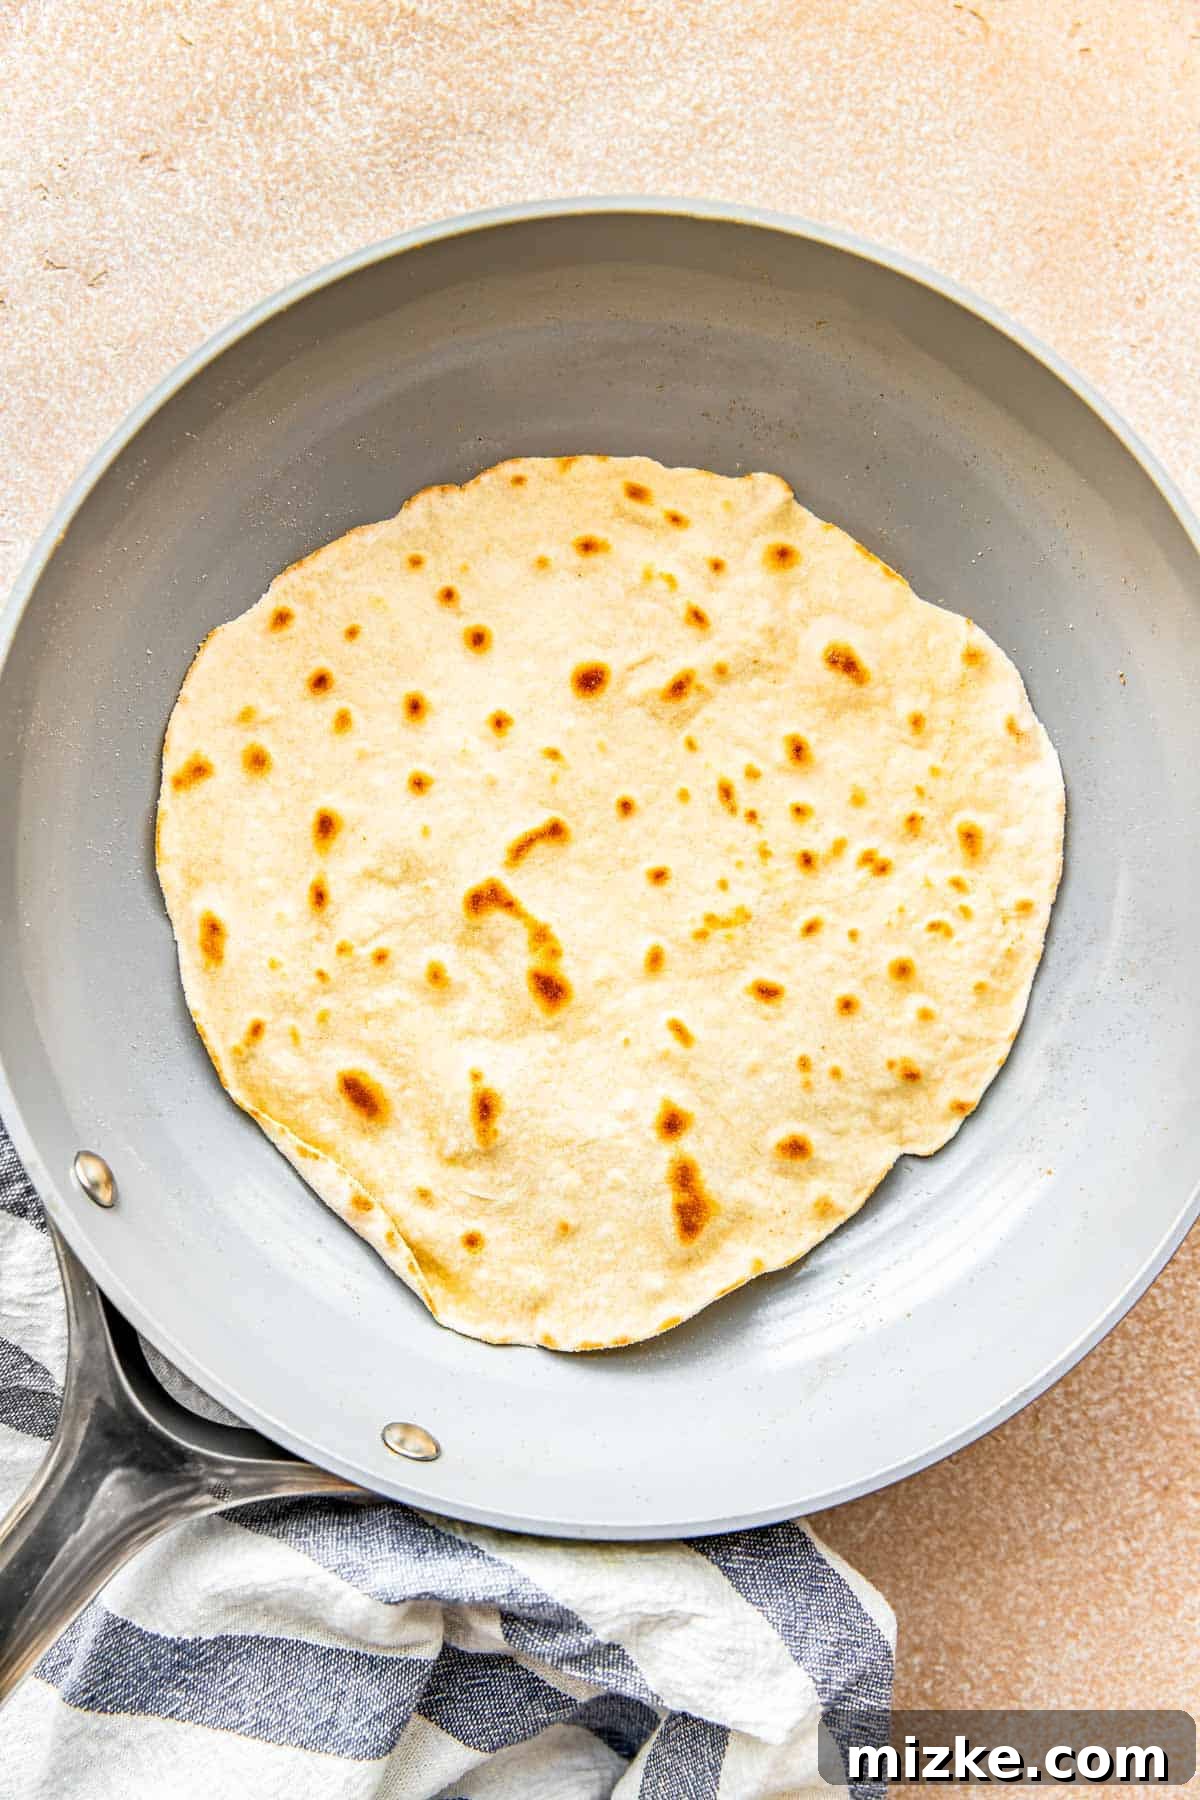
At this point, flip the tortilla and cook the second side for a slightly shorter duration, typically 20-30 seconds. You are aiming for a soft, pliable tortilla with a few beautiful brown spots, not a crispy one. Overcooking will dry out your tortillas and make them tough, so watch them closely! The goal is to cook them just enough to be tender and cooked through.
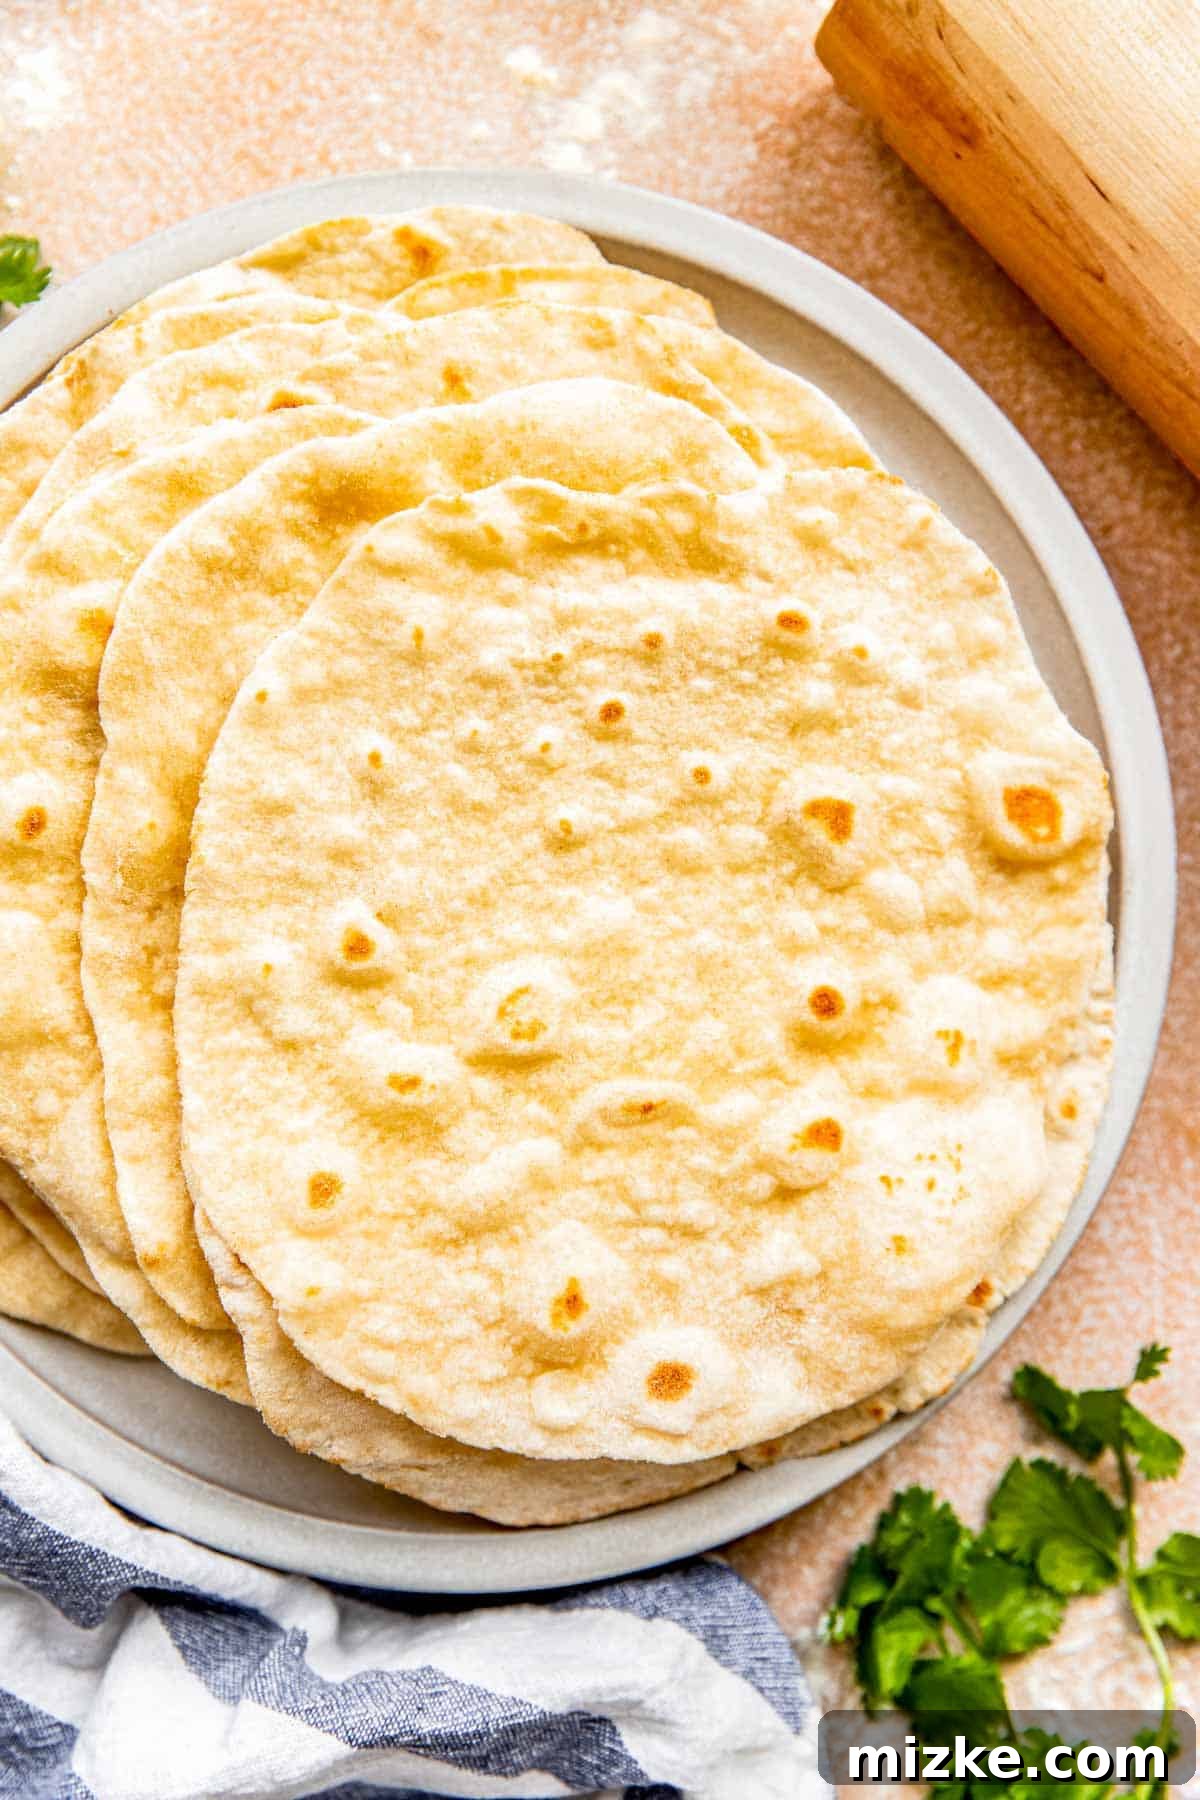
As each tortilla finishes cooking, immediately transfer it to a plate and cover it with a clean kitchen towel. This clever trick traps the steam, keeping your tortillas warm, incredibly soft, and pliable while you continue cooking the remaining dough. Continue this enjoyable process until every piece of dough has been transformed into a delicious homemade flour tortilla!
Homemade Flour Tortillas Recipe Card
Homemade Flour Tortillas
Say goodbye to bland, stiff store-bought tortillas! This recipe delivers unbelievably fluffy, soft, and tender homemade flour tortillas that are 100 times better. Perfect for tacos, burritos, enchiladas, or simply as a delicious snack.
By: Julie Chiou
Prep Time: 30 minutes
Cook Time: Approx. 2 minutes per tortilla (total ~32 minutes)
Total Time: Approximately 1 hour
Yields: 16 tortillas
Equipment
- Stand mixer with dough hook attachment (optional, can be mixed by hand)
- Rolling pin
- Non-stick skillet or comal
- Clean kitchen towel
Ingredients
- 3 cups (375 g) all-purpose flour
- 1 teaspoon kosher salt
- 1 teaspoon baking powder
- ⅓ cup (79 ml) vegetable oil (or lard for a richer flavor)
- 1 cup (237 ml) warm water
Instructions
- In the bowl of a stand mixer fitted with the dough hook attachment, combine the all-purpose flour, kosher salt, and baking powder. Mix on low speed for 30 seconds to thoroughly incorporate the dry ingredients.
- With the mixer still running at medium-low speed, gradually add the vegetable oil and warm water. Continue to mix until the dough comes together and forms a smooth, cohesive ball. The dough should be soft and slightly pliable.
- Transfer the dough to a well-floured surface. Divide the dough into approximately 16 equal portions (about 43-45g each if using a scale). Shape each portion into a small ball, then gently flatten it with the palm of your hand into a disc.
- Cover the flattened dough portions with a clean kitchen towel and let them rest for 15 minutes. This resting period allows the gluten to relax, making the dough significantly easier to roll.
- After the dough has rested, lightly flour your work surface and rolling pin. Take one dough piece and roll it out into a 6-inch diameter circle. Aim for a thin, even thickness. Do not stack uncooked tortillas on top of each other to prevent sticking.
- Heat a non-stick skillet or comal over medium-high heat. When the pan is hot, place one rolled dough circle in the middle. Cook for about 1 minute, or until the surface starts to bubble vigorously and the bottom shows light brown spots.
- Flip the tortilla and cook the other side for approximately 20-30 seconds, or until light brown spots appear. The tortilla should remain soft and pliable, not crispy.
- Immediately transfer the cooked tortilla to a plate and cover it with a clean kitchen towel to keep it warm and soft. Continue with the remaining dough portions until all tortillas are cooked.
- Serve your fresh, warm homemade flour tortillas with your favorite Mexican or Tex-Mex dishes, or simply enjoy them on their own!
Nutrition Information (Approximate per tortilla)
- Serving: 1 tortilla (43 grams)
- Calories: 122 kcal
- Carbohydrates: 17g
- Protein: 2g
- Fat: 5g
- Fiber: 1g
This website provides approximate nutrition information for convenience and as a courtesy only. Nutritional content can vary based on specific ingredients, portion sizes, and preparation methods. For the most precise nutritional data, please use your preferred nutrition calculator based on the actual ingredients you use in the recipe.
The default measuring system for this website is US Customary. Unit conversions are provided for convenience and as a courtesy only. While we strive for accuracy, please be aware that there may be some discrepancies due to rounding or different measuring tools.
Homemade Flour Tortilla FAQs
Can these tortillas be made bigger or smaller?
Absolutely! This recipe is incredibly adaptable to different sizes. For delightful street taco-sized tortillas, divide the dough into more portions (e.g., 20-24 instead of 16) and roll them out thinner. If you’re aiming for larger, substantial burrito-sized tortillas, divide the dough into fewer portions (e.g., 8-10) and roll them to a larger diameter. Keep in mind that adjusting the size will naturally affect the total yield and may require slight adjustments to cooking times.
My dough keeps shrinking when I stretch it out, what do I do?
If your dough resists being rolled out and continuously springs back, it’s a clear indication that the gluten hasn’t had enough time to relax. This often occurs if the dough hasn’t rested sufficiently or if it was overworked during the mixing process. The best solution is to simply cover your dough balls again with a clean kitchen towel and let them rest for an additional 10-15 minutes at room temperature. This extra resting period will allow the gluten strands to completely relax, making the dough much more pliable, cooperative, and easier to roll out to your desired thinness without a fight.
What is the best type of fat to use for flour tortillas?
The choice of fat significantly influences the flavor and texture of your tortillas. This recipe uses vegetable oil, which provides a neutral taste and excellent tenderness. However, for a more traditional and richer flavor, many enthusiasts swear by using lard. Lard contributes a distinct savory depth and an unparalleled softness. You could also experiment with shortening (vegetable or animal-based) for a similar effect. Feel free to try different options to discover what best suits your palate!
Can I make the dough by hand if I don’t have a stand mixer?
Absolutely! While a stand mixer simplifies the process, making tortilla dough by hand is entirely feasible and a wonderful way to connect with your food. Combine the dry ingredients in a large bowl. Create a well in the center, then add the oil and warm water. Gradually mix the wet ingredients into the dry with a sturdy spoon or your hands until a shaggy dough forms. Transfer it to a lightly floured surface and knead for about 7-10 minutes until the dough becomes smooth, elastic, and no longer sticky. The hand-kneading process is key to developing the gluten for pliable tortillas.
How do I store homemade flour tortillas, and what’s the best way to reheat them?
Proper storage and reheating are crucial for maintaining the quality and deliciousness of your homemade tortillas.
Storing Cooked Tortillas:
- Room Temperature: If you plan to use them within 1-2 days, allow the tortillas to cool completely, then stack them and wrap tightly in plastic wrap or place them in an airtight container. They will remain soft and fresh for this period.
- Refrigerator: For longer storage, up to a week, transfer the cooled, stacked, and wrapped tortillas to an airtight bag or container and store them in the refrigerator.
- Freezer: For extended storage (up to 2-3 months), let the tortillas cool completely. Stack them with small pieces of parchment paper between each tortilla to prevent sticking. Wrap the entire stack tightly in plastic wrap, then place it in a freezer-safe bag or container.
Reheating Tortillas:
- From the Refrigerator: To reheat, place the tortillas on a plate and cover them with a slightly damp paper towel. Microwave for 15-30 seconds, or until they are warm and soft. Alternatively, gently warm them in a dry non-stick skillet over low heat for about 30 seconds to 1 minute per side, or in a toaster oven. The damp paper towel or low heat prevents them from drying out.
- From the Freezer: You can place frozen tortillas directly into a dry skillet over low heat. Gently warm them, flipping occasionally, until they are defrosted, soft, and pliable. The parchment paper between them will prevent sticking during this process. Avoid microwaving directly from frozen, as this can sometimes lead to a tougher texture.
Photographs by Meg McKeehan Photography