
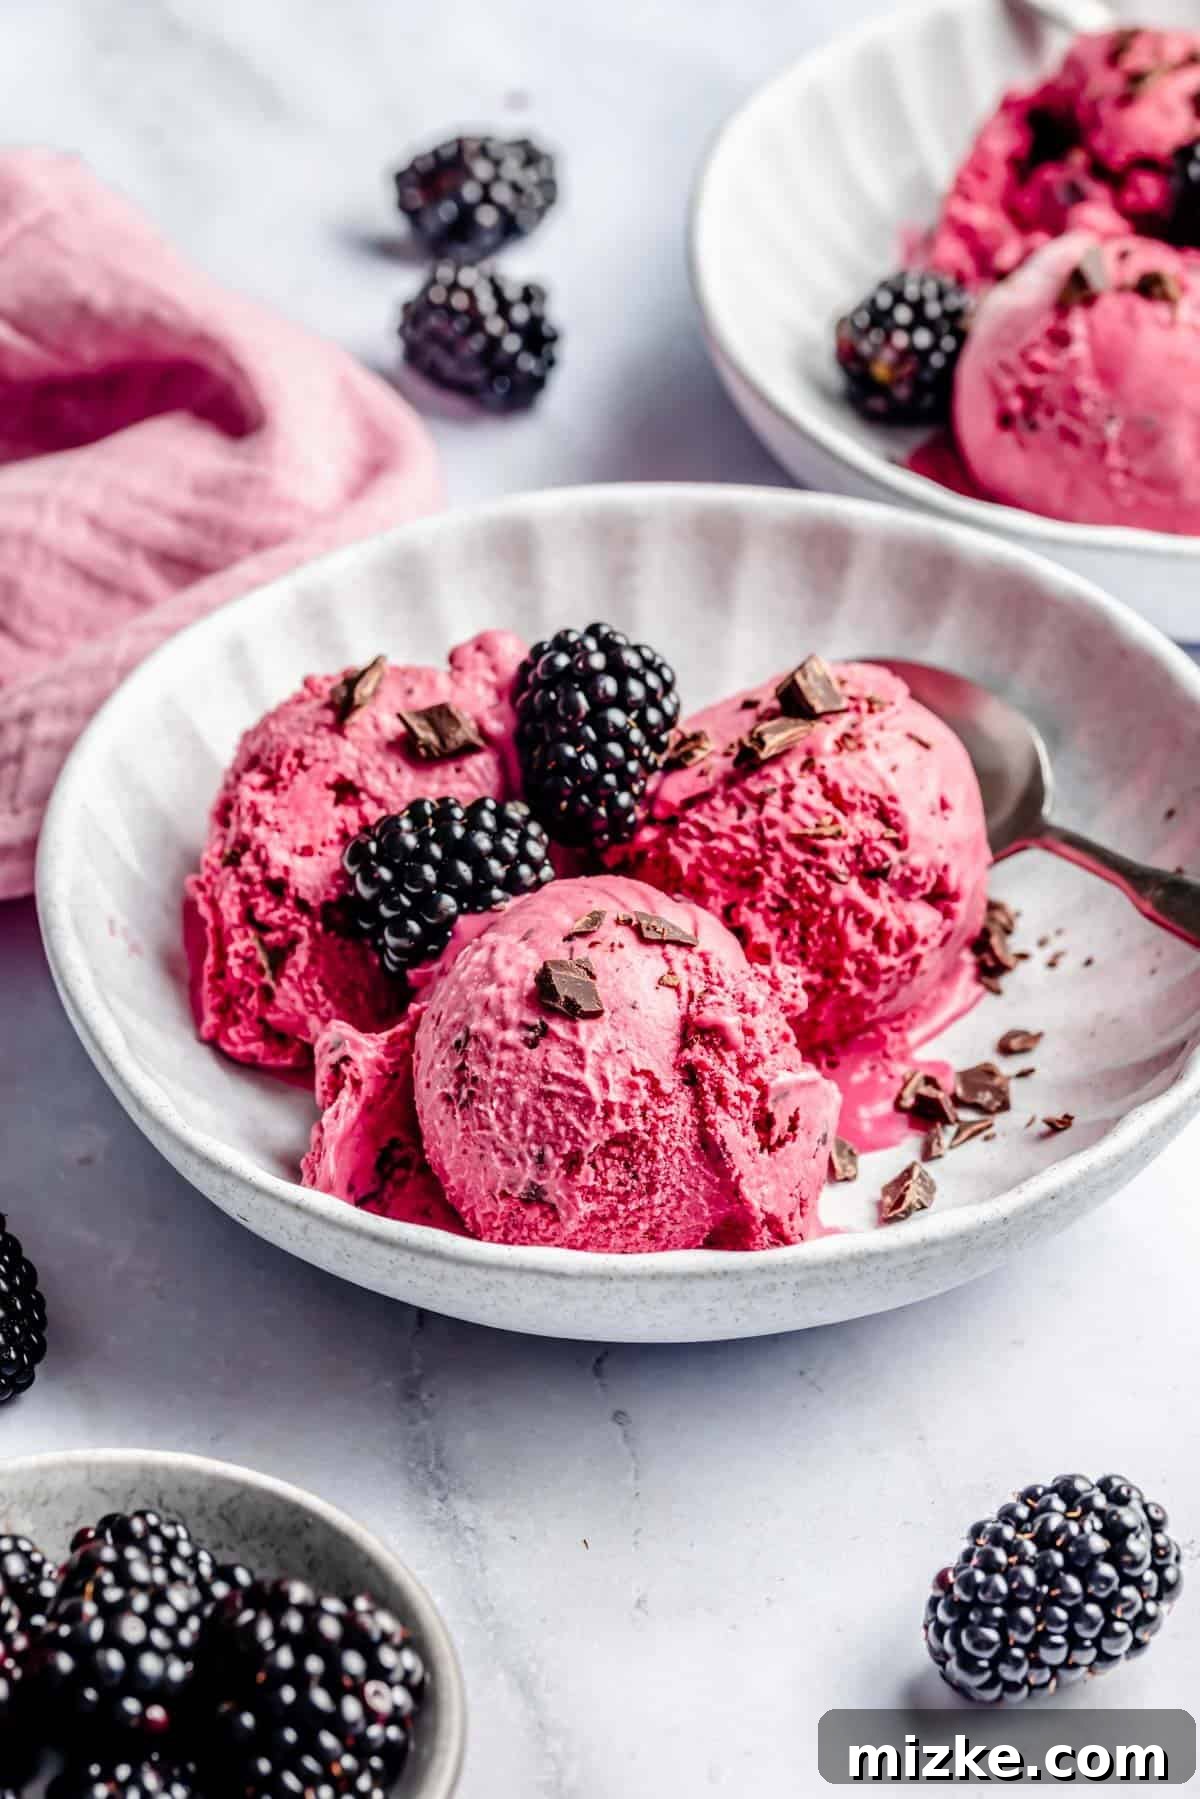
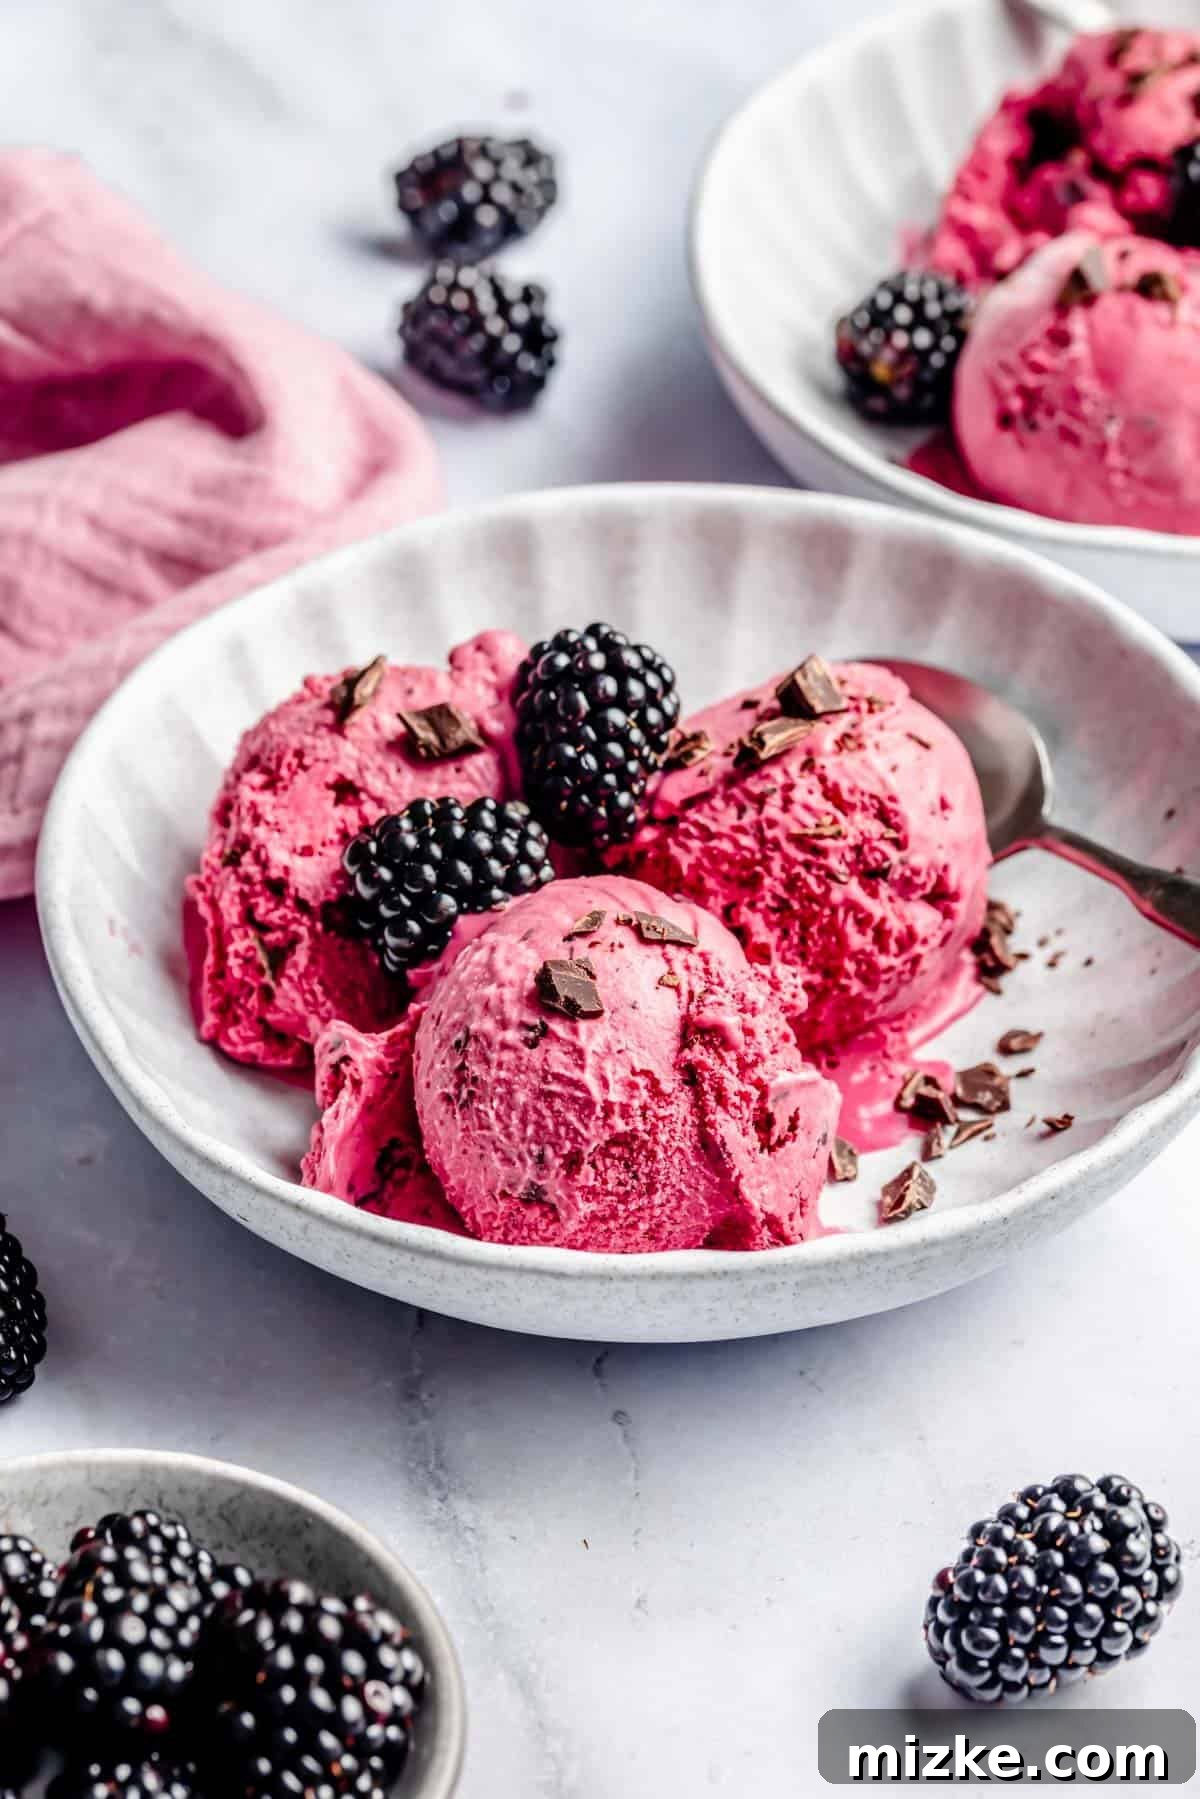
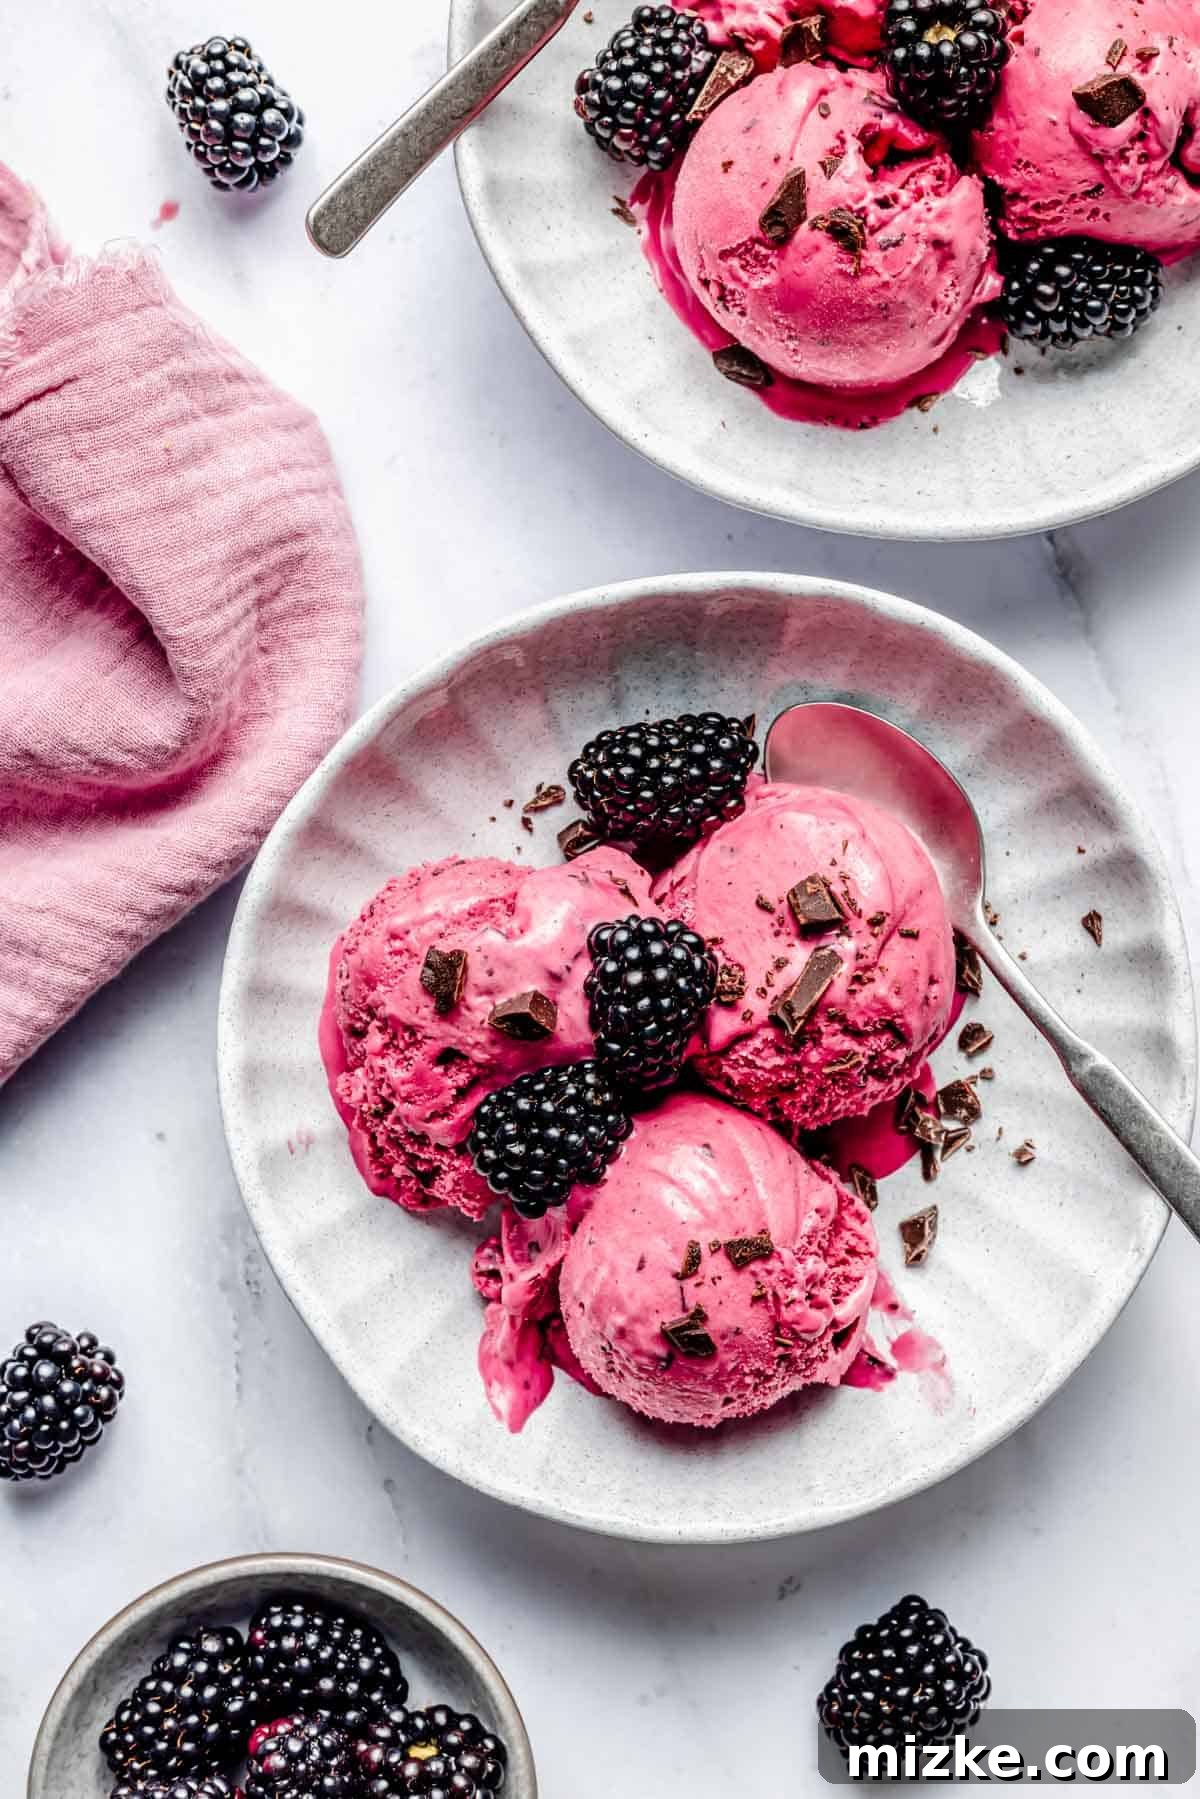
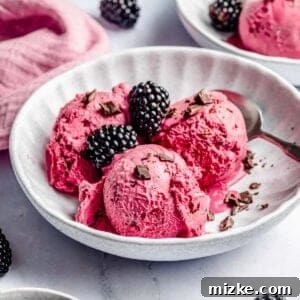
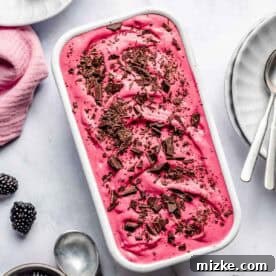
Experience the pure delight of a homemade classic with our vibrantly beautiful blackberry chocolate chip ice cream. This recipe delivers an exceptionally smooth and creamy texture, brimming with intense blackberry flavor and delicate chocolate chips in every luxurious bite. Crafted with a rich custard base, it’s truly the most exquisite treat to cool down on a warm summer’s day.
Indulge in Homemade Perfection: Blackberry Chocolate Chip Ice Cream
There’s nothing quite like the refreshing taste of fresh berries, and in our household, we celebrate them all – from juicy strawberries and tart raspberries to sweet blueberries and succulent blackberries. When summer brings an abundance of these delightful fruits, our go-to solution is always homemade ice cream or a vibrant sorbet. While my strawberry ice cream often takes the top spot, this exquisite blackberry ice cream is a very close second, and for good reason.
What sets this particular homemade blackberry ice cream apart is its luscious custard base. Unlike simpler recipes that rely on condensed milk and heavy cream (which are fantastic for a quicker batch, don’t get us wrong!), a custard base, made with tempered egg yolks, yields an unparalleled level of richness and an incredibly smooth, melt-in-your-mouth consistency. This technique, though it requires a little more time and attention, is undeniably worth the effort. The result is an ice cream so dense and creamy, it scoops effortlessly, promising a perfect bite every time.
But the true magic happens when the vibrant, sweet-tart flavor of ripe blackberries meets the decadent richness of chocolate. This pairing is a match made in dessert heaven, a symphony of flavors that dances on your palate. Imagine spoonfuls of custardy, smooth ice cream, each imbued with the intense essence of blackberries, interspersed with delightful chunks or shavings of rich chocolate. It’s a classic combination that elevates this simple fruit ice cream into a gourmet experience, making it an absolute showstopper for any gathering or a blissful personal treat.
Crafting your own ice cream at home is more than just making a dessert; it’s an experience. It allows you to control the quality of ingredients, adjust sweetness to your preference, and infuse it with pure, unadulterated fruit flavor that simply can’t be replicated by store-bought varieties. The process, from simmering the berries to churning the creamy base, is a rewarding journey that culminates in a truly exceptional dessert. This homemade blackberry ice cream is not just a treat; it’s an invitation to savor the season’s best flavors in the most delightful way possible.
Step-by-Step Guide: Crafting Your Dream Blackberry Ice Cream
Making this incredible blackberry ice cream involves a few distinct yet straightforward steps. While the full recipe card below provides precise measurements and detailed instructions, here’s an overview to guide you through the process, ensuring a smooth journey to your creamy, dreamy dessert.
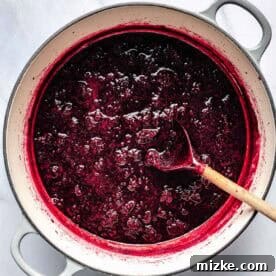
- Prepare the Blackberry Syrup: The foundation of our intense blackberry flavor starts with a simple homemade syrup. You’ll gently cook fresh or frozen blackberries with a touch of sugar and lemon juice until they break down into a rich, pulpy sauce. This step concentrates the berry flavor and makes it easier to infuse into the custard base.
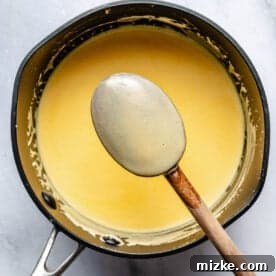
- Create the Custard Base: This is where the magic happens for that signature creamy texture. You’ll delicately heat half and half with sugar, then slowly temper in whisked egg yolks. Tempering is crucial to prevent the eggs from scrambling, ensuring a silky-smooth base. Once thickened to coat the back of a spoon, remove from heat and stir in the heavy cream.
- Combine and Chill: The rich blackberry syrup is then blended with the warm custard base. It’s essential to thoroughly chill this mixture for at least 6 hours, or preferably overnight. This allows the flavors to meld beautifully and ensures the mixture is perfectly cold for optimal churning, leading to a smoother, less icy ice cream.
- Churn and Incorporate Chocolate: Once the base is thoroughly chilled, pour it into your ice cream maker and churn according to the manufacturer’s instructions. In the final minutes of churning, add your chopped chocolate chips. This ensures they are evenly distributed throughout the developing ice cream without sinking to the bottom.
- Freeze for Firmness: Transfer the freshly churned, soft-serve consistency ice cream into a freezer-safe container. For the best firm texture, freeze it overnight. This final freezing step solidifies the ice cream, allowing the flavors to fully develop and providing that perfect scoopable consistency.
Each step contributes to the final masterpiece, ensuring every spoonful of your homemade blackberry chocolate chip ice cream is a testament to flavor and texture.
Fresh vs. Frozen Blackberries: Which to Choose?
A common question when working with fruit in recipes is whether fresh or frozen is best. For this blackberry ice cream, since you’re transforming the berries into a syrup first, the choice between fresh and frozen blackberries is quite flexible. Both options will yield delicious results, but there are nuances to consider.
Fresh Blackberries: If blackberries are in season (typically late spring through summer), opting for fresh berries is highly recommended. Freshly picked blackberries boast the most vibrant flavor and natural sweetness, which will translate beautifully into your syrup and, subsequently, your ice cream. When selecting fresh blackberries, look for plump, firm berries with a deep, uniform color. Avoid any that are soft, moldy, or appear dull. Gently rinse them just before use to maintain their delicate structure.
Frozen Blackberries: Don’t despair if fresh blackberries aren’t available or are out of season. High-quality frozen blackberries are an excellent alternative. They are typically picked at their peak ripeness and flash-frozen, locking in their flavor and nutritional value. For this recipe, you don’t even need to thaw them before making the syrup; simply combine them with the sugar and lemon juice in the saucepan as directed. The cooking process will break them down just as effectively as fresh berries.
Ultimately, the convenience and accessibility of frozen berries make this a recipe you can enjoy year-round. However, if you have the opportunity to use peak-season fresh blackberries, their unparalleled taste will make your homemade ice cream truly shine.
Storage & Serving Tips for Perfect Homemade Ice Cream
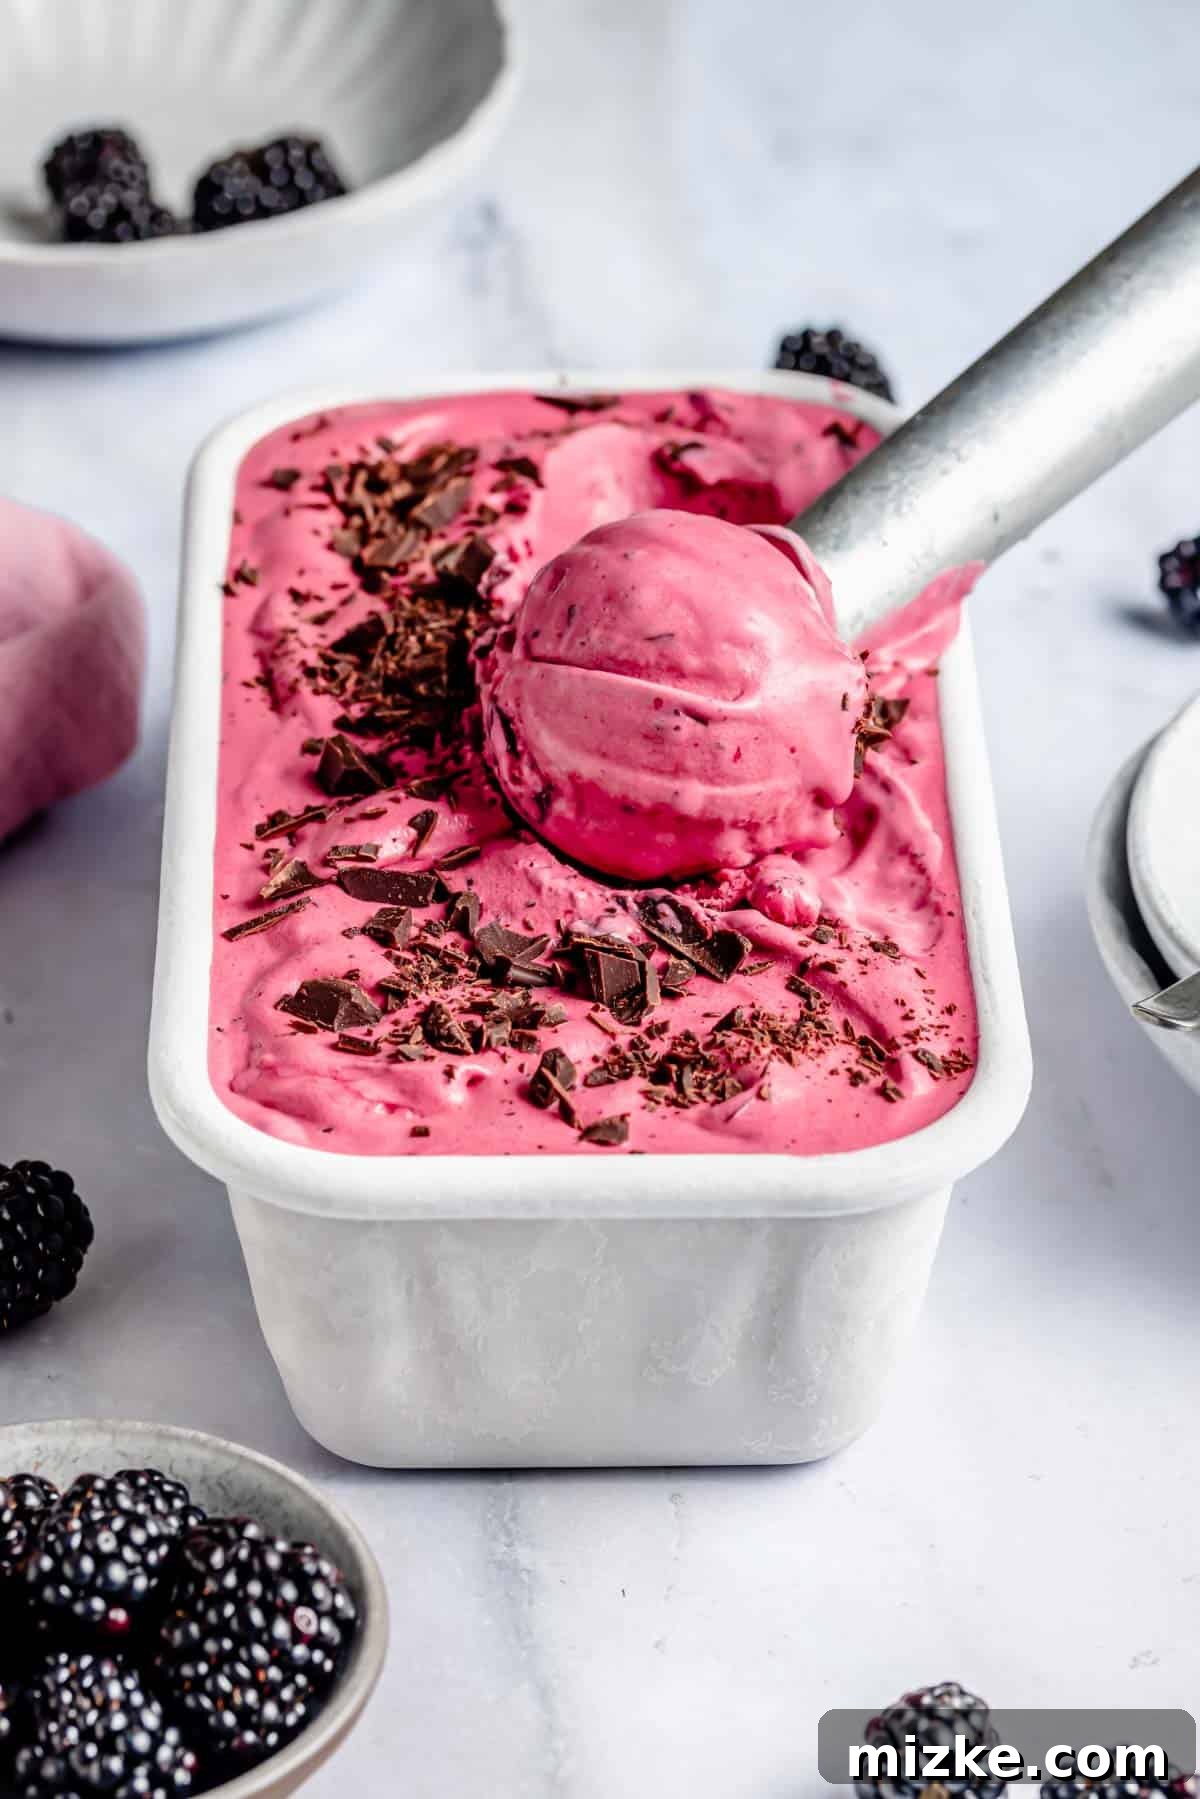
Proper storage is key to maintaining the exquisite texture and flavor of your homemade blackberry ice cream. After churning and the initial overnight freeze, transfer your ice cream to an airtight, freezer-safe container. Shallow, rectangular containers often work best as they minimize air exposure, which can lead to ice crystal formation. Stored correctly, your ice cream will maintain its quality for up to two months in the freezer. While it can last longer, the texture and freshness are best within this timeframe.
When you’re ready to enjoy a scoop (or three!), resist the urge to dig in immediately. Homemade ice cream, especially custard-based varieties, tends to freeze quite solid. For the best scooping experience and to allow the flavors to soften and become more pronounced, remove the container from the freezer and let it sit on your kitchen counter for approximately 10 to 15 minutes before serving. This brief “ripening” period will soften the ice cream to a perfectly scoopable consistency.
Pro Tip for Effortless Scooping: For an even smoother scoop, run your ice cream scoop under hot water for a few seconds before each dip. The warmth from the scoop will slightly melt the surface of the ice cream, allowing it to glide through the frozen dessert with remarkable ease. This simple trick makes serving a breeze and helps create those perfectly rounded scoops everyone loves.
This attention to detail, from preparation to serving, ensures that every spoonful of your homemade blackberry chocolate chip ice cream is as delightful as the first.
Explore More Homemade Ice Cream Flavors
Once you’ve mastered the art of homemade ice cream, a world of delicious possibilities opens up! The techniques you learn with this blackberry recipe can be applied to a myriad of other flavors. If you’ve fallen in love with crafting your own frozen treats, here are some other delightful ice cream recipes you might enjoy exploring:
- Strawberry Ice Cream
- Peach and Toasted Almond Ice Cream
- Pistachio Ice Cream
- Fig and Honey Mascarpone Ice Cream
Each of these offers a unique flavor profile and a rewarding experience, allowing you to enjoy gourmet ice cream right from your kitchen.
Print Recipe
Rating: 5 out of 5 stars (1 vote)
Blackberry Ice Cream Recipe
By: Julie Chiou
Blackberries and chocolate chips go so perfectly together – tangy and sweet, all at the same time.
- Prep Time:
- 25 minutes
- Cook Time:
- 30 minutes
- Total Time:
- 55 minutes
- Servings:
- 8 scoops
Equipment
- Ice cream maker
Ingredients
- 2 pints (946 g) fresh blackberries
- 1 ¼ cups (250 g) granulated sugar, divided
- Juice of ½ lemon
- 1 ½ cups (355 ml) half and half
- 5 large egg yolks
- 1 ½ cups (355 ml) heavy cream
- 5 ounces (142 g) semisweet or dark chocolate, chopped
Instructions
-
Combine blackberries, ¼ cup granulated sugar, and the lemon juice in a saucepan. Cook over low heat until the blackberries are broken down and syrupy, about 20 minutes.
Ingredients for this step: 2 pints (946 g) fresh blackberries, 1 ¼ cups (250 g) granulated sugar, Juice of ½ lemon

-
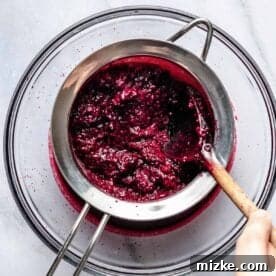
Pour the mixture through a fine-mesh sieve/strainer into a bowl, using a spoon to force as much of the deep purple liquid through as you can; set aside to cool. Discard the blackberry pulp and seeds.
-
Heat the half and half and the remaining 1 cup of sugar in a saucepan over medium-low heat. Meanwhile, whisk the egg yolks in a bowl until pale yellow and thick, about 5 minutes. Temper the egg yolks by gradually splashing in a very small amount of the warm half and half mixture while whisking constantly. Slowly pour the tempered egg yolks into the saucepan with the half and half and cook over medium-low heat, stirring constantly, until thick enough to coat the back of a spoon, about 5 minutes.
Ingredients for this step: 1 ½ cups (355 ml) half and half, 5 large egg yolks, 1 ½ cups (355 ml) heavy cream
-
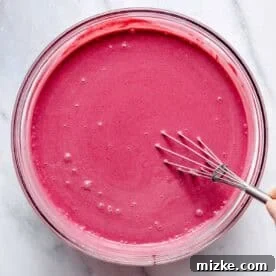
Stir the heavy cream into the bowl with the berry mixture, then pour in the egg mixture and stir to combine thoroughly. Cover the bowl and let chill for at least 6 hours in the refrigerator, or ideally overnight, until very cold.
-
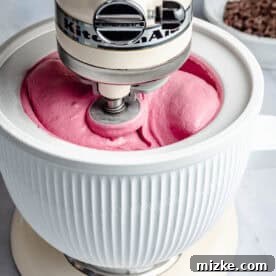
Once thoroughly chilled, pour the mixture into the bowl of your ice cream maker and freeze according to the manufacturer’s instructions. Churn until it reaches the consistency of soft-serve ice cream.
-
Chop the chocolate into desired chunks or shavings. Add the chopped chocolate to the ice cream right before the churning process is complete (typically in the last 2-5 minutes). Transfer the ice cream to an airtight, freezer-safe container and freeze overnight before serving for the best firm texture.
Ingredients for this step: 5 ounces (142 g) semisweet or dark chocolate
Nutrition Information (Approximate)
Serving: 1 scoop
Calories: 419 kcal
Carbohydrates: 46g
Protein: 6g
Fat: 25g
Saturated Fat: 15g
Polyunsaturated Fat: 2g
Monounsaturated Fat: 7g
Cholesterol: 188mg
Sodium: 47mg
Potassium: 307mg
Fiber: 6g
Sugar: 40g
This website provides approximate nutrition information for convenience and as a courtesy only. Nutrition information can vary for a variety of reasons. For the most precise nutritional data, use your preferred nutrition calculator based on the actual ingredients you used in the recipe.
The default measuring system for this website is US Customary. Unit conversions are provided for convenience and as a courtesy only. While we strive to provide accurate unit conversions, please be aware that there may be some discrepancies.
Photographs by Eat Love Eat