
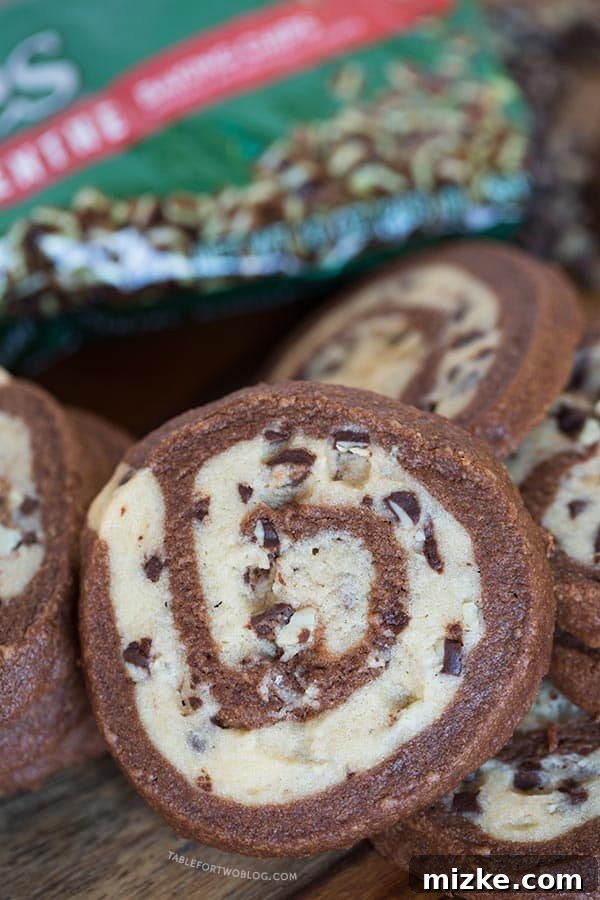
Experience the enchanting blend of rich chocolate and cool peppermint in these spectacular Chocolate Mint Pinwheel Cookies! These festive treats are a delightful twist on traditional sugar cookies, boasting a mesmerizing swirl pattern that’s as beautiful to look at as it is delicious to eat. Perfect for holiday gatherings, special occasions, or simply a cozy afternoon baking session, these pinwheel cookies are sure to impress guests of all ages, even Santa himself!
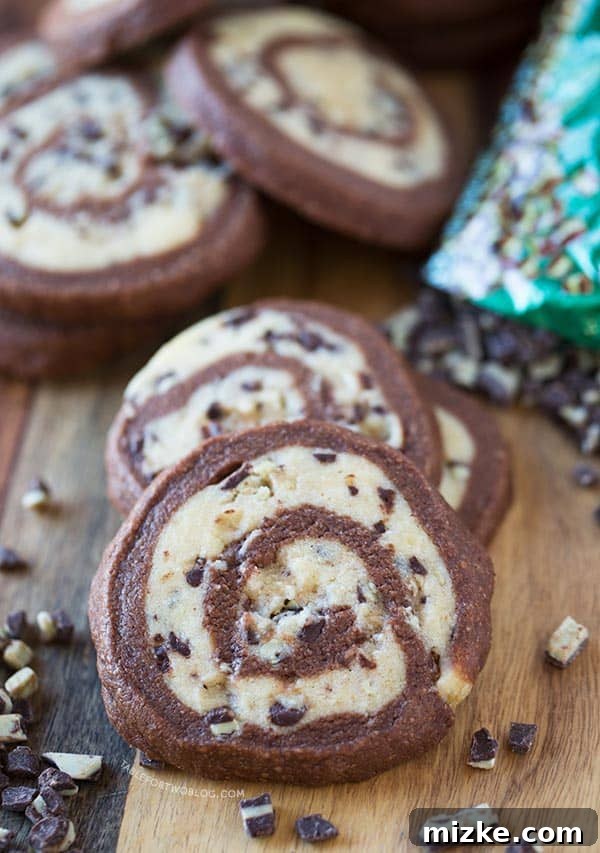
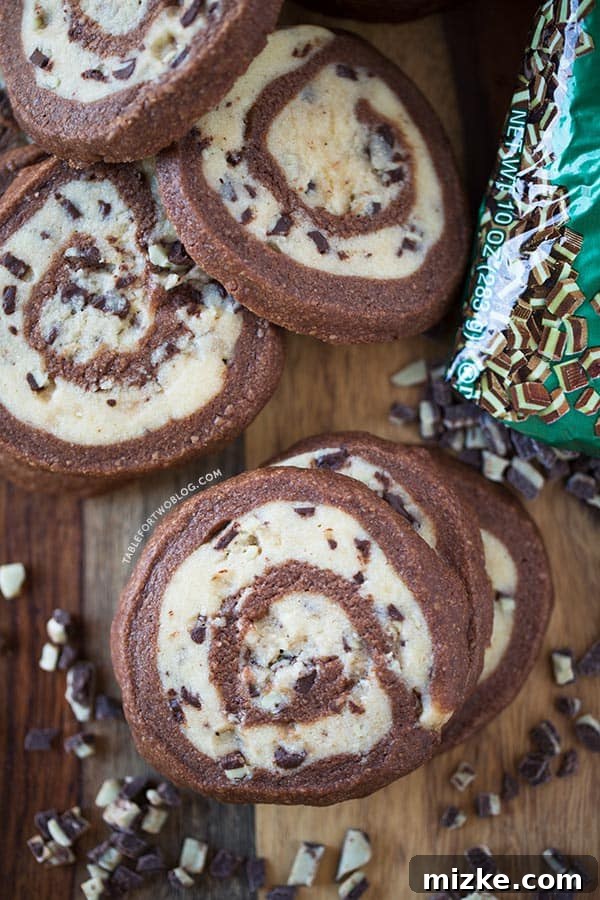
For a long time, the allure of pinwheel cookies captured my imagination. Their intricate, spiral designs, often gracing Pinterest boards and magazine covers, always seemed like a culinary challenge worth pursuing. I knew that achieving those perfect swirls would demand a touch of patience and precision, but the promise of such a visually stunning and incredibly delicious outcome made the effort entirely worthwhile. When my dear friend Katrina invited me to participate in her annual “I’ll Bring the COOKIES” event, I immediately knew this was my moment to conquer the pinwheel cookie challenge. The chocolate and mint combination felt like an ideal festive choice.
While my initial attempt at rolling might not have produced the absolute tightest spirals seen in professional bakes, I was thrilled with the results. Each cookie, despite its slight imperfections, radiated charm and, most importantly, tasted absolutely divine. The rich, deep notes of chocolate perfectly harmonize with the cool, invigorating burst of peppermint, creating a flavor profile that is both comforting and exciting. These Chocolate Mint Pinwheel Cookies quickly became a favorite, proving that sometimes, homemade charm outweighs textbook perfection.
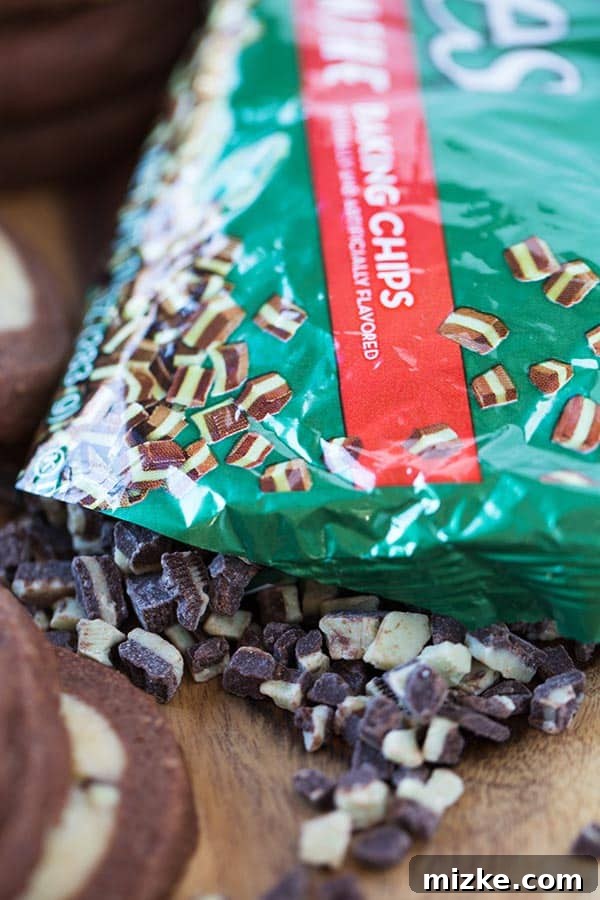
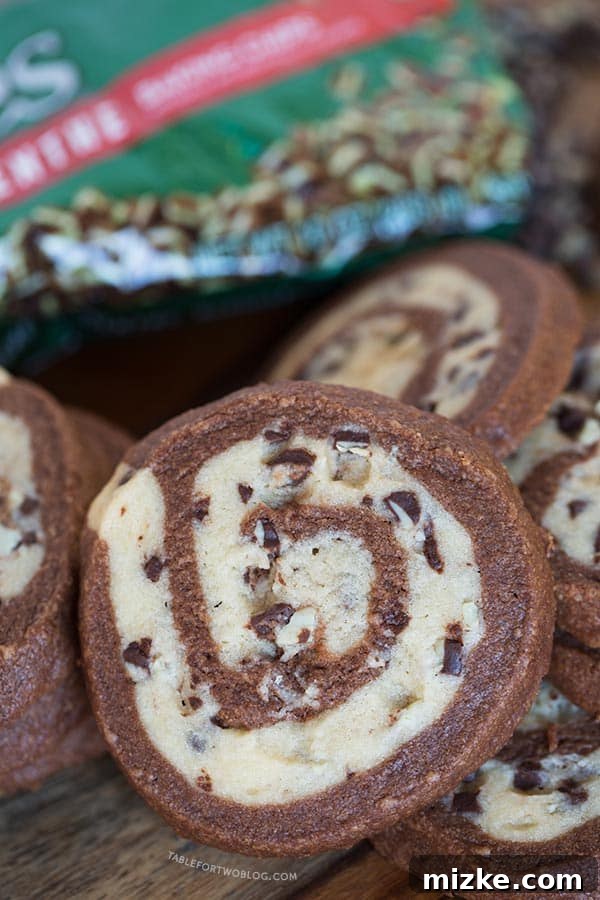
If you’re searching for a standout cookie recipe for any celebration, particularly during the festive holiday season, look no further. These Chocolate Mint Pinwheel Cookies are not only a feast for the eyes but also a treat for the taste buds. Imagine leaving a plate of these vibrant, flavorful cookies alongside a glass of milk for Santa; it’s a guaranteed way to land yourself on the “nice” list! They offer a refreshing change from traditional sugar or gingerbread cookies, adding a touch of elegance and whimsy to your holiday spread.
Chocolate Mint Pinwheel Cookies
Julie Chiou
40 minutes
8 minutes
2 hours (minimum)
2 hours 48 minutes
1 dozen
Equipment
-
Hand mixer
-
Stand mixer
-
Rolling pin
-
Large rimmed baking sheet
-
Parchment paper
Ingredients
- 1 cup (227 g) butter, softened
- 1 cup (200 g) granulated sugar
- 1 teaspoon baking powder
- ¼ teaspoon salt
- 1 large egg
- 1 teaspoon vanilla extract
- 2 ¼ cups (281 g) all-purpose flour
- 2 ounces (57 g) semisweet chocolate, melted and slightly cooled
- 1 cup (180 g) mint chocolate baking chips
- ¼ teaspoon peppermint extract
Instructions
-
In the bowl of a stand mixer fitted with the paddle attachment, beat the softened butter on high speed for about 30 seconds until creamy. Gradually add the granulated sugar, baking powder, and salt. Continue beating until the mixture is light, fluffy, and well combined. Scrape down the sides of the bowl with a spatula, then beat in the egg and vanilla extract until fully incorporated, ensuring no streaks of egg remain. Slowly add the all-purpose flour, mixing on low speed until just combined. The dough will become quite thick; you might need to use a spatula to finish mixing the last bit of flour by hand to avoid overmixing.
-
Divide the prepared cookie dough evenly into two separate portions. Into the first portion, gently stir in the melted and slightly cooled semisweet chocolate until it’s uniformly distributed, creating your chocolate dough. For the second portion, fold in the mint chocolate baking chips and peppermint extract until evenly distributed, forming your mint dough. Once flavored, divide each of these two dough portions in half again, resulting in two chocolate dough halves and two mint dough halves. Cover each portion tightly with plastic wrap and chill in the refrigerator for at least 1-2 hours, or until the dough is firm enough to easily handle without sticking. This chilling step is crucial for achieving crisp edges and distinct pinwheel patterns.
-
Once the dough is adequately chilled, take one portion of the peppermint dough and one portion of the chocolate dough. On a piece of wax paper or parchment paper lightly floured, roll out the peppermint dough into a rectangle approximately 9.5 inches by 6 inches. Repeat this process with one portion of the chocolate dough, rolling it into an identical 9.5 by 6-inch rectangle on a separate sheet of wax paper. Carefully invert the chocolate dough rectangle directly on top of the peppermint dough rectangle. Gently peel away and remove the top layer of wax paper from the chocolate dough, leaving the two dough layers stacked neatly.
-
Starting from one of the longer sides, carefully and tightly roll up the layered dough into a log. Aim for a compact roll to ensure a defined pinwheel pattern. Once rolled, pinch the dough edges gently to seal the seam completely. Wrap the entire dough log tightly in plastic wrap, twisting the ends to secure. Repeat this layering and rolling process with the remaining chocolate and peppermint dough rectangles to create a second log. Chill both dough rolls in the refrigerator again for at least 1-2 hours, or until they are very firm. This second chilling period is essential for making clean cuts and preventing the cookies from spreading too much during baking.
-
Preheat your oven to 375°F (191°C). While the oven is heating, line a large rimmed baking sheet with parchment paper to prevent sticking and ensure even baking.
-
Once the dough logs are thoroughly chilled and firm, unwrap them. Using a very sharp knife, carefully cut each dough roll into ¼-inch thick slices. A sharp knife is key here to maintain the distinct pinwheel shape. Place the sliced cookies about 1 inch apart on the prepared baking sheet. Bake for 6-8 minutes, or until the edges of the cookies are firm and just beginning to turn a light golden brown. Keep a close eye on them to prevent overbaking, which can result in a dry cookie.
-
Allow the baked Chocolate Mint Pinwheel Cookies to cool on the baking sheet for about 5 minutes. This allows them to firm up slightly before handling. After 5 minutes, carefully transfer the cookies to a wire cooling rack to cool completely. Once cooled, they are ready to be served and enjoyed!
Nutrition
Calories: 2390 kcal
Carbohydrates: 465 g
Protein: 47 g
Fat: 37 g
Saturated Fat: 19 g
Trans Fat: 1 g
Cholesterol: 193 mg
Sodium: 1342 mg
Potassium: 1277 mg
Fiber: 16 g
Sugar: 234 g
Disclaimers
This website provides approximate nutrition information for convenience and as a courtesy only. Nutrition information can vary for a variety of reasons. For the most precise nutritional data, use your preferred nutrition calculator based on the actual ingredients you used in the recipe.
The default measuring system for this website is US Customary. Unit conversions are provided for convenience and as a courtesy only. While we strive to provide accurate unit conversions, please be aware that there may be some discrepancies.
Why These Chocolate Mint Pinwheel Cookies Are a Must-Bake
There’s something undeniably enchanting about pinwheel cookies, and when you combine the classic pairing of chocolate and mint, you create a truly magical treat. These cookies aren’t just about their stunning visual appeal; they offer a symphony of flavors and textures that make them incredibly addictive. The rich cocoa provides a comforting depth, perfectly complemented by the cool, invigorating rush of peppermint. This balance makes them incredibly refreshing, especially after a heavy meal, and a delightful palate cleanser.
Beyond the taste, the unique swirling pattern makes these cookies a showstopper on any dessert table. They add a pop of color and artistic flair, immediately catching the eye and sparking conversation. Whether you’re baking for a holiday party, a casual get-together, or simply treating your family, these Chocolate Mint Pinwheel Cookies elevate the ordinary to extraordinary. They’re also a fantastic baking project to do with kids, as the process of layering and rolling the dough can be a fun and engaging activity for little hands (with adult supervision, of course!).
Expert Tips for Perfect Pinwheel Cookies
While the process of making pinwheel cookies might seem intimidating at first, a few key tips can ensure your success and help you achieve those beautiful, tight swirls and perfectly baked results:
- Start with Softened Butter: Ensure your butter is truly at room temperature. This is crucial for creaming it with sugar effectively, leading to a smooth, airy dough that is easy to work with and yields tender cookies. If your butter is too cold, it won’t cream properly; if it’s too warm, the dough might become greasy.
- Don’t Skimp on Chilling: Chilling the dough twice is non-negotiable for pinwheel cookies. The first chill makes the dough manageable for rolling and prevents stickiness. The second, longer chill (after rolling into logs) is absolutely vital for firming up the log. This firmness allows for clean, precise slices without distorting the beautiful swirl pattern. Rushing this step will result in misshapen cookies.
- Uniform Dough Thickness: When rolling out your chocolate and mint doughs, strive for even thickness and identical dimensions. This ensures that the two layers adhere perfectly and that the swirl appears consistent throughout the cookie. Using a ruler or measuring tape can be helpful here.
- Tight Rolling is Key: As you roll the layered dough into a log, make sure it’s as tight as possible. A loose roll will result in a wider, less defined swirl. Gentle, even pressure across the entire length of the log as you roll is essential.
- Sharp Knife for Slicing: After the final chill, use a very sharp, thin-bladed knife to cut the dough logs into ¼-inch slices. A dull knife will drag and distort the dough, ruining the intricate pattern. You can even run your knife under hot water and wipe it dry between slices for an even cleaner cut, especially for the initial slices.
- Watch Your Oven: Cookie baking times can vary slightly depending on your oven. Keep a close eye on the cookies during the last few minutes of baking. They are done when the edges are just set and very lightly golden. Overbaking can make them dry and crumbly.
Creative Variations to Try
While chocolate mint is a timeless classic, the pinwheel cookie technique opens up a world of flavor possibilities. Don’t hesitate to get creative with your dough combinations:
- Chocolate Orange Pinwheels: Replace peppermint extract with orange zest and a touch of orange extract in the “mint” portion.
- Lemon Blueberry Swirls: Use lemon zest and extract in one dough, and mix freeze-dried blueberry powder or finely chopped dried blueberries into the other.
- Red Velvet & Cream Cheese Swirl: Incorporate red food coloring and a touch of cocoa into one dough for a red velvet effect, and add a cream cheese powder or a hint of cream cheese flavoring to the other.
- Spiced Ginger & Molasses: Infuse one dough with ginger, cinnamon, and molasses, leaving the other plain or with a touch of vanilla for contrast.
- Nutty Chocolate Swirls: Add finely chopped nuts (like pecans or walnuts) to one or both dough portions for added texture and flavor.
Storage Recommendations
Proper storage ensures your Chocolate Mint Pinwheel Cookies remain fresh and delicious for longer:
- Baked Cookies: Store cooled cookies in an airtight container at room temperature for up to 5-7 days. For longer storage, freeze them in an airtight container for up to 2-3 months. Thaw at room temperature before serving.
- Dough Logs: The unbaked, tightly wrapped dough logs can be stored in the refrigerator for up to 3 days. For longer storage, they can be frozen for up to 1 month. If freezing, allow the frozen logs to thaw slightly in the refrigerator for about 30 minutes before attempting to slice them, as they will be very hard.
Embrace the joy of baking and create these visually stunning and equally delicious Chocolate Mint Pinwheel Cookies. They are a testament to the fact that with a little effort and a lot of love, you can produce truly memorable treats that will be cherished by everyone lucky enough to enjoy them. Happy baking!