
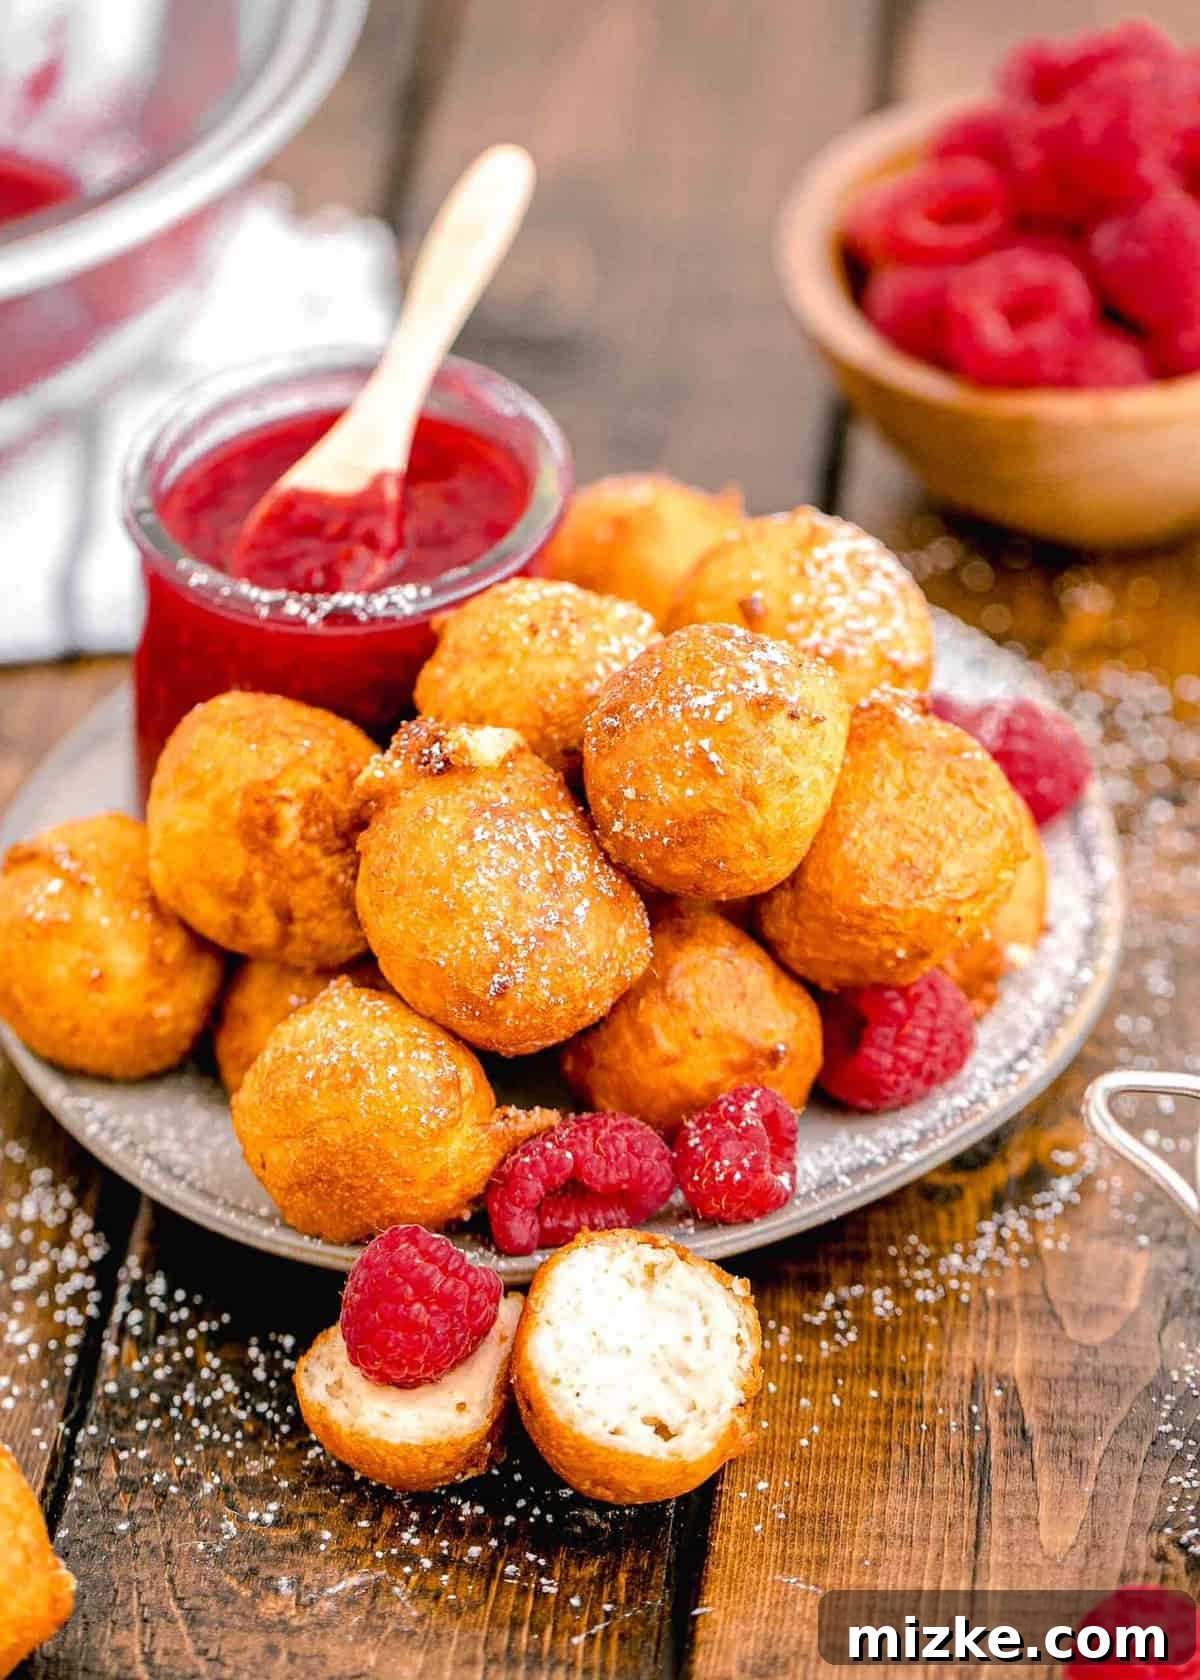
Fried Cheesecake Bites are a dessert dream come true, delivering an experience as delightful as they sound! This recipe brings the magic of classic fair food right into your kitchen, promising a sweet and satisfying indulgence every time. Picture a luscious, creamy cheesecake filling enveloped in a golden-crisp batter, deep-fried to absolute perfection. Each bite offers an incredible contrast: a perfectly crunchy exterior giving way to a warm, gooey, and rich cheesecake center that will truly melt in your mouth.
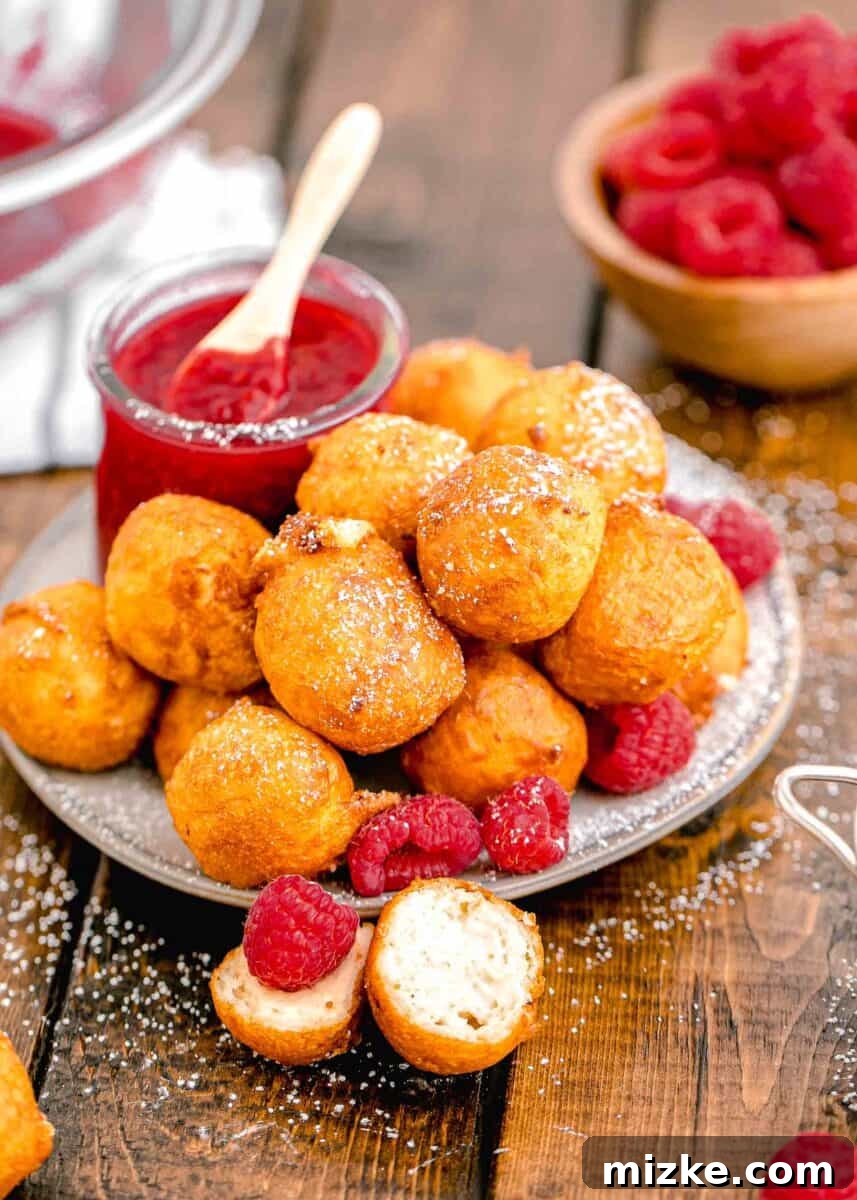
For many, a trip to the local county or state fair isn’t just about thrilling rides or challenging games; it’s a pilgrimage for the senses, particularly for the incredible food! Deep-fried treats stand as an iconic American culinary tradition, an irresistible indulgence that captures the heart of festive gatherings. There’s a unique joy in savoring something sweet and perfectly crisp, encased in a golden batter. Now, the good news is you no longer need to wait for the fair to roll into town to enjoy these cherished goodies. With this recipe, you can recreate that nostalgic delight right in your very own home!
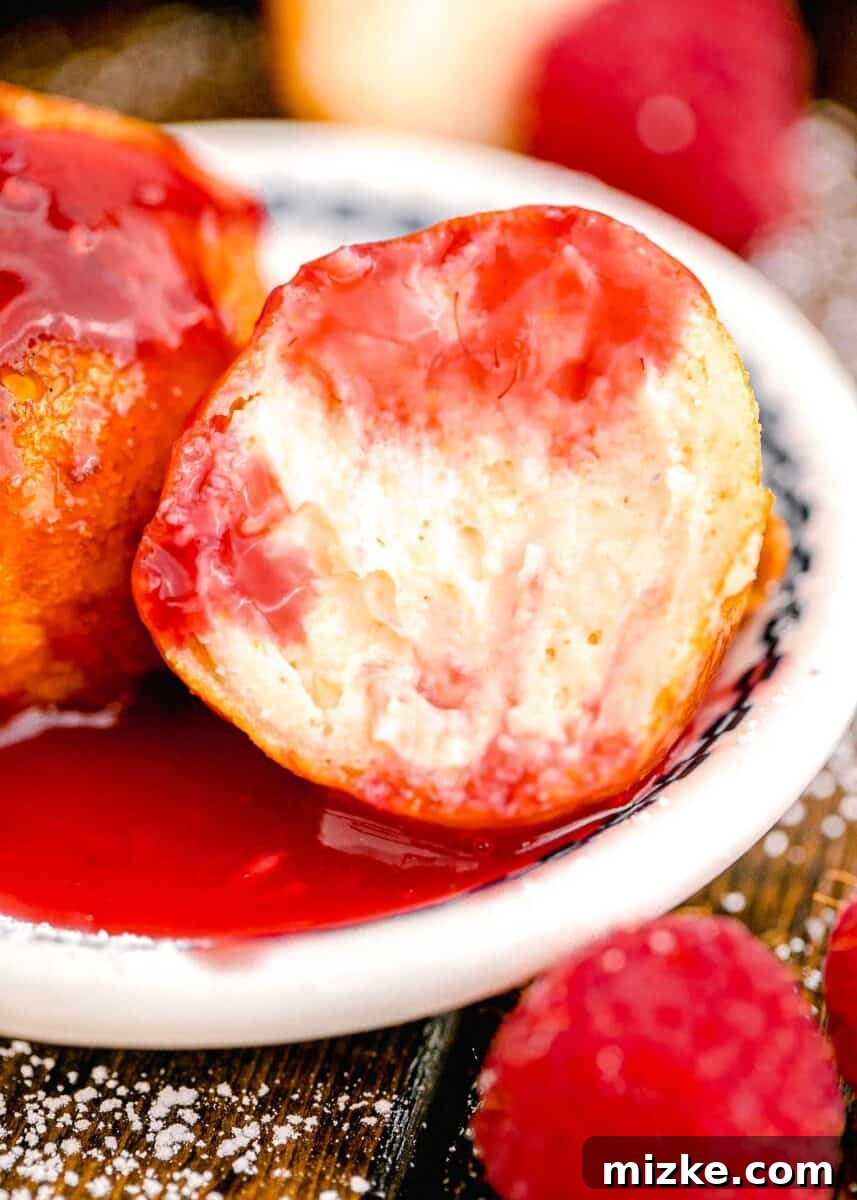
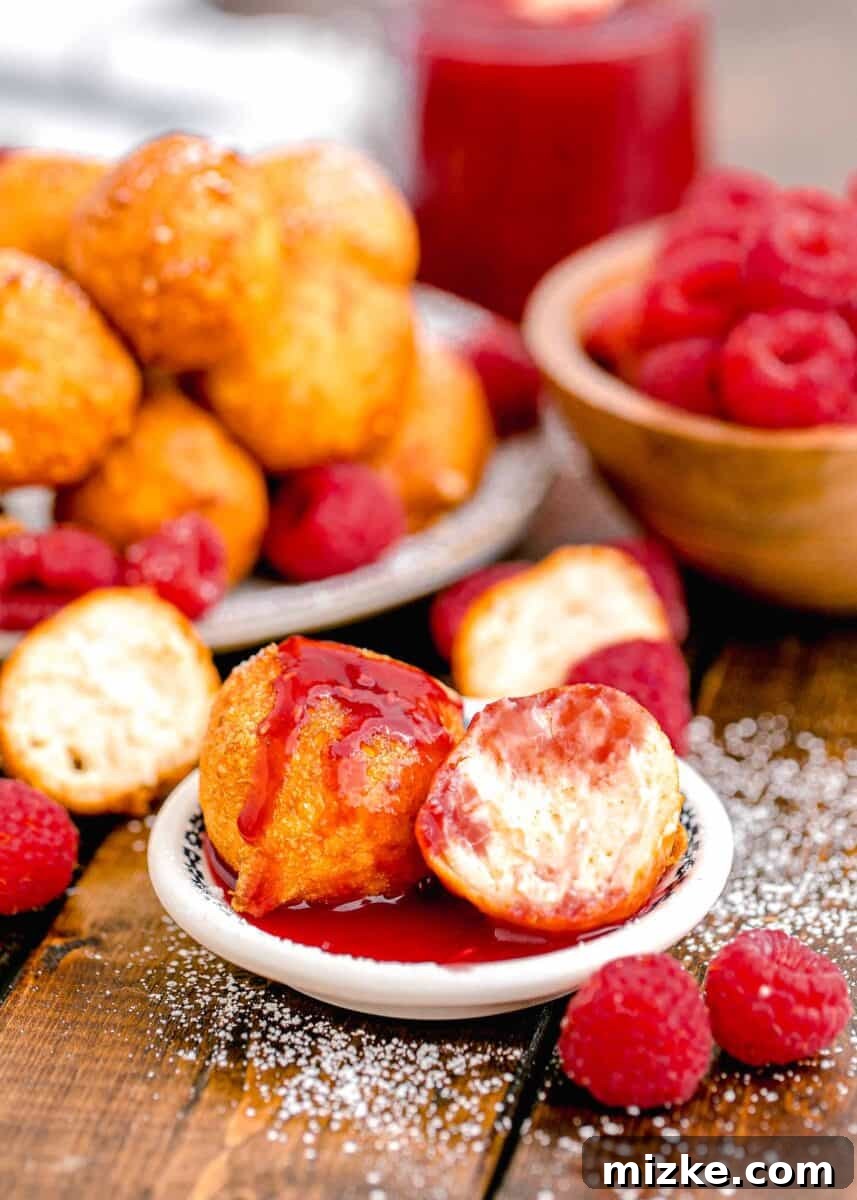
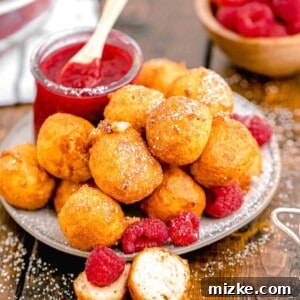
Our Fried Cheesecake Bites are everything you’ve ever imagined and more. A velvety, sweet cheesecake mixture is expertly formed into individual balls, generously coated in a simple yet delicious batter, and then deep-fried to a stunning golden hue. The experience of biting into one of these heavenly spheres is truly remarkable: the perfectly fried, crisp exterior shatters to reveal a warm, incredibly gooey, and creamy cheesecake filling within. To elevate this dessert further, don’t forget to serve them with your favorite fruity jam, a rich chocolate sauce, or even a decadent caramel drizzle to send them soaring over the top!
Why These Irresistible Fried Cheesecake Bites Are a Must-Try
These aren’t just any dessert; they’re an experience waiting to happen. Here’s why these Fried Cheesecake Bites will quickly become your new favorite:
- Surprisingly Simple to Make. The thought of deep-frying might seem daunting for kitchen novices, but fear not! Heating oil and carefully frying small batches is actually far easier than you might anticipate. We’ve included an abundance of helpful tips throughout this guide to ensure you achieve flawless, golden-brown results with every single batch. You’ll be a deep-frying pro in no time!
- Pure Fun and Festive Flair! Dessert should always bring a smile, and these bites certainly deliver on the fun factor! Imagine the delight as you present a platter of these unique treats at your next gathering. “Oh, what’s that amazing dessert you brought to the party? Fried cheesecake bites?” Instantly, you’ll become the favorite friend, the culinary hero, and the star of the show.
- Unbelievably Creamy Texture. The magical contrast between the wonderfully crisp, golden-fried batter and the luxuriously creamy, warm cheesecake filling is utterly drool-worthy. This textural symphony creates an unforgettable eating experience that will have you savoring every single velvety bite.
- A Taste of Nostalgia, Anytime. Recreate the joy and excitement of the fairgrounds without leaving your home. These bites capture the essence of classic carnival desserts, bringing a comforting wave of nostalgia with every delicious morsel.
- Versatile for Any Occasion. While perfect for a casual treat, these Fried Cheesecake Bites are also elegant enough for dinner parties, holiday gatherings, or any special celebration. They offer a unique twist on traditional desserts that guests will rave about.
- Customizable to Your Liking. From various sauces and toppings to subtle flavor enhancements within the cheesecake filling, these bites are wonderfully adaptable. Experiment with different garnishes to create a personalized dessert experience every time.
Essential Ingredients for Perfect Fried Cheesecake Bites
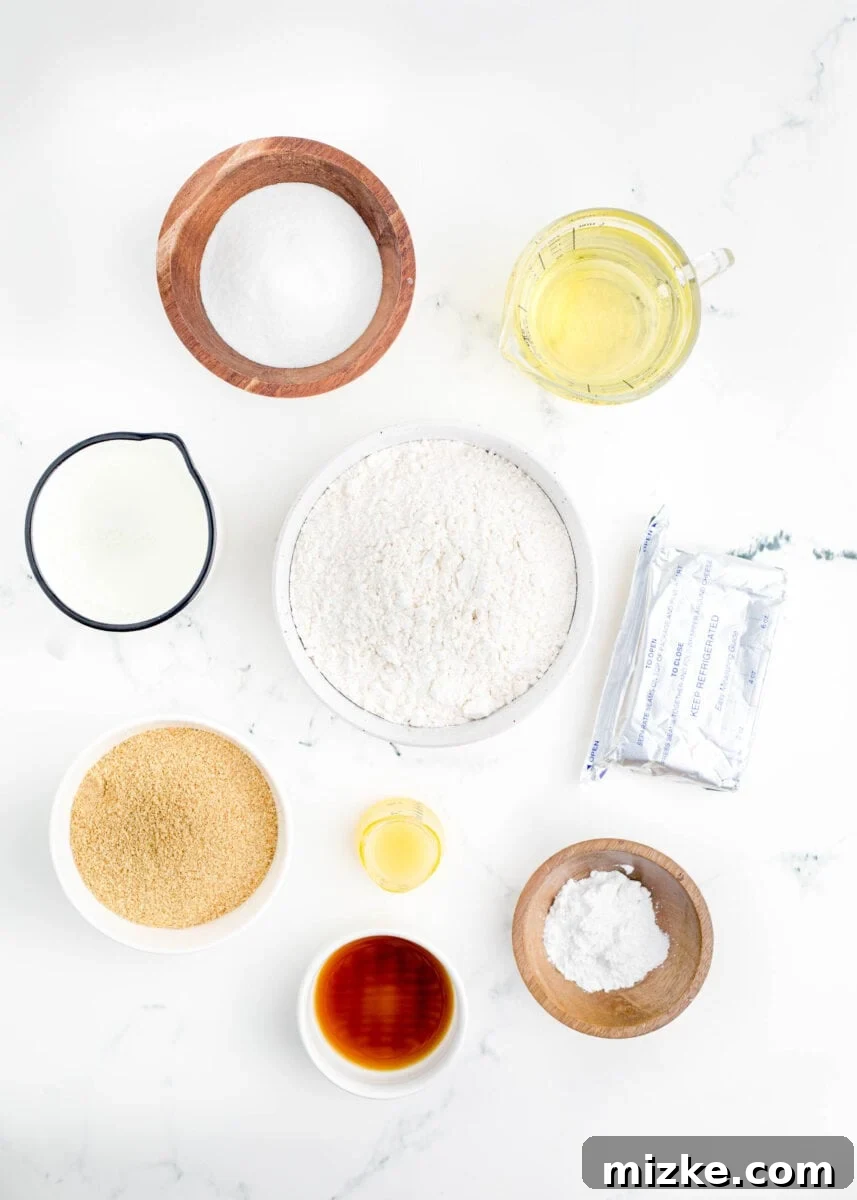
To embark on your journey to homemade deep-fried cheesecake perfection, you’ll need a selection of simple, readily available ingredients. Below is a concise list to help you gather everything you need. For precise measurements and detailed instructions, remember to scroll down to the full recipe card at the end of this post.
For the Creamy Cheesecake Filling:
- Cream cheese: Opt for full-fat cream cheese, softened to room temperature. This ensures a rich, smooth, and lump-free cheesecake mixture that holds its shape well.
- White granulated sugar: Provides the perfect level of sweetness, complementing the natural tang of the cream cheese without overpowering it.
- Vanilla extract: A staple in most dessert recipes, vanilla extract enhances and harmonizes all the sweet flavors in the cheesecake.
- Lemon juice: A small but mighty addition! Fresh lemon juice brightens the overall flavor profile, adds a subtle zing, and helps balance the richness.
- Graham cracker crumbs: These crumbs are key to creating that authentic cheesecake “crust” flavor and texture within the filling, and they also help bind the mixture together.
For the Golden Batter and Frying:
- Canola oil: An excellent choice for deep frying due to its high smoke point and neutral flavor, ensuring your cheesecake bites cook evenly and taste clean.
- All-purpose flour: Forms the structural base of our light and crispy batter.
- White granulated sugar: A touch of sugar in the batter helps it achieve that beautiful golden-brown color and adds a hint of sweetness to the crisp exterior.
- Baking powder: Acts as a leavening agent, making the batter light and airy, which contributes to a perfectly crisp texture.
- Whole milk: Provides the liquid component for the batter, contributing to its richness and helping achieve a smooth consistency. Whole milk is recommended for the best results.
- Garnishes (Optional, but highly recommended!): Powdered sugar for a delicate dusting, your favorite fruit jam (raspberry, strawberry, or blueberry work wonderfully), or a decadent chocolate sauce for drizzling.
Step-by-Step Guide: Crafting Your Own Fried Cheesecake Bites
Making these delightful deep-fried cheesecake bites is a rewarding culinary adventure! Here’s a detailed overview of the process to guide you from start to finish. For precise measurements and the full printable recipe, make sure to consult the recipe card at the very end of this post.
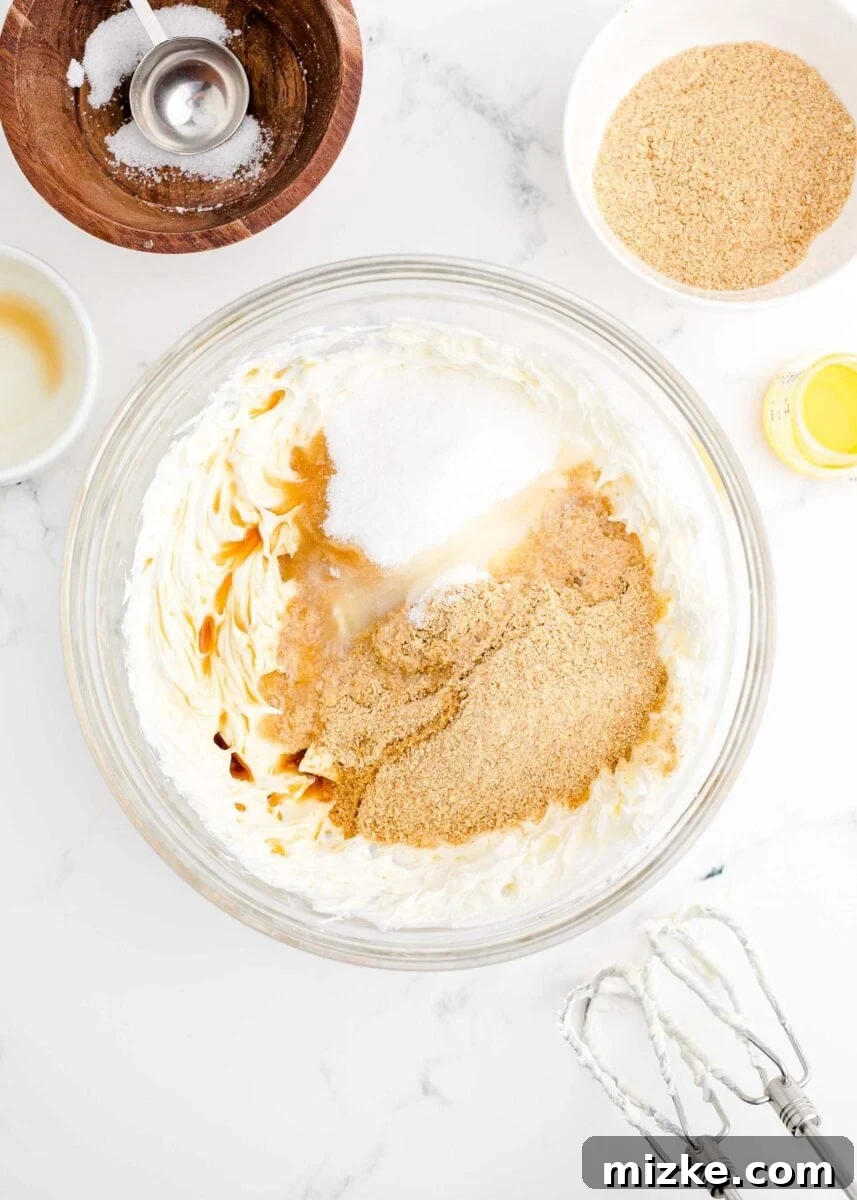
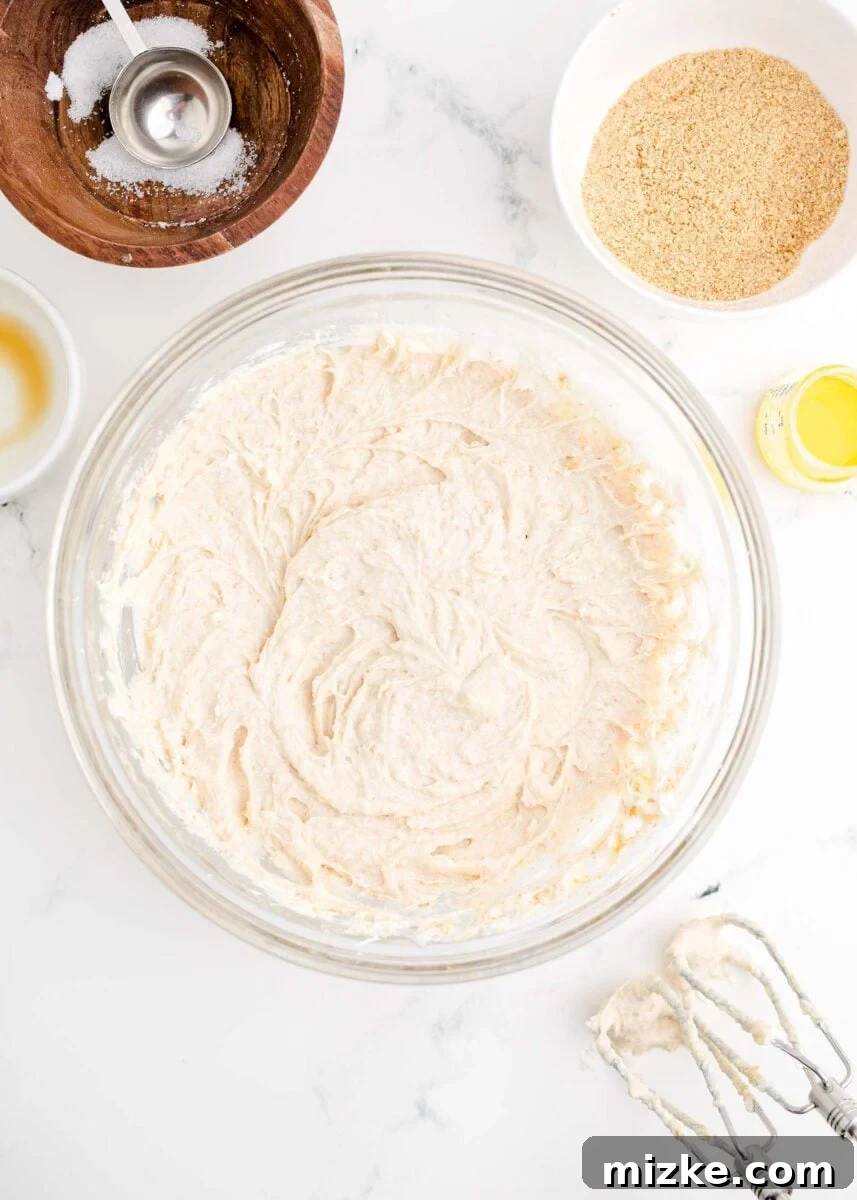
1. Prepare the Cheesecake Mixture. Begin by ensuring your cream cheese is properly softened. In a large mixing bowl, using either a hand mixer or a stand mixer fitted with a paddle attachment, beat the softened cream cheese until it is wonderfully smooth and lump-free. This creates the perfect base for your filling. Next, add the granulated sugar, vanilla extract, a hint of fresh lemon juice, and the graham cracker crumbs. Continue beating until all ingredients are thoroughly combined and the mixture is uniformly creamy. Be careful not to overmix, which can incorporate too much air.
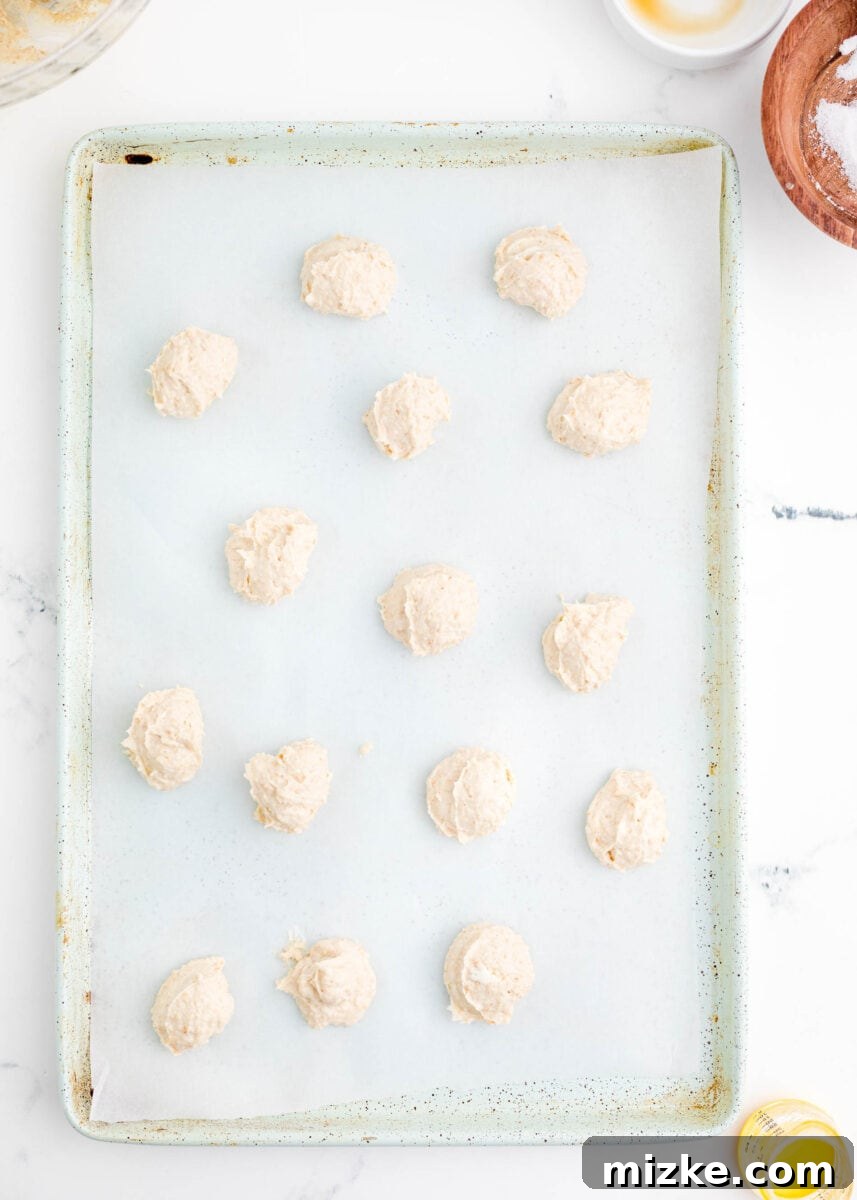
2. Form and Freeze the Cheesecake Balls. Using a tablespoon or a small cookie scoop, portion out the cheesecake mixture and gently roll it into compact balls. Don’t worry too much about achieving perfectly smooth spheres at this stage; they will be coated in batter. Place these formed balls onto a baking sheet that has been lined with parchment paper. This prevents sticking. Once all balls are formed, transfer the baking sheet to the freezer for at least 30 minutes. This crucial step ensures the cheesecake balls firm up, preventing them from melting too quickly when they hit the hot oil.
3. Preheat the Frying Oil. While your cheesecake balls are chilling, it’s time to prepare for frying. Pour the canola oil into a heavy-bottomed pot or Dutch oven. The oil should be at least 2-3 inches deep to properly submerge the bites. Place the pot over medium heat. It’s highly recommended to use a deep-fry thermometer to monitor the oil temperature accurately. You’re aiming for a consistent temperature of 365°F (185°C).
4. Prepare the Crispy Batter. This step can be done while the oil is heating up. In a separate medium-sized bowl, whisk together the all-purpose flour, granulated sugar, and baking powder until well combined. Gradually whisk in the whole milk until you achieve a smooth, slightly thick batter free of lumps. The consistency should be similar to pancake batter – thick enough to cling to the cheesecake balls but thin enough to not be excessively heavy.
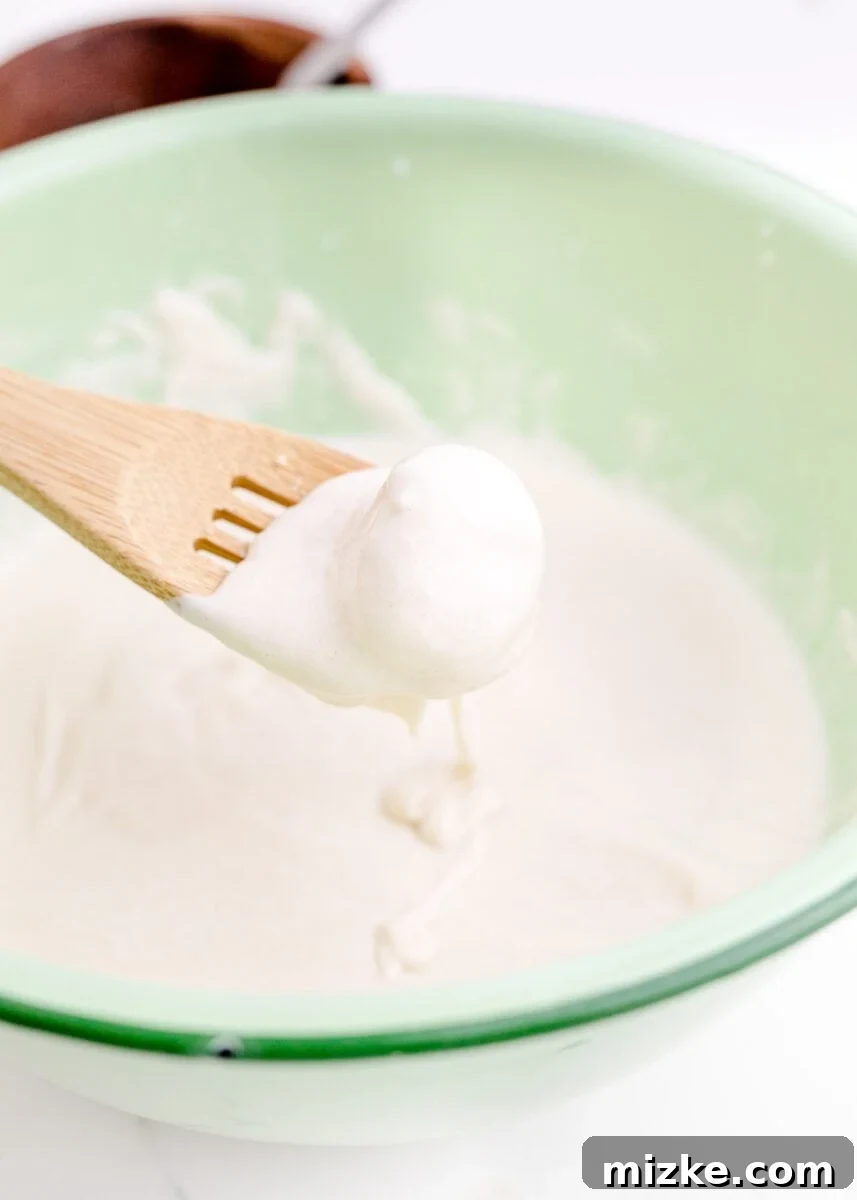
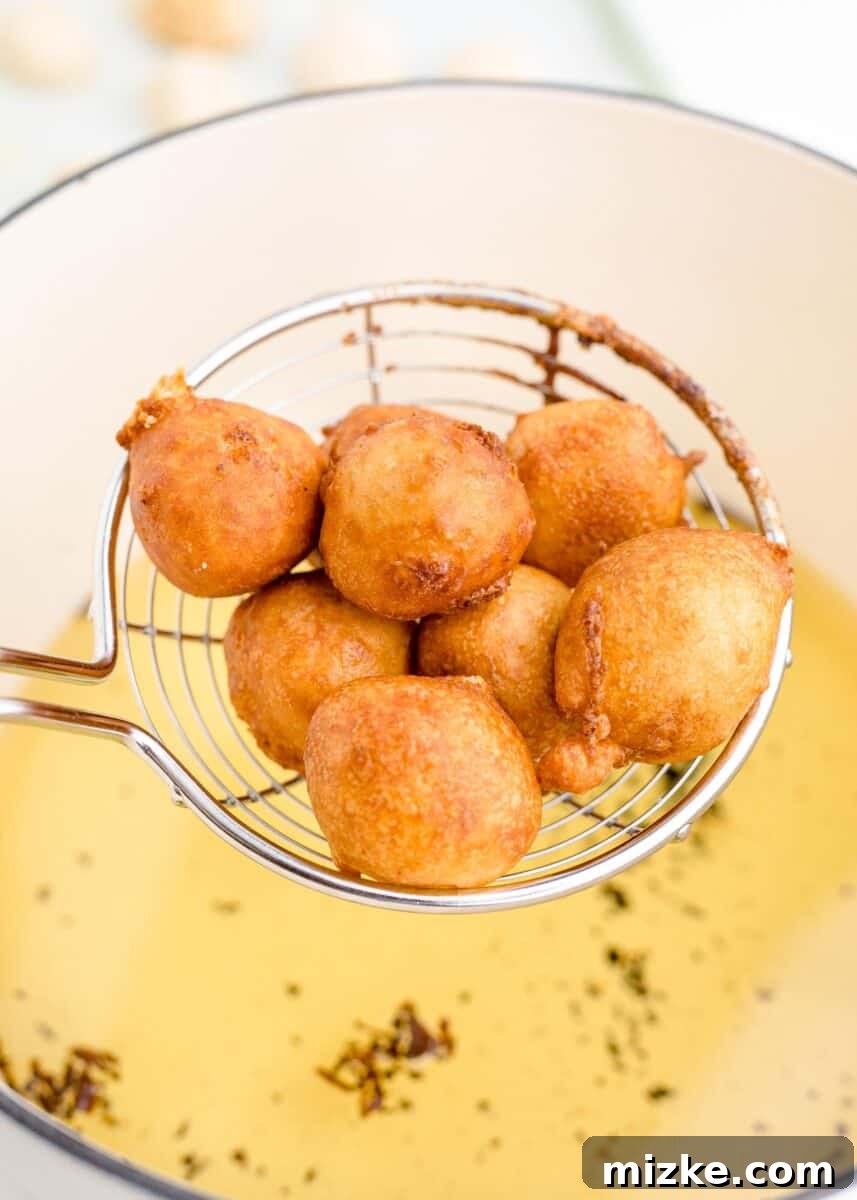
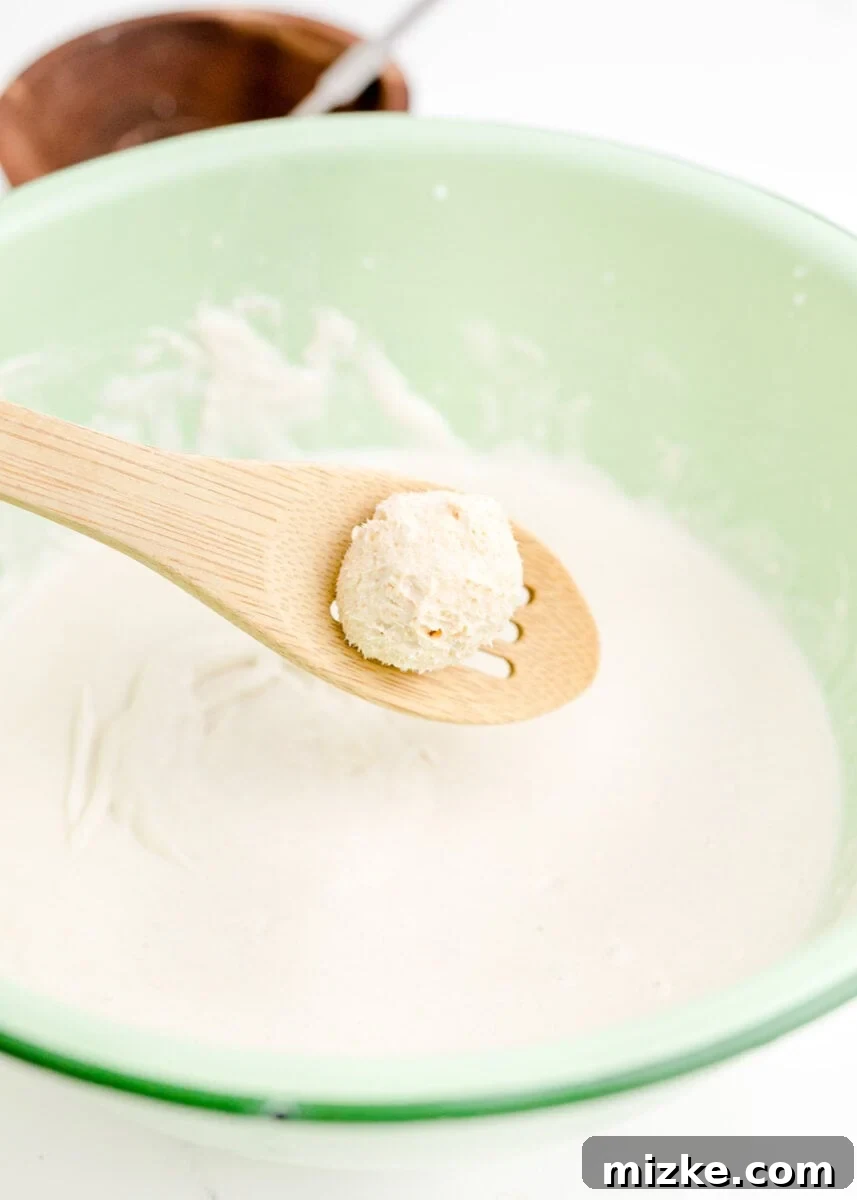
5. Batter Up Those Bites. Once the oil is nearing its target temperature and your cheesecake balls are thoroughly frozen, remove them from the freezer. If you wish to make them perfectly round, this is the moment to quickly reshape them with minimal handling to keep them firm. Using a slotted spoon or a pair of tongs, gently dip each frozen cheesecake ball into the prepared batter, turning to ensure it’s evenly coated on all sides. Allow any excess batter to drip off before carefully transferring to the hot oil.
6. Fry the Cheesecake Bites to Golden Perfection. When your oil reaches a steady 365°F (185°C), it’s frying time! Carefully place the battered cheesecake bites into the hot oil, working in small batches of no more than 3 at a time. Overcrowding the pot will significantly drop the oil temperature, leading to greasy, soggy bites instead of crisp ones. Fry for about 2-3 minutes per side, gently turning them with tongs or a spider skimmer to ensure even browning and a beautiful golden-crisp finish. Once golden, carefully remove them from the oil and transfer them to a baking sheet lined with paper towels. The paper towels will absorb any excess oil, keeping your bites perfectly crisp. Repeat with the remaining cheesecake balls.
Creative Substitutions and Delicious Variations
While these fried cheesecake bites are absolutely fantastic as is, there are a few delightful ways you can customize them to suit your taste or dietary preferences. Get creative and make them truly your own!
- Exploring Low-Fat Options. If you’re looking to reduce the fat content, you can certainly experiment with low-fat cream cheese. Just keep in mind that using a lower-fat alternative may result in a slightly less thick and creamy cheesecake filling compared to using full-fat cream cheese. However, it will still yield a delicious treat if that’s the route you prefer!
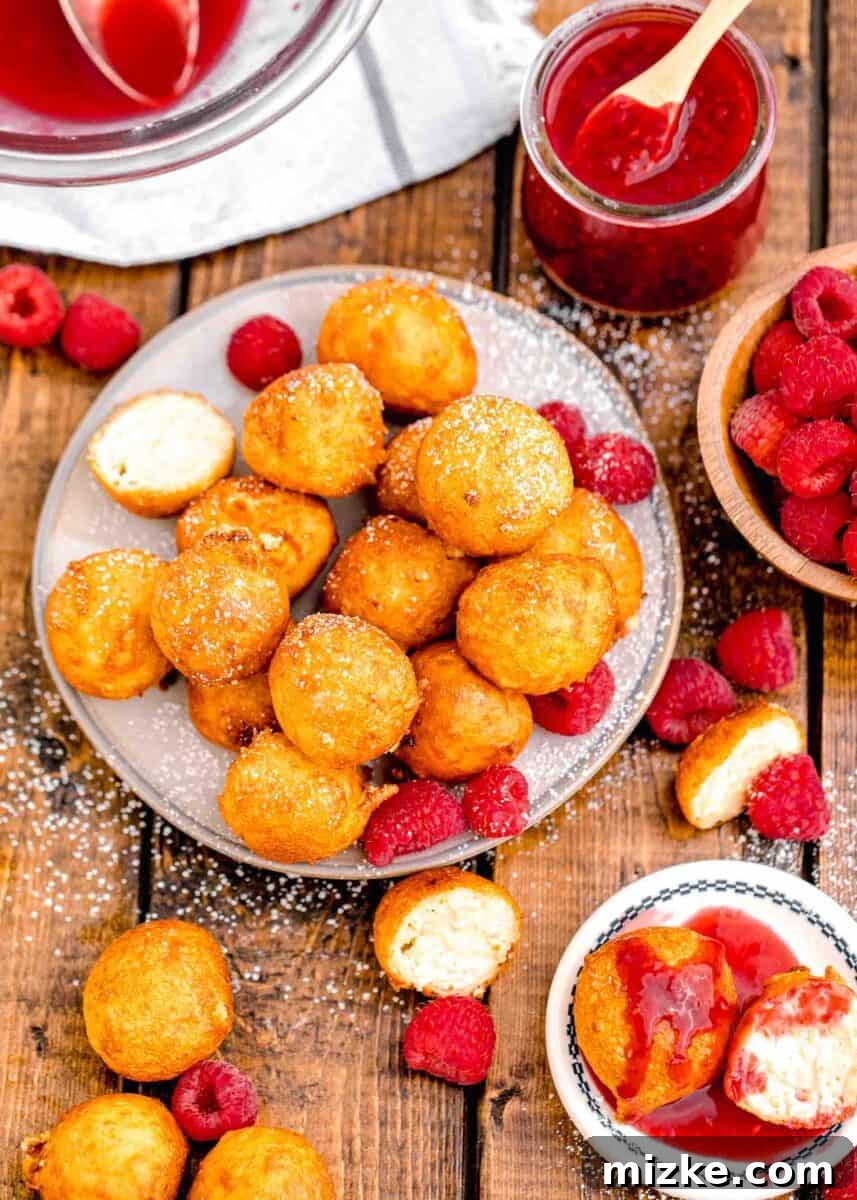
- An Array of Garnishes to Try! This is where you can truly let your imagination run wild. My personal favorite topping for these decadent cheesecake bites is a vibrant raspberry jam – its tartness beautifully cuts through the richness of the fried dessert. Any fruity jam (whether homemade or store-bought) will pair fabulously with these deep-fried delights. Beyond jams, consider a delicate dusting of powdered sugar for a simple yet elegant finish, a rich drizzle of chocolate sauce (dark, milk, or white chocolate all work!), or even a luscious caramel sauce. For a hint of zest, sprinkle some lemon or orange zest over the top just before serving.
- Flavor Infusions for the Cheesecake. Elevate the cheesecake filling itself! Try adding a hint of almond extract alongside or instead of vanilla for a different aromatic profile. A tiny pinch of cinnamon or nutmeg in the filling can also add a warm, comforting note. For a coffee lover’s twist, mix in a teaspoon of espresso powder.
- Different Crumb Bases. Instead of graham cracker crumbs, consider using finely crushed Oreo cookies for a chocolate cheesecake bite, or vanilla wafer crumbs for a lighter, more delicate flavor.
- Seasonal Toppings. Tailor your garnishes to the season! In summer, fresh berries like strawberries, blueberries, or blackberries make a beautiful and refreshing addition. During the fall, a spiced apple compote or pumpkin caramel could be a unique and festive pairing.
Expert Tips for Frying Perfect Cheesecake Bites Every Time
Achieving perfectly crisp, creamy, and golden-brown fried cheesecake bites is simple when you follow these easy yet essential tips:
- Do NOT Overcrowd Your Oil. This is perhaps the most critical rule for successful deep frying. It is absolutely vital to work in small batches, frying no more than 2-3 bites at a time. If you add too many items to the pot simultaneously, the oil’s temperature will drastically decrease. This leads to greasy, oil-soaked, and under-cooked bites instead of beautifully crisp ones. Patience here pays off immensely!
- Temperature Control is Key. Invest in a good deep-fry thermometer and use it! Maintaining a consistent oil temperature of 365°F (185°C) is paramount. If the oil is too cool, your bites will be greasy. If it’s too hot, the exterior will burn before the cheesecake inside has a chance to warm up and become gooey.
- Don’t Stress About Perfect Spheres. Listen, these bites are going to be coated in batter and deep-fried. While it’s nice for them to be generally round, don’t panic if your cheesecake mixture doesn’t form perfectly symmetrical balls. As long as they are roughly the same size (about 1 tablespoon each), they will cook through evenly and taste absolutely delicious. The batter will smooth out many imperfections.
- Freezing is Non-Negotiable! Do not attempt to skip this essential step. Freezing the cheesecake balls for at least 30 minutes (or even longer) is absolutely crucial. This ensures they are firm enough to hold their shape when dipped in batter and, more importantly, when they encounter the hot oil. Without proper freezing, they will likely fall apart.
- Prepare Your Workspace. Before you start frying, set up your “assembly line.” Have your frozen cheesecake balls ready, your batter mixed, your hot oil at temperature, and a baking sheet lined with several layers of paper towels nearby for draining. This makes the frying process much smoother and safer.
- Safety First. Always be cautious when deep-frying. Use a heavy-bottomed pot and never leave hot oil unattended. Keep a fire extinguisher (specifically for grease fires) nearby, and ensure no water comes into contact with the hot oil.
- Use a Spider Skimmer or Tongs. A spider skimmer is ideal for gently lowering and removing the bites from the oil. Tongs also work well for turning them to ensure even browning.
- Don’t Overmix the Batter. Whisk the batter until just combined and smooth. Overmixing can develop the gluten in the flour, leading to a tougher rather than a light and crisp exterior.
- Serve Immediately. Fried cheesecake bites are truly at their peak right after they’re fried. The contrast of the hot, crispy exterior and the warm, gooey interior is simply unbeatable.
Storage and Reheating Instructions
For the ultimate taste and texture experience, fried cheesecake bites are undeniably best enjoyed on the very same day they are prepared. The fresh crispness of the batter combined with the warm, gooey cheesecake is a fleeting perfection.
However, if you happen to have leftovers (a rare but possible occurrence!), they can be stored in an airtight container in the refrigerator for up to 2 days. To prevent them from sticking together or becoming soggy, it’s best to store them in a single layer or with sheets of parchment paper between layers.
When it comes to reheating, avoid the microwave if you want to revive that desirable crisp exterior. Microwaving will soften the crust and may make the cheesecake filling too liquidy. For the best reheating results, I highly recommend popping them into an air fryer for just a few minutes at 350°F (175°C) until they are heated through and the exterior is crispy once more. Alternatively, you can reheat them in a conventional oven at the same temperature, spread out on a baking sheet, for about 5-8 minutes, or until warmed through and re-crisped.
Discover More Deep-Fried Delights!
If you’ve fallen in love with the crispy, golden goodness of these Fried Cheesecake Bites, you’re in for a treat! The world of deep-fried delights is vast and delicious. Here are a few more popular deep-fried recipes to satisfy your cravings and expand your culinary horizons:
- Fried Oreos
- Fried Mashed Potato Balls
- Fried Green Tomatoes
- Fried Pickles
Fried Cheesecake Bites
By: Julie Chiou
A sweet and creamy cheesecake filling is surrounded by an easy-to-make batter then deep-fried to crisp golden-brown perfection.
- Prep Time:
- 45 minutes
- Cook Time:
- 45 minutes
- Total Time:
- 1 hour 30 minutes
- Servings:
- 15 bites
- Rating:
- 4.34 out of 5 stars (from 3 votes)
Print Recipe
Equipment
- Large rimmed baking sheet
- Stand mixer (or Hand mixer)
- Hand mixer (if not using stand mixer)
- Heavy-bottomed pot or Dutch oven
- Deep-fry thermometer (recommended)
- Slotted spoon or spider skimmer
- Tongs
Ingredients
Cheesecake balls:
- 8 ounce (227 g) cream cheese, softened
- ¼ cup (50 g) granulated sugar
- 2 teaspoons vanilla extract
- 1 teaspoon lemon juice
- ½ cup (42 g) graham cracker crumbs
Batter:
- 4 cups (946 ml) canola oil (for frying)
- 1 cup (125 g) all-purpose flour
- 1 Tablespoon granulated sugar
- 2 teaspoons baking powder
- 1 cup (237 ml) whole milk (or preferred milk)
- Optional garnish: powdered sugar, fruit jam, chocolate sauce
Instructions
- Prepare a large baking sheet by lining it with parchment paper for the cheesecake balls.
- In a stand mixer (or using a hand mixer), beat the softened cream cheese until it is creamy and smooth. Mix in the ¼ cup granulated sugar, vanilla extract, lemon juice, and graham cracker crumbs. Beat until well combined and smooth.
- Scoop out 1 Tablespoon of the cheesecake mixture at a time and gently form it into a ball. Place each ball onto the parchment paper-lined baking sheet. Transfer the baking sheet of cheesecake balls into the freezer for at least 30 minutes, or until firm.
- Pour the 4 cups of canola oil into a heavy-bottomed pot (it should be at least 2 inches deep). Place the pot over medium heat and begin heating the oil. As the oil heats, prepare your batter.
- In a medium bowl, whisk together the 1 cup flour, 1 Tablespoon granulated sugar, and baking powder. Then, gradually whisk in the 1 cup milk until the batter is smooth and free of lumps.
- Once the oil is heated to 365°F (185°C), place a baking sheet lined with paper towels next to your pot of oil for draining the fried bites.
- Remove the frozen cheesecake balls from the freezer. If desired, you can quickly round them out further at this stage, but handle them minimally to keep them firm. Use a slotted spoon or tongs to dip them a few at a time into the prepared batter, turning to ensure an even coating. Allow any excess batter to drip off.
- Carefully place the coated cheesecake balls into the hot oil, frying no more than 3 at a time to maintain oil temperature. Turn them gently to ensure they brown evenly on all sides. This will take approximately 2-3 minutes per side. Once golden-brown and crisp, remove them from the oil with tongs or a spider skimmer and place them on the paper towel-lined baking sheet to drain excess oil. Repeat with remaining balls.
- Serve your fried cheesecake bites plain or with your favorite garnishes such as fruit jam, chocolate sauce, or a dusting of powdered sugar. Enjoy warm!
Nutrition
This website provides approximate nutrition information for convenience and as a courtesy only. Nutrition information can vary for a variety of reasons. For the most precise nutritional data, use your preferred nutrition calculator based on the actual ingredients you used in the recipe.
The default measuring system for this website is US Customary. Unit conversions are provided for convenience and as a courtesy only. While we strive to provide accurate unit conversions, please be aware that there may be some discrepancies.
- Serving:
- 1 bite
- Calories:
- 123kcal
- Carbohydrates:
- 14g
- Protein:
- 3g
- Fat:
- 6g
- Saturated Fat:
- 3g
- Polyunsaturated Fat:
- 0.3g
- Monounsaturated Fat:
- 2g
- Cholesterol:
- 17mg
- Sodium:
- 129mg
- Potassium:
- 60mg
- Fiber:
- 0.3g
- Sugar:
- 6g