

Step into the enchanting world of holiday baking with these irresistible chocolate peppermint kiss cookies. A true emblem of festive cheer, these delightful treats are remarkably quick and easy to prepare, yet they deliver an explosion of rich chocolate and vibrant peppermint flavor in every soft, chewy bite.

The Ultimate Chocolate Peppermint Kiss Cookies: Your Go-To Holiday Recipe
There’s an undeniable magic that fills the air when the holiday season approaches, and for me, nothing captures that spirit quite like the aroma of freshly baked Christmas cookies. Turning on some classic carols and spending an afternoon creating delectable treats is a cherished tradition. Among my favorite recipes to whip up when the festive season rolls around are these spectacular chocolate peppermint kiss cookies. They aren’t just cookies; they’re little parcels of joy that truly embody the essence of Christmas.
What makes these particular cookies so special? Beyond their incredible taste, they are surprisingly simple and efficient, demanding only about half an hour of your time from start to finish. Yet, they possess every quality you could ever desire in a holiday cookie: a perfectly soft and moist texture, an intense burst of flavor that balances deep chocolate with invigorating peppermint, and an absolutely stunning appearance. Prepare a batch (or two!) for your next holiday gathering or Christmas feast, and you’ll undoubtedly find them to be a universal crowd-pleaser. These festive delights are not just for eating; they’re for sharing the warmth and sweetness of the season.
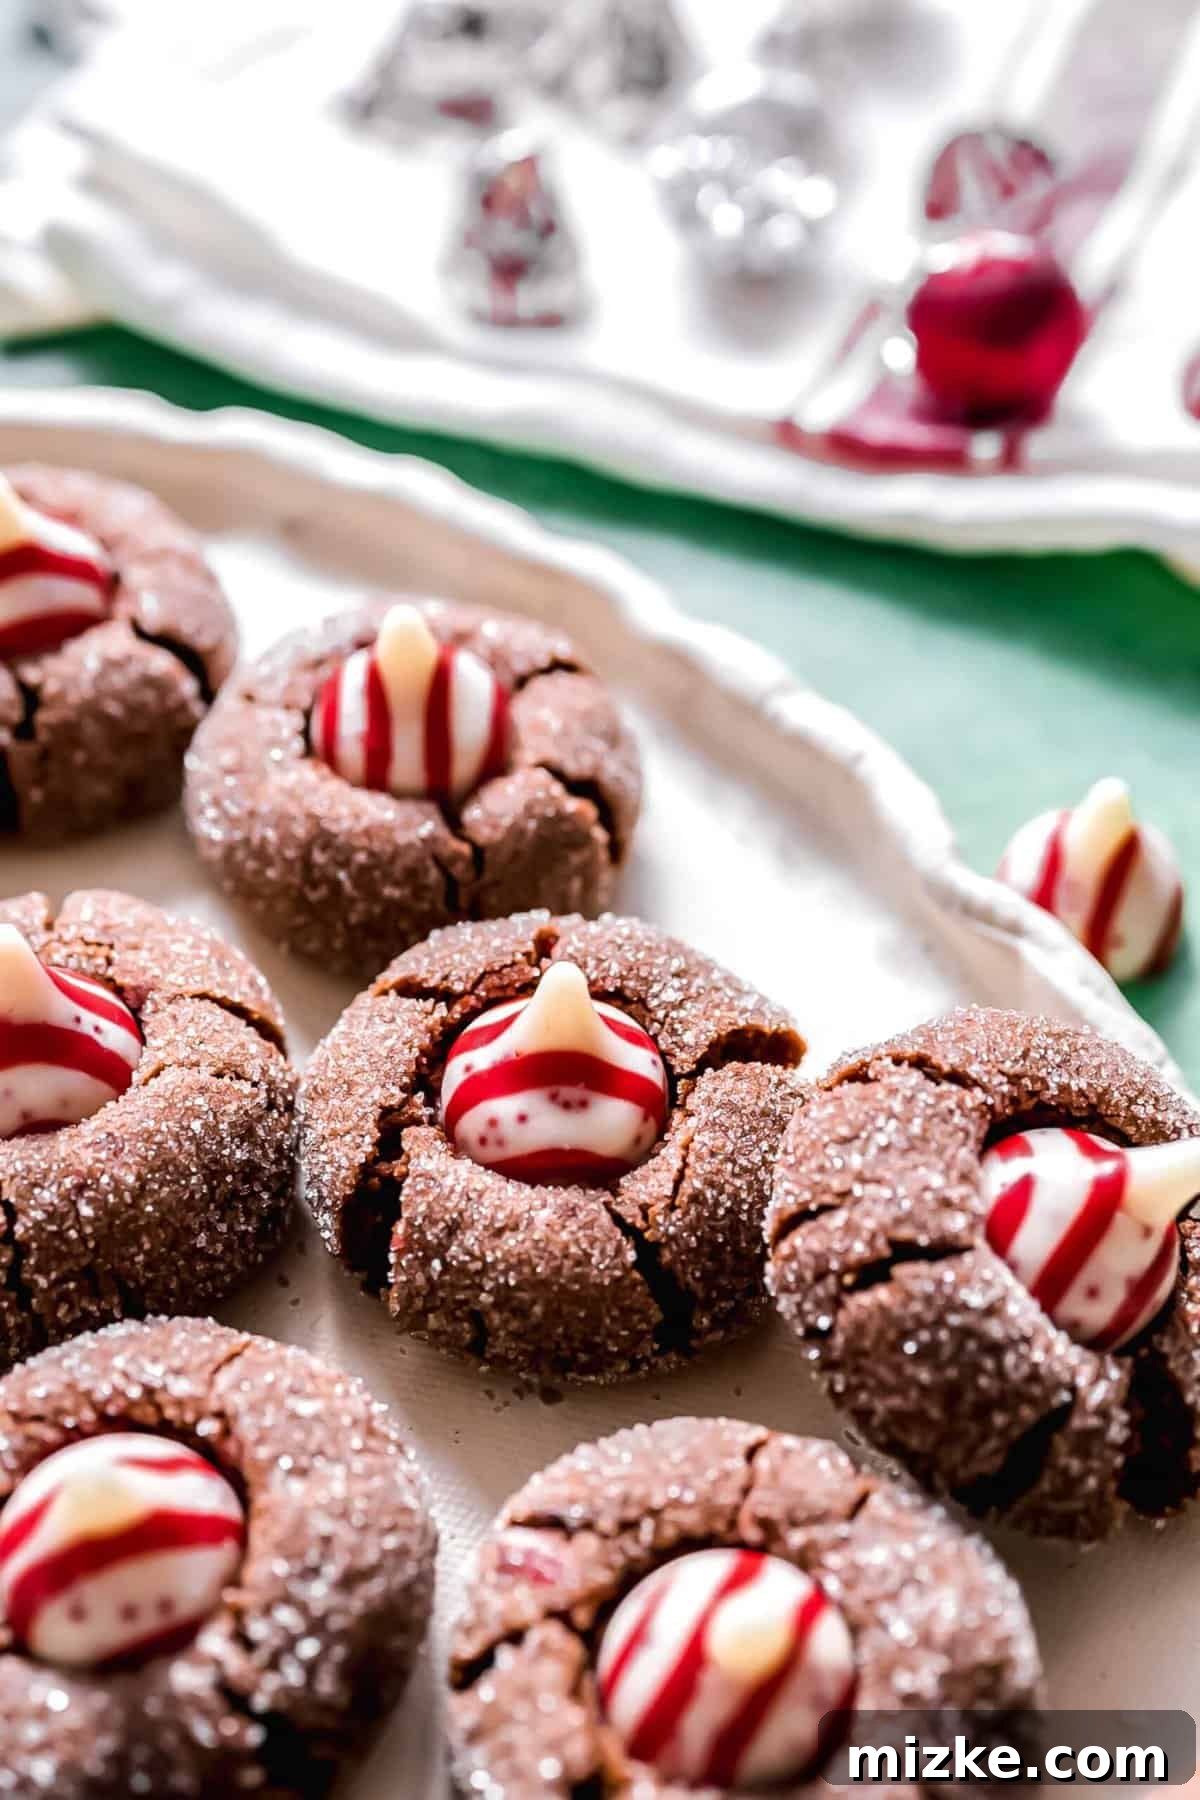
Why These Easy Peppermint Kiss Cookies Will Be Your New Holiday Favorite
There are countless reasons to fall in love with these decadent cookies, making them a staple in your annual holiday baking repertoire. Here are just a few of the standout qualities:
- Unforgettable Flavor Intensity: These aren’t your average chocolate peppermint cookies. We go above and beyond to ensure a truly rich and complex flavor profile. This recipe ingeniously incorporates not just one, but three distinct chocolate ingredients, paired with three equally potent peppermint elements. This layered approach guarantees that each cookie is absolutely bursting with an unparalleled depth of both beloved chocolate and invigorating peppermint flavors, creating a harmonious and utterly delightful sensation with every bite.
- Effortlessly Festive Appeal: When we envision charming Christmas cookies, our minds often conjure images of intricate sugar cookies, creative cookie cutters, and generous sprinkles of green and red. While those are wonderful, these chocolate peppermint kiss cookies offer a uniquely festive elegance without the need for extensive decorating. The star of the show is the signature red and white-striped Hershey’s Candy Cane Kiss, perched atop each cookie like a sweet, snowy peak. This vibrant touch instantly elevates their appearance, ensuring they will command attention and delight guests at any holiday party or Christmas dinner spread.
- Remarkably Simple to Master: Despite their gourmet taste and charming holiday look, this stands out as one of the quickest and easiest cookie recipes you’ll ever encounter. You can assemble and bake a batch in a mere 30 minutes, requiring minimal effort and no advanced baking skills. This accessibility means you can enjoy fresh, homemade holiday cookies even during the busiest parts of the season, and your guests will be none the wiser about how little time you actually spent creating such a delicious masterpiece!
- Perfect for Gifting: Beyond their deliciousness, these cookies make fantastic homemade gifts. Their festive appearance and delightful flavor make them ideal for cookie exchanges, hostess gifts, or a thoughtful present for neighbors and friends. Package them in a decorative tin or clear bag with a ribbon, and you have a personal, heartfelt present that everyone will appreciate.

Essential Ingredients for Your Chocolate Peppermint Kiss Cookies
Crafting these delectable chocolate peppermint kiss cookies requires a simple yet potent lineup of ingredients, carefully chosen to maximize flavor and texture. Here’s a closer look at what you’ll need to create this holiday magic:
- Semisweet Chocolate: This provides the foundational rich chocolate flavor and contributes to the cookie’s tender texture. You’ll melt this to incorporate it smoothly into the dough.
- Unsalted Butter: Always opt for unsalted butter in baking to control the overall saltiness of your recipe. Ensure it’s softened to room temperature for optimal creaming.
- Granulated Sugar: Essential for sweetness and structure, it also creates a delightful sugary crust when rolled.
- Light Brown Sugar: This adds a deeper, more molasses-like sweetness and helps keep the cookies moist and chewy. Its milder flavor complements the chocolate and peppermint beautifully.
- Egg: A crucial binder that adds moisture and richness, helping the cookies hold their shape and achieve a uniform texture.
- Pure Vanilla Extract: Use 100% pure vanilla extract for the best flavor. It enhances the chocolate notes and adds a warm, aromatic depth to the cookies.
- Peppermint Extract: The primary source of that iconic peppermint kick. Choose a high-quality extract free from artificial flavors for a clean, refreshing taste.
- All-Purpose Flour: The structural backbone of your cookies. Make sure to measure it correctly, preferably by weight, to avoid dense cookies.
- Unsweetened Cocoa Powder: This is where a significant part of the intense chocolate flavor comes from. It provides a deep, slightly bitter contrast to the sweetness and peppermint.
- Baking Powder: Our leavening agent, ensuring your cookies rise beautifully and achieve that soft, tender interior.
- Salt: A pinch of salt is vital. It balances the sweetness, enhances all the other flavors, and prevents the cookies from tasting flat.
- Hershey’s Candy Cane Kisses: These are the star toppers! Their creamy white chocolate and crunchy peppermint bits provide both visual appeal and an extra layer of peppermint flavor and texture.
- Crushed Candy Canes (Optional): For an extra festive crunch and an amplified peppermint burst, folding crushed candy canes directly into the dough is a wonderful addition.
Crafting Your Chocolate Peppermint Kiss Cookies: A Simple Guide
Get ready to create these quick, fun, and irresistibly festive cookies with this easy-to-follow, step-by-step guide. You’ll be enjoying these holiday delights in no time!
- Step 1: Prepare Your Workspace. Begin by preheating your oven to 350°F (177°C). While the oven heats up, line two standard baking sheets with parchment paper. This prevents sticking and makes for easy cleanup. Unwrap all of your Hershey’s Candy Cane Kisses now so they are ready to press into the hot cookies later – this step is crucial for timing!
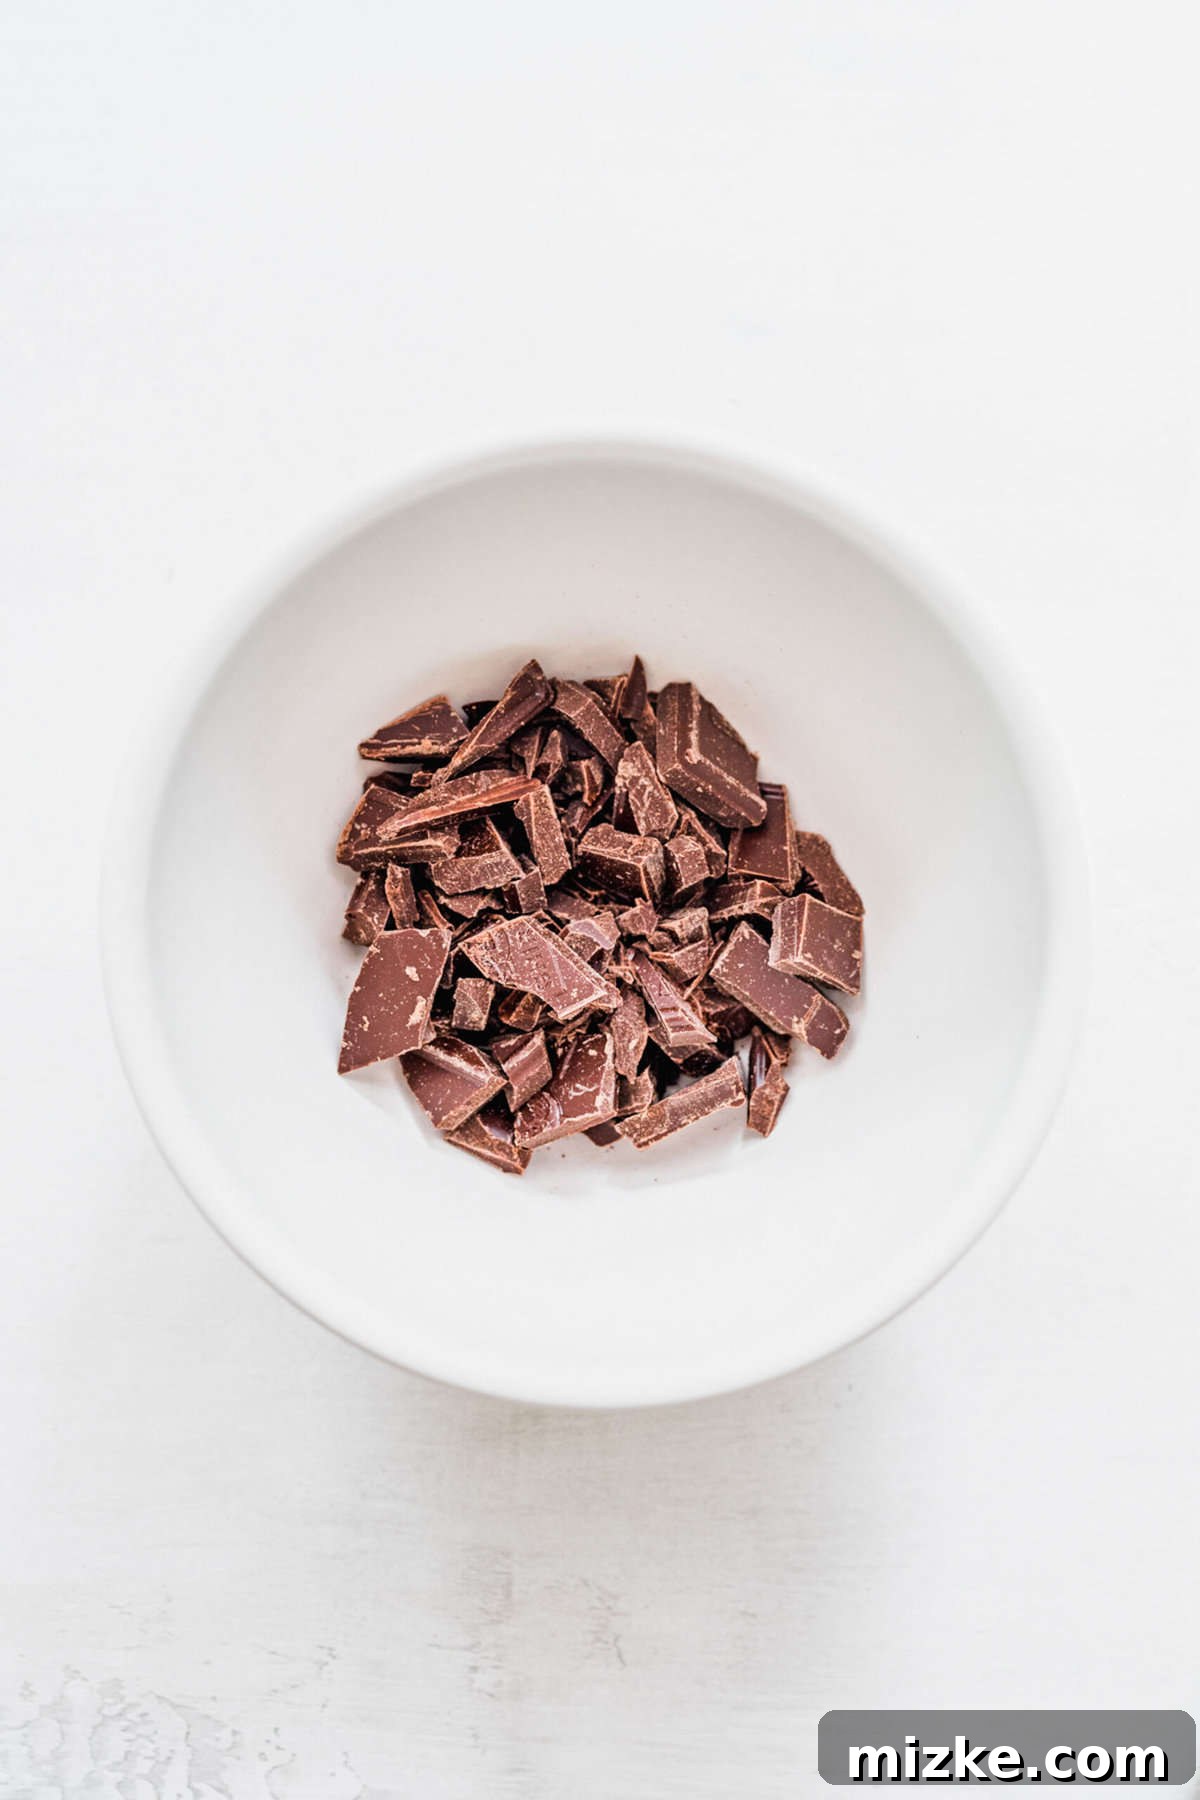
- Step 2: Melt the Chocolate. Place your semisweet chocolate in a microwave-safe bowl. Microwave on high for 30 seconds, then stir thoroughly. Continue microwaving in 15-20 second intervals, stirring well after each, until the chocolate is completely smooth and melted. Be careful not to overheat it. Set the melted chocolate aside to cool slightly.

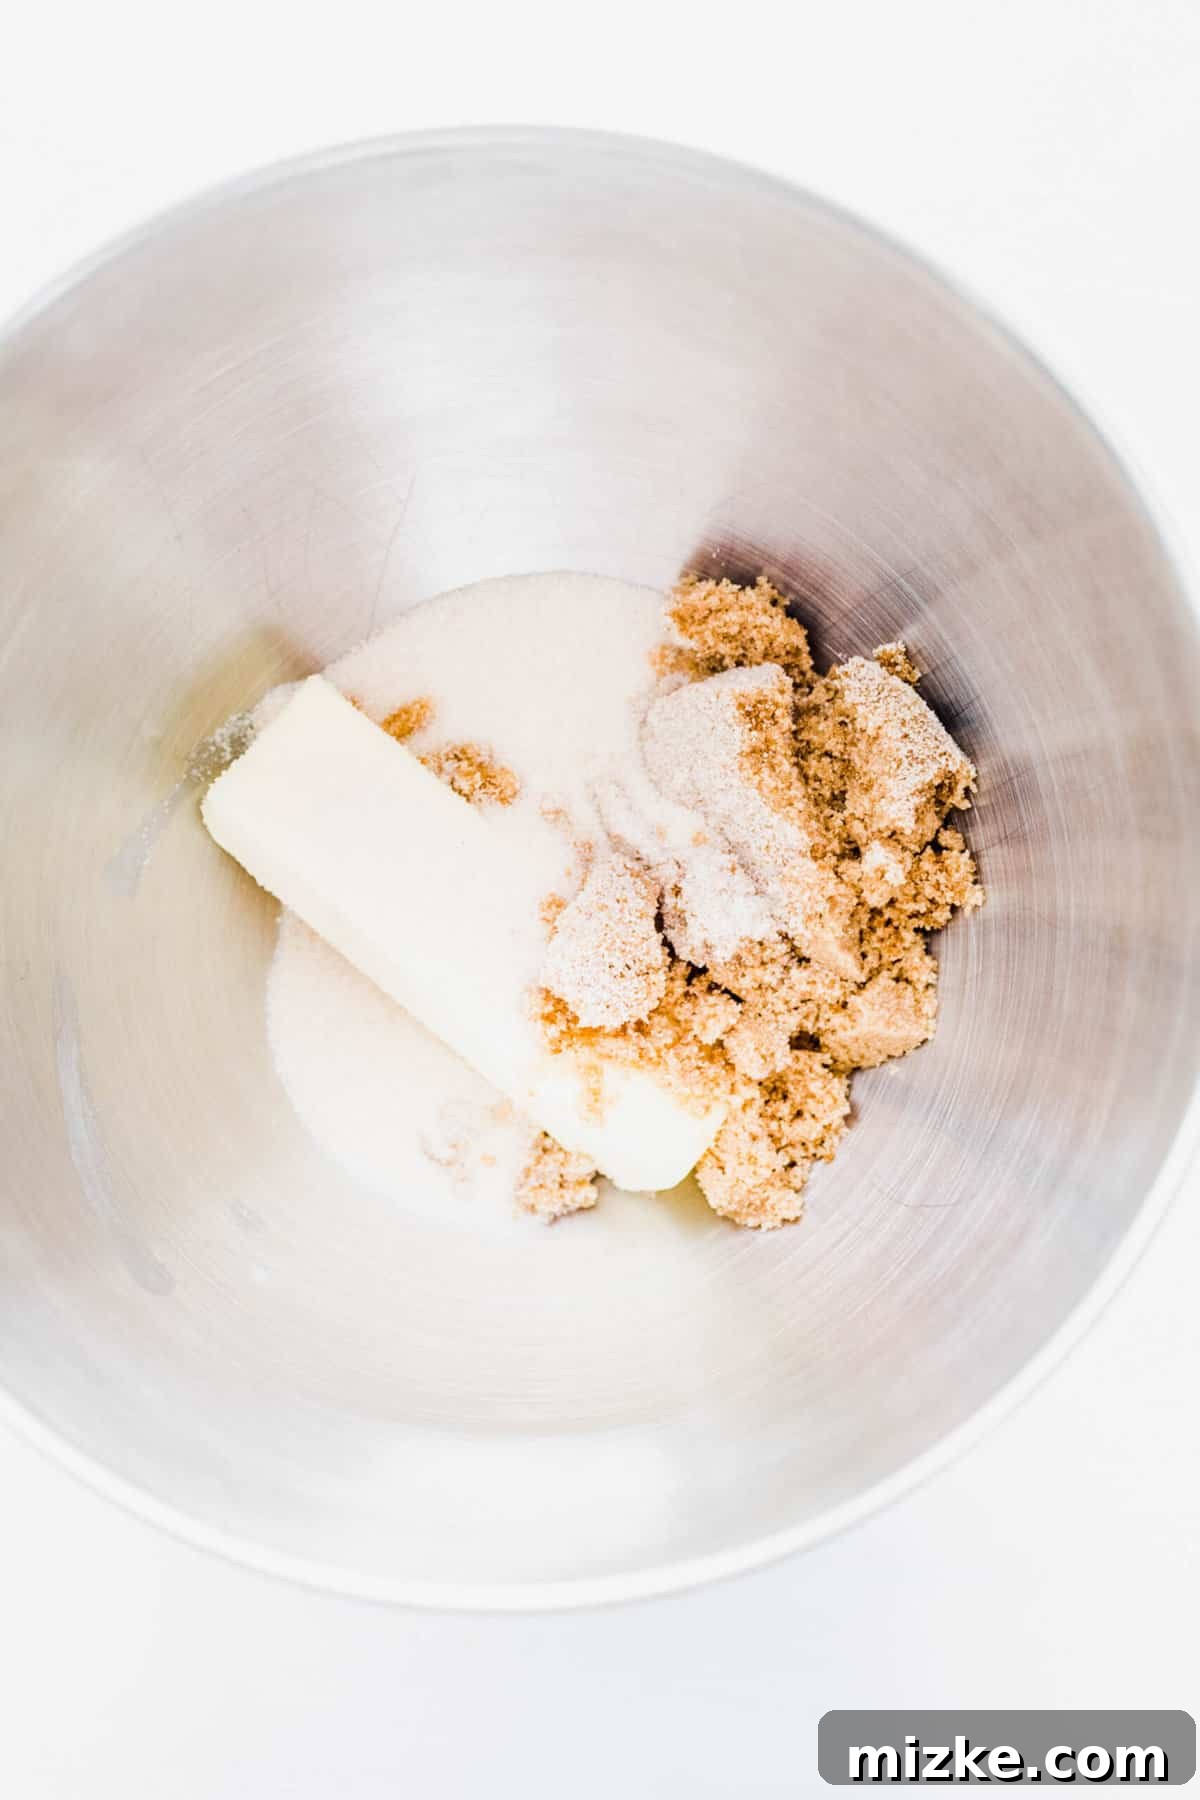
- Step 3: Cream the Butter and Sugars. In the bowl of a stand mixer fitted with the paddle attachment (or using a large mixing bowl and a hand mixer), add the softened unsalted butter, granulated sugar, and light brown sugar. Beat on medium speed for about 2 minutes, or until the mixture becomes visibly light, fluffy, and pale in color. This step incorporates air, making your cookies tender.
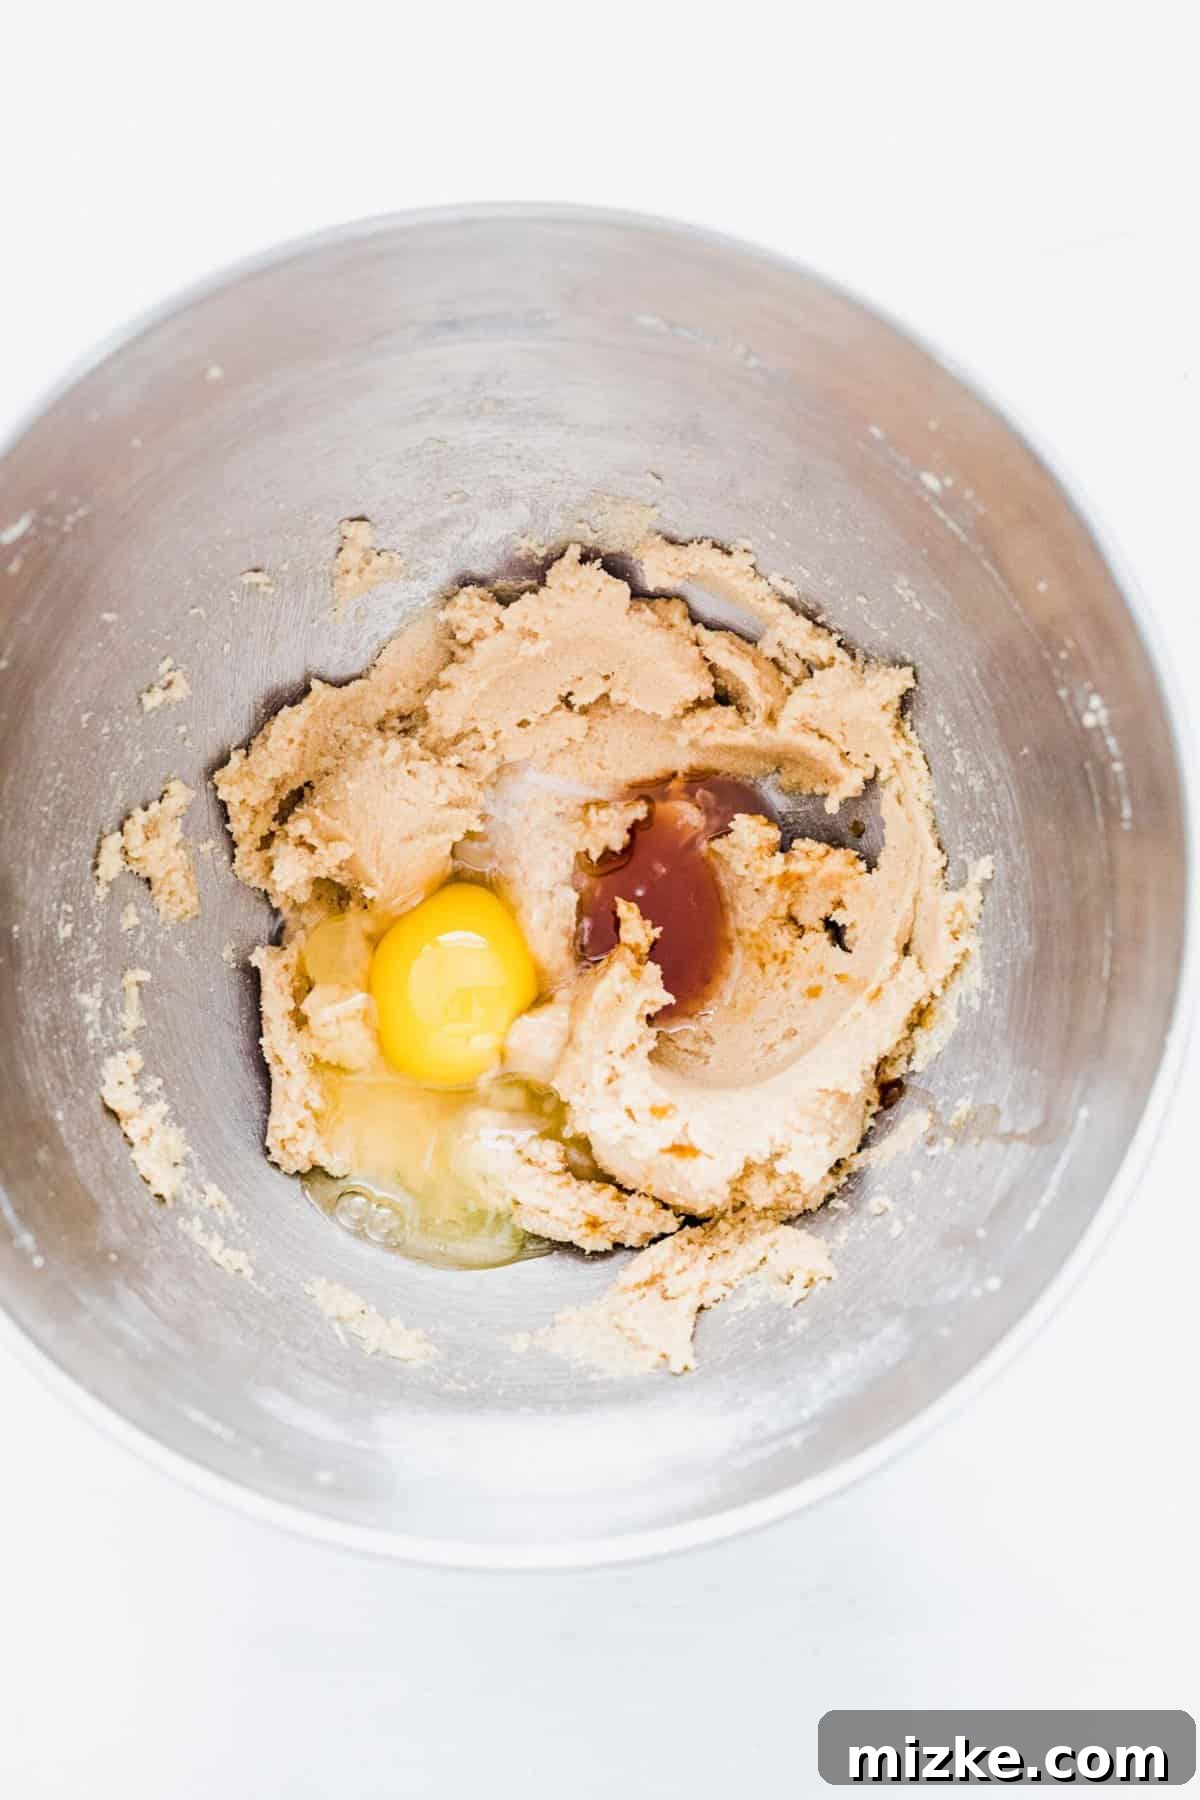
- Step 4: Incorporate Wet Ingredients. Add the egg, pure vanilla extract, and peppermint extract to the creamed butter mixture. Continue mixing on low to medium speed until all these ingredients are just combined and well-incorporated into the dough. Scrape down the sides of the bowl as needed to ensure everything is evenly mixed.
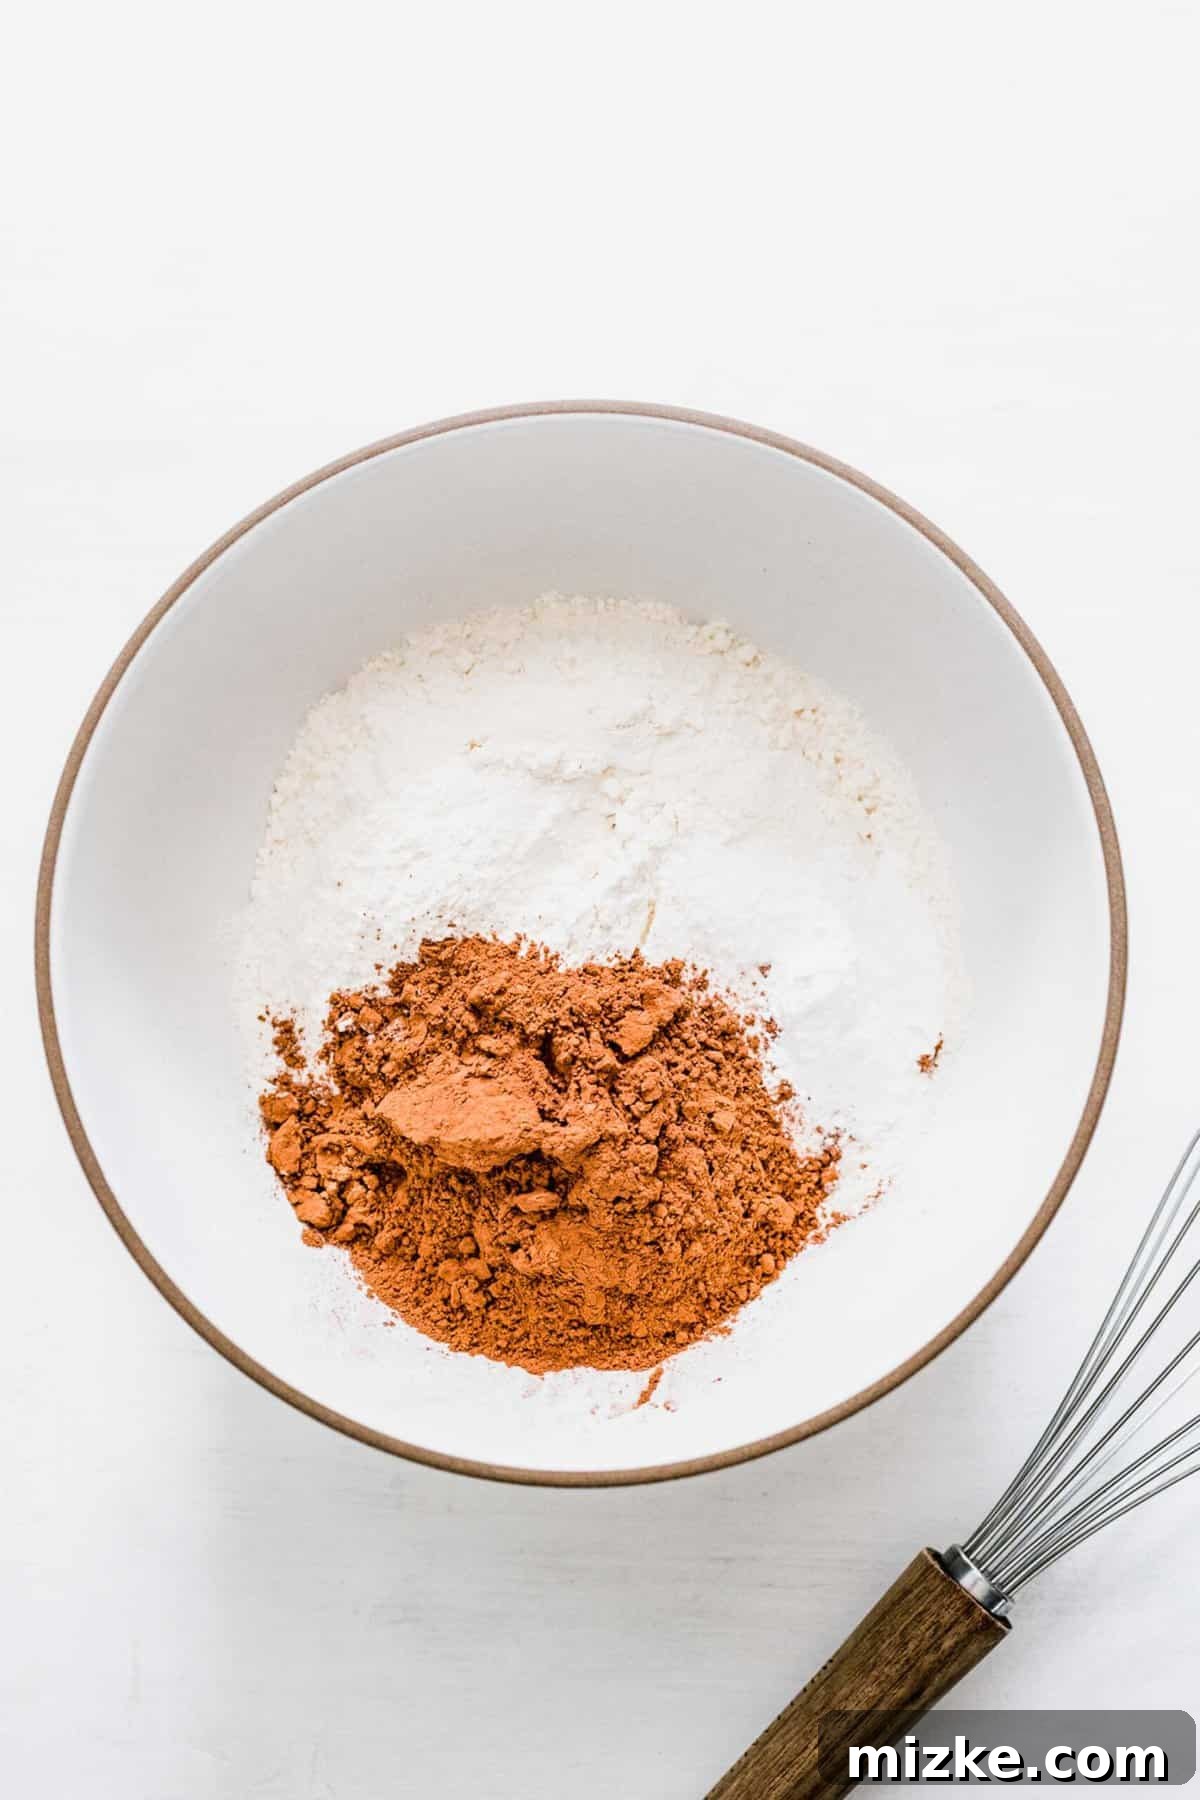
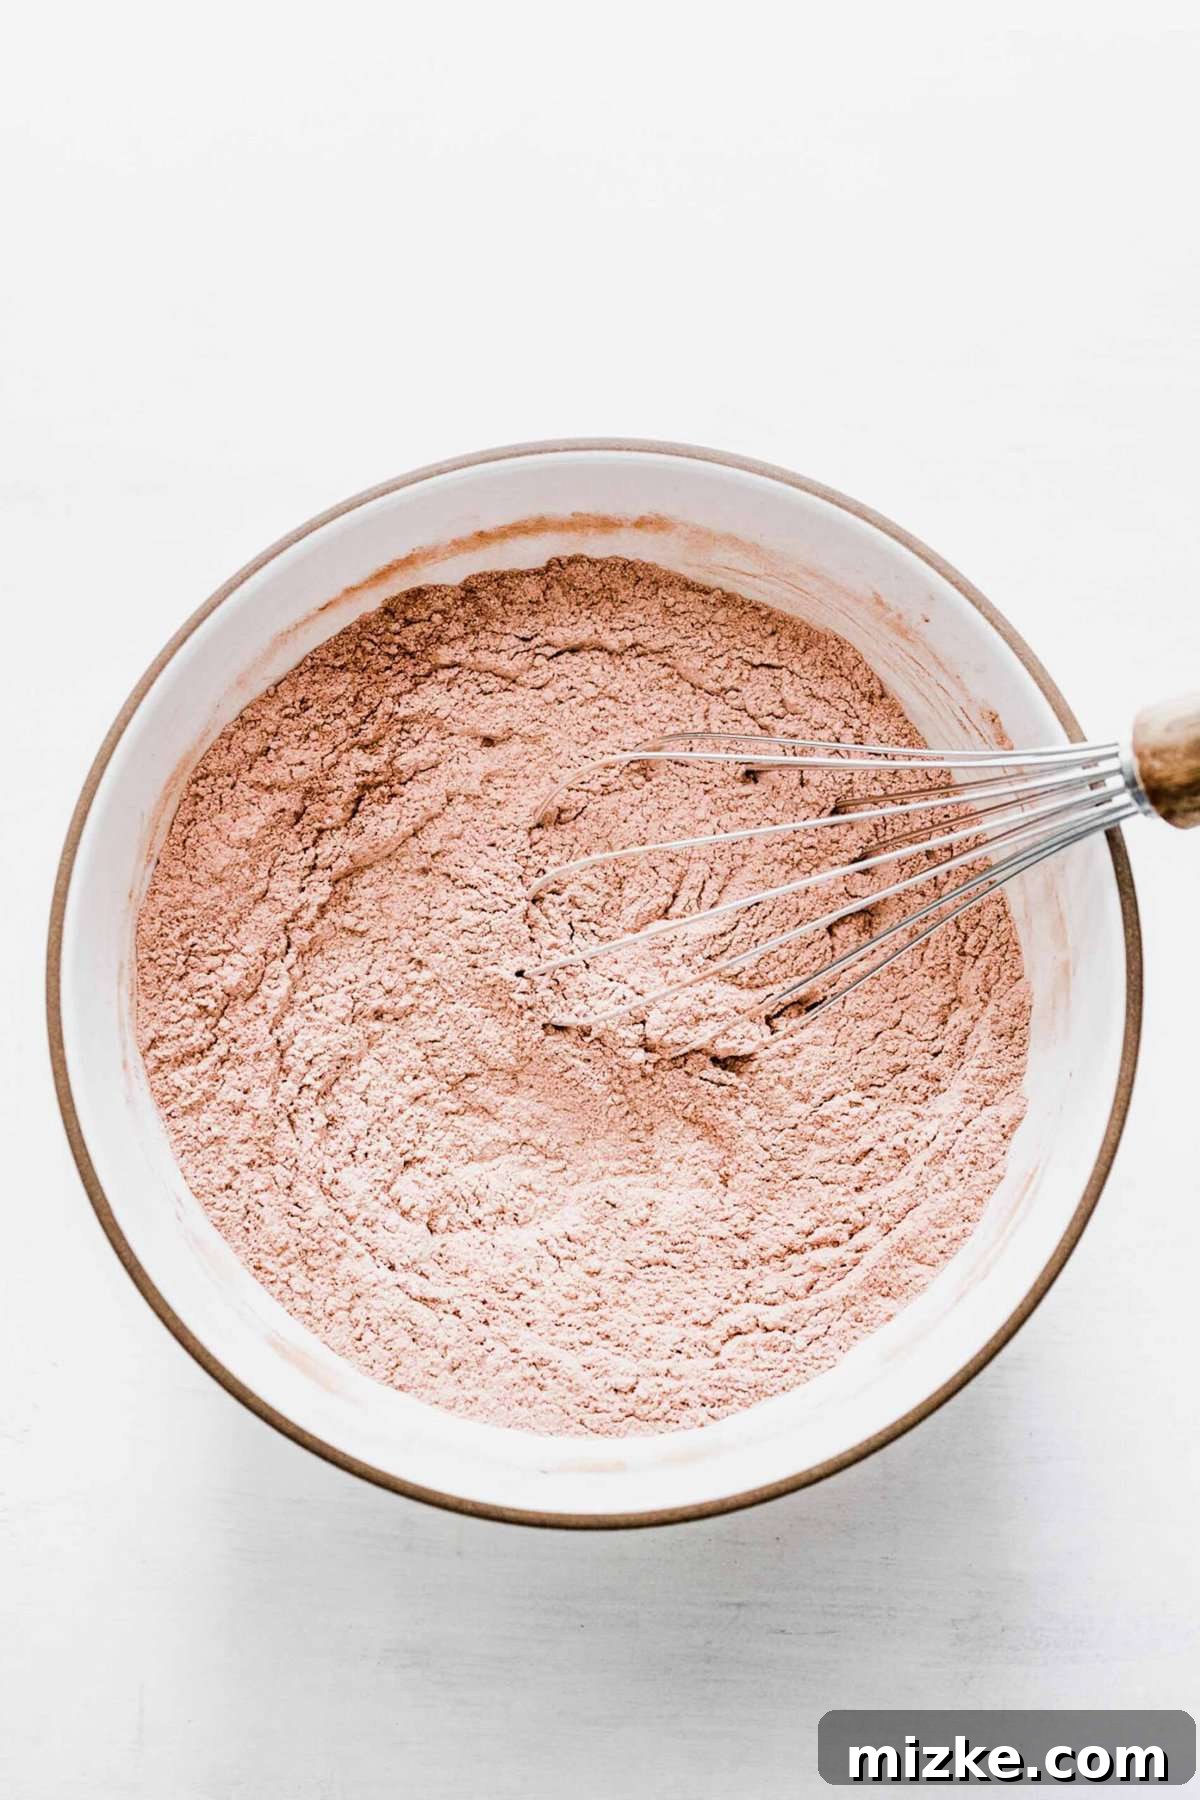
- Step 5: Prepare the Dry Ingredients. In a separate medium-sized bowl, whisk together the all-purpose flour, unsweetened cocoa powder, baking powder, and a pinch of salt until they are thoroughly combined. Whisking ensures that the leavening agents and cocoa are evenly distributed throughout the dry mixture.
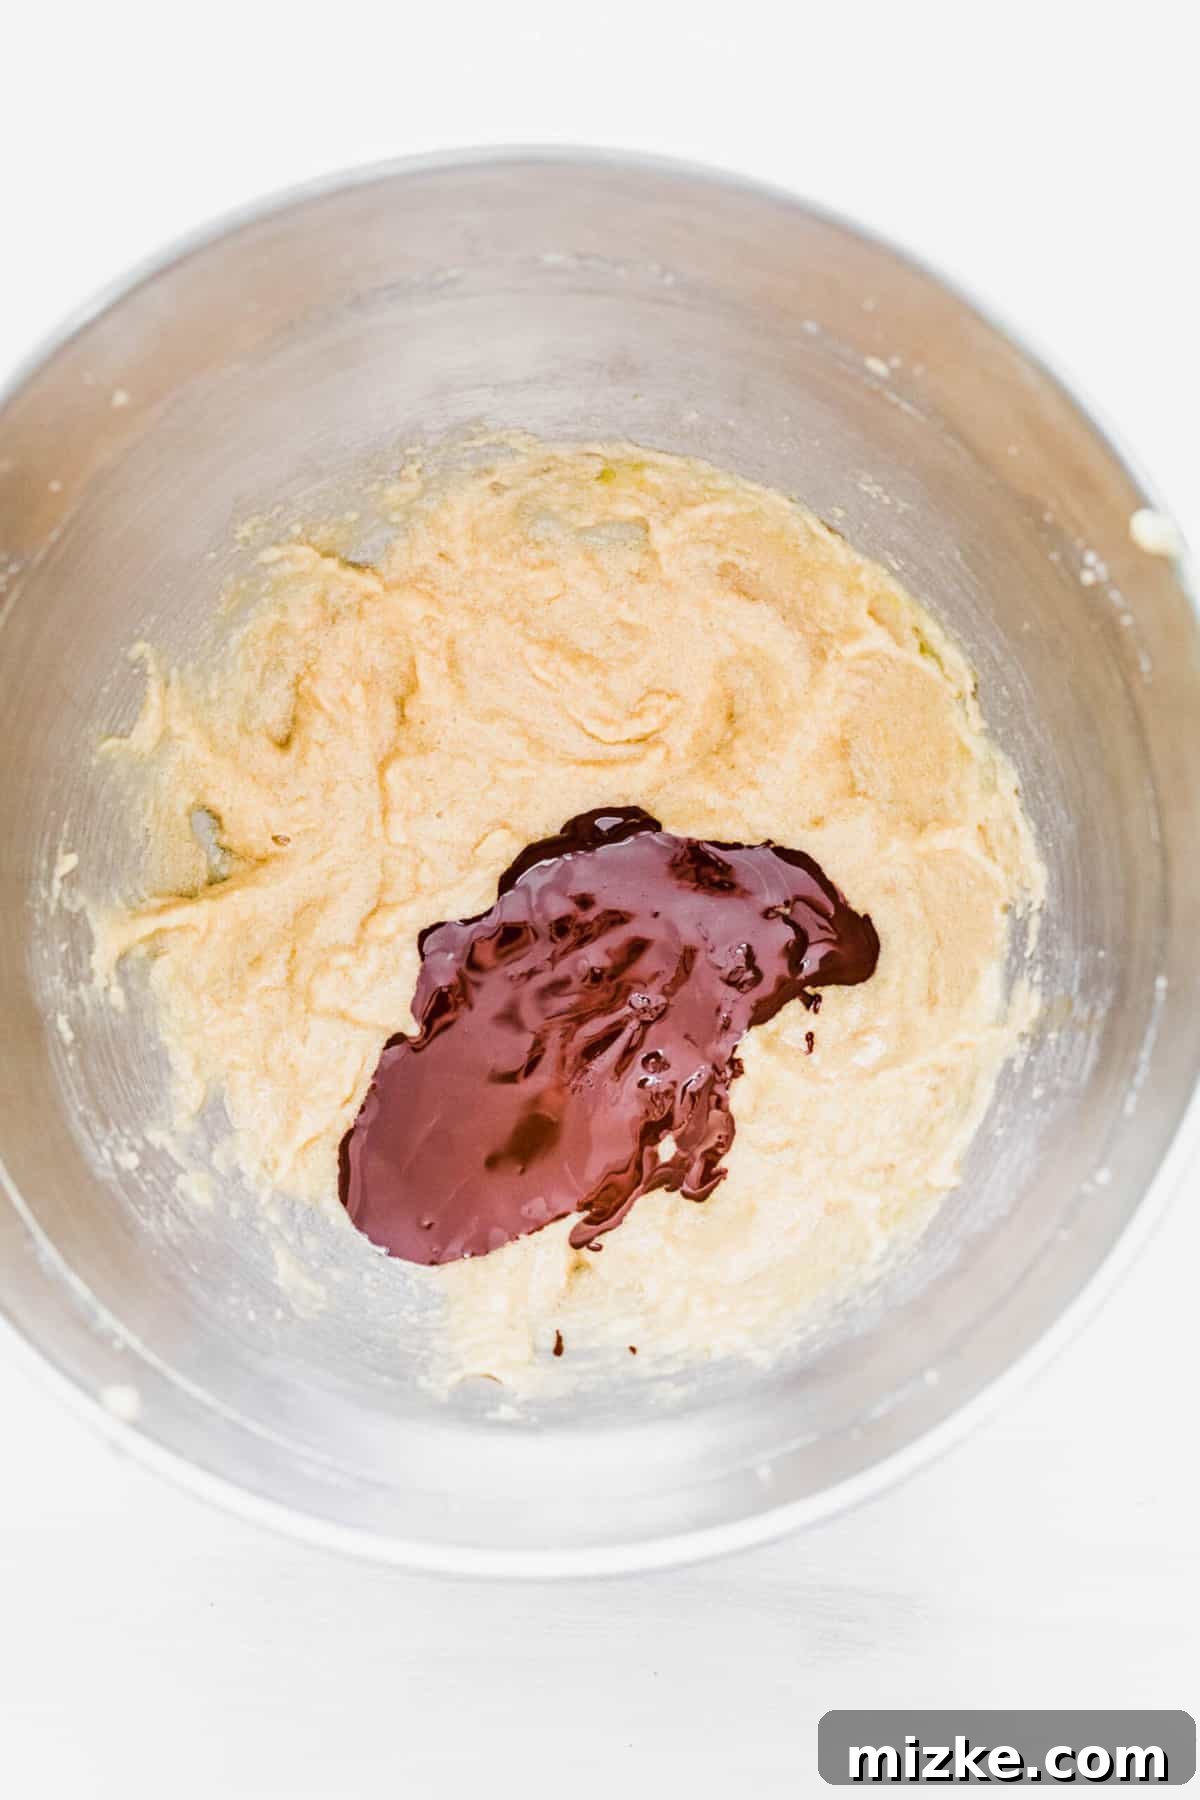
- Step 6: Combine Chocolate with Wet Ingredients. Gently pour the slightly cooled melted chocolate into the bowl with the creamed butter, sugars, and egg mixture. Mix on low speed until the chocolate is just combined and the mixture is uniform in color.
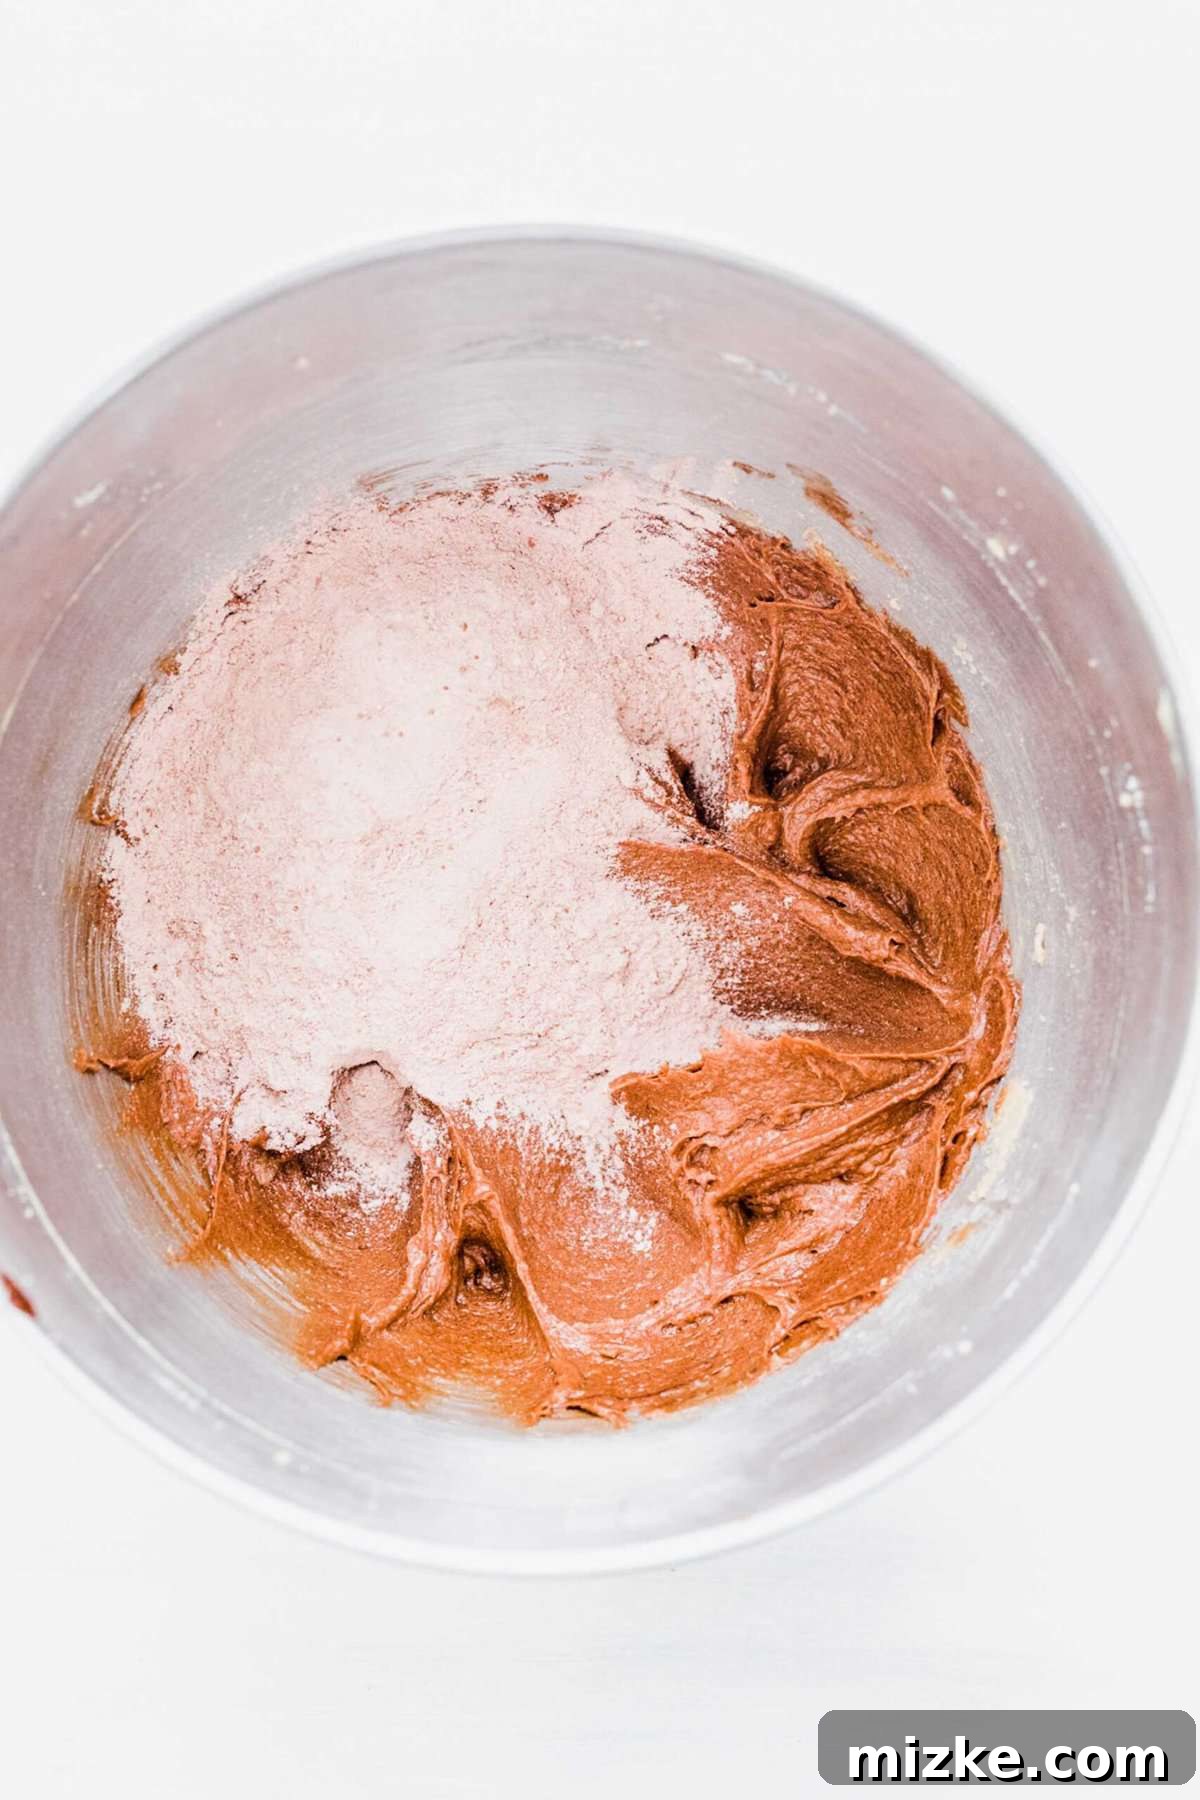
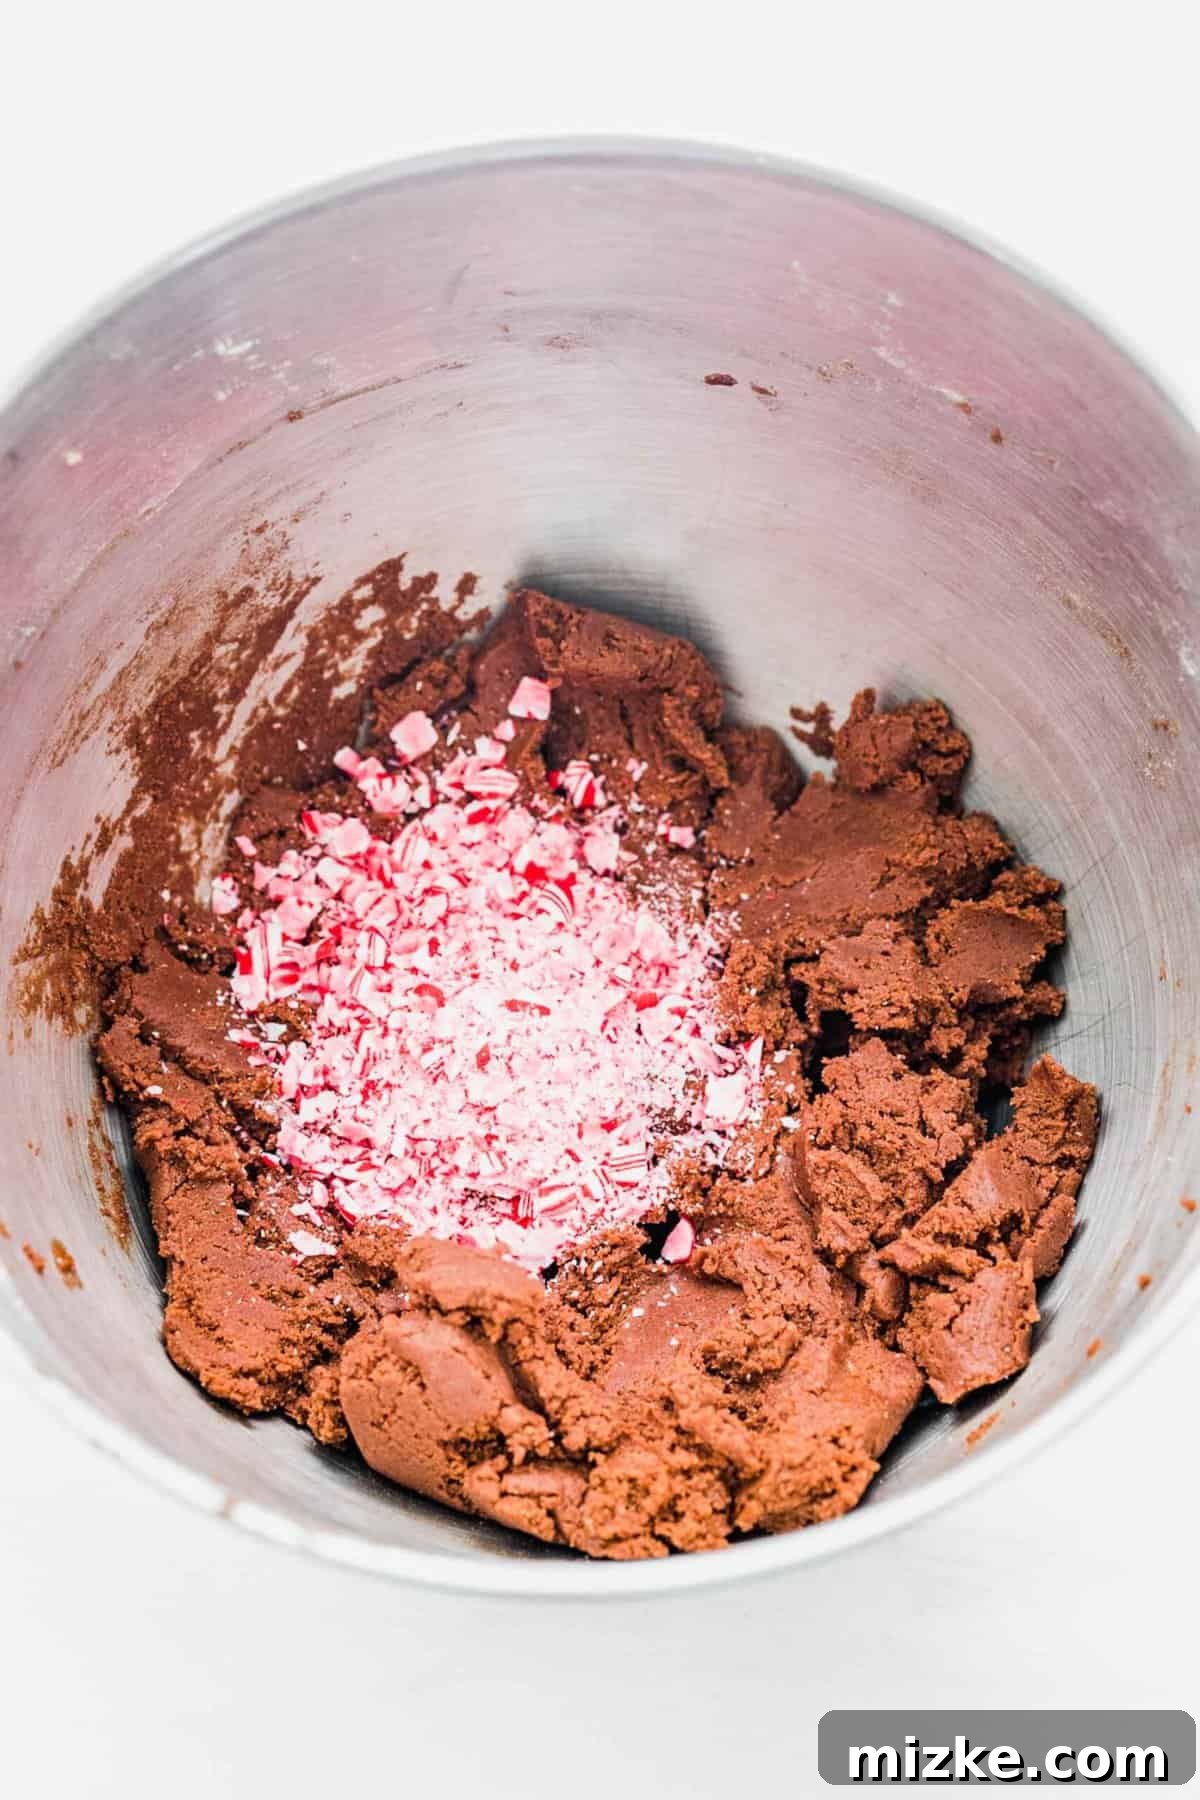
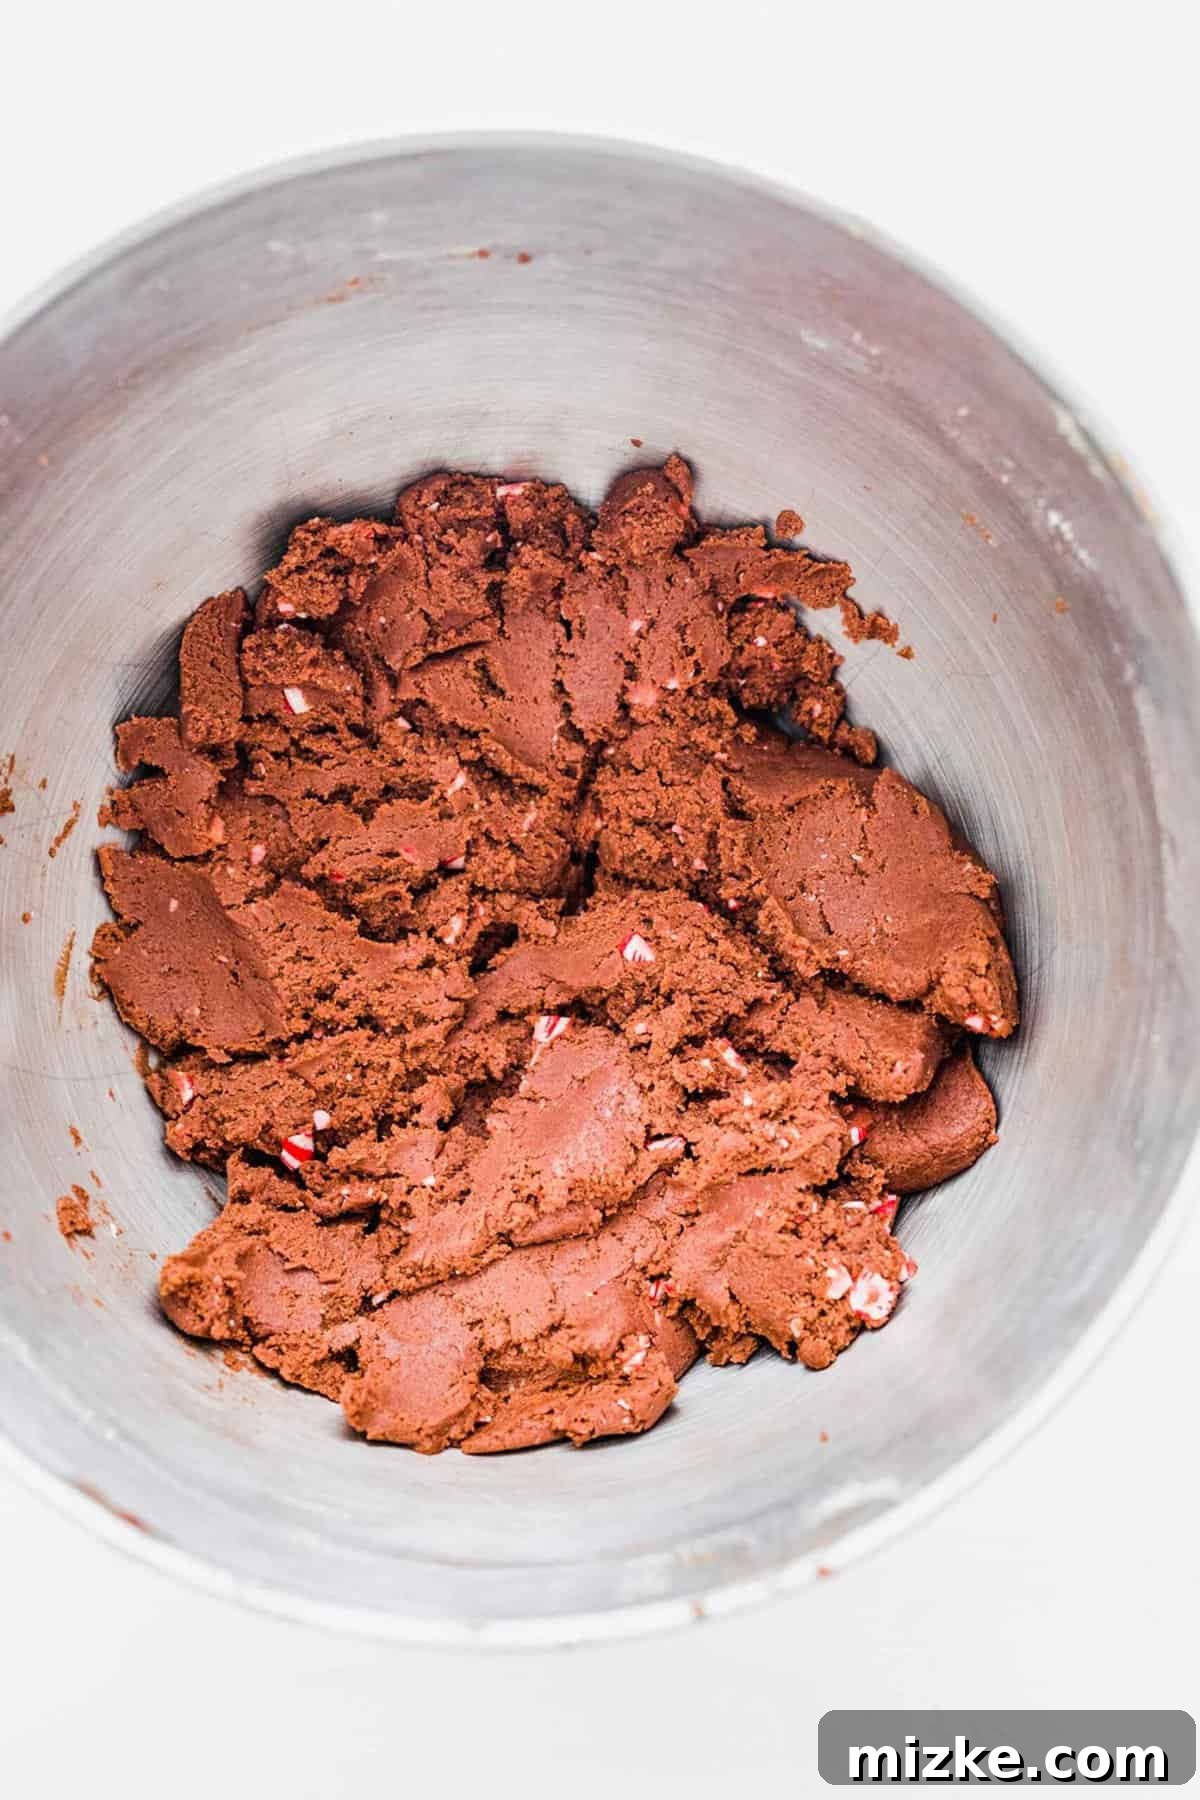
- Step 7: Gradually Add Dry to Wet. Add approximately one-third of the dry flour mixture to the wet chocolate mixture. Mix on low speed until just combined, being careful not to overmix. Repeat this process with the remaining dry mixture, adding it in two more batches, mixing only until no streaks of flour remain. If you choose to add crushed candy canes for extra crunch and peppermint flavor, gently fold them into the cookie dough during the last addition of dry ingredients.
- Step 8: Fold in Optional Candy Canes. If you’re incorporating crushed candy canes, gently fold them into the prepared cookie dough. Use a spatula to ensure they are evenly distributed without overworking the dough.
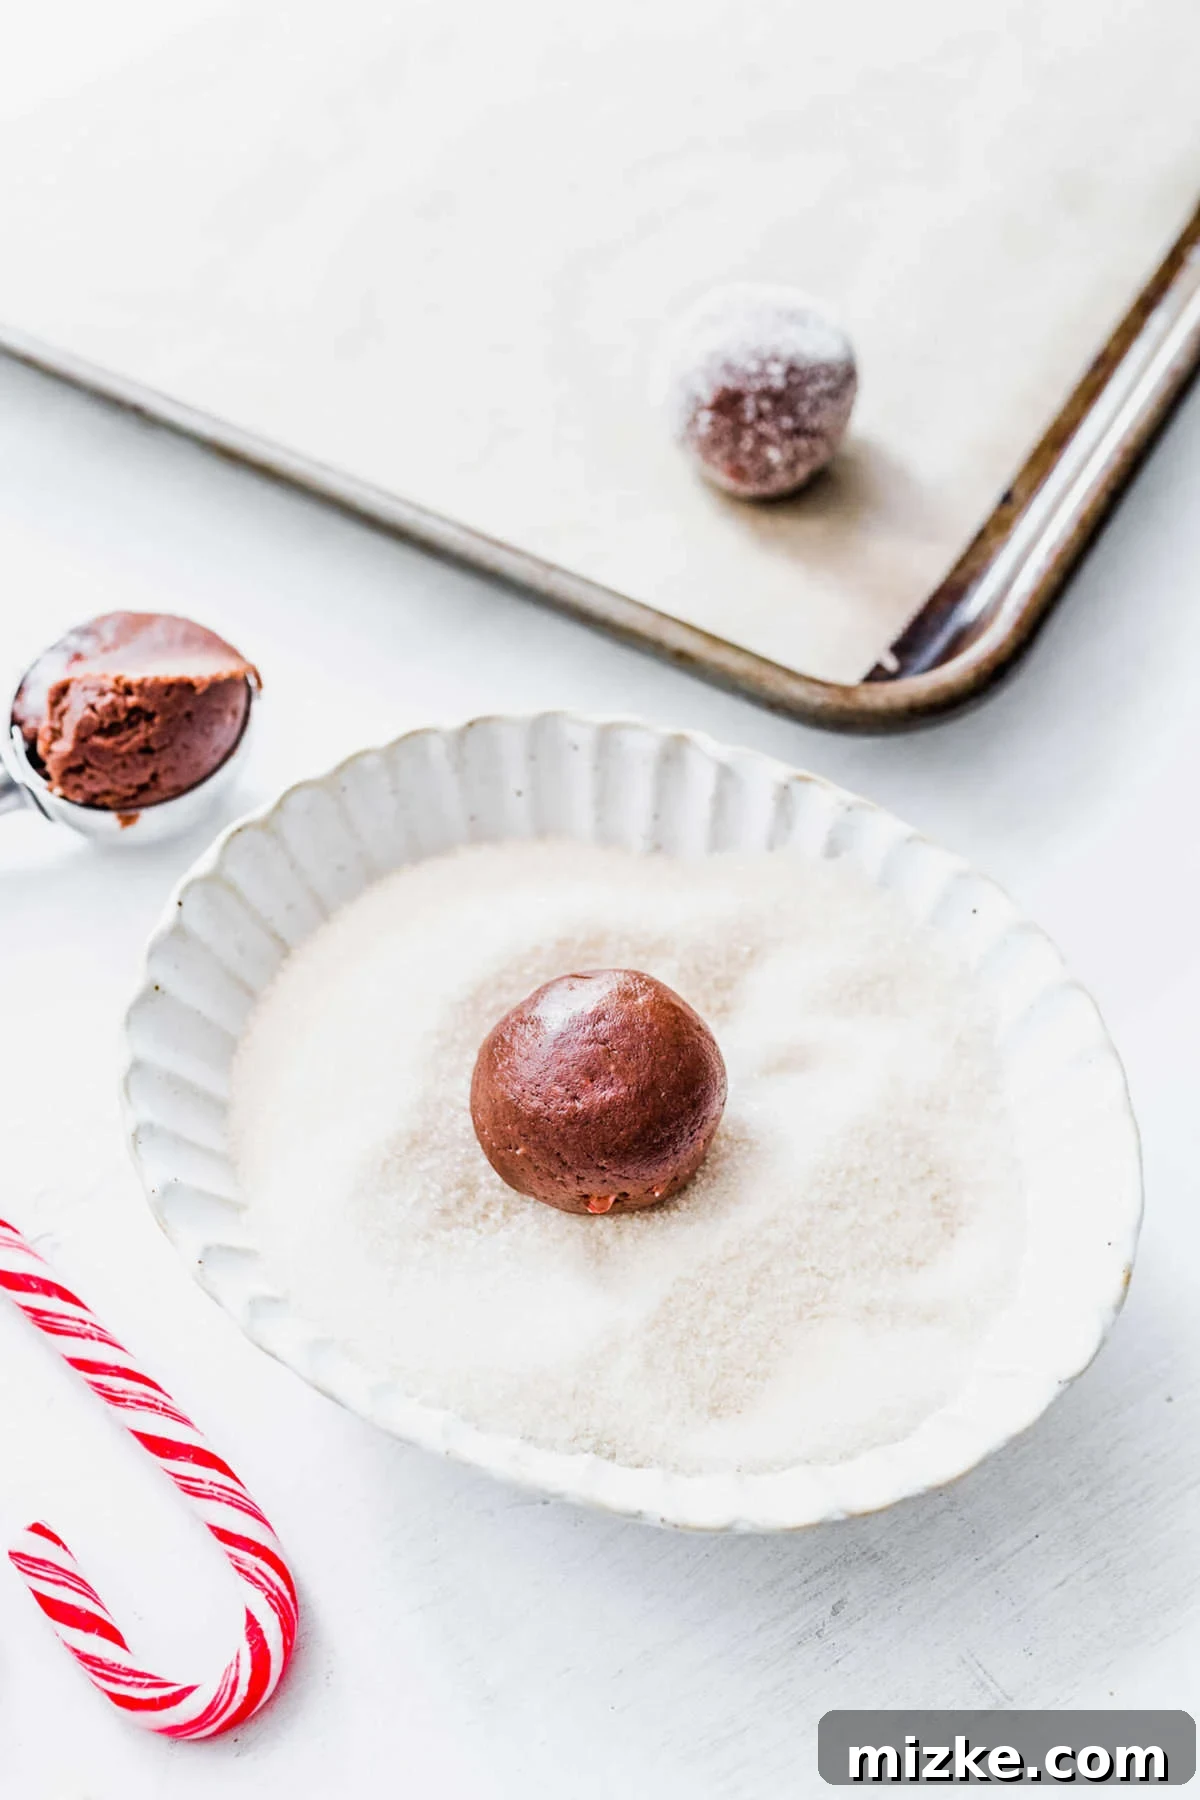
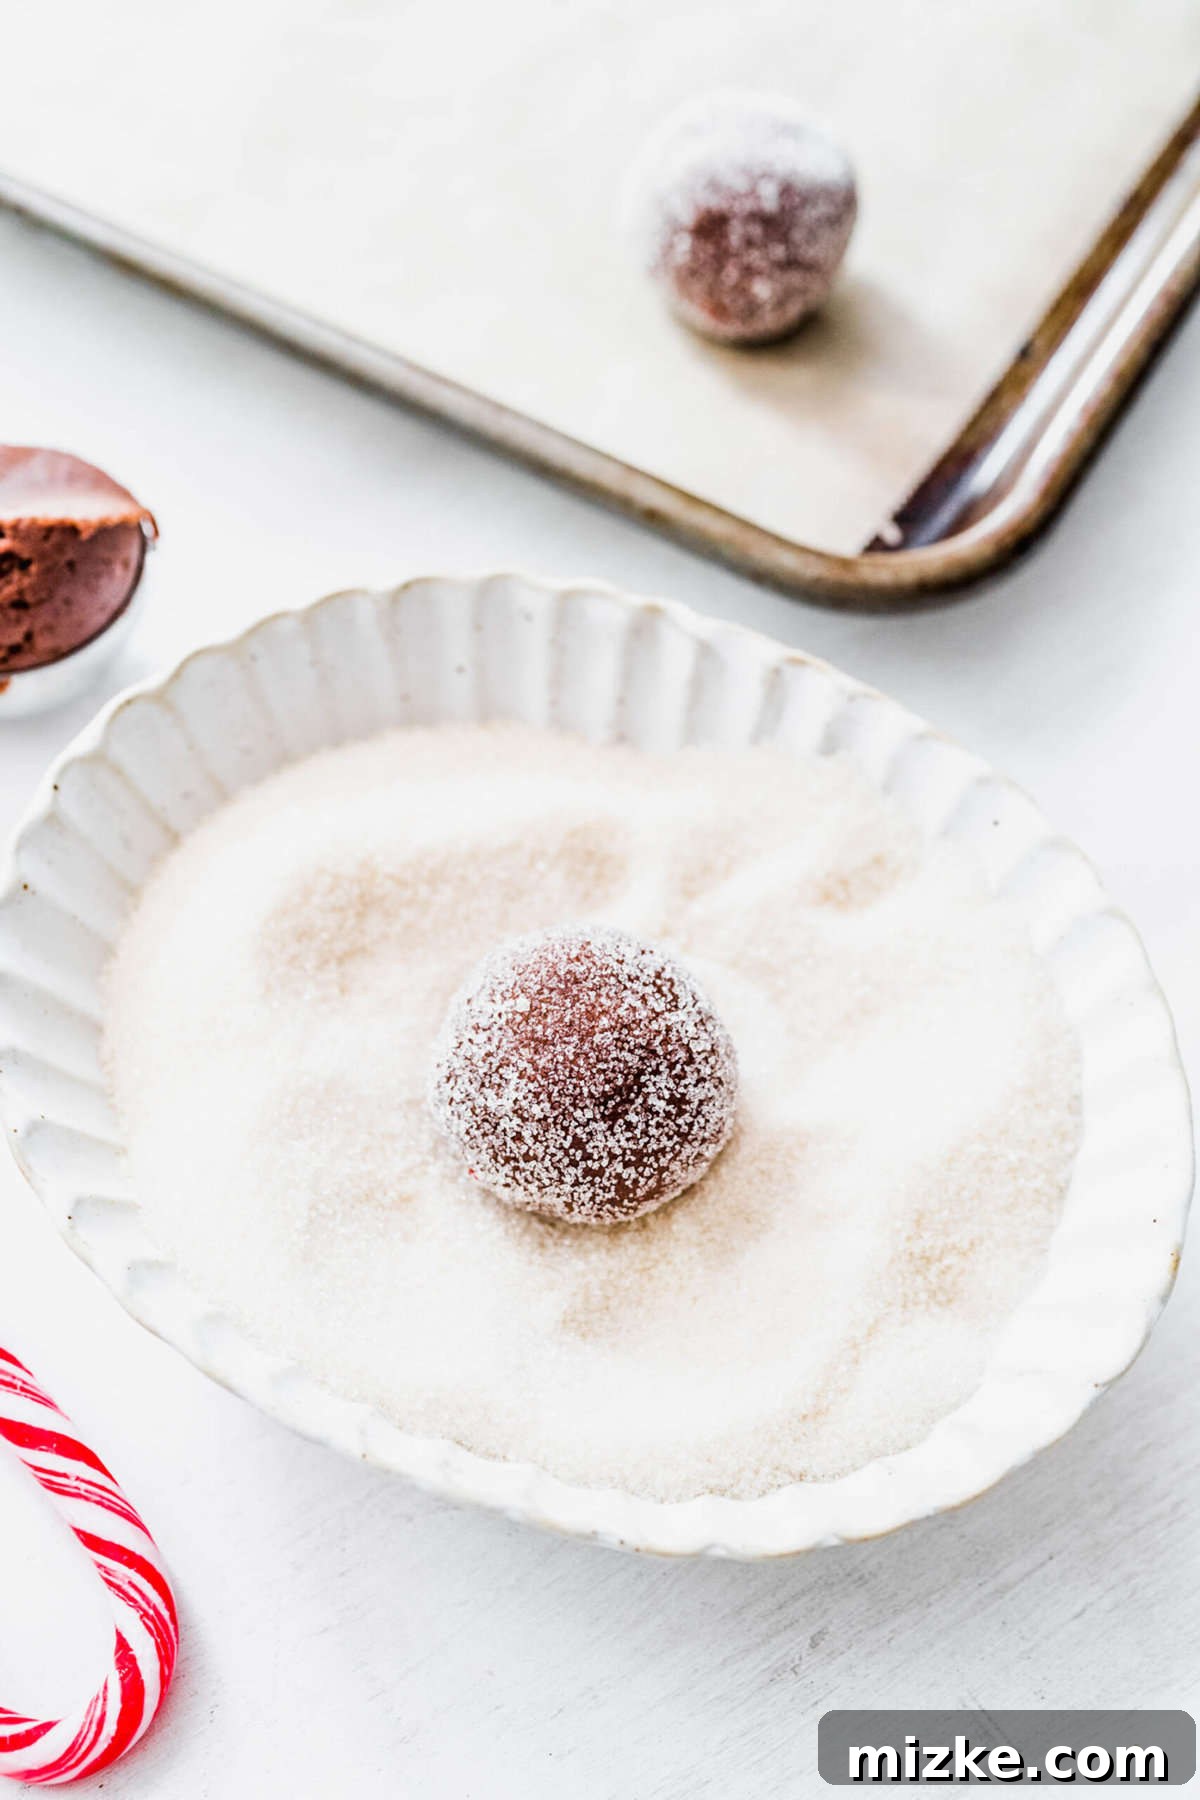
- Step 9: Prepare the Sugar Coating. Pour about ¼ cup of granulated sugar into a small, shallow bowl. This sugar will be used to coat the cookie dough balls, giving them a delightful sparkly finish and a subtle extra crunch.
- Step 10: Shape and Coat the Cookies. Use a 1-tablespoon cookie scoop to portion out the cookie dough. Roll each portion gently between your palms to form a smooth, uniform ball. Then, roll each ball thoroughly in the shallow bowl of sugar until it’s completely coated. Place the sugar-coated cookie dough balls about 2 inches apart on your prepared baking sheets.
- Step 11: Bake to Perfection. Transfer the baking sheets to your preheated oven and bake for 8-10 minutes. The cookies are done when their edges are set but their centers still look slightly soft. Avoid overbaking, as this can lead to dry cookies.
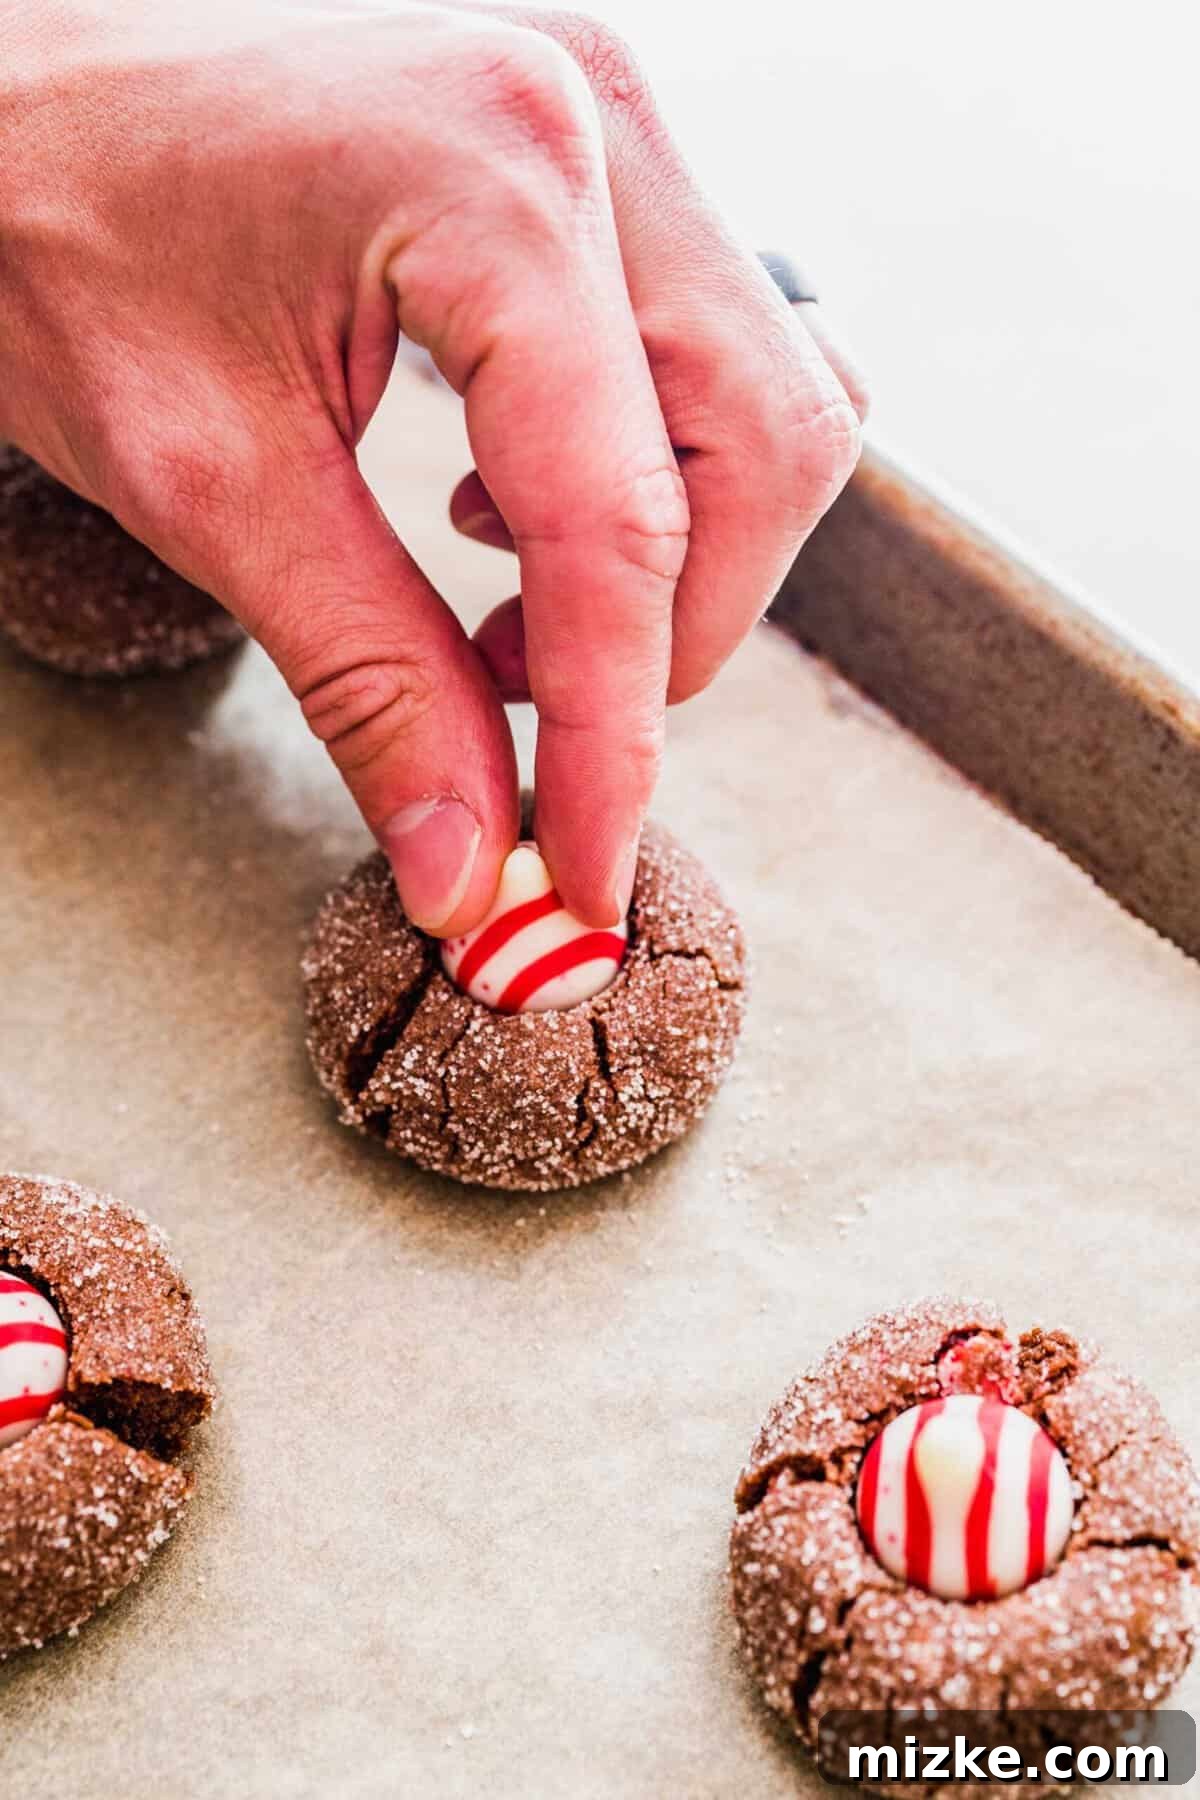
- Step 12: Add the Peppermint Kiss and Cool. As soon as you remove the baking sheets from the oven, while the cookies are still hot and pliable, gently and softly press an unwrapped Hershey’s Candy Cane Kiss into the center of each cookie. The residual heat will slightly melt the base of the kiss, helping it adhere. Allow the cookies to cool on the baking sheets for 5 minutes to set before carefully transferring them to a wire rack to cool completely. Once cooled, they’re ready to be devoured!

Expert Tips and Clever Tricks for Perfect Chocolate Peppermint Kiss Cookies
Achieving cookie perfection is all about the details. Here are some essential tips and clever tricks to ensure your chocolate peppermint kiss cookies turn out absolutely flawless every time:
- The Importance of Softened Butter: For this recipe, using butter that is properly softened to room temperature is paramount. Softened butter creams beautifully with the sugars, creating an emulsion that traps air, which is essential for a light, smooth, and fluffy cookie dough. This leads to tender, evenly baked cookies. However, be vigilant: butter should be soft enough to indent with a finger but not at all melted or greasy, as melted butter will result in a wet, loose dough and dense cookies.
- Effortless Candy Cane Crushing: The simplest and least messy method for creating perfectly crushed candy canes is to place them in a sturdy resealable plastic bag. Then, use the flat side of a meat tenderizer, a rolling pin, or even the bottom of a heavy pan to gently but firmly smash the candy canes into small, delightful pieces. This technique prevents candy cane shrapnel from flying across your kitchen.
- Avoid Overmixing the Dough: This is a golden rule in baking, especially when adding dry ingredients to wet. Once you introduce the flour and other dry components to the wet mixture in your chocolate peppermint kiss cookie dough, mix only until the ingredients are just combined and no streaks of dry flour are visible. Overmixing develops the gluten in the flour excessively, which can lead to tough, dense, and less tender cookies, detracting from that wonderfully soft texture we’re aiming for.
- Precision is Key for Peppermint: Peppermint extract is potent! For best results, measure precisely. If you’re sensitive to strong peppermint flavors, start with ¾ teaspoon and do a taste test before adding more. You can always add a tiny bit more, but you can’t take it away.
- Uniform Cookie Size: Using a cookie scoop (as recommended in the instructions) is not just for convenience; it’s key for ensuring all your cookies are the same size. This promotes even baking, meaning no burnt edges while centers are still raw.
- Cooling Rack Essentials: Once cookies have set for 5 minutes on the baking sheet, transferring them to a wire rack for complete cooling is crucial. This allows air to circulate around all sides of the cookie, preventing them from becoming soggy on the bottom due to residual heat and promoting an even cooling process.

Your Chocolate Peppermint Kiss Cookies FAQs Answered
Curious about customizing these festive treats? Here are answers to some common questions you might have about this delightful recipe:
Can I use different types of Hershey’s Kisses?
Absolutely! While the peppermint kisses are undeniably festive and perfect for this recipe, you are certainly not limited to them. Feel free to experiment with any variety of Hershey’s Kisses to create unique flavor combinations. Milk chocolate kisses will add classic chocolatey goodness, dark chocolate kisses will intensify the chocolate flavor, or even caramel kisses could offer a delightful surprise. Let your creativity guide you!
Is it possible to adjust the peppermint flavor?
You absolutely can tailor the peppermint intensity to your preference! This recipe is designed with three distinct layers of peppermint flavor: the Hershey’s Kiss, the peppermint extract in the dough, and the optional crushed candy canes. If you prefer a more subtle peppermint note, simply remove the peppermint extract or omit the crushed candy canes from the recipe. Conversely, if you’re a true peppermint enthusiast who loves an extra invigorating kick, feel free to slightly increase the amount of both the peppermint extract and the crushed candy canes. Start with small adjustments and taste the dough (before adding egg if doing so for extract adjustment) to find your perfect balance.
Can these cookies be made gluten-free?
Yes, these delicious chocolate peppermint kiss cookies can be easily adapted to be gluten-free! To do so, simply substitute the all-purpose flour with your favorite gluten-free 1:1 baking flour blend. Most popular gluten-free blends are designed to perform similarly to traditional wheat flour in baking, ensuring you still achieve that wonderful soft and chewy texture. Always check the specific instructions of your chosen gluten-free flour blend for any additional tips or adjustments.
Can I make the dough ahead of time?
Yes, you can! Cookie dough can be prepared and stored in the refrigerator for up to 3-4 days. Wrap it tightly in plastic wrap to prevent it from drying out. When you’re ready to bake, let the dough sit at room temperature for about 15-20 minutes to soften slightly before scooping and rolling. You can also freeze the dough for up to 3 months. Thaw in the refrigerator overnight before baking.

Storing Your Delicious Chocolate Peppermint Kiss Cookies
Proper storage is key to keeping these moist and adorable chocolate peppermint kiss cookies fresh and delicious for as long as possible:
- At Room Temperature: Once completely cooled, store your cookies in an airtight container at room temperature. They will maintain their optimal freshness and delightful texture for up to 4 days.
- In the Refrigerator: For a slightly longer shelf life, transfer the cooled cookies to an airtight container and store them in the refrigerator. They will stay fresh for up to 1 week.
- In the Freezer: These cookies freeze beautifully! Place fully cooled cookies in a single layer on a baking sheet and freeze for about an hour until firm. Then, transfer them to a freezer-safe airtight container or heavy-duty freezer bag, separating layers with parchment paper to prevent sticking. They can be stored in the freezer for up to 3 months. When you’re ready to enjoy them, simply let them thaw overnight in the refrigerator, or for a quicker treat, allow them to come to room temperature on the counter before serving.
Explore More Delightful Cookie Recipes
Once you’ve experienced the joy of baking these super fun and festive chocolate peppermint kiss cookies, you might be inspired to dive deeper into the wonderful world of holiday baking! Check out some of my other favorite cookie recipes, including more delightful “kiss” variations, perfect for any occasion:
- Christmas Tree Cookies: Adorably shaped and decorated, these are a holiday classic.
- Peanut Butter Blossom Cookies: The original “kiss” cookie, a timeless favorite combining rich peanut butter with a chocolate kiss.
- Sugar Cookie Candy Cane Blossoms: Another festive kiss cookie, offering a sweet, buttery base with a delightful candy cane crunch.
- White Chocolate Chip Raspberry Oatmeal Cookies: A flavorful blend of sweet and tart, with a satisfying chewy texture.
- Cinnamon Brown Sugar Cookies: Warm, comforting, and irresistibly aromatic, perfect for a cozy evening.
- Classic Linzer Cookies: Elegant, delicate sandwich cookies filled with fruit jam, a beautiful addition to any holiday platter.
Happy baking, and may your holidays be filled with sweet moments and even sweeter cookies!


Chocolate Peppermint Kiss Cookies
By: Julie Chiou
These chocolate peppermint kiss cookies are fun, festive, and an absolute holiday essential. Packed full of rich chocolate and vibrant peppermint, they only take about 30 minutes to make, delivering maximum flavor with minimal effort!
Prep Time: 20 minutes
Cook Time: 7 minutes
Total Time: 27 minutes
Servings: 24 cookies
Print Recipe
Equipment
- Stand mixer
- Hand mixer (alternative)
- Cookie scoop (1 tbsp size recommended)
- Large rimmed baking sheets
- Parchment paper
- Microwave-safe bowl
- Mixing bowls
- Whisk
- Spatula
- Wire cooling rack
Ingredients
- 2 ounces (57 g) semisweet chocolate
- ½ cup (114 g) unsalted butter, softened
- ½ cup (100 g) granulated sugar, plus ¼ cup for rolling
- ½ cup (110 g) light brown sugar, packed
- 1 large egg
- 1 teaspoon pure vanilla extract
- ¾ teaspoon peppermint extract
- 1 ¾ cup (219 g) all-purpose flour
- ¼ cup (22 g) unsweetened cocoa powder
- 1 ½ teaspoon baking powder
- Pinch of salt
- 24 Hershey’s Candy Cane Kisses, unwrapped
- ⅓ cup (75 g) crushed candy canes (optional, for folding into dough)
Instructions
- Preheat your oven to 350°F (177°C) and line two baking sheets with parchment paper. Unwrap all Hershey’s Kisses and set aside.
- Melt the semisweet chocolate in a microwave-safe bowl. Microwave in 30-second intervals, stirring well after each, until fully melted and smooth. Let it cool slightly.
- In a large mixing bowl or the bowl of a stand mixer fitted with the paddle attachment, cream together the softened butter, granulated sugar, and light brown sugar on medium speed for about 2 minutes, until light and fluffy.
- Add the egg, vanilla extract, and peppermint extract to the creamed mixture. Mix until just combined.
- Pour the slightly cooled melted chocolate into the wet mixture and mix until just incorporated.
- In a separate bowl, whisk together the all-purpose flour, unsweetened cocoa powder, baking powder, and salt. Add this dry mixture to the wet ingredients in 3 batches, mixing on low speed until just incorporated after each addition. Be careful not to overmix.
- If using, gently fold the ⅓ cup of crushed candy canes into the cookie dough until evenly distributed.
- Place ¼ cup of granulated sugar in a shallow bowl for rolling.
- Using a 1 tablespoon cookie scoop, portion the cookie dough into balls. Roll each ball smoothly between your hands, then roll it in the sugar until well coated. Place the sugar-coated cookie balls about 2 inches apart on the prepared baking sheets.
- Bake for 8-10 minutes. Cookies are done when the edges are lightly set and the centers still look slightly soft.
- Immediately upon removing the cookies from the oven, gently press one unwrapped Hershey’s Candy Cane Kiss into the center of each warm cookie.
- Let the cookies cool on the baking sheets for 5 minutes before transferring them to a wire rack to cool completely.
Notes
Store cooled chocolate peppermint kiss cookies in an airtight container for up to 4 days at room temperature, 1 week in the fridge, or up to 3 months in the freezer. If frozen, thaw overnight in the fridge before serving.
Nutrition Information
Serving: 1 cookie
Calories: 120 kcal
Carbohydrates: 17 g
Protein: 2 g
Fat: 5 g
Saturated Fat: 3 g
Polyunsaturated Fat: 0.2 g
Monounsaturated Fat: 1 g
Trans Fat: 0.2 g
Cholesterol: 17 mg
Sodium: 32 mg
Potassium: 47 mg
Fiber: 1 g
Sugar: 10 g
This website provides approximate nutrition information for convenience and as a courtesy only. Nutrition information can vary for a variety of reasons. For the most precise nutritional data, use your preferred nutrition calculator based on the actual ingredients you used in the recipe.
The default measuring system for this website is US Customary. Unit conversions are provided for convenience and as a courtesy only. While we strive to provide accurate unit conversions, please be aware that there may be some discrepancies.