
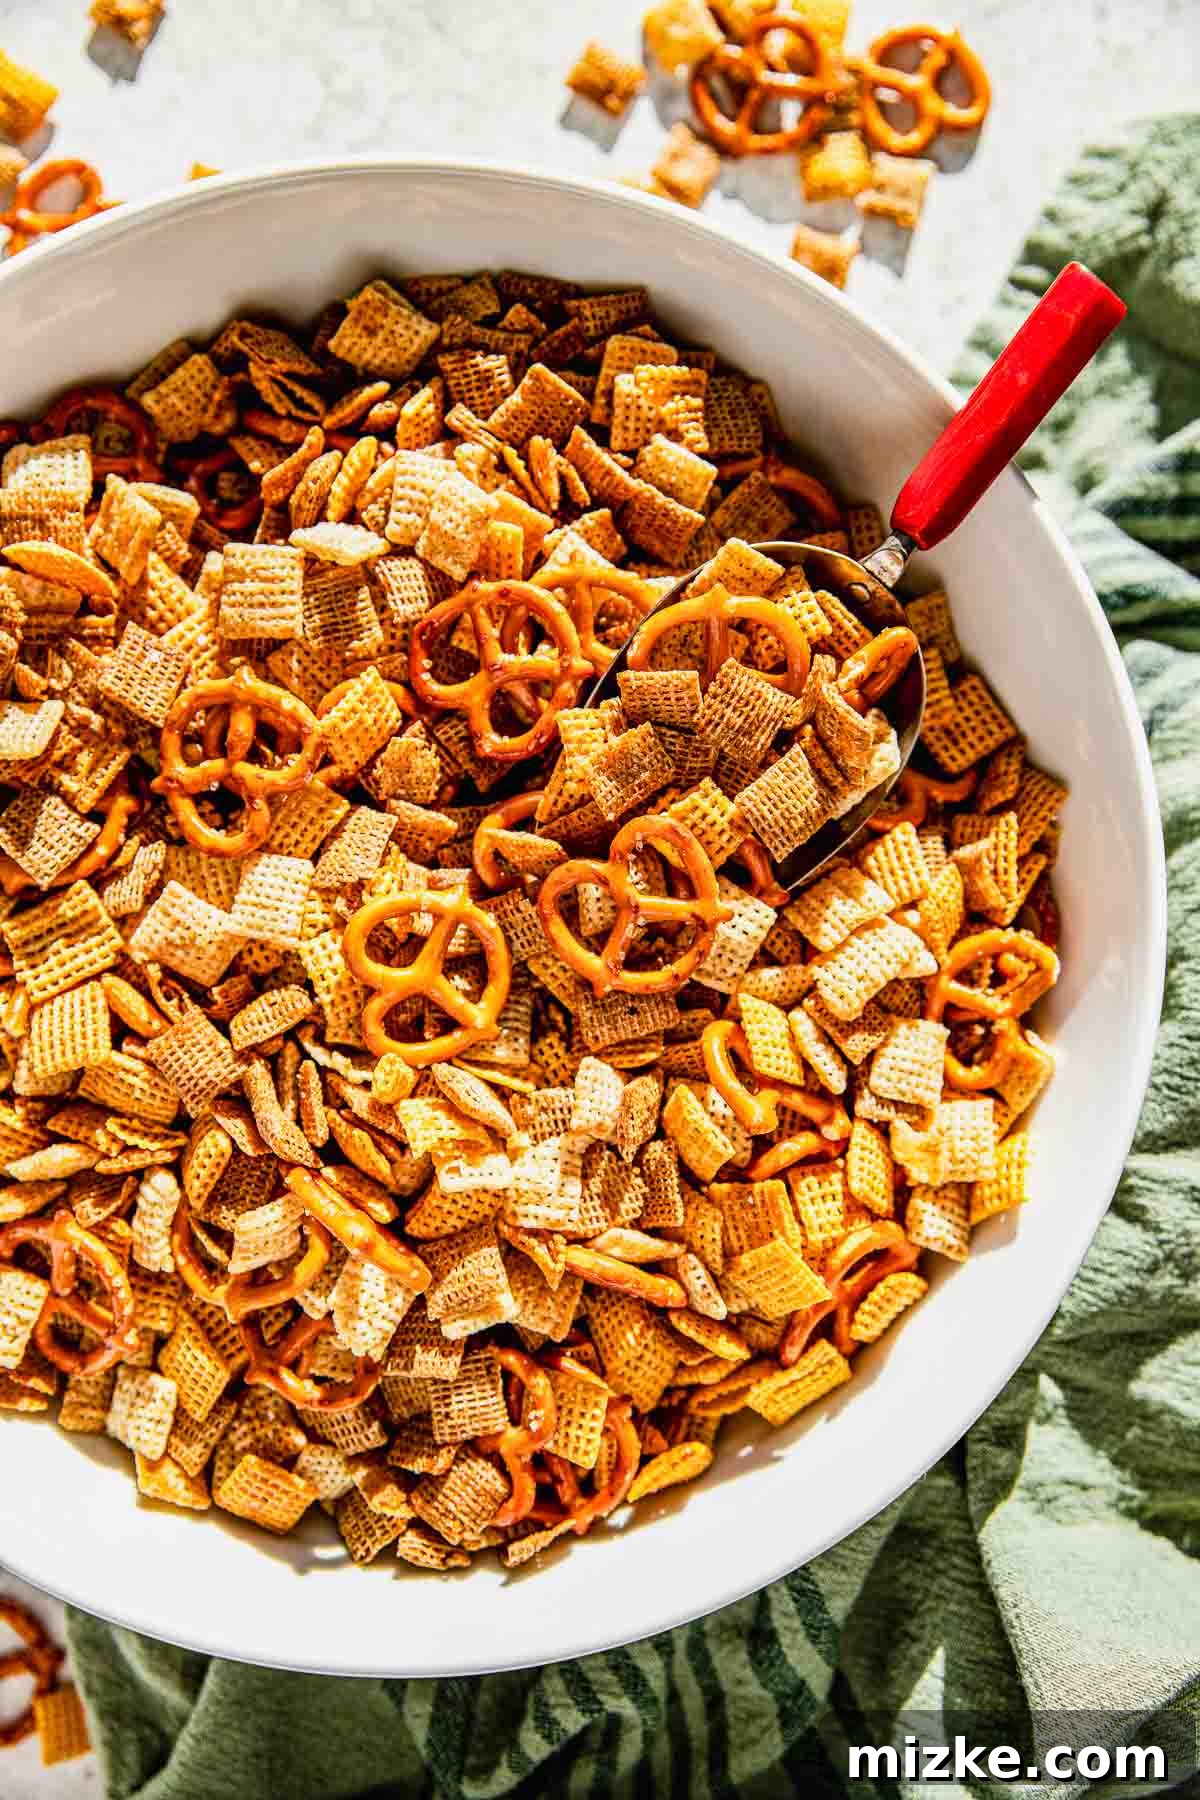
Simple ingredients, loads of savory flavor, and 100% irresistible. You won’t be able to stop grabbing handfuls of this ultimate homemade Chex mix. It’s incredibly easy to make and the perfect snack for any time and occasion, from holiday gatherings to casual movie nights!
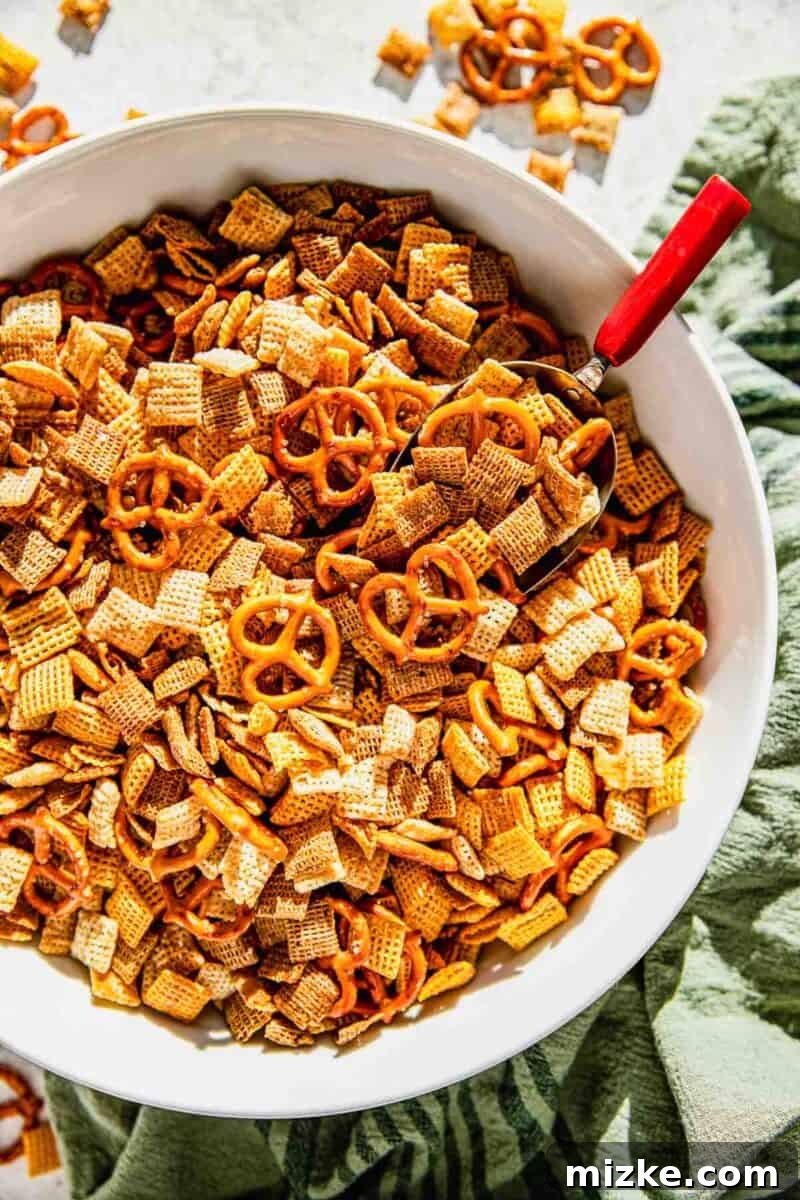
The Ultimate Homemade Chex Mix Recipe: Your Guide to a Crispy, Savory Masterpiece
Few snacks evoke a sense of nostalgic comfort and pure satisfaction quite like Chex Mix. While the store-bought versions are a staple, there’s something truly special and profoundly more delicious about a batch of Homemade Chex Mix. This classic savory snack, often a cherished tradition during the holidays, is an absolute crowd-pleaser that transforms humble cereals and pretzels into an irresistible, flavorful crunch. It’s not just a snack; it’s an experience – a symphony of textures and a burst of savory goodness that keeps everyone coming back for more. Whether you’re hosting a party, packing lunches, or simply craving a perfectly seasoned treat, this homemade version is a game-changer. It’s incredibly versatile, easy to prepare, and guarantees a freshness that pre-packaged alternatives simply can’t match.
Why Choose Homemade Chex Mix? The Benefits of Crafting Your Own
Opting to make your Chex Mix from scratch offers numerous advantages over reaching for a bag from the grocery store:
- Unrivaled Freshness and Quality: The difference in taste between homemade and store-bought is night and day. Freshly baked Chex Mix boasts a vibrant aroma and an unparalleled crispness that makes every bite truly enjoyable. You control the baking process, ensuring optimal toasting without any stale aftertaste.
- Endless Customization Options: This is perhaps the most compelling reason. Homemade Chex Mix is your canvas! You can tailor every aspect to your liking – from the types of cereals and pretzels to the intensity of the seasonings. Love garlic? Add more. Prefer a spicy kick? Infuse some heat. Want to include your favorite nuts or even a touch of sweetness? The possibilities are boundless, allowing you to create a personalized snack mix that perfectly suits your palate and those of your guests.
- Cost-Effective Snacking: Making a large batch of Chex Mix at home is generally more economical than purchasing multiple smaller bags of commercial versions, especially when you’re feeding a crowd for a party or event. You get more bang for your buck without compromising on quality or flavor.
- Control Over Ingredients and Dietary Needs: For individuals with dietary restrictions, allergies, or those simply mindful of what they consume, homemade Chex Mix offers complete transparency. You can choose high-quality ingredients, manage sodium levels, and avoid unwanted preservatives, artificial flavors, or ingredients that might not align with your preferences.
- A Rewarding and Fun Culinary Experience: Preparing Chex Mix can be a delightful activity, particularly enjoyable for families during holiday preparations. It’s a simple recipe that yields impressive results, making it a satisfying project for home cooks of all skill levels. Plus, the enticing aroma that fills your kitchen while it bakes is a treat in itself!
The Heart of the Crunch: Essential Ingredients for Your Homemade Chex Mix
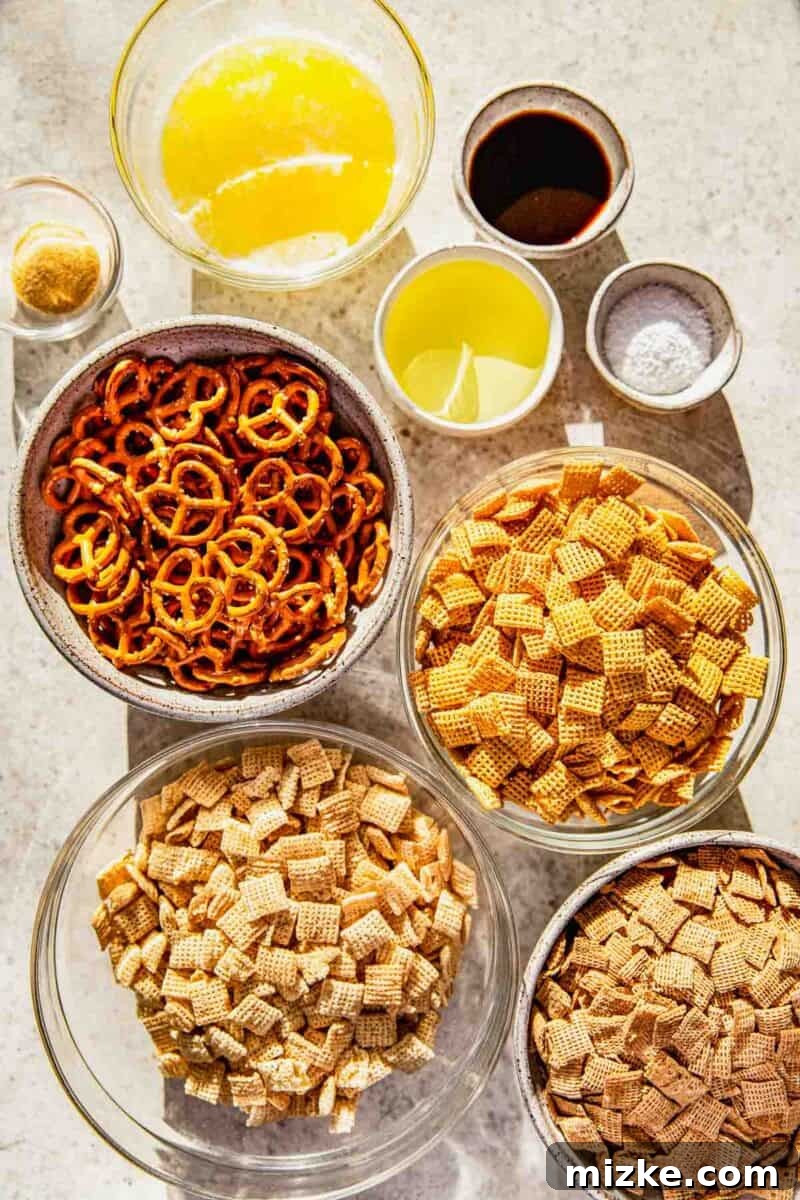
The magic of Chex Mix lies in its deceptively simple yet perfectly balanced ingredient list. Each component plays a vital role in creating that addictive savory profile and satisfying crunch. Here’s a detailed breakdown of what you’ll need:
- Chex Cereal (Variety Pack Recommended): This forms the crunchy foundation of your mix. For the best blend of textures and flavors, we recommend a combination of Rice Chex, Corn Chex, and Wheat Chex.
- Rice Chex: Provides a lighter, airy, and delicately crisp texture.
- Corn Chex: Offers a more robust and satisfying classic crunch.
- Wheat Chex: Adds a heartier, slightly nuttier, and more substantial bite.
While a trio creates an interesting dynamic, feel free to use any ratio you prefer, or even stick to your absolute favorite single Chex variety.
- Mini Pretzels: The Salty Essential: Absolutely indispensable! Mini pretzels contribute that crucial salty counterpoint and a distinctive snap that complements the puffed cereals. Their twisted shape is also perfect for catching and holding onto all the delicious seasonings.
- Unsalted Butter: The Rich Flavor Base: Butter is fundamental for delivering that rich, indulgent taste and acts as the primary vehicle for all the seasonings. Using unsalted butter allows you to precisely control the overall saltiness of your Chex Mix, ensuring it’s seasoned exactly to your liking.
- Vegetable Oil: For Even Coating and Crispness: A small amount of vegetable oil (or canola oil) is key for several reasons. It helps the seasoning mixture adhere smoothly and evenly to all the dry ingredients, preventing clumps and ensuring consistent flavor distribution. Crucially, it also contributes to achieving that desirable, non-greasy crispy texture during the baking process, preventing the mix from becoming soggy.
- Worcestershire Sauce: The Umami Powerhouse: This is the secret ingredient that elevates Chex Mix to legendary status. Worcestershire sauce is a complex condiment that brings an incredible depth of savory, tangy, sweet, and slightly spicy notes. It’s a fundamental umami booster that defines the classic Chex Mix flavor profile and makes it utterly irresistible.
- Garlic Powder: The Aromatic Star: We advocate for a generous hand with garlic powder! Its pungent, savory aroma and robust flavor are central to the Chex Mix experience. Adjust the amount to your personal taste – garlic lovers, don’t shy away from adding extra!
- Salt: The Flavor Enhancer: Essential for balancing and amplifying all the other ingredients. Keep in mind that pretzels and Worcestershire sauce already contain sodium, so start with a moderate amount and taste the baked mix before adding more. You can always sprinkle a little extra on after it’s cooled if needed.
- Optional Seasonings: For an extra layer of flavor, consider adding a dash of onion powder for a subtle sweetness, smoked paprika for a hint of smokiness, or even a pinch of dried dill for an herbaceous twist to your butter mixture.
Crafting Perfection: How to Make the Best Homemade Chex Mix, Step-by-Step
Creating this iconic snack is a straightforward and rewarding process. Follow these detailed steps to ensure a perfectly seasoned, wonderfully crunchy batch of Chex Mix every single time:
- Step 1: Preheat Your Oven and Prepare Baking Sheets. Begin by preheating your oven to a gentle 250 degrees Fahrenheit (121 degrees Celsius). This low and slow temperature is absolutely critical for toasting the cereals and pretzels to golden, crisp perfection without burning them. Line two large, rimmed baking sheets with parchment paper. Using two sheets is essential to prevent overcrowding the mixture, which is a common cause of soggy Chex Mix. An even, single layer ensures consistent airflow and optimal crisping.
- Step 2: Prepare the Flavor-Packed Butter Mixture. In a medium-sized bowl, combine the melted unsalted butter, vegetable oil, Worcestershire sauce, garlic powder, and salt. Whisk these ingredients together thoroughly until they are well-integrated and form a uniform liquid. This step is where all the savory magic begins, ensuring that every piece of your Chex Mix will be infused with rich, balanced flavor.
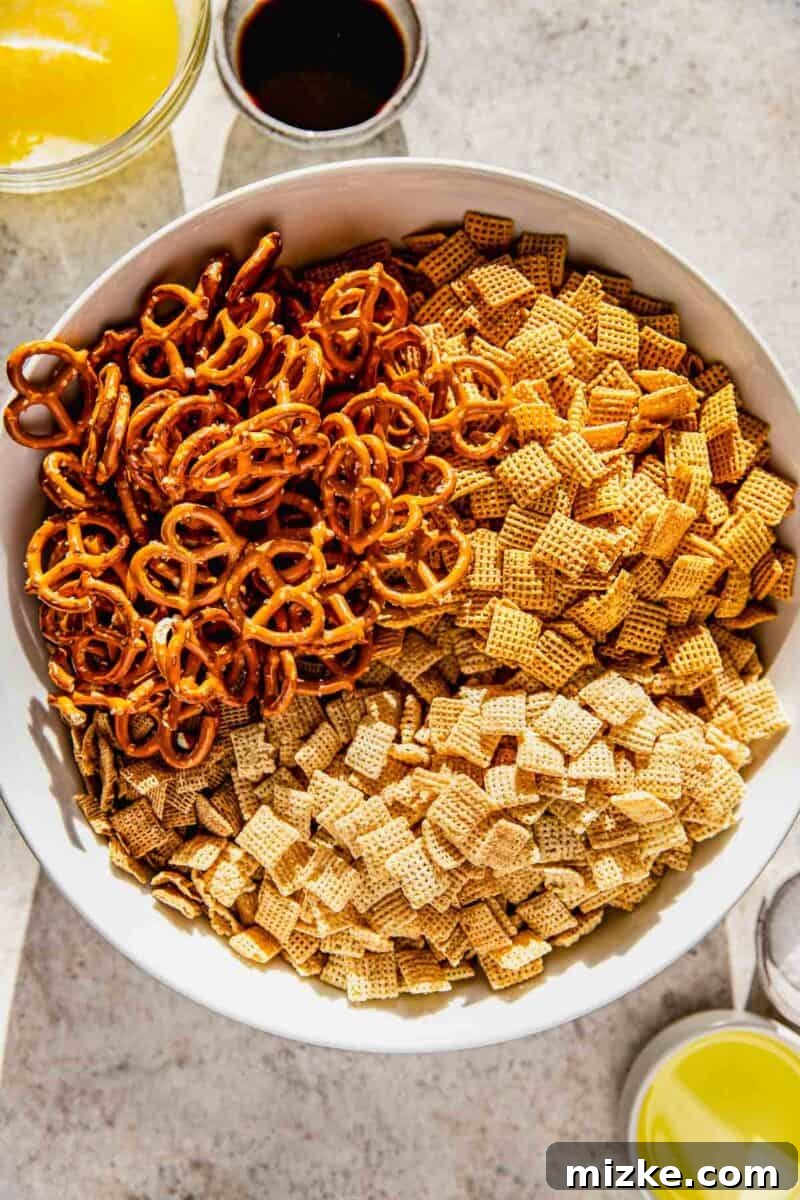
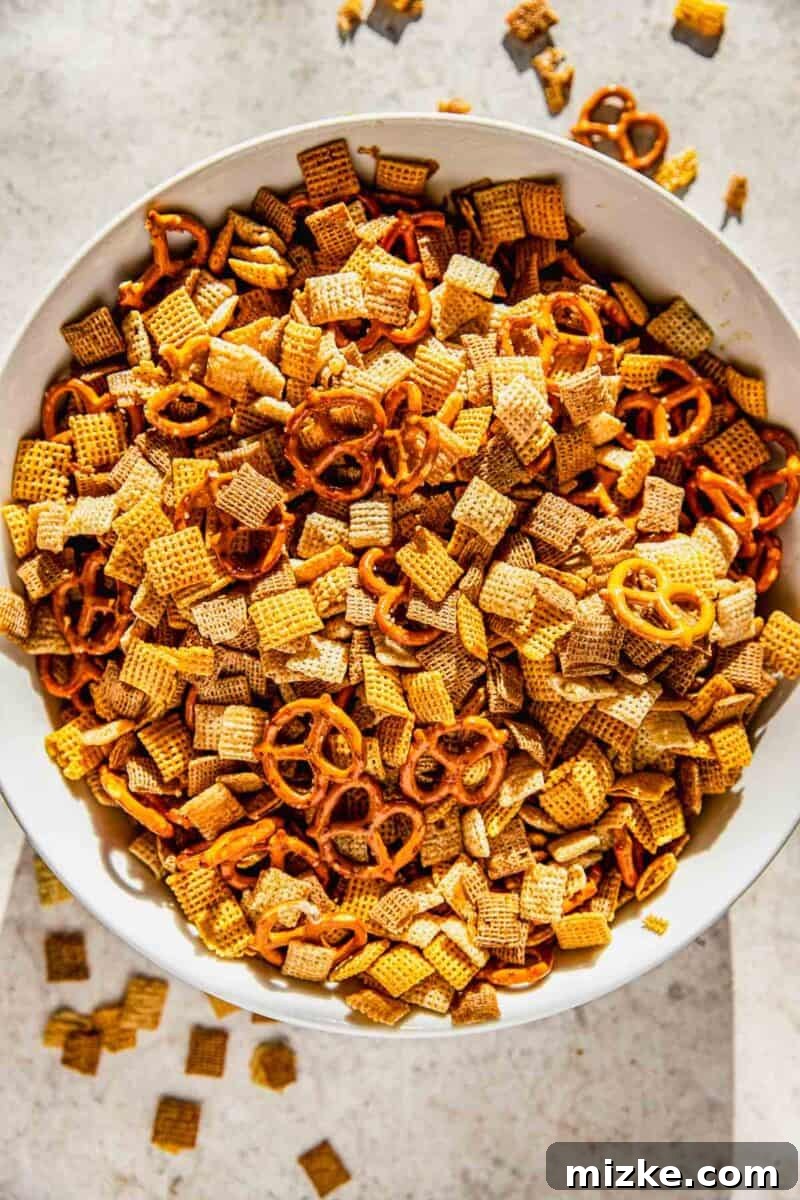
- Step 3: Combine Dry Ingredients in a Spacious Bowl. Pour the rice Chex, corn Chex, wheat Chex, and mini pretzels into your largest mixing bowl. It’s important to use a generously sized bowl to allow for easy and effective tossing without crushing the delicate cereal pieces.
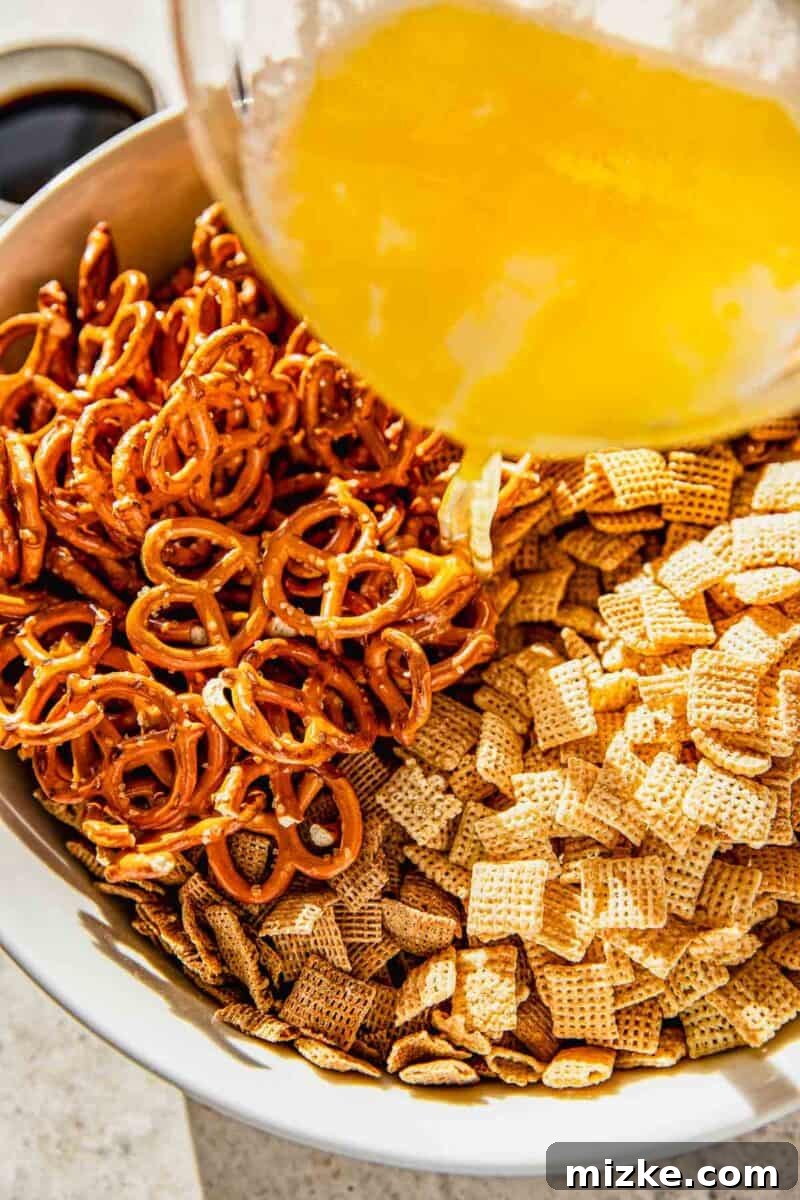
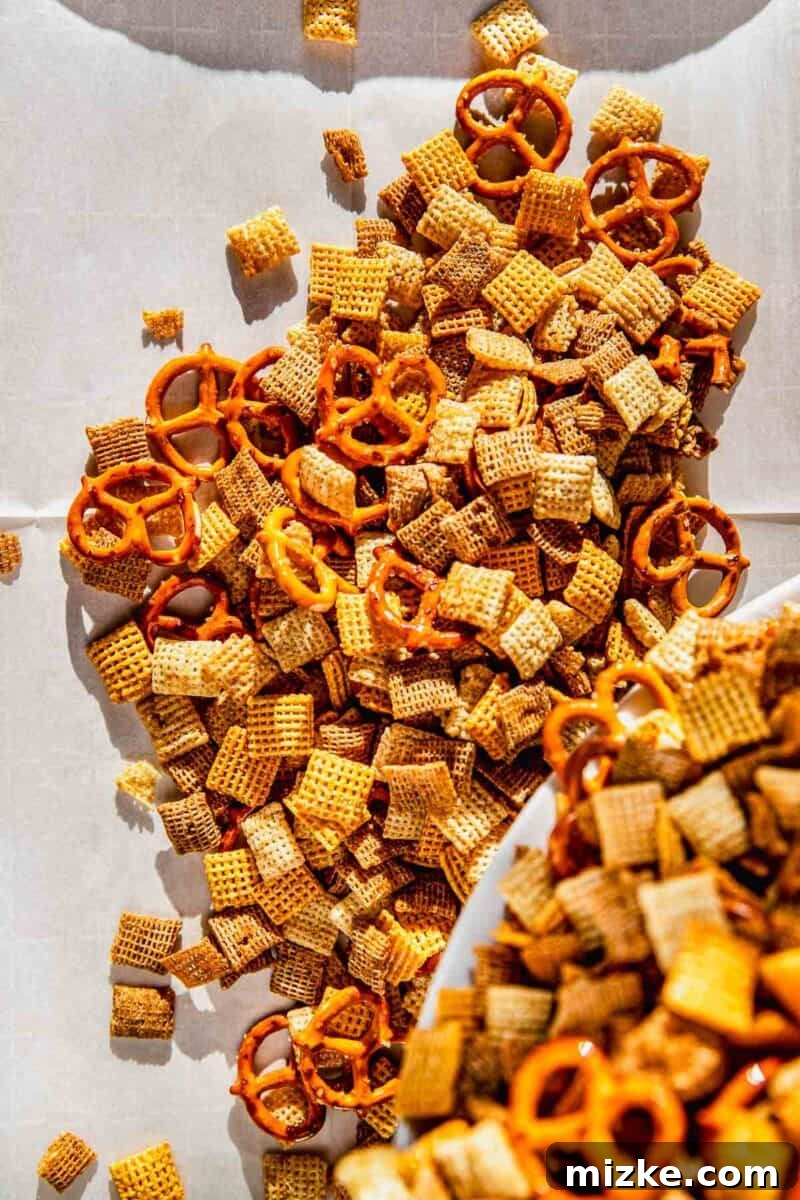
- Step 4: Drench and Toss to Achieve Uniform Coating. Pour the prepared butter and seasoning mixture generously over the combined dry ingredients. Using a large spoon, a rubber spatula, or even your clean hands (gently!), thoroughly stir and toss the entire mixture. The goal is to ensure every single piece of cereal and pretzel is uniformly coated with the savory liquid. This step requires patience, as an even coating is key to consistent flavor in every bite.
- Step 5: Spread Evenly and Bake to Golden Perfection. Divide the coated Chex Mix evenly between the two prepared baking sheets. Spread the mixture out into a single, thin layer. Avoid piling it up or having ingredients overlap, as this will hinder proper air circulation and lead to uneven baking, potentially resulting in a less crispy or even soggy outcome. Bake for 1 hour, stirring gently but thoroughly approximately halfway through the baking time (around the 30-minute mark). This periodic stirring helps all sides of the ingredients toast evenly, contributing significantly to maximum crispness and preventing any scorching.
- Step 6: Cool Completely for Ultimate Crispness. Once the Chex Mix has finished baking, remove the baking sheets from the oven and allow the mixture to cool completely on the sheets. As it cools, the Chex Mix will continue to dry out and crisp up significantly. Resist the urge to transfer or snack on it too early, as this cooling period is crucial for achieving that signature, satisfying crunch. Once fully cooled, it’s ready for storage or immediate enjoyment!
Expert Tips for Achieving the Crispiest Homemade Chex Mix
While the recipe itself is straightforward, a few key techniques can ensure your homemade Chex Mix is perfectly crunchy and never soggy:
- Maintain Low and Slow Baking: Do not be tempted to increase the oven temperature to speed up the process. The 250°F (121°C) temperature is precisely chosen to slowly evaporate moisture from the cereals and pretzels, allowing them to toast thoroughly without burning. Higher temperatures can cook the outside too quickly while leaving the inside soft.
- Never Overcrowd the Baking Sheets: This is arguably the most critical tip. If your Chex Mix is piled too high, steam gets trapped, and hot air cannot circulate around each piece. This leads to a soft, chewy, or soggy texture. Always use two large, rimmed baking sheets and spread the mixture in a thin, single layer.
- Stir Regularly During Baking: Stirring every 15-20 minutes ensures that all sides of the Chex Mix ingredients are exposed to the heat, promoting even toasting and crisping. It also prevents the bottom layer from burning.
- Cool Completely and Uncovered: Just like cookies, Chex Mix continues to crisp as it cools. Allow it to cool undisturbed on the baking sheets (or transfer to cooling racks) for at least an hour, or until completely cool to the touch. Packaging it while still warm will trap steam and undo all your crisping efforts.
- Use Fresh Ingredients: While Chex cereal has a good shelf life, using fresh butter and seasonings will significantly impact the overall flavor vibrancy of your mix.
- Oven Temperature Accuracy: If you suspect your oven runs hot or cold, consider using an oven thermometer to ensure it’s accurately maintaining 250°F (121°C). This can make a big difference in baking success.
Unleash Your Creativity: Exciting Homemade Chex Mix Variations
The beauty of making Chex Mix at home is the unparalleled freedom to customize it. Don’t be afraid to experiment with different additions to create a snack mix that’s uniquely yours! Here are some fantastic ideas to spark your culinary imagination:
- Sweet & Savory Surprises: Introduce a delightful contrast by adding sweet elements *after* your Chex Mix has fully baked and cooled. This ensures they don’t melt or burn during baking.
- Mini Chocolate Chips: A classic pairing for that salty-sweet craving.
- M&M’s: Add a pop of color and chocolatey goodness.
- Dried Fruit: Small pieces of dried cranberries, raisins, chopped apricots, or even candied ginger can add a chewy, fruity dimension.
- Caramel Bits: For a sticky, sweet treat, add these in after cooling.
This transforms your Chex Mix into a truly addictive sweet and savory treat, perfect for any palate.
- Nutty Additions for Extra Crunch and Protein: Elevate the texture, flavor, and nutritional value by incorporating your favorite nuts. Add these to the mix *before* baking so they can toast alongside the cereals and pretzels, enhancing their natural flavors.
- Pistachios: Offer a slightly sweet, buttery, and distinctive flavor.
- Hazelnuts: Provide a rich, earthy, and deep nutty taste.
- Walnuts: Hearty and robust, with a characteristic bitterness that balances well.
- Cashews: Creamy, buttery, and mildly sweet.
- Pecans: Sweet, rich, and wonderfully aromatic when toasted.
- Almonds: A versatile classic, offering a satisfying crunch and subtle flavor.
Choose one type or create a medley for a complex and satisfying crunch!
- Cereal Swaps and Beyond: While the traditional trio of Chex cereals provides a great base, feel free to experiment with other dry ingredients:
- Single Cereal Focus: If you have a particular favorite, like the hearty crunch of Corn Chex, you can absolutely use all one type of Chex cereal. Just ensure the total volume of dry ingredients remains consistent with the recipe.
- Other Unsweetened Cereals: Explore options like plain Cheerios, Kix, or even broken pieces of bagel chips for added texture.
- Crackers and Crisps for Texture Play: Expand your savory base beyond pretzels.
- Goldfish Crackers: A fun, kid-friendly addition! Add these *after* baking to maintain their cheesy flavor and crispness. Look for holiday-colored ones for festive batches.
- Rye Chips: A highly popular addition for many Chex Mix enthusiasts. Their robust, savory flavor adds incredible depth. You can often buy these separately and mix them in before baking for best results.
- Bagel Chips or Pita Chips: Break them into smaller, bite-sized pieces for a sturdy, extra-crunchy element.
- Cheese Crackers: Consider adding these after baking for a cheesy twist.
- Spice It Up: For Those Who Like It Hot! If you crave a fiery kick, infusing some heat into your Chex Mix is a fantastic idea.
- Hot Sauce: Add several dashes of your favorite hot sauce (e.g., Tabasco, Sriracha) directly into the butter mixture. Start with a small amount and taste before adding more.
- Cayenne Pepper: A pinch or more of cayenne pepper mixed with the garlic powder will provide a steady, warming heat throughout the mix. Adjust to your desired spice level.
- Chili Powder: Adds a more complex, earthy heat.
- Smoked Paprika: While not purely spicy, smoked paprika contributes a wonderful smoky depth that pairs beautifully with a touch of heat.
Always remember to consider your audience; adjust the spice level accordingly if children or those sensitive to heat will be enjoying the snack!
- Herbaceous Twists: For an aromatic upgrade, mix dried herbs into your butter mixture. Dried dill, parsley, Italian seasoning, or a touch of dried rosemary can add a sophisticated layer of flavor.
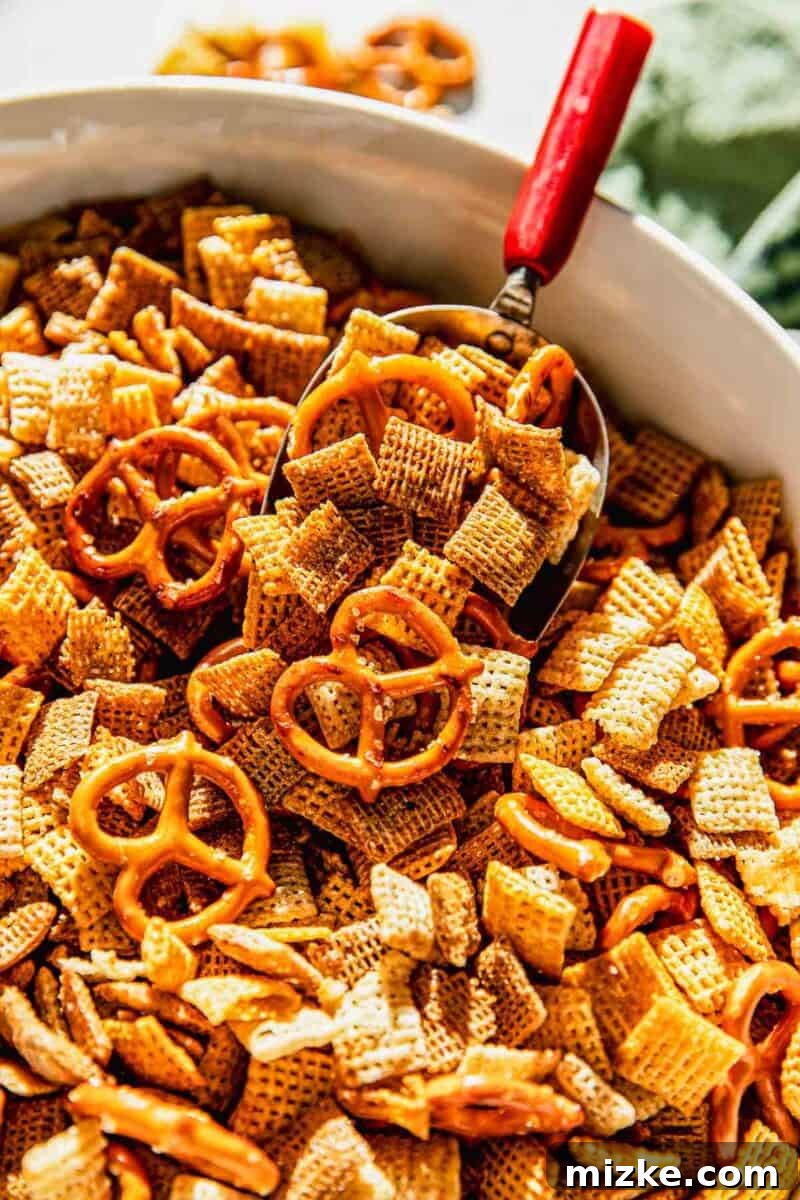
Frequently Asked Questions About Homemade Chex Mix
Absolutely! This recipe suggests a generous amount of garlic powder because we love a bold, prominent garlic presence. However, homemade Chex Mix is incredibly adaptable, and you can easily reduce the amount to suit your personal preference. We recommend starting with 1 teaspoon of garlic powder and then tasting the mix after it has baked and cooled. If you prefer more, you can lightly sprinkle additional garlic powder over the warm mix right after it comes out of the oven.
Yes, definitely! One of the fantastic aspects of making your own Chex Mix is the flexibility. While a combination of Rice, Corn, and Wheat Chex offers a varied and interesting texture profile, you can absolutely use your favorite single variety of Chex cereal. Just ensure that the total volume of cereal (e.g., 12 cups) remains the same as indicated in the recipe to maintain the proper seasoning-to-dry-ingredient ratio. Feel free to mix and match any way you like!
Soggy Chex Mix is a common issue, but it’s usually easily rectified. Here are the most frequent causes and how to avoid them:
- Too Much Liquid: Ensure you are precisely measuring the butter, vegetable oil, and Worcestershire sauce. Excess liquid will not properly evaporate during baking, resulting in a softer, less crispy texture. If you accidentally added too much liquid, you can try to compensate by adding a little more dry ingredients (like extra Chex cereal or pretzels) before baking.
- Overcrowding the Baking Sheet: This is crucial. It is imperative to spread the mixture in an even, single layer on your baking sheets. If the ingredients are piled up or overlapping, hot air cannot circulate effectively around each piece, which prevents proper drying and toasting. Using two large baking sheets for a full batch is almost always necessary.
- Insufficient Baking Time or Incorrect Temperature: While baking low and slow is key, ensure your oven temperature is accurate (consider using an oven thermometer) and that you bake for the full recommended time, stirring occasionally. If your oven runs cool, it might need a slightly longer bake to achieve desired crispness.
- Not Cooling Completely: As highlighted in our tips section, Chex Mix crisps up significantly as it cools. Resist the urge to transfer or package it while it’s still warm, as trapped steam will quickly lead to a soggy texture. Allow it to cool completely on the baking sheets.
Homemade Chex Mix is an excellent make-ahead snack! In fact, its savory flavors often deepen and meld beautifully over time. When stored correctly, it maintains its crispness for a long period, making it perfect for preparing days or even weeks before a party, holiday gathering, or simply for stocking your pantry with a delicious snack option.
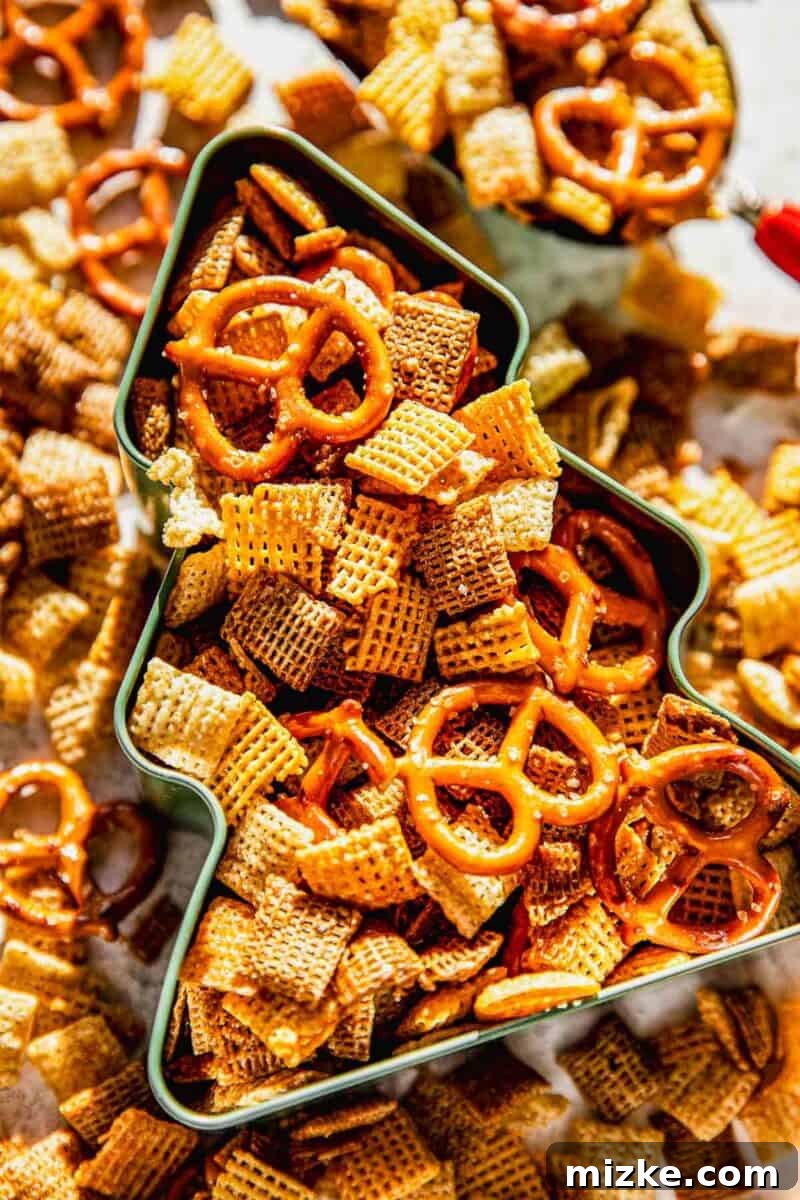
To keep your homemade Chex Mix at peak freshness and crunch, proper storage is key. Once the mix has completely cooled to room temperature (this step is non-negotiable for crispness), transfer it to an airtight container. Options include large zippered bags, plastic food storage containers with tight-fitting lids, or decorative cookie tins. Stored in this manner at room temperature, your Chex Mix will remain wonderfully fresh and crispy for up to 4-6 weeks.
Storing Your Homemade Chex Mix for Lasting Freshness
It can be a challenge to have any leftovers, as this homemade Chex Mix is notoriously hard to resist! However, if you do manage to save some, proper storage is paramount to maintaining its delightful crispness and robust flavor. The most crucial step is to ensure your Chex Mix has completely cooled to room temperature before storing – this prevents condensation and keeps it from becoming soggy. Once fully cooled, transfer the mix to an airtight container. A large zippered storage bag, a sealed plastic food container, or even a festive cookie tin with a tight-fitting lid are all excellent choices. Stored properly at room temperature, your homemade Chex Mix will remain fresh, crunchy, and delicious for an impressive 4-6 weeks. This makes it an ideal snack to prepare in advance for holiday entertaining, travel, or simply to enjoy over an extended period.
Thoughtful Gifting: Sharing the Joy of Homemade Chex Mix
Homemade Chex Mix isn’t just a snack; it’s a heartfelt, delicious gift that thoughtfully conveys care and warmth. It’s perfect for sharing the joy of a comforting, savory treat with loved ones, neighbors, and colleagues. The effort of a homemade gift is always appreciated, and this mix is universally loved. Here are some charming and practical ways to package and gift your irresistible creation:
- Festive Tins and Boxes: Fill decorative metal tins, especially those themed for holidays like Christmas, New Year’s, or special occasions, with your freshly made Chex Mix. These tins are not only beautiful but also reusable, adding an extra touch of thoughtfulness to your gift. Elegant gift boxes lined with tissue paper also work wonderfully.
- Charming Mason Jars: Layer the Chex Mix into small or medium-sized mason jars. These provide an appealing visual and are practical for storage. Tie a colorful ribbon around the lid and attach a small, handmade tag with a festive message, your name, or even a simplified recipe card for a personal touch.
- Decorative Food-Safe Bags: For a more casual yet equally adorable presentation, use food-safe decorative cellophane or plastic bags. Cinch them securely with a twist tie or a vibrant ribbon. You can add a small label indicating the contents or a “handmade with love” note. This is a great option for smaller individual gifts or party favors.
- As Part of a Gift Basket: Incorporate your Homemade Chex Mix into a larger, themed gift basket. Pair it with other homemade goodies, gourmet coffees, specialty teas, artisanal cheeses, or a selection of craft beers for a truly impressive and customizable gift bundle.
Friends, family, neighbors, teachers, colleagues, and hosts will undoubtedly appreciate this delicious and personal gesture!
Delightful Serving Suggestions for Your Irresistible Chex Mix
Homemade Chex Mix is a wonderfully versatile snack that shines brightly on its own but also pairs beautifully with a variety of other party foods and beverages. Its savory crunch and satisfying flavor make it a perfect complement to almost any spread. Here are some ideas to help you serve your Chex Mix and enhance your snacking experience:
- The Ultimate Snack Bar: Create a magnificent snack spread by serving your Chex Mix alongside other complementary savory bites. Consider offering Maple Cinnamon Spiced Nuts for a hint of sweet and spice, Ranch Oyster Crackers for another seasoned cracker option, or Honey Mustard and Onion Pretzels for an extra flavorful crunch. The variety of textures and nuanced flavors will keep your guests happily munching throughout any gathering.
- Alongside Heartier Appetizers: Even if you’re hosting a gathering with more substantial appetizers, Chex Mix still has a valuable place! Its lighter, crunchy texture provides a welcome counterpoint to richer dishes. Serve it alongside favorites like delectable Pizza Bites, elegant Baked Brie with Fig Jam, or a hearty Taco Ring. It offers a refreshing palate cleanser between heavier bites.
- Perfect for Movie Nights and Game Days: There’s no better companion for a cozy evening at home than a big bowl of homemade Chex Mix. It’s the quintessential snack for movie marathons, board game championships, or simply unwinding with your favorite show.
- Road Trip and Travel Ready: Pack individual portions in small bags or containers for easy, mess-free snacking on long car journeys, plane rides, or hikes. It’s a much healthier and tastier alternative to many roadside snacks.
- Lunchbox Delight: Add a small handful to lunchboxes for both kids and adults. It provides a satisfying crunch and savory flavor that breaks up the monotony of everyday meals.
- Paired with Beverages: Chex Mix pairs exceptionally well with cold drinks. Serve it with your favorite sodas, iced tea, lemonade, or even a refreshing beer for adult gatherings.

Homemade Chex Mix
Julie Chiou
Simple ingredients, loads of flavor, and 100% irresistible. You won’t be able to stop grabbing handfuls of this!
10 minutes
1 hour
1 hour 10 minutes
12 servings
Equipment
- Large rimmed baking sheet (you will need two for a full batch)
- Large mixing bowl
- Small mixing bowl
- Whisk or spoon
Ingredients
- 10 tablespoons (140 g) unsalted butter, melted
- ⅓ cup (79 ml) vegetable oil
- 2 tablespoons worcestershire sauce
- Garlic powder, to taste (we recommend starting with 1 tablespoon for a bold flavor)
- Salt, to taste (start with ½ teaspoon and adjust)
- 4 cups (108 g) rice chex cereal
- 4 cups (248 g) corn chex cereal
- 4 cups (248 g) wheat chex cereal
- 3 cups (240 g) mini pretzels
Instructions
-
Preheat your oven to 250°F (121°C) and line two large rimmed baking sheets with parchment paper. This low temperature is crucial for even toasting and crispness.
-
In a small bowl, whisk together the melted butter, vegetable oil, Worcestershire sauce, garlic powder, and salt until well combined.
Ingredients for this step: 10 tablespoons (140 g) unsalted butter, ⅓ cup (79 ml) vegetable oil, 2 tablespoons worcestershire sauce, Garlic powder, Salt
-
In a very large mixing bowl, combine the rice chex cereal, corn chex cereal, wheat chex cereal, and mini pretzels. Pour the butter mixture all over the dry ingredients and gently toss until everything is thoroughly and evenly coated.
Ingredients for this step: 4 cups (108 g) rice chex cereal, 4 cups (248 g) corn chex cereal, 4 cups (248 g) wheat chex cereal, 3 cups (240 g) mini pretzels

-
Divide the coated Chex Mix evenly between the two prepared baking sheets, spreading it out into a single, thin layer. Bake for 1 hour, making sure to stir the mixture gently halfway through the baking time (after 30 minutes) to ensure even toasting and crispness.
-
Once baked, remove from the oven and allow the Chex Mix to cool completely on the baking sheets. It will crisp up further as it cools. Store in an airtight container at room temperature for up to 4-6 weeks.

Notes
This recipe is highly customizable! Feel free to add other ingredients you enjoy in your Chex Mix. Popular additions include: various nuts (such as cashews, peanuts, almonds, pecans), dried fruits, mini chocolate chips, M&M’s, or even savory rye chips. For spicy variations, add a dash of cayenne pepper or hot sauce to the butter mixture.
Nutrition Information (Approximate)
Serving: 1 serving (62 grams), Calories: 359kcal, Carbohydrates: 50g, Protein: 5g, Fat: 17g, Saturated Fat: 7g, Polyunsaturated Fat: 4g, Monounsaturated Fat: 4g, Trans Fat: 0.4g, Cholesterol: 25mg, Sodium: 551mg, Potassium: 184mg, Fiber: 4g, Sugar: 5g
This website provides approximate nutrition information for convenience and as a courtesy only. Nutrition information can vary for a variety of reasons, including exact ingredient brands and preparation methods. For the most precise nutritional data, use your preferred nutrition calculator based on the actual ingredients you used in the recipe.
The default measuring system for this website is US Customary. Unit conversions are provided for convenience and as a courtesy only. While we strive to provide accurate unit conversions, please be aware that there may be some discrepancies.
Photographs by Meg McKeehan Photography