
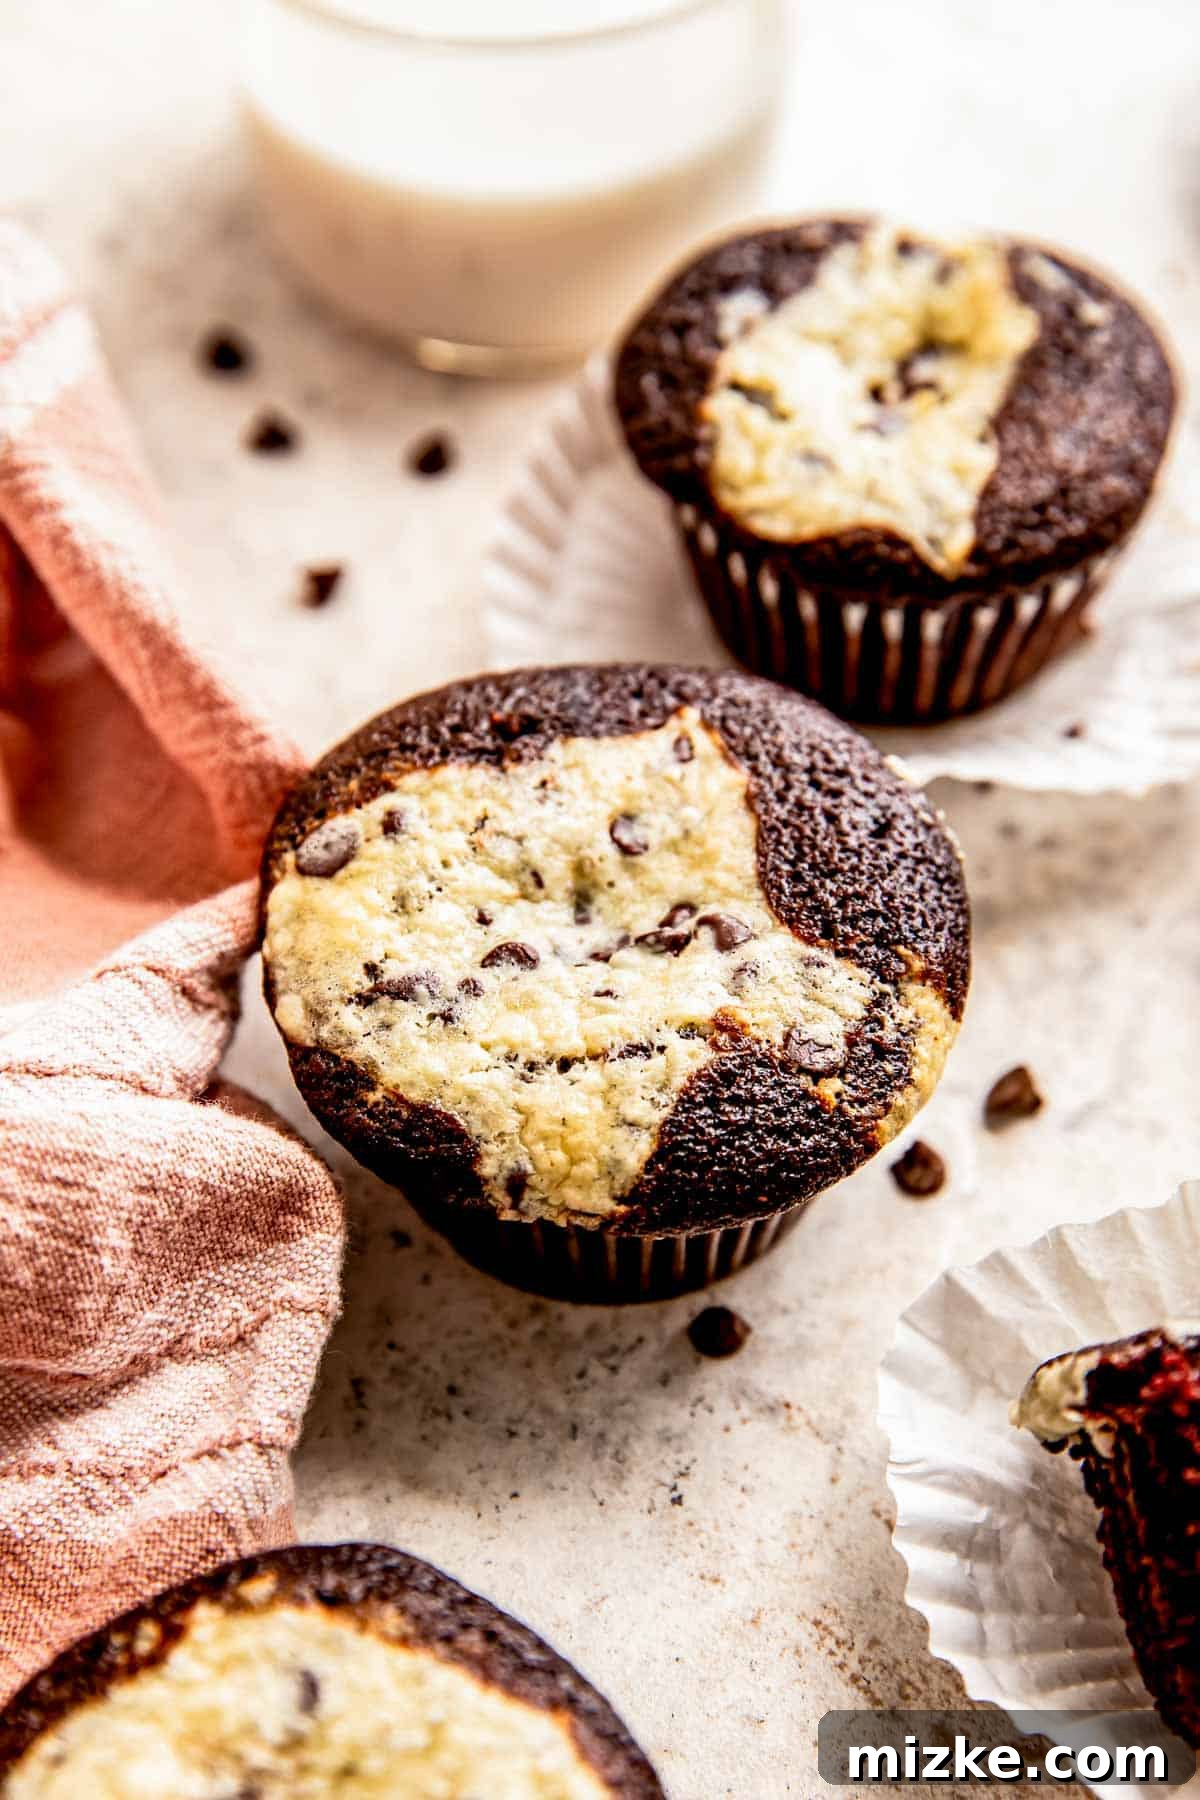
Indulge in the ultimate dessert experience with these decadent chocolate cream cheese cupcakes, affectionately known as black bottom cupcakes. Imagine a rich, fudgy, and incredibly moist chocolate cake base, crowned with a luscious, tangy cream cheese filling studded with sweet chocolate chips. Each bite offers a harmonious symphony of textures and flavors – deep chocolate notes perfectly balanced by the creamy, slightly tart, and oh-so-satisfying cream cheese. These aren’t just cupcakes; they’re a celebration in miniature, promising pure bliss with every mouthful.
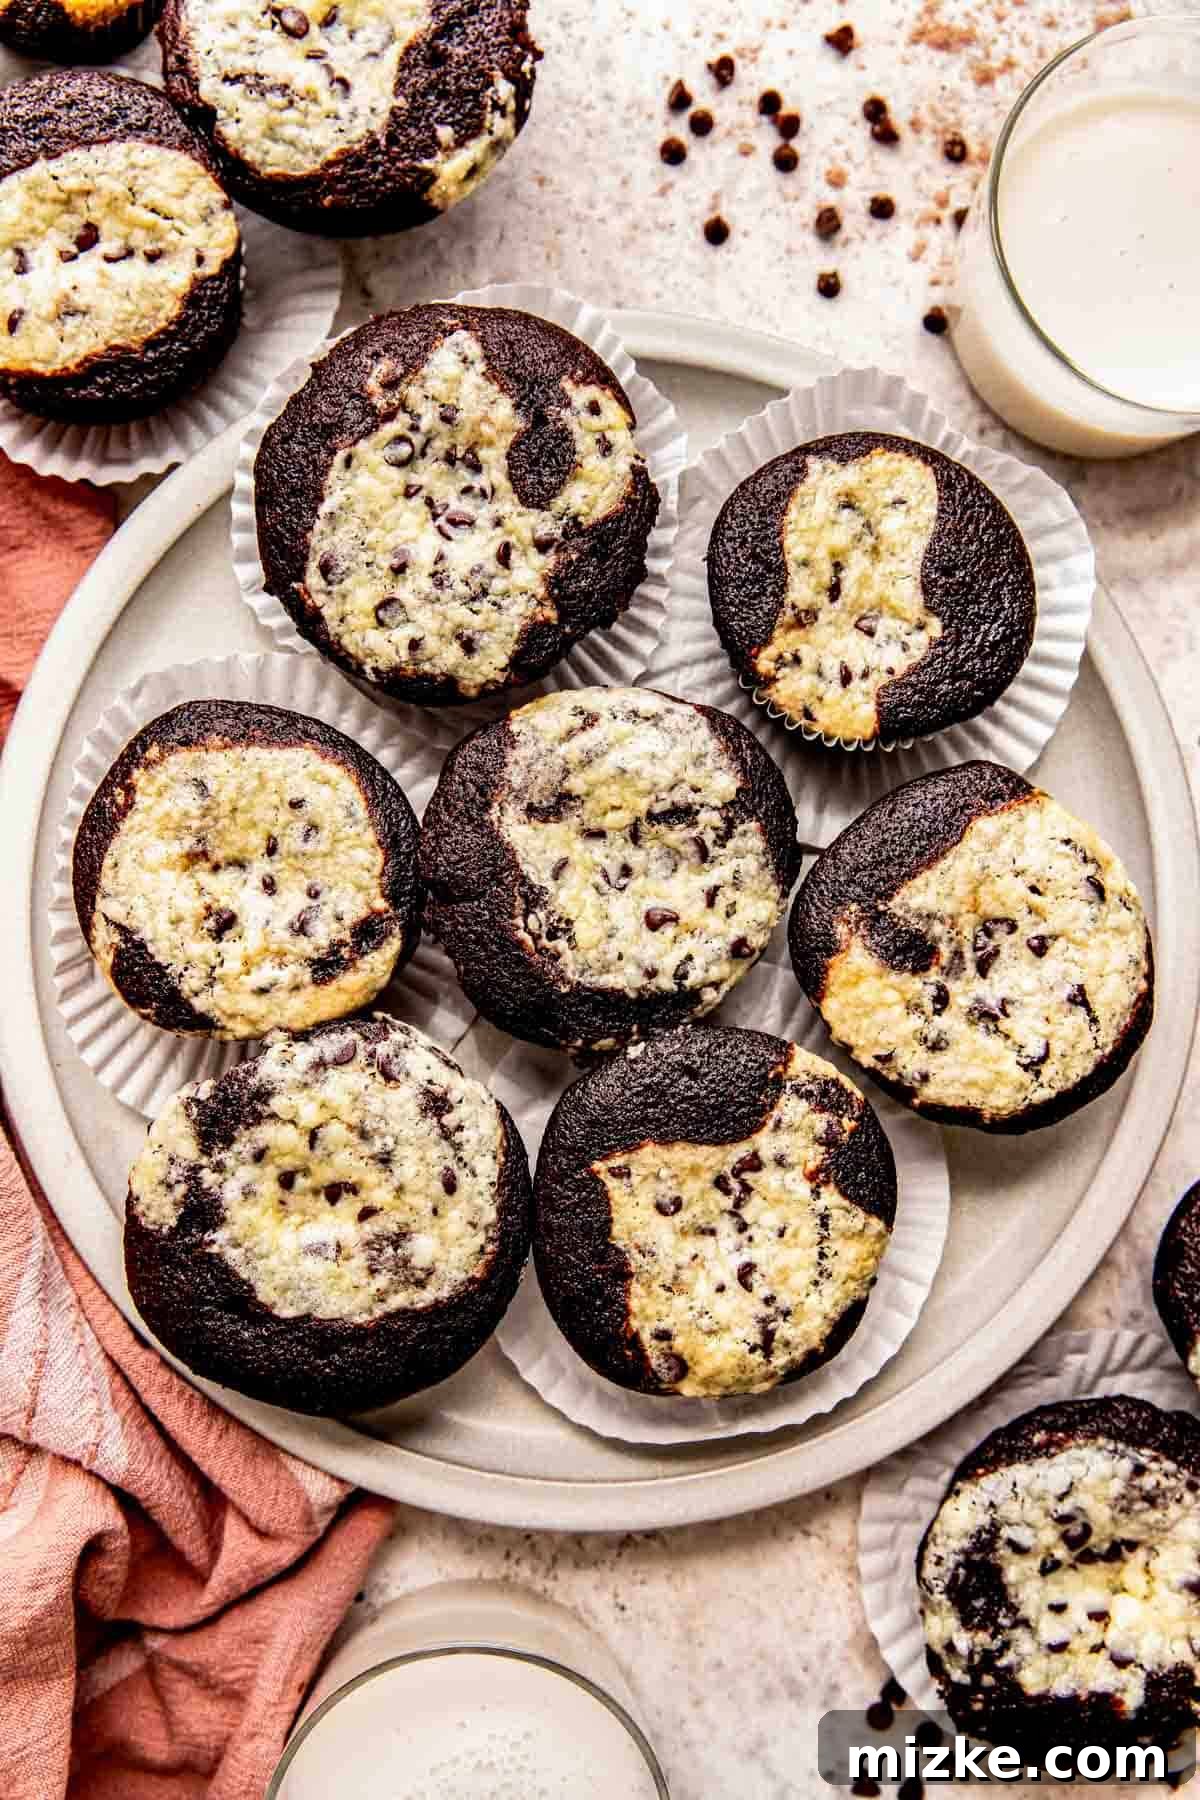
Discover the Magic of Homemade Chocolate Cream Cheese Cupcakes (Black Bottom Delights!)
These exquisite chocolate cream cheese cupcakes hold a special place in my heart. Twelve years ago, on my 25th birthday, I first shared this recipe on my blog. It feels like a lifetime has passed since then, but the joy of creating and sharing these “black bottom cupcakes” remains as vivid as ever. The recipe itself was a treasured gift from a dear friend, and it quickly became a staple, etched into my memory for its unparalleled tenderness and rich flavor profile.
What makes these chocolate cream cheese cupcakes so incredibly memorable? It’s the perfect marriage of a soft, intensely moist chocolate cake base with a dense, creamy, and delightfully tangy chocolate chip cream cheese filling. This ingenious combination creates a balanced sweetness that prevents the dessert from being overwhelmingly rich. The light, fluffy chocolate cake provides an airy contrast to the substantial, luscious cream cheese center, making every bite a complex and satisfying treat. They are deceptively simple to prepare, yet yield a dessert that looks and tastes utterly professional. I can confidently say that these cream cheese-filled black bottom cupcakes are guaranteed to be a crowd-pleaser at any gathering or a perfect indulgence for a quiet evening.
Why These Black Bottom Cupcakes Will Become Your New Favorite
Beyond their nostalgic appeal, these black bottom cupcakes offer a compelling array of reasons to earn a permanent spot in your baking repertoire. The combination of classic chocolate cake with a creamy, cheesecake-like filling is simply irresistible. They offer the best of both worlds: the comforting familiarity of a chocolate cupcake and the elegant tang of a mini cheesecake, all in one perfectly portioned dessert. Here’s why you’ll adore them:
- Irresistible Flavor Profile: The deep, dark chocolate cake provides a robust backdrop, while the cream cheese filling, speckled with mini chocolate chips, adds a creamy, slightly tart contrast that brightens every bite. It’s a flavor combination that’s both classic and exciting.
- Perfect Texture Harmony: You get the delicate crumb of a moist chocolate cake balanced by the smooth, dense, and rich texture of the cream cheese filling. This textural interplay keeps your palate engaged and craving more.
- Surprisingly Simple to Make: Despite their sophisticated appearance, these cupcakes are straightforward to bake. The recipe uses common pantry ingredients and simple techniques, making them accessible for bakers of all skill levels.
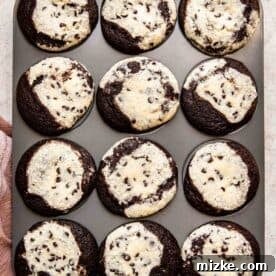
- Visually Stunning: The distinct “black bottom” appearance, with the creamy filling peeking through the chocolate cake, makes these cupcakes incredibly appealing and impressive for any occasion, from casual family desserts to elegant parties.
- Perfect for Any Occasion: Whether it’s a birthday celebration, a potluck, a holiday gathering, or just a weekend treat, these cupcakes are versatile and always a hit.
The magic truly happens when you taste how the fudgy chocolate melts into the cool, tangy cream cheese. It’s a match made in dessert heaven, creating a harmonious balance that makes these cupcakes utterly addictive.
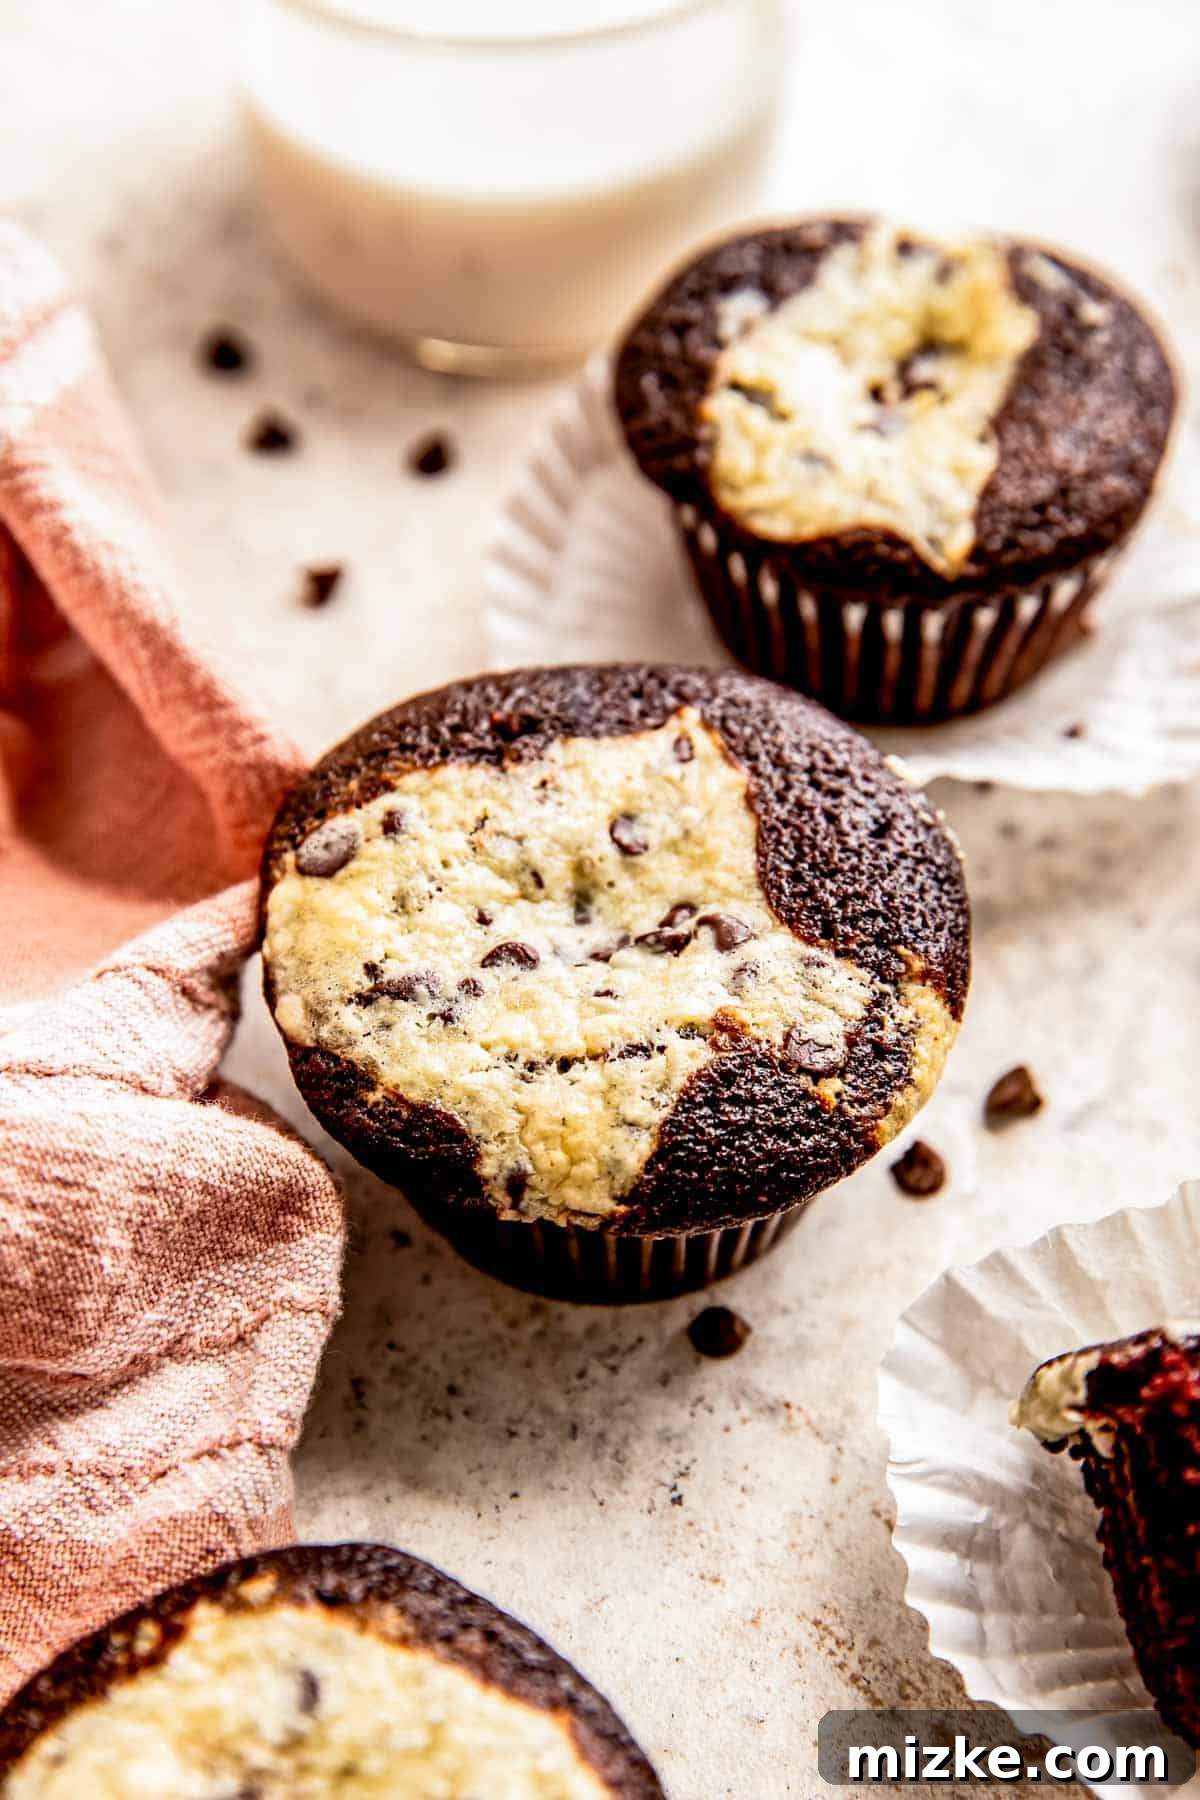
Expert Tips for Flawless Black Bottom Cupcakes
Achieving bakery-quality chocolate cream cheese cupcakes at home is entirely possible with a few key techniques. These tips will ensure your cupcakes are perfectly baked, beautifully presented, and utterly delicious every time.
- The Golden Ratio of Batter and Filling: This is perhaps the most crucial tip for black bottom cupcakes. Unlike traditional cupcakes where you might fill liners two-thirds full, for these, you’ll want to fill each muffin cup approximately one-third of the way with chocolate batter. Then, carefully spoon a generous tablespoon of the cream cheese filling into the center. If you overfill with chocolate batter initially, the cake will rise too much and “swallow” the cream cheese, preventing that characteristic cream cheese topping from forming. This careful layering ensures the distinct two-layer appearance these cupcakes are famous for.
- Liner Love and Prep: Always use muffin or cupcake liners for these. They prevent sticking and make for easy cleanup. For an added layer of protection and to guarantee a smooth release, lightly spray the inside of each liner with cooking oil or non-stick baking spray. This is especially important for the cream cheese portion, which can sometimes adhere more stubbornly than cake batter. Baking without liners is highly discouraged for this recipe due to the moist filling.
- Embrace Dark Cocoa Powder for Intense Flavor: If you crave a deeper, richer chocolate flavor and a more dramatic “black bottom” appearance, opt for dark cocoa powder. This variation will yield a less sweet, more intense chocolate cake base that beautifully complements the tangy cream cheese. Dutch-processed cocoa powder is an excellent choice for a smooth, dark finish.
- A Hint of Espresso for Enhanced Chocolate: To truly elevate the chocolate flavor in your cake batter, add a small splash of espresso or strong brewed coffee. Chocolate and coffee are culinary best friends, with the coffee acting as a natural flavor enhancer, intensifying the chocolate notes without imparting a distinct coffee taste. About 1-2 teaspoons will do the trick.
- Room Temperature Ingredients are Key: For both the cream cheese filling and the chocolate cake batter, ensure all cold ingredients (like cream cheese and eggs) are at room temperature. This allows them to emulsify properly, creating a smooth, lump-free batter and a perfectly creamy filling.
- Avoid Overmixing: Overmixing can lead to tough, dry cupcakes. Once you add the dry ingredients to the wet, mix just until combined. A few small lumps are perfectly fine and preferable to an overmixed batter. For the cream cheese filling, beat until light and fluffy, then gently fold in the chocolate chips.
- Don’t Be Alarmed by Sinking Centers: It’s completely normal for these cupcakes to sink slightly in the center as they cool. This is often due to the density of the cream cheese filling and is part of their charm, creating a slight well for the creamy goodness. Do not mistake this for underbaking, especially if a toothpick inserted into the cake portion comes out clean.
Storing Your Decadent Delights: Chocolate Cream Cheese Cupcakes
Given the delicate cream cheese filling, proper storage is essential to maintain the freshness, flavor, and food safety of your chocolate cream cheese cupcakes. These treats are best enjoyed when stored correctly.
After baking, allow your cupcakes to cool completely to room temperature on a wire rack. This is crucial as warm cupcakes will create condensation in an airtight container, leading to sogginess. Once fully cooled, transfer them to an airtight container. Due to the cream cheese, these cupcakes must be stored in the refrigerator. They will keep beautifully for up to 5 days when refrigerated. To enjoy them at their best, simply take them out of the refrigerator about 15-30 minutes before serving, allowing them to come closer to room temperature. This softens the cream cheese filling slightly and enhances the overall texture and flavor. While you *can* eat them cold, letting them warm up a bit truly allows all the flavors to shine. For longer storage, you can also freeze these cupcakes. Place them in a single layer in an airtight container or freezer bag, separated by parchment paper if stacking, and freeze for up to 2-3 months. Thaw overnight in the refrigerator before bringing to room temperature to serve.
Print Recipe
Ultimate Chocolate Cream Cheese Cupcakes (Black Bottom)
Julie Chiou
15
25
40
24 cupcakes
Equipment
-
Muffin pan
-
Stand mixer (or electric hand mixer)
-
Hand mixer (alternative to stand mixer)
Ingredients
For the Cream Cheese Filling:
- 8 ounces (227 g) plain cream cheese, softened to room temperature
- ⅓ cup (67 g) granulated sugar
- 1 large egg
- Pinch of salt
- 1 cup (236 g) mini semisweet chocolate chips
For the Chocolate Cupcakes:
- 3 cups (375 g) all-purpose flour
- 2 cups (400 g) granulated sugar
- ⅔ cup (57 g) unsweetened cocoa powder (use dark cocoa for a richer flavor)
- 2 teaspoons baking soda
- 1 teaspoon salt
- 2 cups (473 ml) water
- ⅔ cup (158 ml) vegetable oil
- 2 tablespoons white vinegar
- 2 teaspoons vanilla extract
Instructions
-
Begin by preheating your oven to 350 °F (177 °C). Prepare your muffin pan by lining each cup with paper or silicone muffin liners. For extra assurance against sticking, lightly spray the inside of each liner with cooking spray. This step is particularly helpful for the cream cheese filling.
-
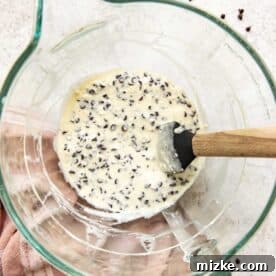
In the bowl of a stand mixer fitted with a paddle attachment (or using a large bowl and a hand mixer), combine the softened cream cheese, granulated sugar, egg, and a pinch of salt for the filling. Beat on medium speed until the mixture is light, smooth, and fluffy, scraping down the sides of the bowl as needed. Once thoroughly combined, gently fold in the mini semisweet chocolate chips with a spatula. Set this delicious filling aside.8 ounces (227 g) plain cream cheese, 1/3 cup (67 g) granulated sugar, 1 large egg, Pinch of salt, 1 cup (236 g) mini semisweet chocolate chips

-
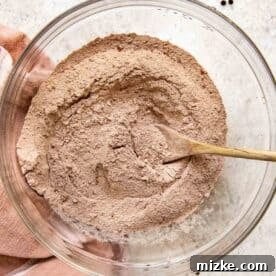
In a separate large mixing bowl, thoroughly whisk together all the dry ingredients for the chocolate cupcakes: all-purpose flour, granulated sugar, unsweetened cocoa powder, baking soda, and salt. Ensure there are no lumps and the ingredients are evenly distributed for a consistent texture in your final cupcakes.3 cups (375 g) all-purpose flour, 2 cups (400 g) sugar, 2/3 cup (57 g) cocoa powder, 2 teaspoons baking soda, 1 teaspoon salt
-
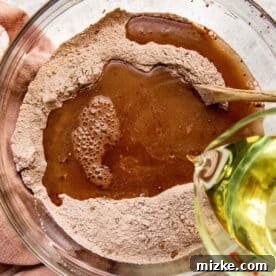
Create a well in the center of the dry ingredients. Pour in the wet ingredients: water, vegetable oil, white vinegar, and vanilla extract. Using a spatula or a wooden spoon, gently mix the dry and wet ingredients together until they are just combined. Be careful not to overmix the batter; overmixing can result in tough cupcakes. A few small lumps are perfectly acceptable.2 cups (473 ml) water, 2/3 cup (158 ml) vegetable oil, 2 tablespoons white vinegar, 2 teaspoons vanilla extract
-
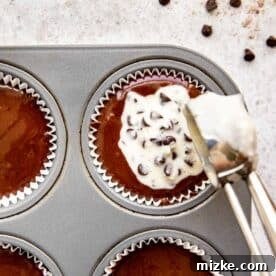
Now, it’s time to assemble your black bottom cupcakes! Fill each prepared muffin cup with approximately one-third full of the chocolate cupcake batter. This modest amount is key to ensuring the cream cheese filling has space to rise. Then, spoon one generous tablespoon of the prepared cream cheese filling directly into the center of each cupcake. Repeat this process until all the chocolate batter and cream cheese filling have been used.
-
Bake the cupcakes for 20-25 minutes, or until the chocolate cake portion springs back when lightly touched and a toothpick inserted into the cake (not the cream cheese) comes out clean. Once baked, let the cupcakes cool in the muffin pan for about 5 minutes. Then, carefully remove them and transfer them to a wire rack to cool completely. Don’t be concerned if the centers sink slightly; this is common with cream cheese-filled cupcakes and is perfectly fine.
Nutrition Information
Serving: 1cupcake (78 grams)
Calories: 285kcal
Carbohydrates: 38g
Protein: 3g
Fat: 14g
Saturated Fat: 5g
Polyunsaturated Fat: 4g
Monounsaturated Fat: 4g
Trans Fat: 0.05g
Cholesterol: 17mg
Sodium: 223mg
Potassium: 125mg
Fiber: 2g
Sugar: 24g
Disclaimer: This website provides approximate nutrition information for convenience and as a courtesy only. Nutritional data can vary significantly based on ingredients, brands, and preparation methods. For the most precise nutritional information, please use your preferred nutrition calculator based on the exact ingredients you use in the recipe.
The default measuring system for this website is US Customary. Unit conversions are provided for convenience and as a courtesy only. While we strive for accuracy, please be aware that there may be slight discrepancies.
Frequently Asked Questions (FAQ) About Black Bottom Cupcakes
Here are some common questions you might have when making these delicious chocolate cream cheese cupcakes:
- What does “black bottom” mean in cupcakes?
The term “black bottom” refers to the distinct dark chocolate cake base beneath a creamy, usually white or light-colored, cheesecake-like filling. When baked, the chocolate batter rises around the filling, creating a unique visual and textural contrast that makes these cupcakes so iconic.
- Can I use full-sized chocolate chips instead of mini ones for the filling?
While mini chocolate chips are recommended because they distribute more evenly throughout the cream cheese filling and create a smoother texture, you can certainly use full-sized chocolate chips. Just be aware that they might sink more and could create slightly larger, less even pockets of chocolate within the filling.
- Why did my cream cheese filling sink into the chocolate cake?
This is a common issue! The most likely reason is overfilling the muffin cups with chocolate batter initially. Remember to only fill them about one-third full with the chocolate batter before adding the cream cheese mixture. If there’s too much cake batter, it will rise too vigorously and envelop the filling, making it disappear into the “bottom.”
- Can I make these cupcakes dairy-free or gluten-free?
Adapting this recipe for dietary restrictions can be challenging due to the specific interaction of ingredients. For a dairy-free version, you would need dairy-free cream cheese, milk, and chocolate chips. For gluten-free, a 1:1 gluten-free baking flour blend should work, but baking times and texture might vary. Always perform a test batch and use ingredients specifically designed for baking substitutions.
- My cupcakes are dry. What went wrong?
Dry cupcakes are typically a result of overmixing the batter or overbaking. Ensure you mix the chocolate batter only until the wet and dry ingredients are just combined. Also, keep a close eye on your oven; ovens can vary. Test for doneness with a toothpick inserted into the cake portion – it should come out with moist crumbs, not completely wet batter, but also not bone dry.
- Can I make the batter or filling ahead of time?
The cream cheese filling can be made a day in advance and stored covered in the refrigerator. Bring it to room temperature before assembling. The chocolate cake batter is best used immediately after mixing for optimal leavening, though you can mix the dry ingredients ahead of time and store them in an airtight container.
More Decadent Chocolate Desserts to Explore
If you’re a true chocolate lover, the journey doesn’t have to end with these amazing chocolate cream cheese cupcakes. There’s a whole world of chocolatey goodness waiting to be discovered. Consider trying these other delightful recipes to satisfy your cravings:
- Classic Chocolate Lava Cakes: For an elegant dessert with a molten chocolate center that oozes with rich flavor.
- Fudgy Brownies with Ganache: A timeless treat, made even better with a glossy, intensely chocolatey ganache topping.
- No-Bake Chocolate Mousse Pie: A light, airy, and incredibly rich dessert that requires no oven and is perfect for warmer weather.
- Double Chocolate Chip Cookies: The ultimate comfort food, loaded with two types of chocolate for an extra indulgent bite.
Each of these recipes offers a unique take on chocolate, ensuring that there’s always a new way to enjoy your favorite flavor!
From classic birthday celebrations to simple everyday indulgences, these chocolate cream cheese cupcakes (aka black bottom cupcakes) are a testament to how simple ingredients can create something truly extraordinary. Their perfect blend of rich chocolate and tangy cream cheese ensures they’ll be a beloved treat for years to come. Happy baking!
Photographs by Meg McKeehan Photography