
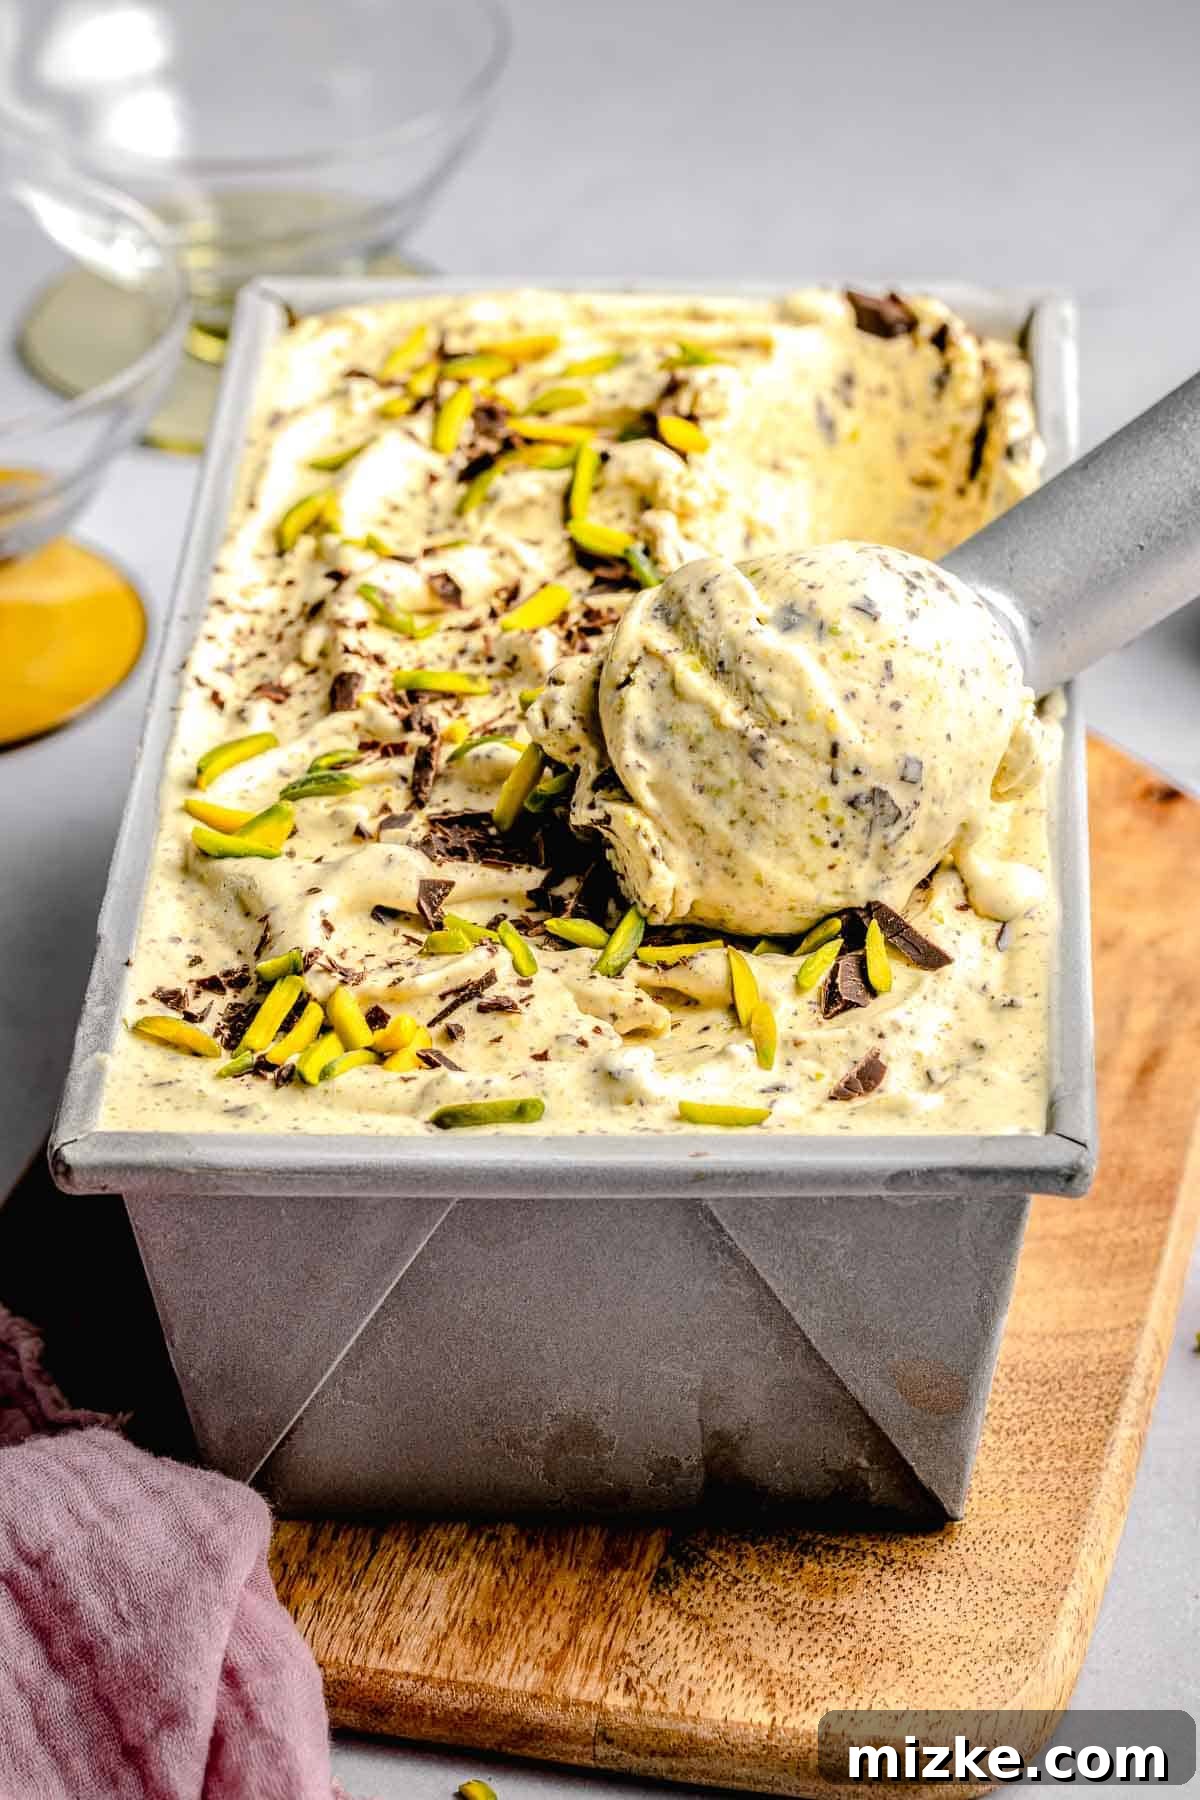
Prepare to be captivated by this extraordinary Pistachio Ice Cream recipe. Crafted to perfection, it delivers an unparalleled creamy texture, brimming with the exquisite, nutty essence of freshly made pistachio paste. A subtle undertone of almond extract enhances its complexity, while a scattering of rich dark chocolate pieces provides a delightful contrast, elevating this dessert to a truly unforgettable culinary experience. Get ready to scoop up pure indulgence!
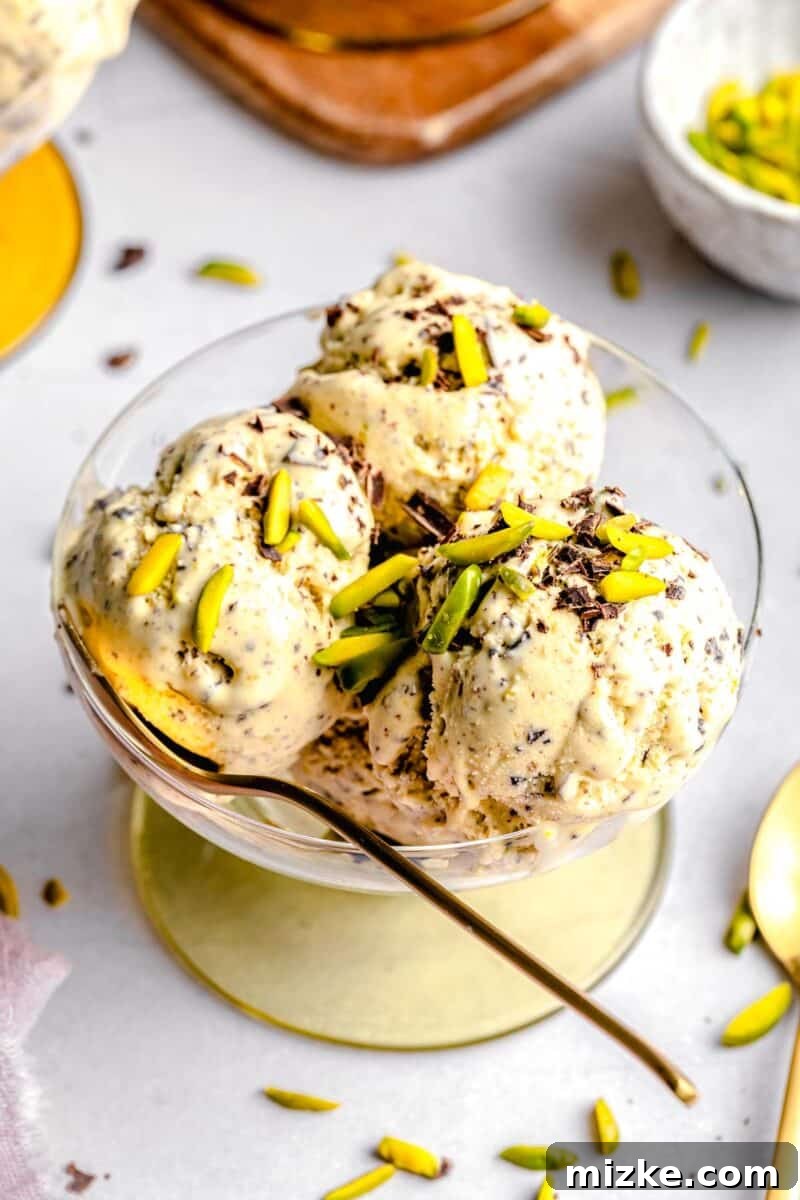
For every true aficionado of pistachio ice cream, this recipe is nothing short of a revelation. Forget bland, artificially colored versions; this is an homage to authentic pistachio flavor, built upon a rich, velvety custard base and elevated by the intensity of homemade pistachio paste. Each spoonful promises an incredibly lush and creamy mouthfeel, bursting with the distinctive, subtly sweet, and earthy nuttiness that defines this beloved flavor. To further enhance this nutty profile, I’ve incorporated a delicate hint of almond extract, creating a harmonious symphony that truly sets this recipe apart. And for that essential textural contrast and a sophisticated edge, a generous medley of dark chocolate pieces is folded in. Their slight crunch and bittersweet notes cut through the richness of the ice cream beautifully, transforming each bite into a multi-layered delight. Trust me, once you try this, you’ll never look back. Prepare a generous bowl and a spoon, because this homemade pistachio ice cream is guaranteed to become your new obsession.
Why You’ll Fall in Love with This Homemade Pistachio Ice Cream Recipe
Making ice cream from scratch might seem like a grand endeavor, but the reward is a dessert far superior to anything store-bought. Here’s a closer look at why this specific pistachio ice cream recipe is absolutely worth your time and effort:
- A Masterful Blend of Flavors: This recipe excels in its thoughtful combination of tastes. The fresh, mild sweetness of the homemade pistachio paste takes center stage, but it’s beautifully complemented by the subtle, aromatic depth of almond extract. This dual-nut approach creates a more complex and satisfying nutty profile that will dance on your palate. Swirled throughout, the bittersweet dark chocolate pieces provide a crucial counterpoint, preventing the ice cream from being overly sweet and adding an irresistible richness. It’s a truly balanced and addictive flavor combination that will have you reaching for seconds.
- Unbelievably Creamy Perfection: Prepare for a truly luxurious experience. This ice cream is engineered for ultimate creaminess, featuring a meticulously prepared custard base that is both rich and utterly smooth. It doesn’t just melt; it gracefully dissolves on your tongue, leaving behind a thick, luscious blanket of chilly, sweet indulgence. The high-fat content from quality dairy and egg yolks ensures a silky texture free from ice crystals, making every spoonful a pure, decadent pleasure that is 100% addicting.
- Surprisingly Simple to Master: Don’t let the idea of making homemade ice cream intimidate you. While the result is gourmet-level, the process itself is remarkably straightforward. You’ll only need about 20 minutes of active preparation time, following a series of clear and manageable steps. The bulk of the work involves simmering and chilling, allowing you to relax while the flavors meld. This recipe is designed to be accessible for home cooks, proving that exquisite homemade desserts don’t require professional expertise. Give it a try, and you’ll be amazed at what you can create!
- Authentic Pistachio Experience: Unlike many commercial pistachio ice creams that rely on artificial flavorings and bright green dyes, this recipe prioritizes authenticity. By making your own pistachio paste from real, unsalted pistachios, you ensure a genuine, deep nutty flavor and a beautiful, natural pale green hue. This commitment to real ingredients translates into a superior taste that highlights the true essence of pistachios.
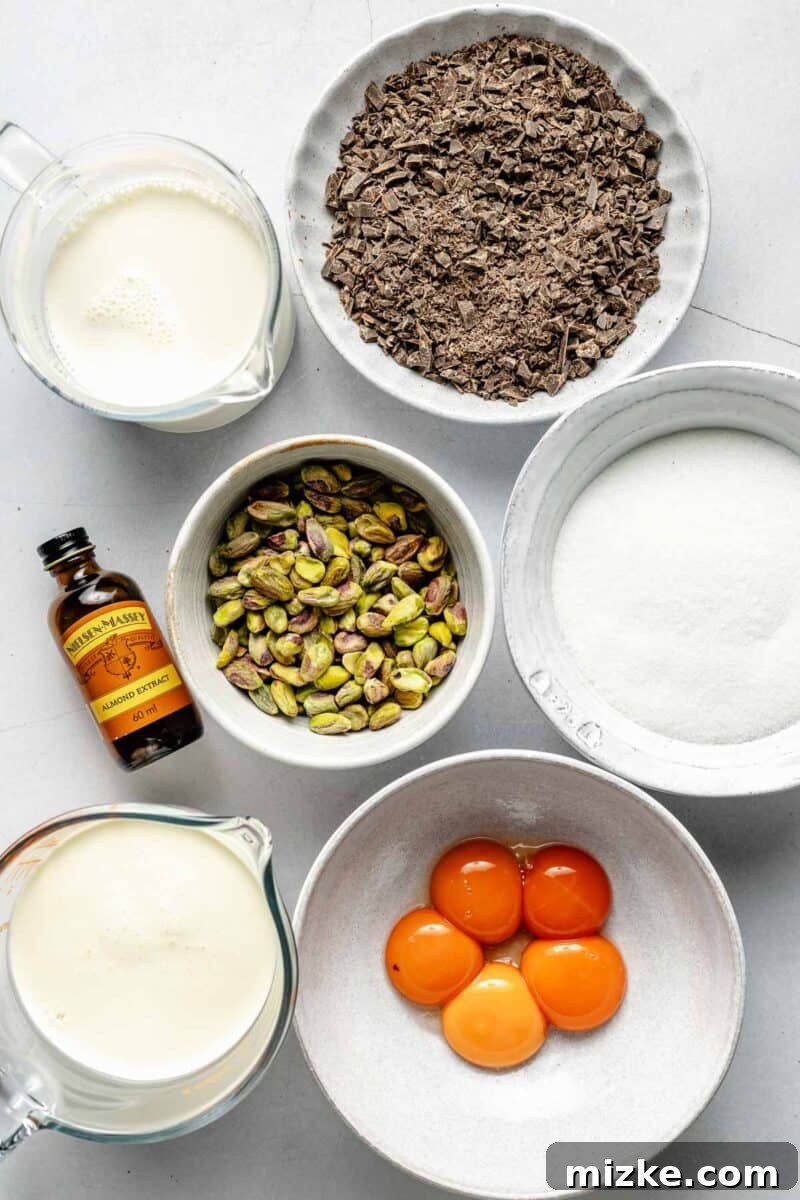
Essential Ingredients for Your Pistachio Masterpiece
Crafting this delightful pistachio ice cream requires a handful of high-quality ingredients, each playing a crucial role in achieving its rich flavor and creamy texture. Below is a comprehensive list, but remember to refer to the full recipe card at the end of this article for exact measurements and further details.
For the Homemade Pistachio Paste
- Unsalted Pistachios: The star of the show! Using unsalted pistachios is crucial to control the overall sweetness of your ice cream. Opt for shelled pistachios to save time, or shell them yourself for the freshest flavor. While you *could* technically substitute with other nuts like almonds or cashews, the result would no longer be the authentic pistachio ice cream we’re aiming for. For the best flavor and color, consider high-quality Sicilian or Iranian pistachios if available.
- Heavy Cream: A small amount of heavy cream is blended with the pistachios to create a smooth, rich paste. This adds to the overall creaminess and helps emulsify the nut butter.
For the Luxurious Ice Cream Custard Base
- Half and Half: This dairy product provides the perfect balance of richness and lightness for the base. It’s essential for achieving that signature creamy, melt-in-your-mouth texture. Do not be tempted to substitute with lighter dairy products like skim milk or 2% milk; they lack the necessary fat content, which will inevitably lead to an icy, less enjoyable ice cream. Fat is flavor and texture in ice cream!
- Granulated Sugar: The primary sweetener for our ice cream. Sugar not only provides sweetness but also contributes to the smooth texture by interfering with ice crystal formation. Adjust to your personal preference, but the amount specified creates a perfectly balanced sweetness that allows the pistachio flavor to shine.
- Egg Yolks: These are vital for creating a rich, velvety custard base. Egg yolks act as an emulsifier, binding the fats and liquids together, and contribute significantly to the ice cream’s luxurious body and smooth finish. They are what makes this a true “custard” style ice cream, which is renowned for its superior texture.
- Heavy Cream (additional): Alongside the half and half, extra heavy cream ensures maximum richness and helps prevent the formation of large ice crystals, giving you that incredibly smooth scoop every time. Again, resist the urge to use lower-fat alternatives if you want truly creamy results.
- Almond Extract: While optional, I highly recommend including this. Almond extract beautifully complements and enhances the natural nuttiness of the pistachios, adding an extra layer of depth and sophistication to the flavor profile. If you prefer a more traditional vanilla note or wish to omit the almond, vanilla extract can be used as a direct substitute.
- Dark Chocolate: My personal favorite mix-in! I typically chop a quality dark chocolate bar for irregular pieces that melt delightfully in your mouth. Mini chocolate chips or even regular chocolate chips would also work wonderfully. If dark chocolate isn’t your preference, feel free to experiment with milk chocolate for a sweeter contrast, semi-sweet for a milder balance, or even white chocolate for a creamy, sweet addition. The key is to choose a chocolate you love, as its flavor will be prominent.
Crafting Your Homemade Pistachio Ice Cream: A Step-by-Step Guide
Embark on a delightful culinary journey to create the best homemade pistachio ice cream you’ve ever tasted. With just about 20 minutes of active preparation, you’ll be well on your way to a gourmet dessert. Follow these comprehensive steps, and remember that more precise instructions and measurements are available in the recipe card below.
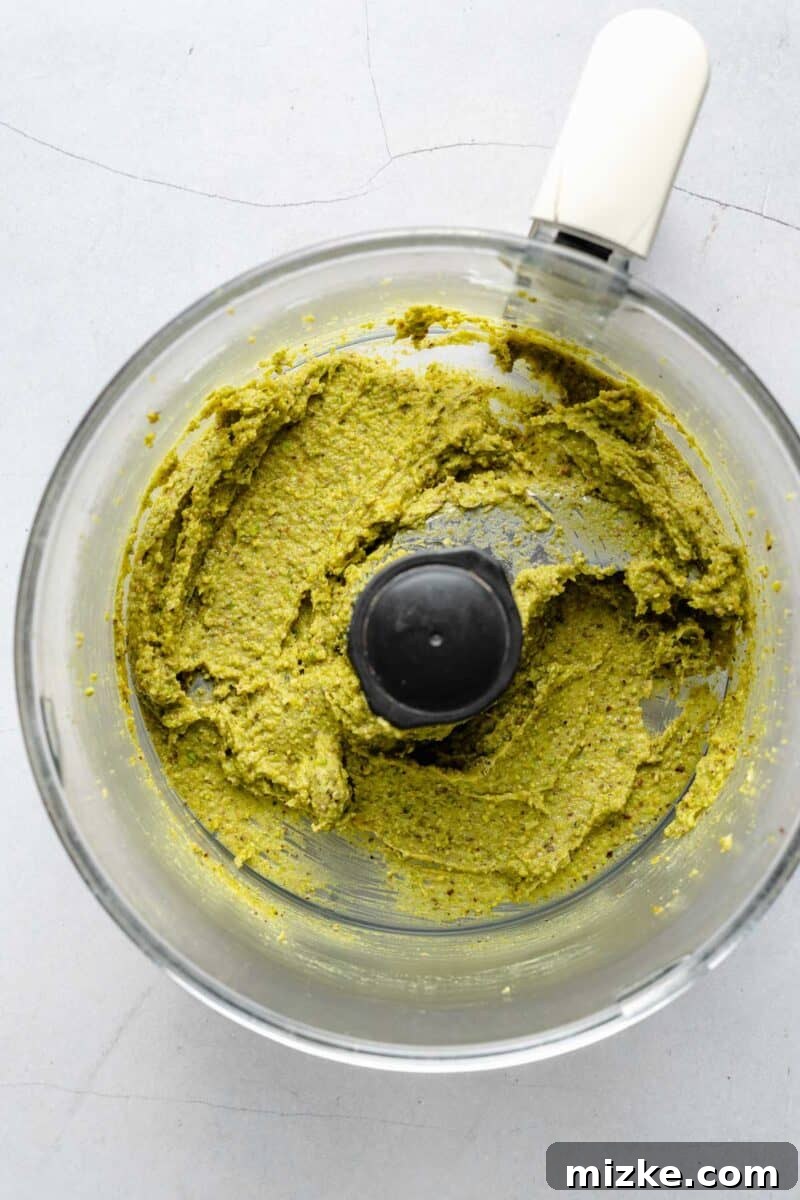
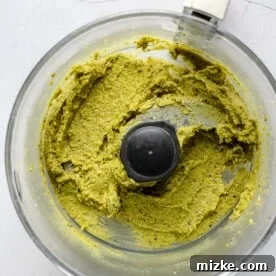
- Prepare the Pistachio Paste: Begin by placing your unsalted, shelled pistachios into the bowl of a food processor. Process them until they reach a fine, sand-like consistency. This initial grinding breaks down the nuts thoroughly. While the food processor is still running, slowly drizzle in the heavy cream through the feed tube. Continue processing until the mixture transforms into a thick, smooth, and vibrant green paste. This step is crucial as it concentrates the pistachio flavor for the ice cream.
- Dissolve the Sugar and Warm the Dairy: In a medium saucepan, combine the half and half and granulated sugar. Heat this mixture over medium-low heat, stirring occasionally, until the sugar is completely dissolved and the mixture is warm but not boiling. This gentle warming helps infuse the sugar into the dairy and prepares it for the egg yolks.
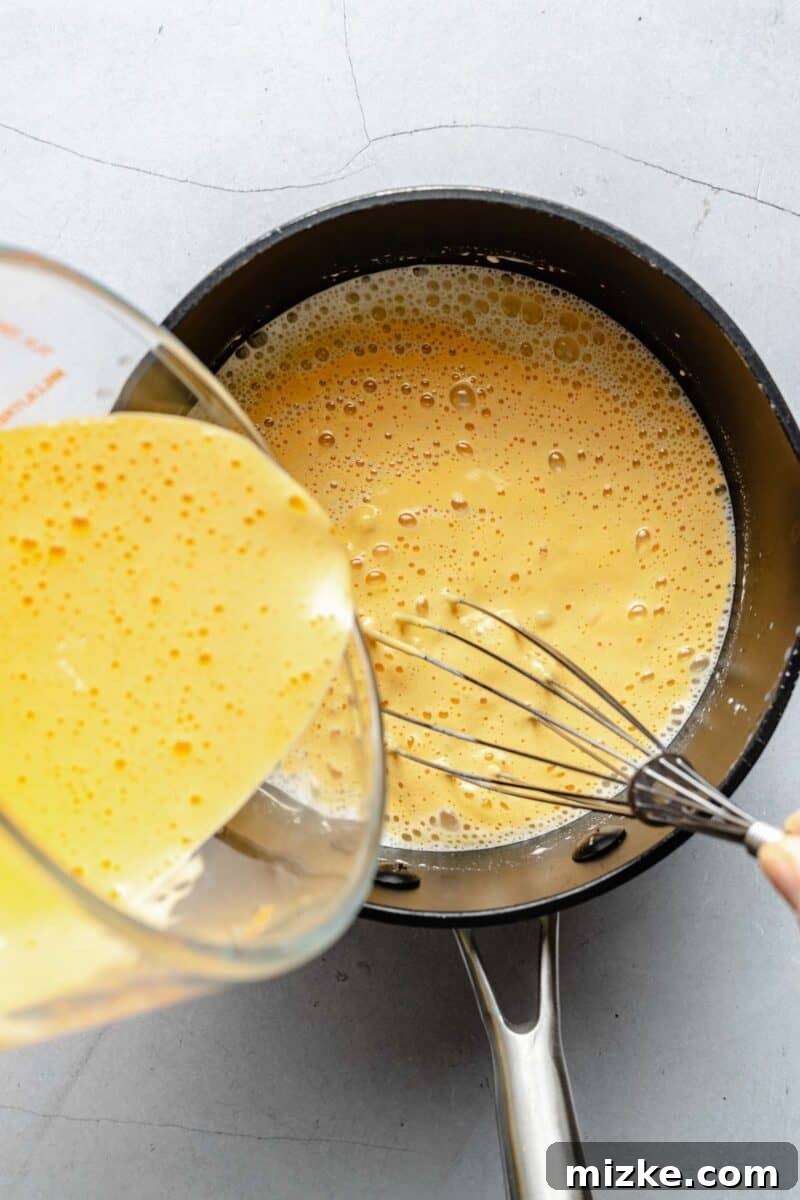
- Temper the Egg Yolks: In a separate bowl, whisk the egg yolks vigorously until they become pale yellow and noticeably thick. This aeration is important for the final texture. To temper the yolks, slowly whisk a small amount (about 1/2 cup) of the warm half and half mixture into the whisked egg yolks. This gently raises the temperature of the yolks, preventing them from scrambling when added to the hot liquid. Once tempered, gradually and continuously whisk the warmed egg yolk mixture back into the main saucepan with the remaining half and half mixture.
- Cook the Custard to Perfection: Continue cooking the egg and dairy mixture over medium-low heat, stirring constantly with a spatula or wooden spoon. This consistent stirring is crucial to prevent the eggs from curdling and to ensure even cooking. Cook for approximately 5 minutes, or until the custard thickens enough to coat the back of a spoon. When you run your finger across the spoon, it should leave a clear trail. Do not boil the custard, as this can curdle the eggs.
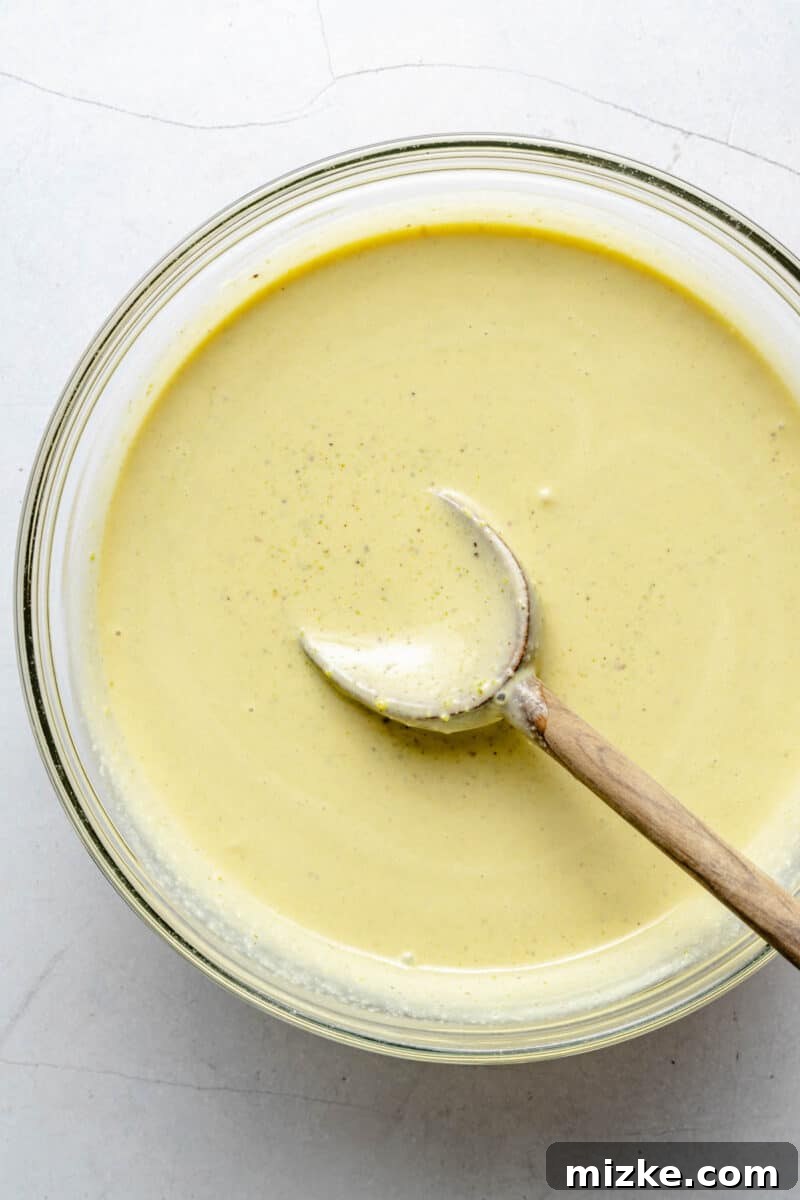
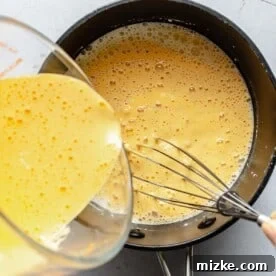
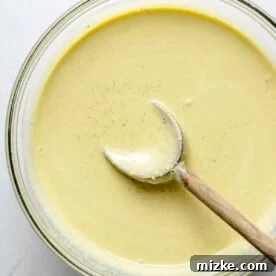
- Combine and Infuse Flavors: Pour the cooked custard into a large, clean bowl. Add the remaining heavy cream and stir until well combined. Next, whisk in the almond extract (if using) and then thoroughly incorporate the freshly made pistachio paste. Whisk vigorously until the paste is completely smooth and evenly dispersed throughout the base, ensuring no clumps remain. The mixture should now boast a beautiful, natural green hue.
- Crucial Chilling Phase: Cover the bowl tightly with plastic wrap, pressing it directly onto the surface of the custard to prevent a skin from forming. Transfer the bowl to the refrigerator and chill for a minimum of 6 hours, or ideally overnight. This chilling period is absolutely vital; it allows the flavors to deepen and mature, and ensures the base is thoroughly cold, which is essential for proper churning and a super creamy ice cream.
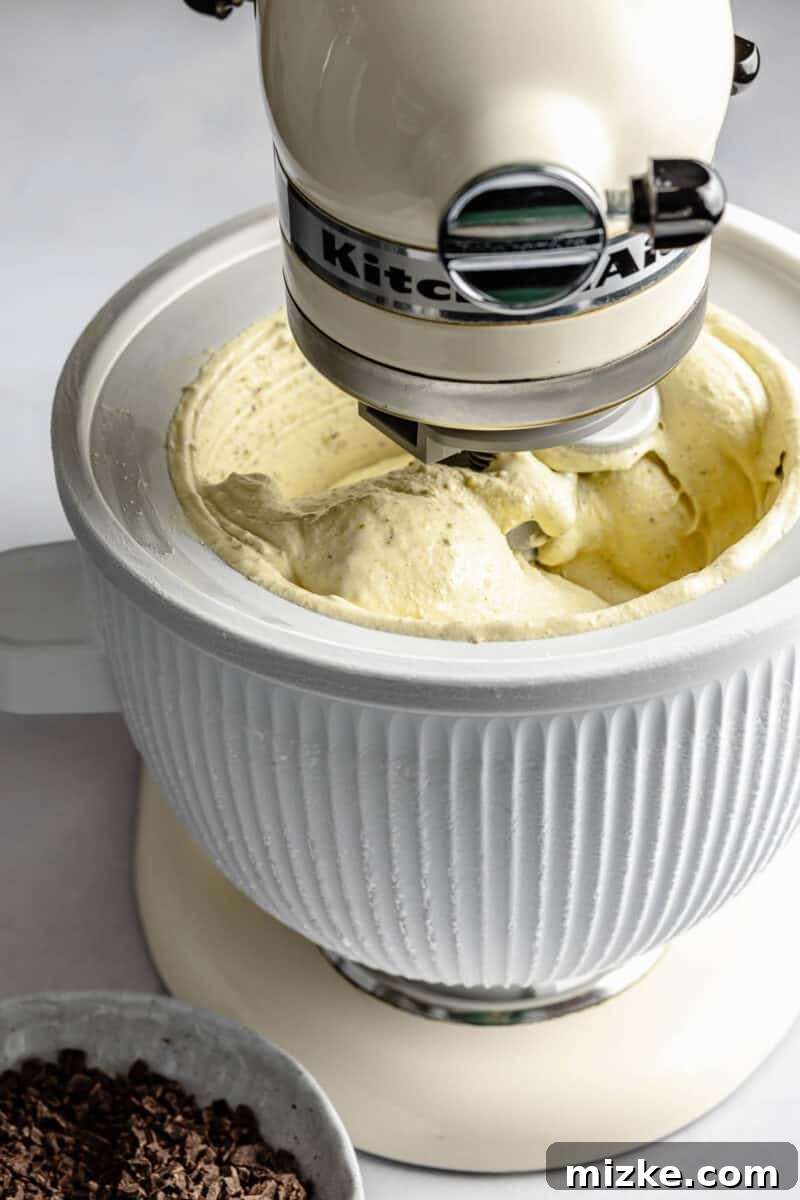
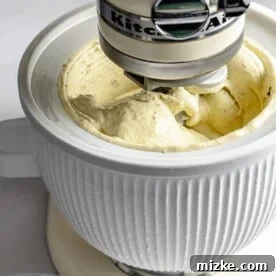
- Churn the Ice Cream: Once thoroughly chilled, pour the pistachio mixture into the frozen bowl of your ice cream maker. Churn according to the manufacturer’s specific instructions. This process typically takes 20-30 minutes, during which the mixture will gradually thicken and freeze into a soft-serve consistency.
- Incorporate the Chocolate: Just before the ice cream finishes churning (usually in the last 5 minutes), add the chopped dark chocolate pieces directly into the ice cream maker. Allow it to churn for a few more minutes, just long enough to evenly distribute the chocolate throughout the ice cream. Adding them too early can cause them to sink or become too hard.
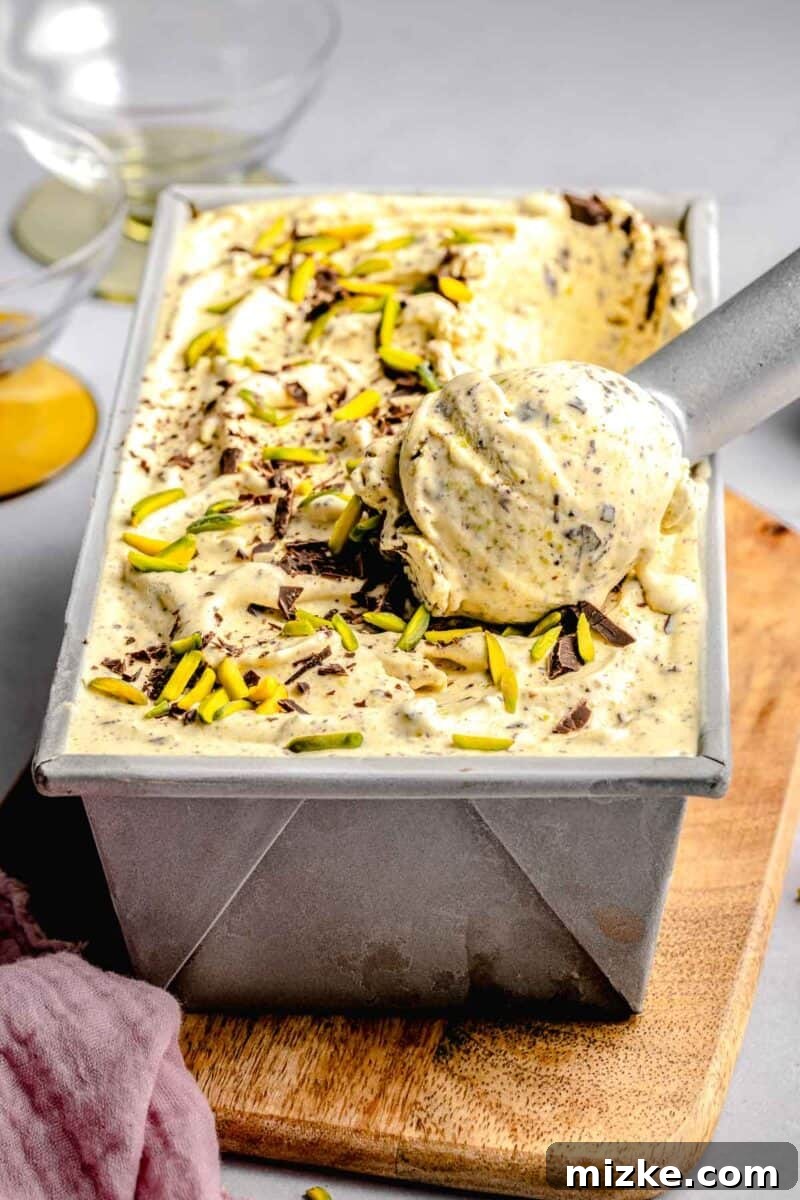
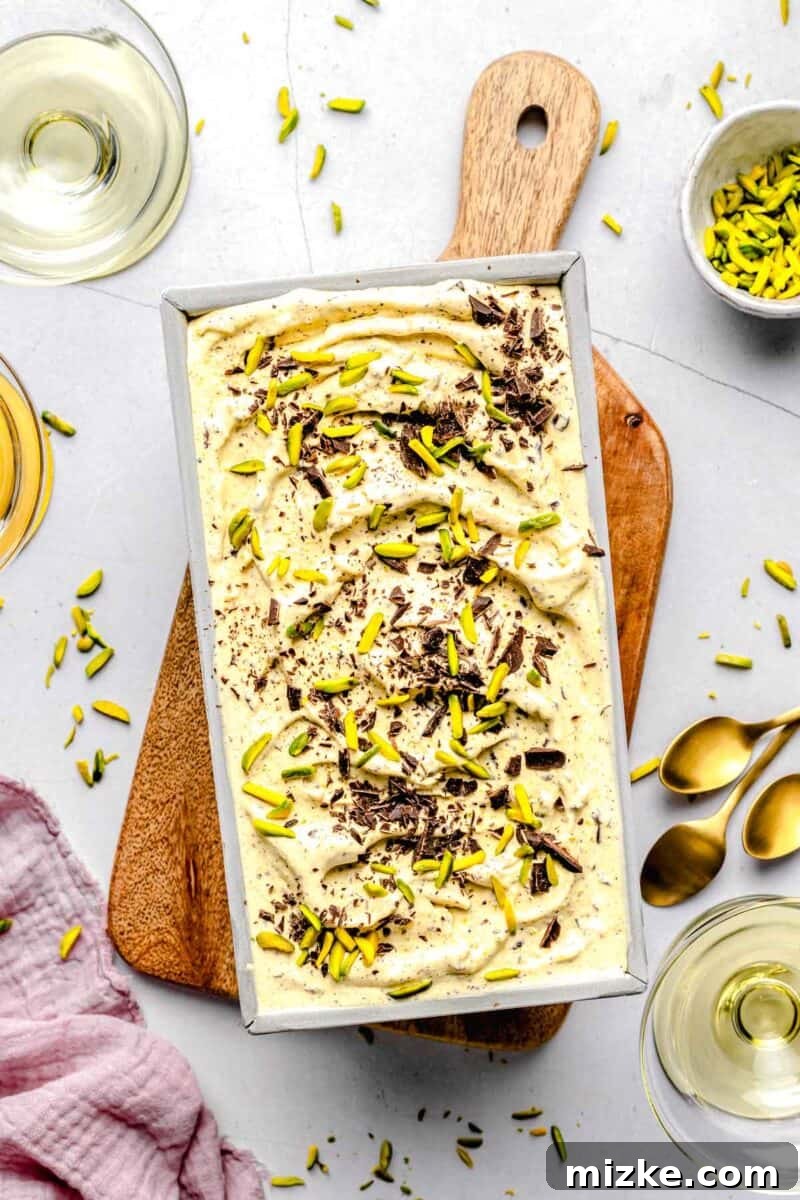
- Final Freeze for Firmness: Transfer the freshly churned, soft ice cream into a freezer-safe, airtight container. Press a piece of plastic wrap or wax paper directly onto the surface of the ice cream before sealing the container. This helps prevent ice crystals from forming. Freeze the ice cream overnight, or for at least 8 hours, to allow it to firm up to a perfect scoopable consistency.
Expert Tips for Homemade Pistachio Ice Cream Perfection
Creating truly exceptional homemade ice cream involves a few key techniques and considerations. Heed these valuable tips from my kitchen, and you’ll be guaranteed the best possible results – creamy, flavorful, and absolutely irresistible pistachio ice cream every time.
- Plan Ahead for Optimal Results: Before you even think about cracking an egg, take the time to thoroughly read through your ice cream machine’s instruction manual. Many models, especially those with freezer bowls, require the bowl to be frozen for 12-24 hours prior to use. Failing to plan this ahead can halt your ice cream-making process before it even begins. Proper preparation ensures a smooth and successful churning experience.
- Embrace Full-Fat Dairy: This is a non-negotiable for truly creamy ice cream. The fat content in half and half and heavy cream is crucial for developing that rich, smooth, and luxurious texture we all crave. Attempts to substitute with lower-fat dairy products like skim milk or even 2% milk will inevitably lead to an icy, harder ice cream lacking the desired body and mouthfeel. Fat prevents large ice crystals from forming, ensuring your scoop is velvety, not crunchy.
- Whisk Those Egg Yolks Vigorously: When preparing your custard base, don’t skimp on whisking the egg yolks. It’s imperative to whisk them until they become significantly pale yellow and thick in consistency. This process incorporates air into the yolks, which not only improves the final texture of your ice cream by making it lighter but also helps to stabilize the emulsion, leading to a more consistent and creamy product.
- Exercise Caution with Heat: Throughout the entire process of cooking your custard base, maintaining a moderate, consistent heat is paramount. Keep your stove burner set to medium-low. Cranking up the heat past this point, even slightly, significantly increases the risk of curdling your eggs. Curdled eggs will result in a grainy, lumpy ice cream texture that is far from desirable. Patience is a virtue here.
- Continuous Stirring is Key: While the custard is cooking on the stovetop, it is absolutely essential to stir continuously. A good whisk or wooden spoon should be constantly moving across the bottom and sides of the saucepan. Neglecting to stir will allow the eggs to settle and cook too quickly at the bottom, leading to scorching and curdling. Consistent agitation ensures even cooking and a perfectly smooth, homogenous custard base.
- Be Patient for Proper Thickening: Your custard needs to cook for approximately 5 minutes, but the true indicator of readiness is its consistency. It should be thick enough to coat the back of a spoon, and when you draw a finger across the coated spoon, the trail should remain clear. Cooking for too short a time will leave you with a runny base that won’t freeze properly, resulting in a thin, watery ice cream.
- Do Not Skimp on Chill Time: The chilling phase for your ice cream base is as critical as the cooking. The mixture must be thoroughly chilled for at least 6 hours, or ideally overnight, in the refrigerator. This extended chill time allows the flavors to fully meld and mature, and crucially, it ensures the base is cold enough for the ice cream maker to churn it efficiently into a creamy consistency. A warm or insufficiently chilled base will lead to poor churning results and an icy texture.
- Add Mix-ins at the Right Moment: If you’re adding solid mix-ins like chocolate pieces, nuts, or fruit, the timing is everything. Wait until the ice cream is nearly finished churning in the machine – it should be at a soft-serve consistency. At this point, the ice cream is frozen and thick enough to suspend the mix-ins evenly throughout its creamy goodness. If you add them too early, when the mixture is still quite liquidy, the mix-ins will simply sink to the bottom and clump together, creating an uneven distribution.
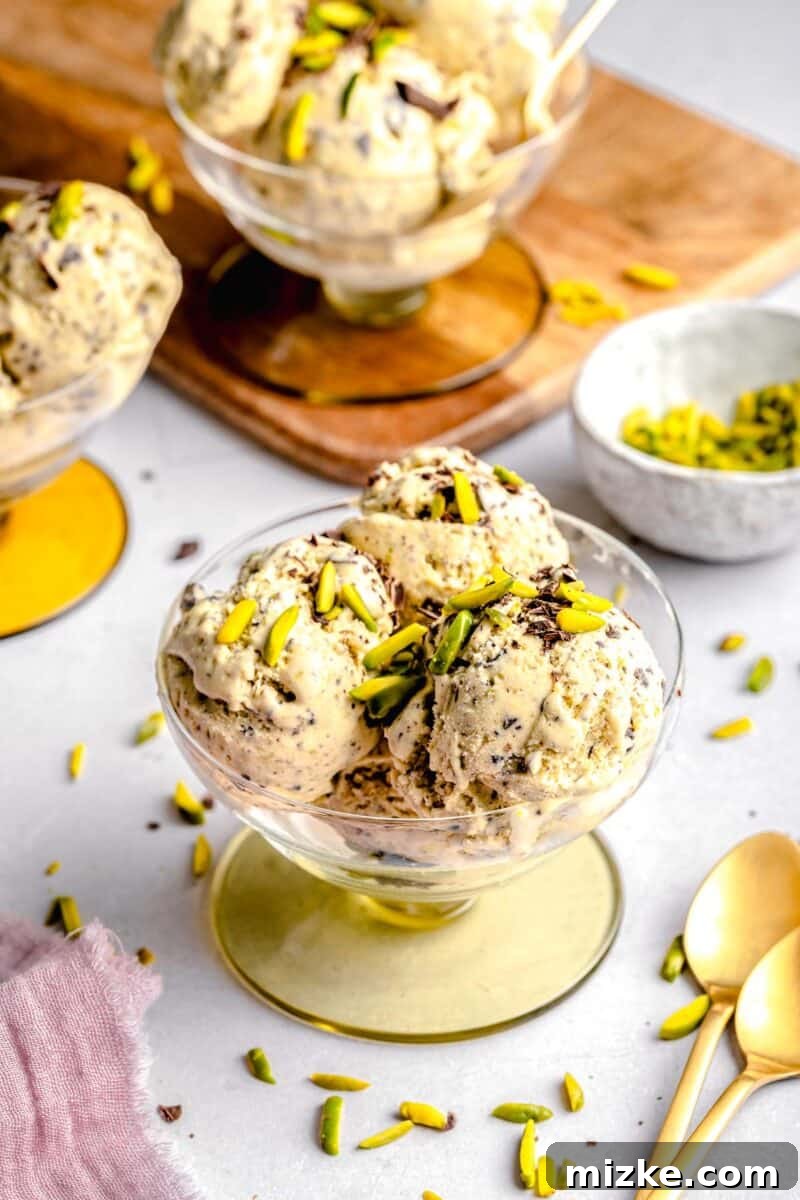
Delightful Serving Suggestions for Your Pistachio Ice Cream
This exquisite pistachio ice cream is a star on its own, but it also pairs beautifully with a variety of other desserts, elevating any sweet treat. Here are some of my favorite ways to enjoy this creamy, nutty indulgence:
- Classic Pairings: A generous scoop of pistachio ice cream is truly divine alongside a warm slice of bread pudding. The contrast of warm, soft pudding with cold, creamy ice cream is heavenly. My Pumpkin Bread Pudding would be an exquisite match, creating a comforting autumnal symphony.
- Cake Companions: This ice cream also acts as the perfect accompaniment to various cakes. I’ve found it to be exceptionally delightful with my famous Orange Pound Cake, where the bright citrus notes provide a lovely counterpoint to the rich pistachio. It would also be absolutely stellar with a decadent chocolate cake, such as this Slow Cooker Chocolate Cake, where the dark chocolate in the ice cream would echo the cake’s richness.
- Make it the Main Event: Sometimes, the ice cream deserves to be the undisputed main character. Drizzle a scoop (or two!) of pistachio ice cream with a luxurious chocolate sauce for an extra layer of decadence. For an even more indulgent treat, top it with a cloud of freshly whipped cream. You can grab some high-quality whipped cream from the store, or for a homemade touch, try the recipe from this Boozy Peaches and Honey Cream Shortcake Recipe for an added depth of flavor.
- Affogato Style: For coffee lovers, a scoop of pistachio ice cream submerged in a shot of hot, freshly brewed espresso creates a gourmet affogato. The bitterness of the coffee beautifully cuts through the sweetness of the ice cream, creating a sophisticated and invigorating dessert.
- Fruit & Nut Extravaganza: Serve alongside fresh berries like raspberries or strawberries, which offer a tart counterpoint. A sprinkle of extra chopped pistachios or a light dusting of cocoa powder can also add visual appeal and textural interest.
Storing Your Homemade Pistachio Ice Cream for Lasting Freshness
To preserve the exquisite flavor and creamy texture of your homemade pistachio ice cream, proper storage is paramount. Unlike commercial ice creams that contain stabilizers, homemade versions are more susceptible to freezer burn and ice crystal formation if not stored correctly. Follow these guidelines to ensure your delicious creation stays fresh and enjoyable for as long as possible:
- Choose the Right Container: Always store homemade ice cream in a freezer-safe, airtight container. Plastic or ceramic containers are ideal. Avoid using glass containers for long-term freezer storage, as they can be prone to thermal shock, cracking, and may not provide the best insulation against freezer burn for ice cream.
- Prevent Ice Crystals: One of the best tricks to prevent ice crystals from forming on the surface of your ice cream is to create an extra barrier. After transferring the churned ice cream to its container, gently press a layer of plastic wrap or wax paper directly onto the surface of the ice cream, ensuring there are no air bubbles between the wrap and the ice cream. Then, seal the container with its lid. This extra layer significantly reduces exposure to air, which is the main culprit behind freezer burn.
- Airtight Seal: Ensure your container has a very tight-fitting lid. Any exposure to air can lead to quality degradation.
- Optimal Freezer Placement: Store the ice cream in the coldest part of your freezer, typically towards the back, rather than near the door. The temperature fluctuations near the door can compromise the ice cream’s texture.
- Longevity: When stored properly in an airtight container with the plastic wrap barrier, your homemade pistachio ice cream will maintain its best quality for up to 2 weeks in the freezer. While it might still be safe to eat beyond this period, its texture and fresh flavor will gradually diminish. For the absolute best experience, aim to enjoy it within the first week.
Frequently Asked Questions About Homemade Pistachio Ice Cream
Have questions about making the perfect pistachio ice cream at home? You’re not alone! Here are some common queries and helpful answers to guide you on your journey to homemade frozen dessert bliss.
- Why isn’t my homemade pistachio ice cream as green as store-bought?
Store-bought pistachio ice creams often use artificial food coloring to achieve a vibrant green hue. Authentic homemade pistachio ice cream, made with natural pistachios, will have a more subdued, natural pale green or even slightly brownish-green color. If you desire a brighter green, you can add a drop or two of green food coloring during the mixing stage, but it’s purely for aesthetics and won’t affect the flavor. - Can I make this recipe without an ice cream maker?
While an ice cream maker is highly recommended for the creamiest results, you can technically make “no-churn” ice cream with a similar flavor profile. However, this specific recipe is formulated for a churner. For a no-churn method, you would typically whip heavy cream to stiff peaks, then fold it into a sweetened condensed milk base, along with the pistachio paste and almond extract, before freezing. The texture will be different – usually denser and less airy – but still delicious. - What kind of pistachios should I use?
Always use unsalted, shelled pistachios for this recipe. Raw or lightly roasted unsalted pistachios are best for making the paste, as heavily roasted ones might have a stronger, less delicate flavor. Shelled pistachios save a lot of time and effort! - How do I prevent my ice cream from becoming icy?
Several factors contribute to icy ice cream. First, ensure you use full-fat dairy (heavy cream and half and half) as fat helps create a smooth texture. Second, don’t skimp on the egg yolks; they are crucial emulsifiers. Third, thoroughly chill your ice cream base for at least 6 hours (or overnight) before churning. Finally, store your ice cream in an airtight container with plastic wrap pressed directly onto the surface to minimize air exposure and prevent ice crystal formation. - Can I add other mix-ins besides dark chocolate?
Absolutely! While dark chocolate is a fantastic choice, feel free to get creative. White chocolate chips, finely chopped candied ginger, dried cherries, a swirl of raspberry jam, or even a touch of orange zest could all complement the pistachio flavor beautifully. Add them during the last few minutes of churning, just like the chocolate, for even distribution. - Is homemade pistachio ice cream healthier than store-bought?
Homemade ice cream generally allows you to control the quality of ingredients, sugar content, and avoid artificial flavors, colors, and excessive stabilizers often found in commercial brands. While it’s still a treat due to its fat and sugar content, you can feel better knowing exactly what goes into it, making it a “cleaner” indulgence.
Expand Your Horizons: More Irresistible Ice Cream Recipes to Explore
Has your successful venture into homemade pistachio ice cream piqued your curiosity about crafting more frozen delights? Excellent! I have an array of other incredibly yummy and surprisingly easy ice cream recipes waiting for you. Whether you’re keen on utilizing your ice cream maker or prefer the simplicity of a no-churn method, there’s something here to tantalize every taste bud. Dive in and discover your next favorite homemade treat!
- Irresistible Biscoff Ice Cream
- Unique Black Sesame Ice Cream (No-Churn)
- Decadent No-Churn Oreo Fudge Ice Cream
- Classic Cookies and Cream Ice Cream
- Energizing Espresso Chocolate Chip Ice Cream
- Refreshing Strawberry Ice Cream
Print Recipe
Pistachio Ice Cream
Julie Chiou
1 day
15 minutes
1 day 15 minutes
6
Equipment
-
Food processor
-
Ice cream maker
Ingredients
For the pistachio paste
- ¾ cup (92 g) unsalted pistachios, shelled
- 6 tablespoon (89 ml) heavy cream
For the ice cream custard base
- 1 ½ cups (355 ml) half and half
- 1 cup (200 g) granulated sugar
- 5 large egg yolks
- 1 ½ cups (355 ml) heavy cream
- ½ teaspoon almond extract, optional
- ¾ cup (131 g) dark chocolate, finely chopped
Instructions
-
In the bowl of a food processor, process pistachio nuts until finely crushed. With the food processor still running, drizzle in the heavy cream through the feed tube. Process until the mixture becomes paste-like. Set aside.

-
Heat the half and half and sugar in a saucepan over medium-low heat, stirring until the sugar dissolves. Meanwhile, whisk the egg yolks in a bowl until pale yellow and thick (about 5 minutes). Temper the egg yolks by slowly whisking a small amount of the warm half and half mixture into the yolks. Gradually pour the tempered egg yolks into the saucepan with the remaining half and half and cook over medium-low heat, stirring constantly, until thick enough to coat the back of a spoon (about 5 minutes).
-
Pour the cooked egg mixture into a large bowl with the remaining heavy cream and stir to combine. Add the almond extract (if using) then whisk in the prepared pistachio paste until evenly dispersed and smooth. Cover the bowl and chill in the refrigerator for at least 6 hours, or preferably overnight.
-
Once thoroughly chilled, pour the mixture into the bowl of your ice cream maker and freeze according to the manufacturer’s instructions. Just before it finishes churning, add in the finely chopped dark chocolate and continue churning until the chocolate is evenly dispersed throughout the ice cream.
-
Scoop the soft-serve consistency ice cream into a freezer-safe container. Press plastic wrap directly onto the surface of the ice cream, then seal the container and freeze overnight to firm up completely.
Nutrition Facts (Approximate)
Serving: 1 serving (218 grams)
- Calories: 729 kcal
- Carbohydrates: 53g
- Protein: 11g
- Fat: 54g
- Saturated Fat: 29g
- Polyunsaturated Fat: 4g
- Monounsaturated Fat: 17g
- Trans Fat: 0.01g
- Cholesterol: 268mg
- Sodium: 70mg
- Potassium: 480mg
- Fiber: 4g
- Sugar: 45g
This website provides approximate nutrition information for convenience and as a courtesy only. Nutrition information can vary for a variety of reasons. For the most precise nutritional data use your preferred nutrition calculator based on the actual ingredients you used in the recipe.
The default measuring system for this website is US Customary. Unit conversions are provided for convenience and as a courtesy only. While we strive to provide accurate unit conversions, please be aware that there may be some discrepancies.