
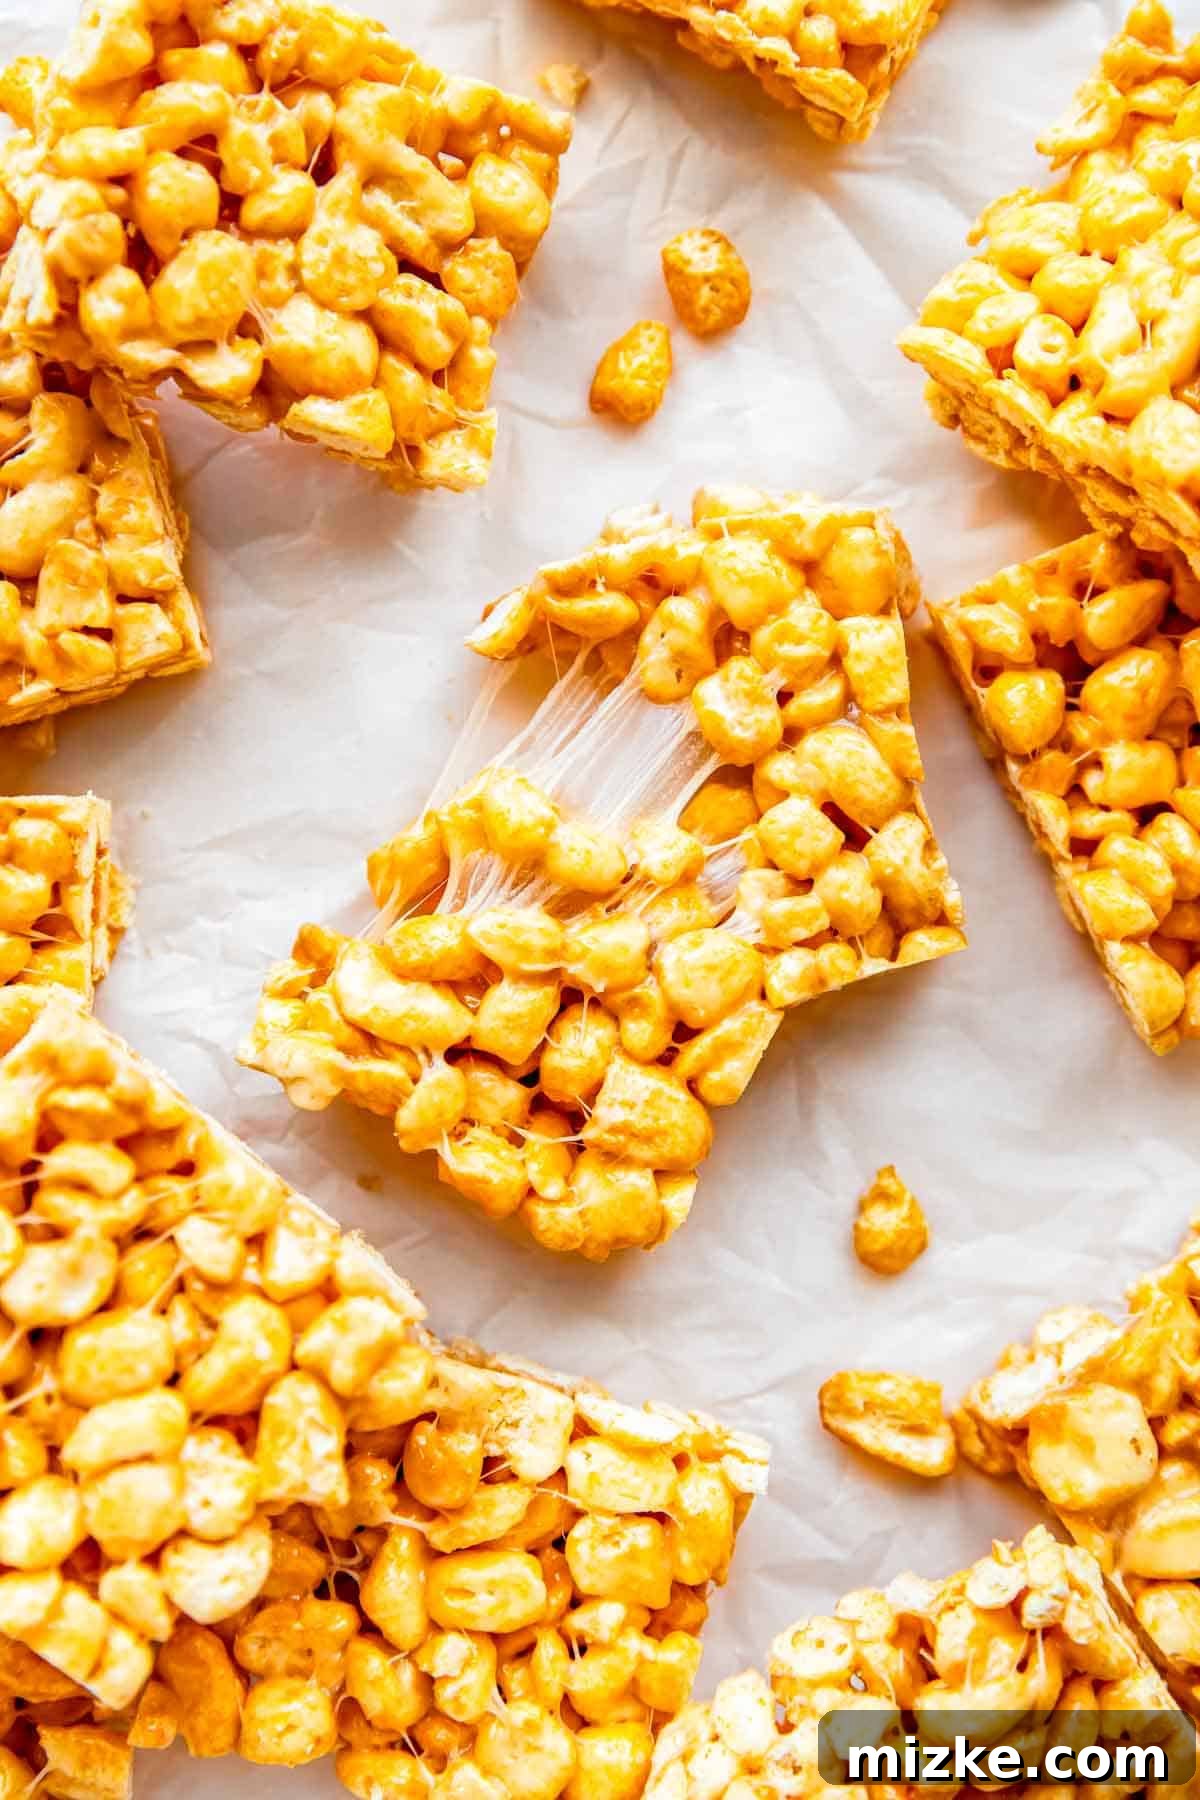
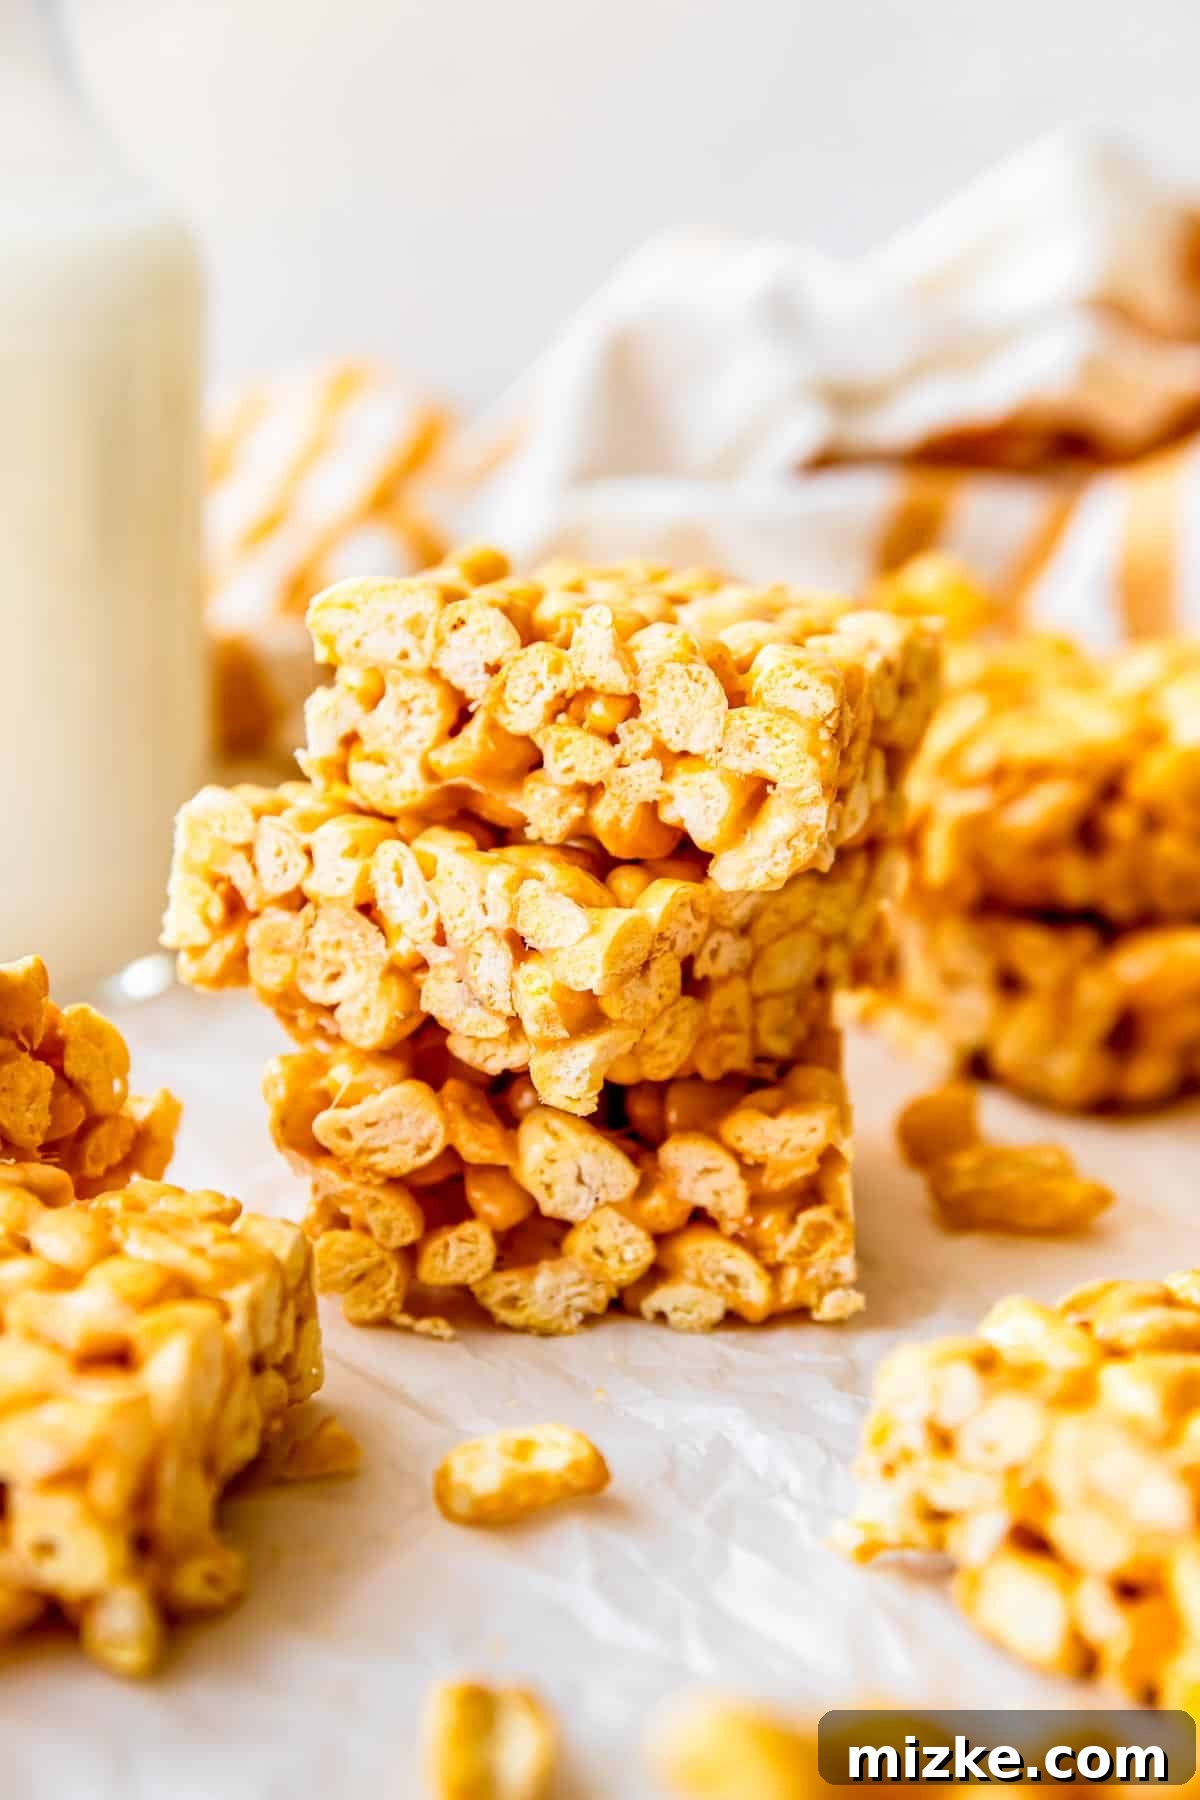
Cereal Bars are truly a delight – a timeless treat that comes together in mere minutes, offering a perfect blend of crispy cereal and soft, buttery marshmallow. Our favorite version features the classic crunch of Corn Pops, bound together by an irresistibly gooey mixture. These bars are not just easy to make; they are wonderfully chewy, perfectly sweet, satisfyingly crunchy, and incredibly fun to enjoy for any occasion. Prepare to fall in love with your new go-to no-bake snack!
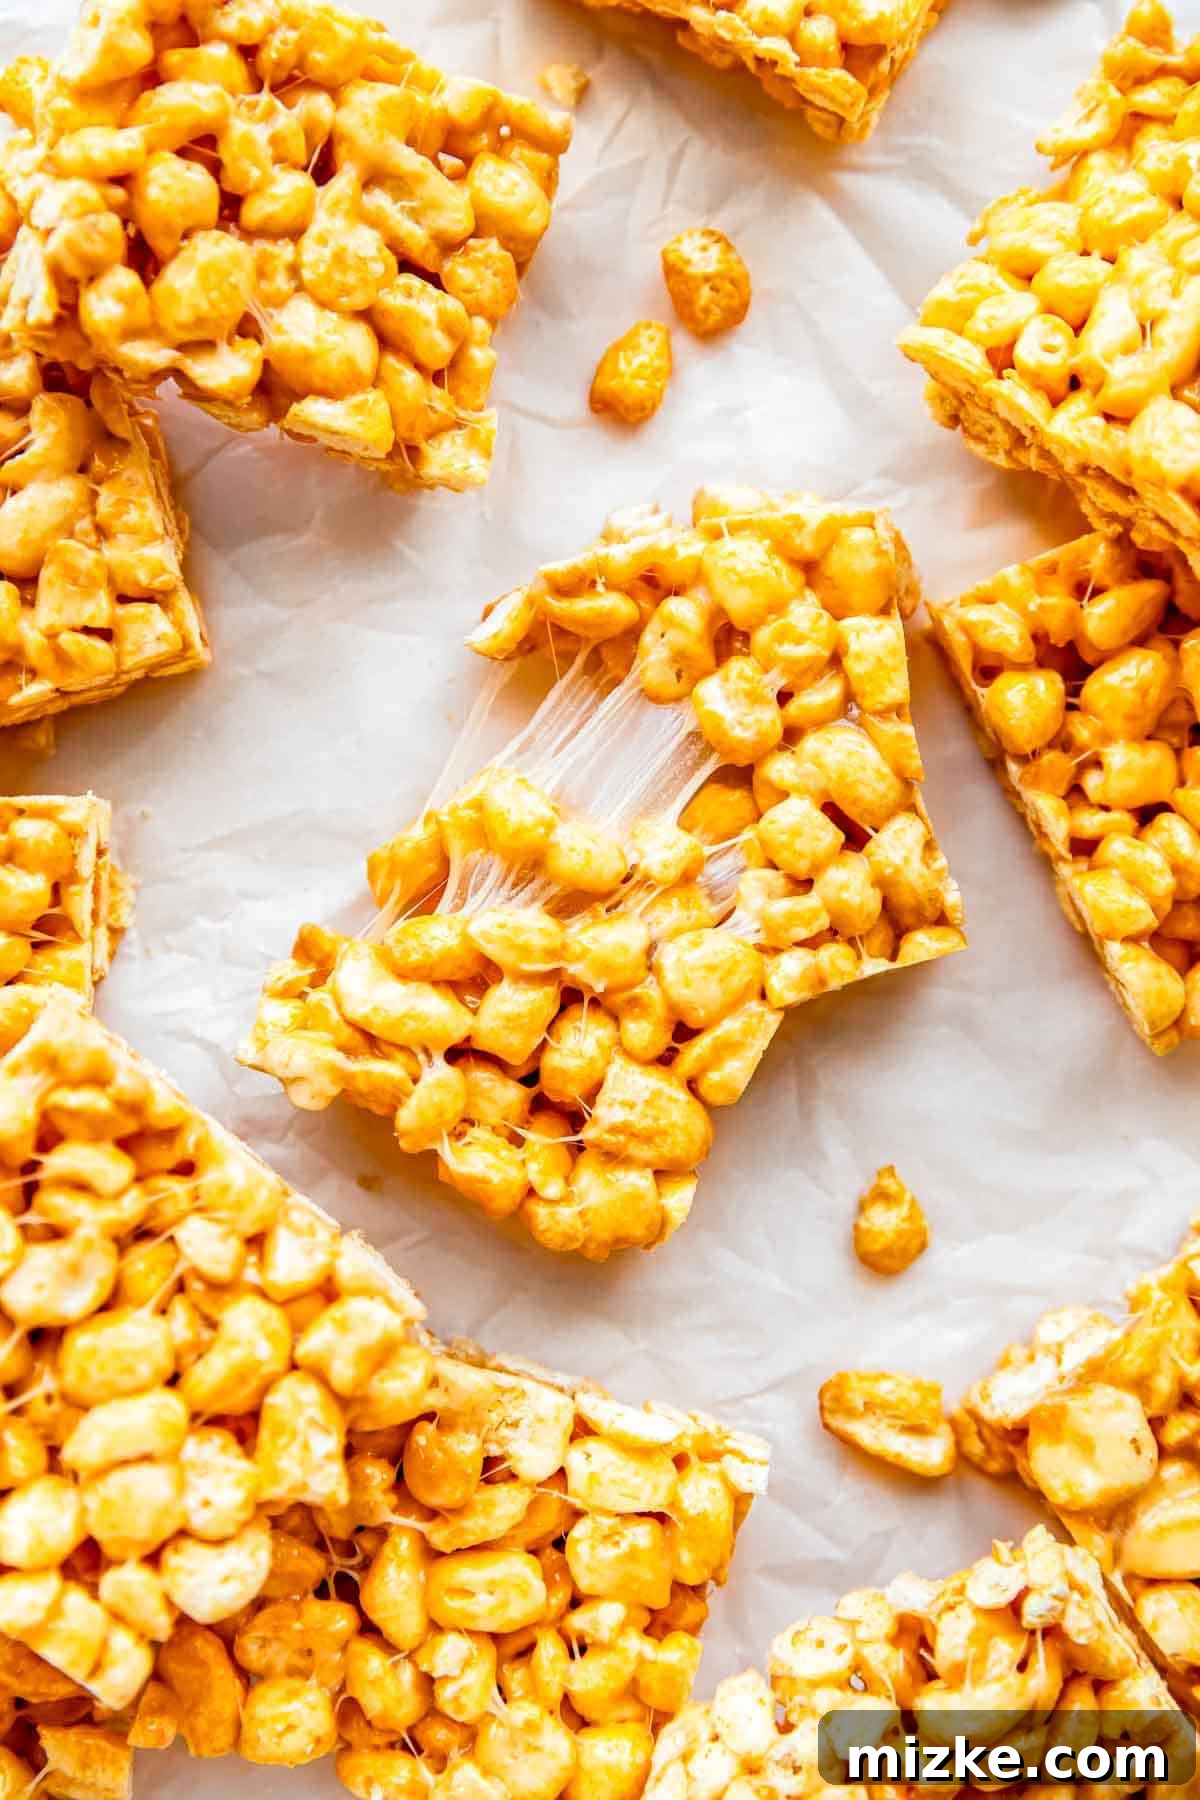
Irresistible Homemade Cereal Bars: Your Go-To Quick Treat
While these delightful cereal bars are undeniably perfect for lunchboxes and a surefire hit with the kids, their appeal extends far beyond the playground. Adults, too, will find themselves reaching for these sweet, nostalgic squares whenever a craving strikes. As someone who holds a special fondness for Corn Pops – though any favorite cereal can shine here – the magical combination of crisp cereal enveloped in a rich, buttery marshmallow concoction truly feels like a dream. What’s even better? They are incredibly simple to create, making them an ideal choice for a spontaneous snack attack or a last-minute party contribution.
Why You’ll Adore These Easy Cereal Bars
It’s easy to wax poetic about this homemade cereal bar recipe, as there are so many reasons to love it. Here are just a few compelling factors that make these treats an absolute obsession:
- Delightful Texture Contrast: Imagine the satisfying crunch of your chosen cereal perfectly complemented by the soft, gooey chewiness of melted marshmallows and rich butter. Each bite delivers a harmonious blend of textures, reminiscent of classic Rice Krispies treats but with a unique twist from the distinct shape and flavor of Corn Pops.
- Perfectly Sweet & Satisfying: Corn Pops cereal, known for its signature golden sweetness, forms the ideal base for these bars. The addition of sugary marshmallows only enhances this delightful flavor profile, creating a treat that is wonderfully sweet without being overly cloying. It’s the kind of sweetness that brings a smile to your face and satisfies any sugar craving.
- Effortlessly Simple & Fast: From your first step to the moment you sink your teeth into a perfectly set bar, this no-bake recipe clocks in at an astounding 15 minutes of active prep and cook time. With only three core ingredients – cereal, marshmallows, and butter – it’s a fuss-free dessert that’s perfect for busy weeknights or impromptu gatherings.
- Incredibly Versatile: One of the greatest strengths of this recipe is its adaptability. It serves as a fantastic canvas for culinary creativity. Whether you’re swapping out cereals, experimenting with flavored marshmallows, or adding exciting mix-ins, there are endless ways to customize these bars to your preference. Don’t miss the variations section below for inspiration!
- A Taste of Childhood Nostalgia: For many, the flavors and textures of these marshmallow-bound cereal treats evoke cherished memories of childhood. These bars offer a delightful trip down memory lane, making them a comforting and joyful snack for anyone who grew up with similar sweet delights.
Key Ingredients for Your Cereal Bars
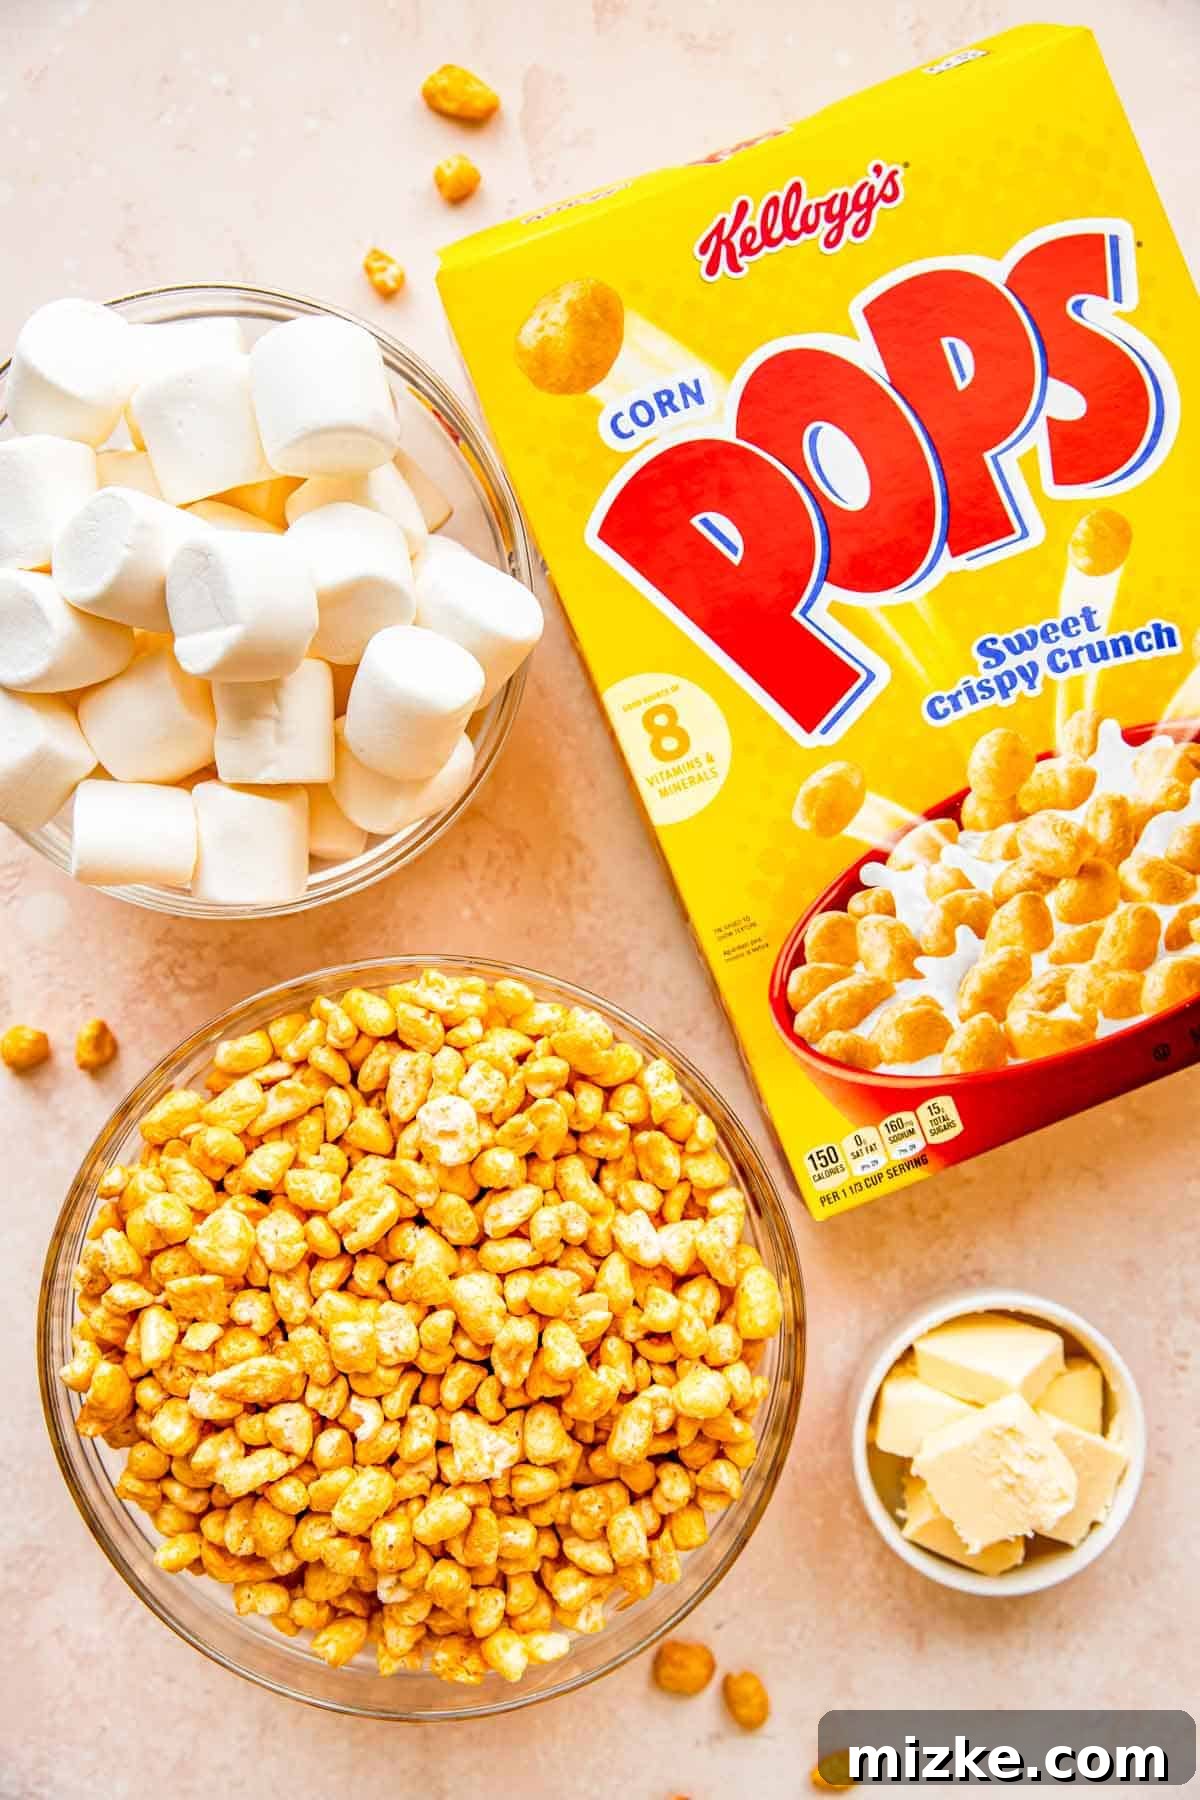
You’ll be delighted by how short and sweet this shopping list is. These three simple ingredients are all you need to create a batch of incredibly delicious homemade cereal bars. For precise measurements, please refer to the comprehensive recipe card further down the page.
- Your Favorite Cereal: While Corn Pops are my personal go-to for their distinctive crispiness and honeyed sweetness, feel absolutely free to use any cereal you love. Generic, store-brand versions work just as well, making this a budget-friendly treat. The beauty of this recipe is its flexibility – nearly any cereal can be transformed into a bar, so pick one that sparks joy!
- Fluffy Marshmallows: A standard bag of large marshmallows is all that’s required. Any brand will do the trick, but ensuring they are fresh will contribute to a smoother, more pliable marshmallow mixture. For an extra layer of fun, consider using flavored or colorful marshmallows to add a unique twist to your bars.
- Rich Butter: I typically opt for unsalted butter in this cereal bar recipe to allow the natural sweetness of the cereal and marshmallows to shine without interruption. However, if you’re a devoted fan of the sweet and salty flavor combination, salted butter is an excellent choice that will add a subtle, intriguing contrast to the overall taste.
Creative Variations to Customize Your Cereal Bars
The beauty of these homemade cereal bars lies in their incredible versatility. There’s ample room to get creative and personalize your batch. Here are some of the best ways to customize your bars and make them truly your own:
- Explore Different Cereals: This is arguably the easiest and most fun way to change things up! Beyond Corn Pops, imagine Cocoa Puffs for a chocolatey delight, Fruity Pebbles for a burst of vibrant color and flavor, or even Cheerios for a slightly less sweet, heartier bar. The possibilities are endless – let your imagination guide you. Don’t forget to share your favorite cereal combinations in the comments below!
- Salted or Unsalted Butter Debate: As mentioned, unsalted butter allows the pure sweet flavors to dominate. However, if you crave that irresistible juxtaposition of sweet and salty, using salted butter will introduce a fantastic depth of flavor that many find utterly addictive. It’s a small change that makes a big impact!
- Infuse with Flavored Marshmallows or Extracts: The market offers an exciting array of flavored marshmallows these days, from strawberry to toasted coconut. Incorporating these can drastically alter your bar’s profile. Alternatively, stir in a teaspoon of vanilla extract (after melting the marshmallows), almond extract, or even peppermint extract for a festive touch.
- Exciting Mix-Ins and Toppings: This is where you can truly go wild! Consider folding in mini chocolate chips, chopped nuts (like peanuts or pecans), or even dried cranberries for added texture and flavor. Once the bars are pressed into the pan, a drizzle of melted peanut butter, white chocolate, or a generous shower of colorful sprinkles can elevate them from simple treats to show-stopping desserts. If you discover a fantastic addition not listed here, please share it with us!
How to Make Homemade Cereal Bars: A Step-by-Step Guide
Creating these irresistible cereal bars is remarkably straightforward. This visual guide provides a quick overview of the process. For more detailed, precise instructions and measurements, make sure to consult the full recipe card below.
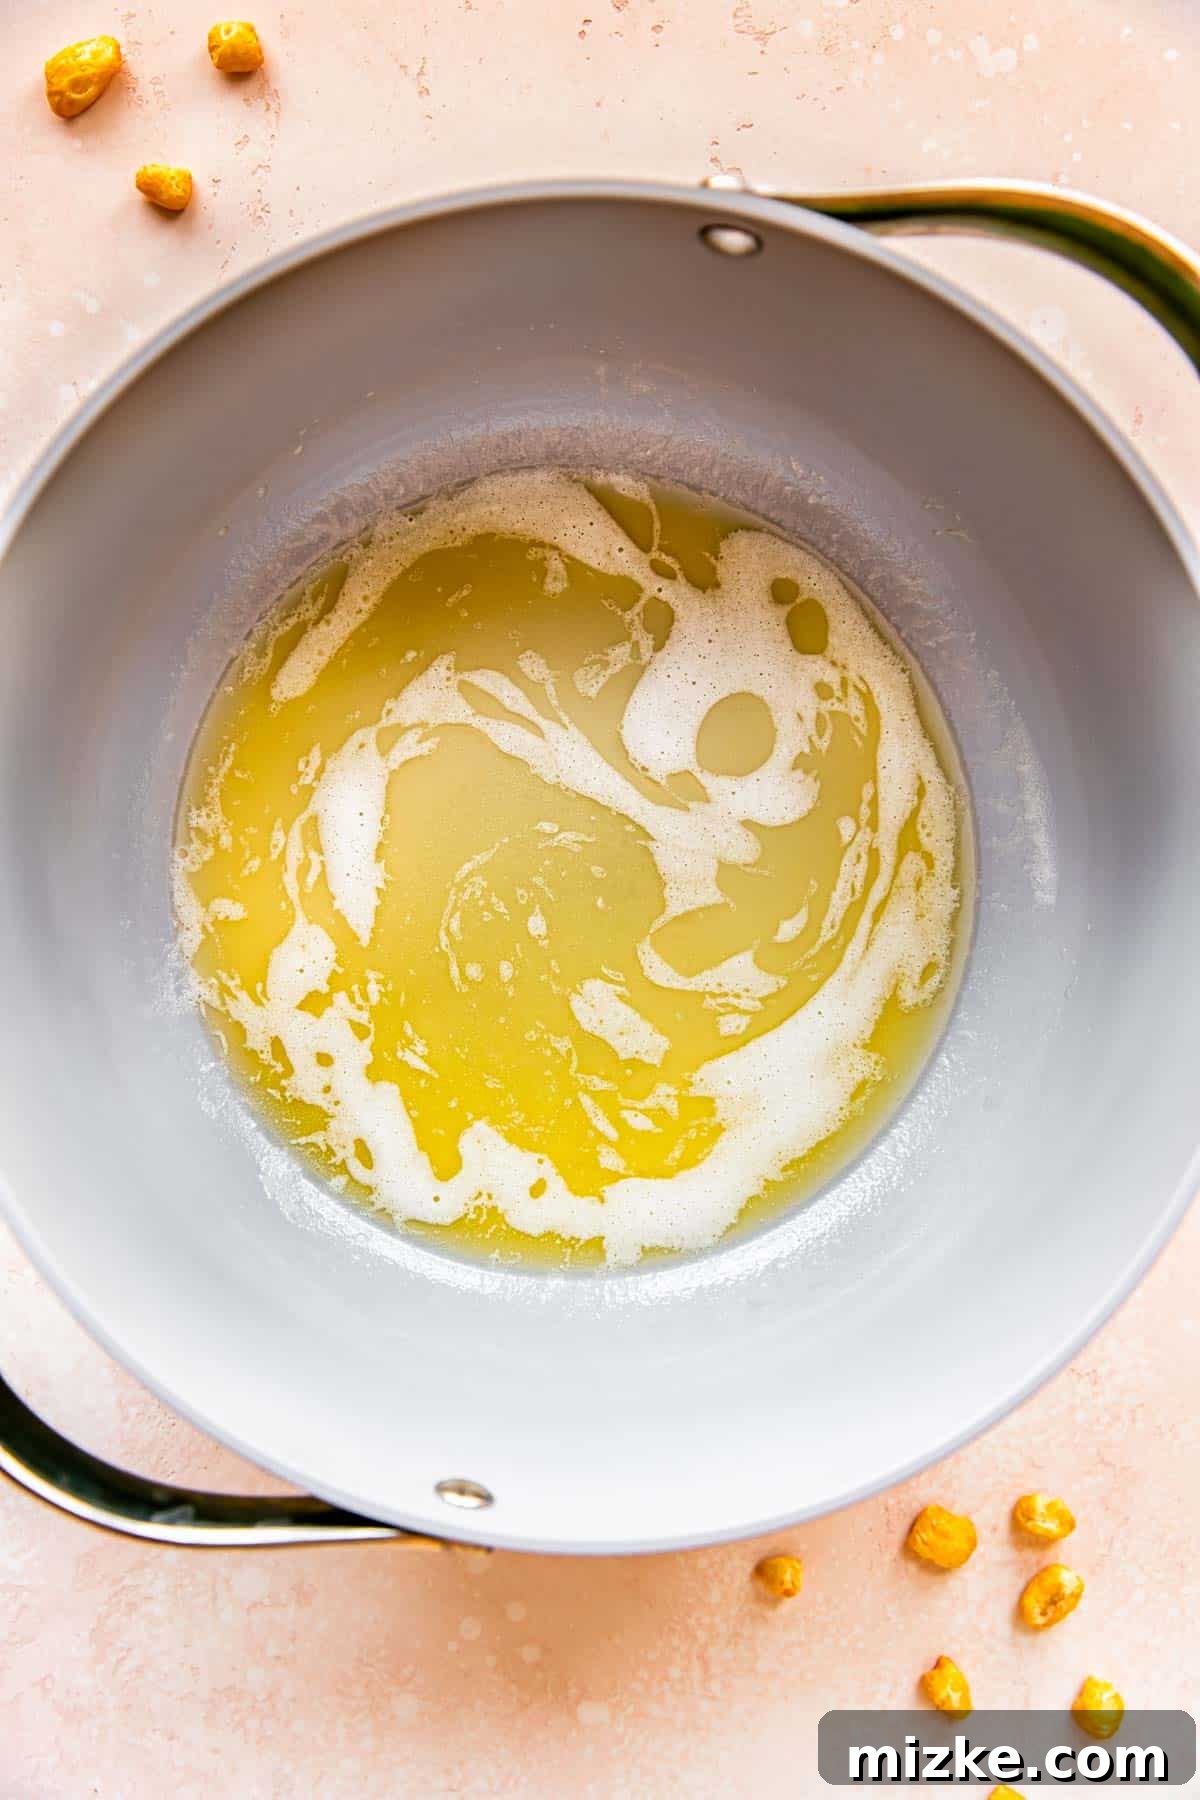
- Step 1: Prepare Your Pan. Line the bottom of a 9×13 inch baking pan with parchment paper, leaving an overhang on the sides for easy lifting. This prevents sticking and makes removal a breeze.
- Step 2: Melt the Butter. In a large, sturdy pot, melt the butter over medium-high heat. Allow it to fully liquefy and become slightly fragrant.
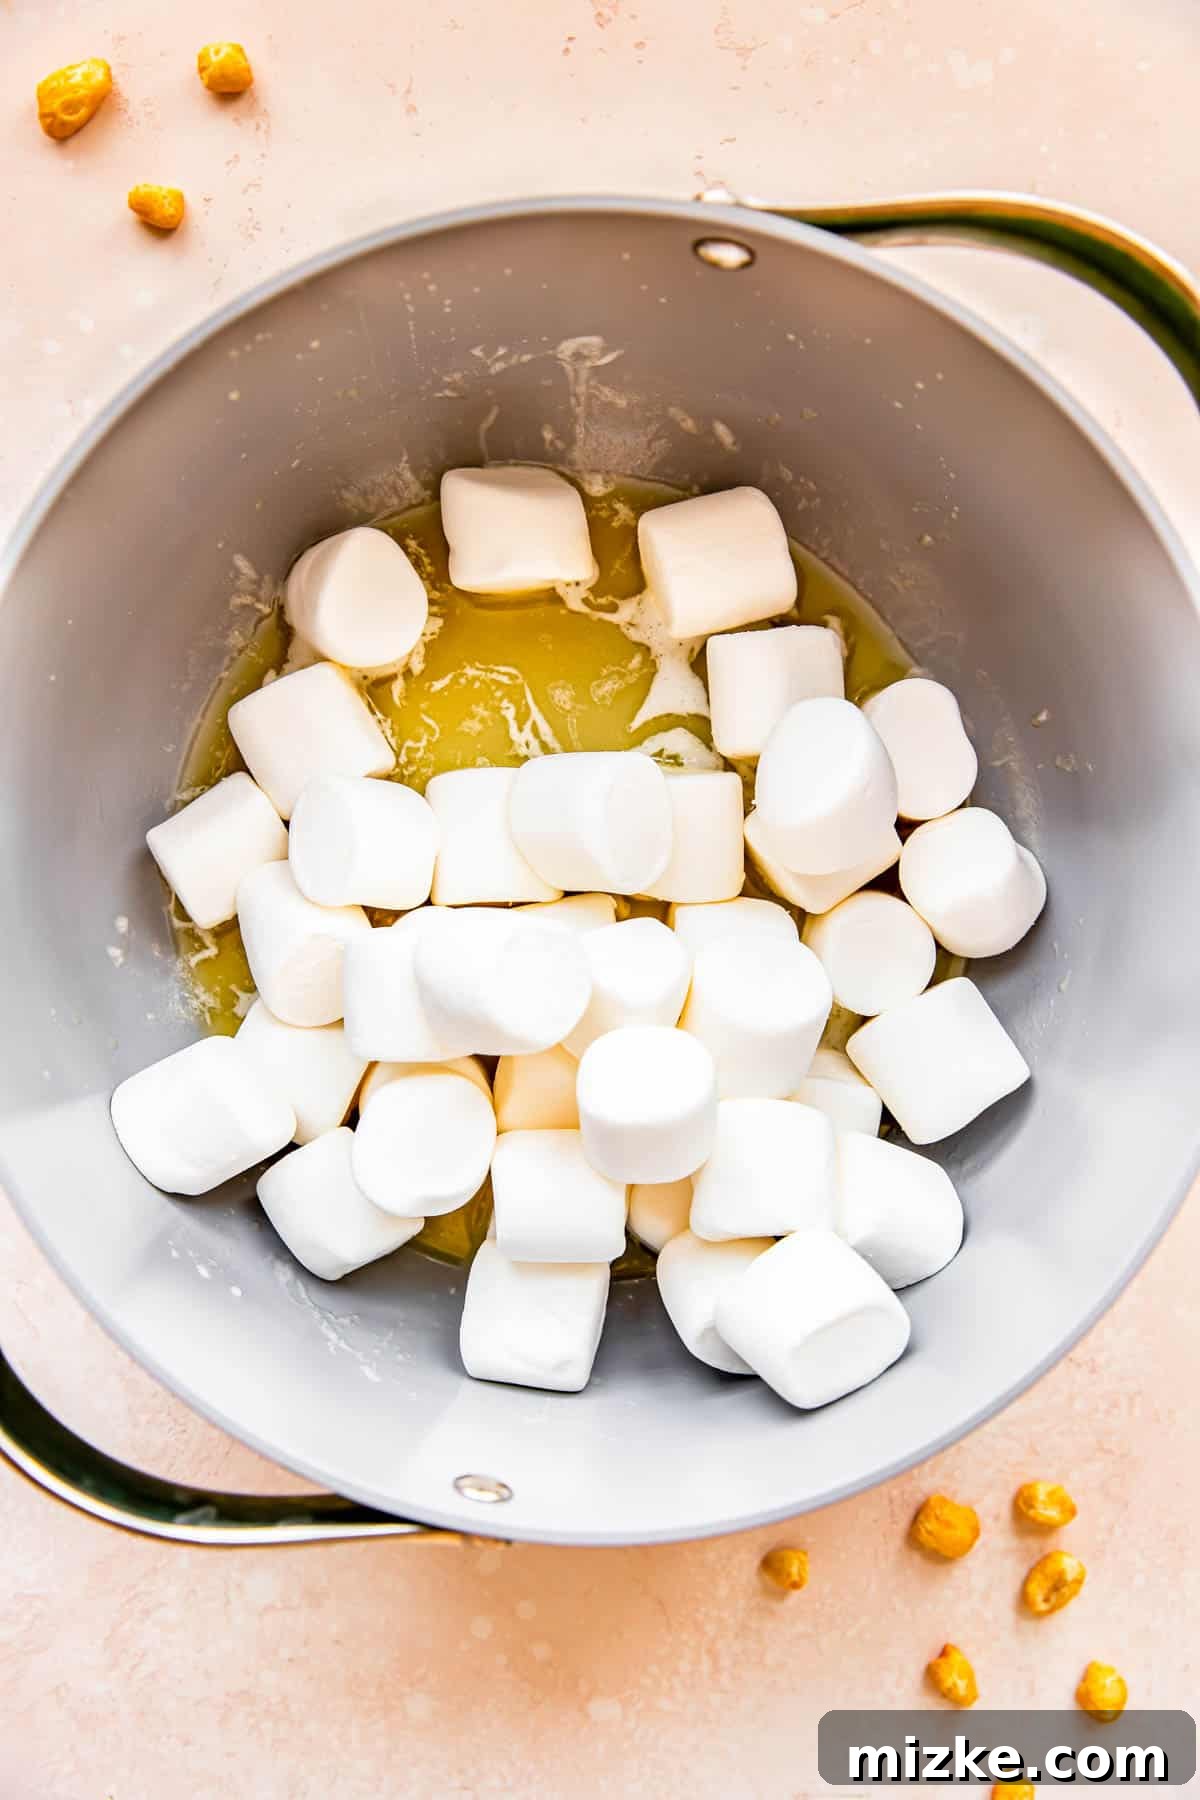
- Step 3: Add Marshmallows & Melt. Pour the entire bag of marshmallows into the melted butter. Continue to stir the mixture frequently and consistently. This continuous stirring is crucial to ensure the marshmallows melt evenly and prevent them from scorching on the bottom of the pot.
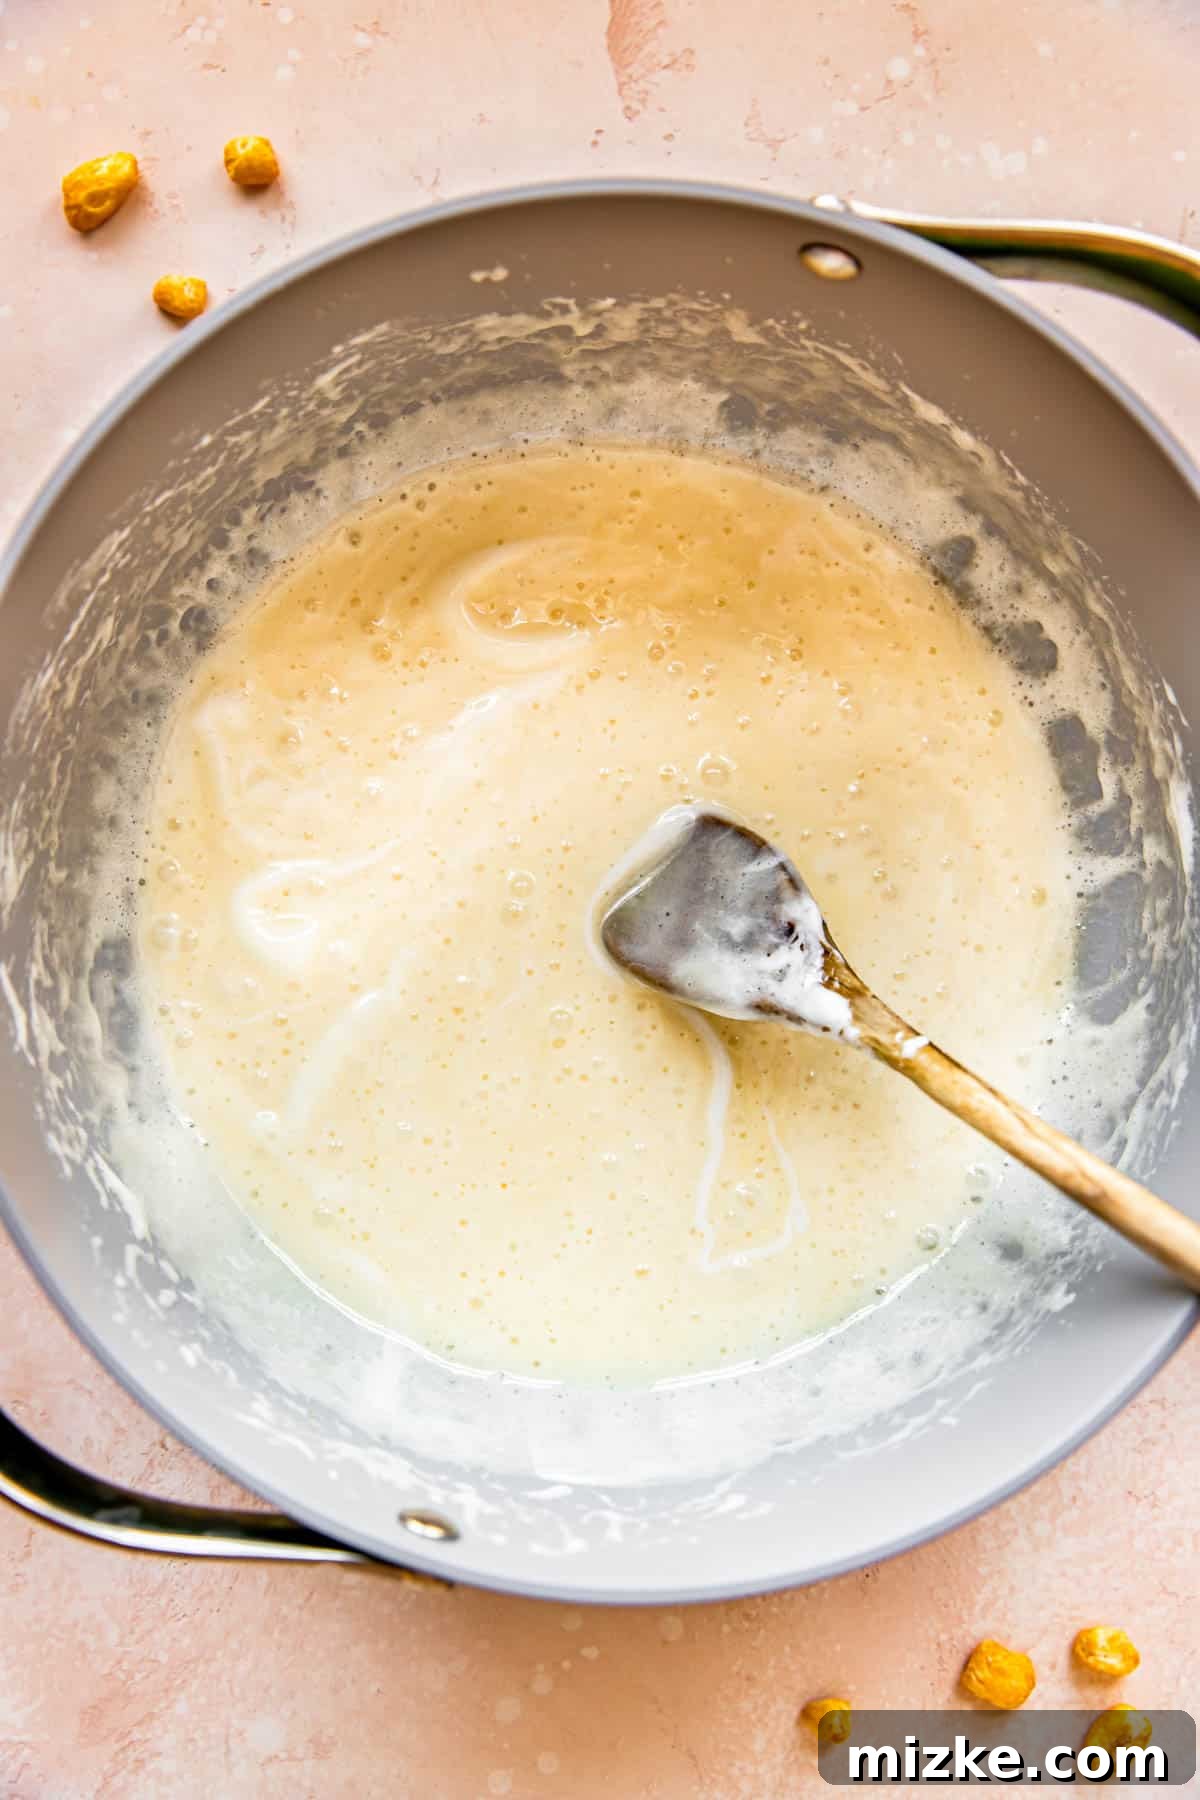
- Step 4: Combine Marshmallows and Butter. Once the marshmallows have completely melted and combined with the butter into a smooth, homogenous mixture, remove the pot from the heat.
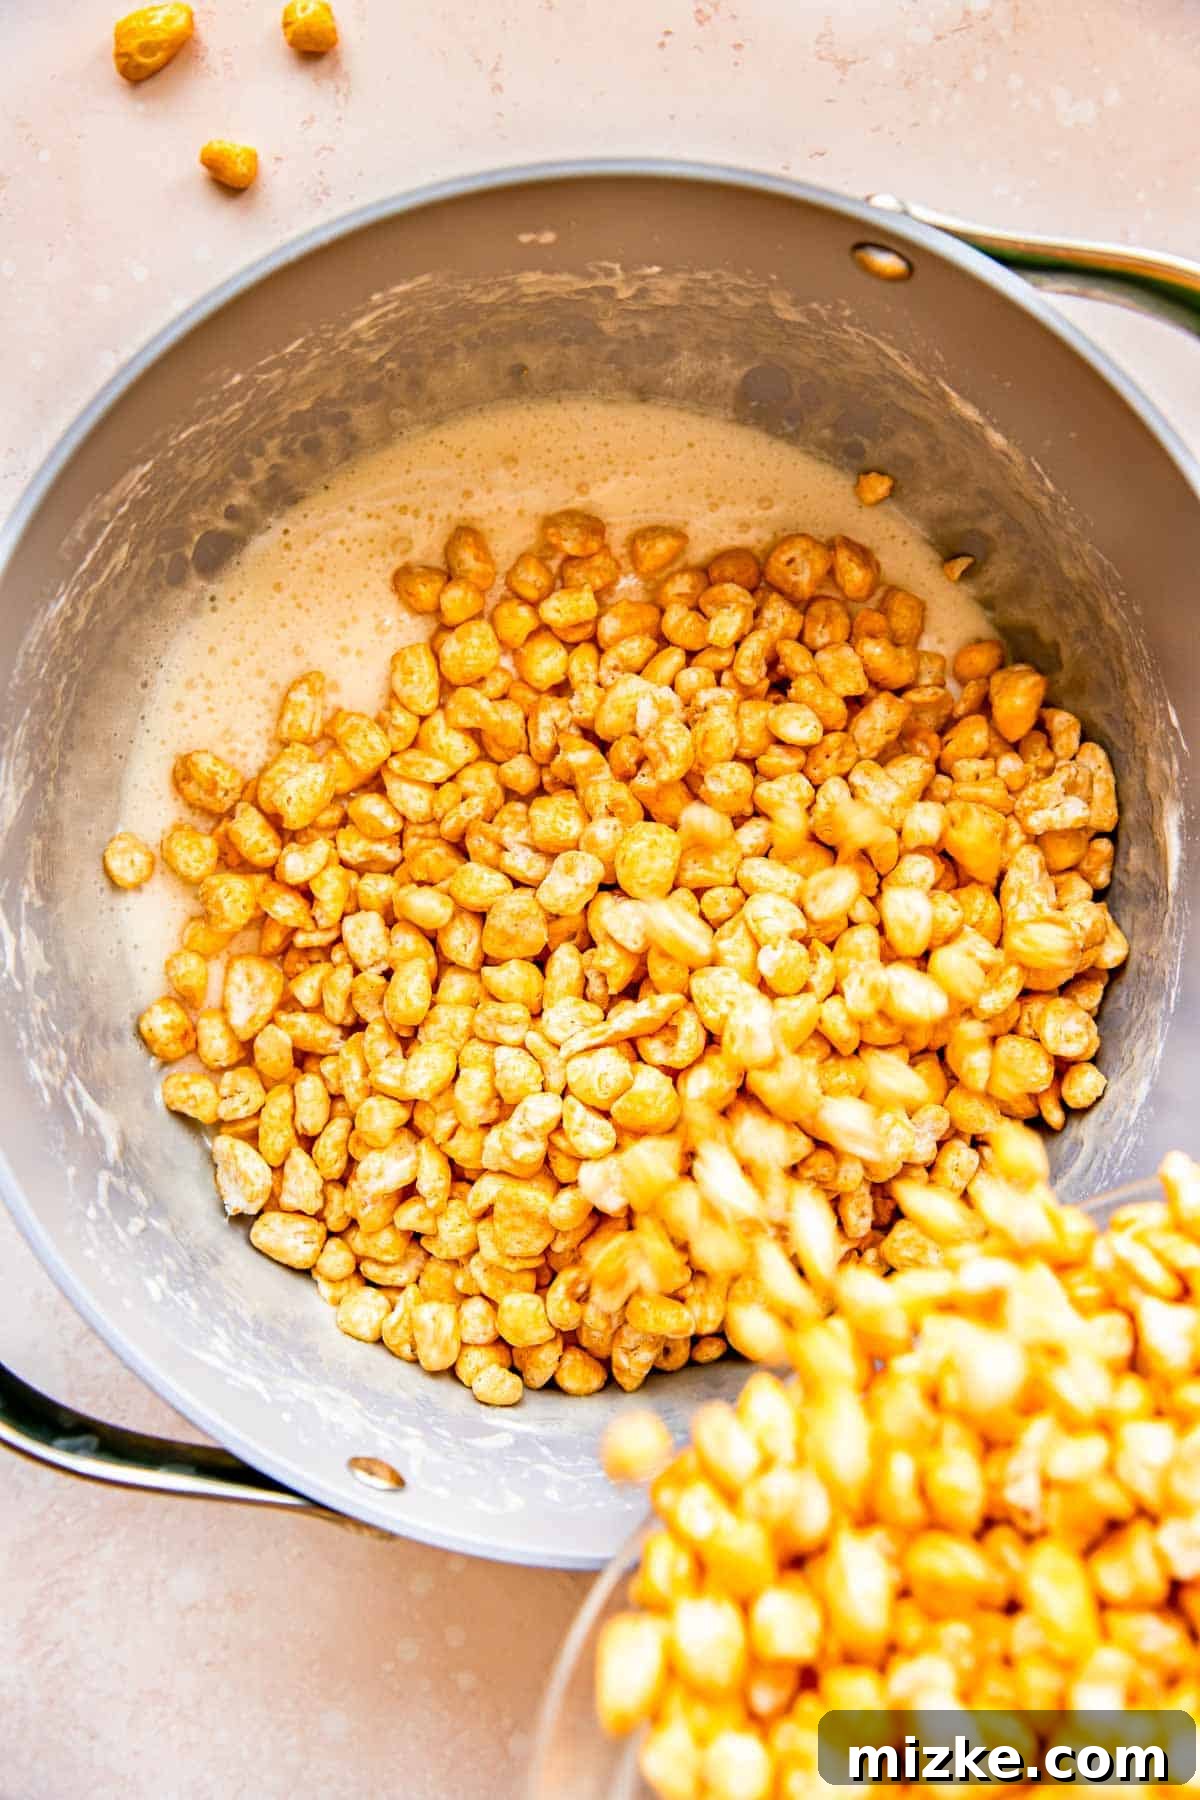
- Step 5: Incorporate the Cereal. Pour the Corn Pops cereal directly into the pot with the marshmallow mixture.
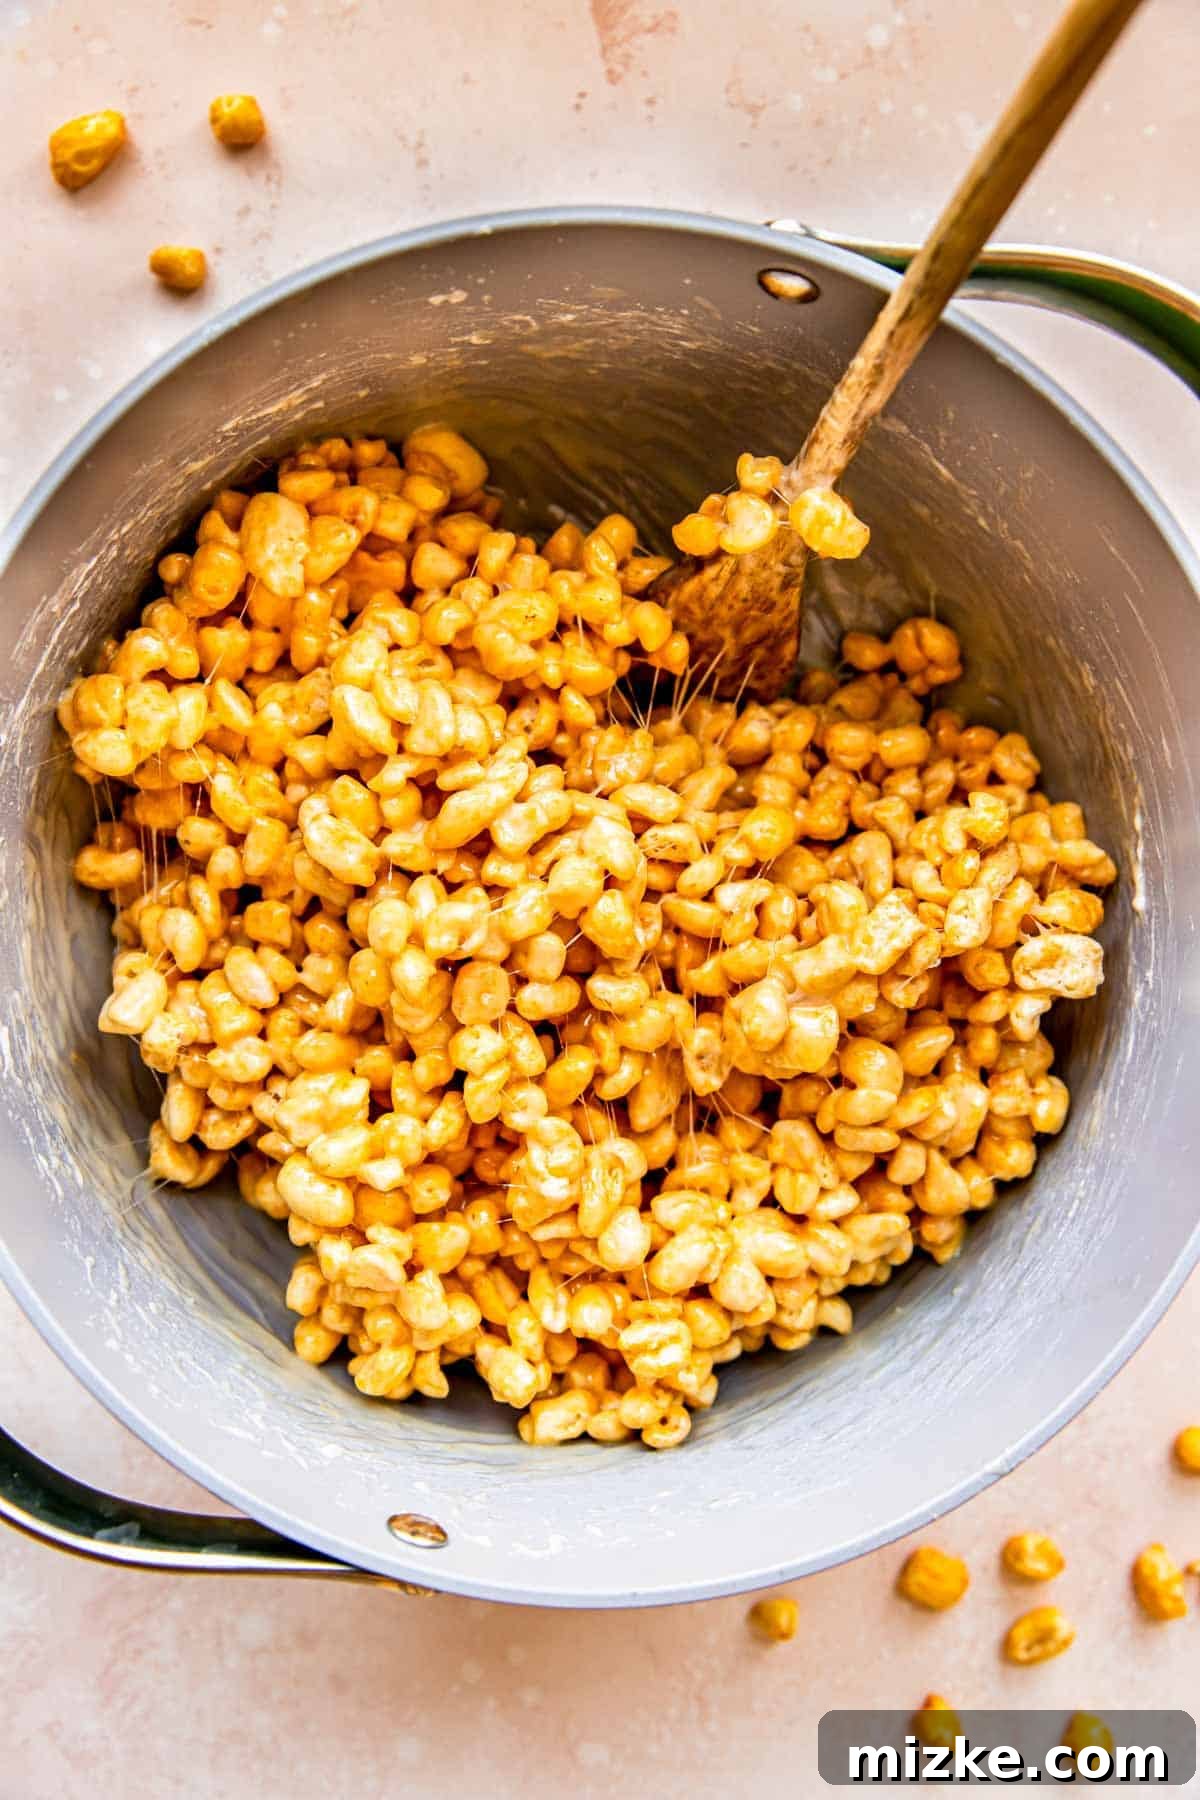
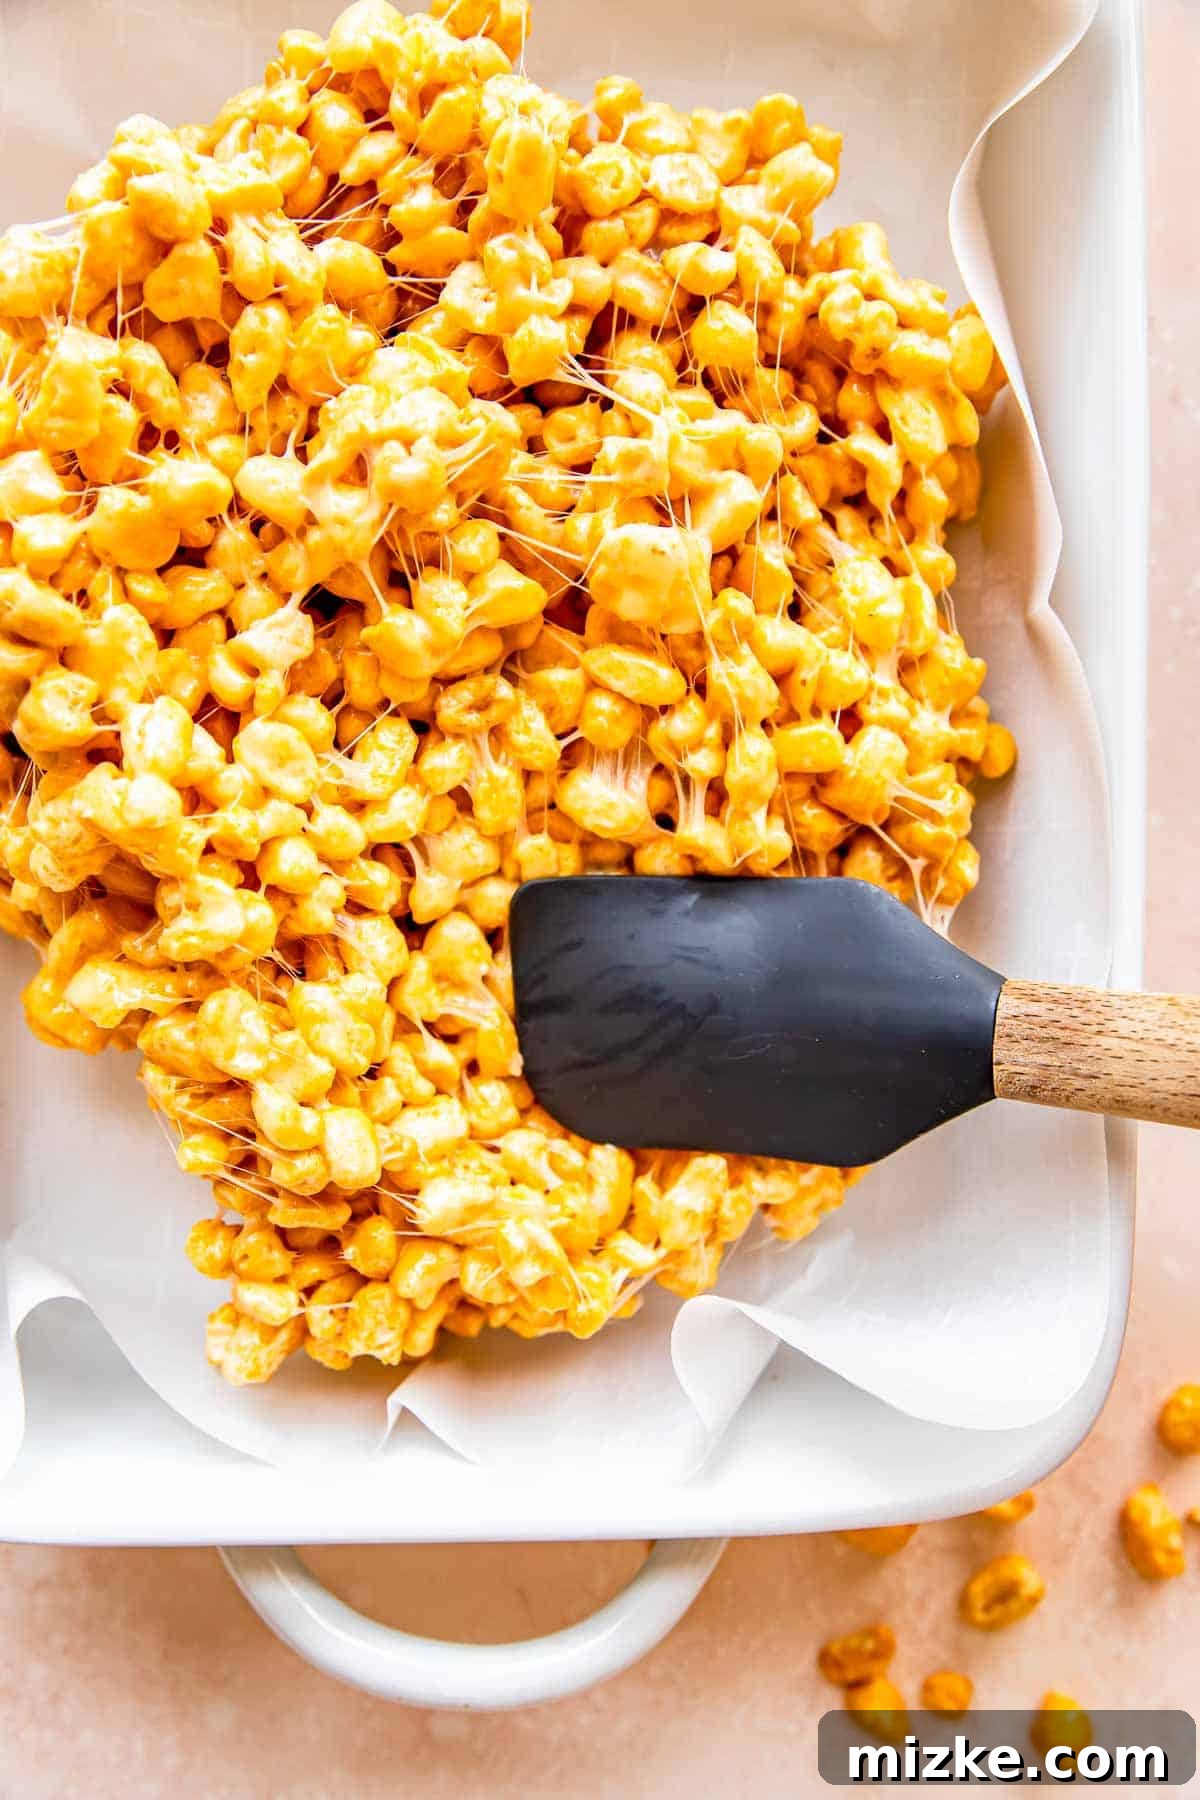
- Step 6: Ensure Even Coating. Using a sturdy spoon or spatula, gently but thoroughly stir the cereal into the buttery marshmallow mixture until every piece of cereal is fully coated. Do this quickly before the mixture cools too much.
- Step 7: Transfer to the Baking Dish. Immediately pour the entire coated cereal mixture into your prepared 9×13 inch baking pan. Time is of the essence as the mixture will begin to set quickly.
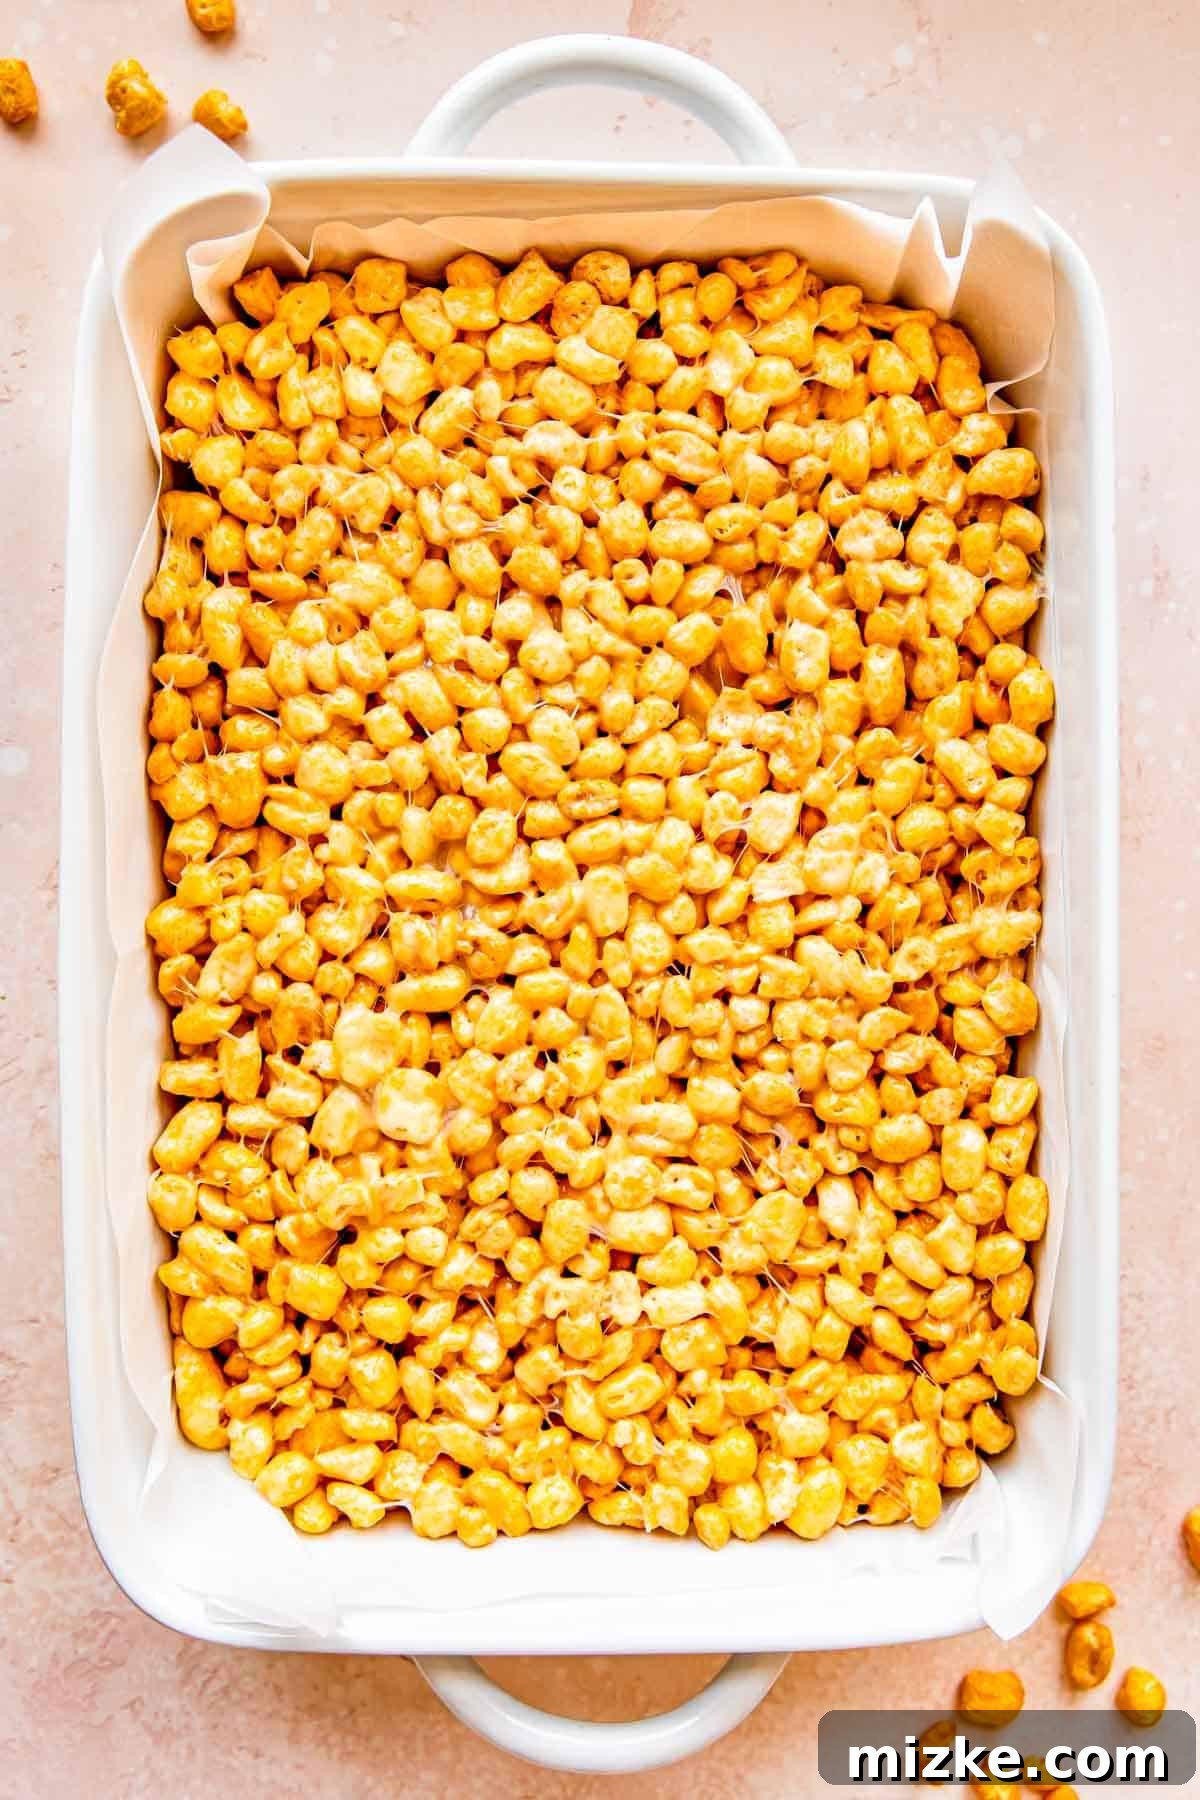
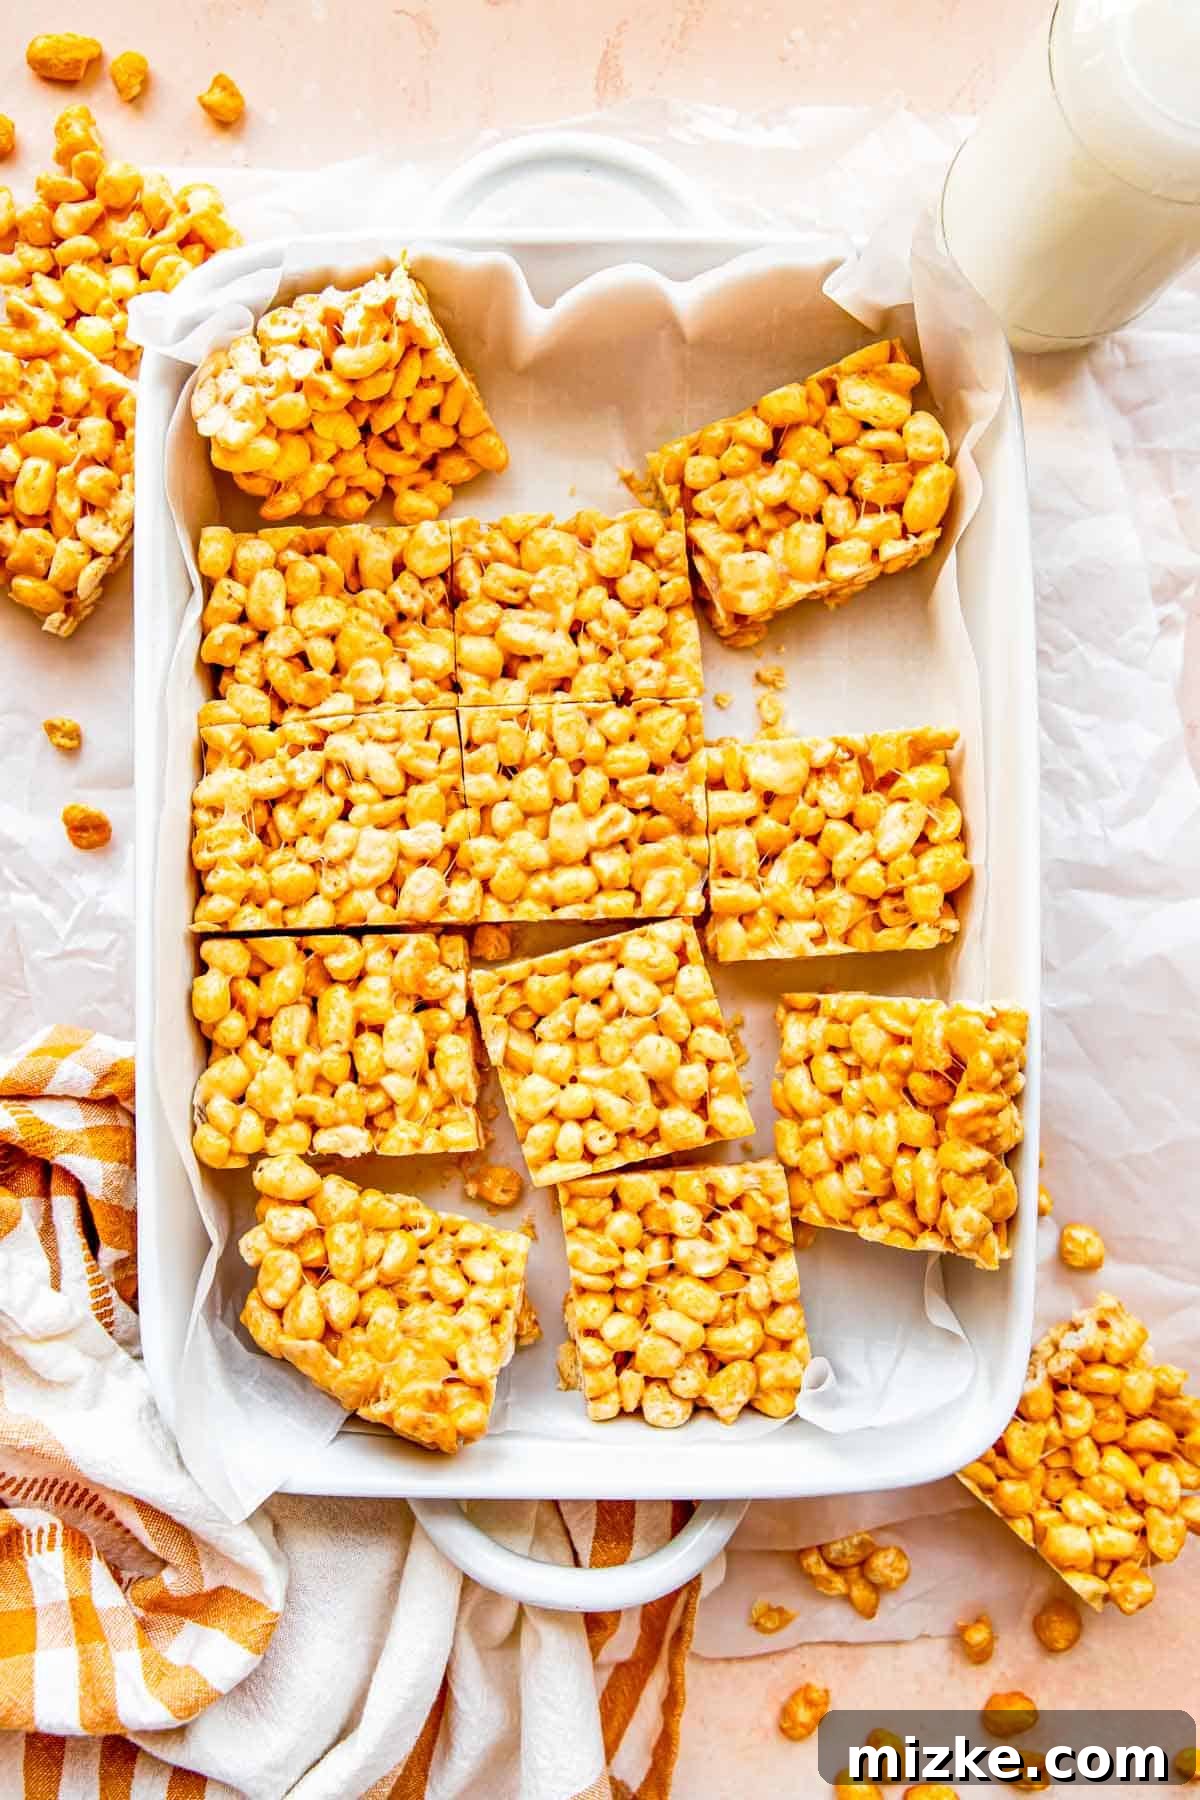
- Step 8: Gently Press and Shape. Using a silicone spatula (lightly greased with butter or cooking spray to prevent sticking), gently spread and press the cereal mixture into an even layer across the pan. Avoid pressing too firmly, as this can result in overly dense, hard bars.
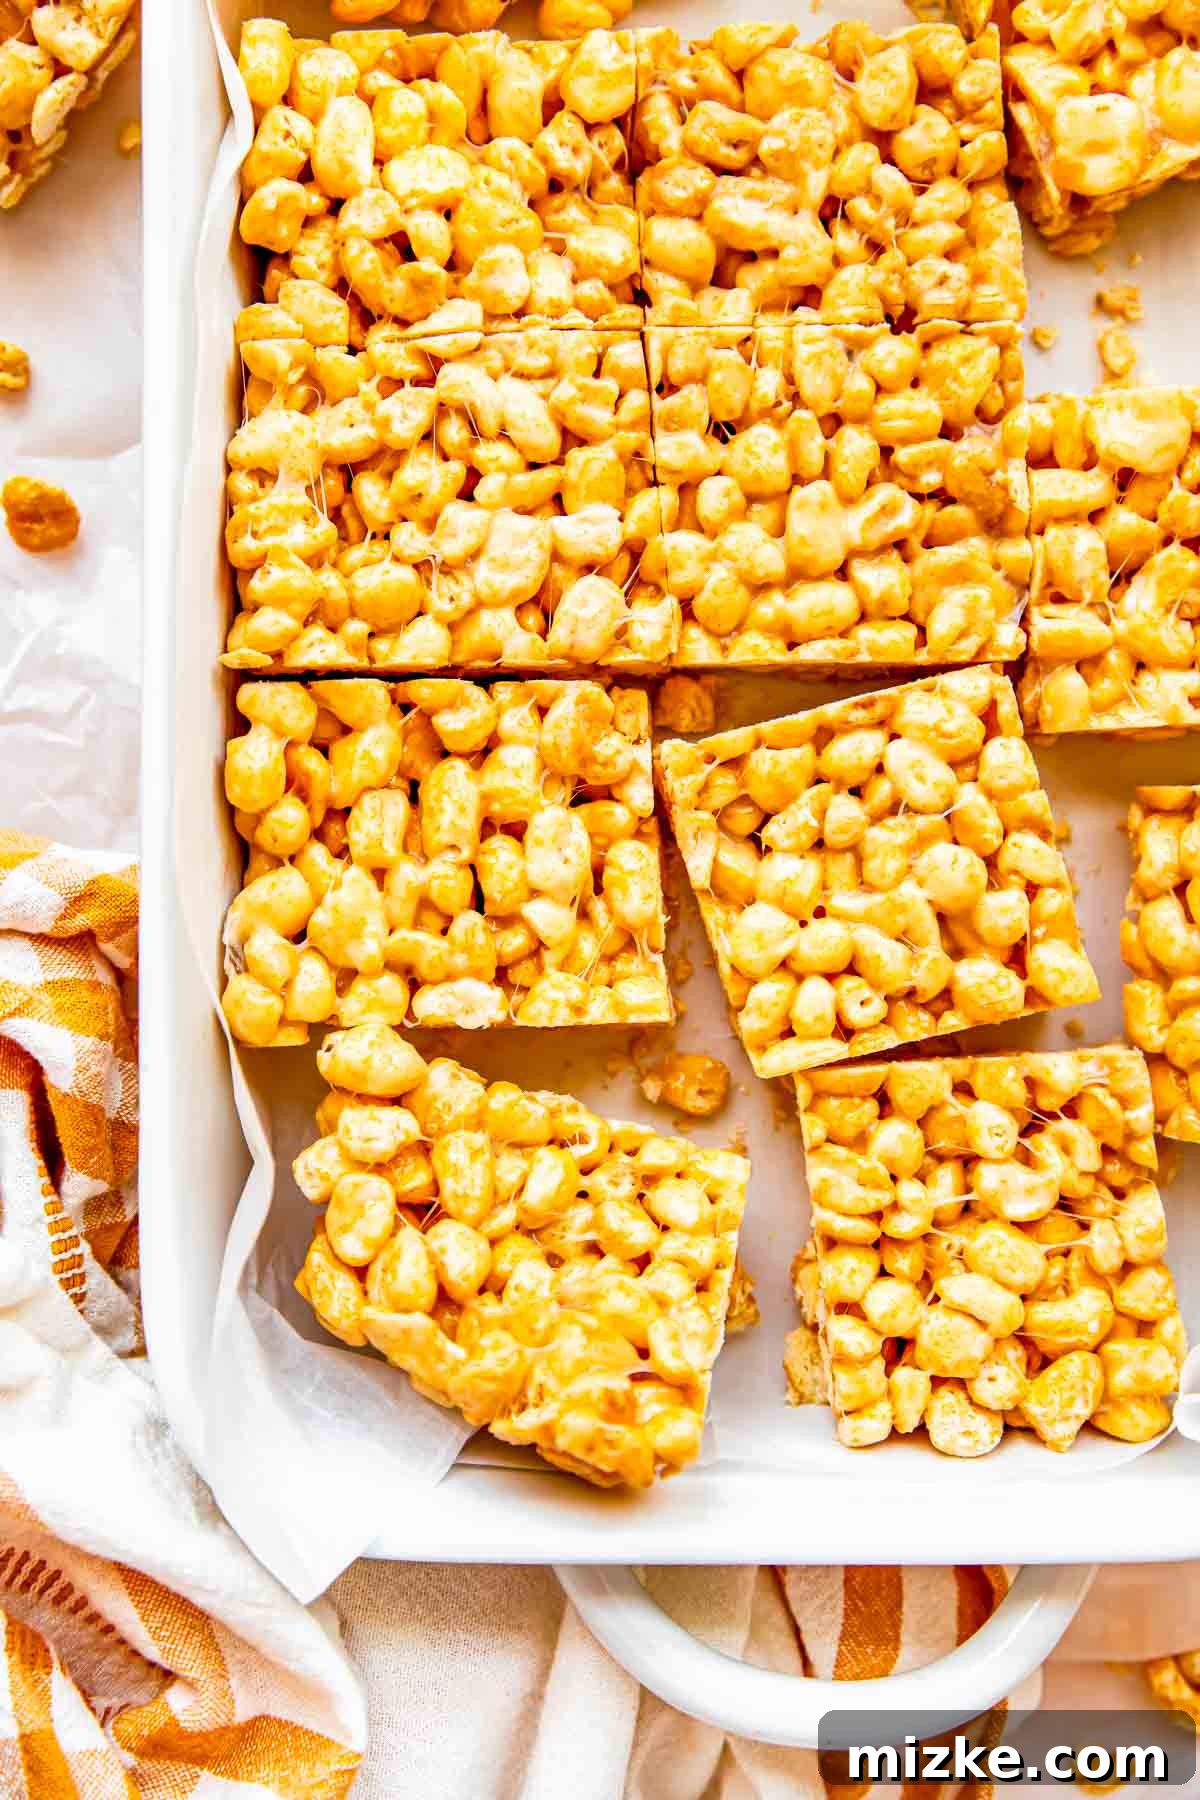
- Step 9: Cool and Slice. Allow the bars to cool completely to room temperature for at least 2 hours. This cooling time is essential for them to firm up properly. Once set, lift the parchment paper to easily remove the block of bars from the pan, then slice them into individual squares. Enjoy immediately or store for later!
Pro Tips for Perfectly Chewy Cereal Bars
Achieving the perfect cereal bar is simple, but a few expert tips can elevate your creation from good to absolutely phenomenal. Keep these pointers in mind for your next batch:
- Use Fresh Marshmallows: Old, stale marshmallows tend to not melt as smoothly, resulting in a less gooey and cohesive mixture. Always opt for a fresh bag for the best results.
- Don’t Overcook the Marshmallows: While you want them fully melted, cooking marshmallows for too long can make them brittle and hard once cooled. Melt them just until smooth, then immediately remove from heat.
- Grease Your Spatula: When pressing the cereal mixture into the pan, lightly grease your spatula with butter or non-stick cooking spray. This simple trick prevents the sticky marshmallow from adhering to your utensil, making the spreading process much smoother and easier.
- Press Gently: Resist the urge to press the mixture down too firmly into the pan. Over-compacting the bars can lead to a hard, dense texture. A gentle, even press is all that’s needed to shape them while keeping them delightfully chewy.
- Cool Completely: Patience is key! Allowing the cereal bars to cool thoroughly for at least two hours at room temperature ensures they set properly and maintain their shape when sliced. Rushing this step can result in soft, crumbly bars.
Storage & Freshness Tips for Your Cereal Bars
To enjoy your homemade cereal bars at their absolute best, it’s recommended to consume them within 24 hours of preparation. After the first day, the cereal can start to soften and lose some of its original crispness, leading to a slightly stale texture. To maximize their freshness and preserve their delightful chewiness for as long as possible, store them in an airtight container at room temperature. This will help protect them from air exposure and keep them delicious for a few days, though their peak texture is truly on day one. For longer storage, you can also freeze individual bars in an airtight container or freezer bag for up to 3 months. Thaw at room temperature before enjoying.
More Delightful Cereal-Inspired Recipes
Your beloved childhood cereal isn’t just for breakfast anymore! Unlock its full potential and bring back those fond memories with these creative and incredibly easy cereal-based recipes. Grab a box of your favorite kind and get ready to whip up some of the best no-bake treats:
- Golden Grahams S’mores Bars
- Cookies & Creme Rice Krispies
- Heart-Shaped Rice Krispies Treats
- Cornflake Marshmallow Wreaths
- Holiday Rice Krispies
Rate This Recipe
Print Recipe
Cereal Bars
By: Julie Chiou
A fun and easy spin on the classic Rice Krispies treat that will transport you right back to the joys of childhood with every chewy bite!
Prep Time: 5 minutes
Cook Time: 10 minutes
Total Time: 15 minutes
Servings: 12 bars
Equipment
- 9×13 inch baking pan
- Large Pot
- Silicone Spatula
Ingredients
- 6 tablespoons (84 g) unsalted butter
- 10 ounce (284 g) bag of large marshmallows
- 7 cups (196 g) Corn Pops cereal
Instructions
- Line the bottom of a 9×13″ baking pan with parchment paper, leaving a slight overhang on the sides for easy removal. Set the prepared pan aside.
- In a large, heavy-bottomed pot, melt the unsalted butter over medium-high heat.
- Once the butter is fully melted, pour in the entire bag of large marshmallows. Stir continually with a spatula or wooden spoon until the marshmallows have completely melted into a smooth, gooey mixture. Be sure to stir frequently to prevent any marshmallows from burning or sticking to the bottom of the pot.
- Remove the pot from the heat. Immediately add the 7 cups of Corn Pops cereal to the melted marshmallow mixture. Mix and stir thoroughly until all the cereal pieces are evenly coated. If you desire a bar with slightly less marshmallow gooeyness, you may add an additional 1/2 cup of cereal at a time, until you reach your preferred consistency.
- Promptly transfer the entire cereal mixture from the pot into your prepared 9×13″ baking pan. Using the back of a lightly greased silicone spatula, gently press down on the mixture to spread it evenly across the pan. Avoid pressing too hard, as this can make the bars overly dense.
- Allow the cereal bars to cool completely at room temperature for at least 2 hours. This crucial cooling period ensures they firm up properly and become easy to slice.
- Once fully cooled and set, use the parchment paper overhang to lift the entire block of cereal bars out of the pan. Place on a cutting board and slice into 12 equal squares.
- These cereal bars are best enjoyed on the day they are made, as the cereal tends to soften by the next day. Store any leftovers in an airtight container at room temperature.
Nutrition Information
Serving: 1 bar (41 grams)
Calories: 191kcal
Carbohydrates: 35g
Protein: 2g
Fat: 6g
Saturated Fat: 4g
Trans Fat: 1g
Cholesterol: 15mg
Sodium: 141mg
Potassium: 30mg
Fiber: 1g
Sugar: 17g
Disclaimer: This website provides approximate nutrition information for convenience and as a courtesy only. Nutrition information can vary for a variety of reasons, including specific brands used and slight changes in preparation. For the most precise nutritional data, we recommend using your preferred nutrition calculator based on the actual ingredients you used in the recipe. The default measuring system for this website is US Customary. Unit conversions are provided for convenience and as a courtesy only; while we strive for accuracy, please be aware that minor discrepancies may occur.
Photographs by Meg McKeehan Photography