
Irresistible Red Velvet Cake Truffles: Your Ultimate Guide to Easy, Elegant Desserts
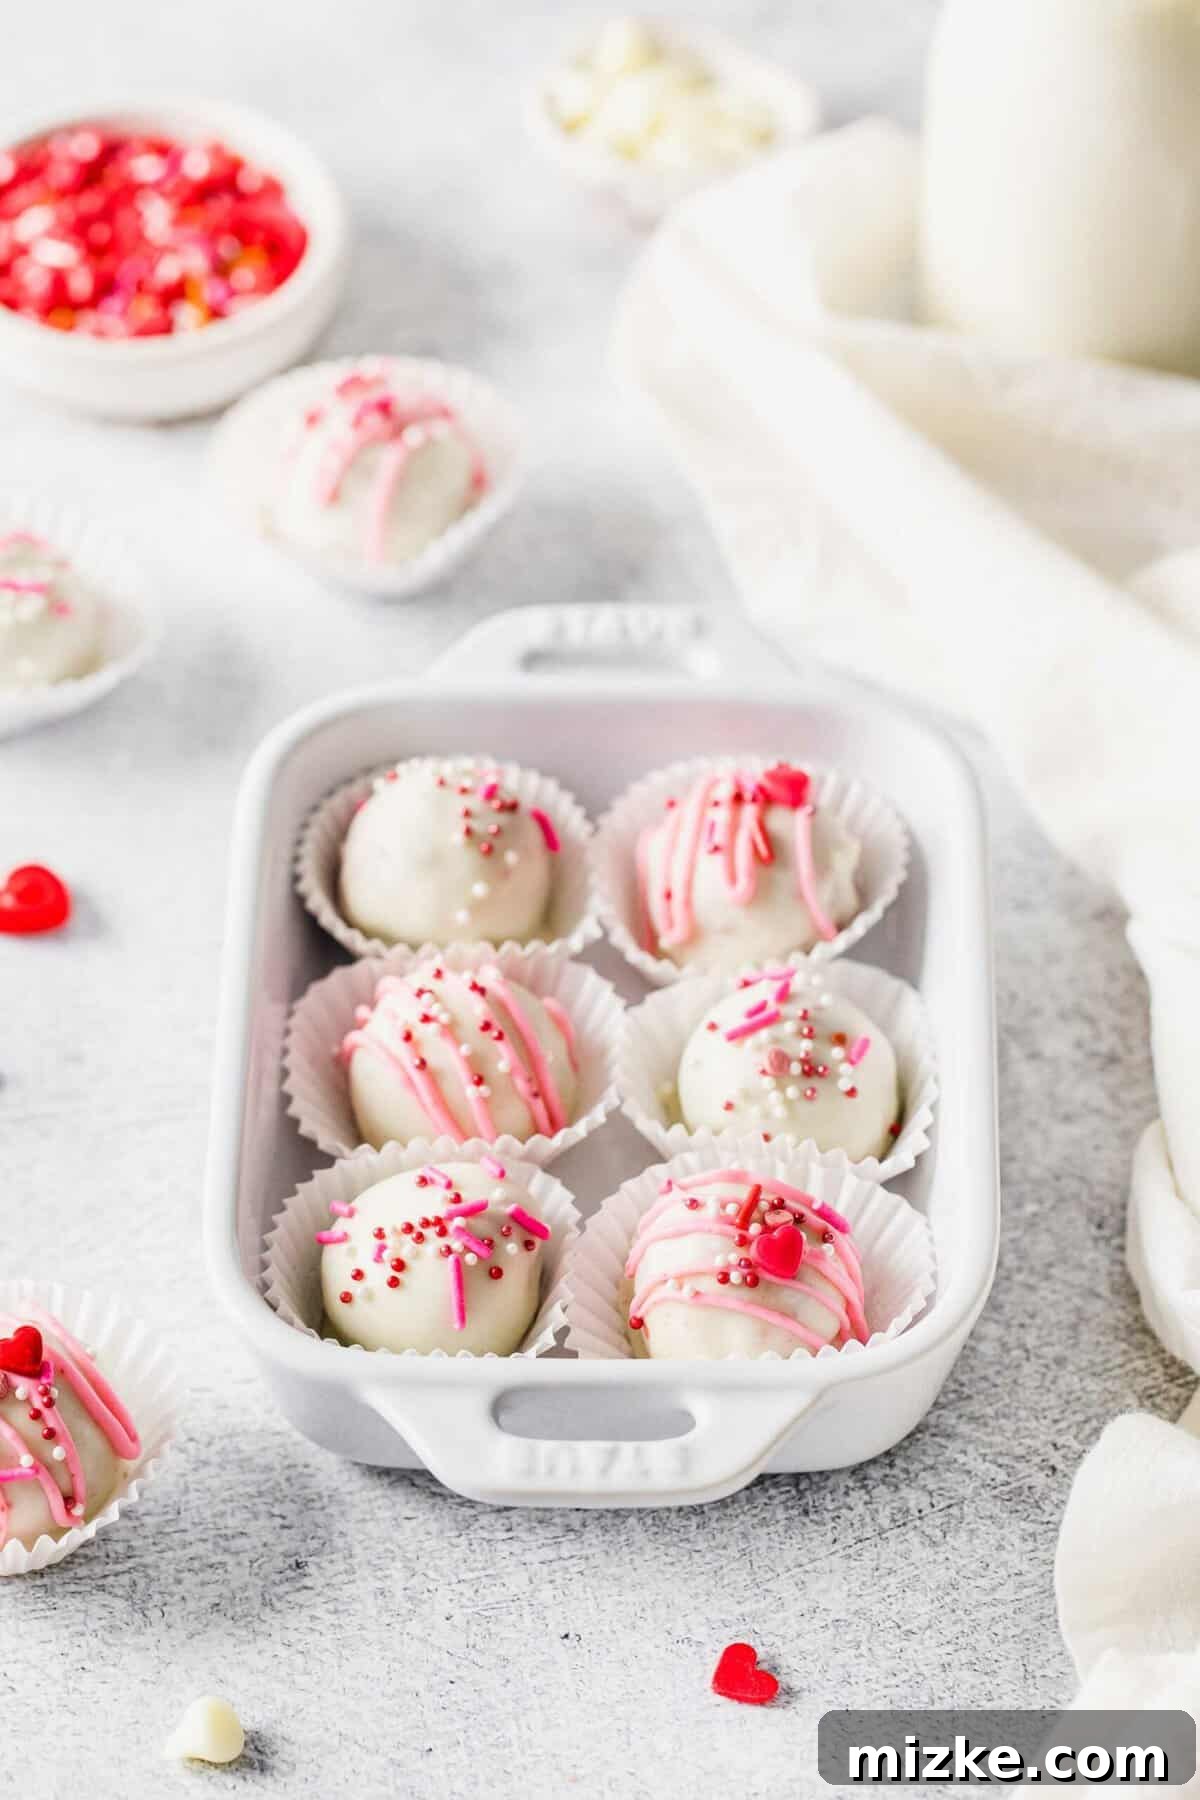
Prepare to fall in love with these delightful red velvet cake truffles! Each bite offers a harmonious blend of rich, sweet, and subtly tangy flavors, all thanks to the luscious cream cheese frosting integrated within. Imagine everything you adore about a classic red velvet cake, meticulously crafted into a perfectly portioned, decadent cake ball. These truffles are not only incredibly satisfying but also surprisingly simple to prepare, making them an ideal treat for any occasion.
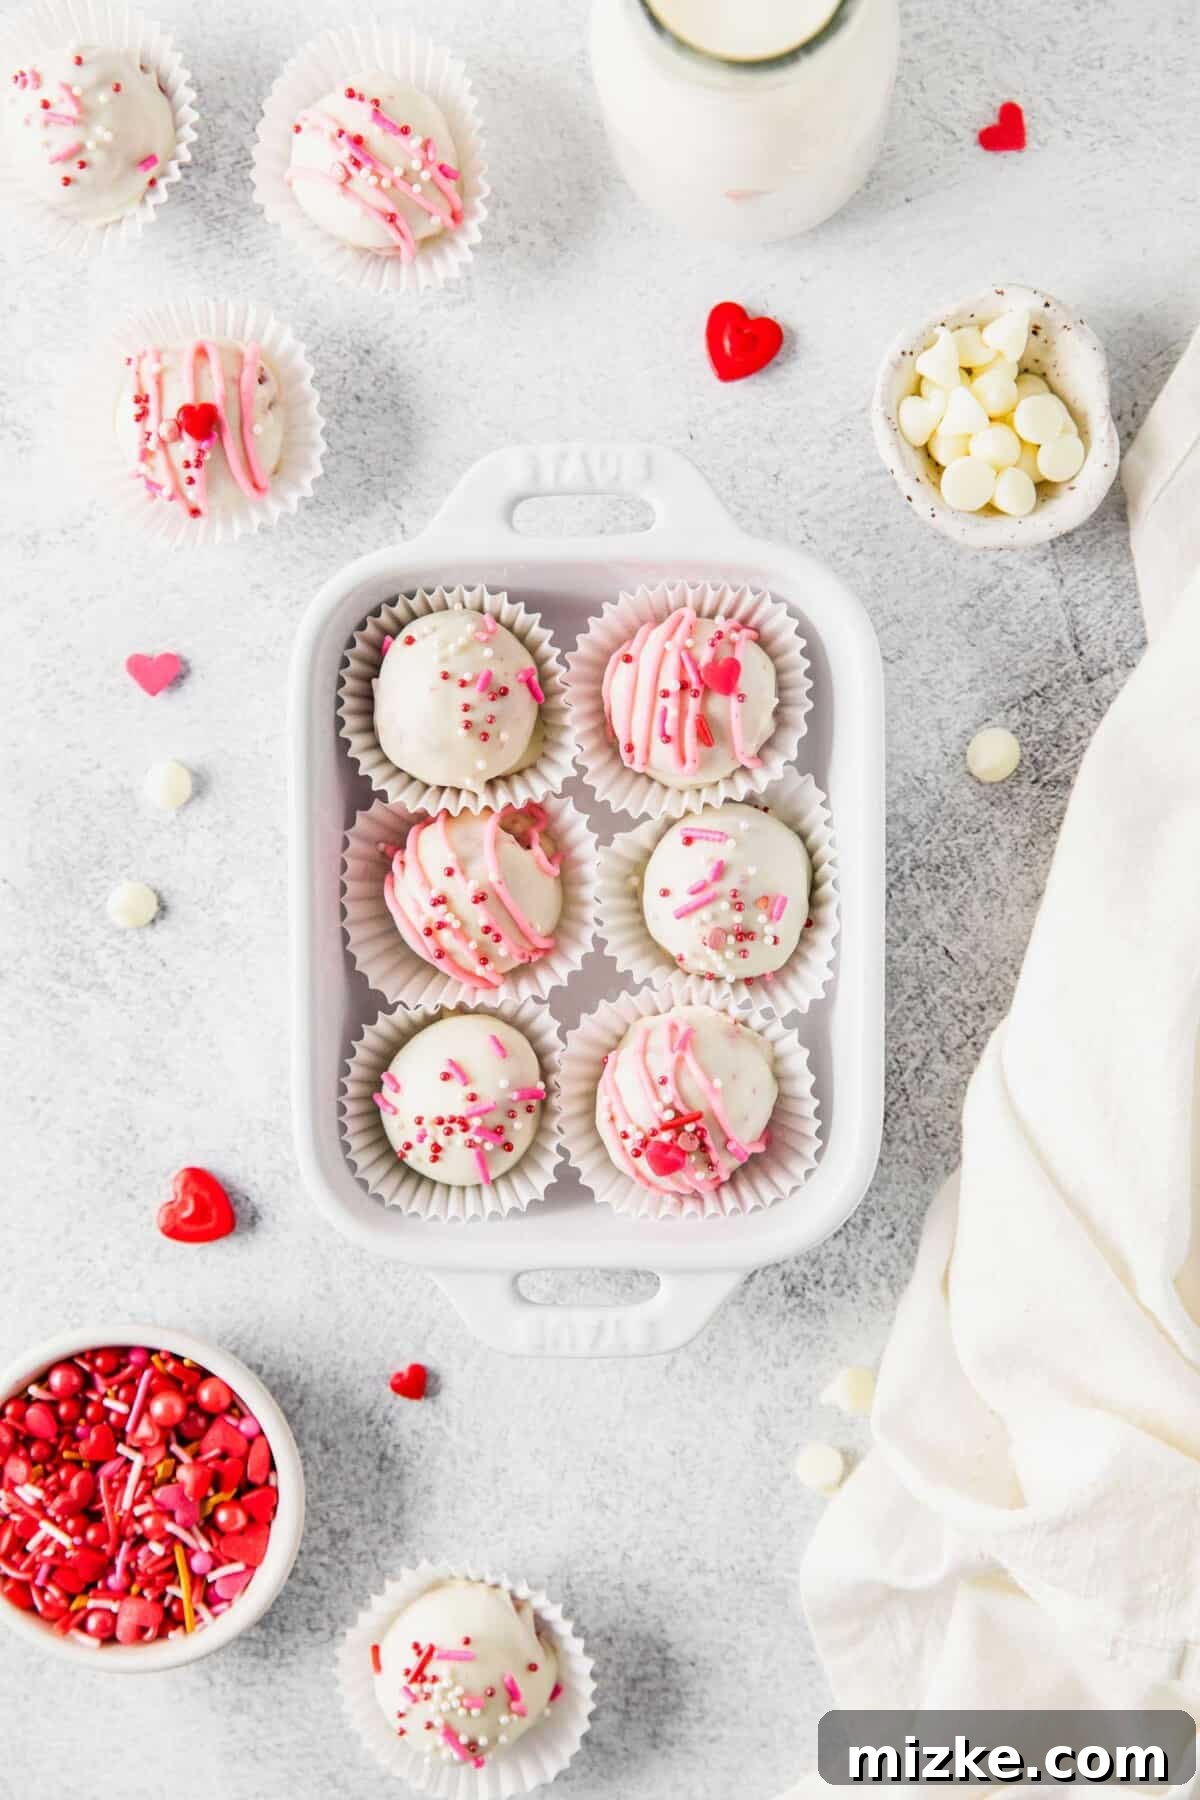
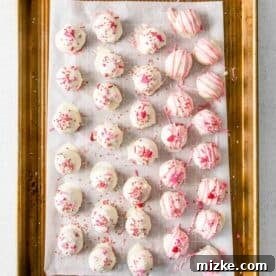
Whether you’re seeking a heartfelt, homemade treat for that special someone on Valentine’s Day, a charming addition to your holiday dessert spread, or simply craving a personal moment of indulgence, these red velvet cake truffles are absolutely perfect. Their preparation is delightfully straightforward, yet with a sprinkle of colorful decorations, they instantly transform into sophisticated confections that rival those found in your favorite gourmet coffee shops. They offer the impressive look of cake pops without the need for sticks, making them easier to store and serve.
Even better, these delectable truffles are incredibly freezer-friendly. You can easily pop them into your freezer, ensuring you always have a convenient, bite-sized sweet treat on hand for those unexpected cravings or spontaneous entertaining needs. Let’s be honest, keeping an entire red velvet cupcake in the freezer might be a dangerous temptation for some, leading to an entire cupcake disappearing in one sitting. However, with these perfectly portioned red velvet cake balls, you can enjoy a managed indulgence, savoring just one or two without overdoing it. Their compact size also makes them excellent for gifting or sharing at parties, ensuring everyone gets a taste of this exquisite dessert.
Why You’ll Adore These Red Velvet Cake Truffles
These truffles aren’t just delicious; they offer a multitude of reasons to make them your go-to dessert:
- Effortlessly Easy: Starting with a store-bought cake mix means less time baking and more time enjoying. The simple process of crumbling, mixing, rolling, and dipping is incredibly beginner-friendly.
- Decadently Delicious: The classic red velvet flavor, with its hint of cocoa and buttermilk tang, combined with rich cream cheese frosting, creates an unforgettable taste experience.
- Perfectly Portable: Their bite-sized nature makes them ideal for potlucks, parties, lunchboxes, or even a sophisticated snack on the go.
- Customizable Fun: From sprinkles to drizzles, there are endless ways to personalize your truffles for any holiday or theme.
- Freezer-Friendly: Make a big batch and store them for up to three months, ensuring a delightful treat is always within reach.
- Impressive Presentation: Despite their simplicity, these truffles look incredibly elegant and professional, guaranteed to impress guests.
- Less Waste: They are a fantastic way to use up leftover cake if you ever find yourself with extra (though who ever has leftover red velvet cake?).
Ingredients You’ll Need for Your Red Velvet Truffles
Creating these delightful truffles requires just a few key ingredients, most of which you might already have or can easily find at any grocery store. The beauty of this recipe lies in its simplicity and the ability to achieve gourmet results with minimal effort.
- 1 box Red Velvet Cake Mix (plus ingredients to prepare it): This is the foundation of our truffles. Using a box mix saves significant time and ensures a consistently moist and flavorful cake. Make sure to follow the package directions precisely for baking the cake, then allow it to cool completely.
- 16 ounces (454 g) Cream Cheese Frosting: The essential partner to red velvet! Cream cheese frosting provides the signature tangy sweetness and moisture that binds the cake crumbs into a malleable dough. A good quality store-bought frosting works perfectly, but feel free to use your favorite homemade recipe if you prefer.
- 16 ounces (454 g) package White Chocolate Bark: This will form the crisp, sweet outer shell of your truffles. White chocolate bark is chosen for its ease of melting and quick hardening properties, which makes dipping a breeze. If you opt for regular white chocolate, note that it may require tempering for a smooth, stable coating.
- Sprinkles (optional): An excellent way to add color, texture, and a festive touch! Choose sprinkles that match your occasion, whether it’s classic rainbow, holiday-themed, or sophisticated metallics.
Remember, the quality of your ingredients directly impacts the final taste, so choose brands you trust and enjoy!
Step-by-Step Guide: How to Make Red Velvet Cake Truffles
Follow these detailed steps to create perfectly rich and vibrant red velvet cake truffles.
- Bake and Cool the Red Velvet Cake: Begin by preparing your red velvet cake according to the instructions on the cake mix box. This is a crucial first step, as the cake needs to be completely cool before you proceed. Once baked, let it cool on a wire rack for at least an hour, or until it reaches room temperature throughout. A warm cake will make your truffle mixture too soft and difficult to handle.
- Crumble the Cooled Cake: Once the cake is fully cooled, gently crumble it into a large mixing bowl. Aim for fine, even crumbs – you can use your hands, a fork, or even a food processor for a quicker and more uniform result. The goal is to break down the cake entirely so it can easily mix with the frosting.
- Warm the Cream Cheese Frosting: Scoop the entire container of cream cheese frosting into a microwave-safe bowl. Microwave it for about 15 to 20 seconds. The goal isn’t to make it hot, but just to warm it enough so it becomes soft and easily pourable. This slight warming helps it mix smoothly with the cake crumbs. Stir it briefly after warming to ensure it’s uniform.
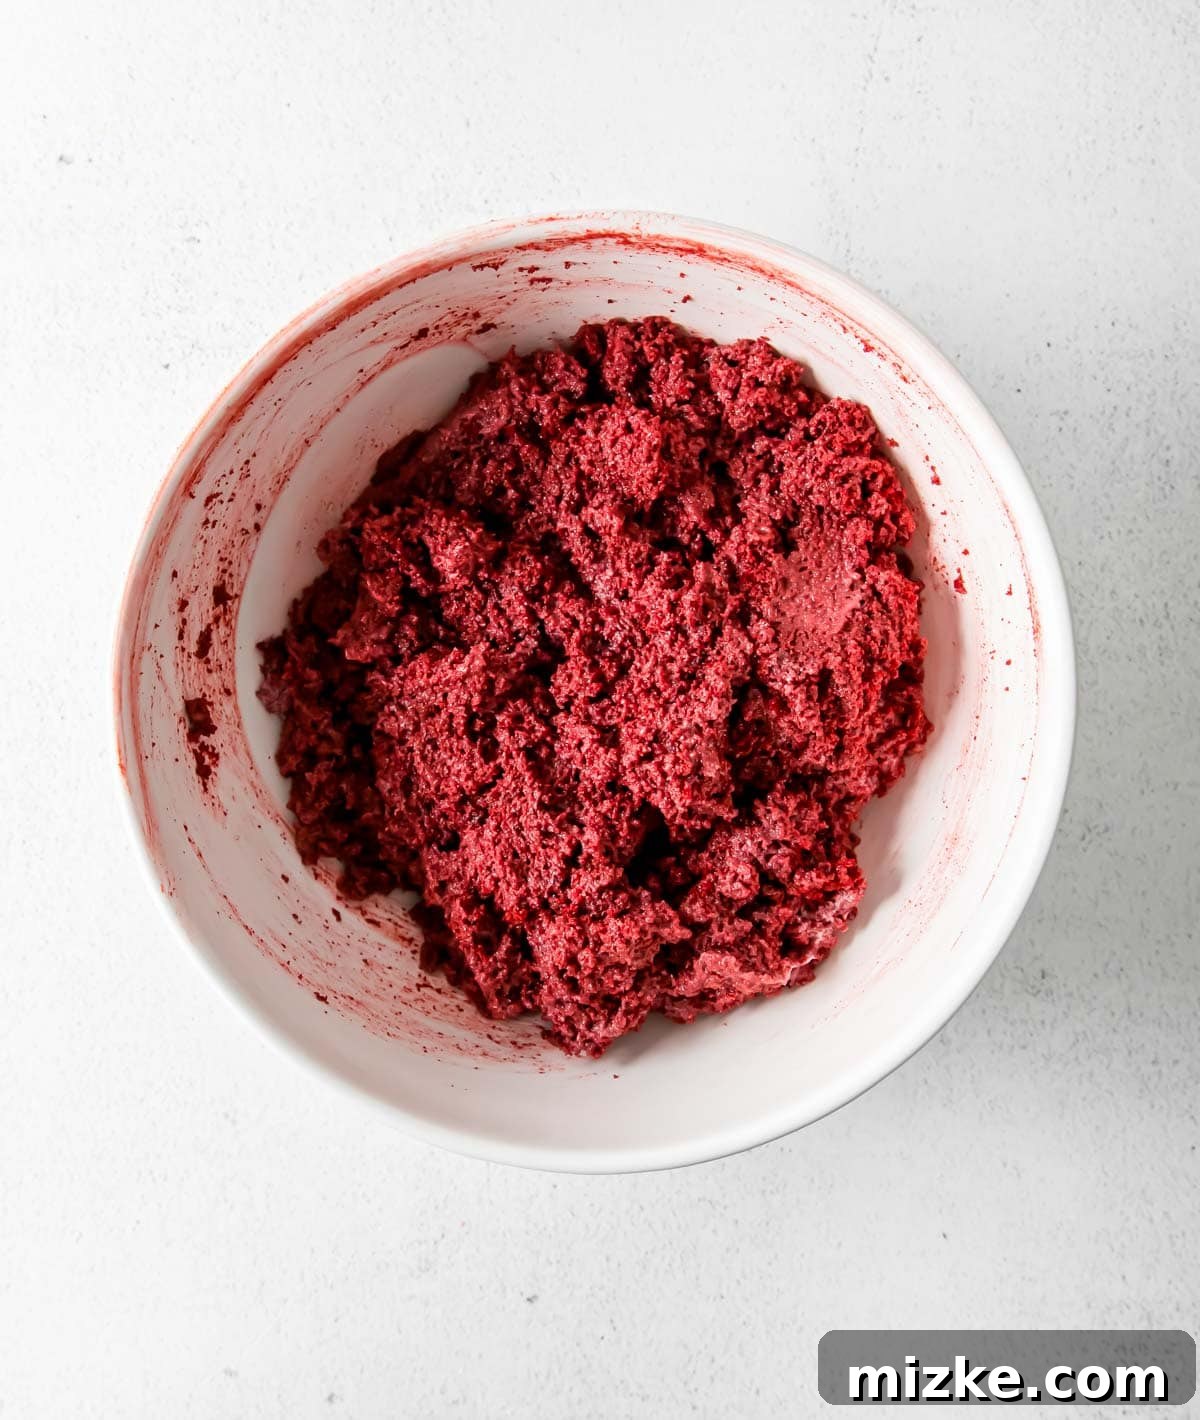
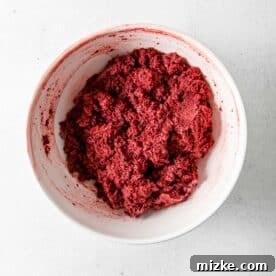
- Form the Truffle Filling: Pour the slightly warmed, pourable frosting over the crumbled red velvet cake in the large mixing bowl. Using a sturdy spoon or your hands (which works wonderfully!), mix everything together thoroughly. Continue mixing until the entire cake mixture resembles a soft, cohesive dough. It should be moist enough to hold its shape when pressed, but not overly sticky.
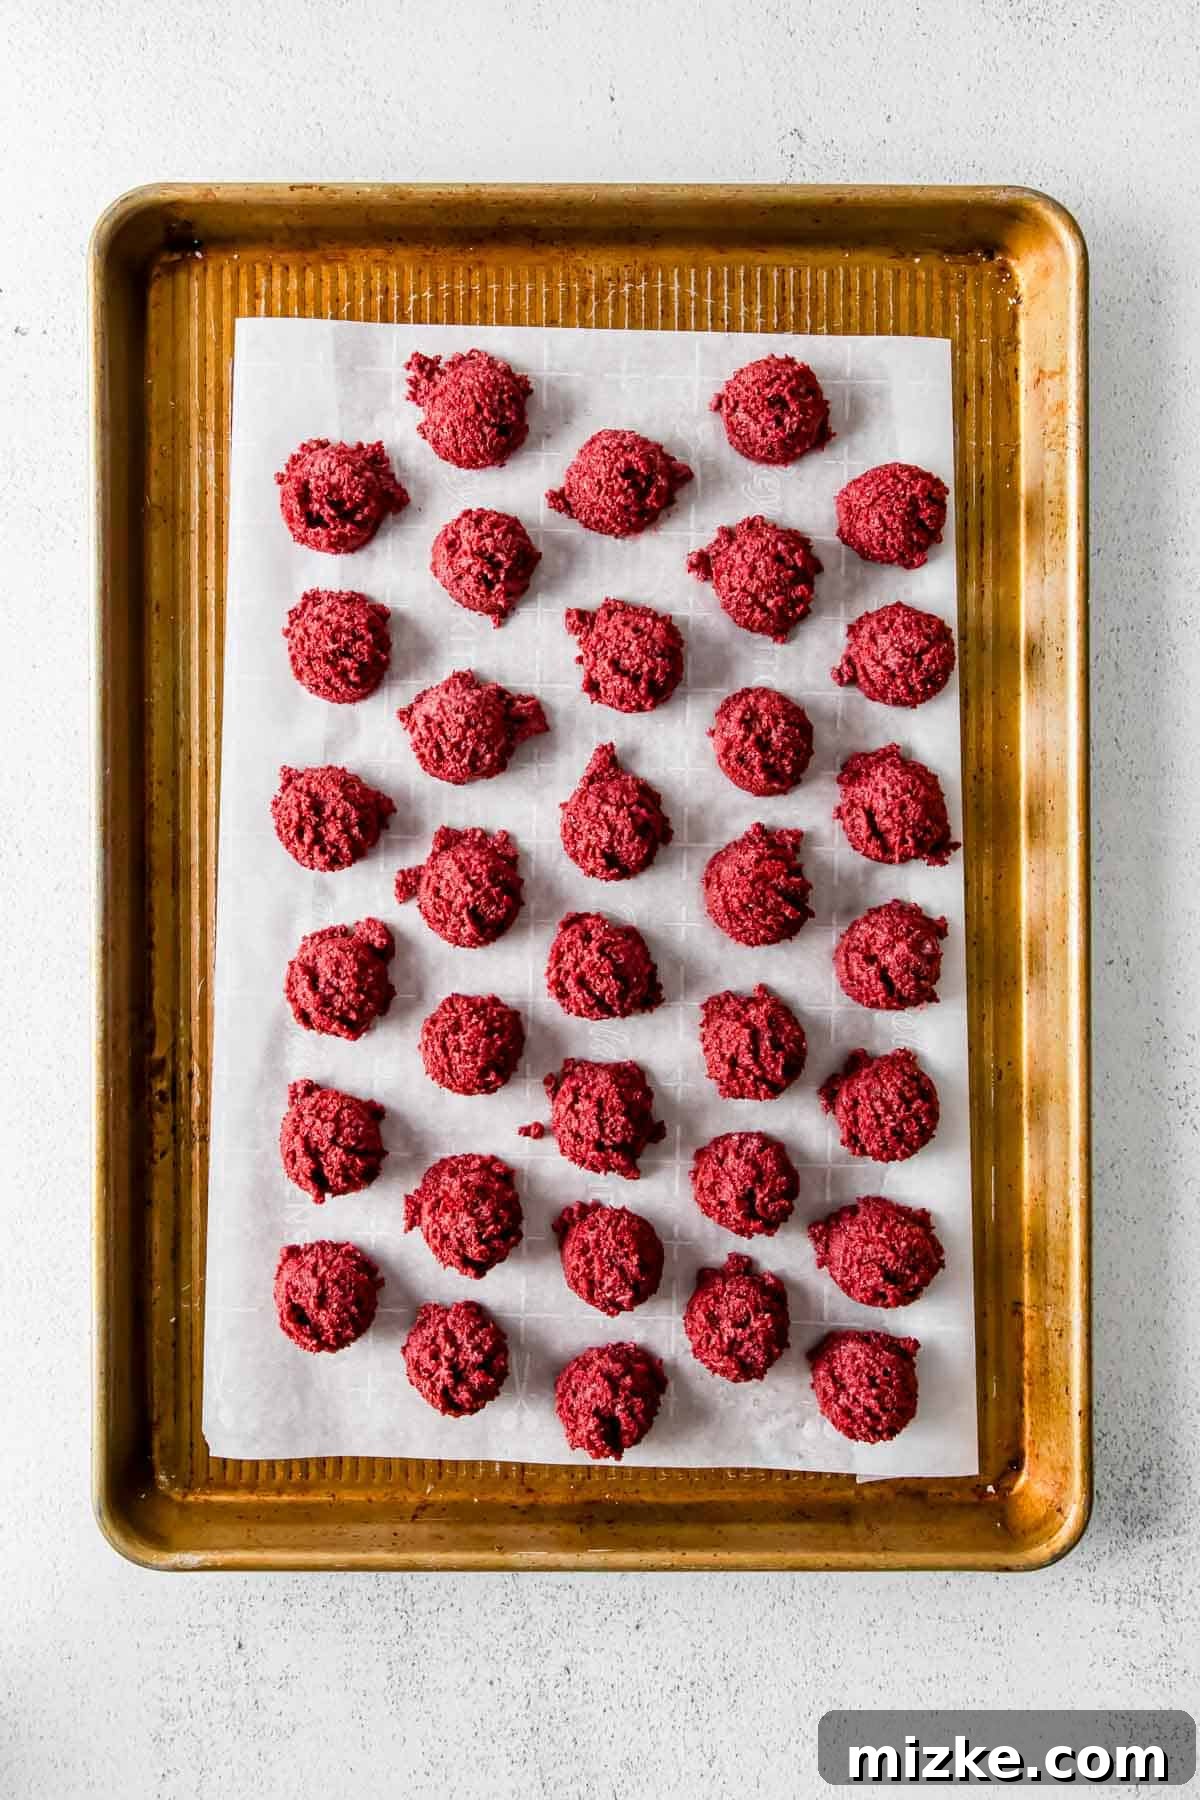
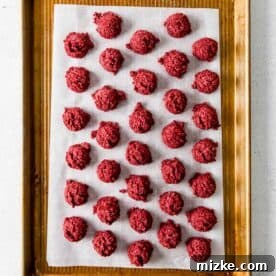
- Shape the Truffles: Using a cookie scoop (about 1 tablespoon in size) or your hands, roll the dough into uniform, bite-sized balls. Consistency in size will ensure even freezing and dipping. Place these rolled balls onto a baking sheet that has been lined with parchment paper. Parchment paper prevents sticking and makes transfer easier.
- Freeze the Truffle Balls: Once all your truffles are shaped and on the baking sheet, place the entire sheet into the freezer. Freeze the truffles for a minimum of 30 minutes. This freezing step is essential as it firms up the cake balls, making them much easier to dip into the melted chocolate without falling apart. It also helps the chocolate coating set quickly and smoothly.
- Prepare for Dipping and Decorating: Remove the chilled truffles from the freezer. Before dipping, quickly roll each ball between your hands a bit to ensure they are smooth and perfectly round. This also helps to warm them ever so slightly on the surface, which can aid in chocolate adhesion. Meanwhile, melt your white chocolate bark according to its package directions – typically in the microwave in short intervals, stirring frequently, or over a double boiler.
- Dip and Decorate: Using a fork, a dipping tool, or even a wooden skewer (which is very helpful for minimal mess), carefully dip each frozen red velvet cake truffle into the melted white chocolate bark, ensuring it’s fully coated. Lift the truffle, allowing any excess chocolate to drip back into the bowl. Immediately return the coated truffle to the parchment-lined baking sheet. If you plan to add sprinkles, do so right away while the chocolate coating is still wet; this ensures they adhere properly.
- Set and Store: Allow all the dipped truffles to set completely at room temperature or in the refrigerator until the chocolate is firm. Once fully set, transfer your beautiful red velvet cake truffles to an airtight container. They are now ready to be enjoyed or stored for later!
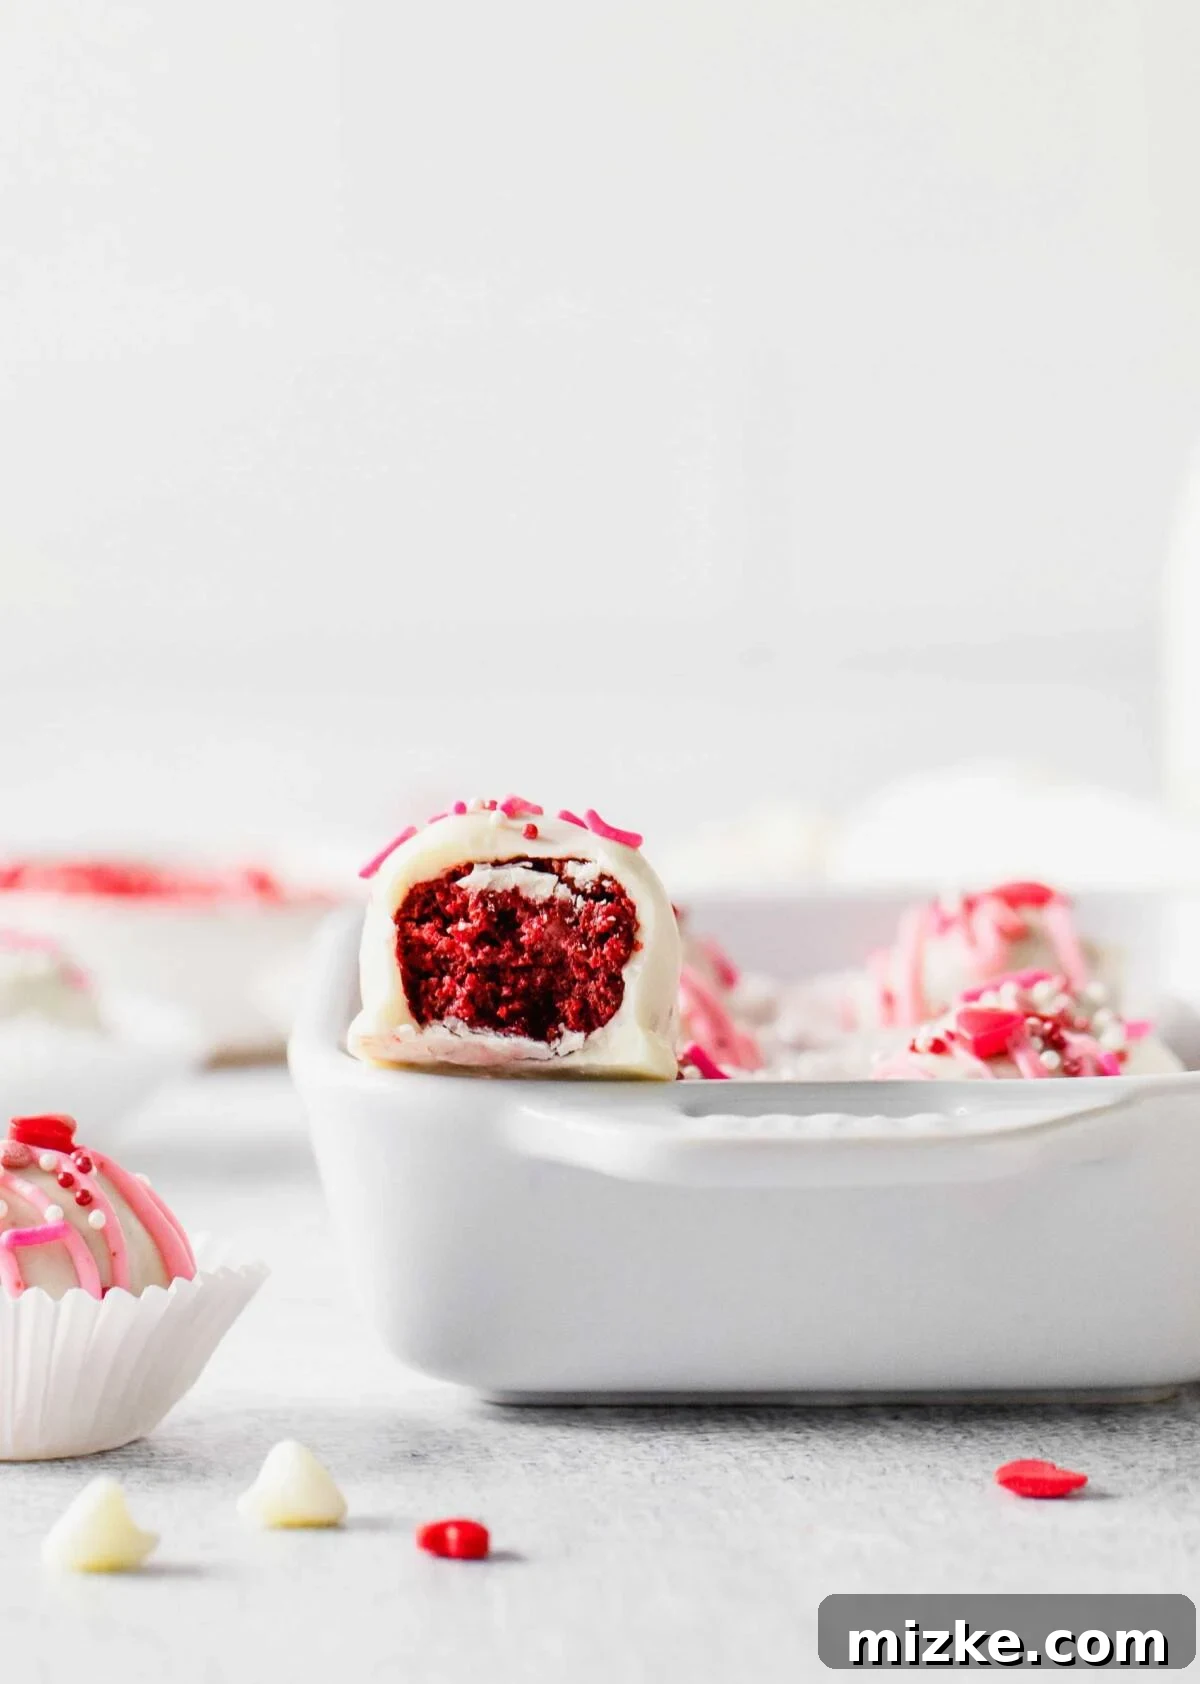
Creative Decorating Ideas for Your Red Velvet Truffles
While delicious on their own, decorating these red velvet truffles adds an extra layer of visual appeal and fun. Here are some inspiring ideas to make your truffles truly stand out:
- Festive Sprinkles: For a vibrant touch, use red, white, and pink sprinkles, especially fitting for Valentine’s Day. Heart-shaped sprinkles add an extra dose of romance. For Christmas, try green and red, or silver and gold for New Year’s.
- Edible Glitter Dust: For an elegant, magical shimmer, gently dust the set truffles with translucent edible glitter. This gives them a sophisticated sparkle that catches the light beautifully.
- Mini Chocolate Chips: Before the white chocolate coating sets, roll the truffles in mini chocolate chips. This adds a delightful texture contrast and extra chocolatey goodness. Dark chocolate chips provide a nice visual contrast as well.
- Drizzled Chocolate Designs: After the white chocolate bark has fully hardened, melt some dark chocolate, milk chocolate, or colored almond bark (like pink or red). Use a fork or a piping bag with a tiny tip to drizzle decorative patterns over the truffles. This creates a professional, artistic finish.
- Crushed Nuts: For a textural crunch, finely chop some pecans, walnuts, or almonds and roll the wet chocolate-dipped truffles in them.
- Cocoa Powder Dusting: For a sophisticated, less sweet option, dust plain white-chocolate coated truffles with a light layer of unsweetened cocoa powder once they are set.
- Color Swirls: Before dipping, add a tiny drop of food coloring (red, pink, or even black for contrast) to a small portion of your melted white chocolate. Swirl it gently with a toothpick, then quickly dip the truffle to create a marbled effect.
Don’t be afraid to experiment and get creative! Your truffles are a canvas for your culinary imagination.
Pro Tips for Perfect Red Velvet Cake Truffles
Achieve bakery-quality truffles with these expert tips and tricks:
- Understanding Almond Bark vs. White Chocolate: Almond bark is an excellent choice for dipping because it contains vegetable fats that allow it to melt smoothly and harden quickly without needing to be tempered. If you prefer to use pure white chocolate (which can offer a richer flavor), be aware that it typically needs to be tempered to achieve a shiny, snap-off finish and prevent blooming (gray streaks). Tempering can be a bit more involved, so for ease, almond bark is usually recommended for beginners.
- Mastering the Dipping Technique: To make coating your cake truffles much easier and less messy, try using a wooden skewer or a dedicated candy dipping tool. Pierce each truffle gently with the skewer, then fully immerse it in the melted almond bark. Rotate the truffle to ensure even coating, then tap the skewer gently against the side of the bowl to remove excess chocolate. The hole created by the skewer can be strategically covered with sprinkles, or simply filled by the coating itself. Alternatively, for a fun presentation, insert lollipop sticks before freezing to transform these into adorable Starbucks-style cake pops!
- Achieving Uniform Truffles: For consistently sized truffles, a cookie scoop is your best friend. After scooping, gently roll the balls between your palms to ensure they are smooth and perfectly round.
- Preventing Sticky Truffles: If your cake mixture feels too sticky after adding the frosting, try adding a tablespoon or two of powdered sugar, or even some additional cake crumbs, until it reaches a manageable consistency.
- Working in Batches: When dipping, it’s often helpful to work with a small batch of chilled truffles at a time, keeping the rest in the freezer. This ensures your truffles remain firm, making dipping much easier and preventing them from getting too soft and crumbling.
Storing Your Delicious Red Velvet Cake Truffles
Proper storage is key to maintaining the freshness and deliciousness of your homemade red velvet cake truffles.
- Refrigeration: Red velvet cake truffles can be kept fresh in an airtight storage container in the refrigerator for up to three days. Make sure the container is tightly sealed to prevent them from drying out or absorbing other odors from your fridge. If you need to stack the truffles, place a piece of parchment paper between the layers to prevent them from sticking together.
- Freezing for Longer Storage: For extended enjoyment, these cake truffles freeze beautifully! Place them in a freezer bag or an airtight freezer-safe storage container. They can be frozen for up to three months. When you’re ready to enjoy them, simply transfer the desired number of truffles to the refrigerator and allow them to thaw completely before serving. This gradual thawing helps maintain their texture and prevents condensation from forming excessively on the chocolate coating.
With these storage tips, you can always have a delightful red velvet treat ready to go!
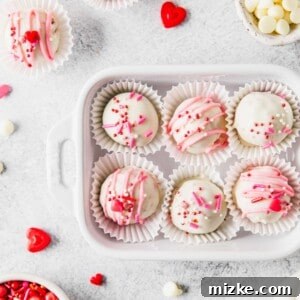
Red Velvet Cake Truffles
Julie Chiou
25 minutes
30 minutes
55 minutes
36 truffles
Equipment
-
Cookie scoop
-
Large rimmed baking sheet
Ingredients
- 1 box red velvet cake, prepared according to the box directions
- 16 ounce (454 g) cream cheese frosting
- 16 ounce (454 g) package white chocolate bark
- Sprinkles, optional
Instructions
-
Prepare the cake according to the package directions. Allow it to cool completely before making the truffles.1 box red velvet cake
-
Once the cake has cooled, crumble it into small pieces and place it in a large bowl.

-
Transfer the cream cheese frosting to a microwave safe bowl and microwave it for 15-20 seconds, or just until it is thinned and pourable.16 ounce (454 g) cream cheese frosting
-
Add the warm frosting to the crumbled cake and stir until the mixture comes together in a soft dough.
-
Scoop out 1 tablespoon sized balls and place them on a parchment lined baking sheet.
-
Freeze the truffles for 30 minutes.
-
Roll the truffles between your hands to create smooth, even balls.
-
Melt the white chocolate bark according to the package directions. Dip the truffles one at a time into the white chocolate bark and then place it back on the parchment lined baking sheet.16 ounce (454 g) package white chocolate bark
-
If decorating with sprinkles, make sure to add them while the white chocolate bark is still wet.Sprinkles
-
Allow the truffles to set completely before transferring to an airtight container. Store in the fridge for up to three days.
Nutrition
Calories: 131 kcal,
Carbohydrates: 21 g,
Protein: 1 g,
Fat: 6 g,
Saturated Fat: 2 g,
Polyunsaturated Fat: 1 g,
Monounsaturated Fat: 1 g,
Sodium: 129 mg,
Potassium: 44 mg,
Fiber: 1 g,
Sugar: 16 g
This website provides approximate nutrition information for convenience and as a courtesy only. Nutrition information can vary for a variety of reasons. For the most precise nutritional data, use your preferred nutrition calculator based on the actual ingredients you used in the recipe.
The default measuring system for this website is US Customary. Unit conversions are provided for convenience and as a courtesy only. While we strive to provide accurate unit conversions, please be aware that there may be some discrepancies.
Frequently Asked Questions About Red Velvet Cake Truffles
- Can I use a homemade red velvet cake and frosting?
- Absolutely! Using homemade cake and cream cheese frosting will elevate the flavor even further. Just ensure both are completely cooled before combining, and that your homemade frosting is thick enough to bind the cake crumbs effectively. You might need to adjust the amount slightly depending on the consistency of your homemade ingredients.
- Why are my truffles crumbly/sticky?
- If your truffles are too crumbly, you likely need a bit more frosting to bind the cake. Add a spoonful at a time until the mixture forms a soft, cohesive dough. If they’re too sticky, it could be due to too much frosting or the cake not being fully cooled. You can try adding a few extra cake crumbs or a tablespoon of powdered sugar to firm up the mixture.
- Can I skip the freezing step?
- While it might seem tempting to skip, the freezing step is crucial. It firms up the cake balls, making them much easier to handle and dip in the melted chocolate without falling apart. It also helps the chocolate coating set more quickly and prevents the truffles from melting during the dipping process. A minimum of 30 minutes in the freezer is highly recommended.
- What can I use instead of white chocolate bark?
- As mentioned in the pro tips, white chocolate chips or bars can be used, but they may require tempering to achieve a smooth, non-blooming finish. Alternatively, you could use candy melts, which are designed to melt and harden easily, similar to almond bark, and come in various colors for extra fun.
- How do I get perfectly smooth, round truffles?
- Start by using a cookie scoop to ensure uniform portions. After scooping, gently roll each portion between your palms until it forms a smooth, round ball. Working with slightly chilled dough helps prevent sticking and makes shaping easier. If your hands get too warm and sticky, rinse them with cold water and dry thoroughly, or take a short break.
Conclusion: Your New Favorite Easy Dessert
These red velvet cake truffles are more than just a dessert; they’re a delightful experience wrapped in a small, vibrant package. Combining the iconic flavors of red velvet with the convenience of an easy-to-make, no-bake (after the initial cake) treat, they are sure to become a staple in your recipe repertoire. Whether you’re celebrating a special occasion or simply indulging in a moment of sweet solitude, these truffles offer a perfect blend of elegance, simplicity, and irresistible taste.
So, gather your ingredients, follow these simple steps, and prepare to create a batch of red velvet cake truffles that will charm your taste buds and impress everyone lucky enough to try them. Happy baking and even happier indulging!