
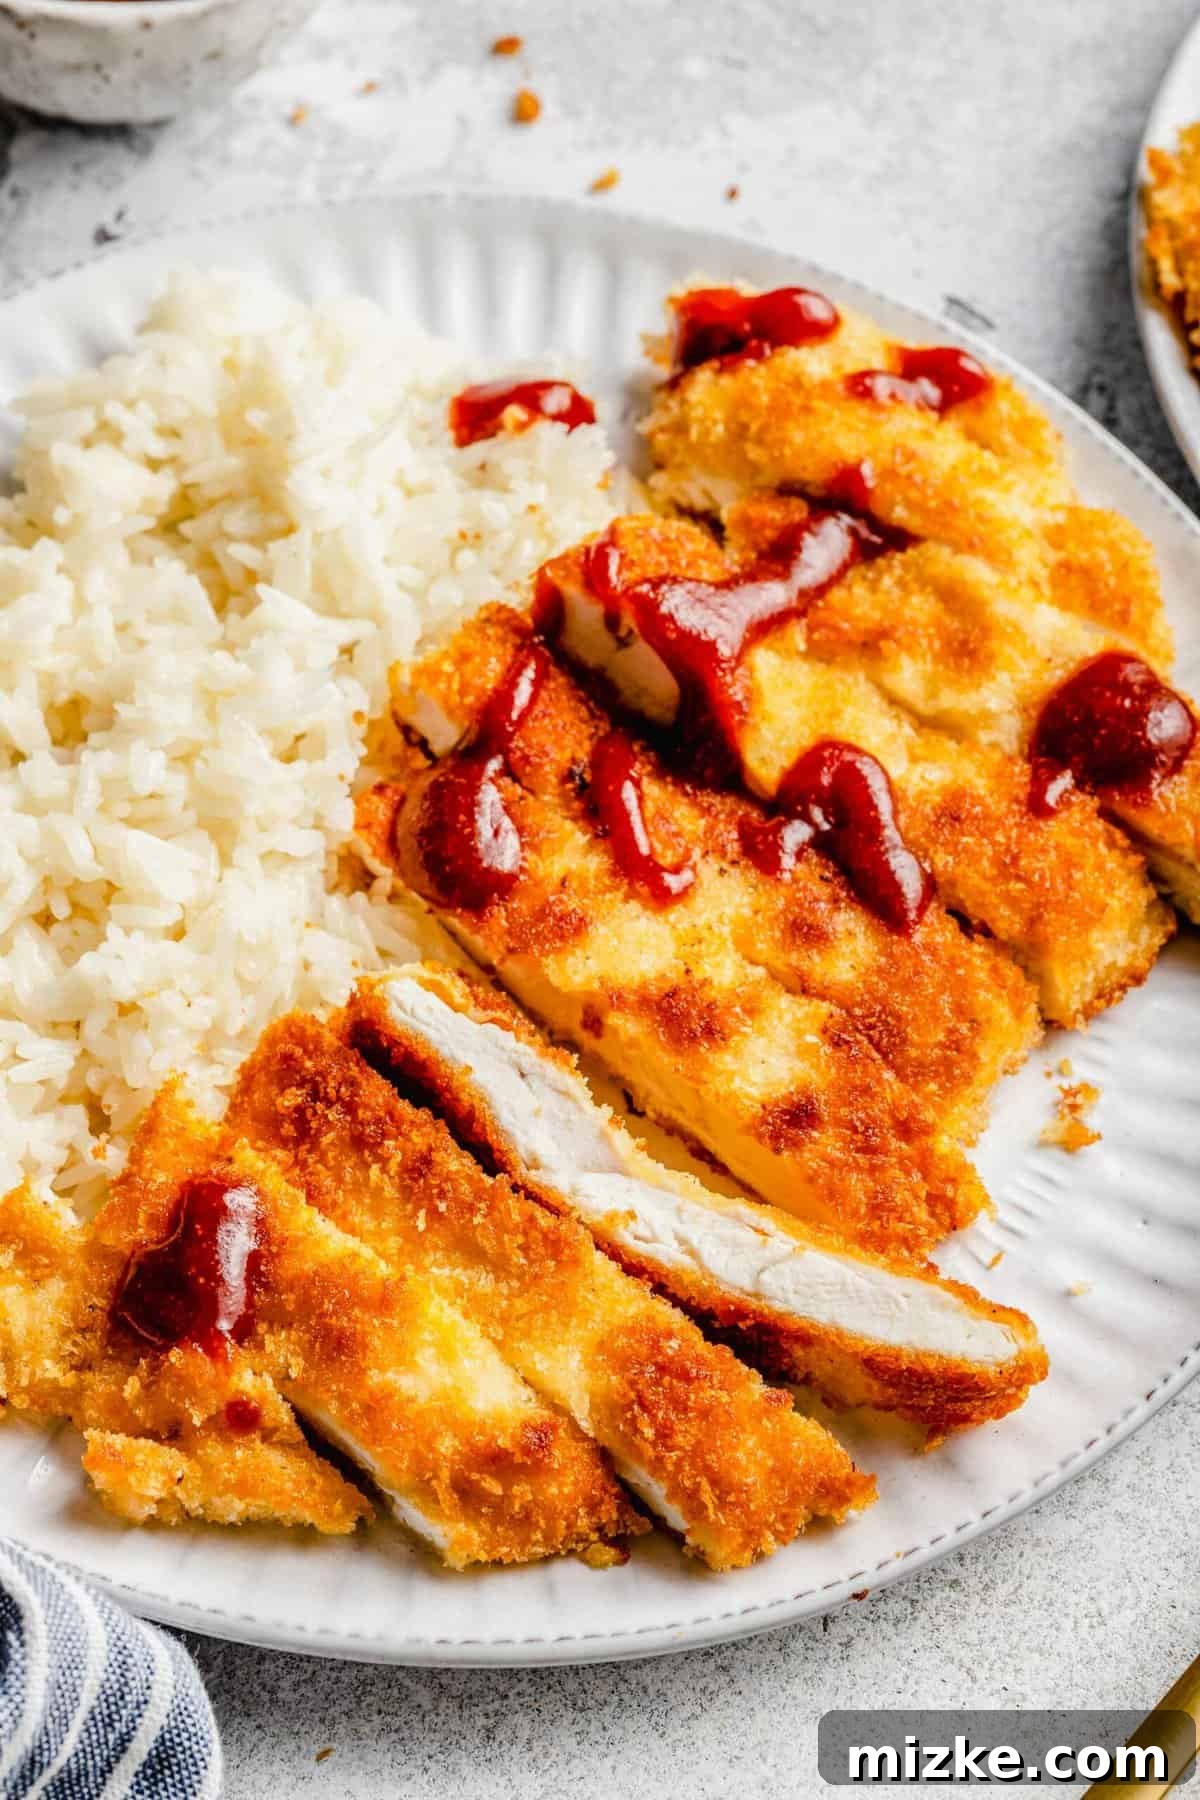
Chicken Katsu is the epitome of comfort food – incredibly juicy, irresistibly crispy, and deeply satisfying. Imagine a golden-fried chicken cutlet, perfectly tender on the inside, encased in a shatteringly crisp panko crust. This ultimate guide will show you how to create this classic Japanese dish at home in just 25 minutes, using only a handful of common ingredients. Prepare to make a meal so delicious, it might just outshine your local Japanese restaurant’s offering!
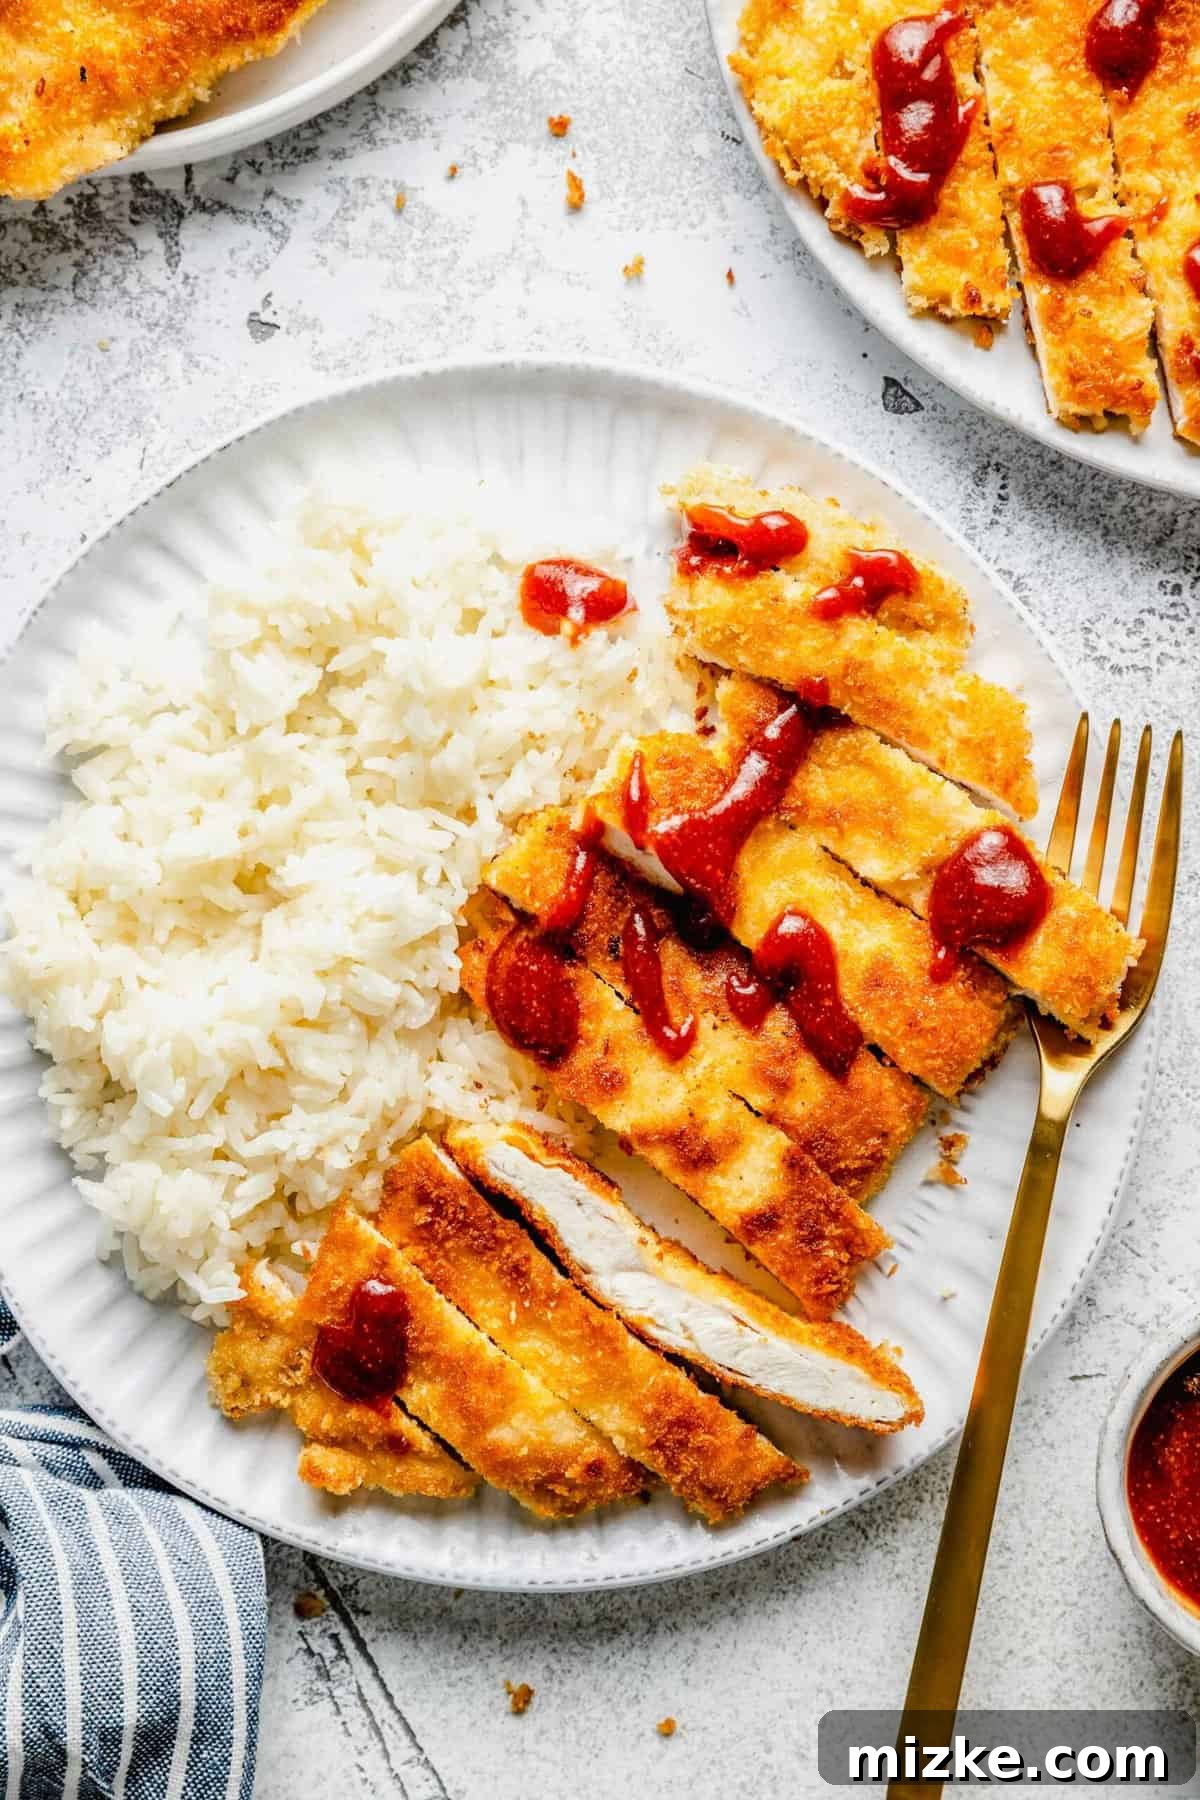
The beauty of Chicken Katsu lies in its elegant simplicity. There are no overwhelming herbs or complex spices; instead, it celebrates the pure delight of moist, tender chicken enhanced by a perfectly crunchy exterior. A generous drizzle of classic Tonkatsu sauce and a side of fluffy white rice are all you need to complete this perfect plate of Japanese comfort.
This recipe has become a staple for busy weeknights in my kitchen, and for good reason. It’s incredibly fast, coming together in under half an hour, and relies on basic pantry ingredients you likely already have. If I have chicken on hand, I know I’m ready to whip up this satisfying dish. Beyond its speed and ease, Chicken Katsu is wonderfully versatile. Transform it into a hearty Katsu Curry, layer it into a delicious sandwich, or slice it over a fresh Asian salad for a lighter meal.
Why You’ll Fall in Love with This Homemade Chicken Katsu Recipe
Who can resist the allure of perfectly fried chicken? I certainly can’t, and I’m confident this particular Japanese variation will quickly become a family favorite. Here’s why:
- Unrivaled Crispy Perfection: The hallmark of great katsu is its exquisite crunch. This recipe guarantees tender, succulent chicken enveloped in an unbelievably crispy, golden-brown crust. Every single bite is a delightful symphony of textures and flavors – the ultimate comfort food experience.
- Effortlessly Quick and Simple: Don’t let the restaurant-quality taste fool you; this chicken dinner is surprisingly easy to make. You can have this crowd-pleasing meal on your table in under 30 minutes, making it an absolute lifesaver on demanding weeknights when time is of the essence.
- Wholesome, Simple Ingredients: You won’t find any exotic or hard-to-find items here. We stick to fundamental salt and pepper seasoning, allowing the natural deliciousness of the chicken and the panko to shine. It’s fantastic as is, especially with a generous dollop of Tonkatsu sauce, but we’ll also explore ways to experiment with additional seasonings to tailor it to your taste.
- Versatile for Any Occasion: Whether you’re looking for a quick weeknight dinner, an impressive dish for guests, or a flavorful component for other meals, chicken katsu fits the bill. Its adaptability means endless culinary possibilities.
If you’re eager to explore more classic chicken takeout recipes from the comfort of your kitchen, you might also enjoy giving this Chinese Sweet and Sour Chicken a try!
What Exactly is Chicken Katsu?
Katsu is a beloved and iconic dish in Japanese cuisine, renowned for its comforting appeal and satisfying crunch. The definition is beautifully straightforward: it refers to meat (most commonly chicken or pork) that has been breaded in light, airy breadcrumbs and deep-fried until golden and crisp. While chicken katsu (torikatsu) is incredibly popular, its pork counterpart, tonkatsu, is equally famous and often served in a similar fashion. If you find yourself loving chicken katsu, I highly recommend exploring this delicious Pork Katsu recipe as well!
Historically, katsu dishes emerged in Japan during the late 19th and early 20th centuries, as Western culinary influences began to blend with traditional Japanese cooking techniques. It quickly became a staple in family homes and restaurants, appreciated for its flavorful simplicity and ability to pair well with various sides and sauces. Today, it’s enjoyed in numerous forms, from being the star of a meal with rice and miso soup, to being tucked into sandwiches (katsu sando), or simmered in a savory egg broth over rice (katsudon).
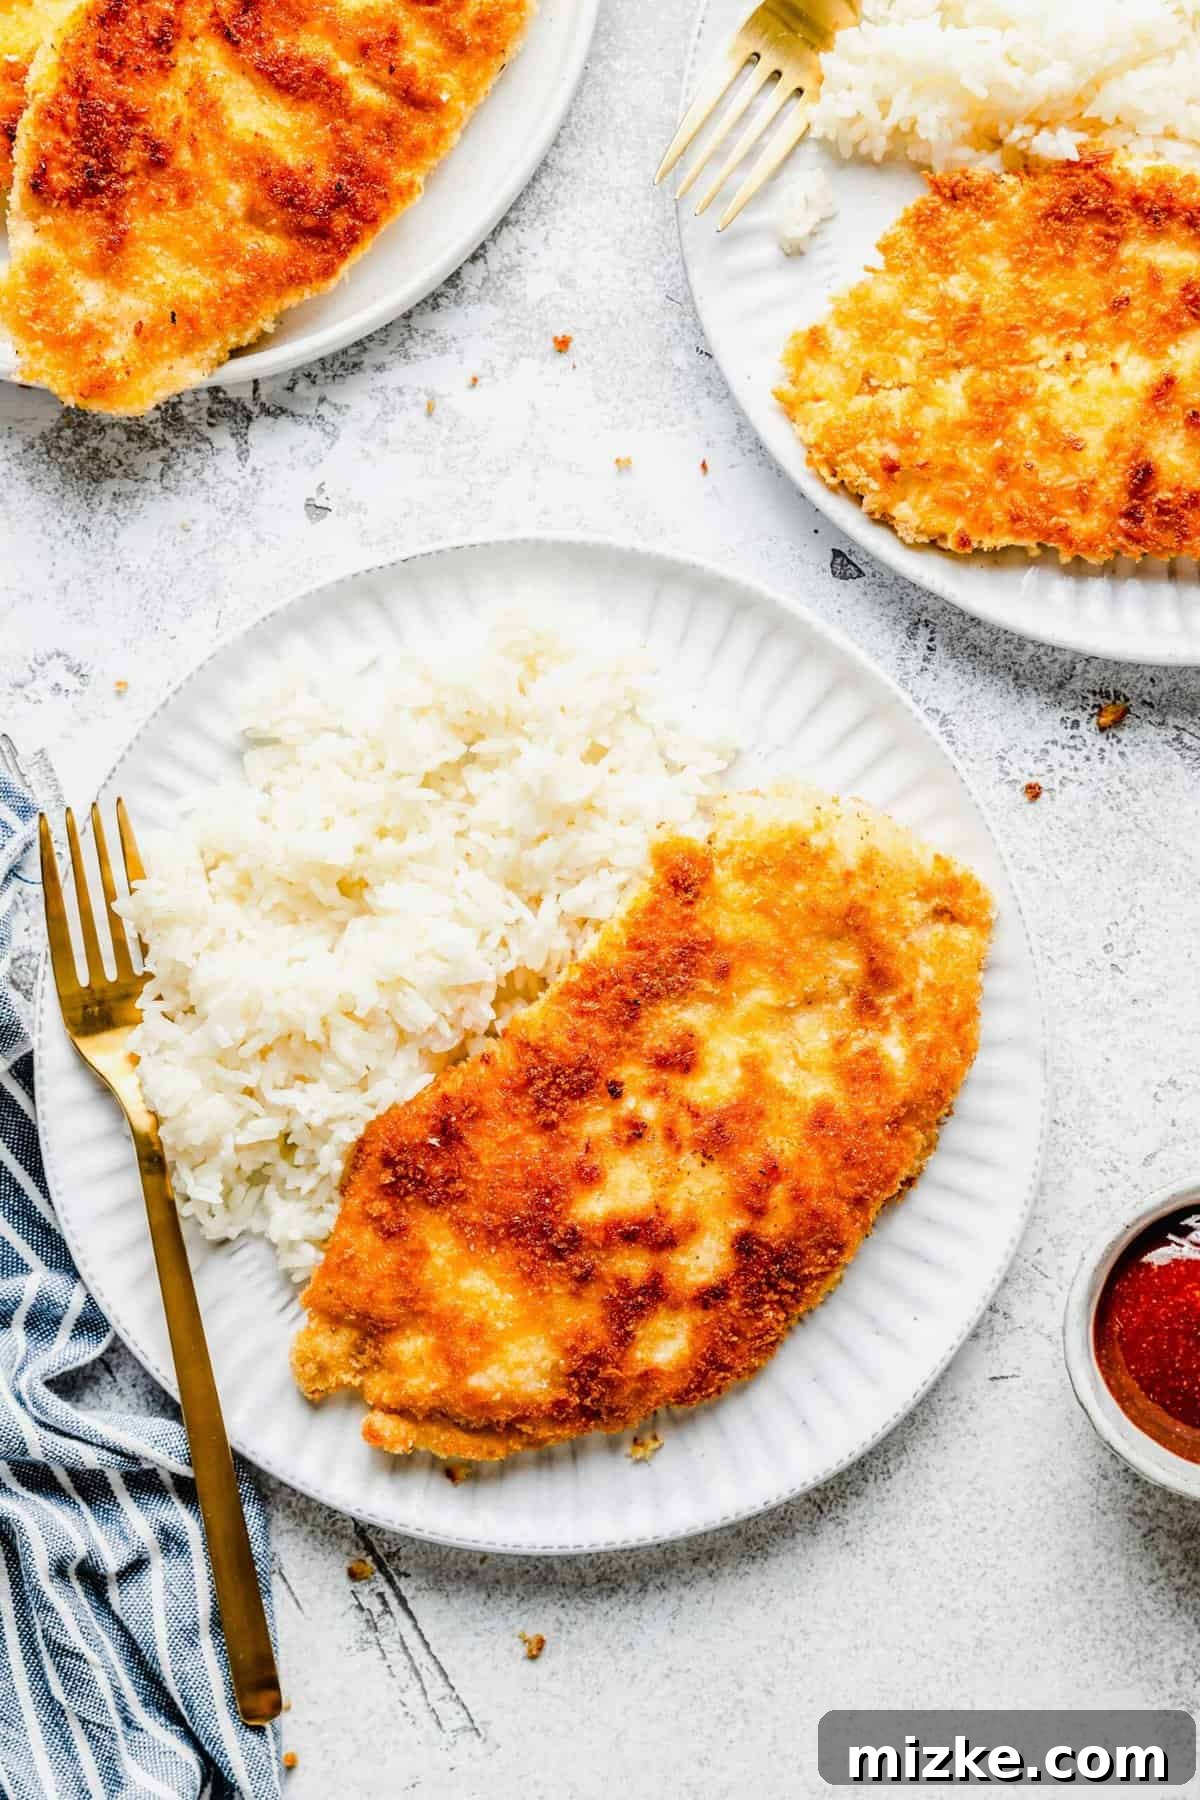
Essential Ingredients for Your Perfect Chicken Katsu
Crafting juicy and crispy chicken katsu requires only a handful of readily available ingredients. Here’s a detailed look at what you’ll need and why each component is important:
- Chicken: For the best results, opt for boneless, skinless chicken breasts. They cook quickly and can be easily pounded to an even thickness, ensuring uniform cooking and tenderness. If you prefer, chicken thighs or even tenderloins can also be used, though cooking times may vary slightly.
- All-Purpose Flour: This acts as the initial coating, helping to seal the surface of the chicken. This crucial step creates a barrier that keeps the chicken wonderfully moist during frying and provides a perfect base for the egg wash to adhere to.
- Kosher Salt: While table salt works in a pinch, kosher salt is preferred for its larger flakes, which distribute more evenly and enhance the natural flavors of the chicken without making it overly salty. A couple of generous pinches are usually enough.
- Black Pepper: Freshly-ground black pepper offers a superior aroma and flavor profile compared to pre-ground varieties. It adds a subtle warmth and a touch of zest to the seasoning.
- Eggs: The beaten eggs form the “glue” that binds the crispy panko breadcrumbs to the chicken. They create a sticky surface that ensures a robust and even coating.
- Panko Breadcrumbs: This is the secret to truly authentic and exceptionally crispy katsu! While other breadcrumbs can be substituted, panko delivers unparalleled crunch and lightness. We’ll delve deeper into why panko is superior below.
- Vegetable Oil: You’ll need a neutral-flavored oil with a high smoke point for frying. Vegetable oil is an excellent choice, but canola oil, peanut oil, or even grapeseed oil also work very well. The key is an oil that can withstand the necessary frying temperature without burning.
The Magic Behind Panko Breadcrumbs
Panko breadcrumbs are not just any breadcrumbs; they are a unique Japanese innovation specifically designed for superior frying. Unlike traditional Western breadcrumbs, which are typically dense and finely ground, panko is made from a special kind of crustless white bread that is processed into large, airy, and flaky shards. This distinctive texture allows panko to absorb significantly less oil during frying, resulting in an incredibly light, crisp, and golden crust that stays crunchy longer, without becoming greasy. This characteristic makes panko indispensable for achieving that signature katsu texture.
Step-by-Step Guide: Crafting Your Perfect Chicken Katsu
Ready to create the best crispy panko chicken you’ve ever tasted? Follow these detailed steps to master this 25-minute tender chicken katsu recipe:
- Prepare the Chicken: Place your boneless, skinless chicken breasts one at a time inside a large plastic bag (or between two pieces of plastic wrap). Using the flat side of a meat tenderizer or a rolling pin, pound the chicken firmly but gently until it’s about ½ inch thick and of uniform thickness throughout. This ensures even cooking and prevents dry spots. If using pre-sliced thin chicken breasts, this step might not be necessary. Remember to place a cutting board underneath for protection!
- Create the Flour Dredge: In a shallow dish, combine the all-purpose flour, kosher salt, and freshly ground black pepper. Stir well to ensure the seasonings are evenly distributed throughout the flour mixture.
- Prepare the Egg Wash: Crack two large eggs into another shallow dish. Beat them thoroughly with a fork or whisk until the yolks and whites are completely combined and a smooth, consistent egg wash is formed.
- Set Up the Panko Station: Pour the panko breadcrumbs into a third shallow dish. Arrange your three dishes in an assembly line: flour mixture, then beaten eggs, then panko breadcrumbs. This setup will streamline your dredging process.
- Heat the Frying Oil: Pour a thin layer of vegetable oil (enough to generously coat the bottom and come up slightly on the sides, about ¼ to ½ inch deep) into a large skillet or shallow pan. Heat the oil over medium-high heat.
- Dredge the Chicken: Take one piece of pounded chicken. First, coat it completely in the flour mixture, shaking off any excess. Next, dip it into the beaten eggs, ensuring both sides are fully covered. Finally, transfer it to the panko breadcrumbs, pressing gently to make sure the panko adheres well to all surfaces. Gently shake off any loose breadcrumbs.
- Test the Oil Temperature: Before frying, carefully flick a small drop of water into the hot oil. If it sizzles immediately, the oil is ready. If it doesn’t sizzle, allow it to heat a little longer. If the oil is smoking, it’s too hot; remove it from the heat for a moment, add a tiny bit more fresh oil to cool it slightly, then reduce the heat slightly. Maintaining the right oil temperature is crucial for crispiness without burning.
- Fry to Golden Perfection: Carefully place the breaded chicken into the hot oil. Cook each side for approximately 3-4 minutes, or until it achieves a beautiful golden brown color and is cooked through. Since the chicken is pounded thin, it will cook relatively quickly.
- Clean and Repeat: After each piece of chicken is cooked, use a slotted spoon or spatula to scoop out any loose panko crumbs from the skillet. These crumbs can burn and affect the flavor of subsequent pieces if left in the oil. Repeat the dredging and frying process for the remaining chicken pieces, making sure to maintain your oil temperature between batches.
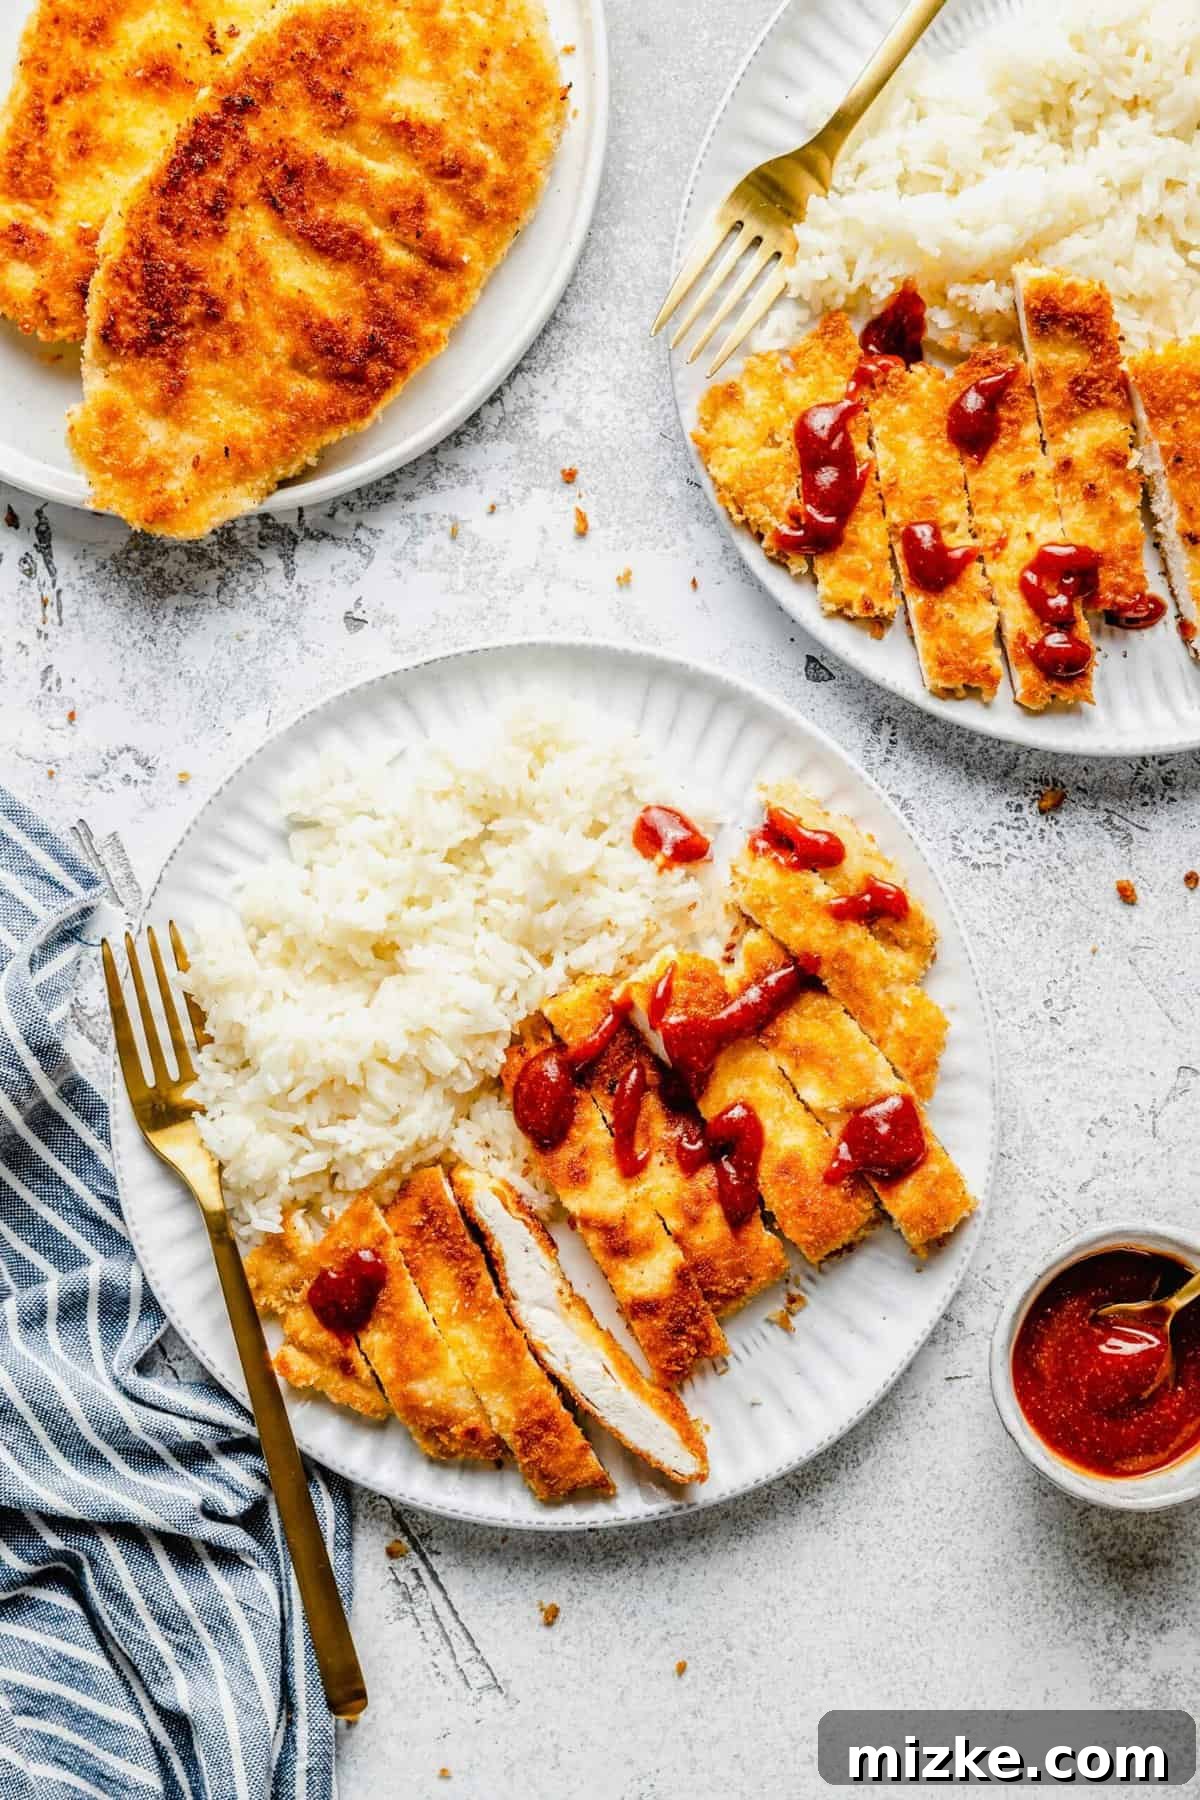
- Serve Immediately: Once all chicken cutlets are cooked, transfer them to a wire rack set over paper towels to drain any excess oil. Slice the katsu into strips, typically about 1-inch wide. Serve immediately with warm white rice and, most importantly, a generous amount of delicious Tonkatsu sauce!
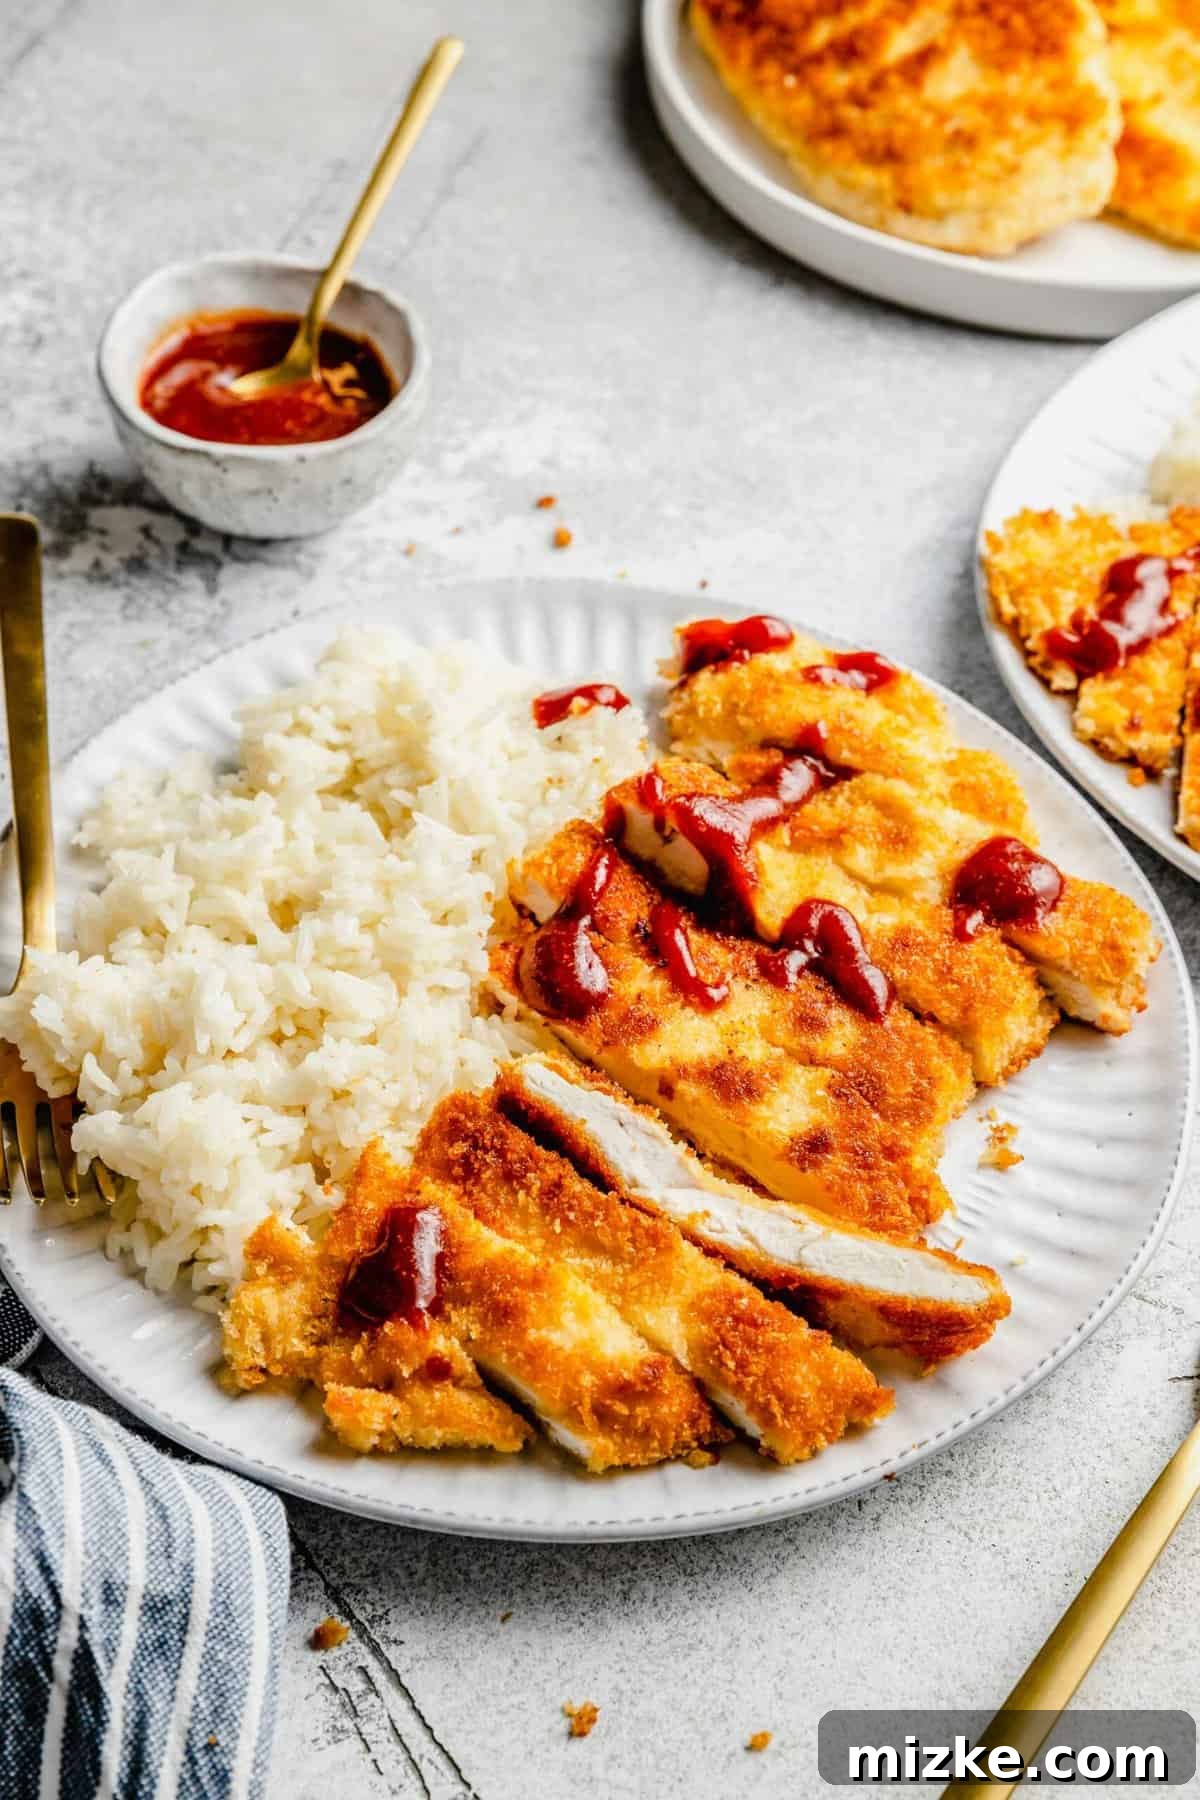
Expert Tips for the Crispiest Chicken Katsu Every Time
Making delicious chicken katsu is quite simple, but these expert tips will elevate your dish from good to absolutely phenomenal:
- Master the Two-Hand Dredging Technique: Frying can get messy! To prevent sticky hands and gummy breading, employ the “two-hand technique.” Use one dry hand exclusively for coating the chicken in flour and transferring it to the egg wash. Use your other wet hand solely for coating the chicken in egg and transferring it to the panko breadcrumbs. Then, switch back to your dry hand to gently press the panko and remove the coated chicken. This keeps one hand clean and dry, minimizing mess and ensuring a perfect coating.
- Pound to Uniform Thickness: This is a critical step. When pounding the chicken breasts, strive for an even ½-inch thickness across the entire cutlet. Inconsistent thickness leads to uneven cooking; thinner parts will overcook and dry out, while thicker parts might remain undercooked. Uniformity guarantees perfectly tender and juicy chicken throughout.
- Precisely Monitor Oil Temperature: The right oil temperature is paramount for crispy, non-greasy katsu. If your oil is too hot, the panko will burn quickly before the chicken cooks through. If it’s too cold, the breadcrumbs will absorb excessive oil, resulting in a soggy, greasy crust instead of a crisp one. A simple trick: gently drop a few panko crumbs into the oil. If they immediately sizzle and turn golden within 30 seconds, your oil is ready. If they just sit there, it’s too cold. If they burn instantly, it’s too hot. Adjust heat accordingly.
- Fry in Batches, Don’t Crowd the Pan: Resist the urge to cram too many chicken pieces into the skillet at once. Overcrowding significantly drops the oil temperature, preventing proper frying and leading to greasy, soggy katsu. Fry the chicken in single layers, typically one or two pieces at a time, depending on your pan size. This keeps the oil hot and ensures each piece fries beautifully.
- Remove Excess Breadcrumbs Between Batches: As mentioned in the instructions, always use a slotted spoon or fine-mesh skimmer to remove any stray panko crumbs that break off during frying. These crumbs will quickly burn and impart a bitter flavor to your oil and subsequent chicken pieces.
- Rest the Fried Chicken: After frying, transfer the cooked chicken katsu to a wire rack set over a baking sheet lined with paper towels. This allows excess oil to drip away and helps maintain the crispiness by preventing condensation from building up on the bottom, which can make it soggy.
Exciting Substitutions & Creative Recipe Variations
While this recipe provides the perfect classic chicken katsu, there’s always room for personalization and creativity. Here are a few ways to adapt this Japanese fried chicken to your taste:
- Breadcrumbs: As emphasized, panko breadcrumbs are highly recommended for their light and crispy texture. However, if you only have regular breadcrumbs on hand, you can certainly use them. Just be aware that they tend to be denser and absorb more oil, resulting in a slightly heavier and potentially less crispy coating. For an extra dimension of flavor, consider using seasoned panko (garlic & herb) or mixing a tablespoon of grated Parmesan cheese into your regular panko.
- Chicken Cut: While boneless, skinless chicken breasts are ideal for their ease of pounding and quick cooking, this recipe is adaptable. Feel free to use boneless, skinless chicken thighs for a richer, more succulent flavor profile, or chicken tenders for smaller, kid-friendly portions. Simply adjust the pounding and cooking times accordingly – thighs may need a minute or two longer per side.
- Enhanced Seasoning: My go-to is always simple salt and pepper to let the chicken shine. However, you can easily elevate the savory profile by adding other seasonings to your flour mixture. A teaspoon of garlic powder, onion powder, paprika, or even a pinch of Japanese seven-spice (shichimi togarashi) can add wonderful depth of flavor. A dash of cayenne pepper can introduce a subtle heat.
- Air Fryer Chicken Katsu: For a lighter, less oily version, you can adapt this recipe for an air fryer. Lightly spray the breaded chicken with oil, then air fry at 375°F (190°C) for 12-18 minutes, flipping halfway, until golden brown and cooked through. Results will be crispy, though not quite as rich as pan-fried.
- Katsu Sando (Sandwich): Turn your katsu into a popular Japanese sandwich! Place a warm katsu cutlet between two slices of soft white bread (crusts removed), spread with a generous layer of Tonkatsu sauce and sometimes a little mustard.
- Katsudon (Katsu Rice Bowl): A classic variation where katsu is simmered briefly with eggs and onions in a savory dashi-based sauce, then served over a bowl of rice.
- Cheese Katsu: For an indulgent twist, place a slice of mozzarella or provolone cheese between two thin chicken cutlets (or make a pocket in one cutlet), then bread and fry as usual. The melted cheese oozing out is heavenly!
What to Serve with Your Perfect Japanese Fried Chicken?
Beyond the essential Tonkatsu sauce, here are some delightful accompaniments that traditionally pair wonderfully with chicken katsu, creating a balanced and authentic Japanese meal:
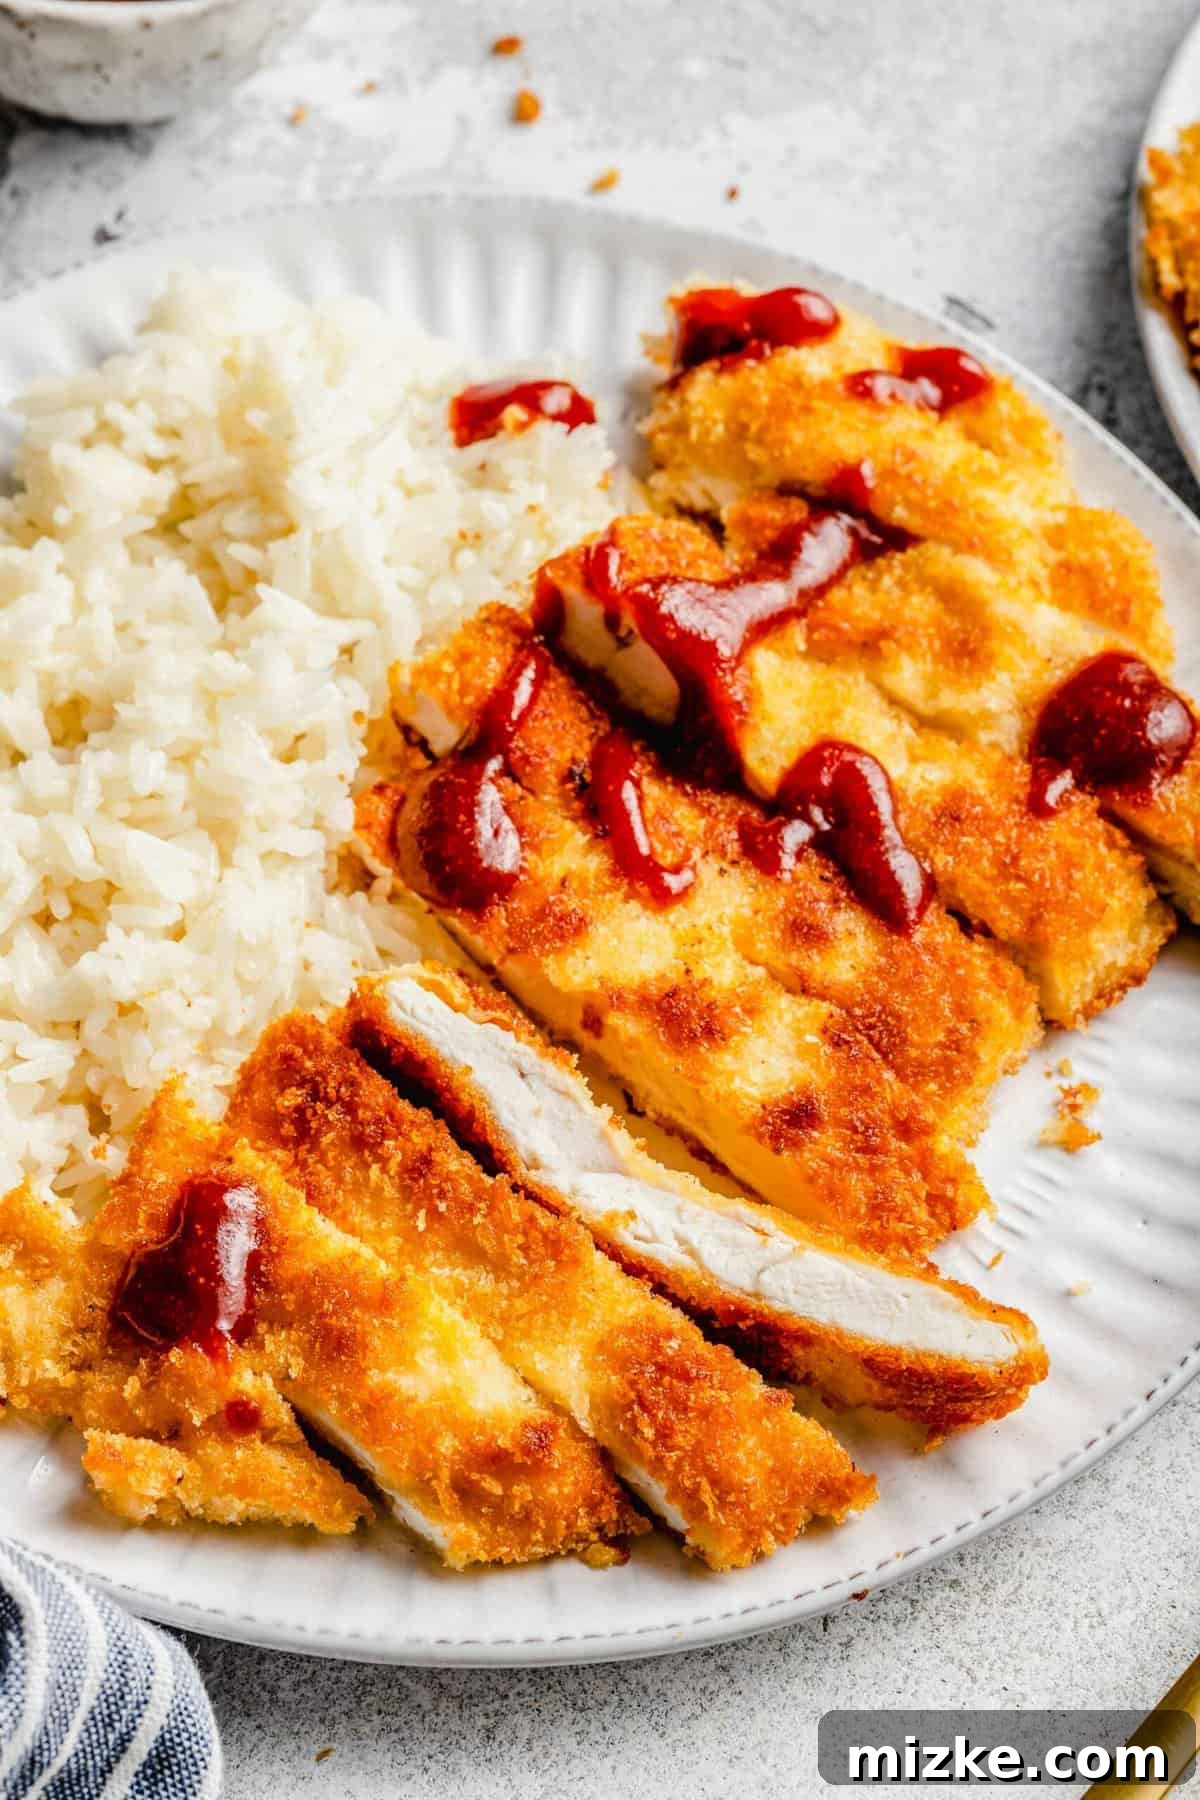
- Fluffy White Rice: A simple, steaming bowl of Japanese short-grain white rice is the quintessential pairing. Its mild flavor and soft texture perfectly complement the rich, crispy chicken. You can easily cook this while your chicken is frying.
- Tangy Lemon Wedges: A squeeze of fresh lemon juice over the hot katsu adds a bright, zesty tang that cuts through the richness of the fried chicken and enhances its overall flavor profile. It’s a simple addition that makes a big difference.
- Warm Miso Soup: A comforting bowl of salty-sweet miso soup provides a light, savory counterpoint to the fried chicken. It’s a traditional starter or side in many Japanese meals.
- Crisp Shredded Cabbage: Finely shredded raw cabbage is a classic accompaniment, offering a refreshing crunch and a slightly bitter contrast to the richness of the katsu. A light vinaigrette or a simple Japanese dressing can elevate it further.
- Steamed Vegetables: Keep it simple and healthy with steamed broccoli, asparagus, or green beans. Their freshness and vibrant color add balance to the plate.
- Japanese Potato Salad: For a more substantial side, a creamy, slightly tangy Japanese potato salad (often made with Kewpie mayonnaise) is a popular and delicious choice.
- Pickled Ginger (Gari): A small side of pink pickled ginger can offer a refreshing palate cleanser between bites, similar to how it’s served with sushi.
Storing and Reheating Your Chicken Katsu Leftovers
While chicken katsu is best enjoyed fresh, you can certainly save and reheat leftovers. Here’s how to ensure they remain as delicious as possible:
- To Store: Allow any leftover chicken katsu to cool completely to room temperature before storing. Place it in an airtight container and refrigerate for up to 3 days. Storing it properly helps maintain freshness and prevents bacterial growth.
- To Reheat for Maximum Crispness: The best way to revive the crispy texture is to reheat in a toaster oven or a conventional oven. Preheat your oven to 375°F (190°C). Place the katsu on a wire rack set over a baking sheet and bake for about 6-10 minutes, or until heated through and the crust is re-crisped. An air fryer also works wonderfully at 375°F (190°C) for 5-8 minutes.
- Microwave Reheating (with a caveat): You can reheat katsu in the microwave, but be aware that it will lose its signature crunch and the crust may become soft. This method is best if speed is your priority and crispiness is not essential (e.g., if you plan to use it in a katsudon).
Can This Chicken Katsu Recipe Be Frozen?
Absolutely! Chicken Katsu is a fantastic dish for meal prepping and freezing. You have a couple of options for freezing:
- Freezing Cooked Katsu: Once the chicken katsu is fully cooked and has cooled completely, wrap individual pieces tightly in plastic wrap, then place them in an airtight freezer-safe container or heavy-duty freezer bag. It can be stored in the freezer for up to 3 months. When ready to enjoy, thaw it in the refrigerator overnight before reheating in the oven or air fryer for best results.
- Freezing Uncooked, Breaded Katsu: For ultimate freshness, you can also freeze the breaded but uncooked chicken. After dredging the chicken in panko, place the cutlets on a baking sheet lined with parchment paper, ensuring they don’t touch. Freeze for 1-2 hours until solid. Once frozen, transfer the individual cutlets to an airtight freezer-safe container or bag. They can be frozen for up to 2 months. To cook, you can often fry them directly from frozen (adding a few extra minutes to the cooking time) or thaw them slightly in the fridge first.
More Delicious Chicken Recipes to Explore
If you loved this chicken katsu recipe and are looking for more ways to enjoy versatile chicken, here are some other favorite chicken dishes that are sure to please:
- Irresistible Chinese Salt and Pepper Chicken Wings
- Flavorful Grilled Teriyaki Chicken Skewers
- Delectable Sweet Chili Glazed Grilled Chicken
- Hearty Baked Chicken Spaghetti
- Refreshing Greek Chicken Pasta Salad
Print Recipe
Chicken Katsu [チキンカツ]
Ingredients
- 1 pound (454 g) boneless skinless chicken breasts, or thin sliced boneless skinless chicken breasts
- ½ cup (63 g) all-purpose flour
- Couple pinches of kosher salt
- Ground black pepper, to taste
- 2 large eggs
- ⅔ cup (40 g) Panko breadcrumbs
- Vegetable oil, for frying (about ¼ to ½ inch deep in your pan)
Instructions
- In a plastic bag, pound your chicken breasts (1 pound / 454 g) to a thin filet, one at a time, with the flat end of a meat tenderizer or rolling pin. If you’re using thin-sliced chicken, this step may not be necessary. Ensure you have padding underneath your plastic bag to protect your countertops!
- In a shallow dish, add the all-purpose flour (½ cup / 63 g), a couple pinches of kosher salt, and ground black pepper. Mix thoroughly to combine.
- In another shallow dish, beat the 2 large eggs until well combined.
- In a third shallow dish, place the Panko breadcrumbs (⅔ cup / 40 g).
- Arrange your shallow dishes in the following order for easy dredging: flour, then eggs, then panko.
- In a skillet, heat a thin layer of vegetable oil over medium-high heat, just enough to generously coat the bottom of the pan and come up slightly on the sides.
- Take one chicken filet, dredge it completely in the flour mixture on both sides, shaking off any excess. Then, coat it thoroughly in the beaten eggs. Finally, cover it entirely in the panko breadcrumbs, pressing gently to adhere, and shake off any excess.
- Test the oil temperature: flick a small drop of water into the hot oil. If it sizzles immediately, the oil is ready for frying.
- Carefully place the breaded chicken into the hot oil. Cook each side for about 3-4 minutes, or until it’s beautifully golden brown (be careful not to burn it). The thin chicken cutlets will cook through quickly.
- Before frying the next filet, use tongs or a slotted spoon to clear out any stray panko crumbs from the skillet. These crumbs will burn if left in the oil and can impart an unpleasant taste.
- Repeat the process until all your chicken filets are cooked. Slice them into length-long pieces and serve immediately with white rice. Don’t forget to top generously with Tonkatsu sauce!
Notes
- To Store: Store cooked chicken katsu in an airtight container in the fridge for up to 3 days.
- To Freeze: You can freeze cooked katsu in an airtight container for up to 3 months. Thaw in the fridge before reheating. Alternatively, freeze uncooked breaded katsu on a tray until solid, then transfer to a freezer bag for up to 2 months.
- To Reheat: For best crispness, reheat in a toaster oven or a 375°F (190°C) oven for about 6-10 minutes. Reheating in the microwave will result in a loss of crunch.
Nutrition Information (Approximate)
Calories: 257kcal,
Carbohydrates: 19g,
Protein: 30g,
Fat: 6g,
Saturated Fat: 1g,
Polyunsaturated Fat: 1g,
Monounsaturated Fat: 2g,
Trans Fat: 0.02g,
Cholesterol: 154mg,
Sodium: 236mg,
Potassium: 486mg,
Fiber: 1g,
Sugar: 1g
This website provides approximate nutrition information for convenience and as a courtesy only. Nutrition information can vary for a variety of reasons. For the most precise nutritional data, use your preferred nutrition calculator based on the actual ingredients you used in the recipe.
The default measuring system for this website is US Customary. Unit conversions are provided for convenience and as a courtesy only. While we strive to provide accurate unit conversions, please be aware that there may be some discrepancies.
Frequently Asked Questions About Chicken Katsu
Here are answers to some common questions about making and enjoying chicken katsu:
- What is the best oil for frying chicken katsu? Neutral oils with a high smoke point are best. Vegetable oil, canola oil, peanut oil, and grapeseed oil are all excellent choices. They won’t impart unwanted flavors and can withstand the high heat needed for crispy results.
- Can I bake chicken katsu instead of frying? Yes, you can. While frying yields the crispiest results, baking is a healthier alternative. To bake, lightly spray the breaded chicken with oil and bake at 400°F (200°C) for 20-25 minutes, flipping halfway, until golden brown and cooked through. It will be crispy, but slightly less so than fried.
- How do I make my katsu extra crispy? The key is using panko breadcrumbs, pounding your chicken to an even thickness, ensuring your oil is at the right temperature, and not overcrowding the pan. Also, draining excess oil on a wire rack after frying helps prevent sogginess.
- What is Tonkatsu sauce? Tonkatsu sauce is a thick, savory-sweet Japanese condiment typically made from fruits and vegetables (like apples, prunes, and tomatoes), vinegar, sugar, and spices. It’s similar to a Worcestershire sauce but thicker and sweeter. It’s the traditional accompaniment for katsu dishes.
- Can I use chicken thighs instead of breasts? Absolutely! Boneless, skinless chicken thighs will yield an even juicier katsu with a richer flavor. Adjust cooking time as needed, as thighs may take slightly longer than breasts.
Photography by Eat Love Eats