
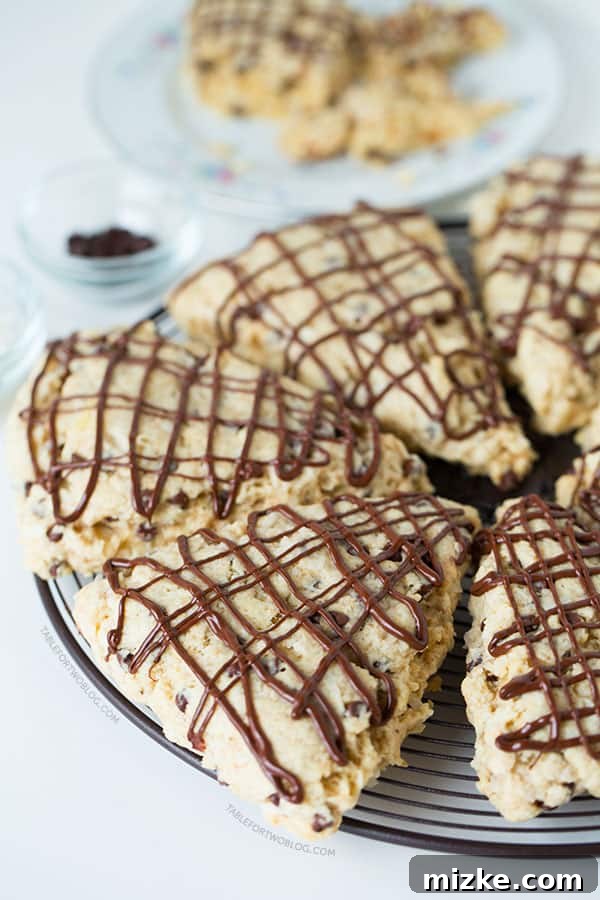
As June draws to a close and the Fourth of July quickly approaches, it’s a vibrant reminder of how swiftly the seasons change and how much joy can be found in anticipation. With summer holidays upon us, and Thanksgiving and Christmas not far behind, my thoughts often drift to delicious food and efficient ways to manage our household. There’s something truly special about preparing homemade treats and ensuring your kitchen is ready for any occasion, big or small. This blend of festive cheer and practical planning often leads me down a path of culinary inspiration, much like the delightful chocolate coconut scones I’m excited to share today.
Streamline Your Kitchen: The Benefits of a Chest Freezer
Speaking of holidays and feasts, my mind inevitably wanders to the wonderful problem of leftover food, and more importantly, how to preserve it efficiently. For quite some time now, I’ve been contemplating a significant upgrade to our kitchen setup: investing in a chest freezer for our garage. This isn’t just a fleeting thought; it’s an appliance I know would quickly become indispensable for our family. We love to buy meats in bulk, especially when we find good deals, and I feel like we’re constantly shuffling containers into our regular freezer after every substantial meal. The truth is, our current pull-out freezer is often bursting at the seams. Not to mention, my beloved KitchenAid ice cream attachment, which sees frequent use in the warmer months, takes up a surprising amount of space! I usually have to remove it in winter to free up room, which feels a little inconvenient.
The idea of a dedicated chest freezer offers numerous advantages. Imagine the convenience of having ample space for bulk purchases, allowing you to stock up on seasonal ingredients, pre-made meals, or large cuts of meat, which can significantly reduce grocery costs over time. It’s also a fantastic tool for meal prepping, enabling you to cook larger batches of your family’s favorite dishes and freeze them for quick, healthy meals on busy weeknights. This approach not only saves time but also minimizes food waste, a win-win for both your budget and the environment. I recently discovered that they also sell upright chest freezers, which take up less width and might be a better fit for tighter garage spaces. If you own a chest freezer, especially an upright model, I’d love to hear your thoughts! Do you find it indispensable? What are your favorite ways to utilize it?
Discover the Delight of Homemade Chocolate Coconut Scones
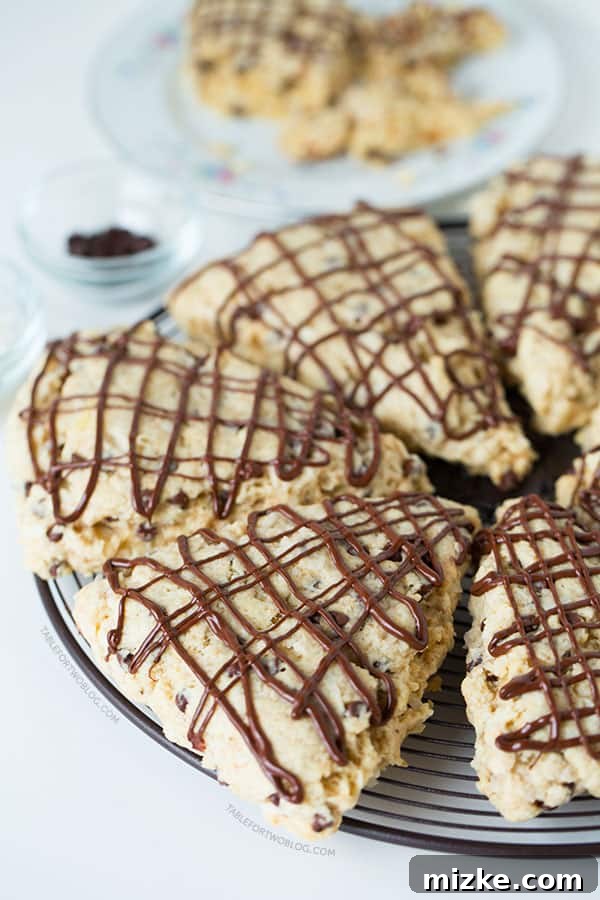
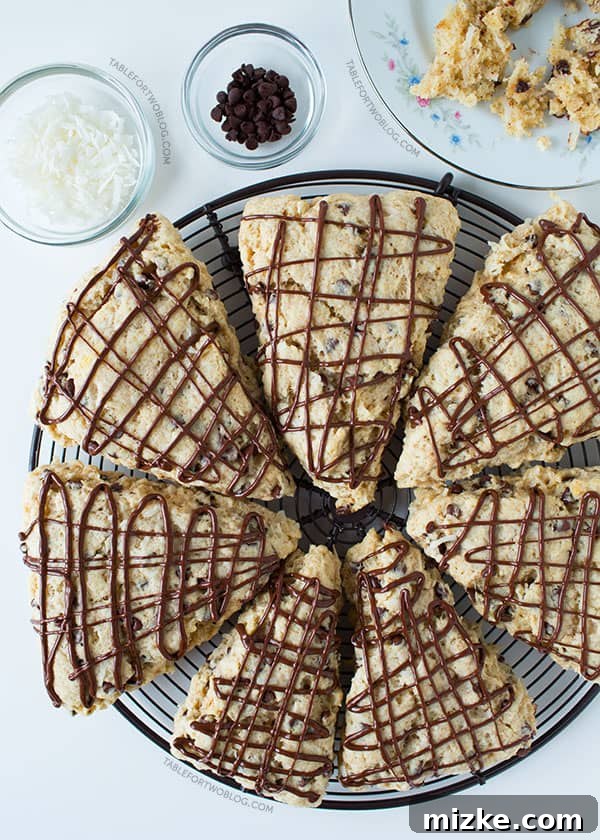
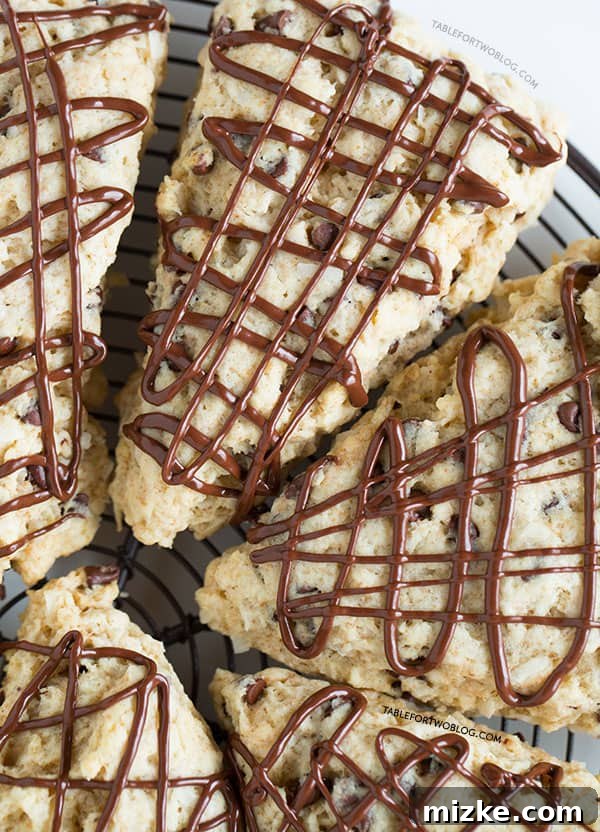
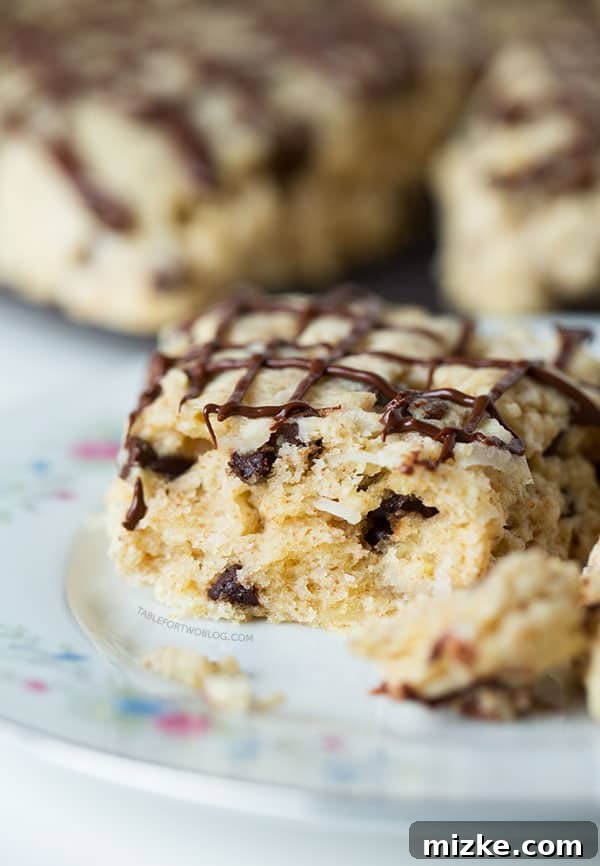
Around the time I started dreaming of better freezer organization, I was also on a huge chocolate and coconut kick. There’s just something inherently comforting and luxurious about this flavor combination. It was during this period of intense craving that these incredible chocolate coconut scones came to life. My goal was to infuse as much coconut flavor as possible, leading to what I affectionately call “triple coconut” goodness: coconut oil for a tender crumb, fragrant coconut flakes for texture and intense flavor, and a touch of coconut extract to really amplify that tropical essence. The addition of mini chocolate chips throughout the dough provides delightful pockets of melted chocolate, while a decadent chocolate drizzle on top adds a final flourish of sweetness and a beautiful visual appeal. The combination is simply divine, creating a scone that is both rich and perfectly balanced.
These scones quickly became a morning ritual in our household. There’s no better way to start the day than with a warm, freshly baked scone and a steaming cup of coffee or tea. The aroma alone is enough to lift your spirits! What makes them even more appealing is how surprisingly easy they are to make. Scones often get a reputation for being complicated, but with a few simple steps and the right technique, you can have a batch of these bakery-worthy treats on your table in under thirty minutes. The process is incredibly satisfying, from cutting in the coconut oil to shaping the dough and watching them rise beautifully in the oven. The joy of pulling a warm tray of homemade scones from the oven is unmatched.
If you’ve never ventured into baking scones before, this chocolate coconut scone recipe is the perfect place to start. It’s forgiving, flavorful, and yields consistently delicious results. You’ll be amazed at how quickly these disappear! I’m already planning to whip up another batch very soon, perhaps even to freeze some (foreshadowing my freezer goals!). Trust me, once you try these, you’ll understand why they’ve become such a beloved staple. You’ll find the full, easy-to-follow recipe below – I’m pretty sure you’ll love every single bite!
Rate
Chocolate Coconut Scones
Julie Chiou
10 minutes
16 minutes
26 minutes
8
Equipment
-
Large rimmed baking sheet
-
Pastry cutter
-
Rolling pin
Ingredients
-
½ cup
(63 g) all-purpose flour -
½ cup
(63 g) whole wheat flour -
¼ cup
(50 g) granulated sugar -
2 tablespoons
baking powder -
½ teaspoon
salt -
5 tablespoons
(70 g)
coconut oil
, (hardened, not liquid form) -
½ cup
(118 ml) coconut milk -
1
egg, lightly beaten -
½ teaspoon
coconut extract -
1 cup
(85 g) sweetened coconut flakes -
½ cup
(90 g) mini chocolate chips
For the chocolate drizzle
-
½ cup
(90 g) semi-sweet chocolate chips, regular sized -
¼ teaspoon
vegetable oil
Instructions
-
Preheat oven to 375 °F (191 °C) and line a baking sheet with parchment paper or a silicone baking mat.
-
In a large bowl, whisk together the all-purpose flour, whole wheat flour, granulated sugar, baking powder, and salt. Add the hardened coconut oil and, using a pastry blender, cut the coconut oil into the flour mixture until it resembles coarse, pea-shaped meal. This step is crucial for flaky scones.
-
In a separate small bowl, combine the coconut milk, lightly beaten egg, and coconut extract. Add this wet mixture to the dry ingredients. Stir together with a wooden spoon or spatula until the dough just comes together. Be careful not to overmix. Gently fold in the sweetened coconut flakes and mini chocolate chips until evenly distributed.
-
Turn the dough out onto a lightly floured surface. Gently bring the dough together and pat it into a 1-inch thick circle. Using a sharp knife or a bench scraper, cut the dough into 8 equal wedges.
-
Carefully place the wedges onto the prepared baking sheet, leaving a little space between each scone. Bake for approximately 16 minutes, or until the tops are lightly golden brown and a toothpick inserted into the center comes out clean. Let the scones rest on the baking sheet for 10 minutes to firm up slightly, then transfer them to a wire cooling rack to cool completely.
-
Once the scones have cooled completely, prepare the chocolate drizzle. Place the semi-sweet chocolate chips and vegetable oil in a small, microwave-safe bowl. Microwave in 30-second increments, stirring well after each interval, until the chocolate chips are completely melted and smooth. The vegetable oil will help achieve a glossy, pourable consistency.
-
Carefully transfer the melted chocolate into a small plastic bag (like a Ziploc bag). Snip a tiny hole in one corner of the bag with scissors.
-
Drizzle the melted chocolate artistically over the cooled scones. Allow the chocolate drizzle to set for 30-45 minutes at room temperature, or briefly in the refrigerator, until hardened.
-
Store the finished chocolate coconut scones in an airtight container at room temperature for up to 5 days to maintain their freshness and delightful flavor.
Notes
The small amount of vegetable oil added to the chocolate drizzle is optional, but highly recommended. It helps to thin the chocolate slightly, making it easier to drizzle, and gives the finished glaze a beautiful, professional-looking shine. You can omit it if you prefer, but the chocolate might be a bit thicker and less glossy.
Nutrition Information
Serving: 1 scone
,
Calories: 385kcal
,
Carbohydrates: 43g
,
Protein: 5g
,
Fat: 23g
,
Fiber: 4g
,
Sugar: 28g
This website provides approximate nutrition information for convenience and as a courtesy only. Nutrition information can vary for a variety of reasons. For the most precise nutritional data, please use your preferred nutrition calculator based on the actual ingredients you used in the recipe.
The default measuring system for this website is US Customary. Unit conversions are provided for convenience and as a courtesy only. While we strive to provide accurate unit conversions, please be aware that there may be some discrepancies.
I hope you’ve enjoyed this culinary journey, from the strategic planning of kitchen storage to the sweet satisfaction of baking. These chocolate coconut scones are truly a testament to the simple pleasures of homemade goodness. Whether you’re a seasoned baker or just starting out, this recipe is designed to bring joy and deliciousness to your day. Give them a try, and perhaps, like me, you’ll find yourself pondering other ways to make your kitchen even more efficient, ready for all the delicious meals and memories to come. Happy baking, and enjoy your delightful treats!
Please note: This post contains affiliate links. If you make a purchase through these links, I may earn a small commission at no extra cost to you. This helps support my blog and allows me to continue sharing delicious recipes and helpful tips!