
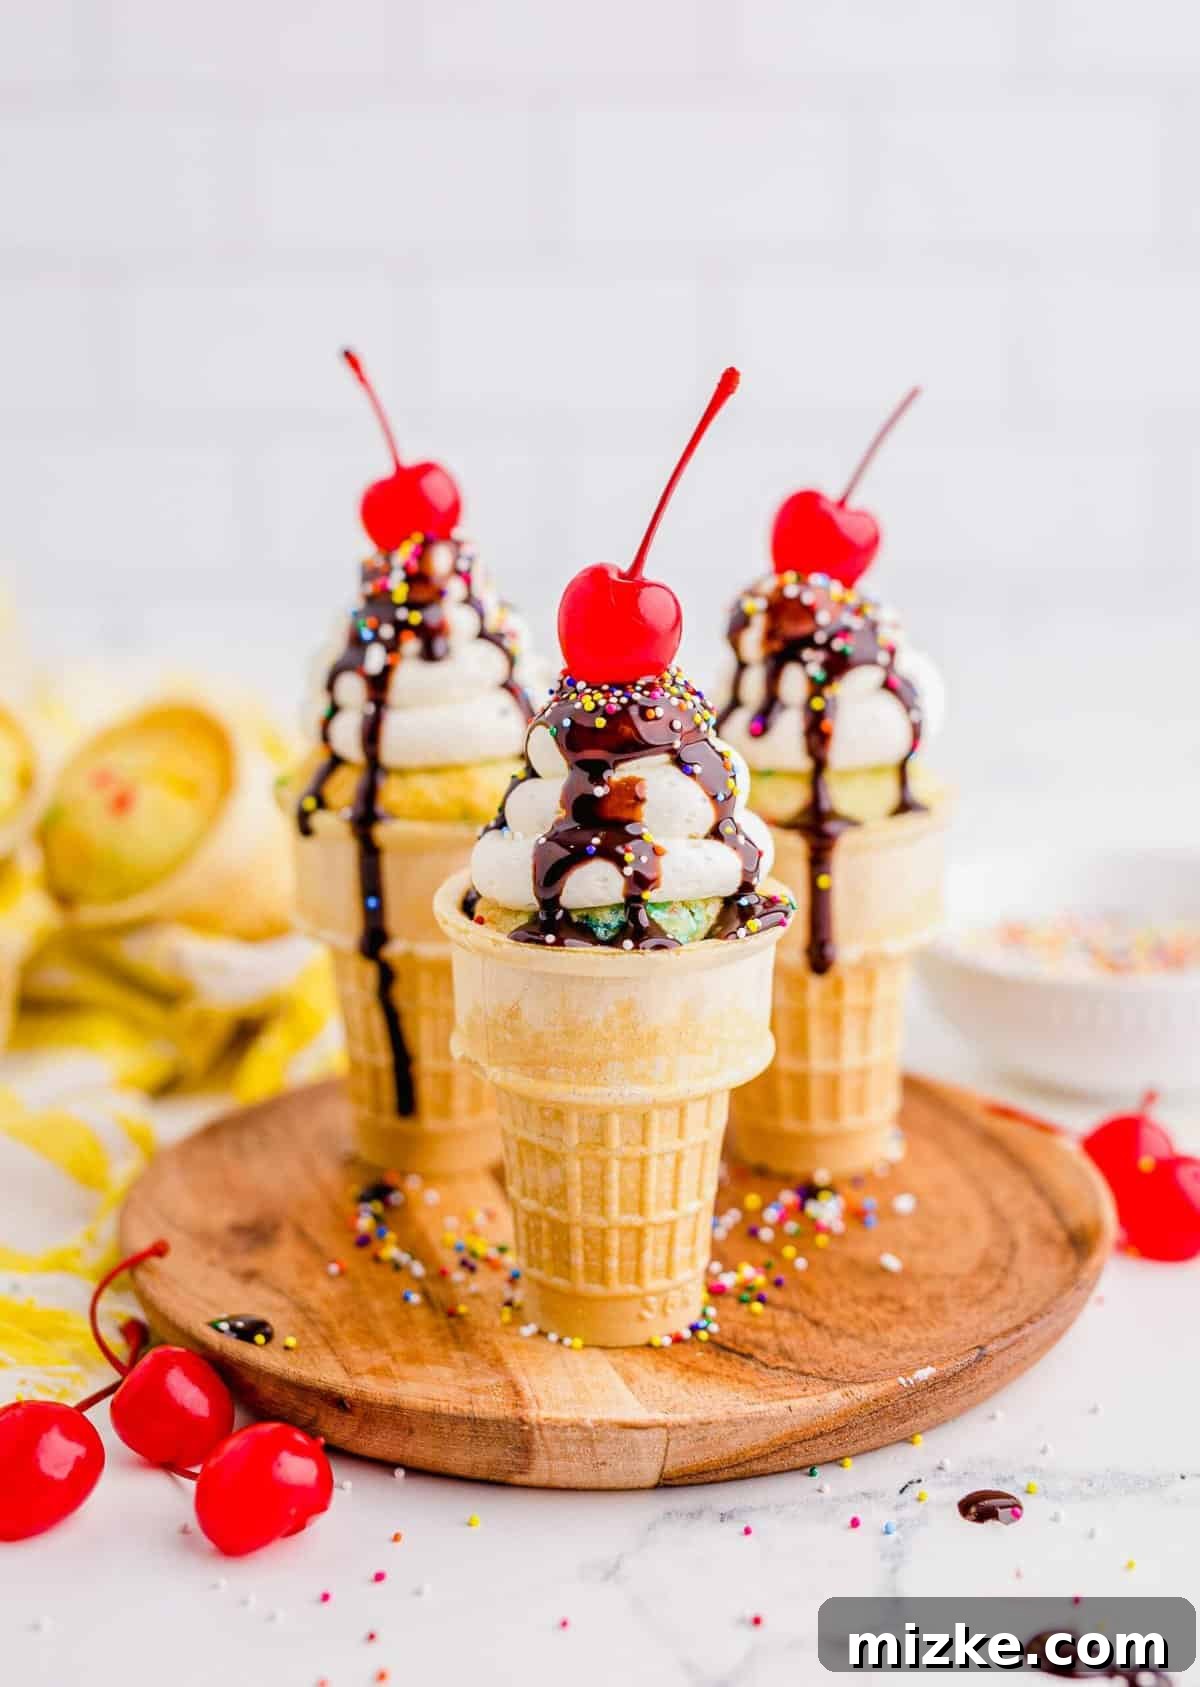
Delightful Ice Cream Cone Cupcakes: The Ultimate Funfetti Dessert
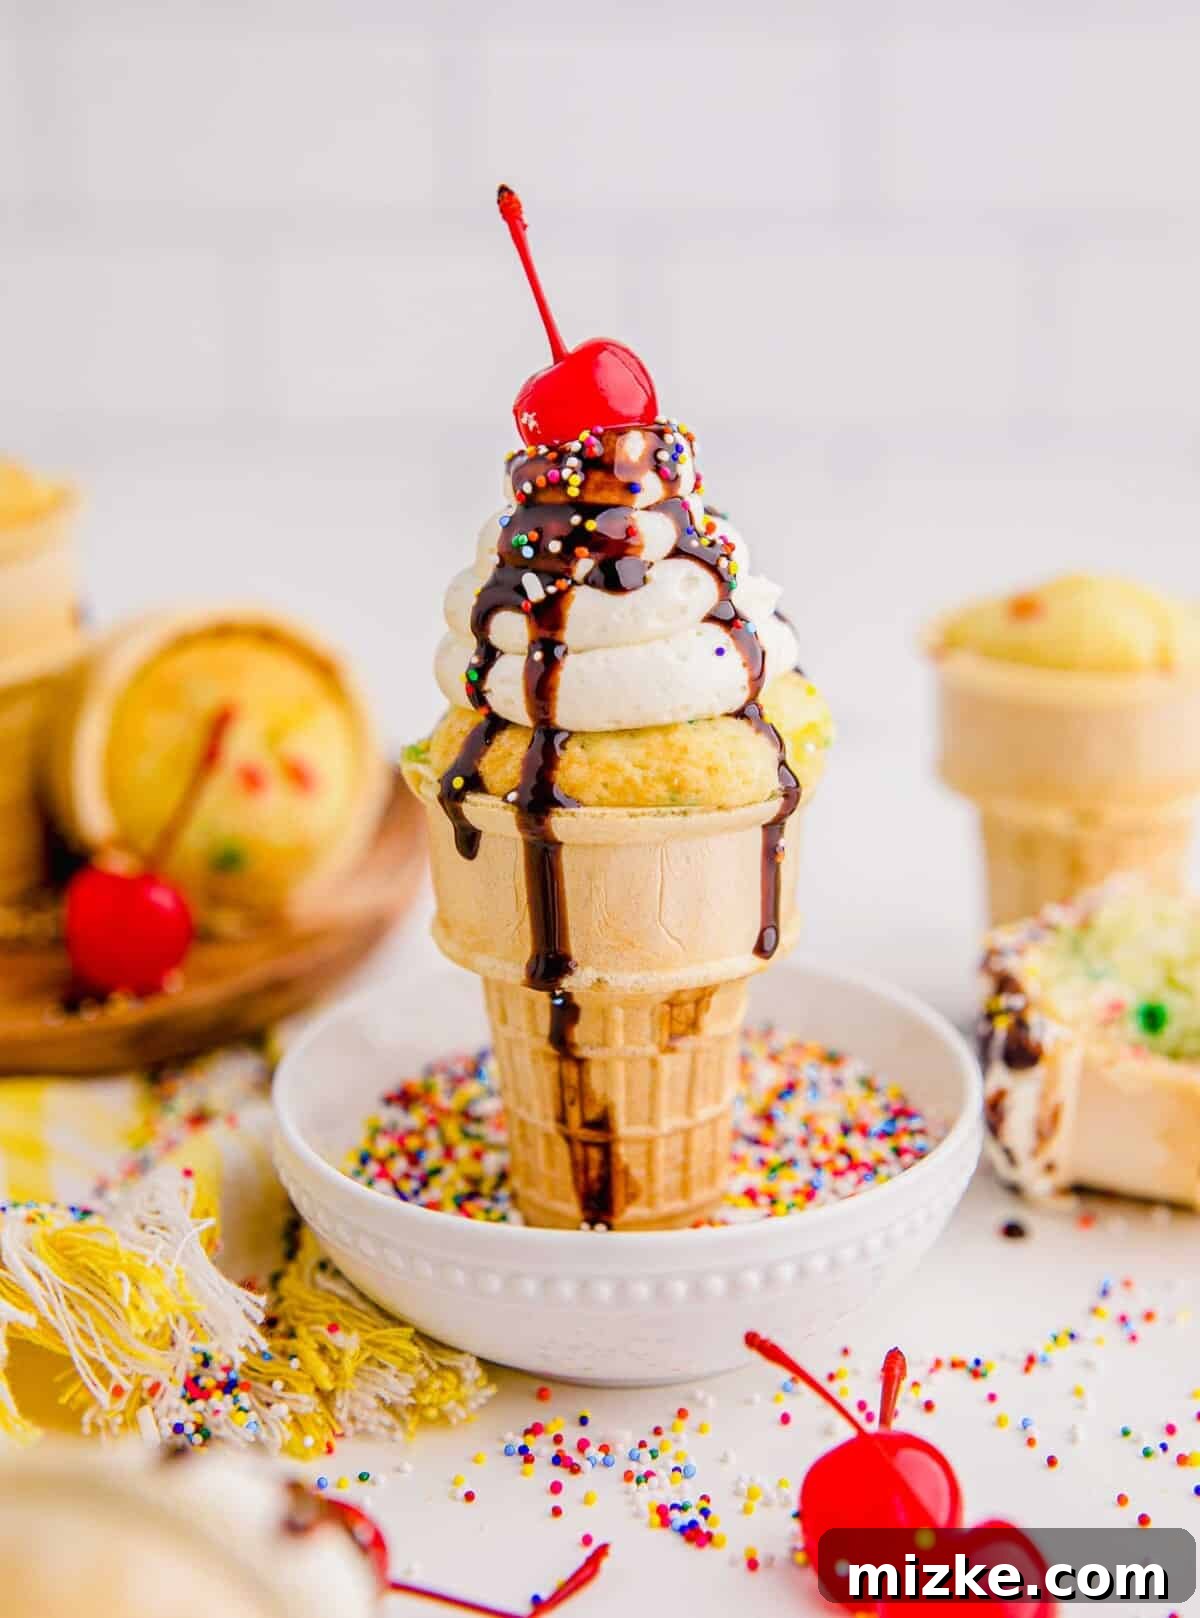
Ice Cream Cone Cupcakes are an absolute sensation, blending the beloved flavors of cake and ice cream into one irresistibly cute and handheld treat. Imagine vibrant funfetti cake mix baked right inside crisp ice cream cones, then crowned with swirls of rich, homemade buttercream and a shower of colorful sprinkles! These delightful creations are not just desserts; they’re an experience, promising to bring a smile to every face and a spark of joy to any occasion. Treat your inner child, and everyone you share them with, to these charming delights today.
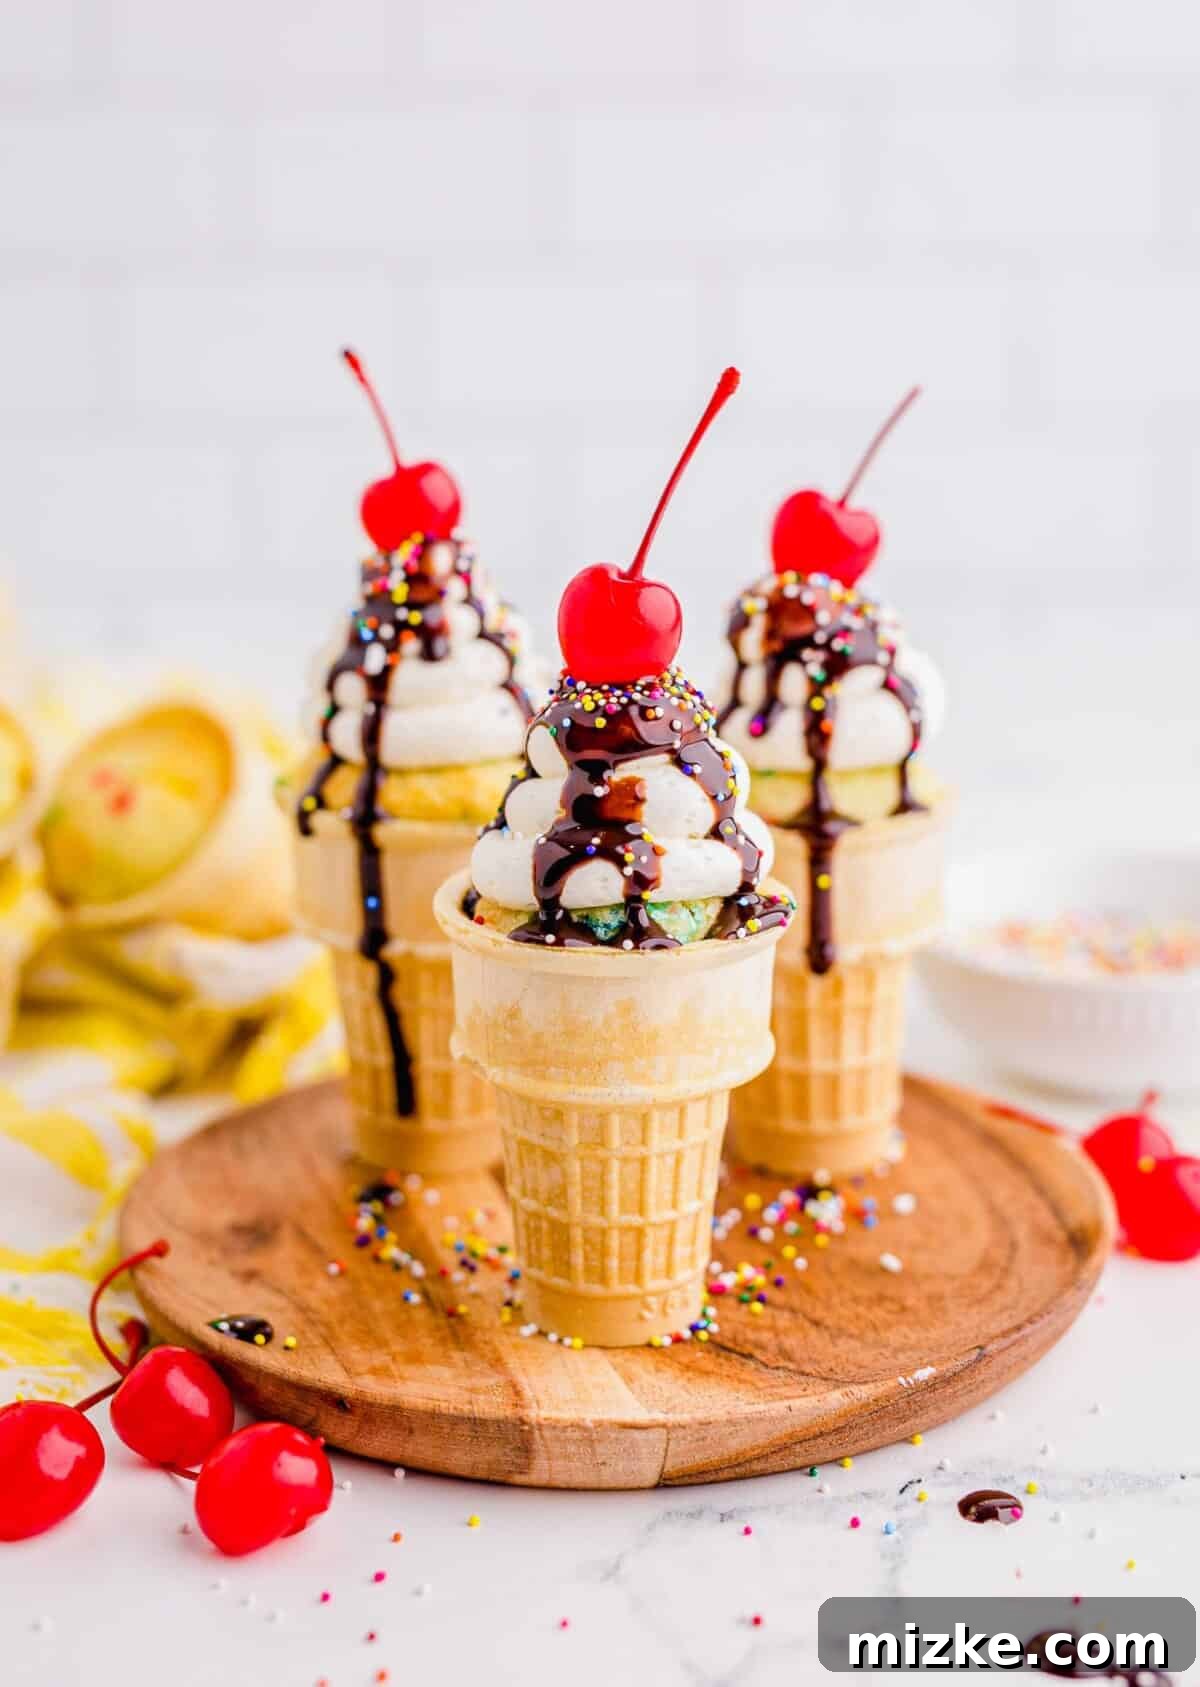
While my love for traditional ice cream knows no bounds, there’s something uniquely magical about enjoying a cupcake baked directly into a cone. The sheer fun factor of these rainbow-speckled ice cream cone cupcakes is undeniable! They effortlessly combine the soft, moist texture of a cupcake with the satisfying crunch of an ice cream cone, creating a dessert that is both whimsical and wonderfully delicious.
The true artistry, however, comes with the toppings. Adorning these treats with homemade buttercream offers endless creative possibilities. I’ve included versatile recipes for classic vanilla buttercream, decadent chocolate buttercream, and vibrant colorful buttercream, ensuring your treats can look and taste precisely how you envision them. Whether you opt for a single flavor or a playful combination, each cupcake becomes a canvas for your decorating dreams. And don’t forget your camera – these photo-ready desserts are practically begging to be featured on your social media feed!
Perfect for Every Celebration
In today’s world, there’s always a reason to celebrate, and these ice cream cone cupcakes are the ultimate festive treat to mark any special moment. Their charming appearance and customizable nature make them incredibly versatile for various occasions. Imagine coordinating the colors of your buttercream and sprinkles to perfectly match a baby shower theme, reveal a gender, or celebrate a lively St. Patrick’s Day. They are also ideal for bridal showers, birthday parties for all ages, school events, graduation celebrations, summer picnics, and even holiday gatherings like Christmas or Easter.
For a child’s birthday, they eliminate the need for plates and forks, making cleanup a breeze. At a sophisticated gathering, elegant piping and subtle color schemes can elevate them into a chic dessert. Their grab-and-go nature makes them fantastic for potlucks or outdoor events where serving individual slices of cake can be messy. No matter the event, these cupcakes in cones are guaranteed to be a memorable and highly anticipated part of the festivities.
Essential Ingredients for Your Ice Cream Cone Cupcakes
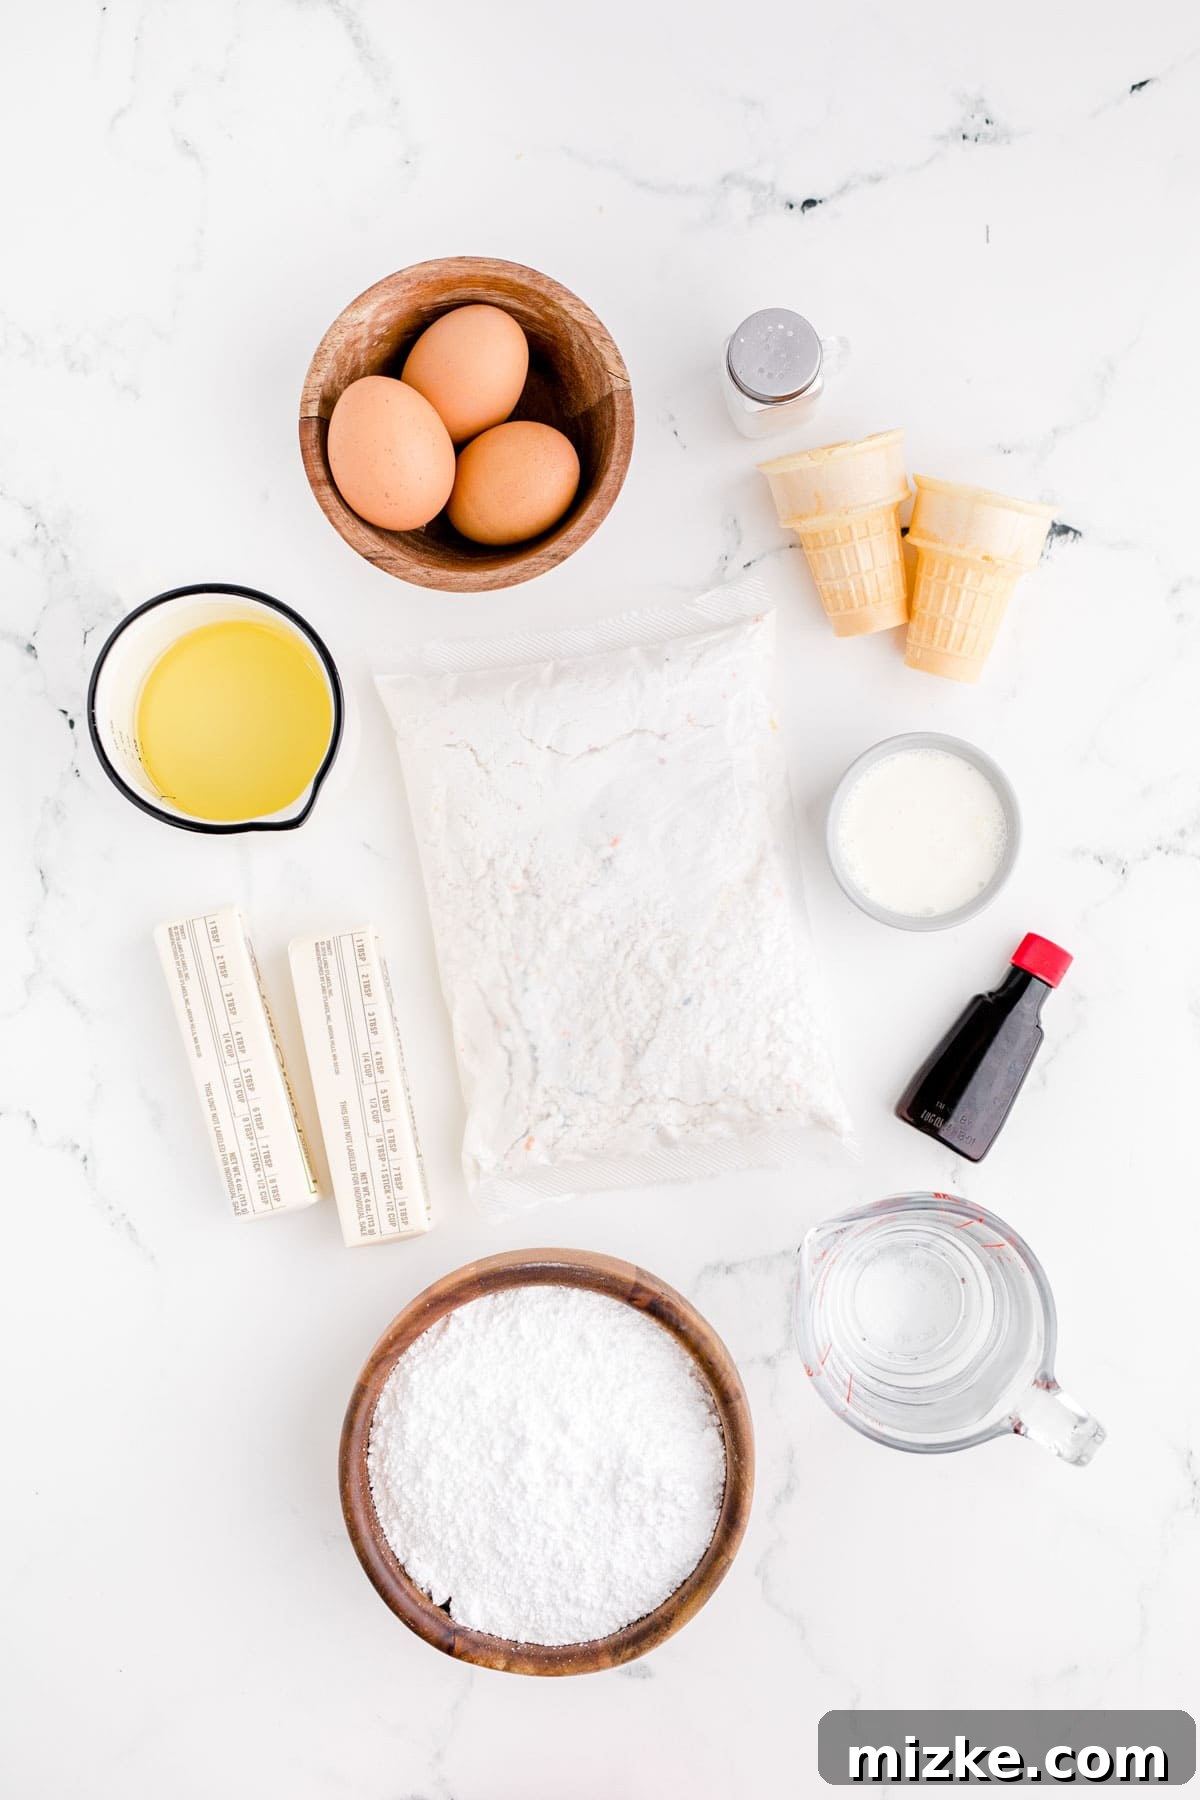
Crafting these adorable treats requires just a few simple ingredients, many of which you likely already have on hand. The beauty of this recipe lies in its flexibility and ease, making it accessible for bakers of all skill levels.
For the Cupcakes:
- Funfetti Cake Mix: This is the star of our cupcake base, delivering a delightful burst of color and a universally loved vanilla flavor. Simply prepare the batter according to the directions provided on the box, which typically involves adding eggs, water, and oil. The ease of a box mix means less time in the kitchen and more time enjoying your creations!
- Ice Cream Cones: Crucially, these must be the flat-bottomed variety. These cones are designed to stand upright, making them perfect for baking in a cupcake tin without toppling over. Sugar cones or waffle cones can also work if placed carefully, but flat-bottomed cones offer the most stability.
For Vanilla Buttercream:
- Unsalted Butter: Ensure your butter is softened to room temperature. This is vital for achieving a smooth, creamy, and lump-free buttercream. Softened butter creams beautifully, incorporating air for that light, fluffy texture.
- Powdered Sugar (Confectioners’ Sugar): No classic buttercream is complete without this finely milled sugar. It dissolves effortlessly, creating a silky-smooth frosting without any grainy texture.
- Heavy Cream: This ingredient adds richness and helps achieve the perfect consistency for piping. Do not substitute with lighter dairy products, as they will not provide the same body and creaminess.
- Pure Vanilla Extract: For the best flavor, opt for pure vanilla extract over imitation. Its aromatic depth elevates the buttercream from good to truly exceptional.
- Salt: Just a dash of salt is essential to balance the sweetness of the sugar and enhance all the other flavors in the buttercream.
For Chocolate Buttercream:
- Unsweetened Cocoa Powder: This is what gives our chocolate buttercream its deep, rich, and authentic chocolate flavor. For an even richer taste, you can use Dutch-processed cocoa powder.
- Pure Vanilla Extract: Vanilla extract surprisingly enhances chocolate flavors, making them taste even more profound and complex.
Creative Variations & Smart Substitutions
One of the most exciting aspects of making ice cream cone cupcakes is the freedom to customize them. This recipe is a fantastic starting point, but don’t hesitate to experiment with different flavors and decorations to make them uniquely yours!
- Explore Different Cake Mix Flavors: While funfetti is a joyous classic, your options are endless. If funfetti isn’t your top choice, feel free to use any other cake mix flavor. Imagine the possibilities with a rich devil’s food, a delicate strawberry, a zesty lemon, or even a classic yellow cake mix. Each flavor will create a distinct and equally delightful cupcake experience. You could even use a homemade cake batter if you prefer baking from scratch.
- Create a Swirled Buttercream Effect: To achieve an eye-catching swirled frosting, simply prepare two different buttercream flavors (e.g., vanilla and chocolate, or two different colored vanillas). When filling your piping bag, spread half of one flavor along one side of the bag and the other flavor along the opposite side. As you pipe, the two colors or flavors will swirl together, creating a beautiful marble effect. This technique adds an extra layer of visual appeal and flavor complexity.
- Whip Up Diverse Buttercream Flavors: Beyond vanilla and chocolate, the world of buttercream is vast and exciting! If you’re hosting a party and want to offer a “build-your-own” ice cream cone cupcake station, making a variety of buttercream flavors is a fantastic idea. Consider a bright and tangy blueberry buttercream, a cozy brown sugar cinnamon, or a luscious raspberry buttercream. Other wonderful options include lemon, peanut butter, coffee, or even a cream cheese frosting for a slightly tangy twist.
- Mix Up Your Toppings: Sprinkles are always a hit, but why stop there? Elevate your cupcakes by adding different candies, mini chocolate chips, chopped nuts, or even crushed cookies (like Oreos or Biscoff). Mini marshmallows, gummy candies, or tiny edible glitter can also add an extra layer of fun and texture. Match your toppings to your theme for an extra special touch.
- Layer Cake Mix Flavor Combinations: For an adventurous twist, if you’re using different cake mix flavors, consider layering them within the cone. For instance, you could fill the bottom half of the cone with chocolate batter and the top half with vanilla or strawberry batter. This creates a visually appealing striped cupcake and an exciting flavor surprise with every bite. Just be mindful of the consistency of the batters to ensure they bake evenly.
How to Make Ice Cream Cone Cupcakes: A Step-by-Step Guide
Creating these charming ice cream cone cupcakes is simpler than you might think. Follow these detailed instructions for a fun and successful baking experience. For a printable version of the full recipe, please refer to the recipe card below.
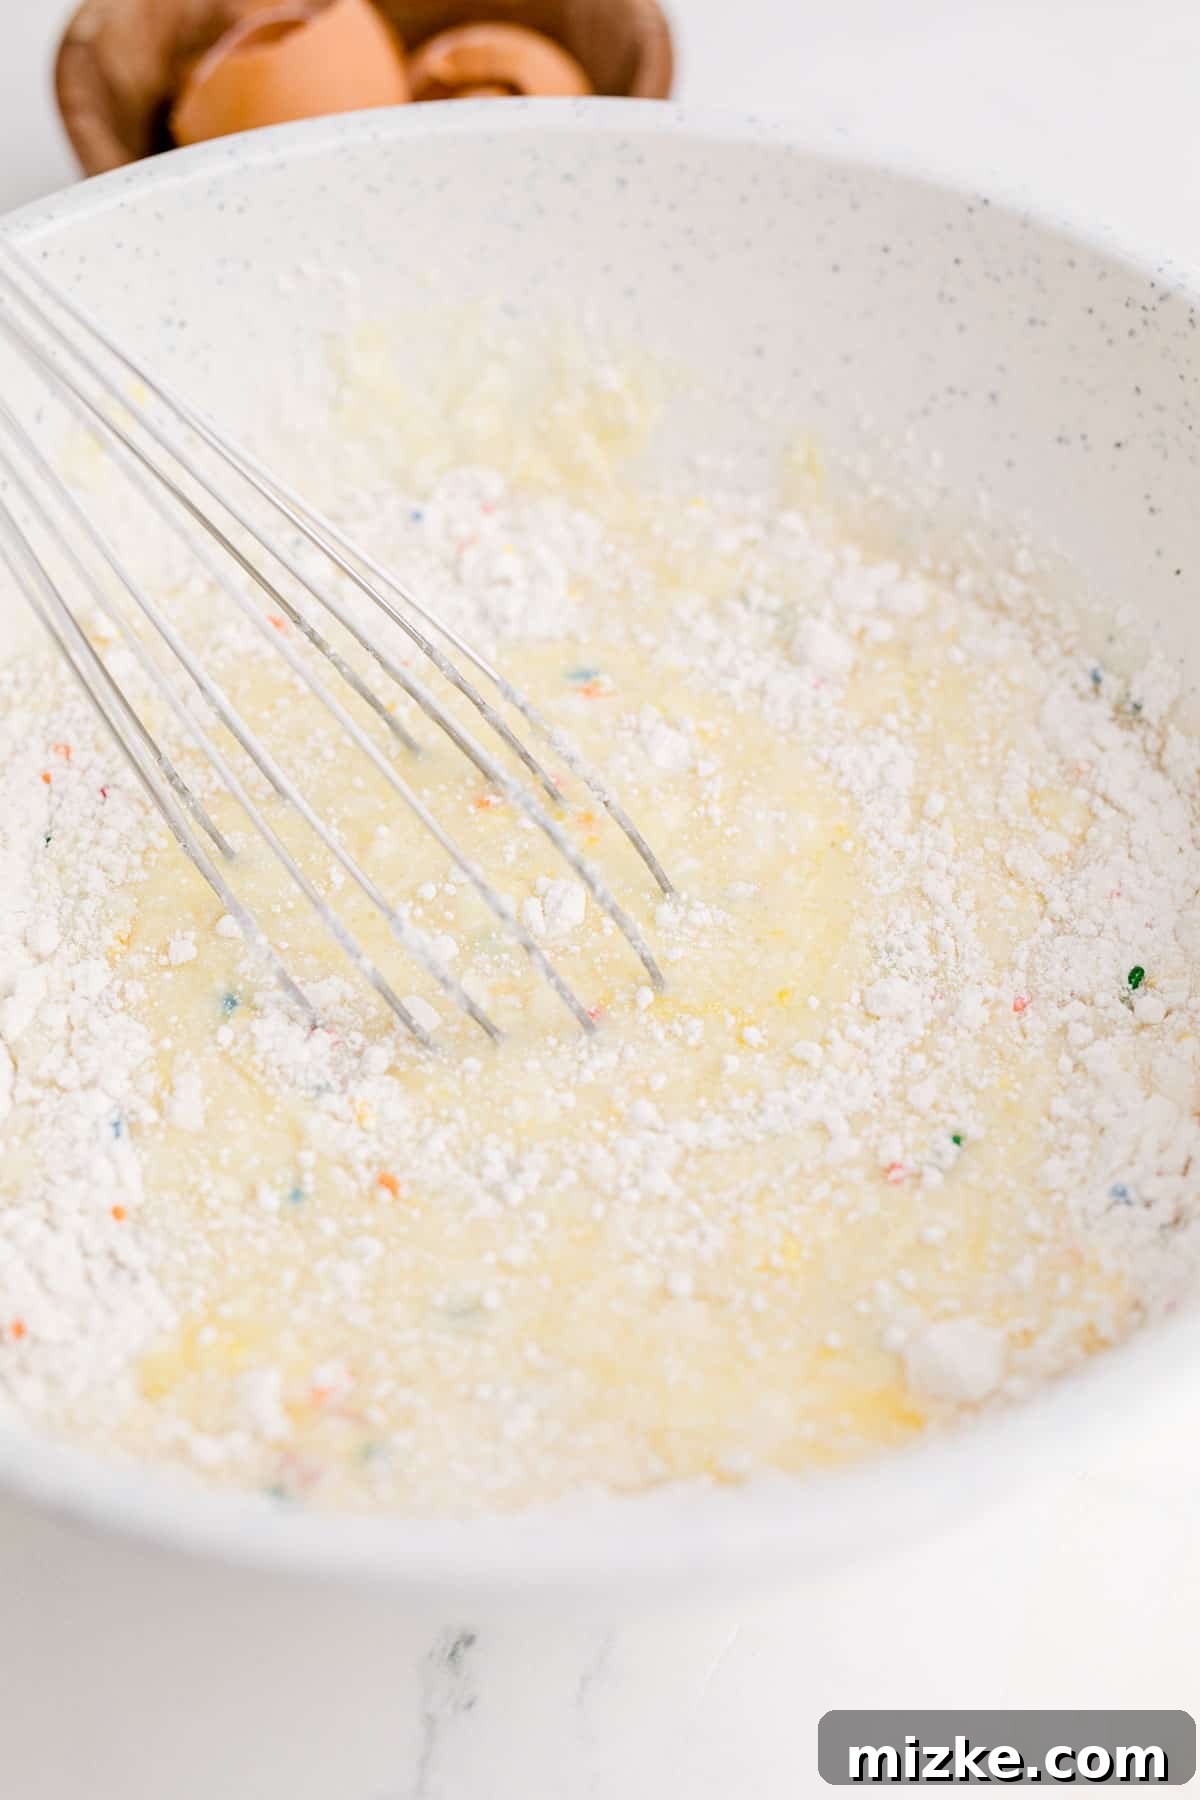
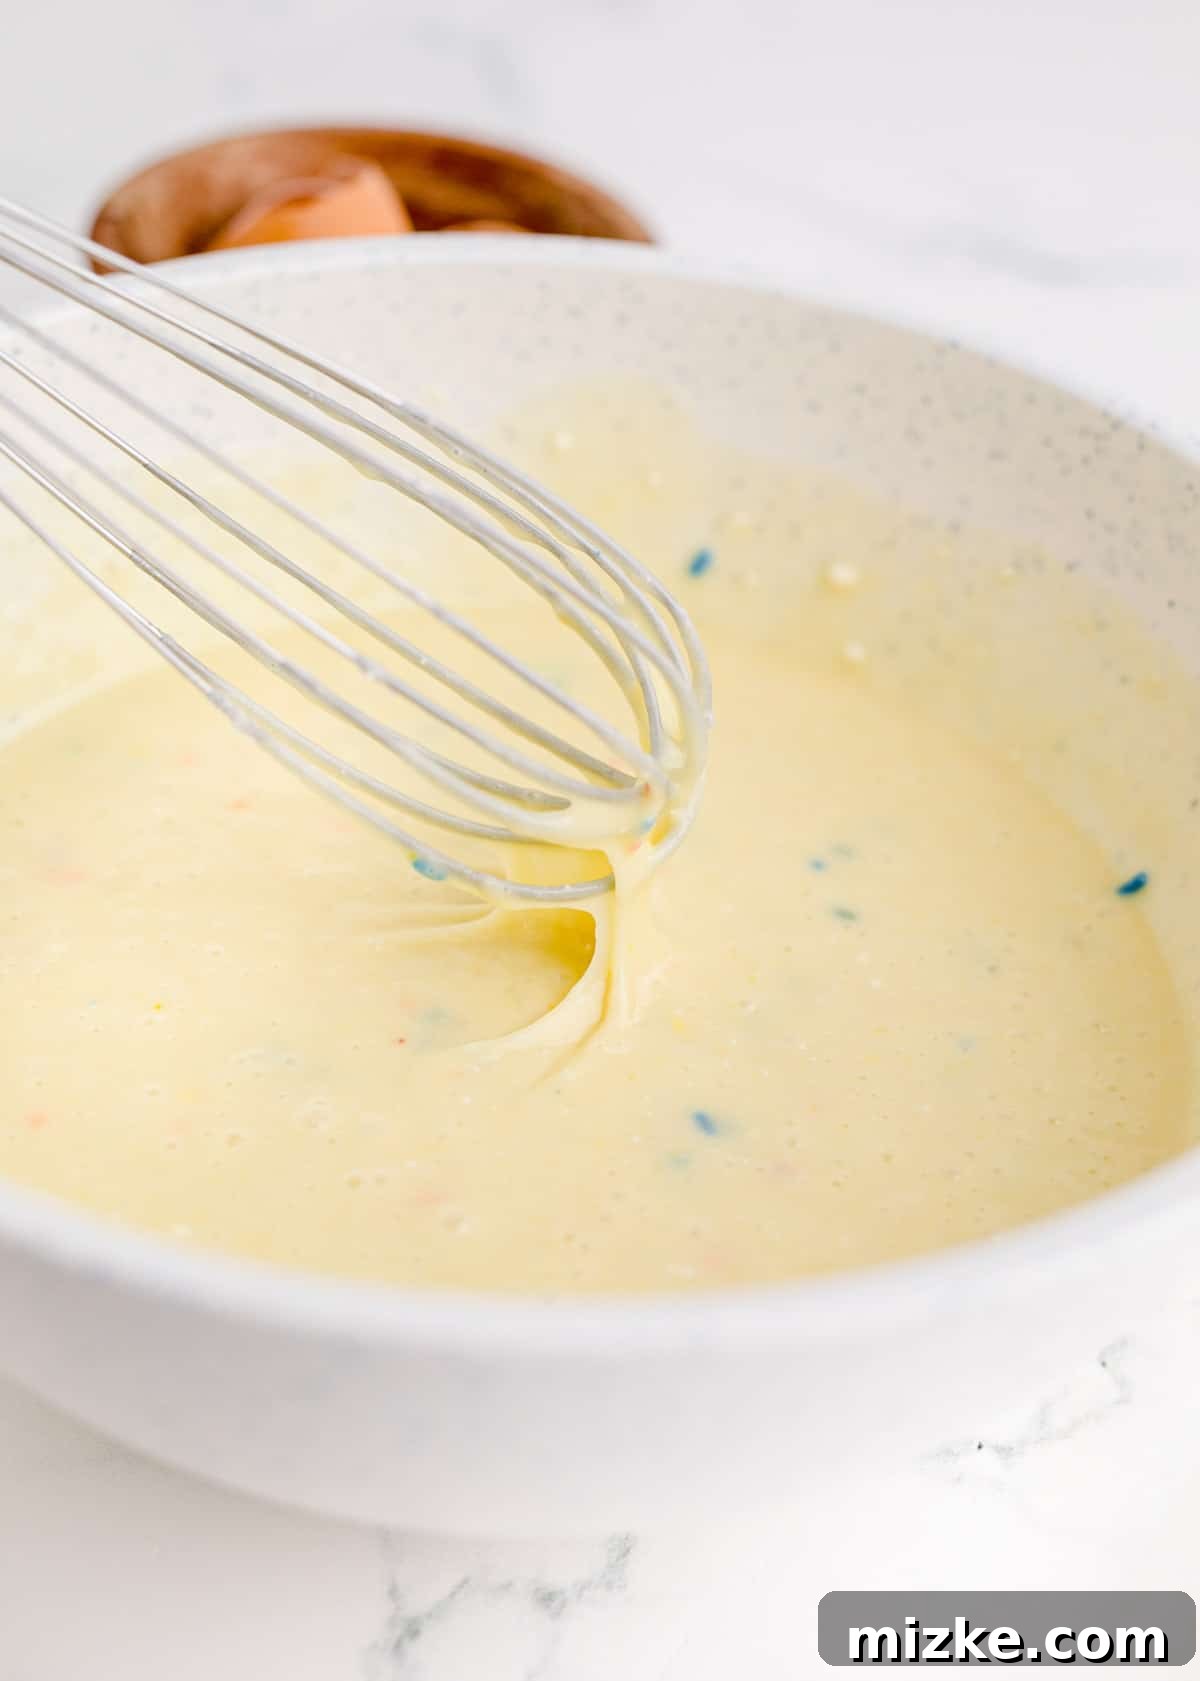
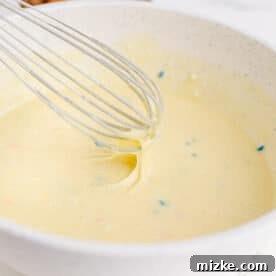
- Step 1: Prepare the Batter. Begin by preheating your oven to 350°F (175°C). Next, prepare your funfetti cake mix according to the specific directions on the package. This usually involves combining the mix with eggs, water, and oil. Mix until just combined, being careful not to overmix, as this can lead to tough cupcakes.
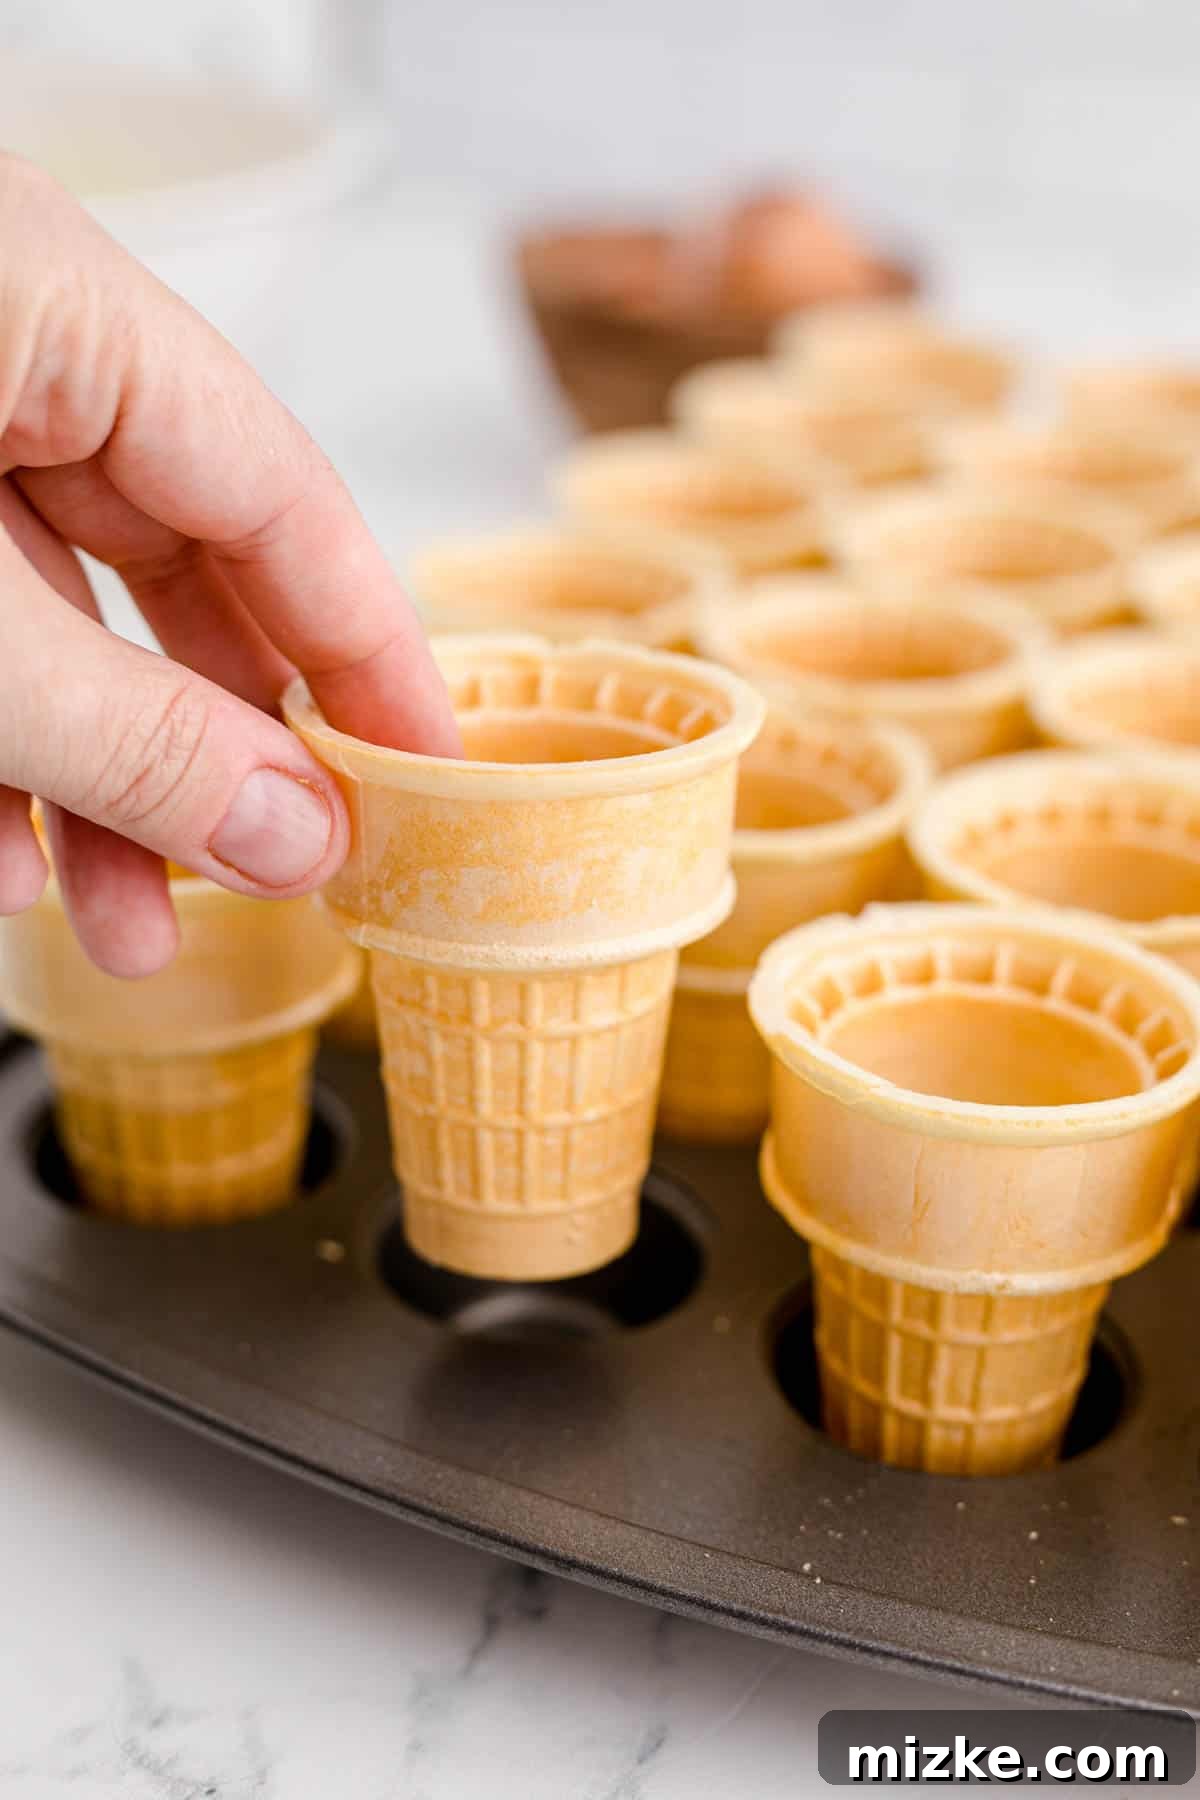
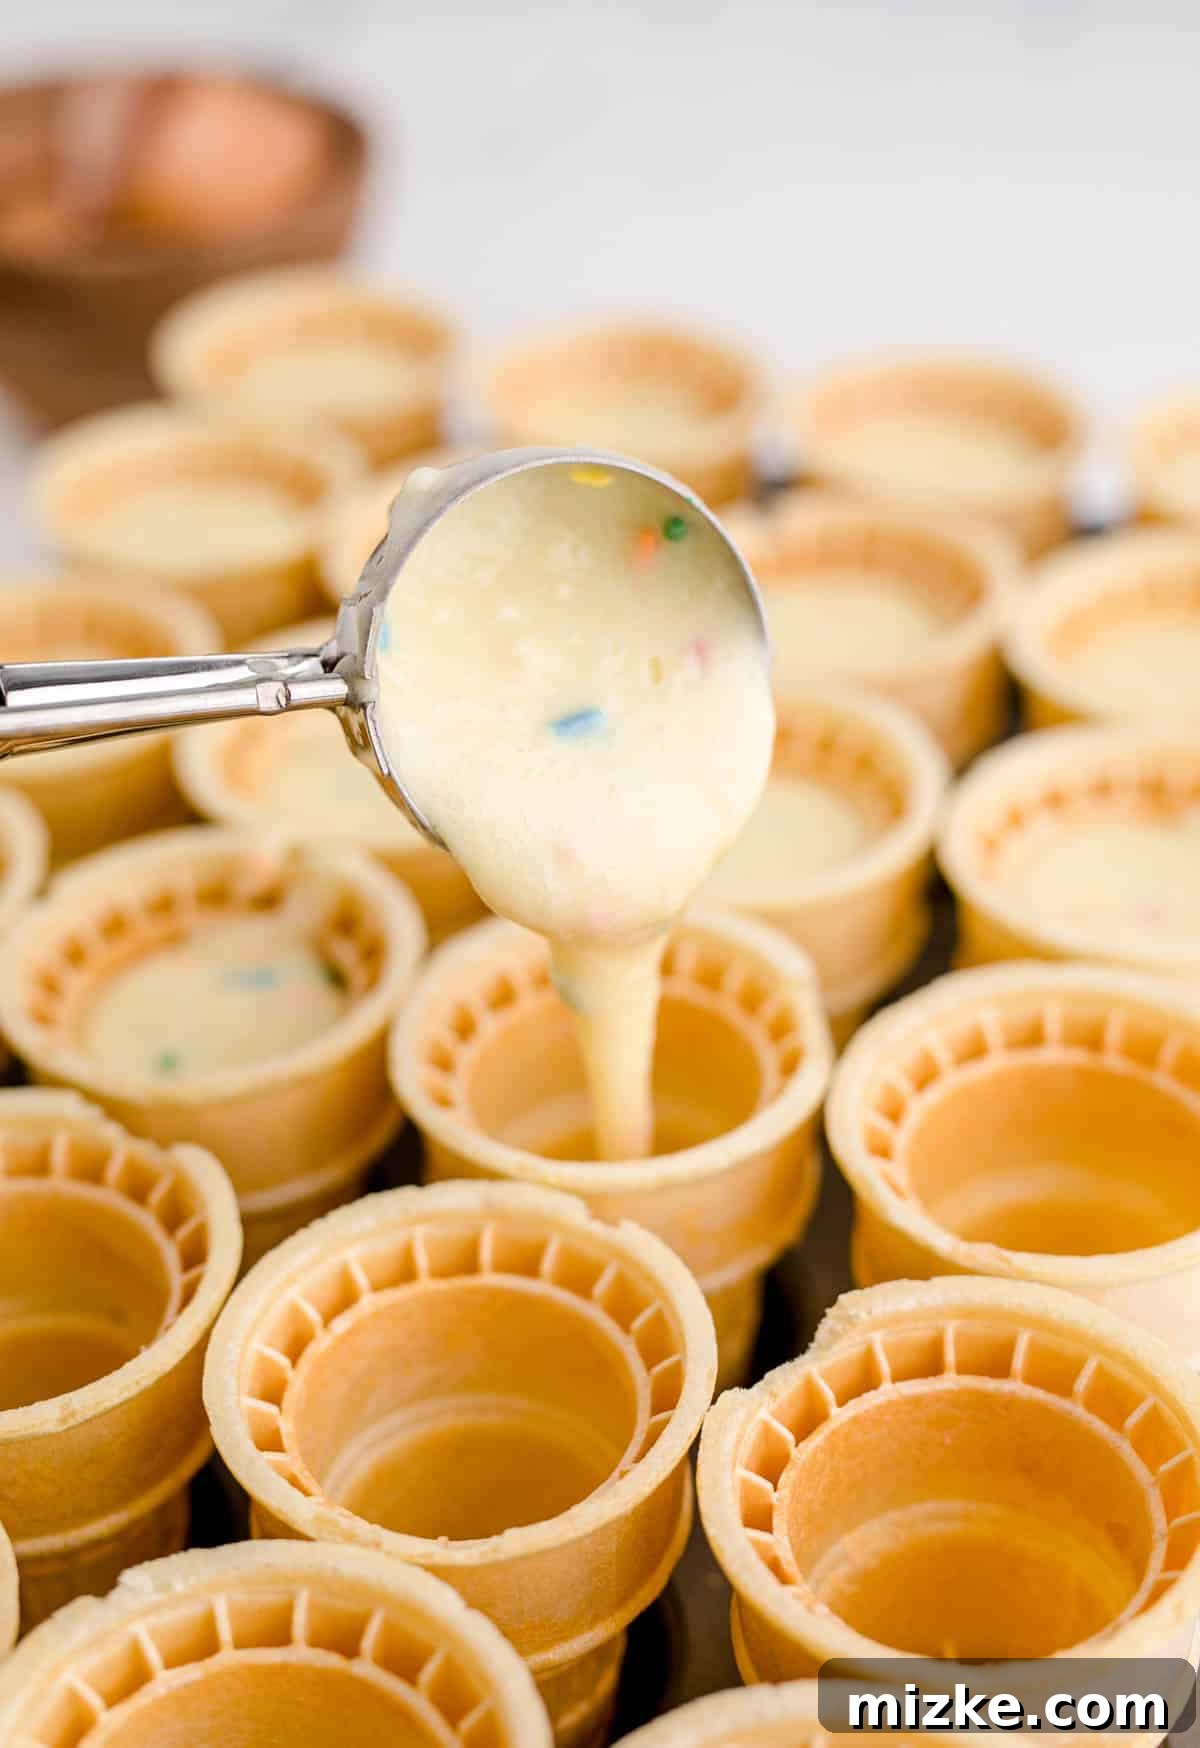
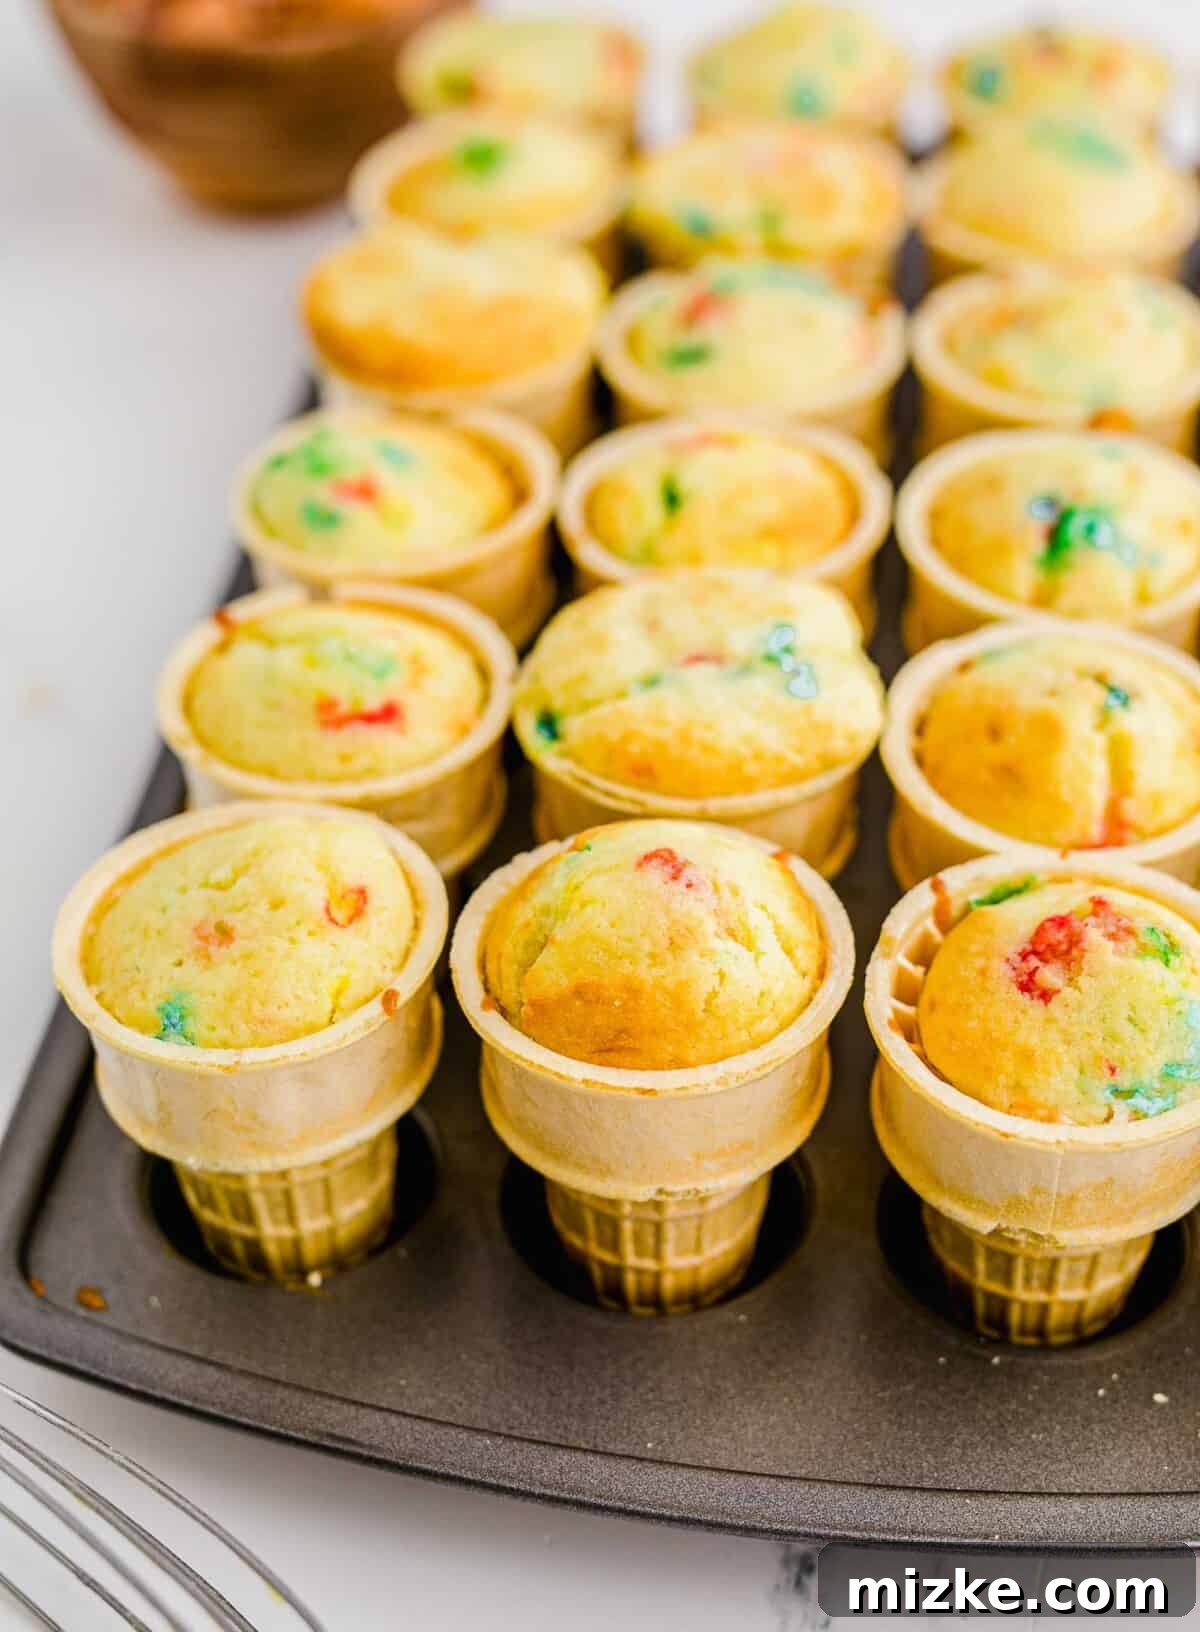
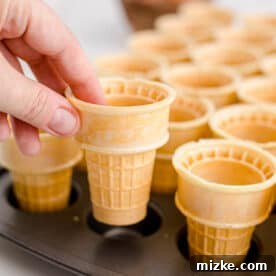
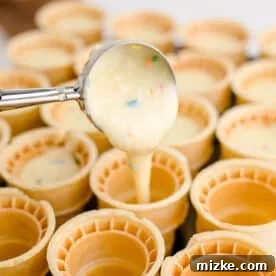
- Step 2: Bake the Cupcakes in Cones. Arrange your flat-bottomed ice cream cones upright in the individual cups of a 24-count mini muffin pan. This helps stabilize the cones during baking. Carefully scoop about 3 tablespoons of cake batter into each cone, filling it just below the inside rim. A small ice cream scoop works perfectly for precise portioning. It’s crucial not to overfill the cones; otherwise, the batter might spill over the sides during baking, leading to soggy cone rims. While some cones might bake up with slightly irregular shapes, don’t worry – they will look absolutely perfect once frosted!
- Step 3: Bake until Golden. Place the muffin pan with the filled cones into your preheated oven. Bake for approximately 23-25 minutes, or until a wooden toothpick inserted into the center of a cupcake comes out clean. This indicates they are fully cooked.
- Step 4: Cool Completely. Once baked, remove the cupcakes in cones from the oven and carefully transfer them to a wire rack to cool completely. Allowing them to cool fully is essential before frosting, as warm cupcakes will melt your buttercream.
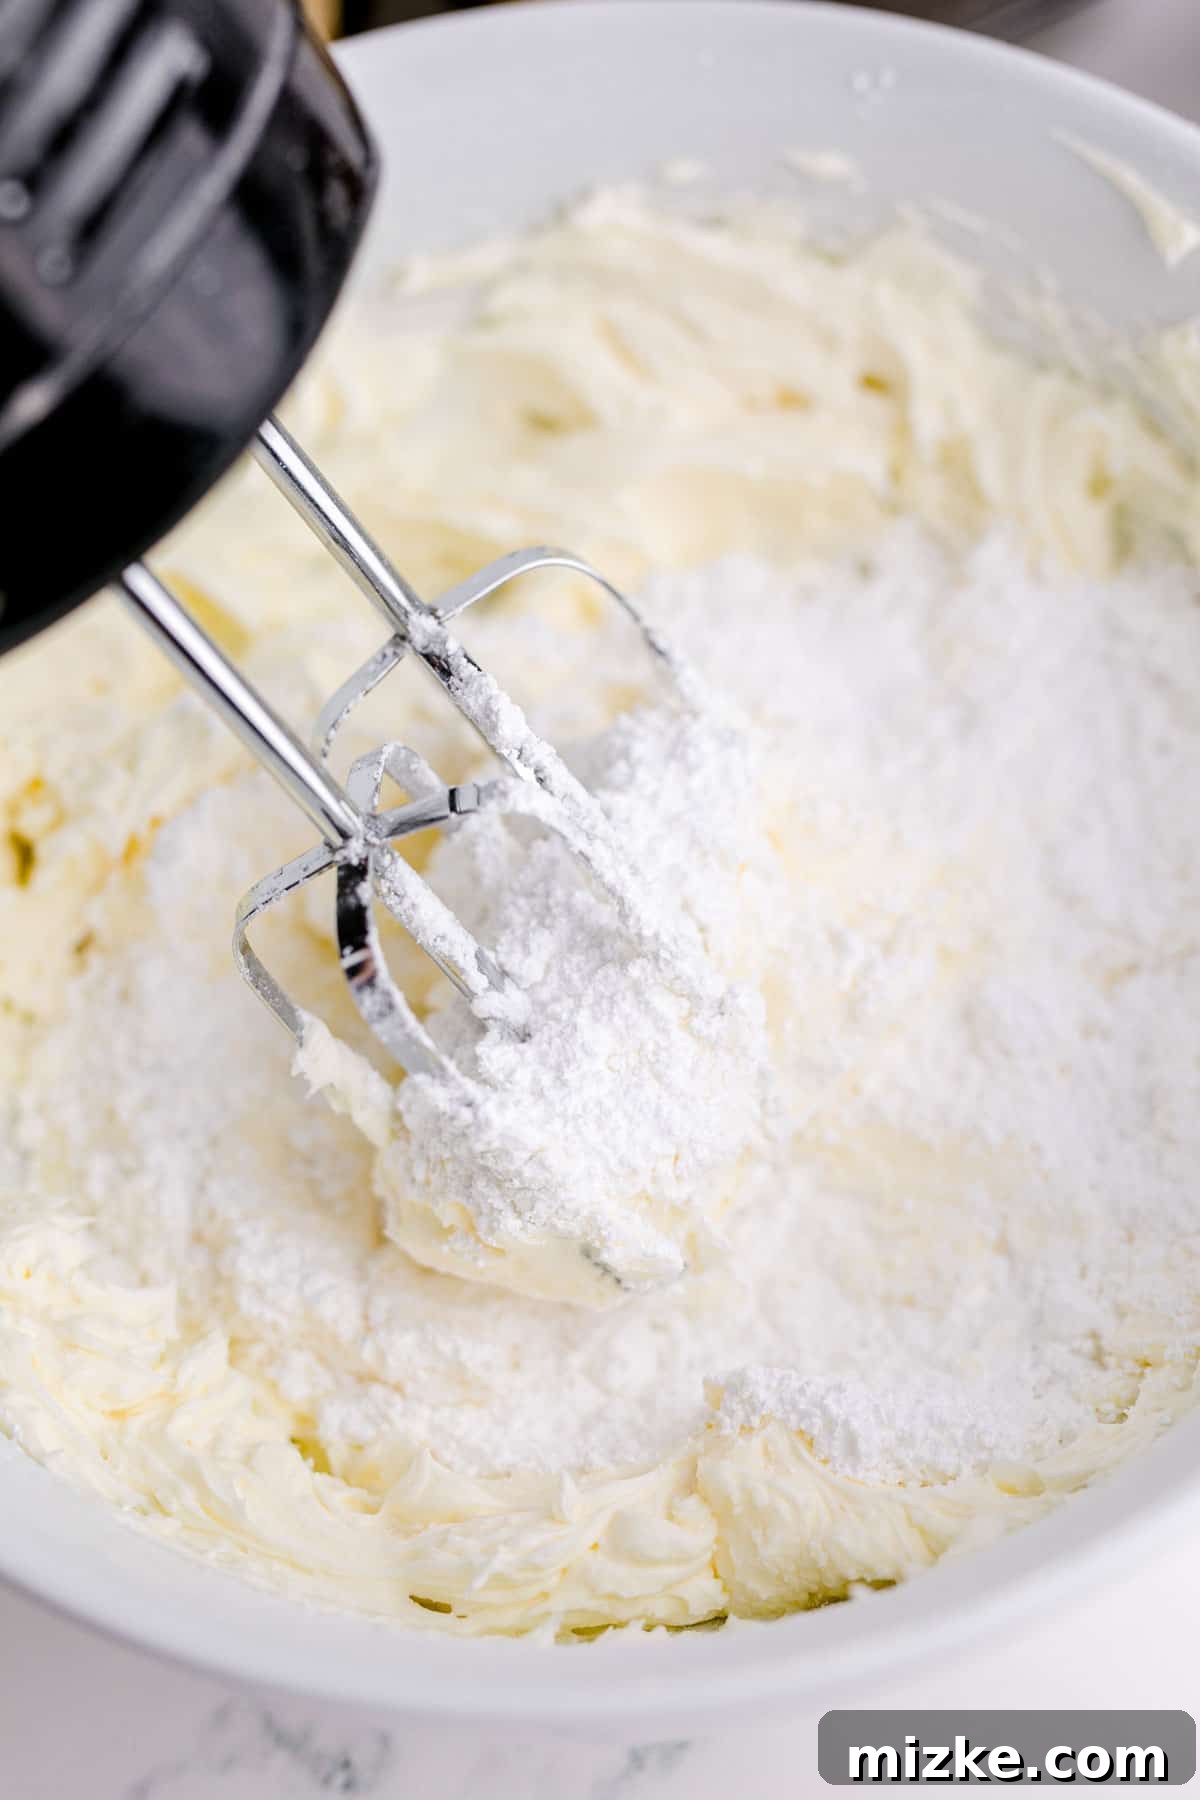
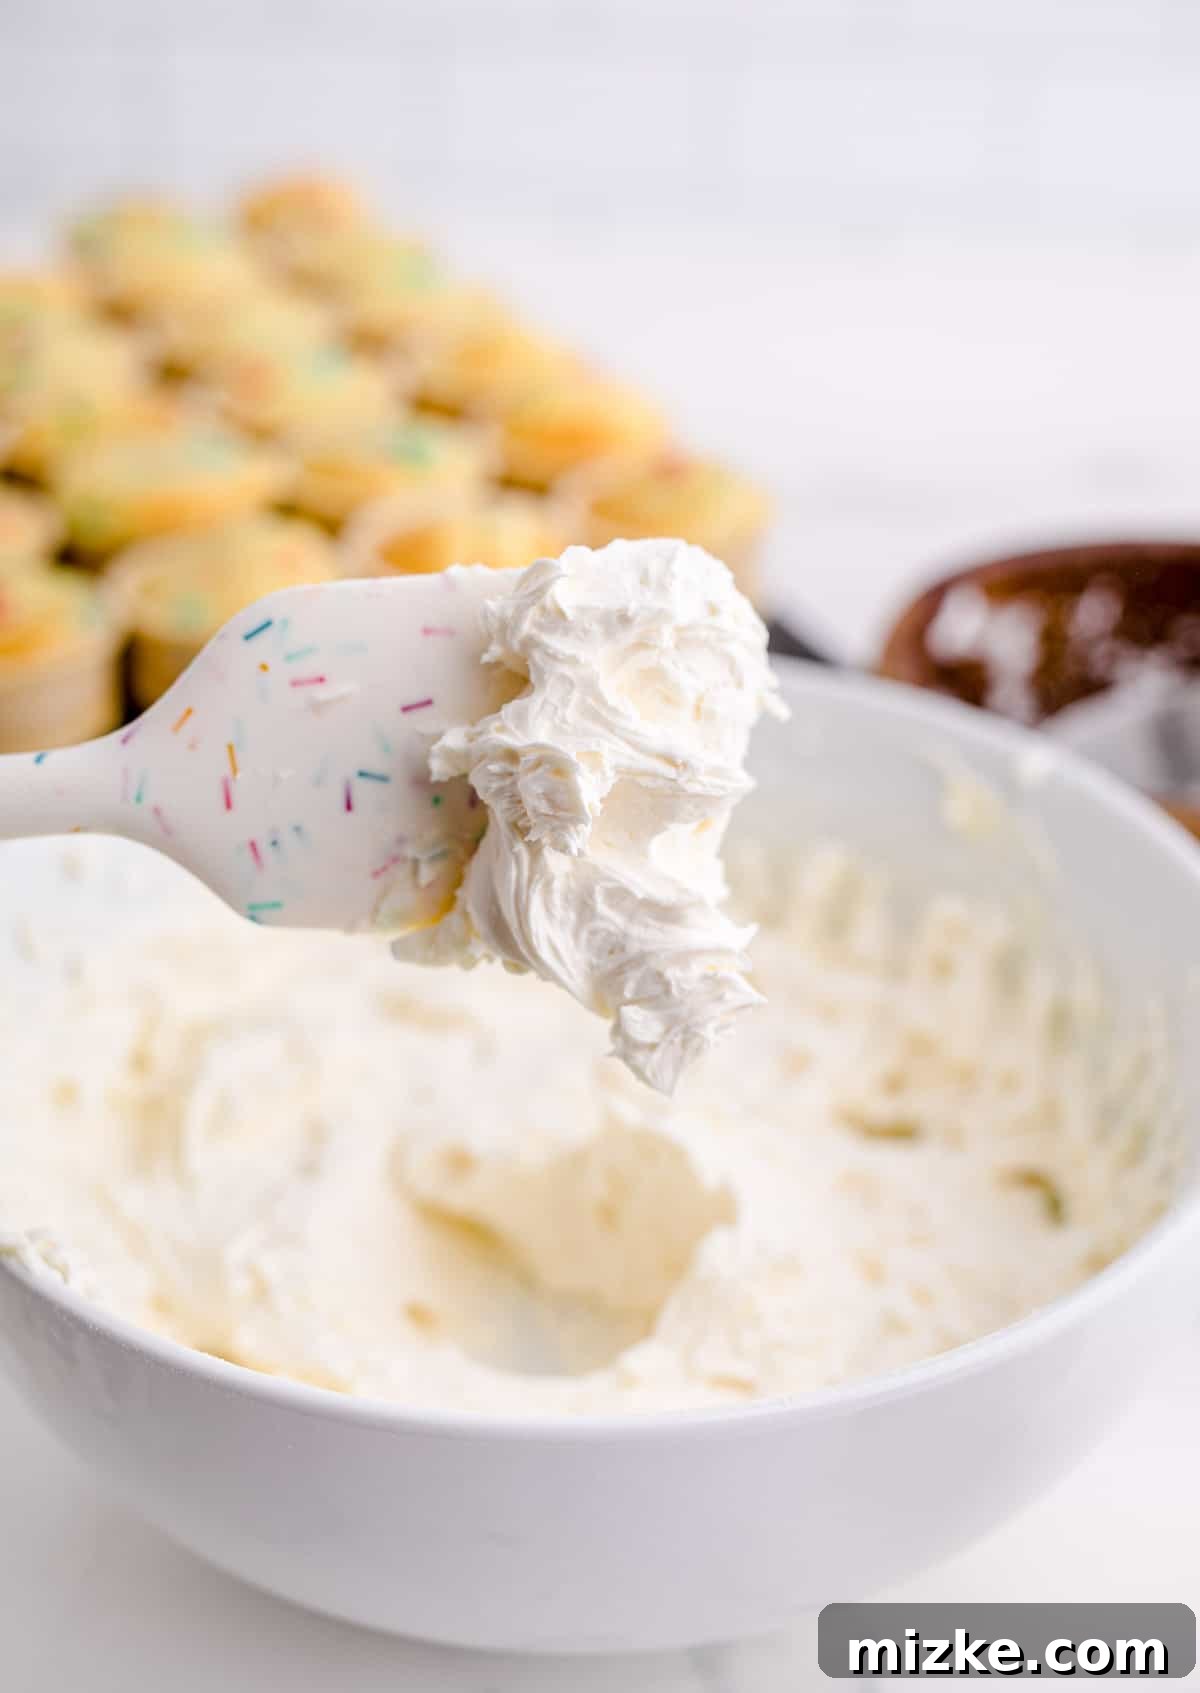
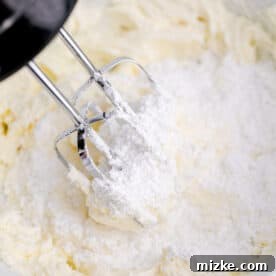
- Step 5: Prepare the Buttercream. While the cupcakes are cooling, prepare your chosen buttercream. In a large mixing bowl or the bowl of a stand mixer fitted with a paddle attachment, cream the softened unsalted butter on low speed until it becomes pale and creamy. Gradually add 3 cups of powdered sugar and 3 tablespoons of heavy cream, alternating between the two ingredients over about 3 minutes, mixing on low speed to prevent a sugar cloud.
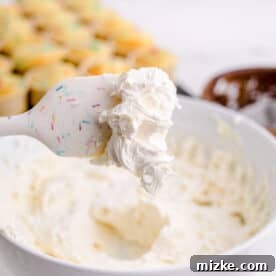
- Step 6: Adjust Consistency and Flavor. Once combined, check the frosting’s consistency. If it’s too stiff, add the remaining powdered sugar (up to 4 cups total) or a little more heavy cream (up to 4 tablespoons total) as needed, until you reach your desired piping consistency. Stir in the vanilla extract and a dash of salt until well incorporated. Increase the mixer speed to medium-high and beat for 2-3 minutes until the frosting is light, fluffy, and beautifully smooth.
- Step 7: Customize Your Buttercream. If you desire multiple colors, divide the vanilla buttercream into separate bowls and gently fold in a few drops of gel food coloring until the desired hue is achieved. For chocolate buttercream, simply add ½ cup of unsweetened cocoa powder and 2 tablespoons of vanilla extract to the prepared vanilla buttercream and mix with a spatula until smooth and uniform.
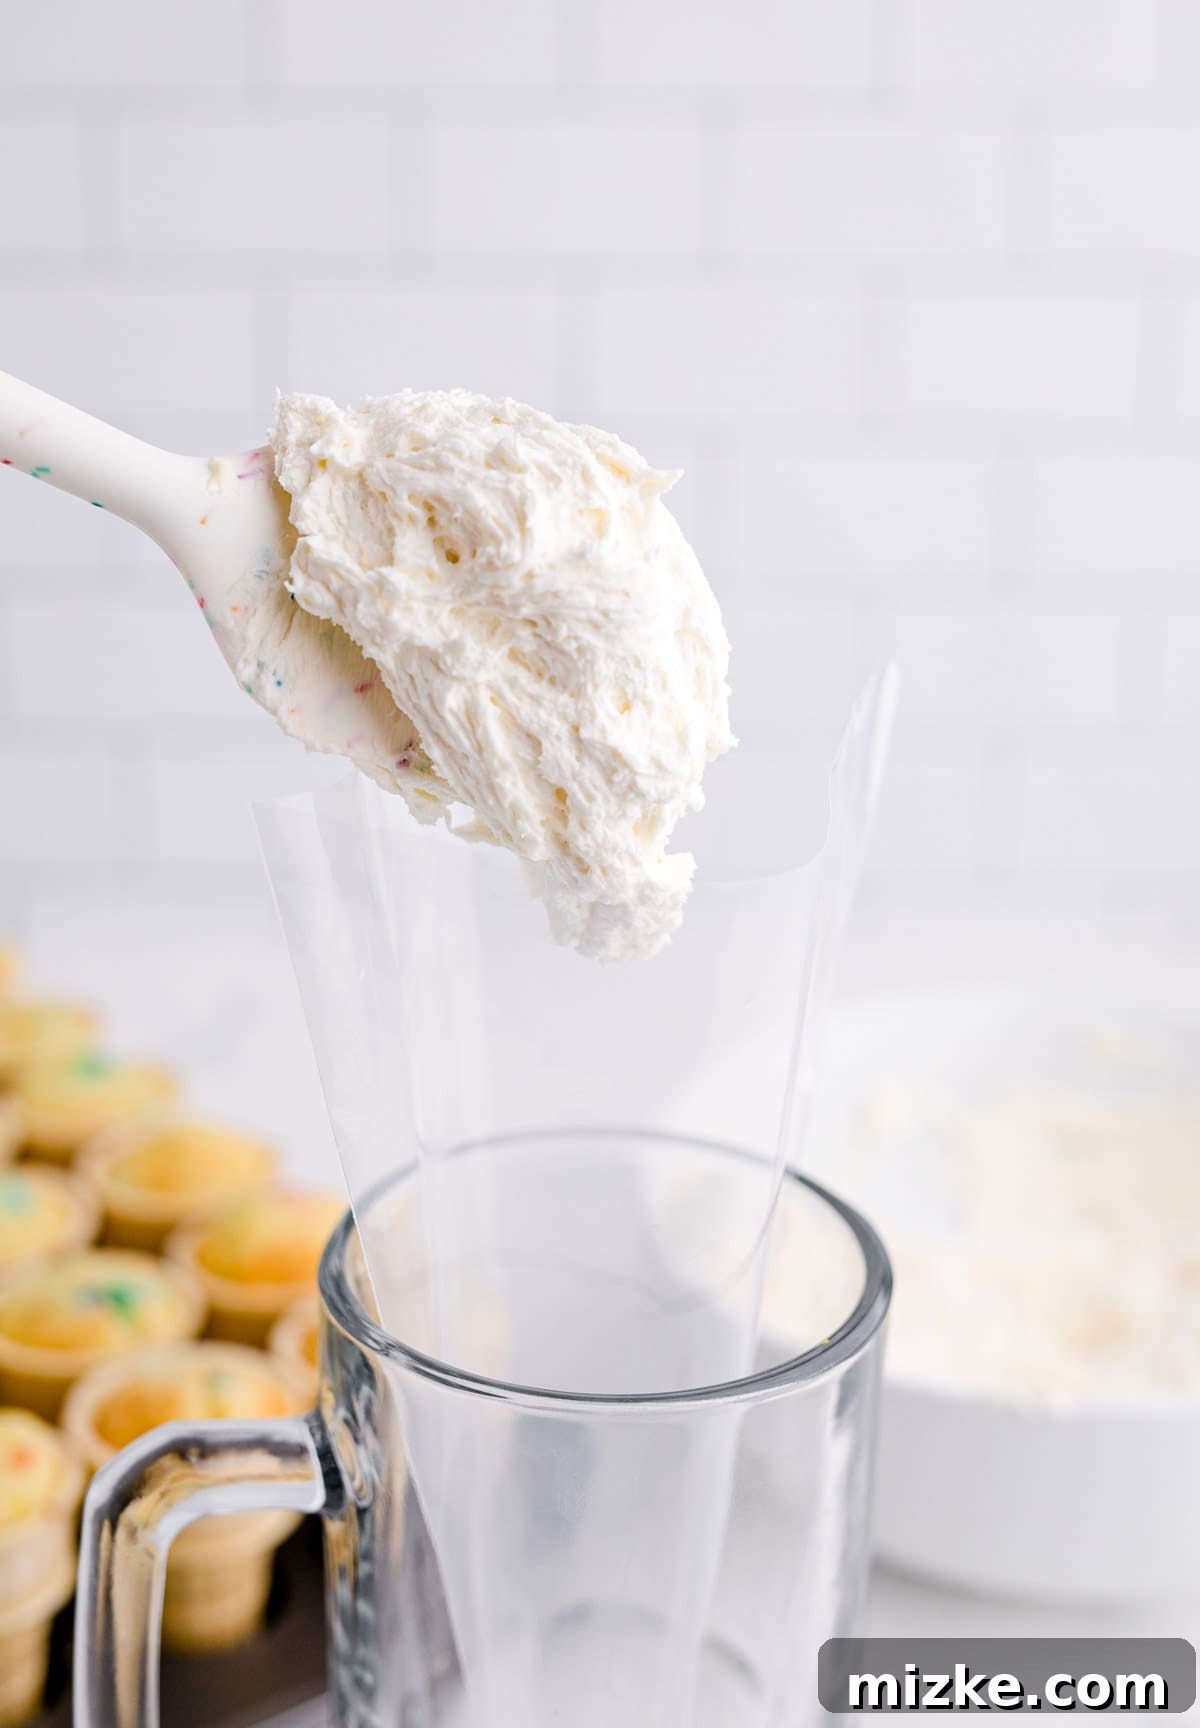
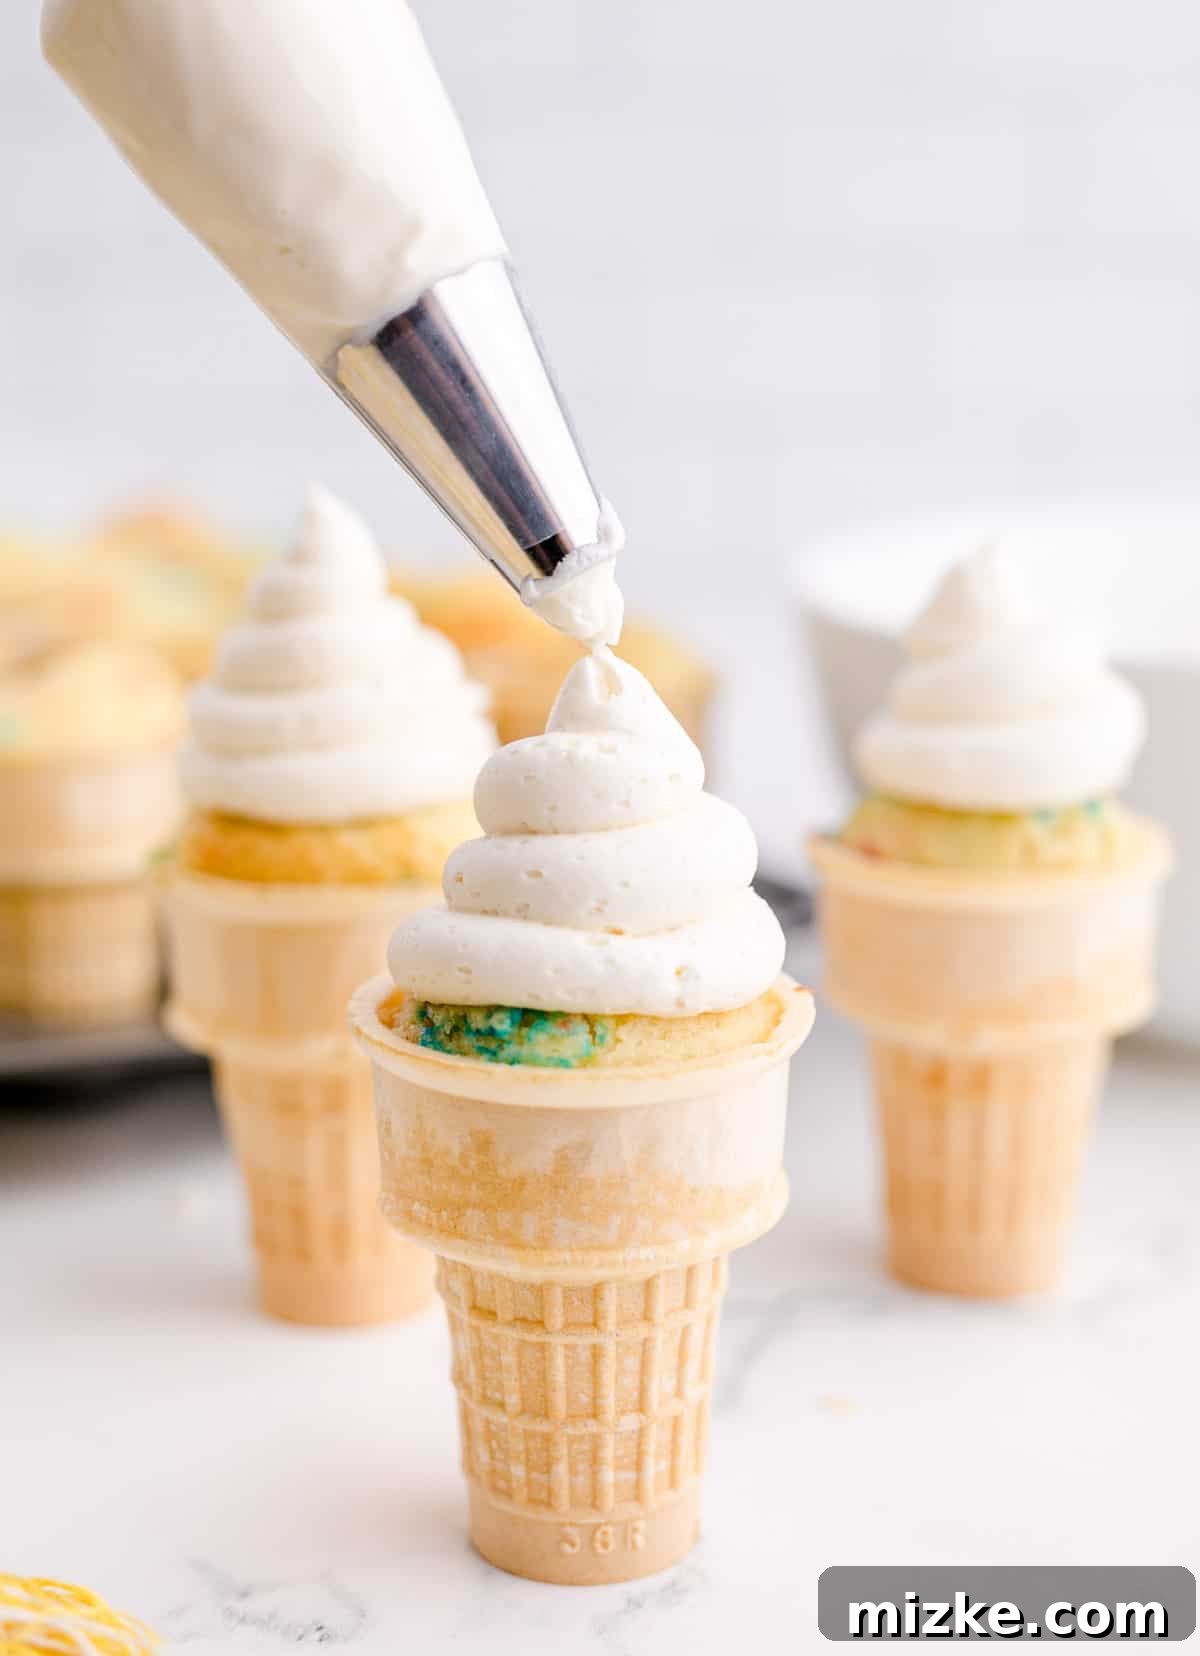
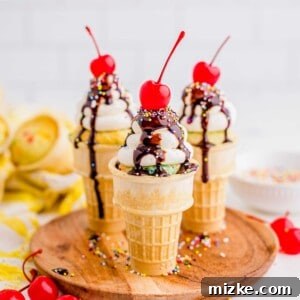
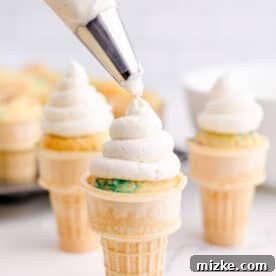
- Step 8: Assemble and Decorate. Once the cupcakes are completely cool, it’s time for the fun part! Transfer your buttercream to a piping bag fitted with your favorite tip (a Wilton 2D tip creates a beautiful swirl, mimicking soft-serve ice cream). Pipe a generous swirl of frosting onto the top of each cupcake cone. If you prefer a simpler approach, you can easily spread the frosting with a knife or a small offset spatula – they’ll be delicious either way!
- Step 9: Garnish with Sprinkles. Finally, complete your masterpieces by showering them with a generous amount of colorful sprinkles or your chosen garnishes. This adds a festive touch and a satisfying crunch. Serve immediately and enjoy the cheers!
Storage & Make-Ahead Tips
These ice cream cone cupcakes are truly at their best when enjoyed fresh on the day they are made. The cones retain their crispness, and the cupcakes are wonderfully moist. However, if you find yourself with leftovers or wish to prepare them in advance, proper storage is key to maintaining their quality.
For any leftover cupcakes, place them gently in an airtight container. This will protect them from drying out and absorbing odors from the refrigerator. Store the container in the refrigerator for up to 2 days. While the cones may soften slightly over time, the cupcakes will remain delicious.
To make ahead: If you’re planning for a party or event, you can bake the cupcakes in their cones a day in advance. Allow them to cool completely, then store them in an airtight container at room temperature. The buttercream can also be prepared a day or two ahead of time and stored in the refrigerator in an airtight container. Before frosting, allow the buttercream to come to room temperature and give it a quick whip with a mixer to restore its fluffy consistency. For the best results and crispest cones, we highly recommend decorating (piping the buttercream) just before serving or immediately before a decorating activity with children. This ensures maximum freshness and prevents the cones from absorbing moisture from the frosting.
Ice Cream Cone Cupcakes Recipe
Print Recipe
Rating: 5 out of 5 stars (based on 1 vote)
Ice Cream Cone Cupcakes
Julie Chiou
30 minutes
30 minutes
1 hour
24 cone cupcakes
Equipment
- Mini muffin pan
- Hand mixer
- Stand mixer
Ingredients
- 1 funfetti cake mix, make as directed on box – usually adding eggs, water and oil
- 24 ice cream cones, flat bottoms
Vanilla Buttercream Recipe:
- 1 cup (227 g) unsalted butter, softened to room temp
- 3–4 cups (360 g) powdered sugar
- 3–4 Tablespoons heavy cream
- 1 Tablespoon vanilla extract
- Dash of salt
Chocolate Buttercream:
- ½ cup (43 g) unsweetened cocoa powder
- 2 Tablespoons vanilla extract
Colorful Buttercream:
- A few drops of gel food coloring for desired color
Optional Garnish:
- Sprinkles
Instructions
-
Prepare cake mix according to the package.1 funfetti cake mix

-
Preheat the oven to 350 °F (177 °C).
-
Using a 24 mini muffin pan, place your cones in each tin.24 ice cream cones
-
Place about 3 Tablespoons of cake batter into each of the cones, just below the inside rim. You can spoon the batter in or use a small ice cream scoop to be more accurate. Do not overfill. If you do, the batter will spill over while cooking and make the rims of the cones soggy. Each cone may bake up a little differently in shape but they will look great as soon as you frost them!
-
Bake them at 350 °F (177 °C) for 23-25 minutes or until a toothpick releases clean.
-
Allow them to cool completely.
-
While the cupcakes cool, make the buttercream. In a large bowl or stand mixer fitted with a paddle attachment, cream butter on low speed until pale and creamy.1 cup (227 g) unsalted butter
-
Slowly add in 3 cups of confectioners’ sugar and 3 tablespoons heavy cream a little at a time, alternating between each, while mixing on low over the course of about 3 minutes.3–4 cups (360 g) powdered sugar, 3–4 Tablespoons heavy cream
-
If your frosting needs a more stiff consistency, add remaining sugar. If your frosting needs to be thinned out, add the remaining cream. Add vanilla and salt and mix to incorporate.1 Tablespoon vanilla extract, Dash of salt
-
Beat on medium-high for about 2-3 minutes until the frosting is light and fluffy.
-
If you want to make multiple colors of frosting, just separate your buttercream into individual bowls and use food coloring to make whatever color your heart desires! If you want to make chocolate buttercream, add ½ cup of unsweetened cocoa powder and 2 tablespoons of vanilla extract and fold in with a spatula until incorporated.½ cup (43 g) unsweetened cocoa powder, 2 Tablespoons vanilla extract
-
You can pipe the frosting into a swirl (using a Wilton 2D tip and piping bag) OR you can quickly just spread your frosting on top of each cupcake with a knife – kiddos will eat them either way!
-
Toss some sprinkles on top for a fun garnish!
Nutrition
Calories: 230kcal,
Carbohydrates: 34g,
Protein: 1g,
Fat: 10g,
Saturated Fat: 6g,
Polyunsaturated Fat: 0.5g,
Monounsaturated Fat: 2g,
Trans Fat: 0.3g,
Cholesterol: 22mg,
Sodium: 129mg,
Potassium: 38mg,
Fiber: 1g,
Sugar: 24g
This website provides approximate nutrition information for convenience and as a courtesy only. Nutrition information can vary for a variety of reasons. For the most precise nutritional data, use your preferred nutrition calculator based on the actual ingredients you used in the recipe.
The default measuring system for this website is US Customary. Unit conversions are provided for convenience and as a courtesy only. While we strive to provide accurate unit conversions, please be aware that there may be some discrepancies.
Frequently Asked Questions (FAQs)
Can I use a different type of cake mix besides Funfetti?
Absolutely! While Funfetti adds a festive touch, this recipe is incredibly versatile. Feel free to use any standard box cake mix flavor you prefer, such as vanilla, chocolate, strawberry, or lemon. The baking time and method will remain the same. You could even experiment with a homemade cake batter if you’re feeling ambitious.
How do I prevent the ice cream cones from becoming soggy?
The key to crisp cones is to avoid overfilling them with batter and to ensure they cool completely before frosting. When filling, keep the batter just below the inside rim of the cone. This prevents overflow during baking, which can make the cone rims soggy. Additionally, frosting warm cupcakes will cause the cones to absorb moisture, so patience during the cooling process is crucial.
Can I make these ice cream cone cupcakes ahead of time?
You can certainly prepare parts of these cupcakes in advance. Bake the cupcakes in their cones up to one day ahead and store them in an airtight container at room temperature. The buttercream can also be made 1-2 days in advance and stored in the refrigerator. Before decorating, let the buttercream come to room temperature and re-whip it until fluffy. For the best taste and texture, it is highly recommended to assemble and frost the cupcakes just before serving.
What if I don’t have a mini muffin pan?
A mini muffin pan is ideal for stabilizing the cones, but if you don’t have one, you can create a makeshift holder. Crumple aluminum foil into small balls and arrange them in a larger muffin tin or a baking dish to create snug spaces for the cones to stand upright. Just ensure the cones are stable and won’t tip over during baking.
Are these suitable for freezing?
While the baked cupcakes (without frosting) can be frozen, freezing them in the cones is not recommended. The cones can become very fragile and prone to breaking or becoming excessively soggy upon thawing due to moisture crystallization. It’s best to enjoy these fresh or store them in the refrigerator for a short period as advised in the storage instructions.
Why You’ll Love These Ice Cream Cone Cupcakes
These ice cream cone cupcakes are more than just a dessert; they’re a celebration in every bite! Combining the comforting taste of a fluffy cupcake with the playful crunch of an ice cream cone, they offer a unique and memorable treat that delights both young and old. Their vibrant appearance, especially with funfetti cake mix and colorful sprinkles, makes them a show-stopping centerpiece for any party or gathering. Easy to make and even easier to customize, this recipe invites creativity and fun into your kitchen. Whether you’re a seasoned baker or just starting, you’ll find joy in crafting these adorable handheld desserts. Go ahead, gather your ingredients, and bring a little extra sparkle to your next special occasion with these irresistible ice cream cone cupcakes!